Articles
How To Paint Glass Vases
Modified: August 17, 2024
Learn the step-by-step process of articles on how to paint glass vases and transform them into stunning centerpiece creations for any occasion.
(Many of the links in this article redirect to a specific reviewed product. Your purchase of these products through affiliate links helps to generate commission for Storables.com, at no extra cost. Learn more)
Introduction
Welcome to the world of DIY glass vase painting! If you’re looking to add a personal touch to your home decor or create unique gifts for your loved ones, painting glass vases can be a fun and rewarding project. Whether you’re a seasoned artist or just starting out, this article will guide you through the process of painting glass vases and provide you with some helpful tips and tricks along the way.
Painting glass vases offers endless possibilities for creativity. You can choose to create simple designs, intricate patterns, or even replicate the look of stained glass. With a little bit of practice and the right supplies, you’ll be able to turn ordinary glass vases into stunning pieces of art that will be admired by all.
In this article, we will discuss the necessary supplies needed for glass vase painting, guide you through the preparation process, offer tips on choosing the right paint, explain how to apply base coats and additional layers, provide techniques for creating designs and patterns, and offer advice on sealing the paint and troubleshooting common issues. We will also provide tips on caring for and maintaining your painted glass vases to ensure their longevity.
Whether you’re interested in transforming thrift store finds into stylish home decor or adding a personal touch to store-bought vases for a special occasion, this article will equip you with the knowledge and skills needed to create beautiful painted glass vases.
So, grab your paintbrushes and let’s dive into the wonderful world of glass vase painting!
Key Takeaways:
- Unleash your creativity and transform ordinary glass vases into stunning works of art with the right supplies, techniques, and care. Embrace the beauty of glass vase painting and let your imagination soar!
- From preparing the glass vase to troubleshooting common issues and caring for your artwork, this article equips you with the knowledge and skills to embark on a fulfilling glass vase painting journey. Happy painting!
Read more: How To Spray Paint Glass Vases
Supplies Needed
Before you begin your glass vase painting project, it’s essential to gather all the necessary supplies. Here’s a list of items you’ll need:
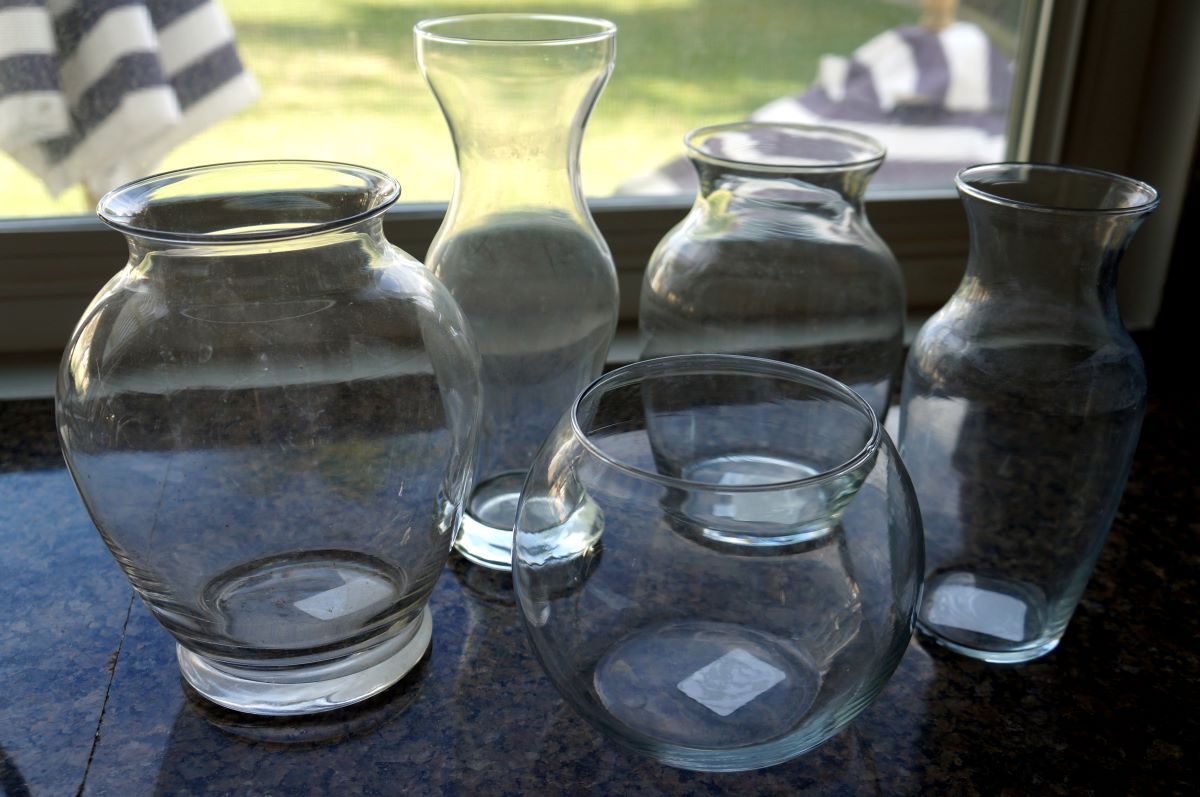
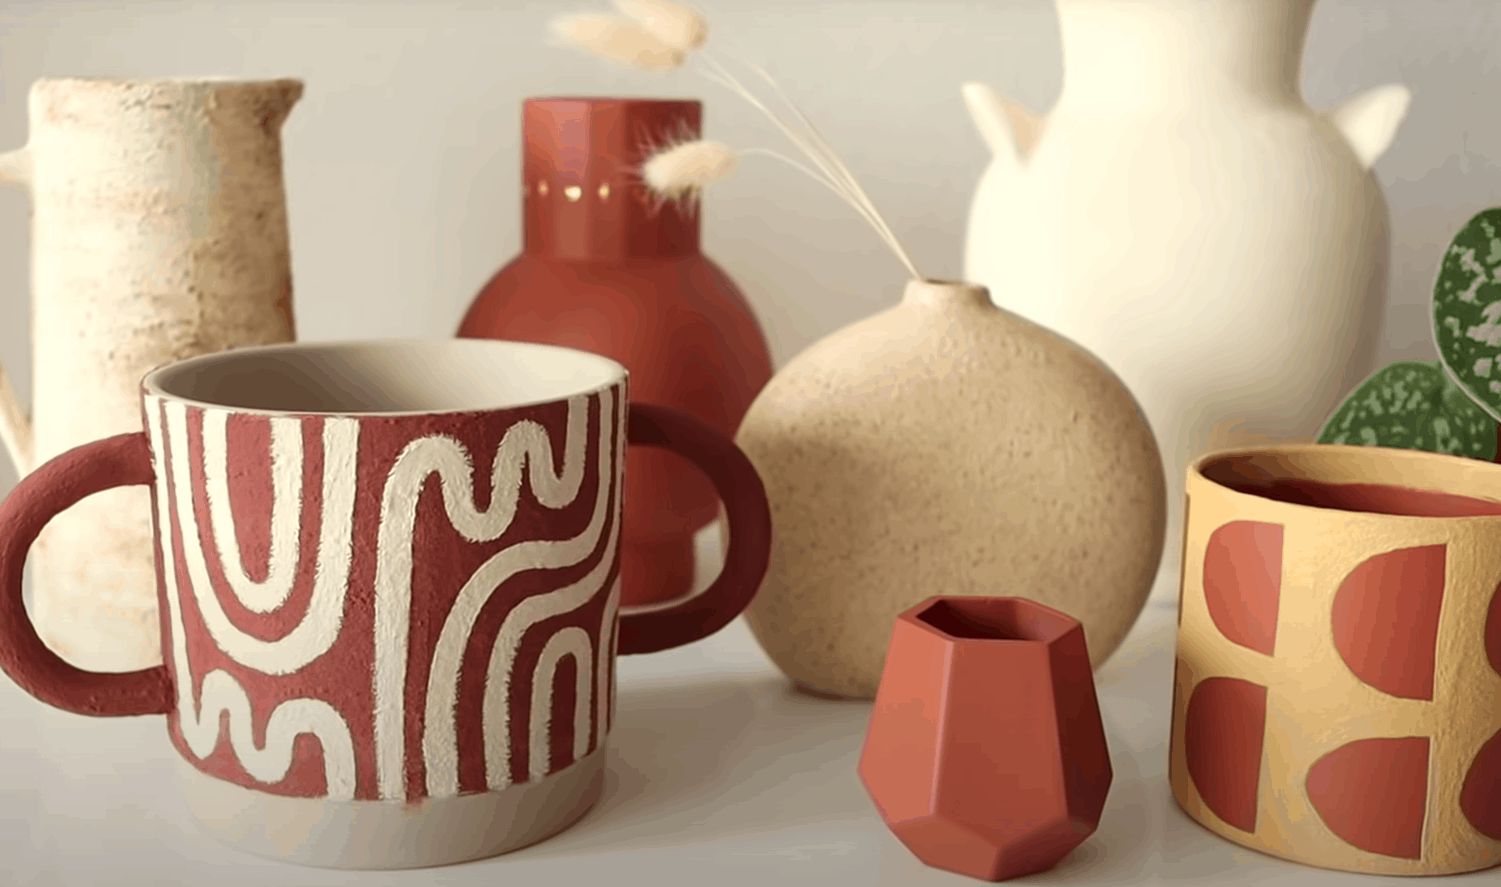
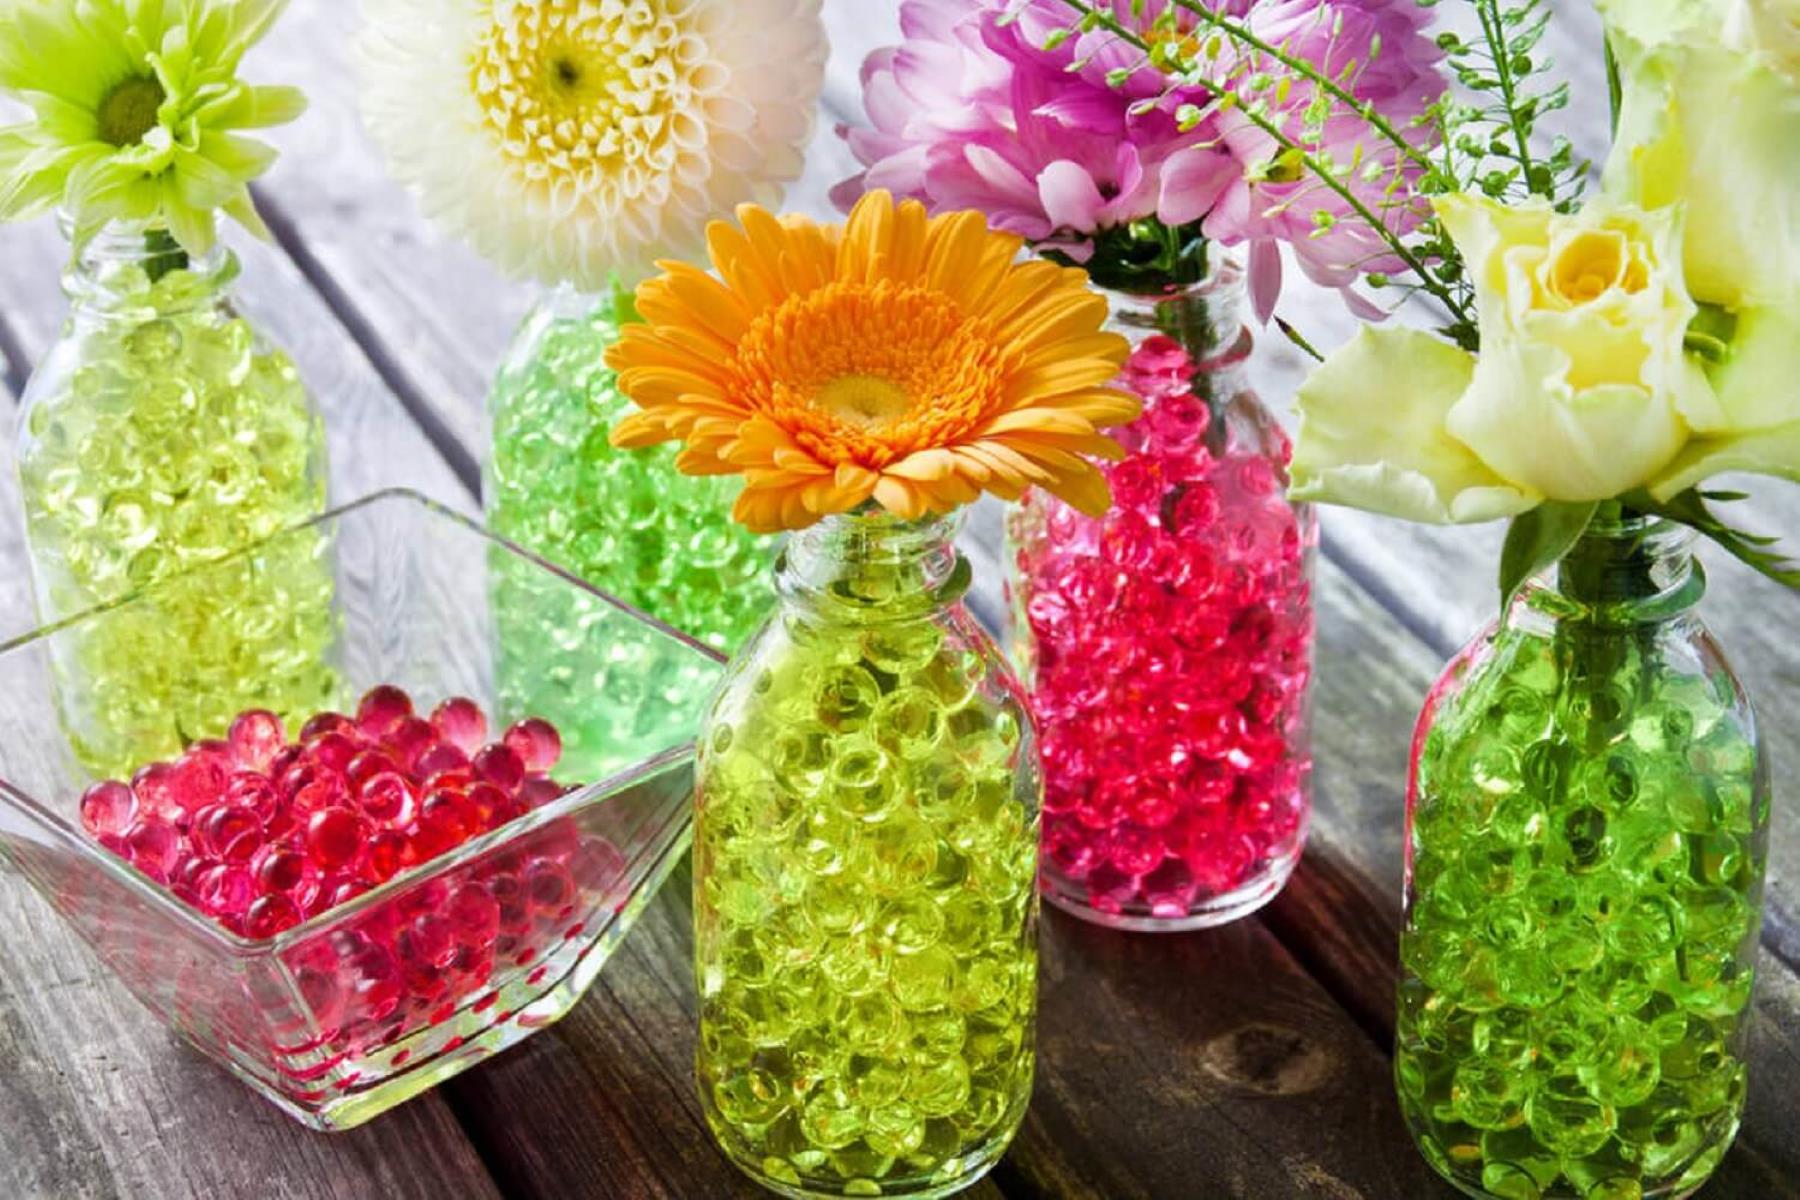
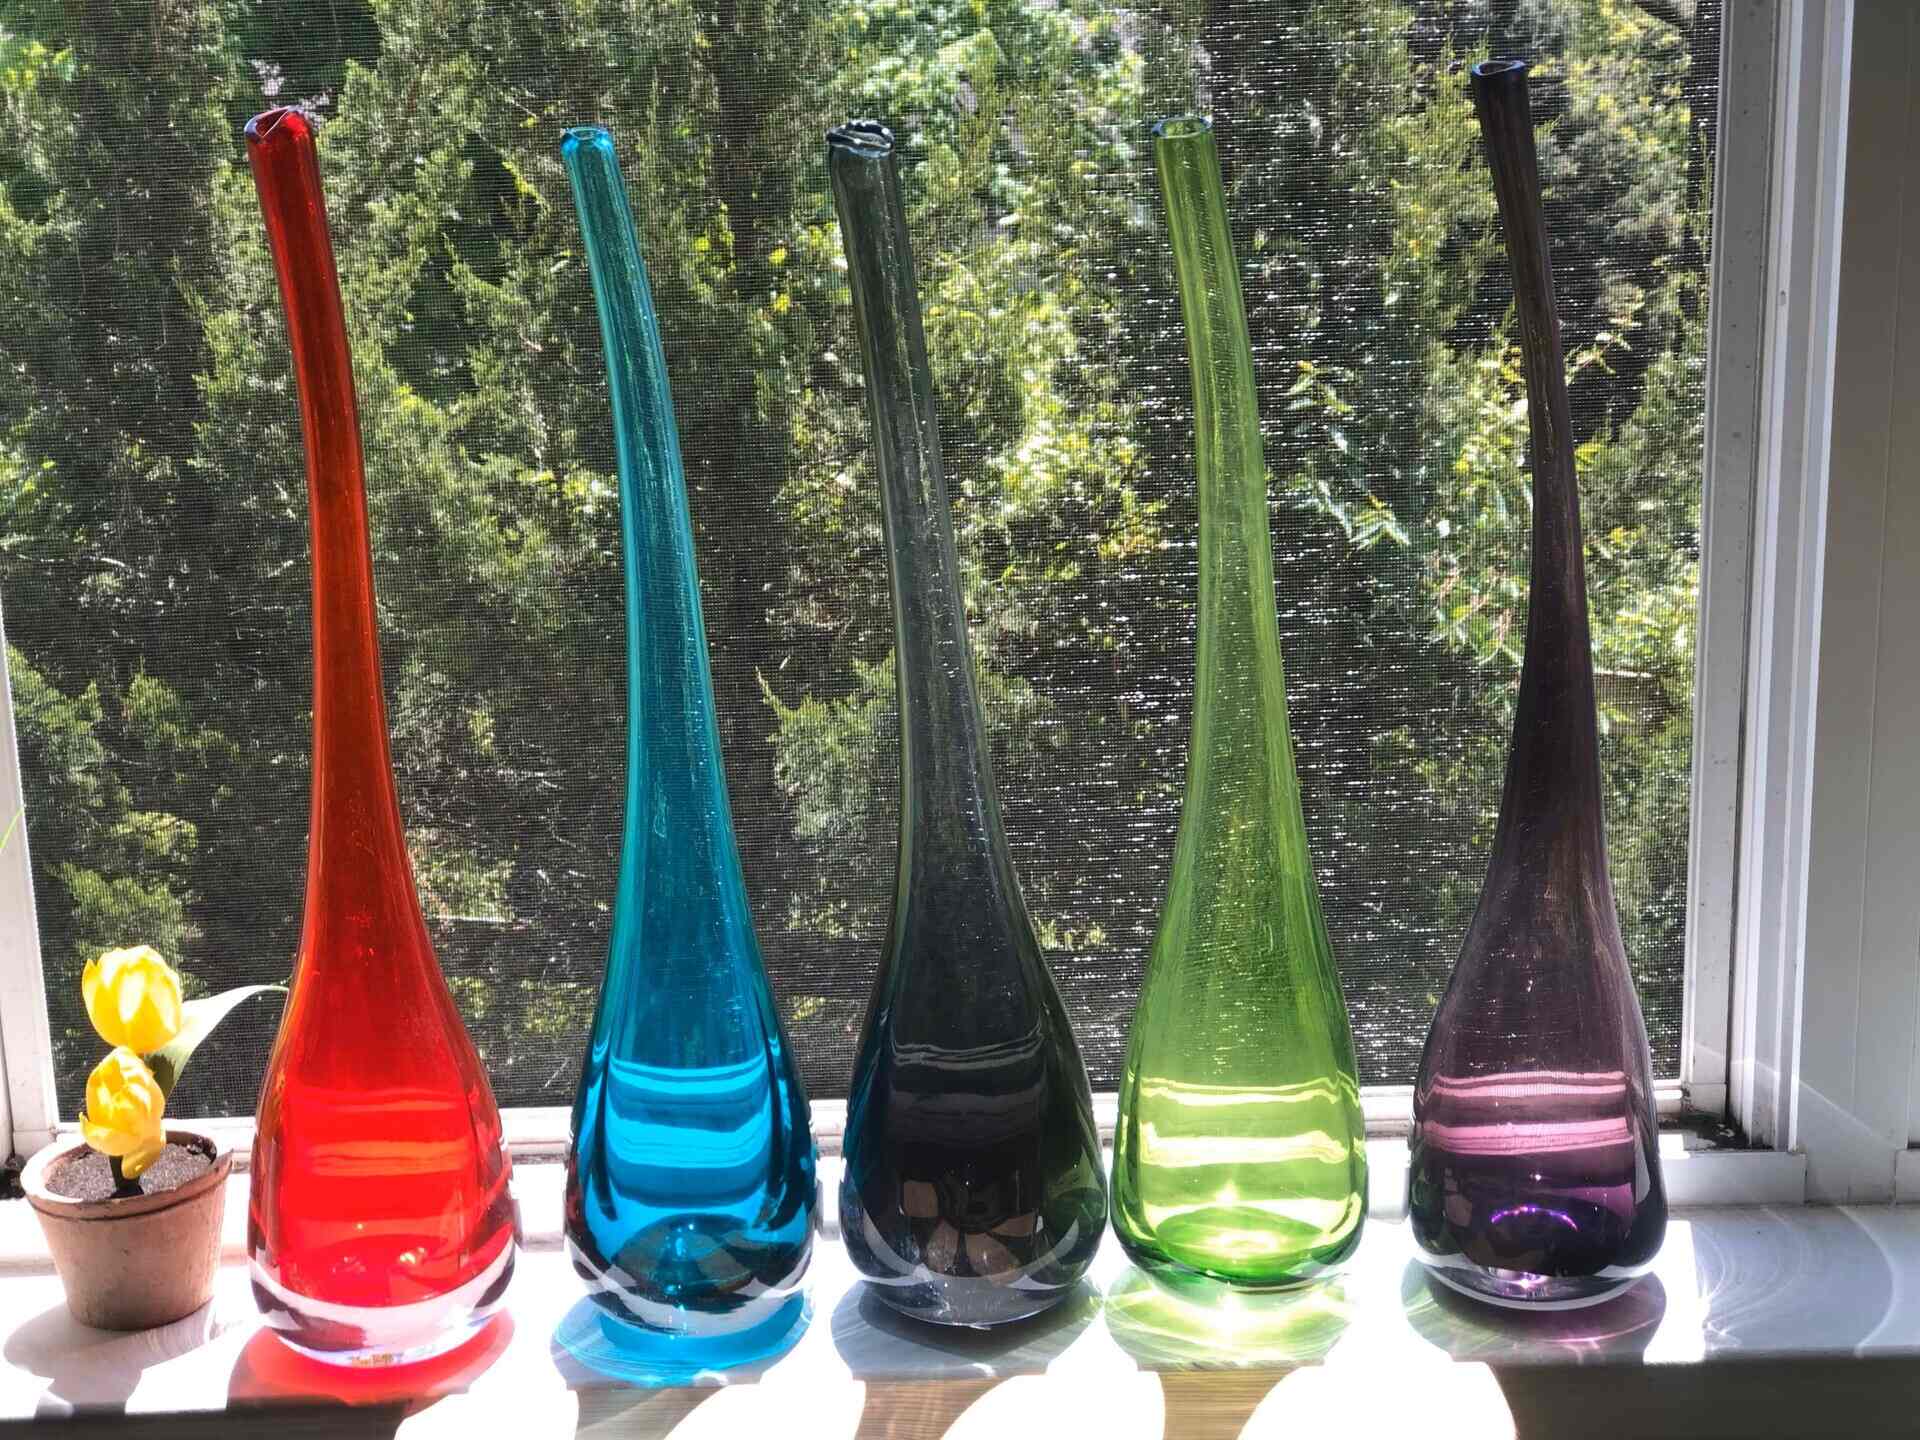
- Glass vases: Choose vases of different shapes and sizes to add variety to your collection.
- Paints: Opt for paints specifically designed for glass, such as acrylic enamel or glass paints. They adhere better and provide durability.
- Paintbrushes: Use various sizes of paintbrushes, including flat and round brushes, to achieve different effects and details.
- Palette: A palette will be useful for mixing and blending colors.
- Cleaning supplies: Make sure to have rubbing alcohol, glass cleaner, and lint-free cloths or paper towels to clean the vases before painting.
- Masking tape: This will come in handy if you want to create crisp lines or block off areas while painting.
- Palette knife: A palette knife is useful for applying paint in a thick and textured manner.
- Stencils and templates: If you’re not confident about freehand painting, stencils and templates can help you create precise designs.
- Protective gear: Consider wearing disposable gloves and a smock to protect your hands and clothes from any accidental paint spills.
- Newspaper or drop cloth: Lay down newspaper or a drop cloth to protect your work surface from any potential paint drips or spills.
- Sealer: A sealer will help protect the paint from chipping or fading over time.
Having these supplies on hand will ensure that you have everything you need to create beautiful and long-lasting painted glass vases. Now that you’ve gathered your materials, it’s time to move on to the next step: preparing the glass vase for painting.
Preparing the Glass Vase
Properly preparing the glass vase before painting is crucial for ensuring that the paint adheres well and lasts longer. Follow these steps to effectively prepare the glass vase:
- Clean the vase: Start by thoroughly cleaning the glass vase with glass cleaner and a lint-free cloth or paper towel. This will remove any dust, dirt, or oils that may hinder the paint from adhering properly. For stubborn residue, you can use rubbing alcohol.
- Remove any stickers or labels: If there are any stickers or labels on the vase, gently peel them off. Use a bit of rubbing alcohol to remove any sticky residue left behind.
- Tape off any areas: If you want to create clean lines or protect certain areas from paint, use masking tape to cover those areas. Make sure the tape is secure and pressed firmly against the glass to prevent any paint from seeping through.
- Ensure a dry surface: Before you begin painting, make sure the glass vase is completely dry. Any moisture can affect the way the paint adheres to the surface.
By properly cleaning and preparing the glass vase, you create an ideal surface for the paint to adhere to, ensuring a smooth and long-lasting finish.
Now that your glass vase is ready for painting, the next step is to choose the right type of paint for your project. Continue reading to learn more about the different options available and which one will work best for your desired outcome.
Choosing the Right Paint
When it comes to painting glass vases, selecting the right type of paint is essential for achieving the desired results. Here are a few options to consider:
- Acrylic enamel paint: Acrylic enamel paints are specially formulated to adhere to glass surfaces and provide a durable finish. They are available in a wide range of colors and are relatively easy to work with.
- Glass paint: Specifically designed for glass surfaces, glass paint offers excellent adhesion and durability. It is available in both transparent and opaque finishes, allowing you to create various effects on your glass vase.
- Multi-surface paint: If you want the flexibility to paint not only on glass but also on other materials, such as wood or metal, consider using multi-surface paints. These paints are versatile and can adhere well to glass surfaces.
- Oil-based paint: Oil-based paints provide a glossy and vibrant finish on glass vases. However, they require longer drying times and can be more difficult to work with compared to acrylic-based options.
While each type of paint has its own advantages, it’s important to consider factors such as drying time, color options, and the level of transparency or opacity you desire for your project. Additionally, keep in mind that some paints may require baking or curing to fully set the color and make it more resistant to scratches.
Before applying the paint to your glass vase, it’s a good idea to do a small test on a separate piece of glass or a non-visible area of the vase to ensure that the paint adheres well and achieves the desired look.
Now that you have selected the right paint for your glass vase painting project, it’s time to learn how to apply the base coat. Keep reading to discover the proper technique for achieving a smooth and even application.
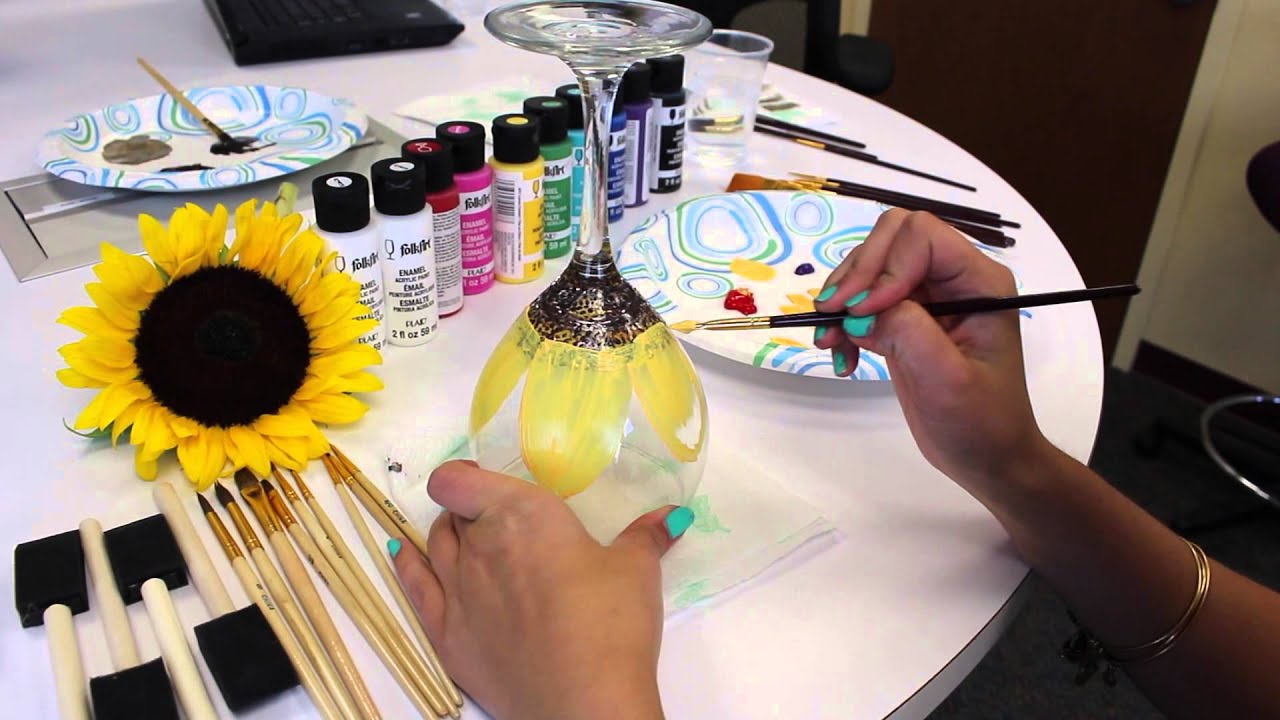
Applying the Base Coat
The base coat is the foundation of your painted glass vase. It provides a smooth and even surface for the subsequent layers of paint to adhere to. Here’s a step-by-step guide on how to apply the base coat:
- Prepare your workspace: Lay down newspaper or a drop cloth to protect your work surface from any potential paint spills or drips.
- Shake the paint: Give the paint bottle a good shake to ensure that it is well mixed.
- Pour a small amount of paint: Pour a small amount of paint onto your palette. You can always add more later if needed.
- Dip your brush: Dip your paintbrush into the paint, making sure to coat the bristles evenly.
- Apply the base coat: Start applying the paint onto the glass vase in smooth and even strokes. Work from the top of the vase towards the bottom, ensuring complete coverage. Take your time and apply multiple thin layers rather than one thick layer for a more even finish.
- Continue coating: If needed, apply additional coats of the base coat, allowing each layer to dry completely before applying the next. This will ensure a more opaque and even base.
- Let it dry: Set the vase aside in a well-ventilated area and let the base coat dry completely. Follow the drying time mentioned on the paint bottle to ensure that the paint sets properly.
Remember to clean your paintbrushes immediately after use to prevent the paint from hardening and ruining the bristles. Rinse them thoroughly with water if using acrylic-based paints or follow the manufacturer’s instructions for cleaning oil-based paints.
Once the base coat is dry, you can start adding additional layers of paint to create the desired design or pattern. Read on to learn more about this exciting step in the glass vase painting process.
Read more: How To Clean A Glass Vase
Adding Additional Layers
Adding additional layers of paint to your glass vase will give depth and dimension to your design. Whether you choose to create intricate patterns or simple brushstrokes, here are some tips for effectively applying additional layers:
- Plan your design: Before starting, have a clear idea of the design or pattern you want to create. You can sketch it out on paper or use stencils as a guide.
- Use a clean brush: Start with a clean paintbrush to avoid mixing the colors unintentionally. This will help you achieve crisp and vibrant layers.
- Build up layers gradually: Apply thin layers of paint, allowing each layer to dry before adding the next. This will prevent the colors from bleeding and create a more precise and polished look.
- Blend colors: If you want to achieve a blended or gradient effect, consider mixing different colors on your palette and applying them with a soft touch. Blend the colors together while they are still wet for a seamless transition.
- Add details: For fine details or intricate designs, use a smaller brush or even a toothpick to carefully paint the desired elements. Take your time and work patiently for the best results.
- Experiment with different techniques: Don’t be afraid to try different techniques, such as dry brushing, splattering, or using a sponge, to create interesting textures and effects.
- Allow for proper drying: Each layer of paint should dry completely before adding the next. Be patient and follow the drying time mentioned on the paint bottle to ensure a strong and resilient finish.
Remember, the number of additional layers you add will depend on your design and the desired level of complexity. Don’t rush the process and take breaks if needed to avoid smudging or accidentally damaging the previous layers.
With the additional layers added, you’re now ready to explore different techniques for creating unique designs or patterns on your painted glass vase. Read on to discover some exciting possibilities!
When painting glass vases, make sure to clean the surface thoroughly with rubbing alcohol to remove any dirt or oils that could prevent the paint from adhering properly.
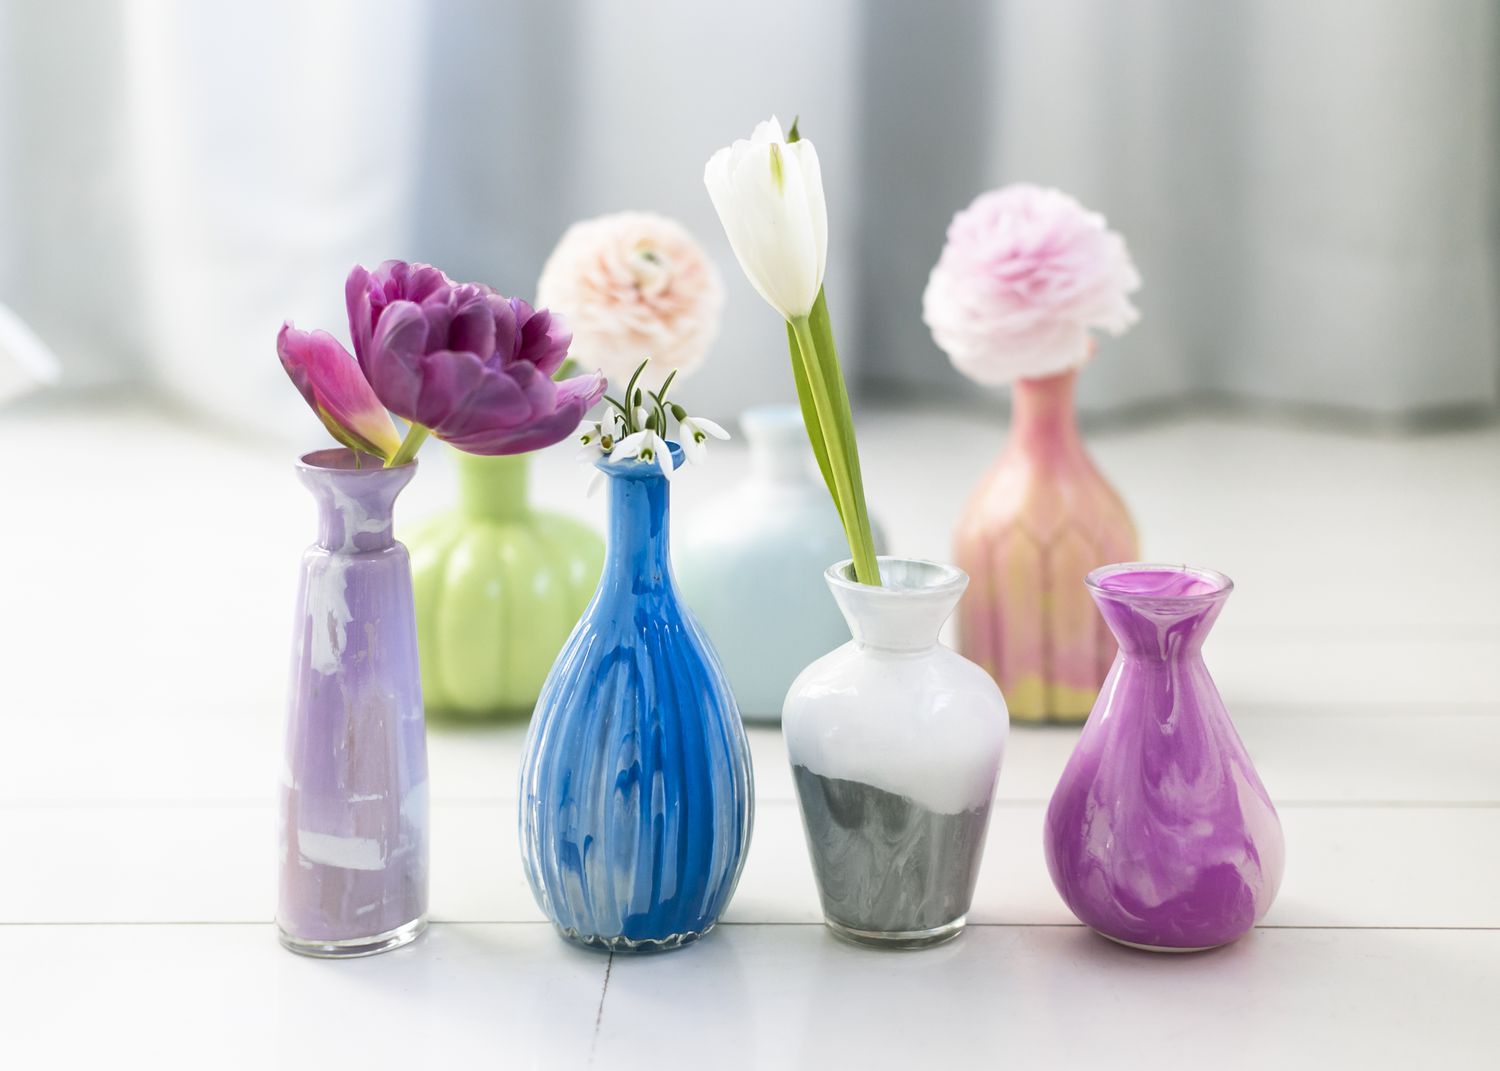
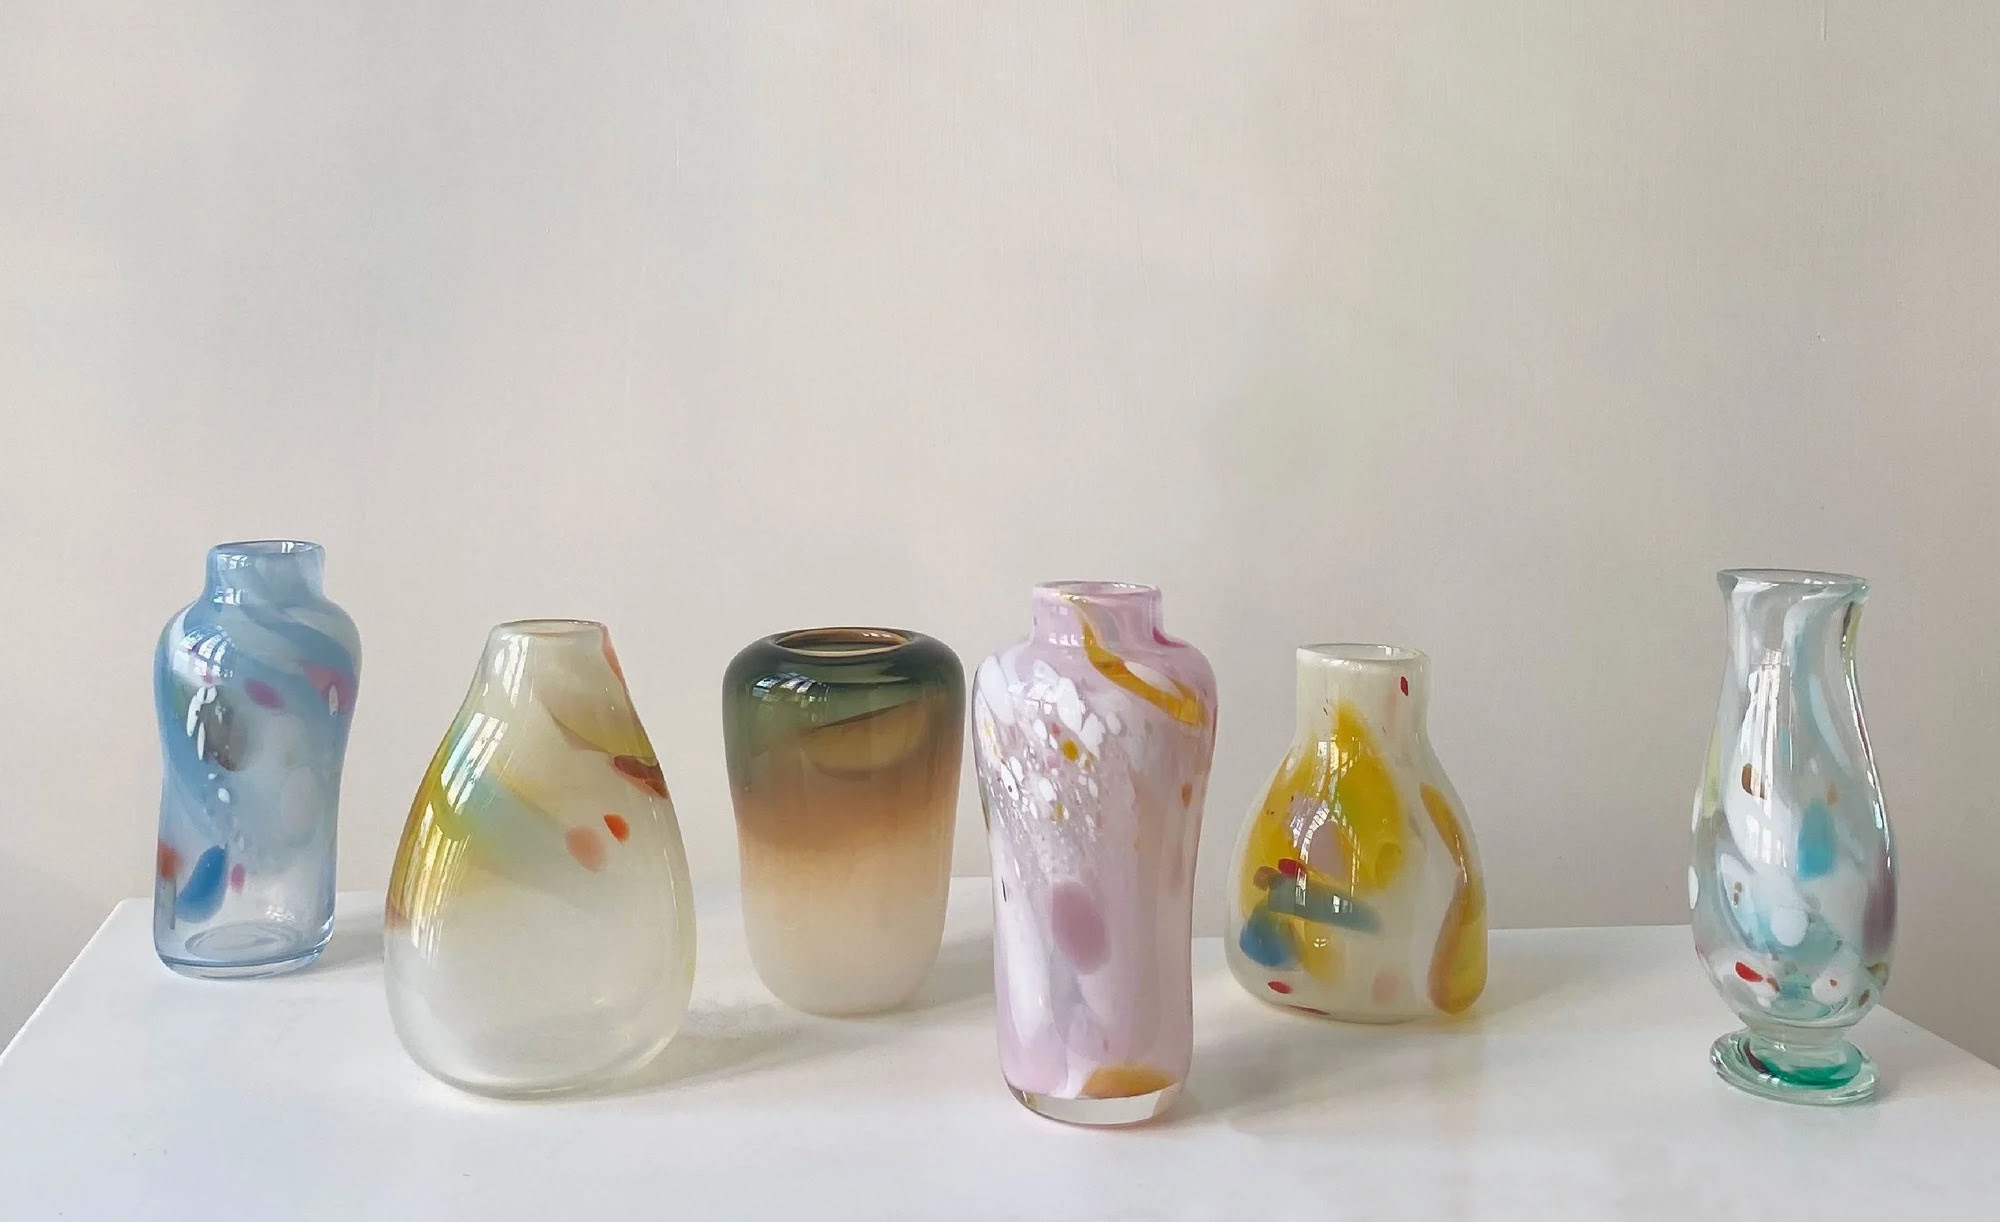
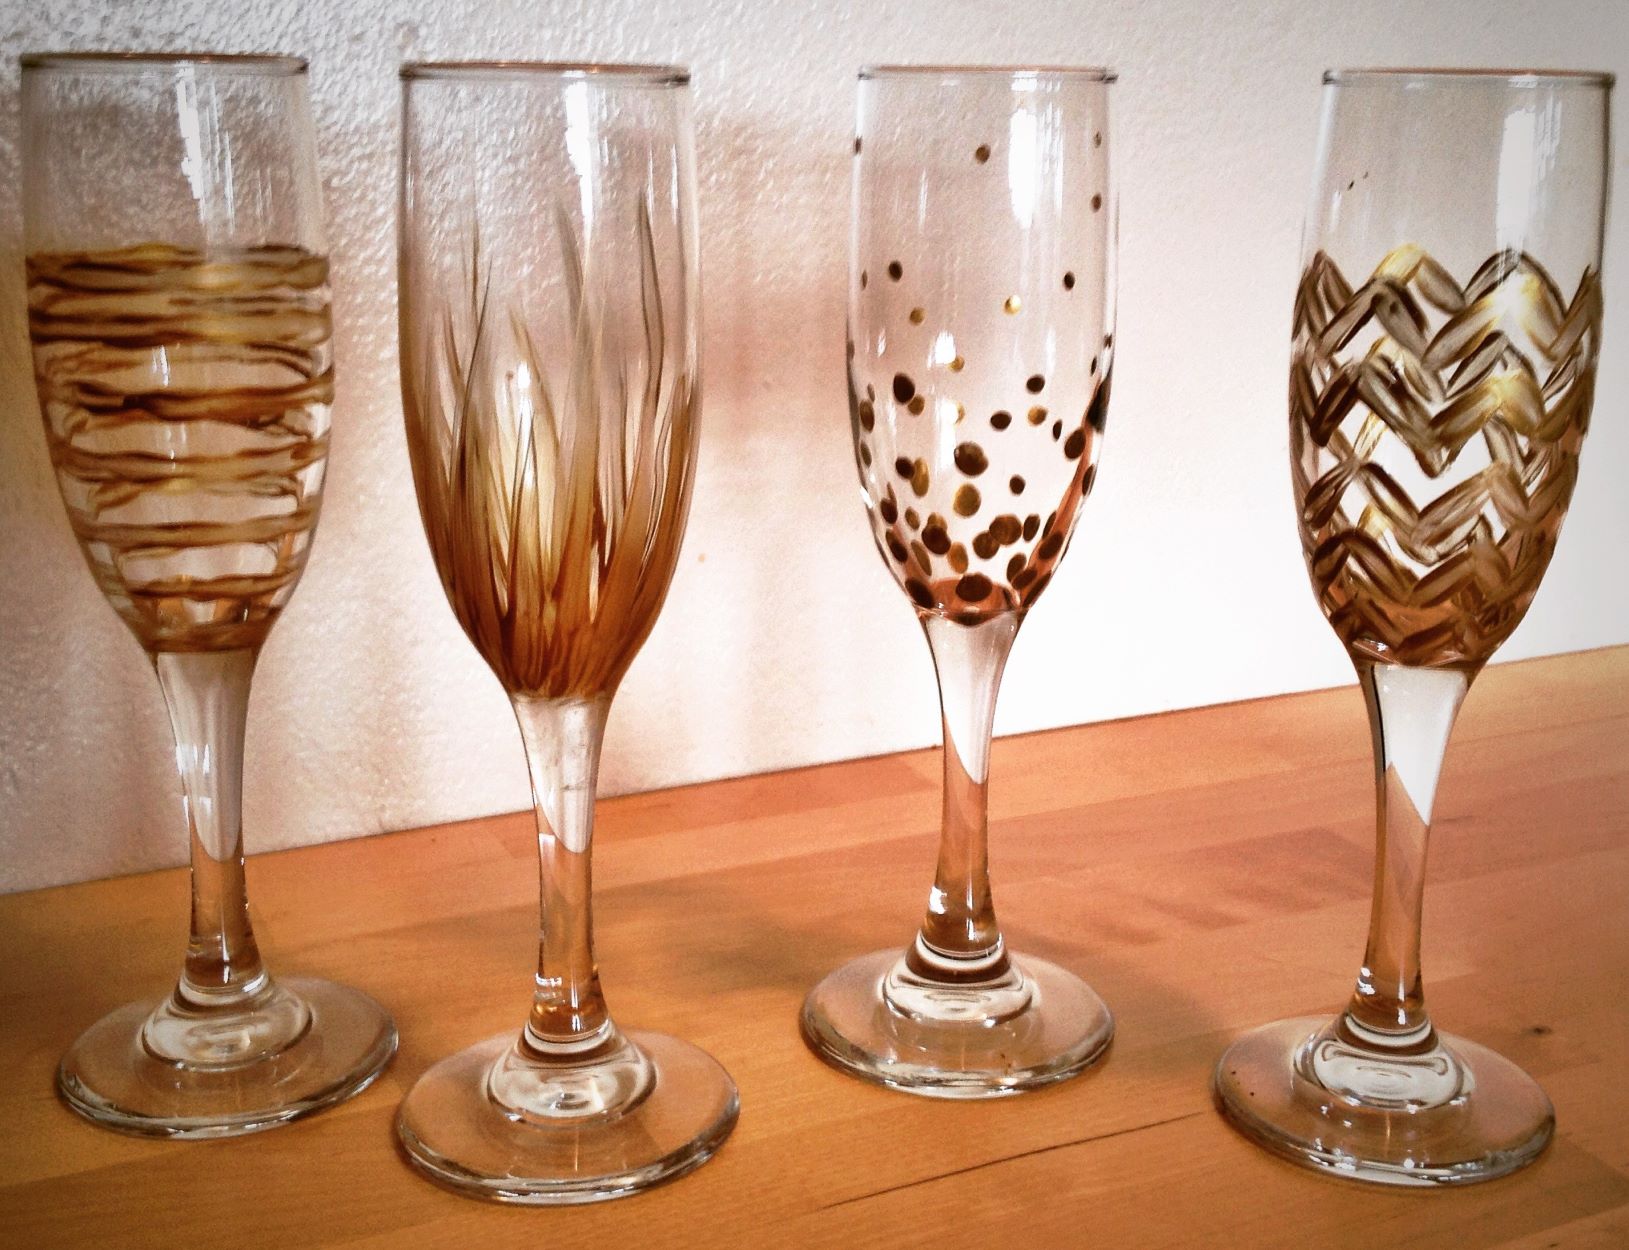
Creating Designs or Patterns
When it comes to glass vase painting, creating unique designs or patterns allows you to showcase your creativity and add a personal touch. Here are some techniques and ideas to inspire you:
- Freehand painting: If you’re confident in your artistic abilities, you can paint freehand directly onto the glass vase. Use different brush sizes to create varying strokes and details.
- Stencils and templates: Stencils and templates are a great option if you prefer precise designs or patterns. Place the stencil on the vase and secure it with masking tape. Dab or brush paint over the stencil for a clean and uniform design.
- Decoupage: Decoupage involves cutting out designs or patterns from printed materials, such as tissue paper or napkins, and adhering them to the glass vase using a decoupage glue or medium. This technique allows for intricate and detailed designs.
- Etching: For a more elegant and subtle look, consider etching the glass vase. There are etching creams and gels available that, when applied following the manufacturer’s instructions, create a frosted or etched effect on the glass surface.
- Marbling: Create a marbled effect by swirling different colors of paint together on the surface of the vase. Use a toothpick or a paintbrush to gently mix the colors and create unique patterns.
- Texture painting: Apply paint using different textures or techniques to add depth and visual interest. Use a sponge, palette knife, or even a comb to create textured effects on the glass vase.
Remember to experiment with different combinations and techniques to find the style that resonates with you. Don’t be afraid to step outside your comfort zone and try new ideas!
Once you’re satisfied with your design or pattern, it’s important to seal the paint to protect it and ensure its longevity. Read on to learn more about the final step in the glass vase painting process.
Sealing the Paint
After investing time and effort into painting your glass vase, it’s crucial to seal the paint to protect it from chipping, fading, or peeling. Sealing the paint will also provide a glossy or matte finish, depending on your preference. Follow these steps to effectively seal your painted glass vase:
- Allow the paint to fully dry: Before applying a sealant, make sure that the paint on the glass vase is completely dry. Refer to the drying time mentioned on the paint bottle to ensure that it has cured properly.
- Choose the right sealant: Consider using a spray sealant specifically designed for glass or a clear polyurethane spray. Make sure the sealant is compatible with the type of paint you used.
- Prepare your workspace: Find a well-ventilated area or work outdoors to avoid inhaling fumes. Lay down newspaper or a drop cloth to protect your work surface.
- Apply the sealant: Holding the spray can a few inches away from the vase, evenly spray a thin layer of sealant over the entire painted surface. It’s better to apply multiple thin layers rather than one heavy coat to avoid drips or uneven coverage.
- Let it dry: Allow the sealant to dry completely according to the instructions on the can. This may take a few hours, so be patient and avoid touching the vase until it is fully dry.
- Apply additional coats if desired: If you want extra protection or prefer a glossier finish, apply additional coats of sealant, allowing each layer to dry before adding the next.
Sealing the paint not only protects your design but also makes it easier to clean and maintain the glass vase in the future. It adds a protective barrier against moisture and external elements, ensuring the longevity of your artwork.
Now that your painted glass vase is sealed and ready, let’s address some common issues that may arise during the painting process and how to troubleshoot them.
Troubleshooting Common Issues
While painting glass vases can be a rewarding experience, there are a few common issues that may arise. Here are some troubleshooting tips to help you overcome these challenges:
- Uneven coverage: If you notice that the paint has not been applied evenly or there are visible streaks, try applying additional thin layers of paint. Make sure to let each layer dry before adding the next. This will help achieve a more uniform and polished look.
- Paint smudging or smearing: If you accidentally smudge or smear the paint while it’s still wet, use a cotton swab or a damp cloth to gently remove the affected area. If the paint has already dried, there is not much that can be done, so it’s important to work carefully and avoid touching the painted surface during the drying process.
- Bleeding colors: If the colors are bleeding into one another or the lines appear blurry, make sure to allow each layer of paint to dry completely before applying the next one. Use thinner layers of paint and consider using masking tape to create clean lines and prevent colors from mixing.
- Paint not adhering well: If you find that the paint is not adhering properly to the glass surface or is easily peeling off, ensure that the glass vase has been cleaned thoroughly and dried completely before painting. Additionally, make sure you’re using paint specifically designed for glass surfaces and follow the manufacturer’s instructions for application.
- Drips or runs in the paint: To avoid drips or runs in the paint, apply thin layers of paint and avoid overloading the brush. If you notice any drips or runs, quickly remove them using a clean brush or a cotton swab. For future reference, work in a well-ventilated area and try to maintain a consistent brushstroke technique.
Remember that practice makes perfect, and each painting experience will contribute to improving your skills. Don’t get discouraged by these common issues – they are part of the learning process. Trust your creativity and keep experimenting!
Now that you’re equipped to troubleshoot any common issues that may arise, let’s move on to some essential tips for caring and maintaining your painted glass vases.
Read more: What To Put In A Glass Vase
Tips for Caring and Maintaining Painted Glass Vases
After completing your painted glass vases, it’s important to follow these tips to ensure their longevity and keep them looking beautiful:
- Handle with care: Treat your painted glass vases gently and avoid banging or dropping them, as this can cause the paint to chip or crack.
- Avoid excessive water exposure: While some sealants provide water-resistant properties, it’s best to avoid submerging or excessively exposing your painted glass vases to water. Instead, gently hand wash them with mild soap and water when needed.
- Use a soft cloth for cleaning: When it’s time to clean your painted glass vase, use a soft, lint-free cloth or sponge. Avoid using abrasive materials or harsh chemicals, as they can damage the paint or the glass surface.
- Avoid direct sunlight: Prolonged exposure to direct sunlight can cause the paint to fade or discolor over time. Display your painted glass vases in areas that receive indirect sunlight or use UV-protective glass if placing them near windows.
- Store with care: If you need to store your painted glass vases, wrap them individually in soft tissue paper or bubble wrap to protect them from scratching or chipping. Store them in a cool and dry place away from potential hazards.
- Rotate your display: To ensure even wear and prevent fading in specific areas, periodically rotate the position of your painted glass vases when showcasing them in your home or workspace.
- Inspect for damage: Regularly inspect your painted glass vases for any signs of damage or wear. If you notice any chips, cracks, or peeling paint, consider touching up the affected areas or taking necessary steps to restore the vase.
By following these care and maintenance tips, your painted glass vases will continue to be a cherished part of your decor for years to come.
Now that we’ve covered the essential tips for caring and maintaining your painted glass vases, it’s time to wrap up this article with a few concluding thoughts.
Conclusion
Painting glass vases is a creative and fulfilling endeavor that allows you to add a personal touch to your home decor or create unique and thoughtful gifts for your loved ones. By following the steps outlined in this article and incorporating the tips and techniques provided, you can transform ordinary glass vases into stunning works of art.
From preparing the glass vase and choosing the right paint to applying the base coat, adding additional layers, creating designs or patterns, sealing the paint, and troubleshooting common issues, each step in the process plays a crucial role in achieving a beautiful and long-lasting result.
Remember to unleash your creativity and experiment with different techniques, whether it’s freehand painting, using stencils, decoupage, etching, or creating textured effects. The possibilities are endless, and each painted glass vase will be a unique reflection of your artistic style.
Additionally, proper care and maintenance of your painted glass vases are essential for preserving their beauty. Handle them with care, avoid excessive water exposure, clean them gently with a soft cloth, and protect them from direct sunlight and potential hazards. By doing so, you’ll ensure that your painted glass vases remain vibrant and in excellent condition for years to come.
Now that you’re equipped with the knowledge and skills to embark on your glass vase painting journey, it’s time to gather your supplies, unleash your creativity, and let your imagination soar. Whether you’re a seasoned artist or just starting out, painting glass vases is a wonderful way to express yourself and bring a touch of artistry into your space.
So, grab your paintbrushes, embrace the beauty of glass vase painting, and let your creativity shine! Happy painting!
Frequently Asked Questions about How To Paint Glass Vases
Was this page helpful?
At Storables.com, we guarantee accurate and reliable information. Our content, validated by Expert Board Contributors, is crafted following stringent Editorial Policies. We're committed to providing you with well-researched, expert-backed insights for all your informational needs.

0 thoughts on “How To Paint Glass Vases”