Articles
How To Spray Paint Glass Vases
Modified: October 19, 2024
Learn how to spray paint glass vases with our informative articles, providing step-by-step instructions and tips for achieving stunning results.
(Many of the links in this article redirect to a specific reviewed product. Your purchase of these products through affiliate links helps to generate commission for Storables.com, at no extra cost. Learn more)
Introduction
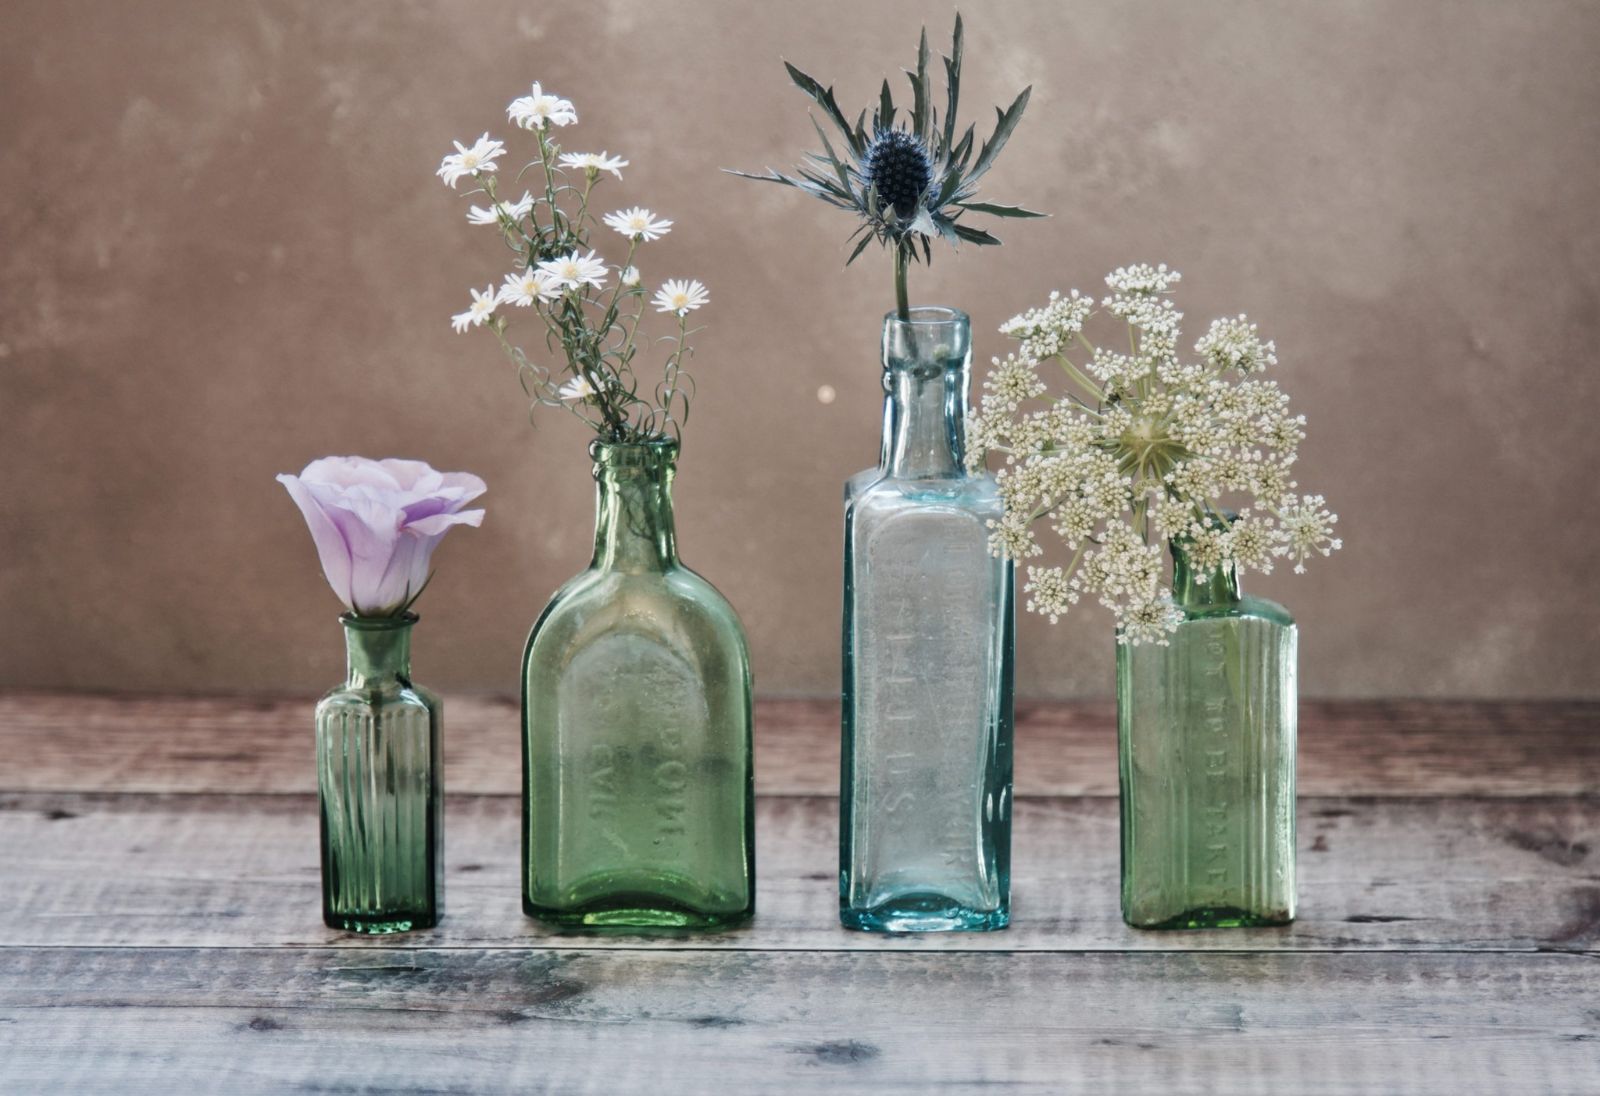
Welcome to the world of DIY crafts! If you’re looking for a fun and creative way to transform your plain glass vases into stunning pieces of art, then you’ve come to the right place. Spray painting glass vases is a simple yet impactful technique that can instantly elevate the look of any room, event, or gift. Whether you’re a seasoned artist or a beginner, this guide will walk you through the step-by-step process of achieving beautiful spray paint designs on glass vases.
With a few materials and some creativity, you can turn ordinary glass vases into eye-catching decorative objects that reflect your personal style. Whether you want to add a pop of color, create intricate designs, or mimic the look of expensive, hand-painted glass, spray painting provides endless possibilities. So, let’s gather our materials and get started on this exciting DIY project.
Key Takeaways:
- Transform plain glass vases into stunning works of art with spray paint. Choose the right materials, apply creative techniques, and seal your designs for long-lasting beauty.
- Embrace the DIY spirit and unleash your creativity by spray painting glass vases. From preparation to finishing touches, enjoy the process and showcase your unique, personalized creations.
Read more: How To Paint Glass Vases
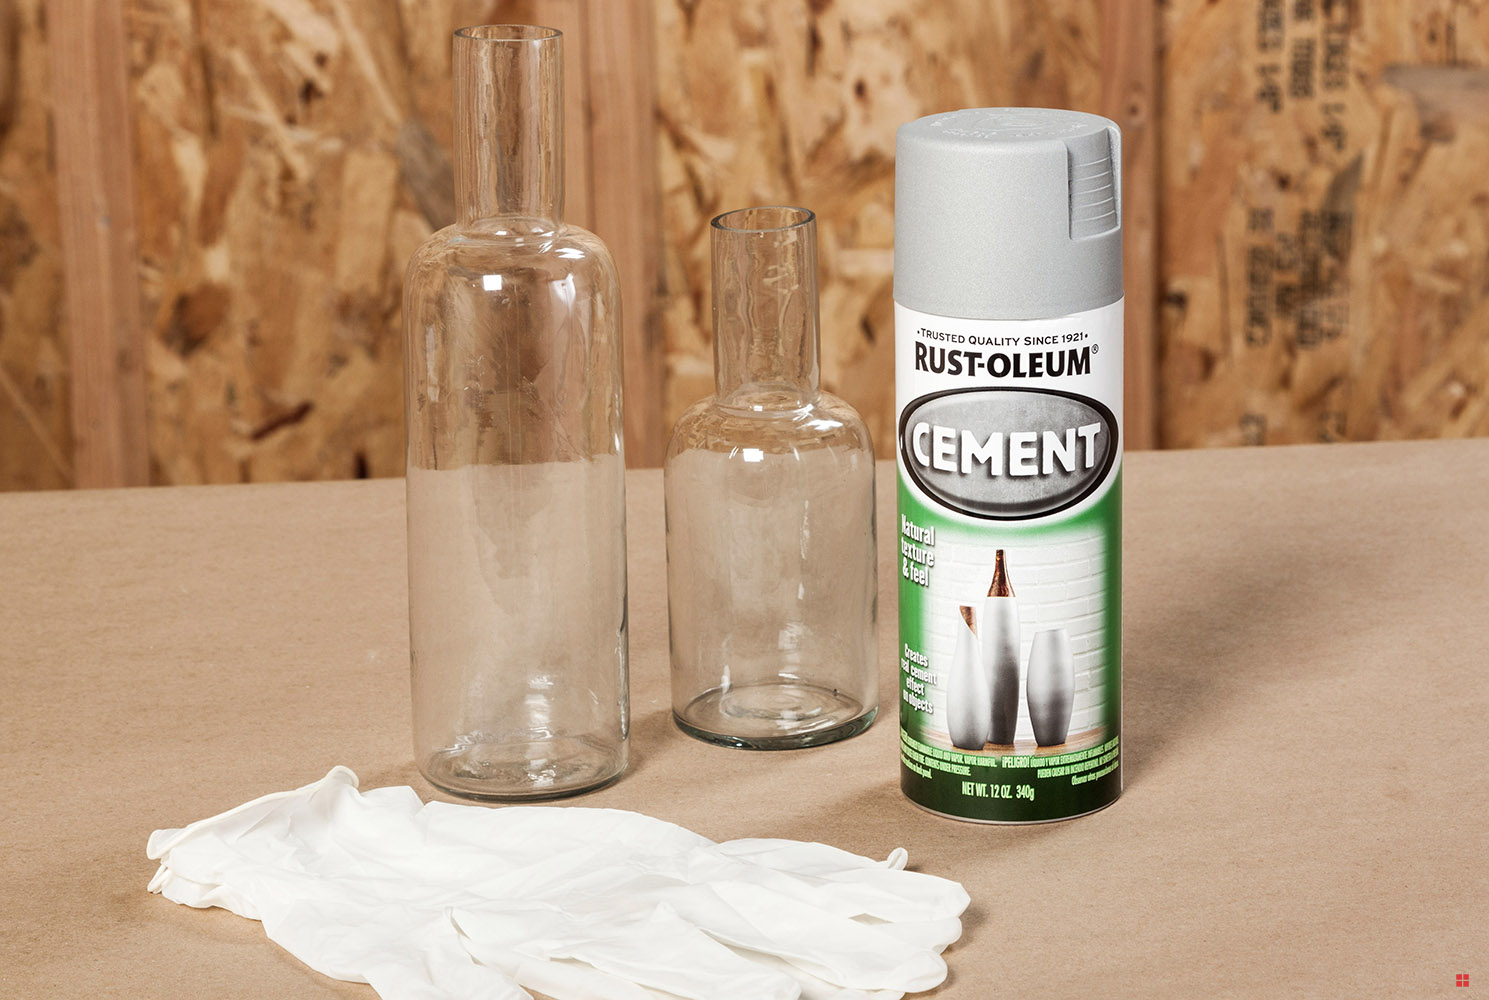
Materials and Tools Needed
Before we dive into the spray painting process, let’s gather the necessary materials and tools:
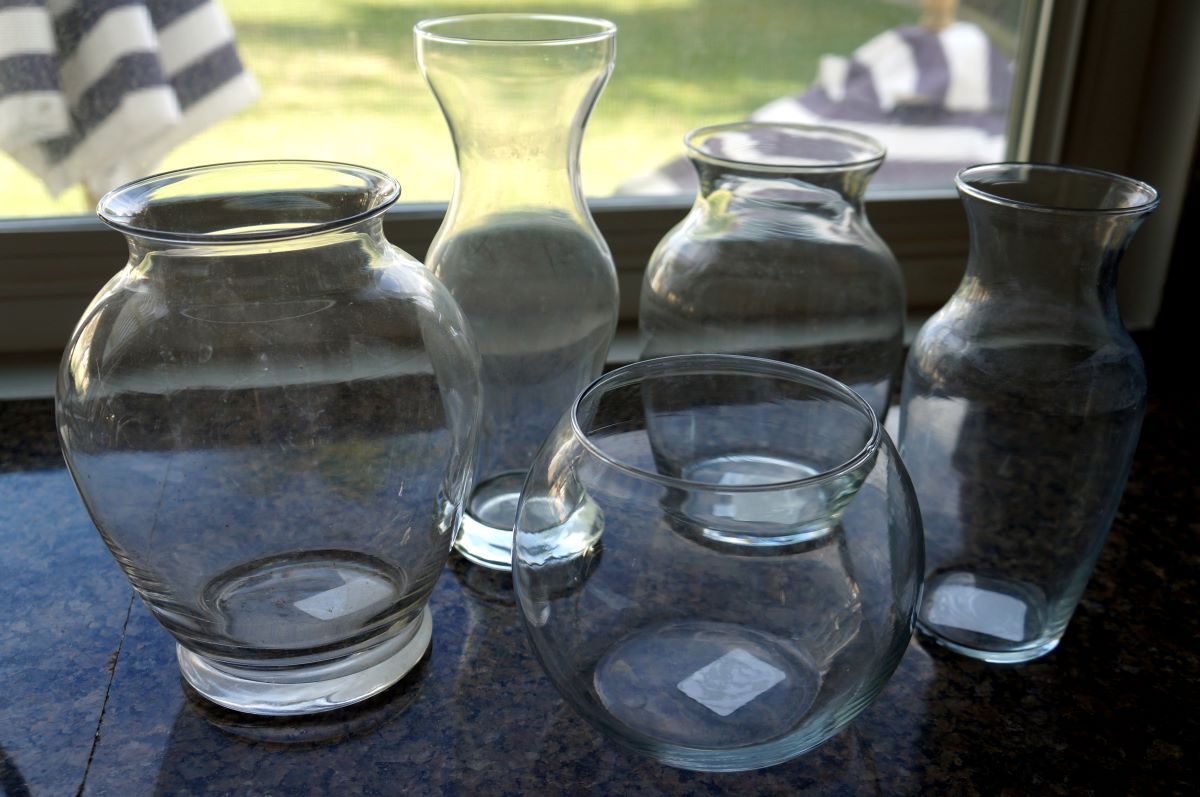
- Glass vases – Choose vases of various shapes and sizes to add visual interest to your collection
- Drop cloth or newspapers – To protect your work surface from paint splatters
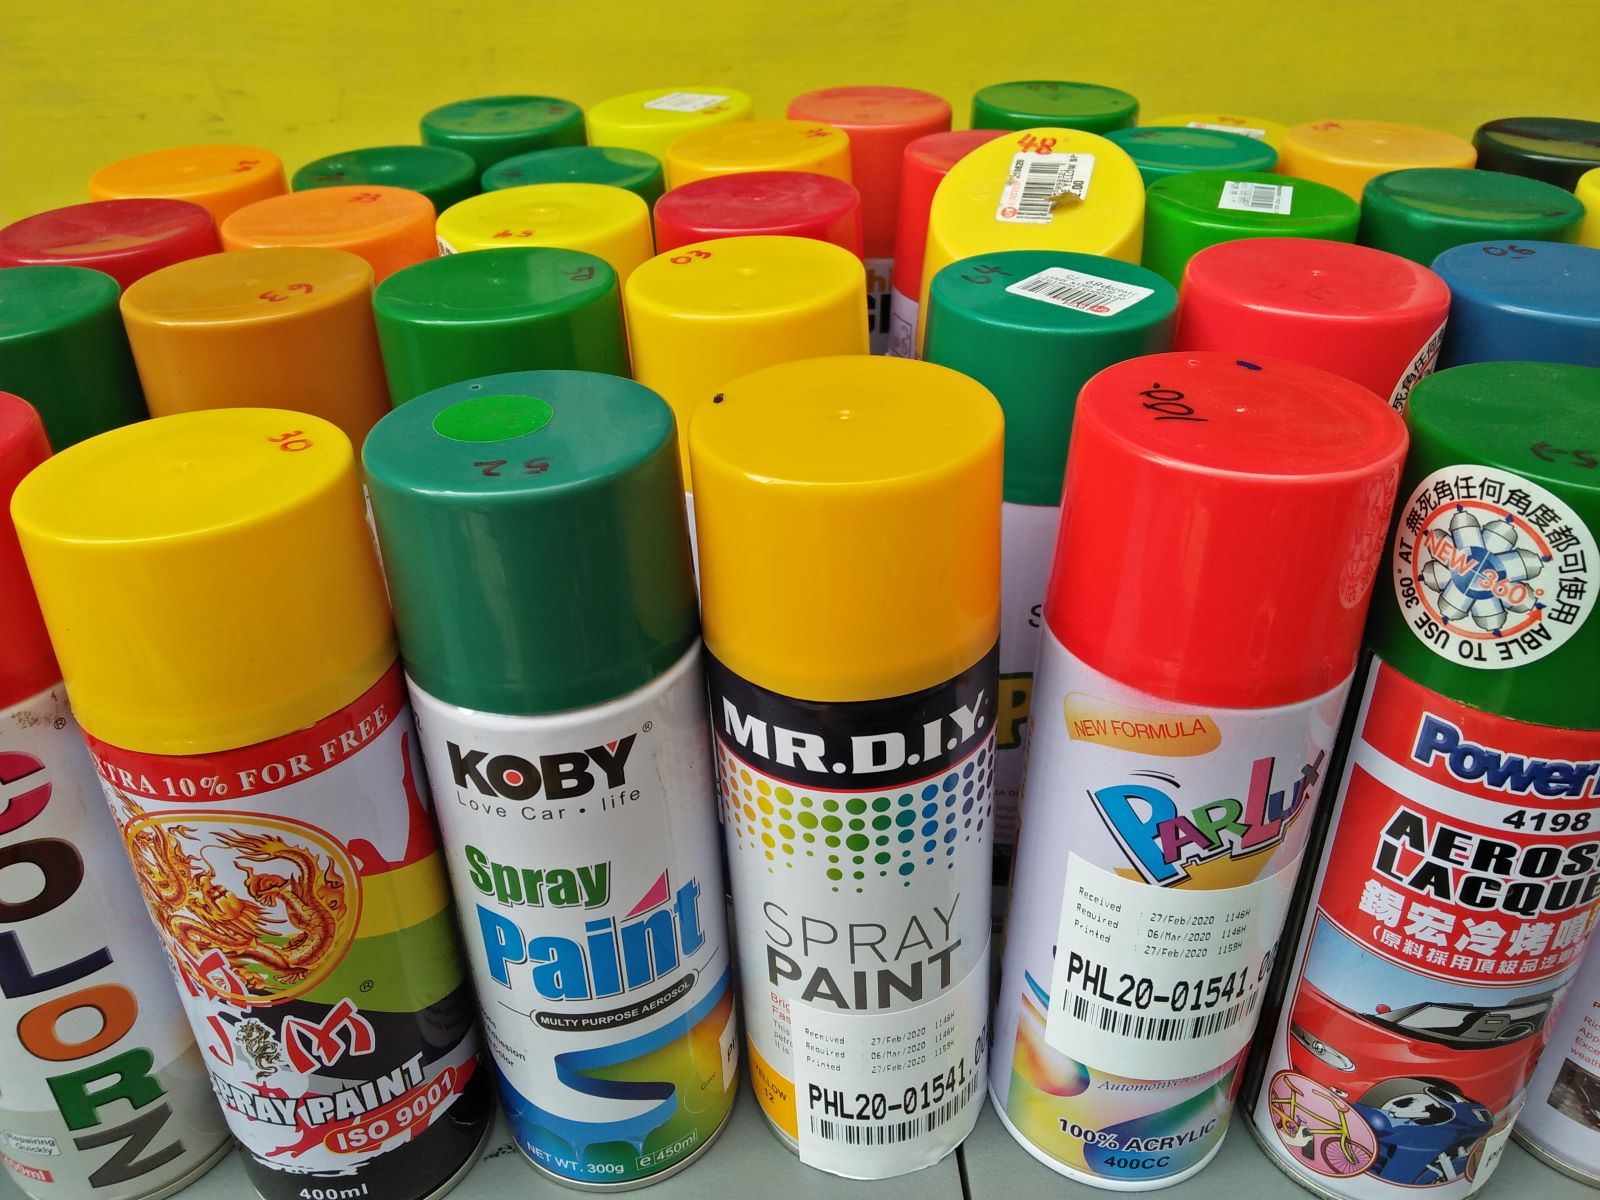
- Spray paint – Select spray paint specifically designed for glass surfaces for optimal adhesion and durability. Consider using different colors for a more dynamic look.
- Painter’s tape – Use this to create clean lines and protect areas you don’t want to paint
- Plastic gloves – To keep your hands clean and protect them from paint
- Respirator mask – It’s important to protect yourself from inhaling paint fumes
- Clean cloth or paper towels – For wiping down the vases before painting
- Painter’s sponge – Ideal for creating textures and patterns
- Sandpaper or glass etching cream – Optional, for creating a matte or frosted effect on the glass
- Sealer – A clear acrylic sealer to protect the finished paint job
Make sure to gather all of these materials before you begin the project to ensure a smooth and uninterrupted experience. Also, be sure to work in a well-ventilated area to minimize exposure to fumes.
Preparing the Glass Vases
Before applying the spray paint, it’s important to properly prepare the glass vases to ensure a smooth and long-lasting finish. Follow these steps to prepare your vases:
- Clean the vases: Use a mild detergent and warm water to clean the vases thoroughly. Remove any dirt, dust, or residue from the surface. Rinse them well and allow them to dry completely.
- Remove any stickers or labels: If there are any stickers or labels on the vases, soak them in warm soapy water to loosen the adhesive. Gently peel off the stickers and use a clean cloth or sponge to remove any remaining residue.
- Sand the surface (optional): If you want to create a matte or frosted effect on the glass, lightly sand the surface using fine-grit sandpaper. This will create a rougher surface for the paint to adhere to. Alternatively, you can use a glass etching cream following the manufacturer’s instructions.
- Protect areas you don’t want to paint: Use painter’s tape to cover any areas of the vase that you want to keep clear of paint, such as the rim or certain designs.
By properly cleaning and preparing the glass vases, you will ensure that the spray paint adheres well and results in a professional-looking finish. Take your time with this step to achieve the best results.
Choosing the Right Spray Paint
When it comes to spray painting glass vases, selecting the right spray paint is crucial for achieving the desired results. Here are some factors to consider when choosing a spray paint:
Type of paint: Look for spray paint specifically designed for glass surfaces. These paints are formulated to adhere to glass better and provide a long-lasting finish.
Finish: Consider the finish you want to achieve. Spray paints come in a variety of finishes, such as glossy, matte, metallic, or textured. Choose a finish that matches your aesthetic and complements your overall design.
Color: Select a color or a combination of colors that align with your vision. Whether you want to create a monochromatic look or go for a bold, vibrant palette, the choice of colors can dramatically impact the final result.
Brand and quality: Opt for reputable brands of spray paint known for their quality and durability. Reading reviews or seeking recommendations from fellow DIYers can help ensure you’re using a reliable product.
Compatibility: Check if the spray paint is compatible with the type of glass you’re working with. Some spray paints may work better on certain types of glass, such as smooth or textured glass. Read the product labels or consult with the store staff if you’re unsure.
Drying time: Take note of the drying time mentioned on the paint can. This information will help you plan your painting process and ensure that you give the paint enough time to dry between coats.
By considering these factors and selecting the right spray paint, you’ll set yourself up for success and achieve the desired outcome in your glass vase painting project.
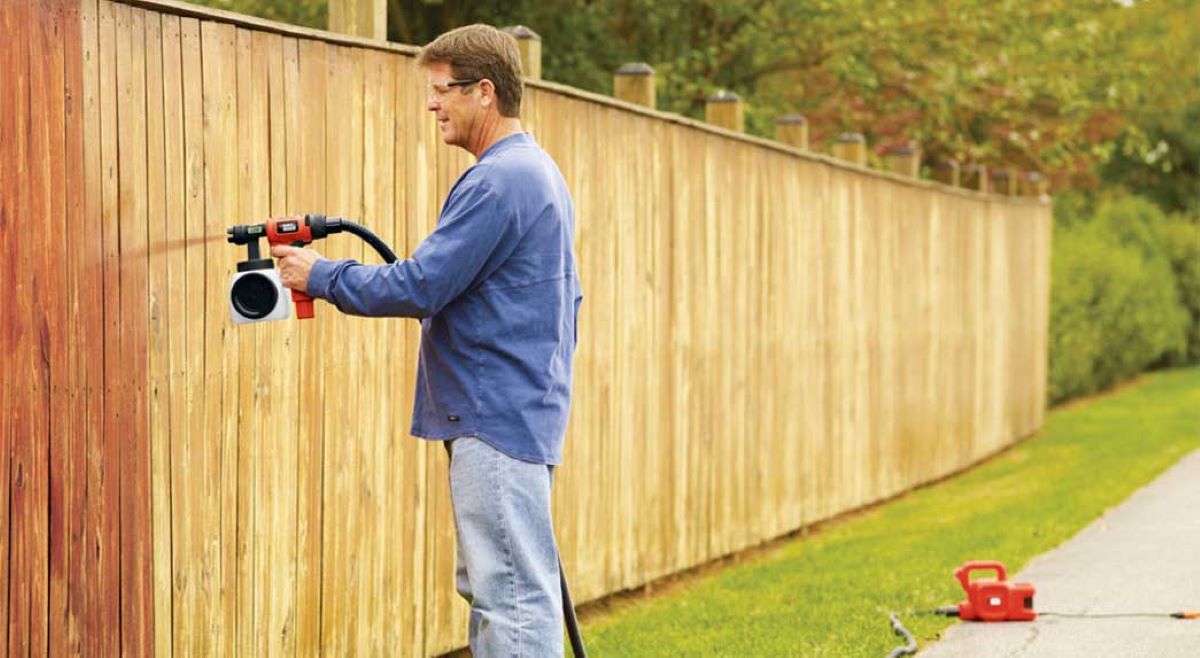
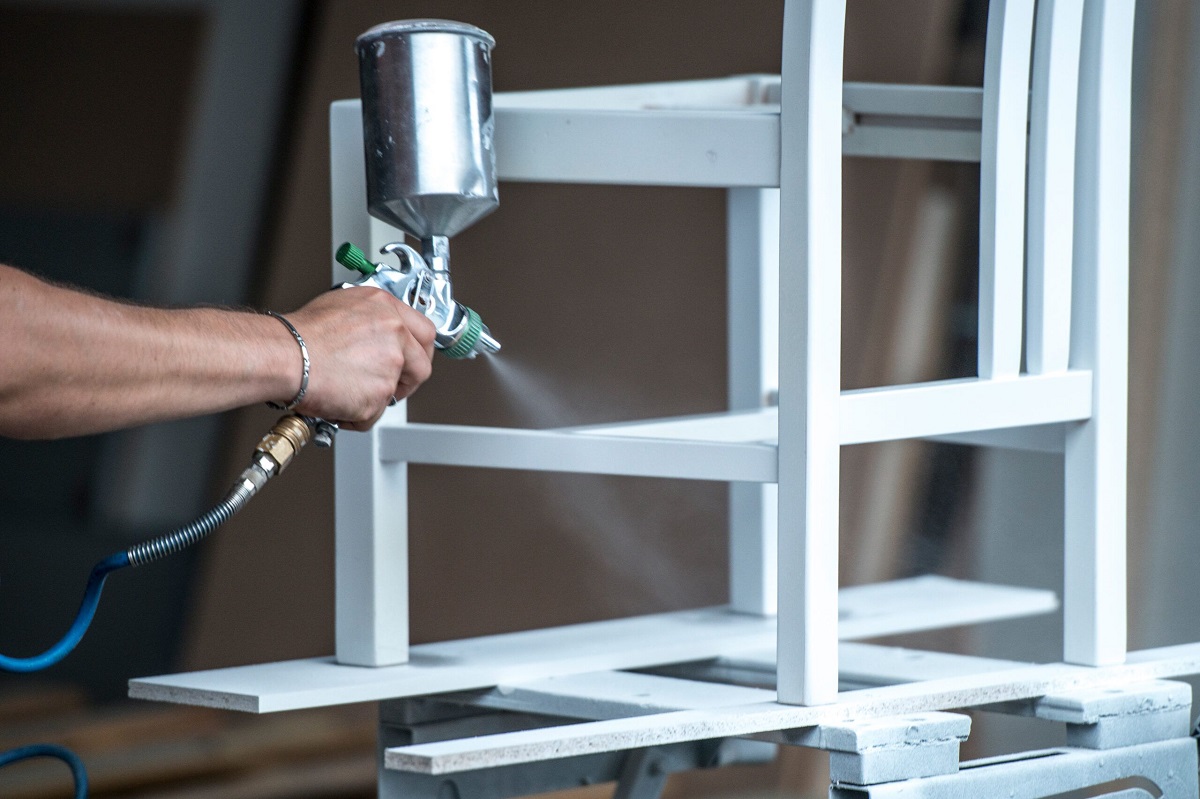
Applying the Spray Paint
Now that you’ve prepared your glass vases and chosen the right spray paint, it’s time to apply the paint. Follow these steps to achieve an even and professional-looking paint job:
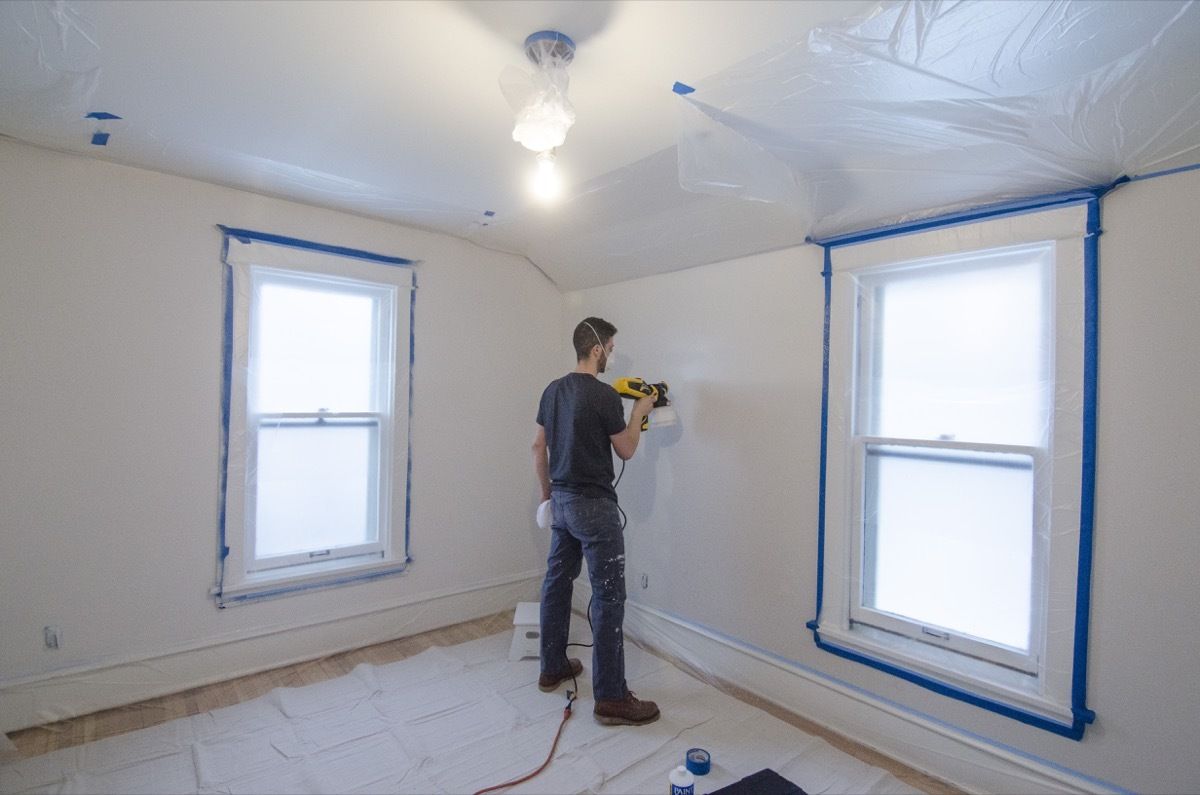
- Set up your workspace: Lay down a drop cloth or some newspapers to protect your work surface from paint overspray. Ensure that you’re working in a well-ventilated area.
- Shake the spray paint can: Give the can a good shake for about a minute to ensure the paint is properly mixed and ready for use.
- Hold the can at the recommended distance: Check the instructions on the spray paint can to determine the recommended distance to hold the can from the vases. Typically, it is around 6-8 inches away.
- Start with light coats: Begin by applying light coats of paint rather than trying to cover the vase completely in one go. This will help prevent drips and ensure even coverage. Hold the can steady and move it in a smooth, sweeping motion across the surface of the vase.
- Allow drying time: After applying each coat, allow the paint to dry according to the manufacturer’s instructions. This may take anywhere from a few minutes to an hour, depending on the paint brand and environmental conditions.
- Apply additional coats if needed: Assess the coverage after each coat has dried. If you want a more opaque or vibrant color, apply additional coats until you achieve the desired look. Remember to let each coat dry before applying the next one.
Remember to maintain consistent pressure on the spray paint can and keep your strokes even and smooth for a professional finish. Take your time and apply multiple thin coats rather than one thick coat to avoid unevenness or runs in the paint.
If you’re working with multiple vases, consider rotating them as you spray to ensure even coverage on all sides. Allow the vases to dry thoroughly before moving on to the next step.
When spray painting glass vases, make sure to clean the surface thoroughly with rubbing alcohol to remove any dirt or oils. This will help the paint adhere better and result in a smoother finish.
Read more: Why Is There A Glass Marble In Spray Paint
Creating Designs or Patterns
One of the exciting aspects of spray painting glass vases is the opportunity to get creative and add unique designs or patterns. Here are some techniques you can try to enhance the visual appeal of your vases:
- Masking with painter’s tape: Use painter’s tape to create clean lines and geometric patterns on the vases. You can create stripes, chevron patterns, or even intricate designs by carefully placing the tape on the surface of the vase before applying the spray paint. Once the paint is dry, carefully remove the tape to reveal the design.
- Stenciling: Stencils are a great tool for creating elaborate designs or adding delicate details to your vases. You can find pre-made stencils in various designs at craft stores or create your own using cardstock or stencil film. Secure the stencil firmly onto the vase and spray paint over it to transfer the design onto the glass.
- Sponging: Use a painter’s sponge to create texture and depth on the vases. Dab the sponge lightly into the paint and gently press it onto the vase’s surface. Experiment with different colors and layering techniques to achieve a unique and dimensional look.
- Marbling: Create a marbled effect by layering different colors of spray paint. Start with a base coat of paint and let it dry. Then, gently mist a contrasting color on top and immediately use a paper towel or cloth to gently blot and blend the colors together. This technique creates a beautiful marbled effect on the vases.
- Freehand painting: If you’re comfortable with painting, you can also try freehand painting directly on the vases using small brushes and acrylic paints. This allows you to create intricate designs, floral motifs, or personalized patterns.
Remember to allow each layer of paint to dry completely before proceeding with the next step. By incorporating these design techniques, you can make your glass vases truly unique and showcase your artistic flair.
Sealing and Finishing Touches
Once you’re satisfied with the spray paint design and patterns on your glass vases, it’s time to seal and add the finishing touches. Follow these steps to protect your artwork and ensure longevity:
- Allow the paint to fully cure: Before sealing the vases, make sure the spray paint has had sufficient time to cure. Refer to the paint can for the recommended drying time.
- Apply a clear sealer: To protect the paint and give it a polished look, apply a clear acrylic sealer. This will create a protective barrier against scratches and fading. Hold the can of sealer at the recommended distance and apply thin and even coats. Allow each coat to dry before applying the next.
- Inspect for any touch-ups: Once the sealer has dried, carefully inspect the vases for any areas that may need touch-ups. Use a small brush and matching paint color to fix any imperfections or uneven spots.
- Add decorative elements (optional): If desired, you can further enhance the vases by adding additional decorative elements. Decorative ribbons, beads, or charms can be attached to the neck or rim of the vases using glue or string, creating a personalized touch.
Once you’ve completed the sealing and finishing touches, your spray-painted glass vases are ready to be displayed or gifted. Remember to handle them with care to avoid chipping or scratching the paint.
By sealing your painted vases, you’ll help preserve the vibrant colors and patterns, allowing you to enjoy your beautiful creations for years to come.
Tips and Safety Precautions
As you embark on your spray painting journey with glass vases, keep in mind these helpful tips and safety precautions:
- Protect your workspace: Before you begin, ensure your work area is well-ventilated and protected. Lay down a drop cloth or newspapers to prevent paint splatters on your surfaces.
- Read the instructions: Familiarize yourself with the instructions provided on the spray paint cans. Follow the recommended drying times, distance to hold the can, and any other guidelines specific to the brand and type of paint you’re using.
- Wear protective gear: It’s important to protect yourself while spray painting. Wear plastic gloves, a respirator mask, and eye protection to shield yourself from fumes and paint particles.
- Test on a small area: Before painting the entire vase, test the spray paint on a small, inconspicuous area. This will help you determine if the color, finish, and adhesion are satisfactory before proceeding.
- Work in layers: Apply several thin coats of paint rather than one thick coat. This will promote even coverage and minimize the risk of drips or clumps of paint.
- Practice proper technique: Hold the spray paint can at the recommended distance and move it in smooth, fluid motions for an even application. Avoid spraying too close or too far from the vase to achieve the best results.
- Avoid over-spraying: Be mindful of how much paint you’re applying. Over-spraying can lead to a runny or uneven finish. Aim for even and consistent coverage without saturating the glass.
- Clean up properly: After finishing with the spray paint, clean the nozzle of the can to prevent clogging. Follow the instructions on the can for proper cleaning and storage.
- Dispose of empty cans responsibly: Once you’ve used up the spray paint cans, dispose of them properly according to local regulations. Empty cans can often be recycled, so check with your local recycling facility.
By following these tips and safety precautions, you’ll have a smooth and enjoyable spray painting experience while maintaining your safety and achieving professional-looking results.
Conclusion
Congratulations! You have successfully learned how to spray paint glass vases and transform them into beautiful works of art. By following the steps outlined in this guide, you’ve gained the knowledge and skills to create stunning designs, add color and texture, and personalize your glass vases with ease.
Remember, preparation is key. Take the time to clean and prepare your glass vases before applying the spray paint. Choose the right spray paint, considering factors like finish, color, and brand. Apply the paint in thin, even coats, allowing each layer to dry before proceeding with the next. Get creative and experiment with various techniques, such as masking, stenciling, sponging, marbling, or freehand painting, to achieve unique designs and patterns.
Don’t forget the importance of sealing your painted vases with a clear acrylic sealer to protect the paint and enhance its durability. And finally, practice safety precautions by wearing protective gear and working in a well-ventilated area.
Now, it’s time to showcase your newly spray-painted glass vases. Display them in your home, use them as centerpieces for special occasions, or gift them to loved ones. The possibilities are endless, and your creativity knows no bounds.
Enjoy the process of bringing new life to your glass vases through spray painting and let your imagination run wild. Be proud of your artistic endeavors, and remember that with practice, your skills will continue to develop and improve.
Happy spray painting!
Frequently Asked Questions about How To Spray Paint Glass Vases
Was this page helpful?
At Storables.com, we guarantee accurate and reliable information. Our content, validated by Expert Board Contributors, is crafted following stringent Editorial Policies. We're committed to providing you with well-researched, expert-backed insights for all your informational needs.


0 thoughts on “How To Spray Paint Glass Vases”