Articles
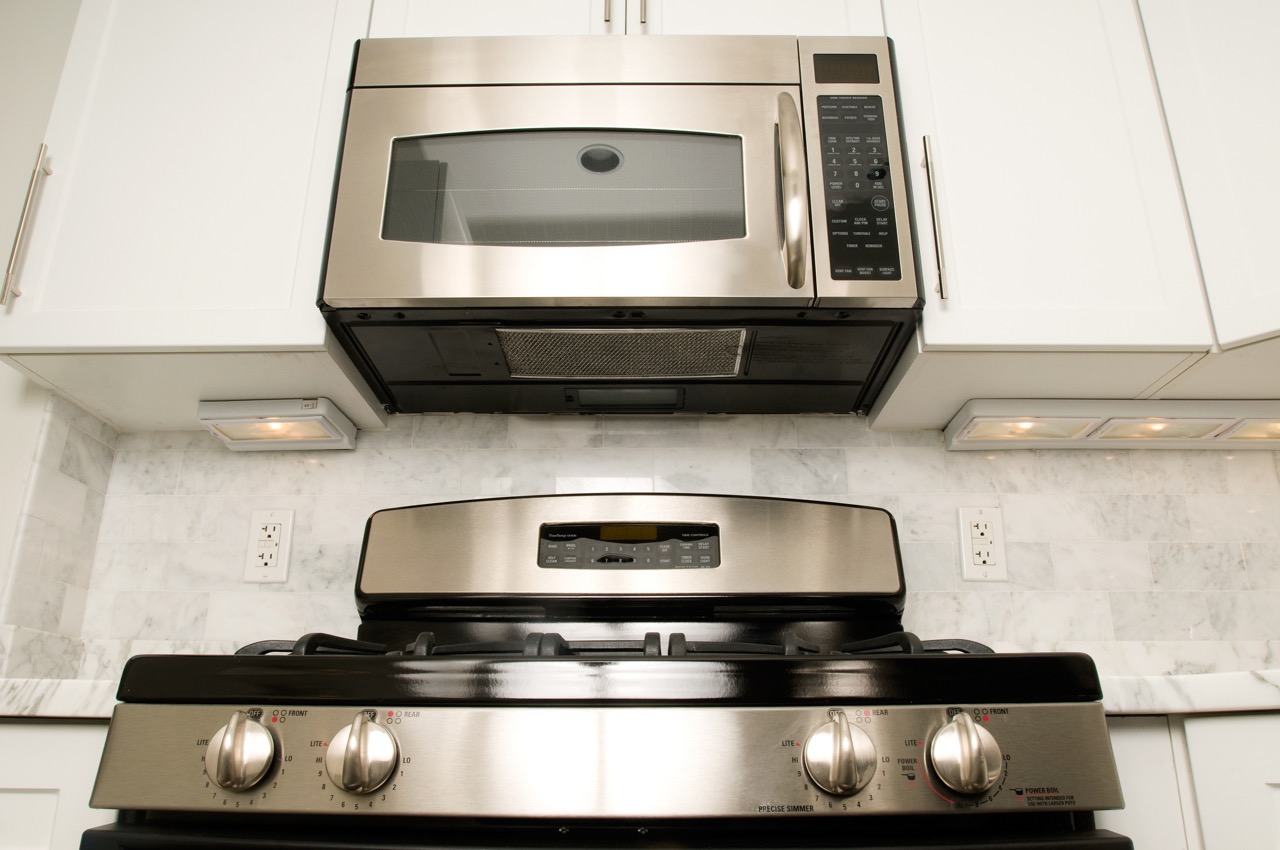
How To Remove A Built-In Microwave Oven
Modified: August 20, 2024
Learn how to remove a built-in microwave oven easily and safely with our comprehensive articles. Whether you're a homeowner or professional, our step-by-step guides will make the process a breeze.
(Many of the links in this article redirect to a specific reviewed product. Your purchase of these products through affiliate links helps to generate commission for Storables.com, at no extra cost. Learn more)
Introduction
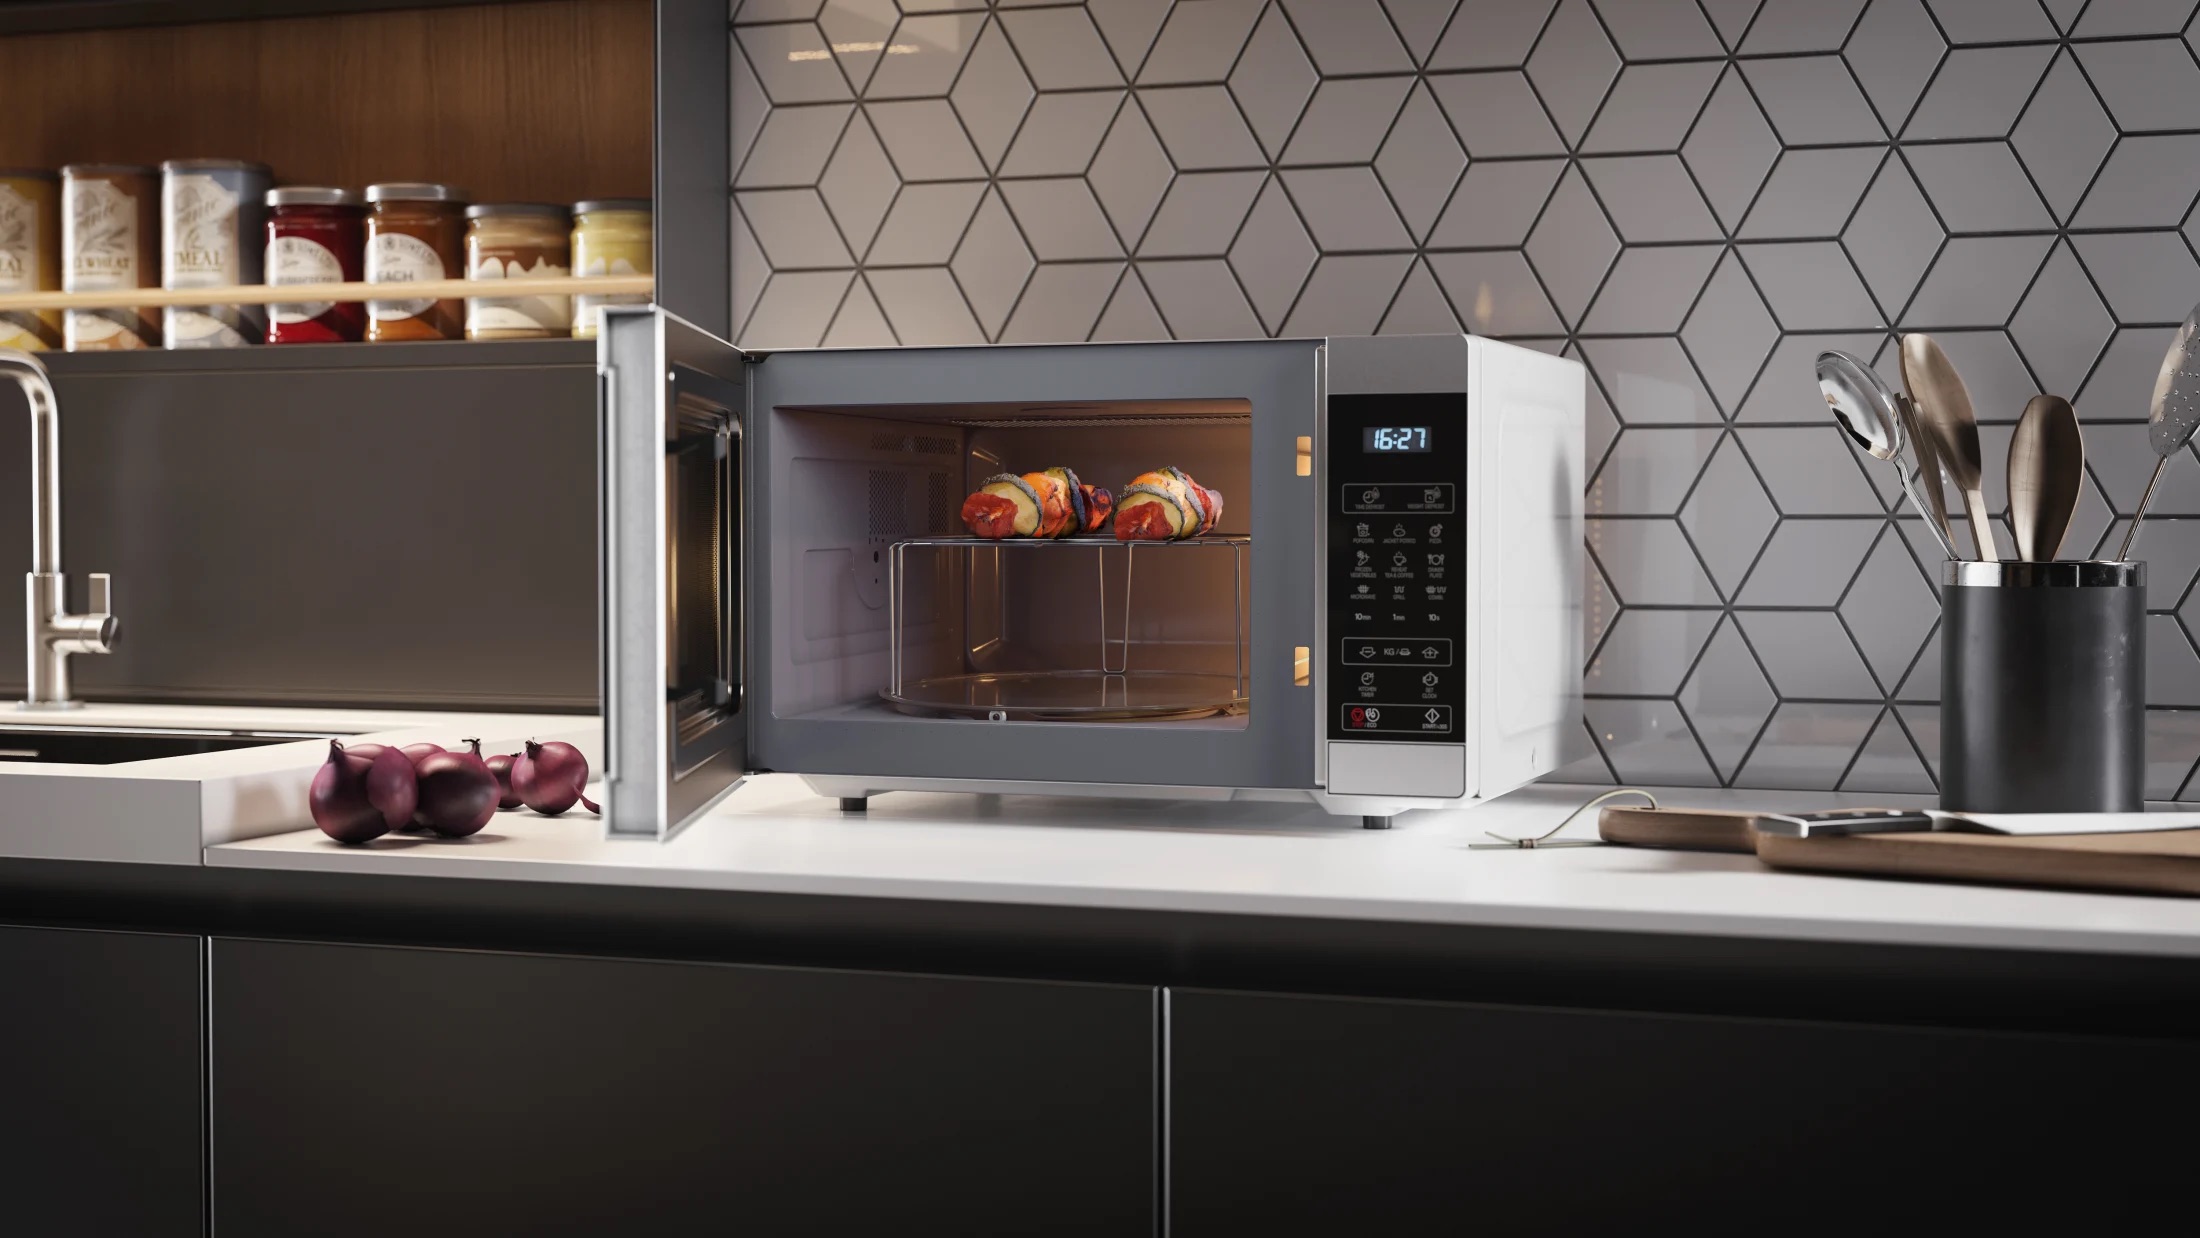
Installing a built-in microwave oven can provide a sleek and modern look to your kitchen while saving valuable countertop space. However, there may come a time when you need to remove the built-in microwave, whether due to upgrading to a new appliance or renovating your kitchen. While the task may seem daunting at first, with the right tools and knowledge, you can easily remove a built-in microwave oven yourself.
In this step-by-step guide, we will walk you through the process of removing a built-in microwave oven safely and efficiently. Whether you are a DIY enthusiast or just looking to save some money on hiring a professional, this guide will provide you with all the information you need.
Before we delve into the details, it is essential to note that built-in microwave ovens can vary in design and installation method. The steps outlined in this guide are general and may not apply to every model. It is always best to consult the manufacturer’s instructions specific to your appliance before proceeding.
Now that we have set the context, let’s jump into the first step: gathering the necessary tools and materials.
Key Takeaways:
- Removing a built-in microwave oven requires gathering the right tools, disconnecting power, and following a step-by-step process. Whether installing a new appliance or covering the opening, safety and thorough preparation are key.
- By carefully disconnecting electrical and venting connections and safely removing the microwave, you can create a fresh and functional kitchen space. Following manufacturer’s instructions and taking necessary precautions are essential for a successful removal.
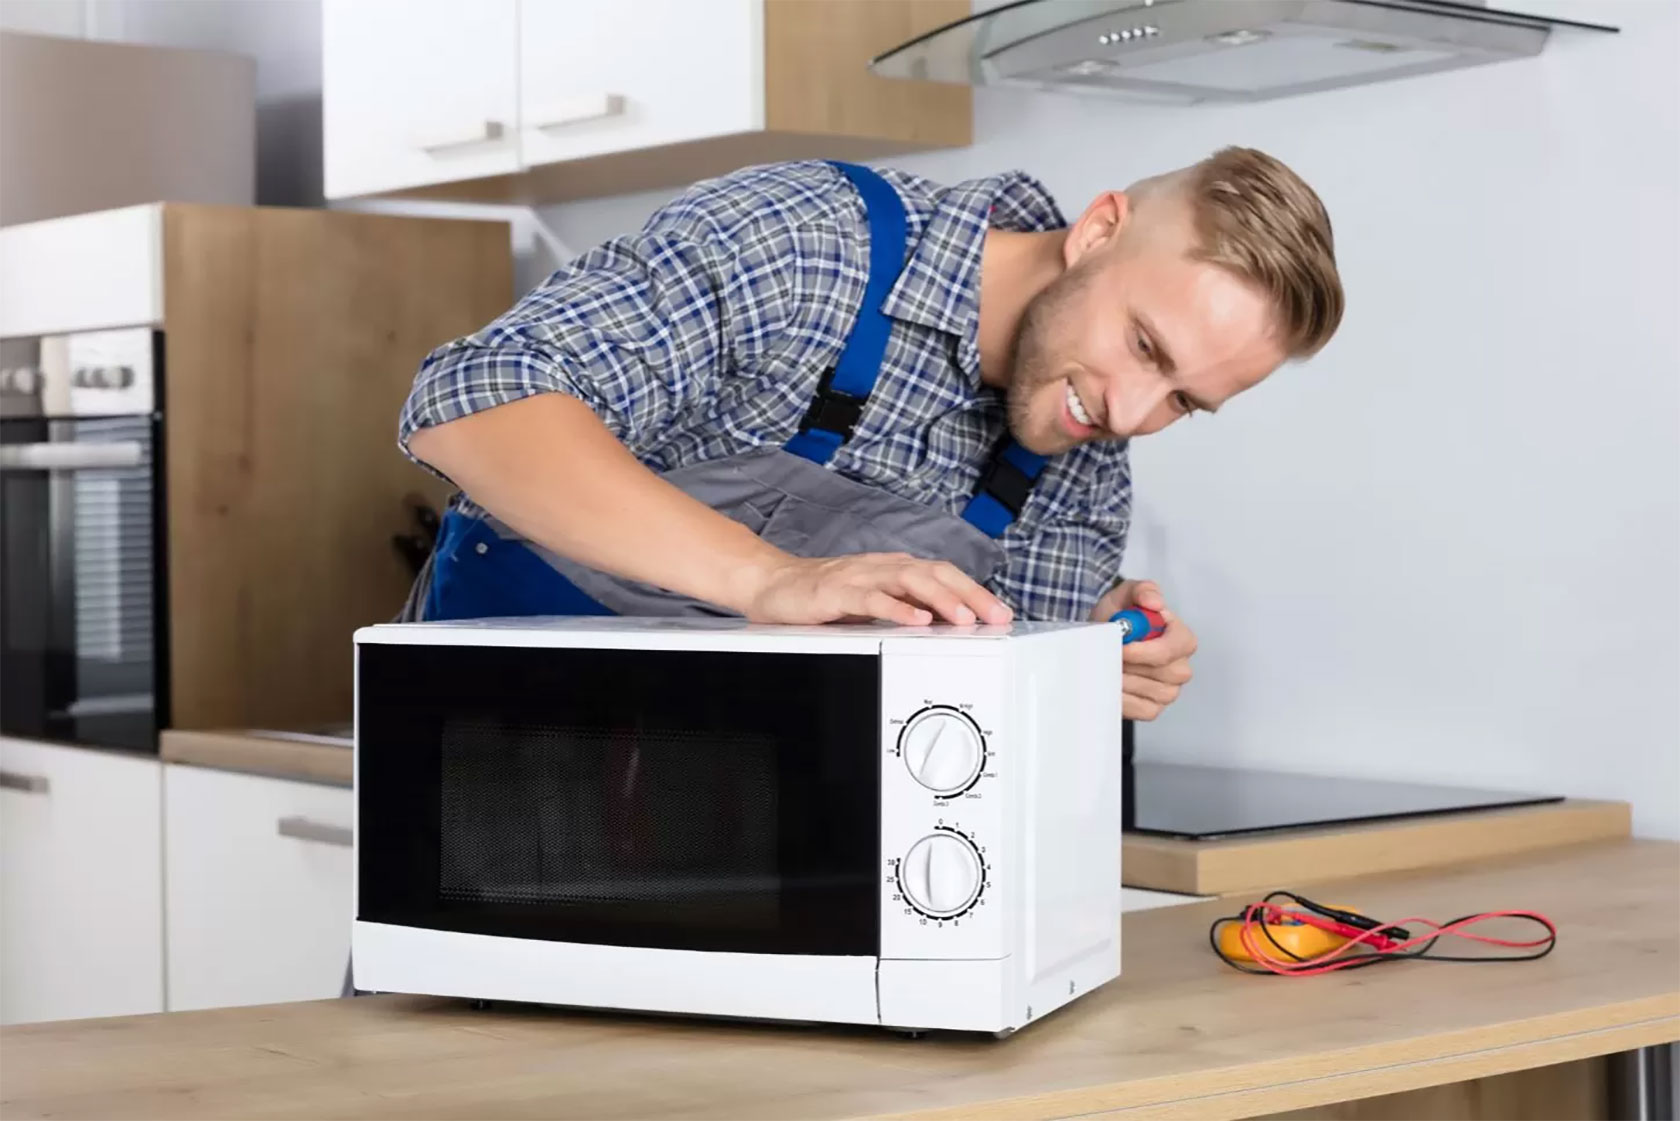
Step 1: Gather the necessary tools and materials
Before you begin the process of removing a built-in microwave oven, it is crucial to gather all the necessary tools and materials. Having everything on hand will save you time and prevent any unnecessary interruptions during the removal process. Here’s a list of the items you will need:
1. Screwdriver – Depending on the type of screws used to secure the microwave, you may need a Phillips or flat-head screwdriver. It’s a good idea to have both on hand to be prepared for any screw type.
2. Pliers – Pliers will come in handy for disconnecting electrical wires or removing any wire connectors that may be holding the microwave in place.
3. Utility knife – You may need a utility knife to loosen or cut any adhesive or caulking around the microwave. This will help free the unit from its location.
4. Electrical tape – Electrical tape is essential for securing any exposed electrical wires after disconnecting them from the microwave.
5. Step stool or ladder – Depending on the height of your microwave, you may need a step stool or ladder to safely reach and work around it. Ensure that the stool or ladder is in proper working condition and stable before use.
6. Drop cloth or protective covering – It’s always a good idea to use a drop cloth or protective covering to cover the area beneath the microwave. This will help prevent any damage to the floor or surrounding surfaces during the removal process.
7. Safety gloves and goggles – Safety should always be a priority when handling any electrical appliances. Wear safety gloves and goggles to protect your hands and eyes from any potential hazards.
By gathering these tools and materials beforehand, you will be well-prepared and efficient in removing the built-in microwave oven. Now that you have everything ready, it’s time to move on to the next step: disconnecting the power supply.
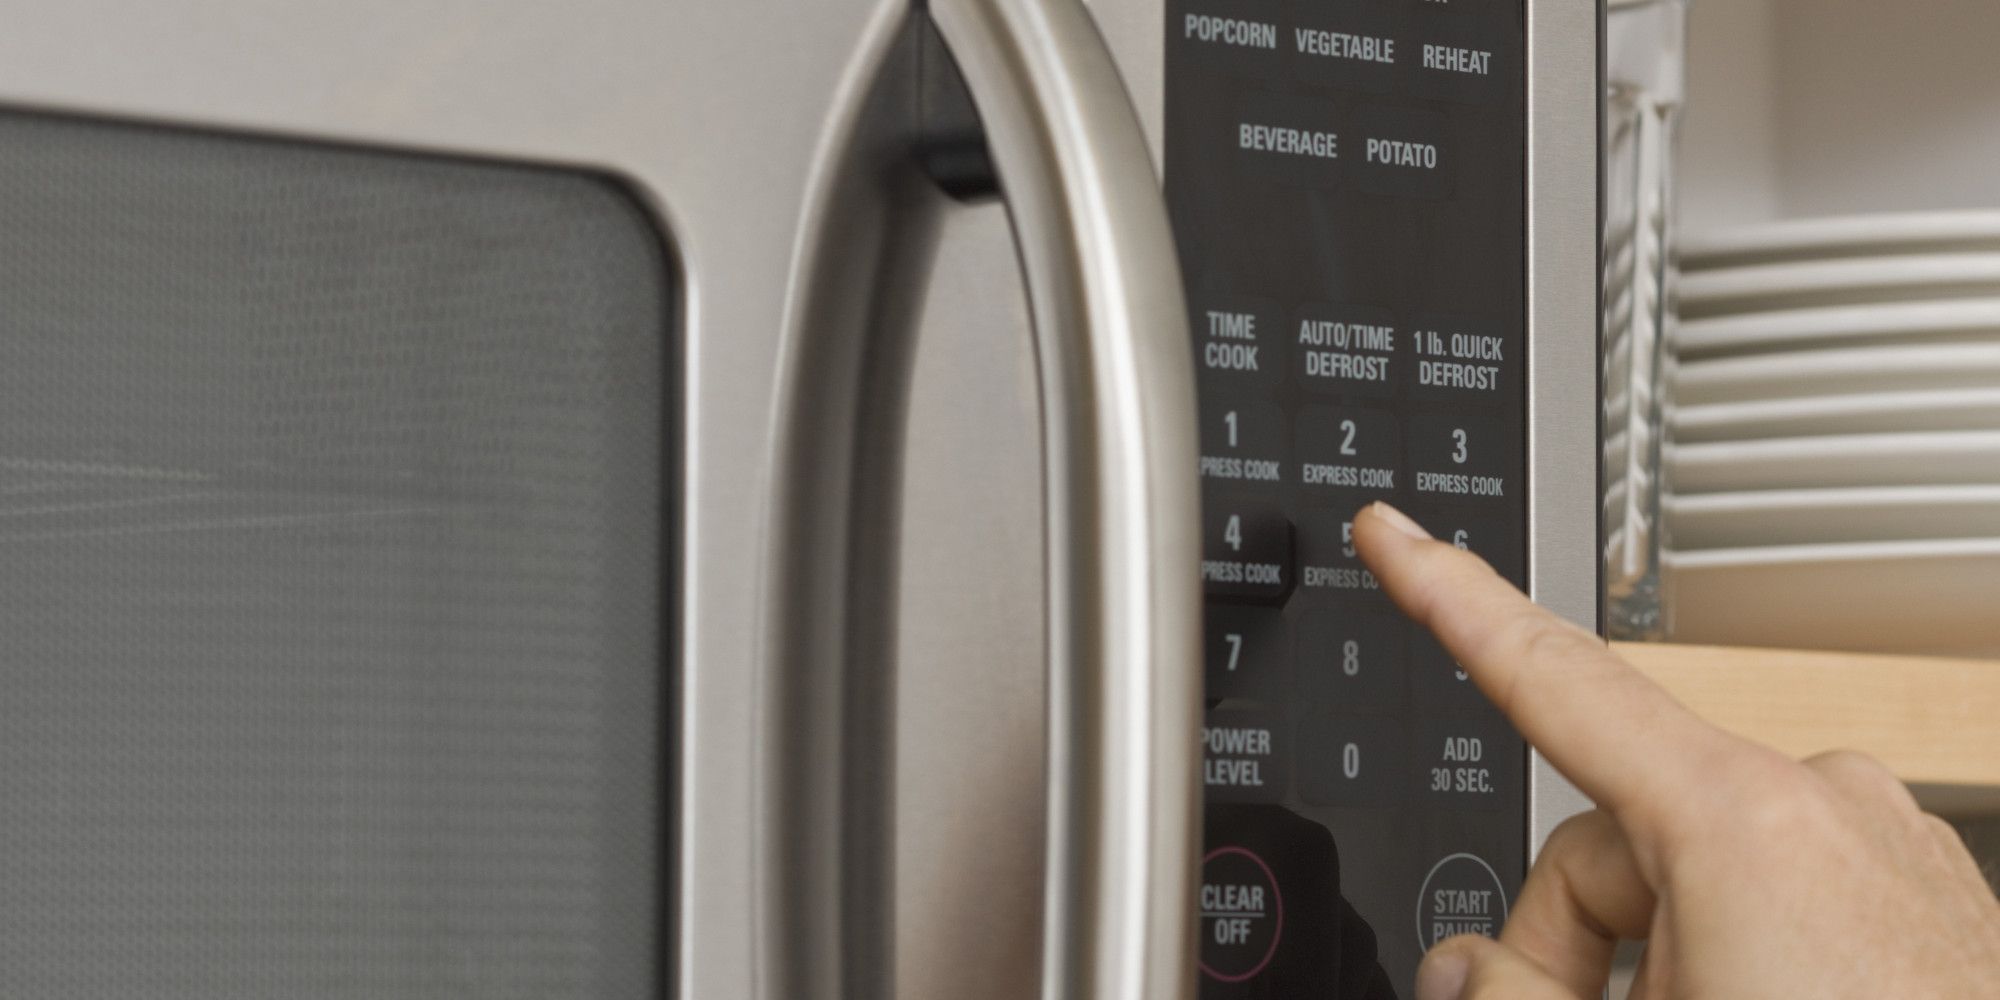
Step 2: Disconnect the power supply
Before you can safely remove the built-in microwave oven, it is crucial to disconnect the power supply to eliminate any risk of electrical shock. Follow these steps to ensure a safe disconnection:
1. Locate the circuit breaker or fuse box: The circuit breaker or fuse box is usually located in the basement, utility room, or garage. Find the circuit breaker or fuse that controls the power to the microwave and switch it off.
2. Test the power: Even after switching off the circuit breaker, it’s essential to test that the power is indeed disconnected. Attempt to turn on the microwave to verify that it doesn’t power up.
3. Unplug the microwave: Remove the plug from the electrical outlet that the microwave is connected to. This step ensures that there is no residual power flowing to the appliance.
4. Secure the plug: After unplugging the microwave, secure the plug with electrical tape or use a twist tie to prevent it from accidentally being plugged back in.
By following these steps, you can be confident that the power to the built-in microwave oven has been fully disconnected, minimizing any electrical hazards during the removal process. Remember to exercise caution and double-check that the power is off before proceeding to the next step.
Next, we will explore how to remove the trim kit (if applicable) in Step 3.
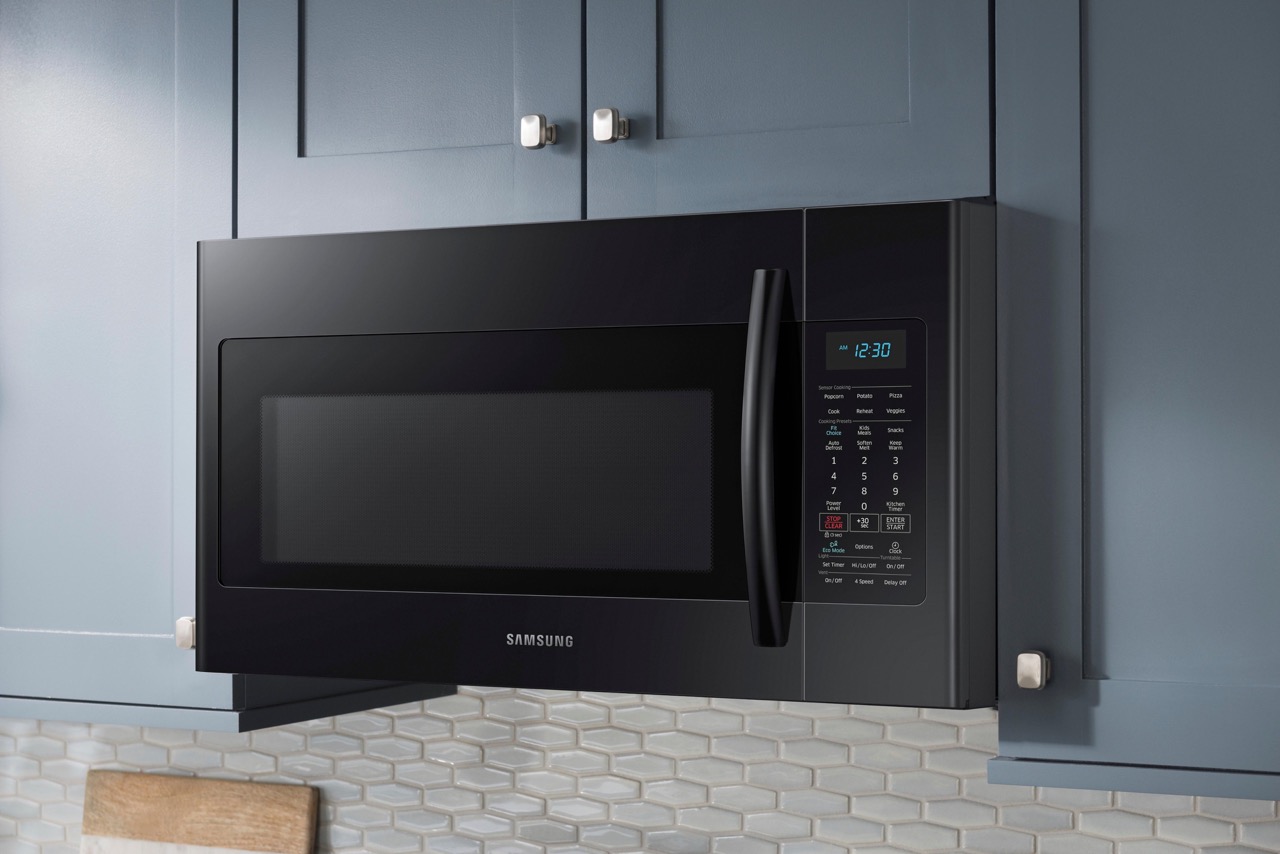
Step 3: Remove the trim kit (if applicable)
Some built-in microwave ovens are installed with a trim kit, which is a decorative frame that surrounds the microwave and provides a seamless integration with the surrounding cabinetry. If your microwave has a trim kit, follow these steps to remove it:
1. Examine the trim kit: Take a close look at the trim kit to identify how it is attached to the microwave. Most trim kits have screws or clips that secure them in place.
2. Remove the screws: If your trim kit is secured with screws, use a screwdriver to carefully remove them. Keep the screws in a safe place as you may need them to reattach the trim kit later, depending on your plans.
3. Release the clips: If your trim kit is held in place by clips, gently pry the edges of the trim kit away from the microwave to release the clips. Use a flat-head screwdriver or a putty knife for this purpose. Be cautious not to damage the surrounding cabinetry.
4. Lift and remove the trim kit: Once all the screws or clips are released, lift the trim kit away from the microwave. Set it aside in a safe location if you plan to reuse it.
Keep in mind that not all built-in microwave ovens come with a trim kit. If your microwave is directly installed without a trim kit, you can skip this step and proceed to the next one.
Now that the trim kit, if applicable, has been removed, we can move on to Step 4: Unscrew and remove the mounting bracket.
Step 4: Unscrew and remove the mounting bracket
The mounting bracket is what secures the built-in microwave oven to the wall or cabinetry. Before you can remove the microwave, you will need to detach and remove the mounting bracket. Follow these steps:
1. Locate the mounting screws: Look for the screws that hold the microwave’s mounting bracket in place. These screws are typically located at the top of the microwave, near the front or back, and may be visible or hidden behind a decorative panel.
2. Unscrew the mounting screws: Use a screwdriver to loosen and remove the mounting screws. Depending on your specific microwave model, there may be two or more screws to be removed. Set the screws aside in a safe place, as you may need them later.
3. Disconnect the bracket from the wall or cabinetry: Once the screws are removed, carefully detach the mounting bracket from the wall or cabinetry. Be cautious as the bracket may still be holding the microwave’s weight.
4. Remove the mounting bracket: Lift the mounting bracket away from the wall or cabinetry and set it aside. Ensure you have a secure location to store the bracket until you are ready to reinstall it or dispose of it if not needed.
With the mounting bracket removed, you are one step closer to removing the built-in microwave oven. In the next step, Step 5, we will guide you through detaching the microwave from the wall.
Step 5: Detach the microwave from the wall
With the mounting bracket removed, it’s time to detach the built-in microwave oven from the wall or cabinetry. Follow these steps to safely disconnect the microwave:
1. Enlist assistance if needed: Built-in microwave ovens can be heavy and awkward to handle, especially when removing them from the wall. If your microwave is large or particularly heavy, it’s best to have someone assist you to avoid any accidents or strain on your back.
2. Slide the microwave forward: Carefully slide the microwave forward towards the front of the mounting plate. Be cautious not to tilt or twist the microwave excessively, as this can damage the vents or electrical components.
3. Support the microwave as you slide it out: As the microwave extends forward, use your other hand to support its weight. This will help prevent it from falling or tipping over during the removal process.
4. Clear any obstacles: Take note of any obstacles that may obstruct the microwave’s movement, such as electrical wires or venting ducts. Carefully navigate around these obstacles to ensure a smooth removal.
5. Set the microwave down securely: Once the microwave is fully slid forward and clear of the mounting plate, carefully set it down on a stable surface. Avoid placing it on any fragile or easily damaged objects.
By following these steps, you can safely detach the built-in microwave oven from the wall or cabinetry. Now that the microwave is free from its mounting, let’s move on to the next step: disconnecting the electrical and venting connections.
Before attempting to remove a built-in microwave oven, always make sure to disconnect the power supply to avoid any electrical hazards. This can be done by either unplugging the unit or turning off the circuit breaker.
Step 6: Disconnect the electrical and venting connections
To completely remove the built-in microwave oven, you need to disconnect the electrical and venting connections. Follow these steps to ensure a proper disconnection:
1. Locate the electrical and venting connections: Look for the electrical cord and the venting ducts or pipes connected to the back of the microwave. These connections may be visible at the top, sides, or back of the appliance.
2. Unplug the electrical cord: Firmly grasp the plug and gently pull it out of the outlet. Avoid yanking on the cord to prevent any damage. If the cord is secured with clips or ties, release them before pulling out the plug.
3. Disconnect the venting ducts or pipes: If your microwave is vented externally, it will have venting ducts or pipes connected to it. Depending on the installation, these connections may be secured with screws or clamps. Use a screwdriver or pliers to loosen and remove any fasteners holding the venting connections in place. Carefully pull the venting ducts or pipes away from the microwave.
4. Bundle and secure loose wires: After disconnecting the electrical cord, you may find loose wires behind the microwave. Use electrical tape or wire ties to bundle and secure these wires, preventing them from dangling or getting in the way during the removal process.
5. Inspect the connections: Take a moment to inspect the electrical and venting connections to ensure they are properly disconnected. Double-check that there are no loose wires or venting components still attached to the microwave.
By following these steps, you can safely disconnect the electrical and venting connections of the built-in microwave oven. Next, let’s move on to Step 7, where we will guide you on how to remove the microwave from its location.
Step 7: Remove the microwave from its location
Now that you have disconnected the electrical and venting connections, it’s time to remove the built-in microwave oven from its location. Follow these steps to safely and effectively remove the microwave:
1. Lift the microwave: Carefully lift the microwave from its current position, using your legs and not your back, to avoid any strain or injury. Ensure you have a secure grip on the appliance to prevent it from slipping or falling.
2. Clear any obstacles: Take note of any obstacles around the microwave’s location that may impede its movement. Carefully navigate around these obstacles, ensuring a safe and smooth removal.
3. Move the microwave out: Slowly and steadily move the microwave away from its location, taking small steps if necessary. If the microwave is heavy or bulky, consider enlisting the help of another person to make the process easier and safer.
4. Find a safe resting place: Once the microwave is removed from its location, find a stable and secure area to place it temporarily. Consider using a sturdy table or countertop, taking care to protect the surface from any scratches or damage.
5. Prepare for transportation or storage: If you plan to transport the microwave to a new location, make sure it is properly secured and protected in a moving box or using suitable packing materials. If you are storing the microwave, ensure it is kept in a clean and dry area, away from any potential hazards.
By following these steps, you can successfully remove the built-in microwave oven from its location. However, before finalizing the process, it’s essential to clean and prepare the area for a new appliance or cover the opening if desired, which we will discuss in Step 8.
Step 8: Clean and prepare the area for a new appliance (if desired)
If you plan on installing a new appliance in place of the removed built-in microwave oven, it is essential to clean and prepare the area before proceeding. Follow these steps to ensure a clean and organized space for your new appliance:
1. Clear any debris: Begin by removing any debris or clutter that may have accumulated in the space where the microwave was previously installed. Wipe away any dust or dirt to create a clean and fresh surface.
2. Clean the surrounding area: Take the opportunity to thoroughly clean the surrounding area, including the walls, cabinets, and countertops. Use a mild cleaning solution and a soft cloth to remove any stains or residue.
3. Check for damage: Inspect the walls and cabinets for any damage or marks that may have been caused during the removal process. If necessary, repair or touch up any scratches, dents, or scuffs before installing the new appliance.
4. Measure the space: Take accurate measurements of the opening left by the removed microwave. This will help you determine the appropriate size for your new appliance or any modifications that may be required.
5. Consider additional wiring or ventilation: If you are installing a different type of appliance or making changes to the kitchen layout, you may need to assess the wiring and ventilation requirements. Consult a professional if you need help with electrical or venting modifications.
6. Cover the opening (if desired): If you do not plan to install a new appliance immediately, you may choose to cover the opening temporarily. Measure the dimensions of the opening and find a suitable cover such as a decorative panel or plywood that matches your kitchen’s aesthetics.
By cleaning and preparing the area for a new appliance, you create a clean and welcoming space for your kitchen. Whether you are installing a new microwave or covering the opening, it’s essential to ensure a smooth transition to the next step.
In the next and final step, Step 9, we will provide guidance on installing a new microwave or covering the opening permanently or temporarily.
Read more: What Is A Microwave Oven
Step 9: Install a new microwave or cover the opening
In this final step, you have two options: installing a new microwave or covering the opening created by the removal of the built-in microwave. Follow these guidelines to complete the process:
1. Installing a new microwave:
– Measure the dimensions of the opening and ensure it matches the specifications of the new microwave you plan to install.
– Follow the manufacturer’s instructions for installation, including any specific wiring or venting requirements.
– Use the provided mounting hardware to secure the new microwave in place, ensuring it is level and securely attached to the wall or cabinetry.
– Connect the electrical wires and venting ducts, following the instructions provided with your new microwave.
– Test the new microwave to ensure it functions properly before finalizing the installation.
2. Covering the opening:
– If you are not installing a new microwave immediately, you can cover the opening temporarily or permanently.
– Measure the dimensions of the opening and cut a piece of plywood or decorative panel to fit securely.
– Secure the cover in place using screws or other appropriate fasteners. Ensure it is flush with the surrounding cabinetry for a seamless appearance.
– If desired, paint or finish the cover to match the existing cabinetry or kitchen decor.
– Consider adding additional decorative elements, such as trim or molding, to enhance the appearance of the cover and integrate it with the surrounding area.
By following these steps, you can either install a new microwave or cover the opening left by the removed built-in microwave oven. Whether you choose one option or the other, ensure that the final result is secure, functional, and aesthetically pleasing.
Now that you have completed the process of removing the built-in microwave and have either installed a new appliance or covered the opening, take a step back and appreciate your accomplishment. Your kitchen now has a fresh look and provides new opportunities for cooking and food preparation. Enjoy the enhanced functionality and aesthetics of your space!
Conclusion
Removing a built-in microwave oven may seem like a daunting task, but with the right tools, knowledge, and guidance, it can be accomplished safely and efficiently. Throughout this step-by-step guide, we have provided you with the necessary instructions to remove a built-in microwave oven from your kitchen.
By gathering the necessary tools and materials, disconnecting the power supply, removing the trim kit (if applicable), unscrewing and removing the mounting bracket, detaching the microwave from the wall, disconnecting the electrical and venting connections, and finally, removing the microwave from its location, you have successfully completed the removal process.
Furthermore, we have also covered how to clean and prepare the area for a new appliance or cover the opening temporarily or permanently. Whether you have chosen to install a new microwave or cover the opening, your kitchen now has a fresh look and increased functionality.
Remember, it is always important to follow the manufacturer’s instructions specific to your microwave model and to exercise caution throughout the process. Safety should be a priority, so take the necessary precautions to avoid any accidents or injuries.
We hope that this guide has been informative and has empowered you with the knowledge and confidence to remove a built-in microwave oven in your kitchen. Whether you are upgrading to a new appliance or remodeling your kitchen, this DIY project can save you time and money.
If you encounter any difficulties or need additional assistance, do not hesitate to consult a professional for guidance. With proper planning and execution, you can successfully accomplish this task and enjoy the benefits of a functional and aesthetically pleasing kitchen space.
Good luck with your built-in microwave removal!
Once you've mastered removing a built-in microwave, why stop there? Dive into DIY home improvement for creative projects that spruce up every corner of your house. If something breaks along the way, our home repair guides have you covered for quick fixes. Ready for an upgrade? Check out our 2024's top built-in microwave wall ovens to find the perfect new addition to your kitchen setup.
Frequently Asked Questions about How To Remove A Built-In Microwave Oven
Was this page helpful?
At Storables.com, we guarantee accurate and reliable information. Our content, validated by Expert Board Contributors, is crafted following stringent Editorial Policies. We're committed to providing you with well-researched, expert-backed insights for all your informational needs.


0 thoughts on “How To Remove A Built-In Microwave Oven”