Home>Renovation & DIY>Home Renovation Guides>How To DIY Home Improvements

Home Renovation Guides
How To DIY Home Improvements
Modified: January 4, 2024
Discover comprehensive home renovation guides and expert tips for DIY home improvements. Transform your space with our step-by-step home renovation advice.
(Many of the links in this article redirect to a specific reviewed product. Your purchase of these products through affiliate links helps to generate commission for Storables.com, at no extra cost. Learn more)
Introduction
Embarking on do-it-yourself (DIY) home improvement projects can be an immensely rewarding endeavor. Whether you're looking to enhance the aesthetic appeal of your living space, increase its functionality, or boost its market value, DIY renovations offer a fulfilling way to personalize and upgrade your home. However, before diving into the world of home improvement, it's crucial to equip yourself with the necessary knowledge, tools, and safety precautions to ensure a successful and enjoyable experience.
In this comprehensive guide, we'll explore the essential steps and considerations for planning and executing DIY home improvements. From understanding the importance of meticulous planning to familiarizing yourself with the required tools and materials, we'll cover everything you need to know to tackle your projects with confidence. Additionally, we'll delve into crucial safety measures and provide a range of project ideas and tips for achieving outstanding results.
Whether you're a seasoned DIY enthusiast or just beginning to explore the world of home improvement, this guide aims to empower you with the knowledge and inspiration to transform your living space. So, roll up your sleeves, unleash your creativity, and get ready to embark on a fulfilling journey of DIY home renovations.
Key Takeaways:
- Plan, prepare, and prioritize safety for successful DIY home improvements. Research, start small, and celebrate achievements to create a personalized and functional living space.
- Equip yourself with the right tools, materials, and knowledge to tackle a diverse range of DIY home improvement projects with confidence and creativity.
Read more: How To Save For Home Improvements
Planning Your DIY Home Improvements
Effective planning is the cornerstone of any successful DIY home improvement project. Before picking up a hammer or paintbrush, take the time to envision the desired outcome of your renovations. Start by assessing the areas of your home that could benefit from improvement and prioritize the projects based on your goals and available resources.
Consider creating a detailed project plan for each renovation, outlining the necessary steps, timeline, and budget. This plan will serve as a roadmap, keeping you focused and organized throughout the project. Additionally, research and gather inspiration from home improvement magazines, websites, and social media platforms to refine your vision and gather practical ideas.
Furthermore, it’s essential to familiarize yourself with any local building codes, permits, and regulations that may apply to your projects. Understanding these requirements will help you avoid potential legal issues and ensure that your renovations comply with safety and structural standards.
When planning your DIY home improvements, it’s crucial to set realistic goals and expectations. Be mindful of your skill level and the time and effort required for each project. If you’re new to DIY renovations, consider starting with smaller, manageable tasks before tackling more complex endeavors.
Lastly, don’t underestimate the power of budgeting. Determine the costs of materials, tools, and any professional assistance you may need. Building a buffer for unexpected expenses is wise, as it’s common for renovation projects to encounter unforeseen challenges.
By investing time in thorough planning, you’ll lay a solid foundation for your DIY home improvements, setting the stage for a smooth and successful renovation journey.
Tools and Materials You Need
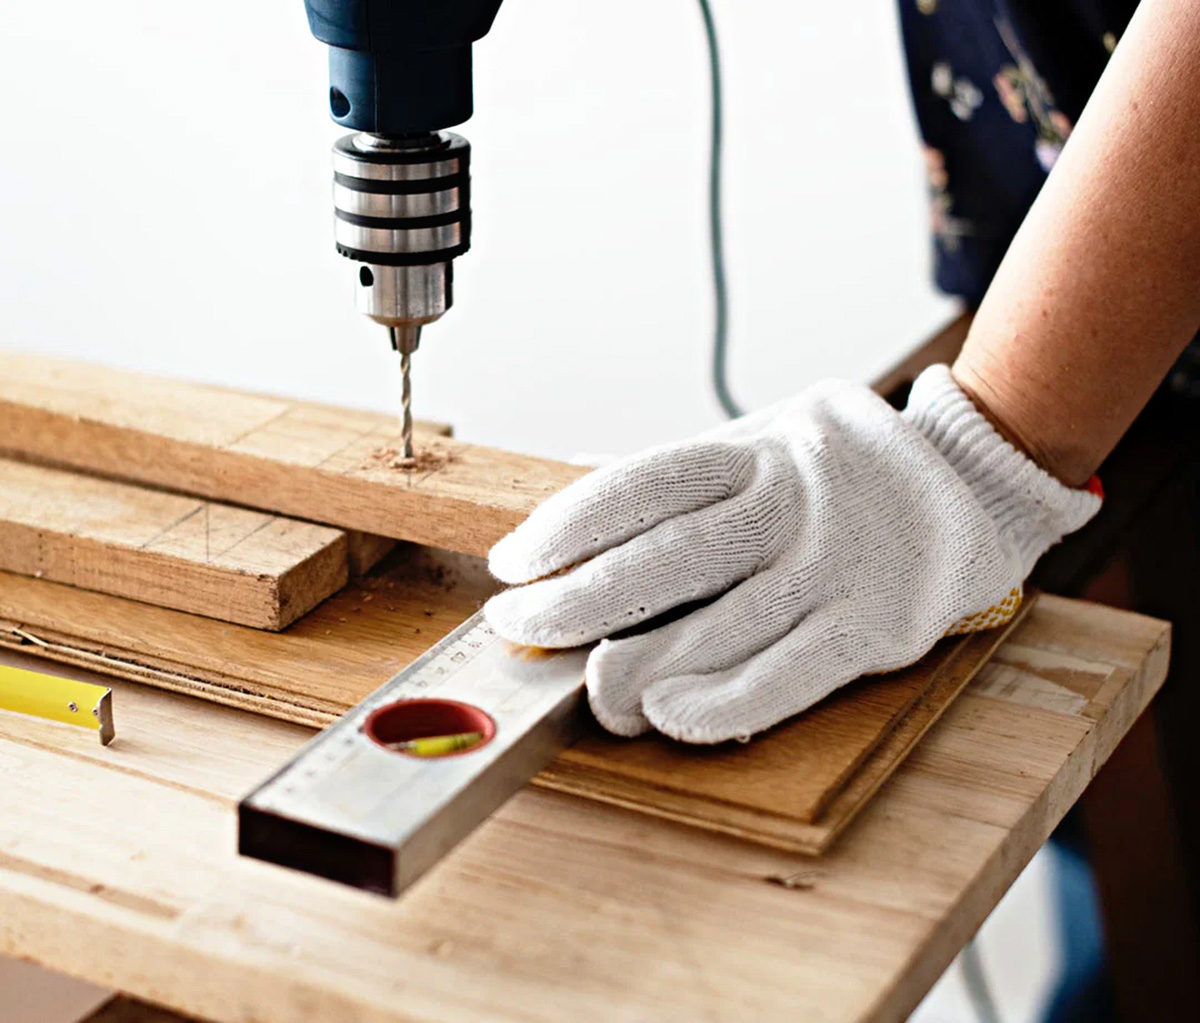
Equipping yourself with the right tools and materials is essential for executing DIY home improvement projects with precision and efficiency. Before commencing any renovation work, take stock of the following basic tools that are indispensable for a wide range of projects:
- Measuring tape: An accurate measuring tape is crucial for ensuring precise dimensions and cuts.
- Hammer: A versatile tool for various tasks, including driving and removing nails.
- Screwdriver set: Both flathead and Phillips head screwdrivers will cover most fastening needs.
- Power drill: A cordless drill with a variety of drill bits will expedite tasks such as drilling holes and driving screws.
- Saw: Depending on your projects, a handsaw or power saw can be used for cutting wood, plastic, and other materials.
- Level: Ensures that surfaces, shelves, and fixtures are installed perfectly horizontal or vertical.
- Pliers: Useful for gripping, bending, and cutting various materials.
- Safety gear: Including goggles, gloves, and a dust mask to protect yourself during the renovation process.
In addition to these fundamental tools, the specific materials required will vary depending on the nature of your projects. Common materials include:
- Paint and primer
- Lumber and plywood
- Fasteners such as nails, screws, and adhesives
- Electrical components for lighting and wiring projects
- Plumbing fixtures and piping for bathroom or kitchen renovations
- Flooring materials such as tiles, laminate, or hardwood
- Decorative elements like trim, molding, and hardware
Prior to purchasing materials, carefully measure the quantities needed for your projects to avoid unnecessary waste and expenses. Consider the quality and durability of materials to ensure long-lasting results. Additionally, invest in reliable tools that align with the scale and complexity of your projects, as they can significantly impact the efficiency and quality of your work.
By assembling a comprehensive collection of tools and materials, you’ll be well-prepared to tackle a diverse array of DIY home improvement projects and achieve professional-level results.
Safety Precautions
Prioritizing safety is paramount when engaging in DIY home improvement projects. By implementing essential safety measures, you can safeguard yourself and others involved in the renovations, ensuring a secure and productive working environment.
First and foremost, familiarize yourself with the specific safety guidelines and recommendations for each type of project you undertake. Whether you’re working with power tools, handling chemicals, or engaging in construction tasks, understanding the associated risks and safety protocols is crucial.
Invest in high-quality personal protective equipment (PPE) to shield yourself from potential hazards. This includes safety goggles to protect your eyes from debris and dust, gloves to safeguard your hands from sharp objects and chemicals, and a dust mask to prevent inhalation of harmful particles during sanding, painting, or demolition work.
When working with power tools, ensure that they are in optimal condition and that you have received proper training on their safe and correct usage. Always disconnect power sources before making adjustments or changing accessories on tools to prevent accidental activation.
Furthermore, maintain a clean and organized workspace to minimize the risk of tripping over tools, materials, or debris. Keep walkways clear and use caution when working on ladders or elevated surfaces. Secure rugs and cables to prevent slips and falls, and be mindful of potential electrical and fire hazards when working near wiring or flammable materials.
For projects involving demolition or construction, be aware of the structural integrity of the areas you are working on. Take precautions to avoid damaging load-bearing walls, electrical wiring, or plumbing systems. If you encounter any uncertainties regarding the structural aspects of your renovations, consider consulting a professional to ensure safety and compliance with building codes.
Lastly, always have a first-aid kit readily available in your workspace. Accidents can happen despite the best precautions, and having essential medical supplies on hand can make a critical difference in the event of an injury.
By integrating these safety precautions into your DIY home improvement endeavors, you can mitigate potential risks and create a secure environment for bringing your renovation visions to life.
When doing DIY home improvements, always start with a plan and a budget. This will help you stay organized and avoid overspending.
DIY Home Improvement Projects
From enhancing the functionality of your living space to adding aesthetic charm, DIY home improvement projects offer a wide array of opportunities to revitalize your home. Whether you’re a seasoned DIY enthusiast or a newcomer to the world of renovations, there are numerous projects that can be tailored to your skill level and personal preferences.
1. Painting: Refreshing the walls with a new coat of paint can instantly transform the ambiance of a room. Whether you opt for a bold accent wall or a neutral, calming palette, painting is a versatile and cost-effective way to revamp your living space.
2. Installing Shelving: Adding shelves not only provides practical storage solutions but also serves as a platform for showcasing decorative items, books, and personal mementos. From floating shelves to built-in units, the options are diverse and adaptable to various rooms and styles.
3. Upgrading Lighting Fixtures: Swapping out outdated light fixtures for modern, energy-efficient alternatives can significantly enhance the ambiance and functionality of your home. Whether it’s installing pendant lights, recessed lighting, or dimmer switches, lighting upgrades can make a remarkable difference.
4. Revamping Cabinets: Applying a fresh coat of paint, replacing hardware, or installing new cabinet doors can breathe new life into kitchens, bathrooms, or storage areas. This budget-friendly project can yield a dramatic transformation, giving dated cabinets a modern and stylish appearance.
5. Creating a Garden Oasis: If you have outdoor space, consider embarking on landscaping and gardening projects. From planting vibrant flowers and shrubs to building a cozy patio or installing a water feature, outdoor renovations can create a serene and inviting retreat.
6. Refinishing Floors: Whether you have hardwood, laminate, or tile floors, refinishing or re-tiling can rejuvenate the aesthetic appeal of your home. With the right tools and techniques, this project can yield stunning results and elevate the overall look of your living space.
7. Bathroom Upgrades: From replacing faucets and showerheads to regrouting tiles and installing new vanities, there are numerous DIY projects to enhance the functionality and visual appeal of bathrooms. These upgrades can modernize the space and create a spa-like atmosphere.
These projects offer a glimpse into the diverse range of DIY home improvements that can be undertaken to personalize and elevate your living environment. Whether you’re seeking practical enhancements or aesthetic upgrades, there are countless opportunities to unleash your creativity and transform your home.
Read more: How To Get Home Improvement Leads
Tips for Success
Embarking on DIY home improvement projects can be an immensely gratifying experience, provided that you approach them with careful consideration and preparation. Here are some valuable tips to ensure the success of your endeavors:
- Research and Education: Prior to starting a project, invest time in researching techniques, materials, and potential challenges. Online tutorials, DIY forums, and home improvement books can provide invaluable insights and guidance.
- Start Small: If you’re new to DIY renovations, consider beginning with smaller projects to build confidence and experience. As your skills and comfort level grow, you can gradually tackle more ambitious endeavors.
- Quality Tools: Invest in high-quality tools and equipment. While it may seem tempting to opt for budget options, reliable tools can make a substantial difference in the efficiency and precision of your work.
- Measure Twice, Cut Once: Precision is key in home improvement. Double-check measurements and cuts to avoid unnecessary errors and material wastage.
- Adhere to Safety Guidelines: Prioritize safety at all times. Use protective gear, follow safety instructions for tools, and take necessary precautions to prevent accidents and injuries.
- Budget Considerations: Set a realistic budget and plan for potential unforeseen expenses. Having a financial buffer can alleviate stress and ensure that your projects can be completed without compromising on quality.
- Seek Assistance When Necessary: Don’t hesitate to consult professionals or seek guidance from experienced individuals when encountering challenges beyond your expertise. Sometimes, a professional opinion can save time, money, and frustration.
- Prioritize Functionality: While aesthetics are important, focus on enhancing the functionality and practicality of your living space. Ensure that your renovations cater to your lifestyle and long-term needs.
- Persistence and Patience: Home improvements may encounter setbacks, but perseverance is key. Approach challenges with a positive mindset and view them as opportunities to learn and improve.
- Celebrate Achievements: Upon completing a project, take the time to appreciate and celebrate your accomplishments. Whether big or small, each successful renovation contributes to the enhancement of your home.
By incorporating these tips into your DIY home improvement endeavors, you can navigate the renovation process with confidence, creativity, and a greater likelihood of achieving exceptional results.
Conclusion
Embarking on DIY home improvements is a fulfilling journey that empowers you to personalize and enhance your living space while honing your creativity and skills. By meticulously planning your projects, equipping yourself with the necessary tools and materials, prioritizing safety, and embracing a diverse range of renovation endeavors, you can elevate the aesthetic appeal, functionality, and value of your home.
Whether you’re revamping a single room or undertaking a comprehensive renovation, the key to success lies in thorough preparation, a commitment to quality workmanship, and a willingness to adapt and learn throughout the process. With each project, you have the opportunity to infuse your personality and vision into your home, creating a space that truly reflects your style and aspirations.
As you embark on your DIY home improvement journey, remember to approach each project with a blend of creativity, patience, and practicality. Embrace the learning curve, celebrate your achievements, and don’t hesitate to seek inspiration and guidance from a wealth of resources available to DIY enthusiasts.
Ultimately, the satisfaction of witnessing your vision come to life and the pride of knowing that you played a pivotal role in transforming your living environment are invaluable rewards that accompany the DIY home improvement experience. So, roll up your sleeves, unleash your creativity, and embark on a fulfilling journey of DIY renovations to create a home that truly resonates with your unique style and preferences.
Frequently Asked Questions about How To DIY Home Improvements
Was this page helpful?
At Storables.com, we guarantee accurate and reliable information. Our content, validated by Expert Board Contributors, is crafted following stringent Editorial Policies. We're committed to providing you with well-researched, expert-backed insights for all your informational needs.


0 thoughts on “How To DIY Home Improvements”