Articles
How To Remove A Built-In Pantry Cabinet
Modified: October 19, 2024
Learn efficient and effective methods for removing a pantry built-in cabinet with our comprehensive articles. Master the techniques you need for a successful pantry renovation project.
(Many of the links in this article redirect to a specific reviewed product. Your purchase of these products through affiliate links helps to generate commission for Storables.com, at no extra cost. Learn more)
Introduction
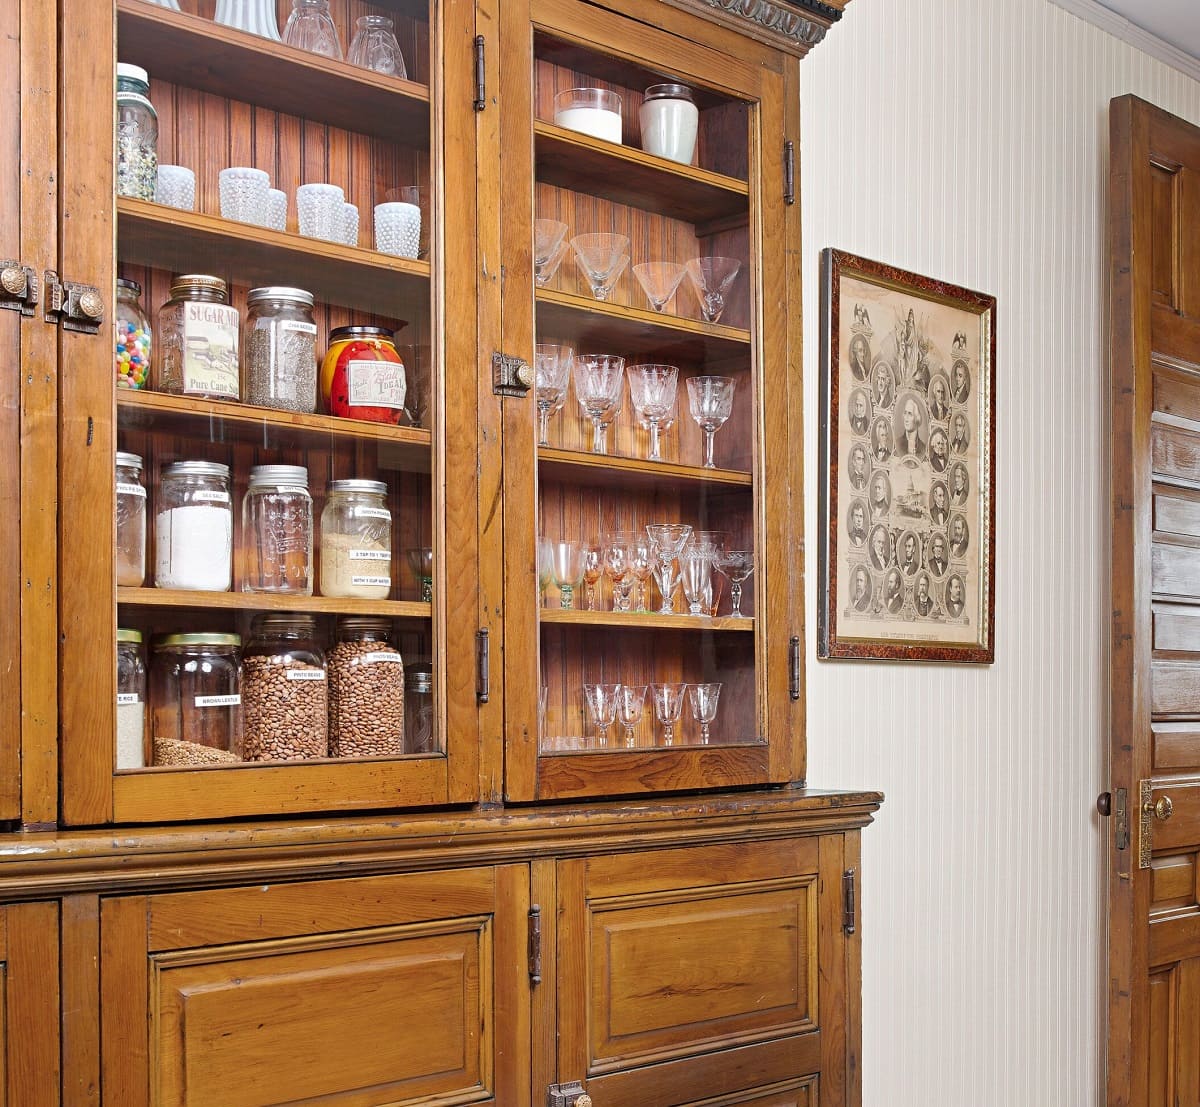
Having a built-in pantry cabinet in your kitchen can be a great convenience for storing and organizing your food items. However, there may come a time when you need to remove the pantry built-in cabinet, either to make room for a different type of storage or to create more space in your kitchen. In this article, we will guide you through the step-by-step process of how to remove a pantry built-in cabinet.
Before you start the removal process, it’s important to take some safety precautions to avoid any accidents or injuries. Ensure that you have the necessary tools and materials on hand, and follow the instructions carefully. Let’s get started!
Key Takeaways:
- Safety is Key: Prioritize safety by wearing protective gear, securing heavy items, and working with a buddy. Follow the step-by-step guide for a seamless and safe removal process.
- Transform Your Space: Removing a pantry built-in cabinet allows for a revamped and organized pantry area. Utilize storage solutions and consider reinstalling cabinet doors for a personalized touch.
Safety Precautions
Before removing a pantry built-in cabinet, it’s crucial to prioritize safety. Here are some important safety precautions to keep in mind:
- Wear Protective Gear: To protect yourself from dust, debris, and potential injury, wear safety goggles, gloves, and a dust mask.
- Secure the Area: Clear the surrounding area of any obstacles and make sure there is enough space to work comfortably.
- Turn Off Power: If your pantry has any electrical outlets, turn off the power at the circuit breaker to avoid the risk of electric shock.
- Secure Heavy Items: If there are any heavy items stored in the cabinet, make sure they are safely removed or secured to prevent accidents during the removal process.
- Use Proper Lifting Techniques: When lifting heavy parts or equipment, remember to lift with your legs and not your back to prevent strain or injury.
- Work with a Buddy: If the built-in cabinet is large or heavy, consider enlisting the help of a friend or family member to assist you.
By following these safety precautions, you can ensure a safe working environment and minimize the risk of accidents or injuries during the removal process.
Tools and Materials Required
Before you begin removing the pantry built-in cabinet, gather the following tools and materials:
- Screwdriver or power drill
- Hammer
- Pry bar
- Utility knife
- Patching compound or wall filler
- Sandpaper
- Paint or wallpaper (optional for touch-ups)
- Cleaning supplies
- Bucket or garbage bags for debris
Having these tools and materials readily available will make the removal process much smoother and more efficient.
Step 1: Emptying the Cabinet
The first step in removing a pantry built-in cabinet is to empty its contents. Carefully remove all food items, dishes, and any other items stored inside the cabinet. It’s a good idea to have a designated area nearby to temporarily store these items until the cabinet removal process is complete.
As you empty the cabinet, take the opportunity to declutter and organize your items. Discard any expired or unused items, and consider donating any non-perishable food items that are still safe for consumption.
Once the cabinet is completely empty, take a moment to clean the shelves and surfaces. Wipe down the interior of the cabinet, removing any dust, crumbs, or stains. This will not only make the removal process cleaner but also ensure that the cabinet is in good condition for future use or repurposing.
With the cabinet empty and clean, you are now ready to proceed to the next step of removing the pantry built-in cabinet.
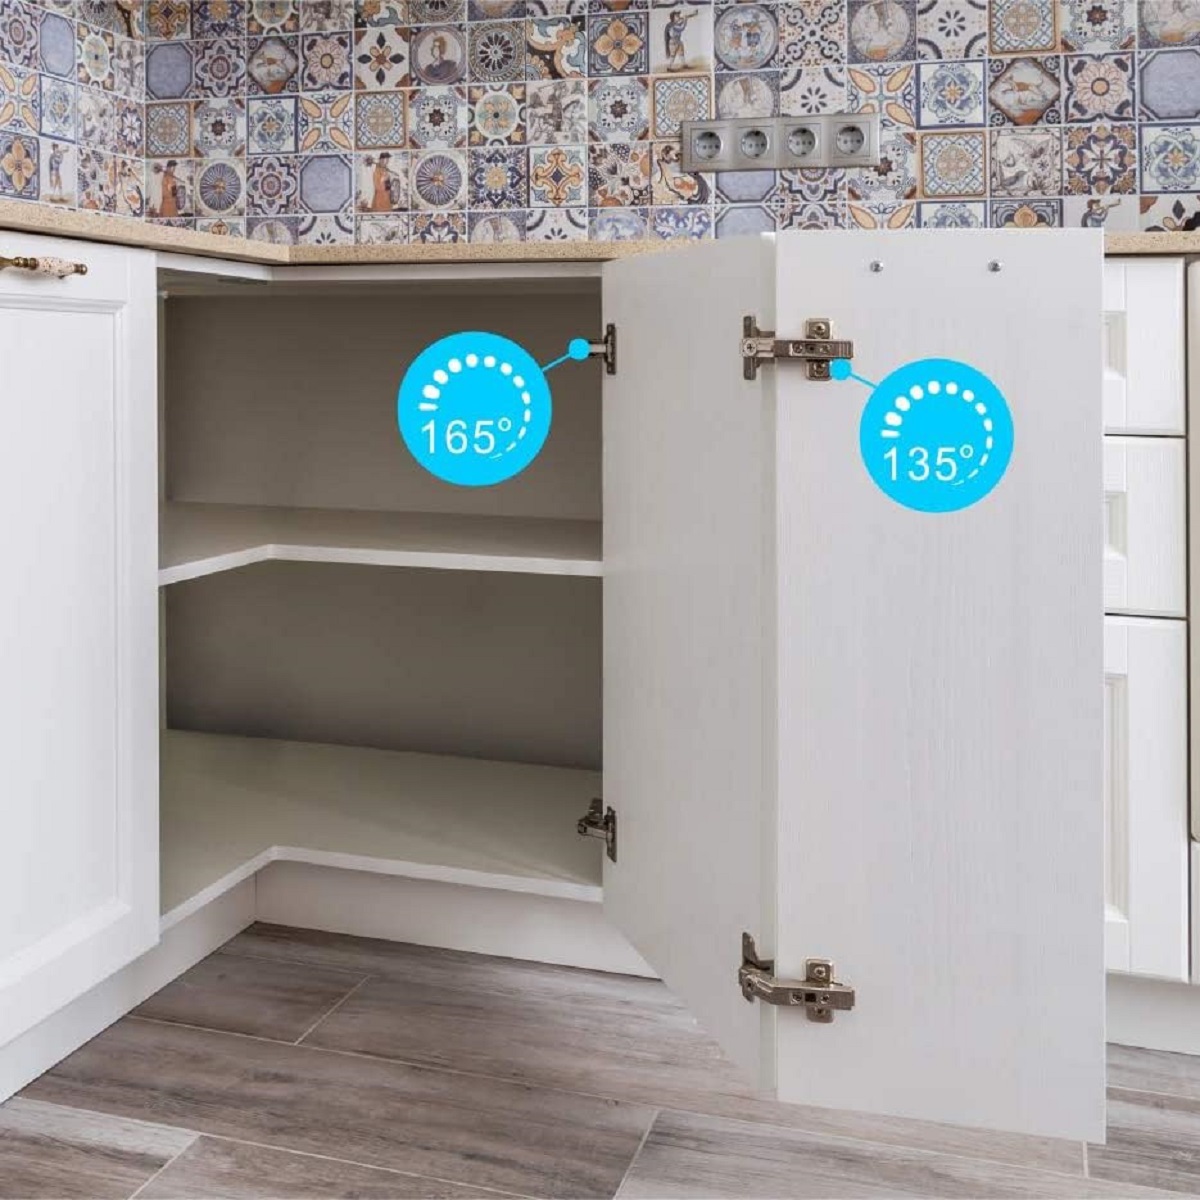
Step 2: Removing the Cabinet Doors
Before you can remove the pantry built-in cabinet, you’ll need to take off the cabinet doors. This step will make the removal process easier and safer.
Start by locating the hinges that hold the doors in place. Depending on the type of cabinet and door, the hinges may be visible or hidden. If the hinges are visible, you can easily identify them. If they are hidden, you may need to search for a release mechanism or screws that secure the hinges.
Using a screwdriver or power drill, unscrew the hinges from the cabinet frame. Be sure to support the weight of the door as you remove the screws to prevent any accidents. Once the hinges are removed from the cabinet frame, carefully lift the door off the hinges and set it aside in a safe location.
Repeat this process for each cabinet door until all doors have been removed. If the doors have any decorative or hardware attachments, such as handles or knobs, remove them as well.
Removing the cabinet doors will not only make the cabinet lighter but also provide better access for the upcoming steps of removing the pantry built-in cabinet.
Once the doors are removed, you can proceed to the next step of detaching the shelves.
Read more: What Is A Pantry Cabinet
Step 3: Detaching the Shelves
With the cabinet doors removed, it’s time to detach the shelves from the pantry built-in cabinet. This step will allow for easier removal of the cabinet itself.
Start by inspecting the shelves to determine how they are attached to the cabinet. In most cases, pantry cabinet shelves are adjustable and held in place by shelf pins or clips.
Using a screwdriver or your hands, gently remove the shelf pins or clips from each side of the cabinet. Take care not to damage the cabinet or shelves during this process.
Once the shelf pins or clips are removed, carefully lift each shelf upward and out of the cabinet. Set the shelves aside in a safe location to avoid any damage.
If you encounter any difficulties in removing the shelves, such as stuck or stubborn shelf pins, you can try using a hammer and pry bar to gently loosen them. Be cautious not to use excessive force that could cause damage to the cabinet or shelves.
After removing all the shelves, take a moment to inspect the interior of the cabinet for any remaining debris or loose screws. Clear out any dust or small particles to prepare for the next step of unscrewing the cabinet from the wall.
Now that the shelves are detached, you are ready to move on to the next step of removing the pantry built-in cabinet.
Before removing a pantry built-in cabinet, make sure to empty it completely and disconnect any plumbing or electrical connections. Use a pry bar and hammer to carefully remove the cabinet from the wall, taking care to avoid damaging the surrounding area.
Step 4: Unscrewing the Cabinet from the Wall
Now that the shelves are detached from the pantry built-in cabinet, it’s time to unscrew the cabinet from the wall. This step will require some physical effort, so it’s essential to take necessary precautions.
Start by locating the screws or fasteners that secure the cabinet to the wall. These screws are typically found at the top and bottom of the cabinet, as well as along the sides if it’s a larger unit.
Using a screwdriver or power drill, carefully remove the screws one by one. Keep in mind that some cabinets may have additional support brackets or anchors that need to be unscrewed as well. Take note of any unique hardware or brackets as you remove them.
As you unscrew the cabinet from the wall, it’s important to provide support to prevent the cabinet from falling or causing damage. Enlist the help of a partner or use a sturdy prop such as a support beam or wooden plank to hold the cabinet in place as you remove the screws. This will ensure a safe and smooth removal process.
Once all the screws and fasteners are removed, carefully detach the cabinet from the wall. Slowly pull the cabinet away from the wall, checking for any resistance or additional screws that may still be attached.
If the cabinet is heavy or difficult to handle, consider using a trolley or dolly to transport it to a suitable location for storage or disposal.
With the pantry built-in cabinet successfully unscrewed from the wall, you can move on to the next step of patching holes in the wall.
Step 5: Patching Holes in the Wall
After removing the pantry built-in cabinet, you may be left with unsightly holes in the wall where the screws and fasteners were located. In this step, we will guide you through the process of patching and repairing these holes.
Start by cleaning the area around the holes using a damp cloth or sponge to remove any dust or debris. This will ensure that the patching material adheres properly to the wall.
Next, assess the size of the holes and gather the appropriate patching compound or wall filler. For smaller holes, a premixed spackling compound or joint compound can be used. For larger holes, you may need to use a drywall patch or mesh tape in conjunction with the compound.
Using a putty knife or a small trowel, apply the patching compound to the holes, starting from the center and working your way outward. Ensure that the compound is evenly spread and fills the entire hole. For larger holes, follow the manufacturer’s instructions on how to properly apply the drywall patch or mesh tape.
Once the compound is applied, smooth it out using the putty knife or trowel, removing any excess and creating a level surface. Take care to blend the edges with the surrounding wall for a seamless finish.
Allow the patching compound to dry completely according to the manufacturer’s instructions. This may take anywhere from a few hours to overnight. Once dry, lightly sand the patched areas using fine-grit sandpaper to ensure a smooth finish.
After sanding, wipe away any dust or residue with a clean cloth or sponge. If necessary, you can also touch up the patched areas with paint or wallpaper to match the surrounding wall.
With the holes in the wall properly patched and repaired, you are now ready to move on to the next step of cleaning and organizing the pantry area.
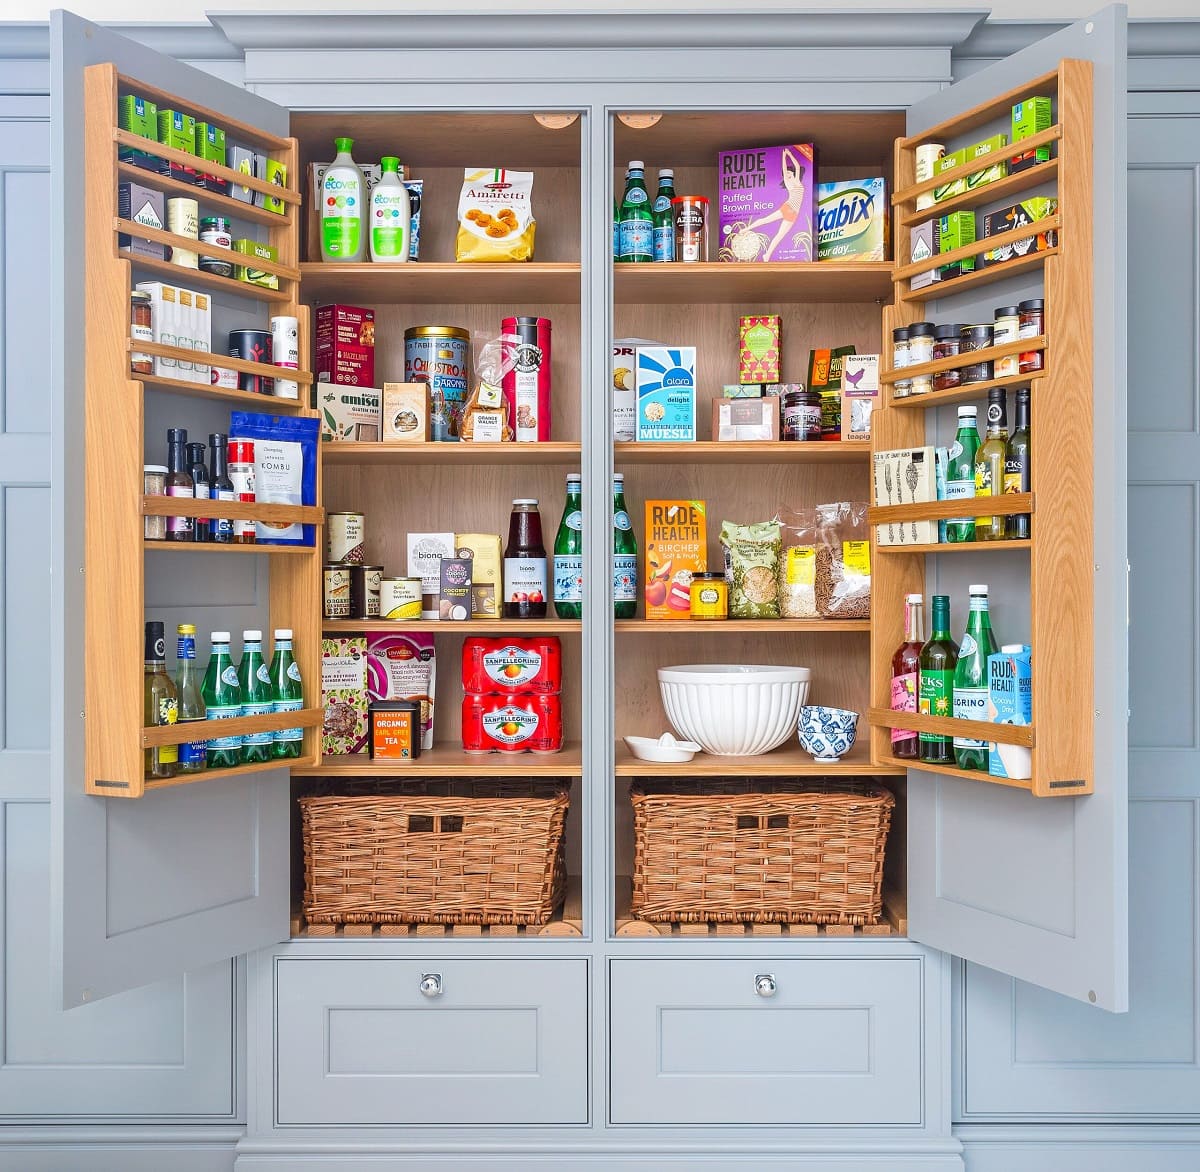
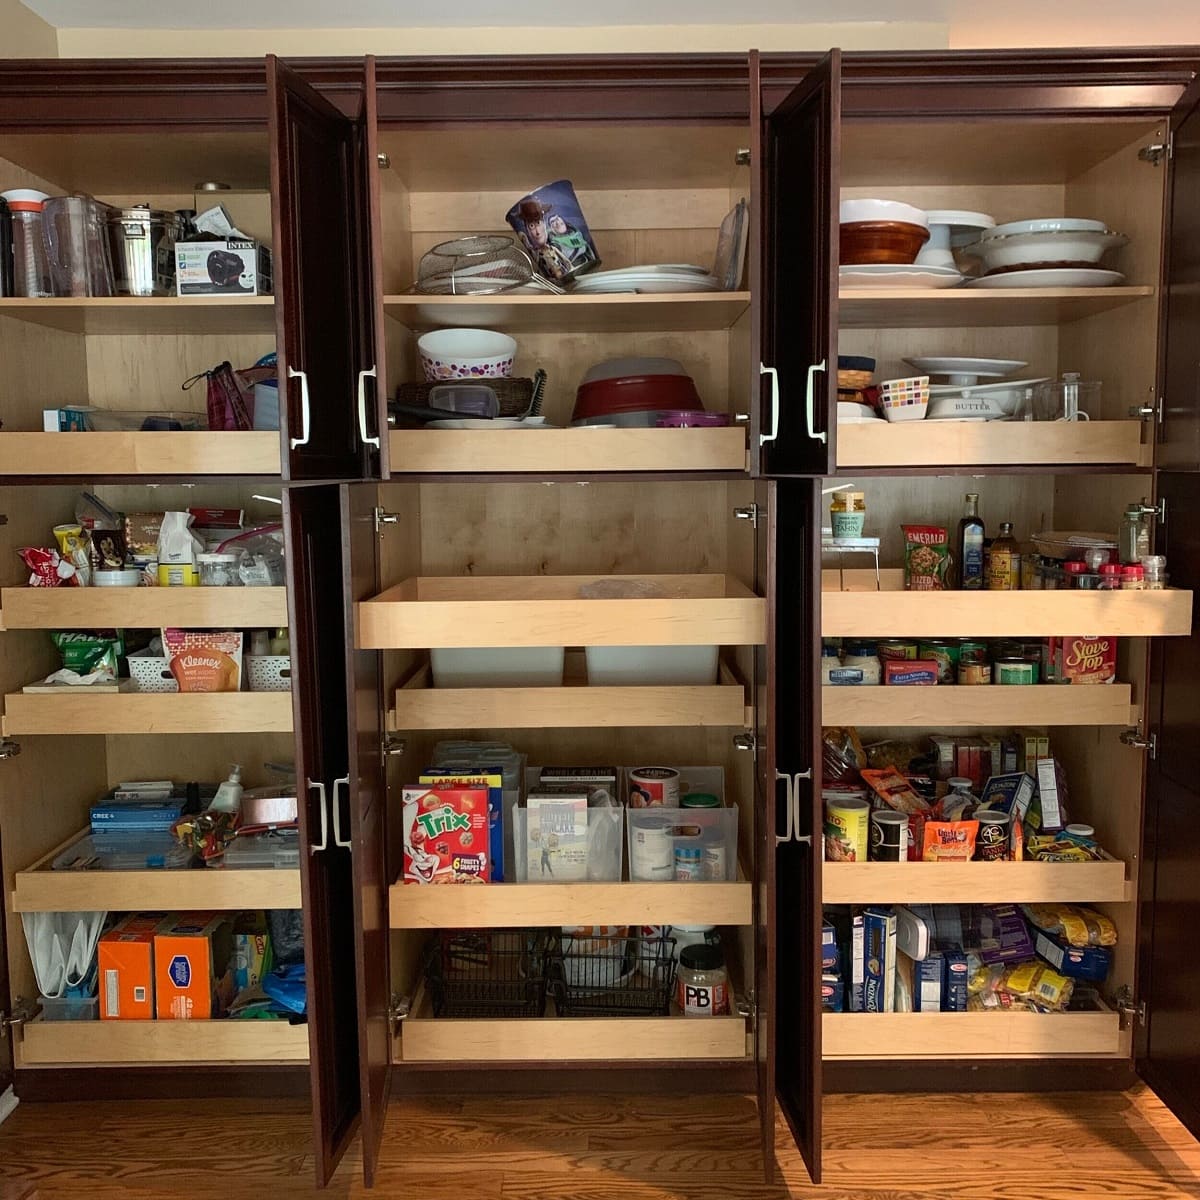
Step 6: Cleaning and Organizing the Pantry Area
With the pantry built-in cabinet removed and the wall holes patched, it’s time to focus on cleaning and organizing the pantry area to maximize its functionality and visual appeal. Follow these steps to ensure a fresh and well-organized space:
- Clean the Surrounding Area: Thoroughly clean the area where the pantry cabinet was located. Dust and wipe down the walls, baseboards, and floor. Vacuum or mop the floor to remove any debris. This will create a clean foundation for organizing your pantry essentials.
- Assess and Sort Items: Take a moment to assess the items you removed from the pantry cabinet. Sort and categorize them based on their type or purpose. This will help you determine the best storage solutions and establish an organized system.
- Choose Storage Solutions: Depending on the size and layout of your pantry area, select appropriate storage solutions to maximize space and accessibility. Consider using clear plastic bins, adjustable shelving units, and pantry organizers such as spice racks, can dispensers, or wire baskets.
- Organize by Category: Group similar items together and assign them a designated area in your pantry. Arrange items in a way that makes sense to you and your household, whether it’s by food type, frequency of use, or personal preference. Label containers and shelves to maintain organization over time.
- Utilize Vertical Space: Take advantage of vertical space by installing additional shelves, hooks, or baskets on the walls or doors of your pantry. This will help maximize storage capacity and keep items within reach.
- Regularly Declutter and Clean: Make it a habit to regularly declutter and clean your pantry area. Dispose of expired or unwanted items, wipe down shelves, and reorganize as needed. This will help maintain a clean and organized space in the long run.
By following these steps, you can transform your pantry area into a well-organized and functional space, making it easier to access and maintain your pantry essentials. Enjoy the satisfaction of a clean and organized pantry!
Read more: How To Remove Built-In Blinds
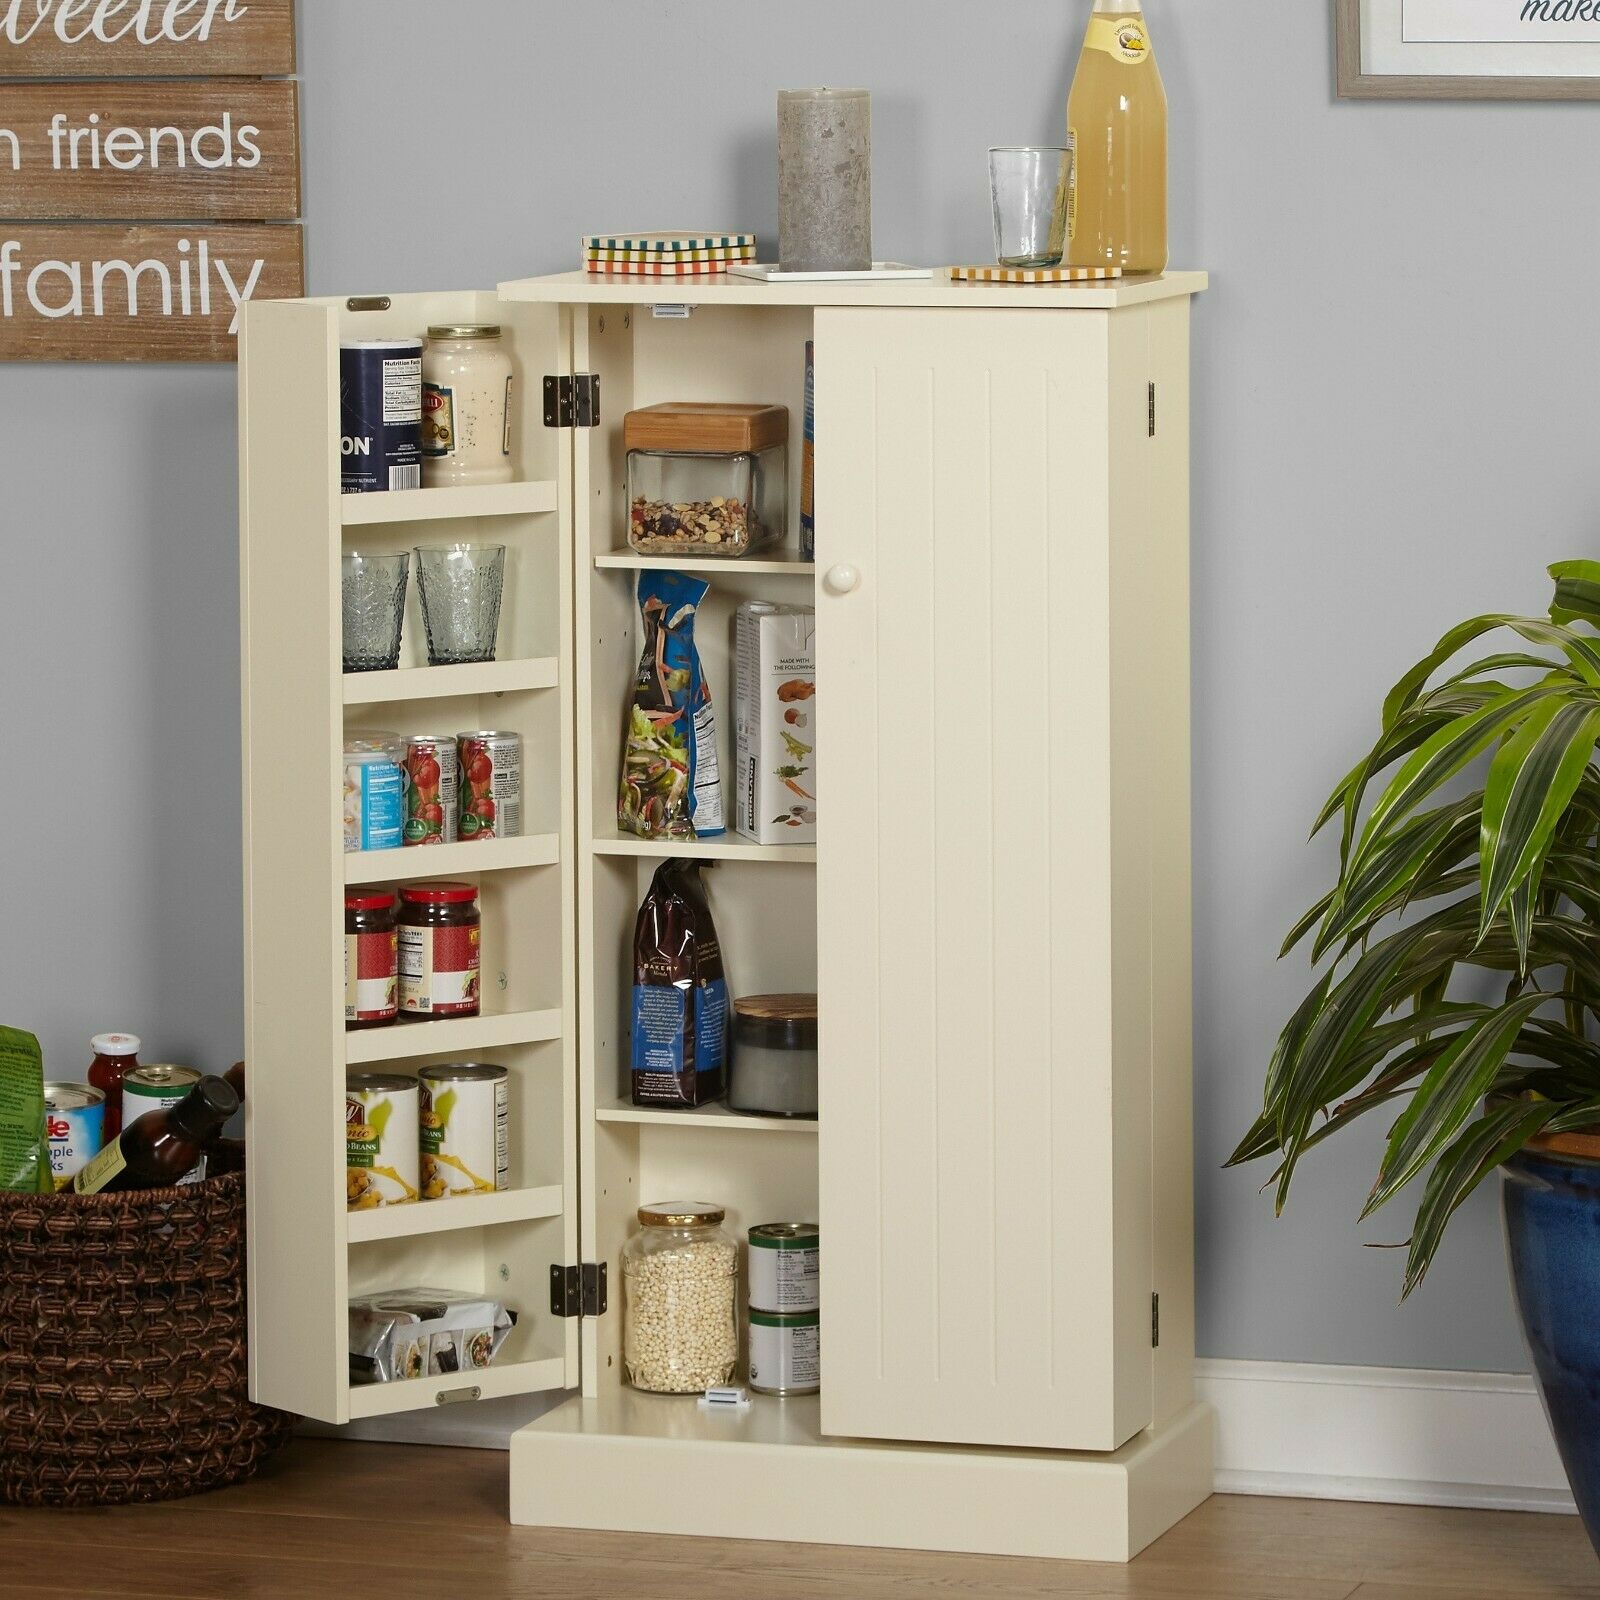
Step 7: Reinstalling the Cabinet Doors (Optional)
If you want to restore the pantry built-in cabinet to its original state or prefer the aesthetic of closed storage, you can choose to reinstall the cabinet doors. Follow these steps to reinstall the doors:
- Gather the Necessary Hardware: Ensure you have all the hinges, screws, and any other hardware required for reinstalling the cabinet doors. If any hardware is damaged or missing, replace it before proceeding.
- Align the Doors: Place the cabinet doors in their original position, aligning them with the opening. Check for even spacing and ensure they are level. Adjust the placement if necessary.
- Attach the Hinges: Starting with the top hinge, secure it to the cabinet frame using screws. Repeat this process for the bottom hinge and any additional hinges. Ensure the hinges are tightly secured.
- Check for Smooth Operation: Open and close the cabinet doors to ensure they are properly aligned and move smoothly. Make any necessary adjustments to the hinges or alignment to achieve the desired functionality.
- Attach Handles or Knobs: If the cabinet doors have handles or knobs, attach them in the desired locations. Use the provided screws or hardware to secure them firmly.
- Test the Doors: Open and close the cabinet doors again to make sure they function properly. Ensure they latch securely and do not sag or rub against the cabinet frame.
Reinstalling the cabinet doors is optional and will depend on your personal preferences and the intended use of the pantry built-in cabinet. If you prefer open shelving or if the doors are damaged or no longer suits your style, you can opt to keep the cabinet door-less.
With the cabinet doors reinstalled (if desired), step back and appreciate the revamped look of your pantry built-in cabinet.
Conclusion
Removing a pantry built-in cabinet can be a rewarding project that improves the functionality and aesthetics of your kitchen. By following the step-by-step guide outlined in this article, you can successfully remove the cabinet while ensuring safety and organization throughout the process.
From emptying the cabinet and removing the doors to detaching the shelves and unscrewing it from the wall, each step is essential in achieving a seamless removal. Patching the wall holes and cleaning the pantry area further enhances the final look and usability.
Remember to prioritize safety by wearing protective gear, securing heavy items, and working with a buddy if needed. Additionally, take the time to assess and organize your pantry essentials, utilizing storage solutions that best suit your needs.
Finally, the optional step of reinstalling the cabinet doors allows you to restore the pantry built-in cabinet to its original state or customize it according to your preferences.
Overall, removing a pantry built-in cabinet requires careful planning, attention to detail, and a bit of physical effort. However, the end result is worth it – a transformed kitchen space that meets your storage needs and enhances the overall design aesthetic.
Whether you’re making room for a different type of storage or creating a more spacious kitchen, following these steps will guide you towards a successful removal process.
Enjoy the satisfaction of a well-executed project and a refreshed kitchen space!
Frequently Asked Questions about How To Remove A Built-In Pantry Cabinet
Was this page helpful?
At Storables.com, we guarantee accurate and reliable information. Our content, validated by Expert Board Contributors, is crafted following stringent Editorial Policies. We're committed to providing you with well-researched, expert-backed insights for all your informational needs.

0 thoughts on “How To Remove A Built-In Pantry Cabinet”