
Articles
How To Remove A Gas Fireplace
Modified: February 24, 2024
Learn how to safely and effectively remove a gas fireplace with our informative articles. Expert tips and step-by-step instructions provided for a hassle-free experience.
(Many of the links in this article redirect to a specific reviewed product. Your purchase of these products through affiliate links helps to generate commission for Storables.com, at no extra cost. Learn more)
Introduction
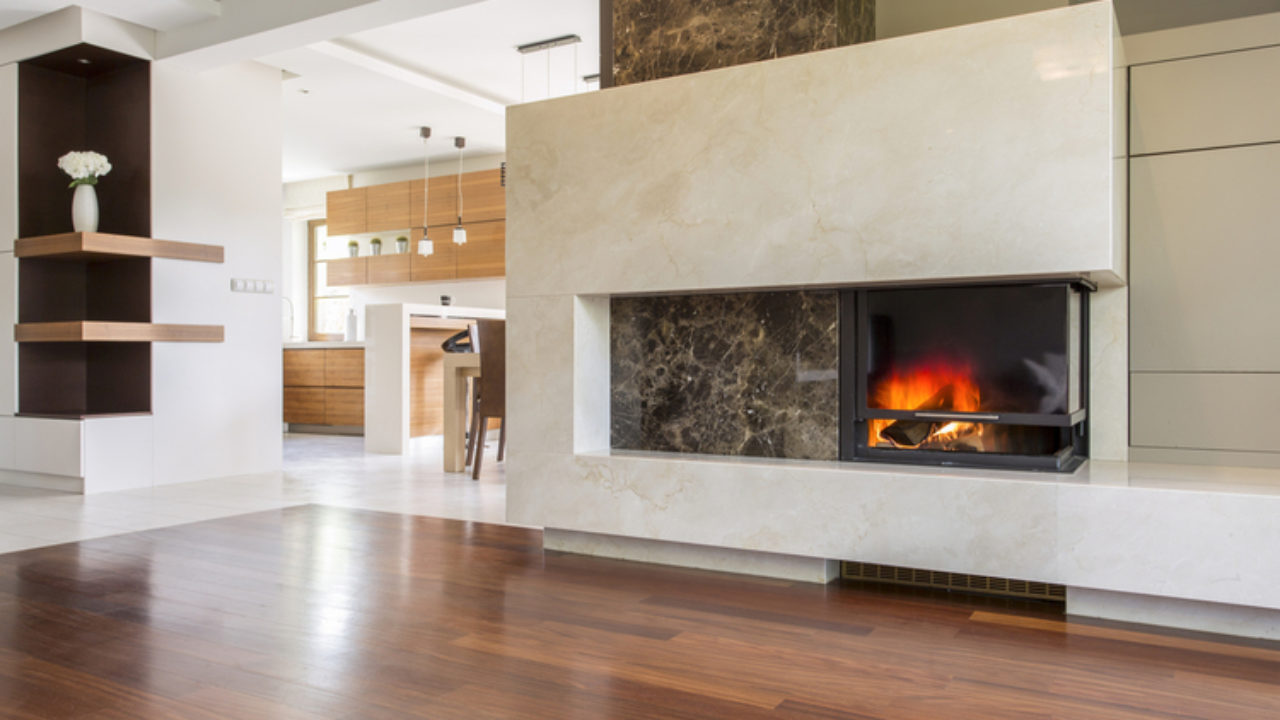
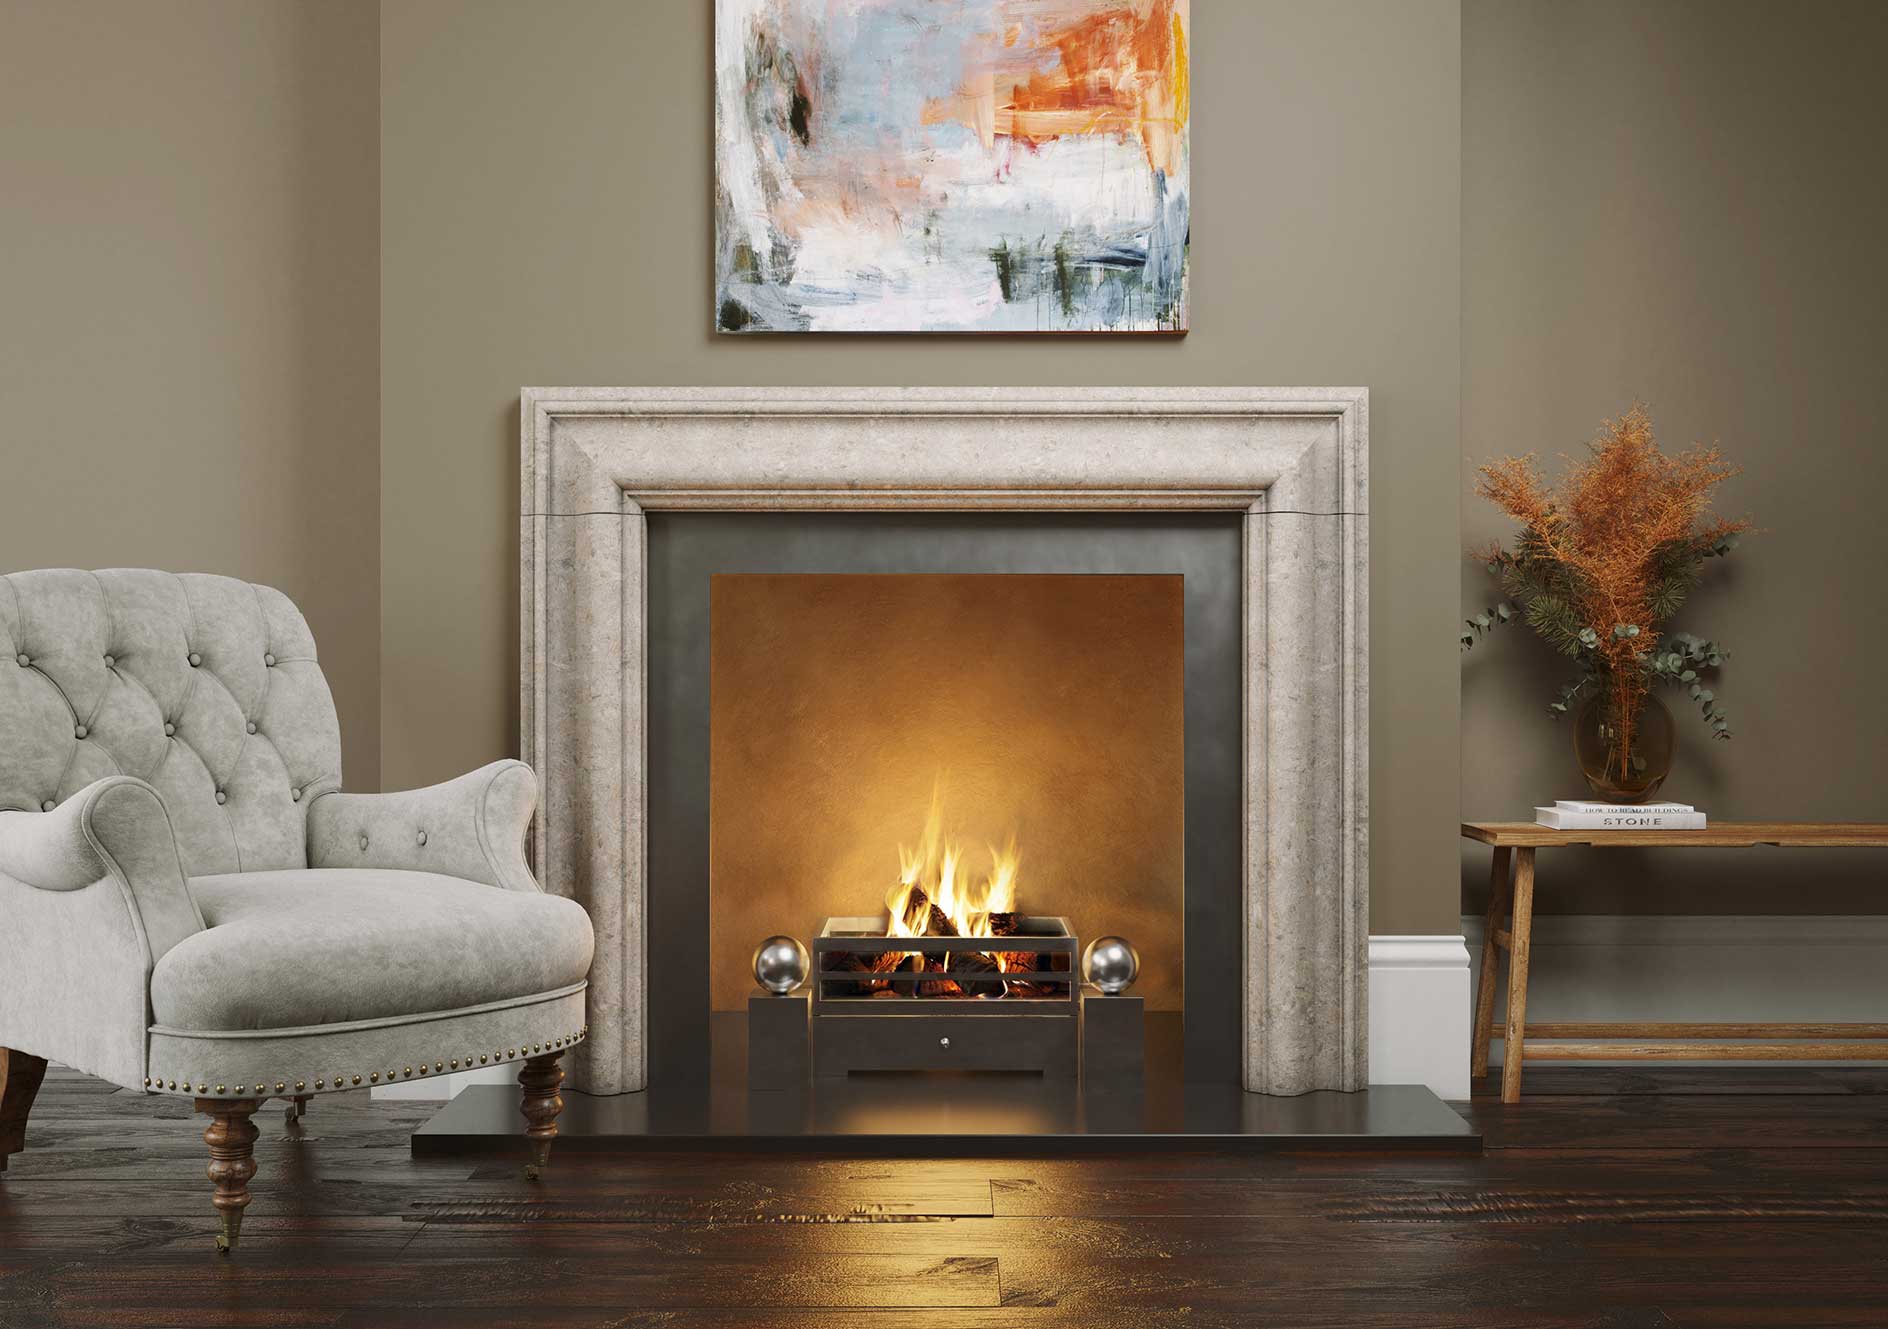
Having a gas fireplace in your home can provide warmth and ambiance during the colder months. However, there may come a time when you need to remove the gas fireplace, whether it’s because you’re upgrading to a different model or eliminating it altogether. Removing a gas fireplace involves several steps to ensure a safe and successful removal process.
In this guide, we will walk you through the step-by-step process of removing a gas fireplace. It’s important to note that gas-related tasks should be handled by professionals. If you’re uncomfortable or unsure about any part of the removal process, it’s best to contact a qualified gas fireplace technician or a licensed contractor to assist you.
Before we dive into the specific steps, let’s briefly discuss the importance of turning off the gas supply before starting any work on the fireplace. Gas is highly flammable and can pose a serious safety risk if not handled properly. Always prioritize safety and take the necessary precautions throughout the removal process.
Now that we’ve established the importance of safety, let’s move on to the step-by-step process of removing a gas fireplace.
Key Takeaways:
- Safety is paramount when removing a gas fireplace. Always turn off the gas supply, handle electrical connections with care, and seek professional assistance if unsure about any step to ensure a secure and risk-free removal process.
- The removal process involves disconnecting gas and venting connections, removing the fireplace unit, and repairing the wall surrounding the fireplace opening. Take your time, follow the steps diligently, and enjoy the transformed space.
Read more: How To Remove Glass From Gas Fireplace
Step 1: Turn Off Gas Supply
The first and most crucial step in removing a gas fireplace is to turn off the gas supply. This step ensures your safety and prevents the risk of gas leaks or accidents during the removal process.
Locate the gas shut-off valve near the gas fireplace. It is typically located on the gas line that connects to the fireplace. The valve may be a lever or a wheel that needs to be turned clockwise to shut off the gas supply. Make sure that it is fully closed to stop the flow of gas.
Once you’ve shut off the gas supply, it is recommended to open a nearby window or door to allow for proper ventilation. This helps to dissipate any residual gas that may still be present in the fireplace or surrounding area.
It’s important to note that if you’re unsure about the location of the gas shut-off valve or are unable to locate it, it’s best to contact a qualified gas technician or a professional to assist you. They will have the expertise and knowledge to safely turn off the gas supply for you.
Turning off the gas supply is a crucial step that should never be skipped. It ensures your safety and allows for a smooth removal process without the risk of gas-related accidents. Take the time to double-check that the gas supply is fully turned off before proceeding to the next step.
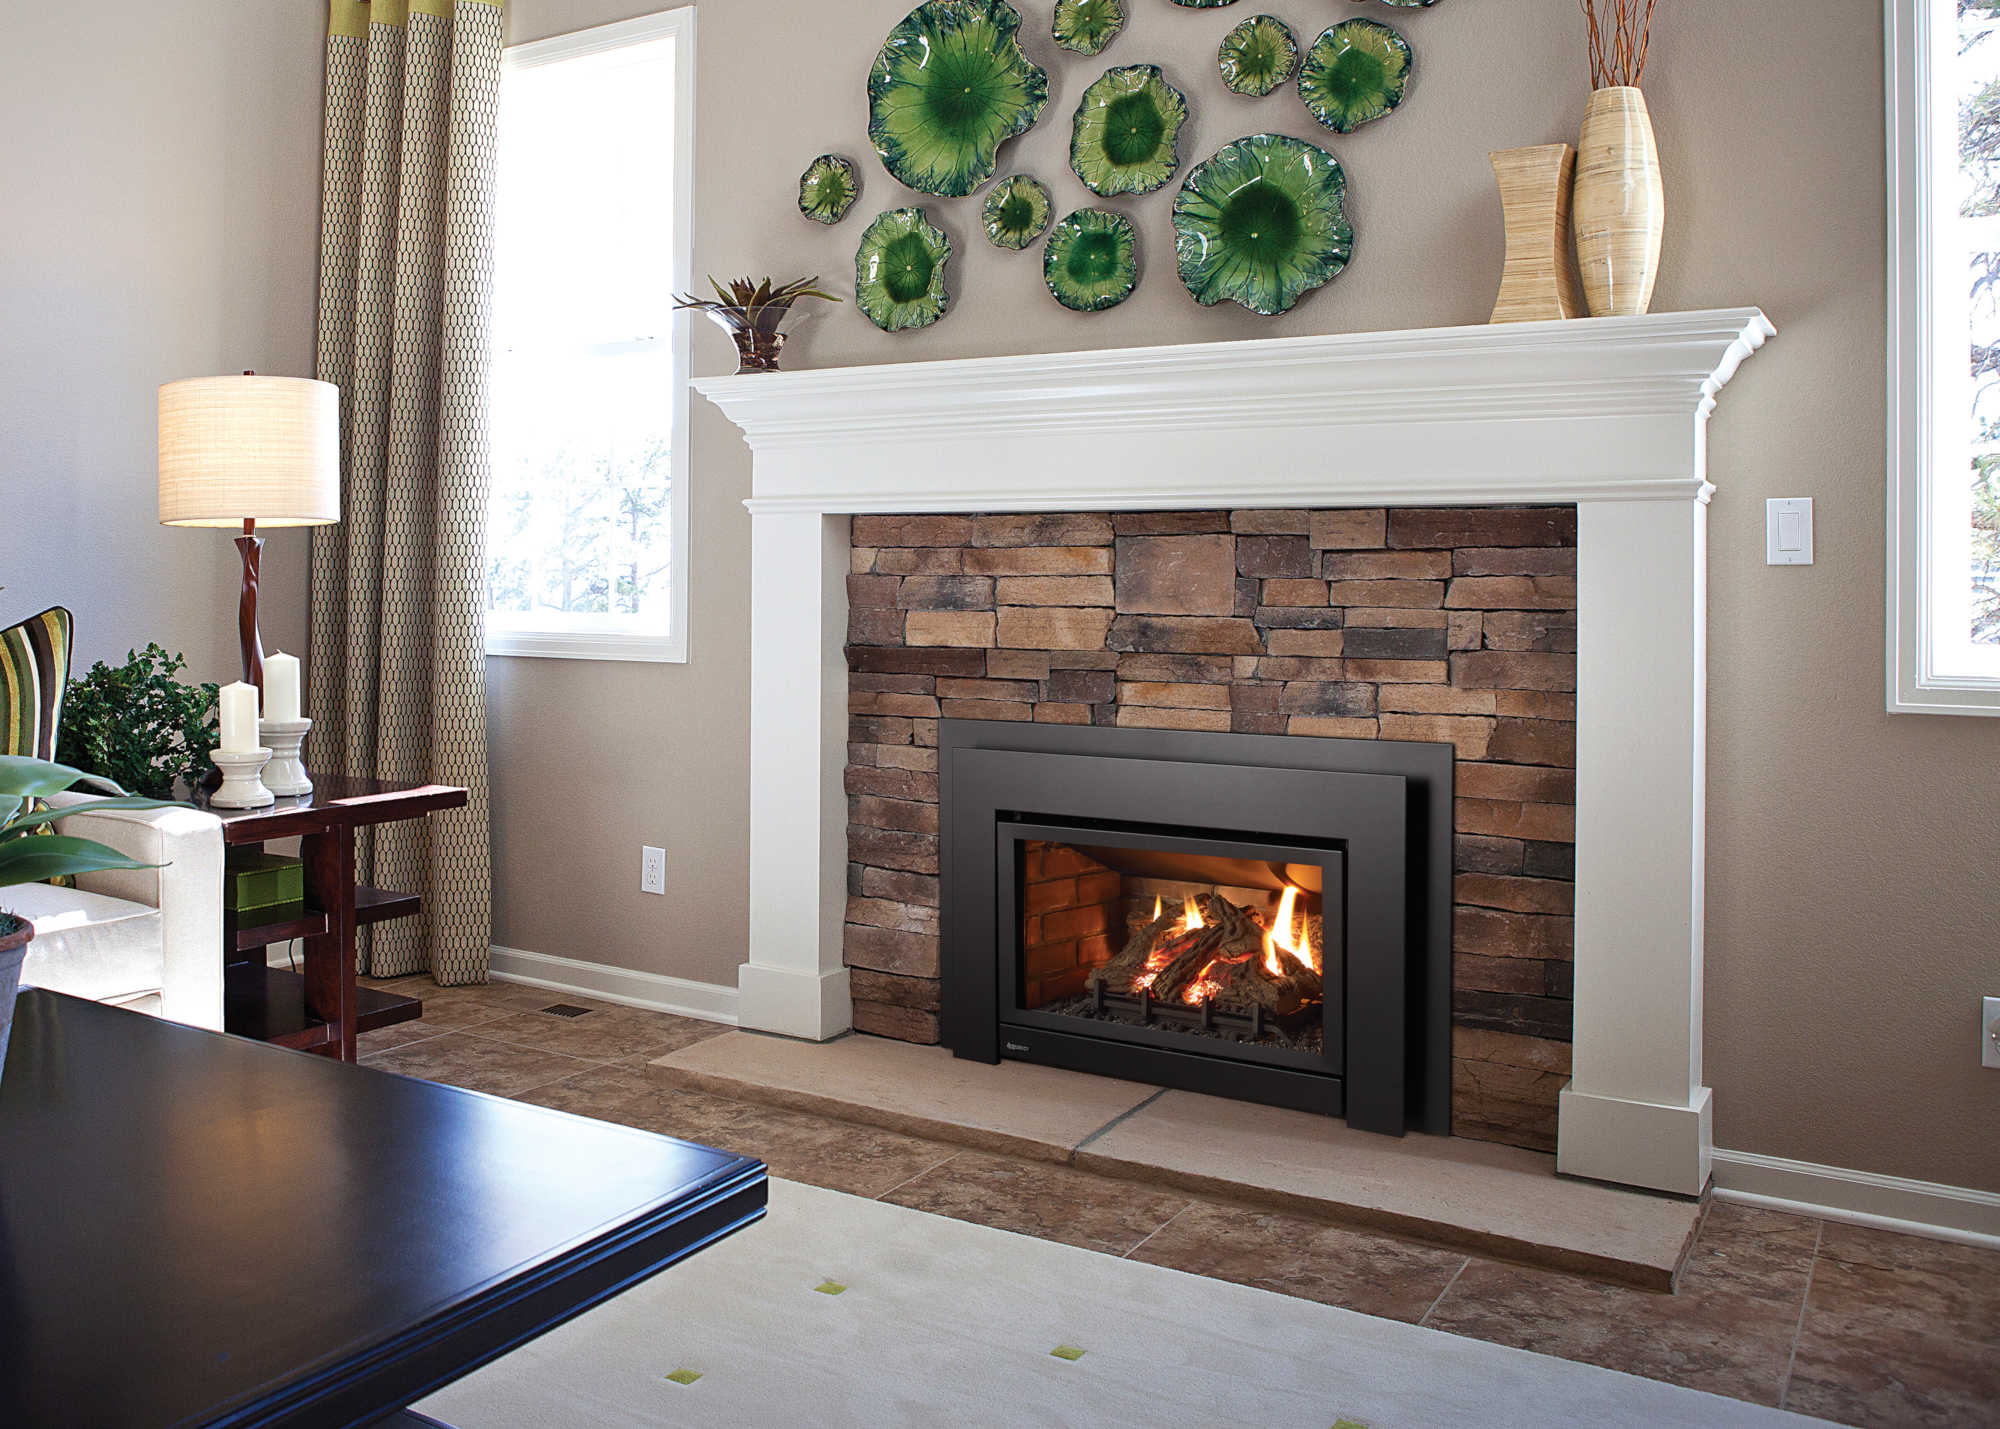
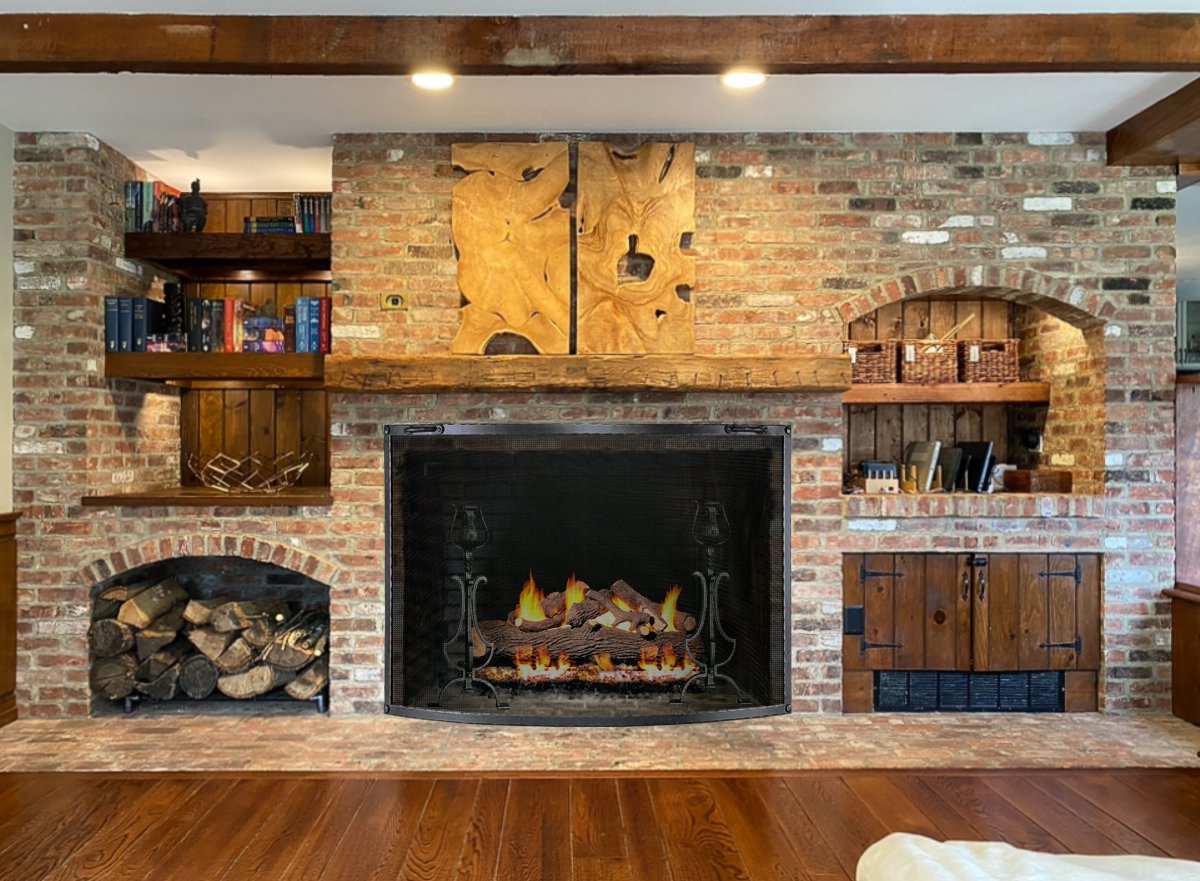
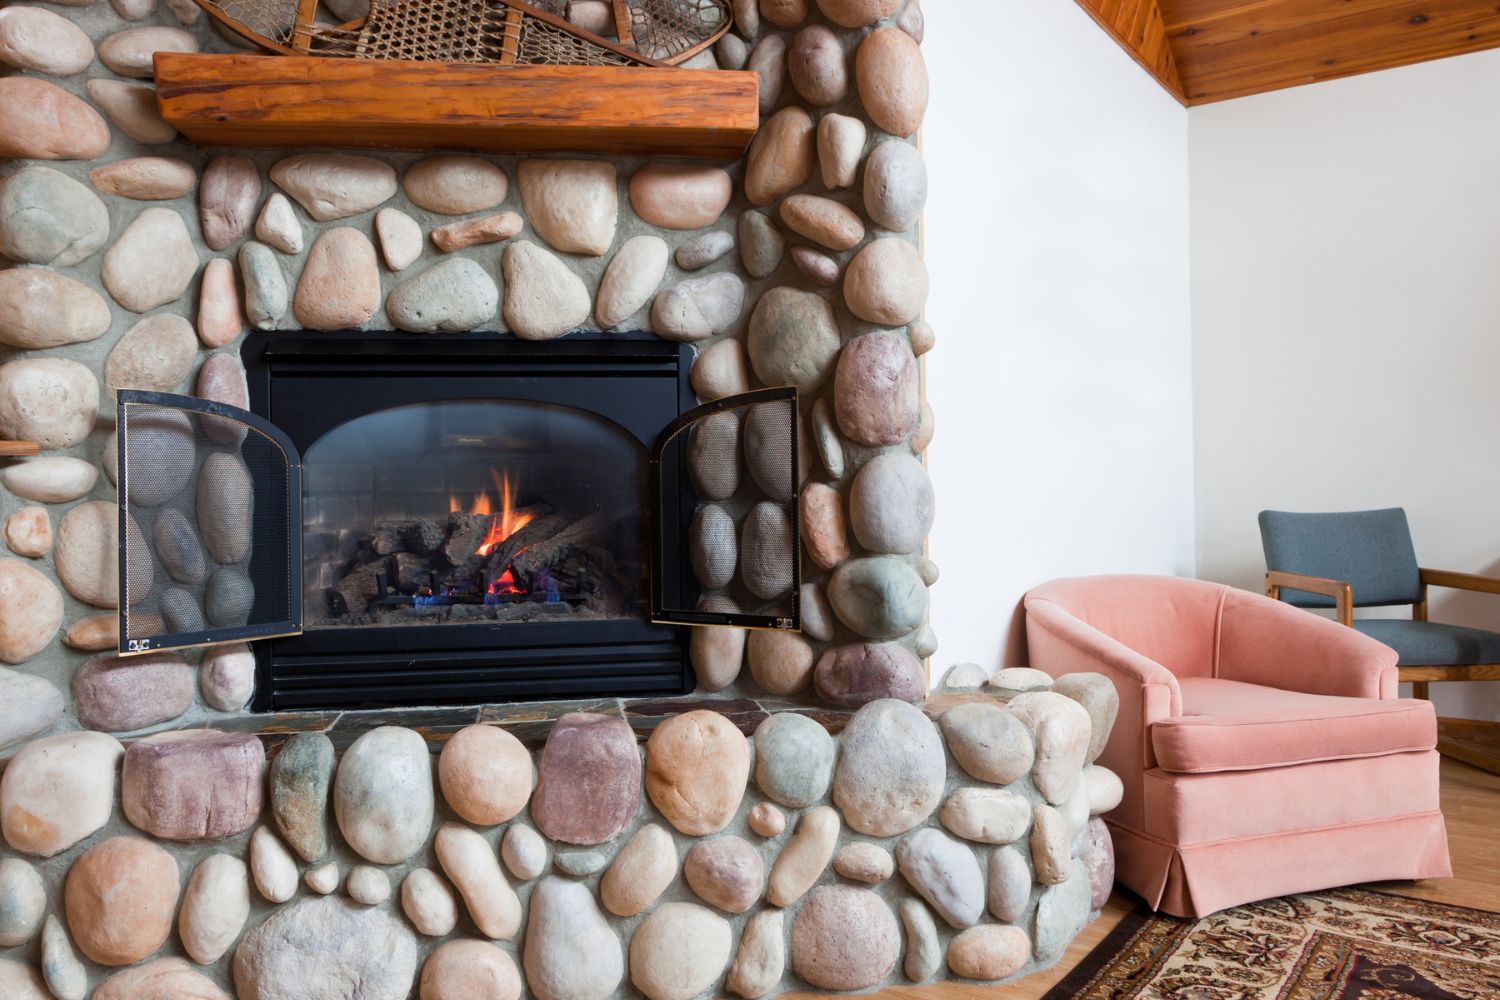
Step 2: Remove Fireplace Surround
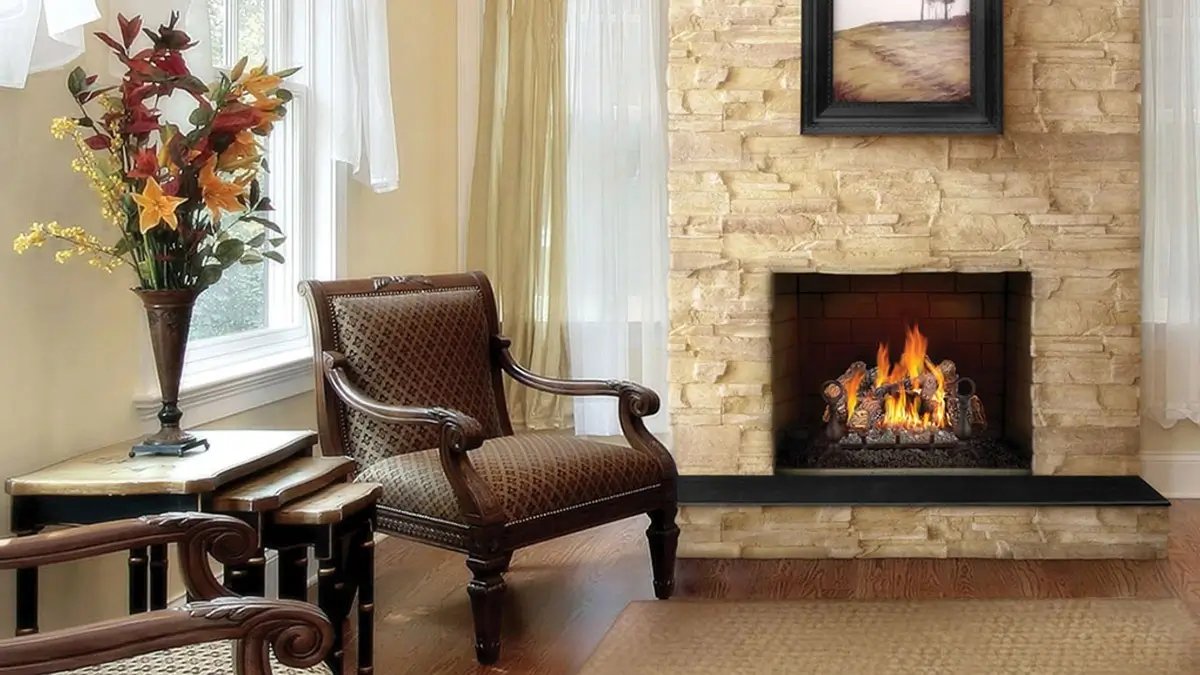
After turning off the gas supply, the next step in removing a gas fireplace is to remove the fireplace surround. The surround refers to the decorative elements that visually frame the fireplace, such as the mantel, tile or stone facing, and any surrounding trim.
Start by removing the mantel. Most mantels are attached to the wall with screws or brackets. Use a screwdriver or a wrench to remove these fasteners and carefully lift off the mantel. Be cautious, as mantels can be heavy and may require assistance to safely remove.
Next, remove the tile or stone facing, if applicable. This may require the use of a chisel or pry bar to gently loosen and remove the tiles or stones. Take care not to damage the wall surface behind the facing during this process.
Trim pieces, such as crown molding or other decorative features, may also need to be removed. Again, use a screwdriver or pry bar to carefully detach these pieces from the wall. Take your time and be gentle to avoid causing any damage.
Once the surround elements are removed, inspect the wall surface for any damage or holes that may need to be repaired before proceeding to the next steps. If necessary, patch any holes or damaged areas with spackle or drywall compound and allow it to dry completely before moving on.
Removing the fireplace surround can be a time-consuming task, especially if it involves intricate details or delicate materials. Take your time and exercise caution to avoid any damage, as you’ll want to preserve the wall’s integrity for future use or renovations.
With the fireplace surround successfully removed, you’re now ready to move on to the next step: disconnecting the gas line.
Step 3: Disconnect Gas Line
Once the fireplace surround has been removed, it’s time to disconnect the gas line connected to the gas fireplace. Disconnecting the gas line is an important step to ensure a safe and efficient removal process.
Before proceeding, make sure you have the necessary tools and safety equipment. You may need an adjustable wrench, pipe wrench, or gas line wrench, depending on the type of gas line fittings present.
Start by carefully inspecting the gas line and fittings. Locate the point where the gas line connects to the fireplace. Typically, there will be a threaded or compression fitting where the gas line is attached. Use caution and avoid damaging the fittings or other components during the disconnection process.
Using the appropriate wrench or tool, gently loosen the fittings by turning them counterclockwise. Be careful not to apply excessive force, as it could cause damage or disrupt the gas line. Gradually loosen the fittings until you can completely detach the gas line from the fireplace.
After disconnecting the gas line, there may be a small amount of residual gas in the line or fittings. To minimize the presence of gas, it’s recommended to allow the area to ventilate by keeping nearby windows or doors open. Ventilation helps dissipate any remaining gas and reduces the risk of potential accidents.
Once the gas line is disconnected from the fireplace, it’s important to cap or seal the exposed end of the line to prevent any leaks or gas flow. This can be done using a pipe cap or plug specifically designed for gas lines. Make sure the cap or plug is securely fastened to ensure a proper seal.
Disconnecting the gas line requires careful attention and adherence to safety protocols. If you’re unsure about any aspect of disconnecting the gas line or feel uncomfortable doing it yourself, it’s best to seek the assistance of a qualified gas technician or professional to ensure the task is completed safely.
With the gas line successfully disconnected, you’re ready to move on to the next step: removing the gas logs.
Step 4: Remove Gas Logs
With the gas line safely disconnected, it’s time to remove the gas logs from the fireplace. Gas logs are typically ceramic or refractory logs designed to mimic the appearance of real wood. Removing them is a necessary step in the process of removing a gas fireplace.
Start by carefully inspecting the gas logs and the components that hold them in place, such as a grate or burner assembly. These components may be secured with screws, bolts, or other fasteners. Use the appropriate tools to loosen and remove these fasteners, allowing you to lift the logs and components out of the fireplace.
When handling the gas logs, be mindful of any gas connections or electrical wiring that may still be present. Take care not to damage or disrupt these components as you remove the logs. It’s also important to handle the logs with caution, as they may still be hot or have residual heat from recent use.
Once the gas logs and associated components are removed, inspect them for any signs of wear or damage. If any component is damaged, it may need to be repaired or replaced before reinstalling it in the fireplace. Additionally, check the gas log set for any debris or buildup that may have accumulated over time. Cleaning the gas logs thoroughly will ensure their optimal performance when reinstalled.
Set the gas logs and components aside in a safe location, taking care not to stack or place any heavy objects on top of them. This will prevent any damage or breakage while you continue with the removal process.
Removing the gas logs is a relatively straightforward process, but it’s important to exercise caution and handle the components with care. If you’re unsure about any aspect of removing the gas logs or encounter any difficulties, it’s best to consult a professional to ensure a safe and efficient removal.
Now that the gas logs have been successfully removed, we can move on to the next step: disconnecting the venting.
Read more: What Is A Gas Fireplace
Step 5: Disconnect Venting
Once the gas logs are removed from the fireplace, the next step in removing a gas fireplace is to disconnect the venting. Venting is an essential component that allows the safe release of combustion byproducts, such as carbon monoxide, from the gas fireplace.
Before starting the disconnection process, it’s crucial to ensure that the gas fireplace and surrounding components have completely cooled down. This will help prevent any accidental burns or injuries during the removal process.
Start by locating the vent pipe that connects to the gas fireplace. The vent pipe may extend through the wall, ceiling, or chimney. Assess the type of venting system used and the connections involved.
Depending on the design and installation of the venting system, you may need to loosen and disconnect various fittings, such as screws, clamps, or twist-lock connections. Refer to the manufacturer’s instructions or consult a professional if you’re unsure about the specific disconnection method for your particular venting system.
Use caution and appropriate tools to disconnect the venting components. Avoid applying excessive force or damaging the pipes or fittings during the process. It’s essential to take your time and ensure that the connections are fully released before proceeding.
Once the venting is disconnected, carefully remove the vent pipes or ducts from the fireplace and set them aside. Inspect the venting components for any signs of damage or wear. If any part is damaged or in need of replacement, make note of it for future repairs or reinstallation.
It’s recommended to cap or seal the open end of the vent pipe to prevent the entry of insects, debris, or other unwanted elements. Use a vent cap specifically designed for your venting system to ensure a proper seal and protection.
Disconnecting the venting is an important step in the removal process as it ensures the safe disconnection and removal of the gas fireplace. If you’re unsure about any aspect of disconnecting the venting or encounter any difficulties, it’s best to consult a professional or a licensed contractor to assist you.
With the venting successfully disconnected, we can now move on to the next step: disconnecting electrical connections.
Before removing a gas fireplace, make sure to turn off the gas supply and disconnect the gas line. It’s also important to carefully follow the manufacturer’s instructions and consider hiring a professional for the job.
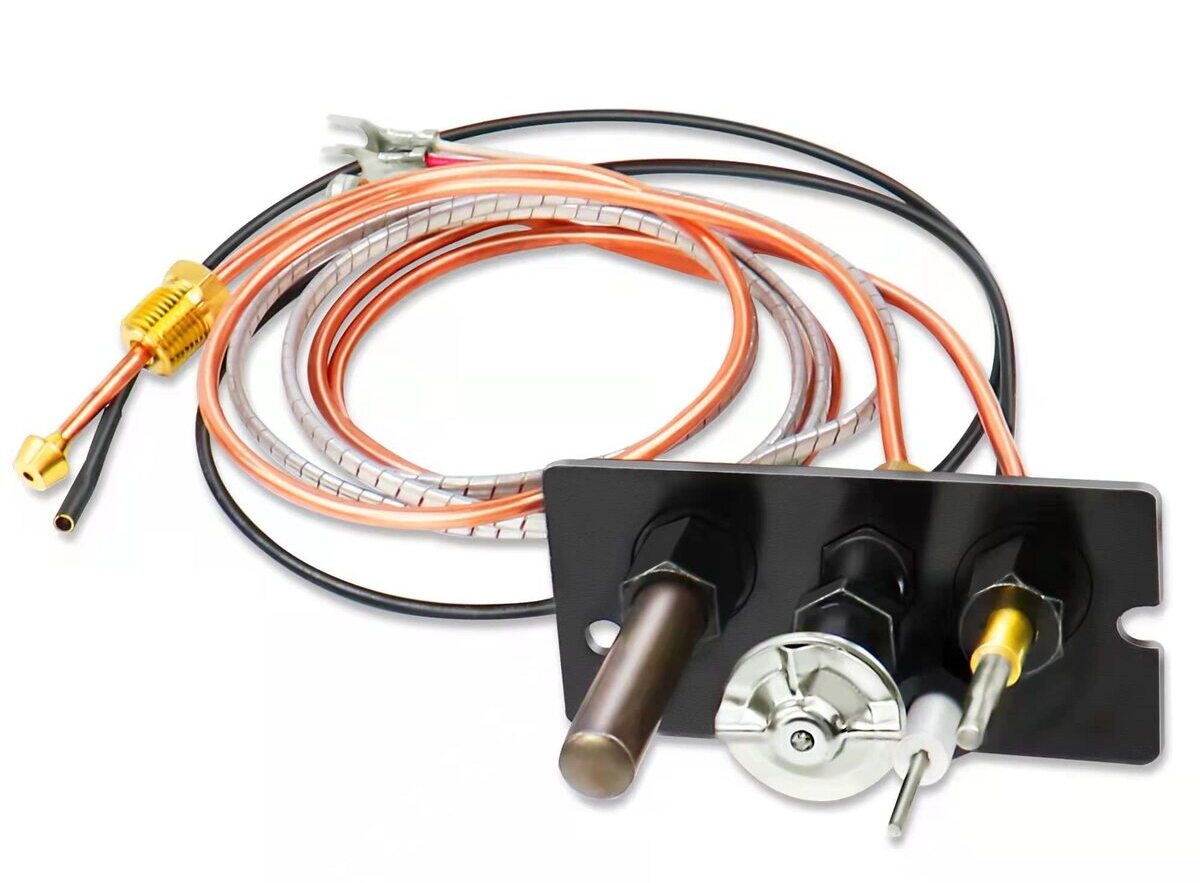
Step 6: Disconnect Electrical Connections
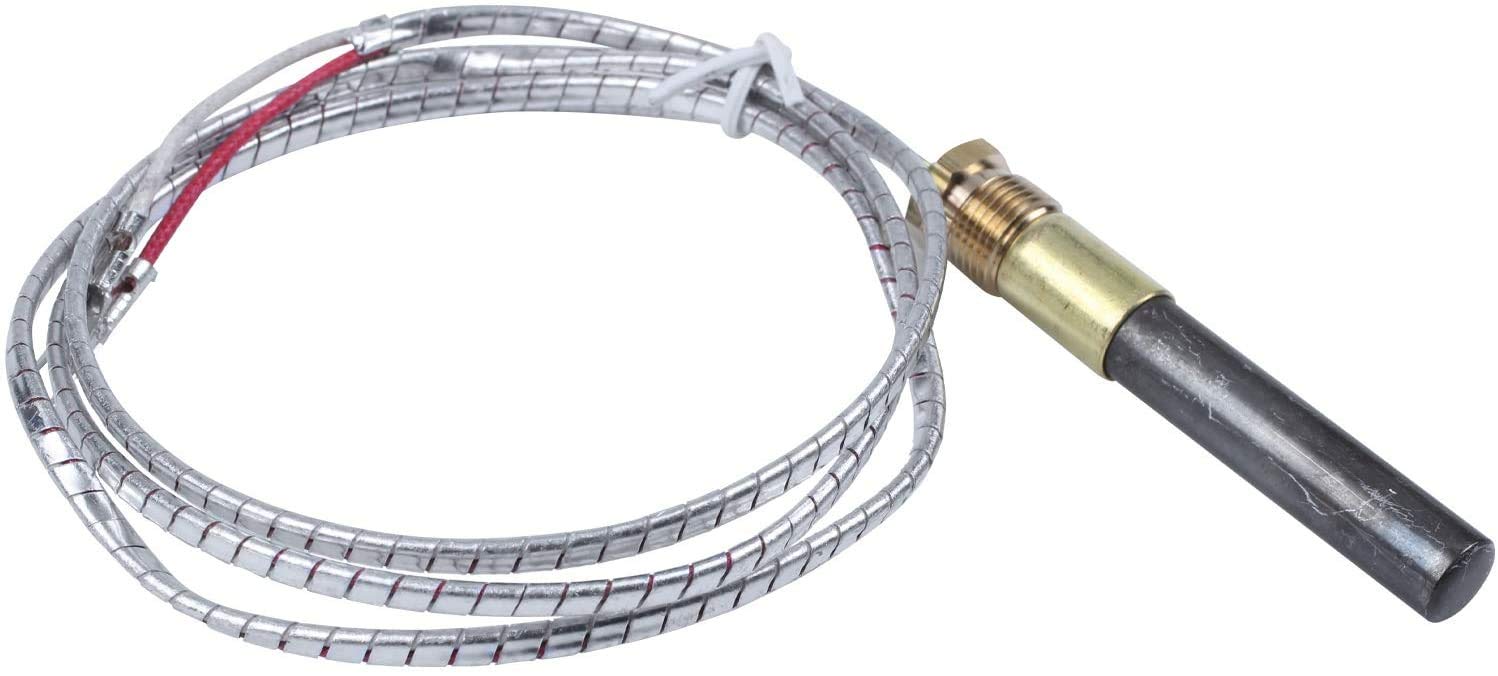
After disconnecting the venting, the next step in removing a gas fireplace is to disconnect any electrical connections associated with it. These electrical connections may include wiring for the ignition system, blower, or any other electrical components that operate the gas fireplace.
Before proceeding, ensure that the gas fireplace is completely disconnected from the power source. This can typically be done by turning off the circuit breaker or unplugging the unit from the electrical outlet.
Inspect the back or side of the fireplace to identify the electrical connections. Depending on your specific fireplace model, there may be an electrical junction box, wiring harness, or individual wires that need to be disconnected.
Using appropriate tools such as wire cutters or pliers, carefully detach the electrical connections. Follow proper safety protocols, such as wearing gloves and ensuring the power source is completely disconnected, to minimize any potential electrical hazards.
Take note of the wiring arrangement or take pictures to aid in the reinstallation process or to assist a professional if needed. Properly label or mark the wires before disconnecting them to ensure an easier reconnection process in the future.
Once all the electrical connections are disconnected, carefully remove any excess wiring or electrical components that were specific to the gas fireplace installation. Take care not to damage or disrupt any other electrical wiring or circuits during the removal process.
With the electrical connections completely disconnected, you have successfully removed the electrical components associated with the gas fireplace. Properly organize and secure any loose wires or components to minimize the risk of damage or tangling during the next steps of the removal process.
Ensure that all electrical connections are handled with caution and compliance with safety regulations. If you’re unsure about any aspect of disconnecting the electrical connections or encounter any difficulties, it’s best to consult a professional electrician or a licensed contractor who can provide assistance and guidance.
Now that the electrical connections have been safely disconnected, let’s move on to the next step: removing the fireplace unit itself.
Step 7: Remove Fireplace Unit
With all the necessary preparations completed, it’s time to remove the gas fireplace unit itself. This step requires careful handling, as the fireplace unit can be heavy and bulky. Enlisting the help of another person is recommended to ensure a safe and efficient removal process.
Start by inspecting the fireplace unit and identifying any screws, brackets, or fasteners that secure it to the wall or surrounding structure. Use appropriate tools such as a screwdriver or wrench to remove these fasteners, taking care not to damage the fireplace or the wall in the process.
Once the fasteners have been removed, gently pull the fireplace unit away from the wall or the built-in enclosure. Take your time and ensure that you have a good grip on the unit to prevent any accidents or damage.
If the fireplace unit is connected to a gas line, ductwork, or other utility connections, it’s important to proceed with caution. Check for any additional connections that may still be attached to the unit and disconnect them following the appropriate procedures. Refer to the manufacturer’s instructions or consult a professional if you’re unsure about any specific disconnection methods.
As you remove the fireplace unit, be mindful of any electrical wires, gas lines, or venting that may still be connected. Make sure to detach these connections carefully and follow proper safety protocols to avoid any damage or injury.
Depending on the size and weight of the fireplace unit, you may need assistance in safely carrying it out of the house or to a designated storage area. Take necessary precautions and use proper lifting techniques to prevent strain or injury.
Once the gas fireplace unit has been successfully removed, carefully inspect the area where it was installed for any damage or debris. If necessary, clean the area and make any repairs or touch-ups to ensure a neat and tidy finish.
With the fireplace unit removed, you have completed a major step in the removal process. Take a moment to assess the space and evaluate any repairs or modifications that may be required before moving forward.
Now that the gas fireplace unit is out, let’s move on to the next step: patching or closing the gas and venting connections.
Step 8: Patch/Close Gas and Venting Connections
After removing the gas fireplace unit, the next step in the removal process is to patch or close the gas and venting connections. Properly sealing these connections is essential for safety and preventing any potential gas leaks or ventilation issues.
Start by closely examining the gas and venting connections that were previously connected to the fireplace unit. Inspect the pipes, fittings, and any other components for any signs of damage or wear. If you notice any issues, such as corroded pipes or loose fittings, they may need to be repaired or replaced before proceeding further.
To close the gas connection, you’ll need to cap or seal the open end of the gas line that was previously connected to the fireplace unit. Use a pipe cap or plug designed for gas lines and ensure it is securely fastened to provide a proper seal. This will prevent any gas leaks or unwanted gas flow.
For the venting connection, you’ll need to utilize a similar approach. Install a vent cap or cover over the open end of the vent pipe to prevent the entry of debris, animals, or other unwanted elements. The vent cap should be securely fastened to ensure a tight seal.
Sealing the gas and venting connections is crucial to maintain the safety and integrity of your home. It helps prevent any gas leaks or the possibility of unwanted air entering your living space. If you’re unsure about the proper sealing methods or encounter any difficulties, it’s best to consult a professional who can provide guidance and ensure the job is done correctly.
Once the gas and venting connections have been properly closed and sealed, conduct a thorough inspection of the surrounding area to ensure everything appears secure and in good condition.
By effectively patching or closing the gas and venting connections, you’ve taken an important step in completing the gas fireplace removal process. Now, let’s move on to the next step: repairing or replacing the wall surrounding the fireplace opening.
Read more: How To Use Gas Fireplace
Step 9: Repair/Replace Wall Surrounding Fireplace Opening
After removing the gas fireplace unit and sealing the gas and venting connections, it’s time to address the wall surrounding the fireplace opening. This step involves repairing or replacing the wall to restore its appearance and functionality.
Start by assessing the condition of the wall surrounding the fireplace opening. Look for any damage, such as cracks, holes, or discoloration. If the wall is in good condition, you may only need to perform minor repairs, such as filling in small cracks or patching holes.
If the wall requires more extensive repairs, you may need to replace sections of drywall or other wall materials. Cut out any damaged or affected areas using a utility knife or drywall saw, making sure to create clean and even edges for the replacement material.
Once the damaged areas have been removed, measure and cut replacement drywall or wallboard to fit the openings. Secure the replacement pieces in place using screws or nails, ensuring a secure and flush installation.
Next, apply joint compound or drywall mud to the seams and joint areas, smoothing it out with a putty knife or drywall trowel. Allow the compound to dry according to the manufacturer’s instructions, and then sand the area to create a smooth and seamless surface.
Once the repairs or replacements are complete, you can proceed with painting or applying a finish to match the surrounding wall. Choose a paint or finish that blends well with the existing wall color and texture, ensuring a cohesive look.
If you’re unsure about the repair or replacement process, or if the damage is extensive, it may be beneficial to consult a professional contractor or a qualified handyman who specializes in wall repairs and renovations. They can provide guidance, expertise, and ensure a high-quality result.
By repairing or replacing the wall surrounding the fireplace opening, you’re not only improving the aesthetic appeal of the space but also restoring the wall’s structural integrity. This step completes the process of removing a gas fireplace and prepares the area for future use or modifications.
Now that the wall repairs or replacements are complete, let’s move on to the final step: cleaning up and disposing of materials.
Step 10: Clean Up and Dispose of Materials
The final step in removing a gas fireplace is to clean up the area and properly dispose of any materials that were used during the removal process. This step ensures that your space is left tidy and free of debris.
Start by clearing the area around the fireplace of any loose debris, such as screws, nails, or small remnants of materials. Use a broom or a vacuum cleaner to sweep or remove any dust or dirt that may have accumulated during the removal process.
If there are any large or heavy items, such as the fireplace unit or surround, make sure they are safely stored or disposed of according to local regulations. Contact your local waste management facility or recycling center to inquire about proper disposal methods for these materials.
Additionally, if you have any remaining gas logs or other components, assess their condition and determine if they can be reused or if they should be disposed of. If they are still in good shape, consider donating them or offering them for reuse to someone who may benefit from them.
It’s essential to dispose of any materials, such as gas lines, venting components, or electrical wires, that are no longer needed safely and responsibly. Ideally, these items should be recycled or disposed of following proper disposal guidelines to minimize environmental impact.
Once the cleanup is complete and all materials are properly disposed of, take a moment to appreciate the newly transformed space. It’s a job well done, and your efforts have resulted in the successful removal of the gas fireplace.
If you’re unsure about the disposal process or have concerns about certain materials, it’s always advisable to seek guidance from professionals or contact your local waste management authorities for specific instructions.
Congratulations! You’ve now completed the step-by-step process of removing a gas fireplace. By following these instructions and taking the necessary safety precautions, you’ve successfully executed the removal process and can now enjoy the space in a new way.
Thank you for using this guide, and we hope it has been helpful in assisting you with removing your gas fireplace.
Conclusion
Removing a gas fireplace may seem like a daunting task, but with the right knowledge and careful execution, it can be accomplished successfully. This step-by-step guide has provided you with the necessary information to safely and effectively remove a gas fireplace from your home.
Throughout the process, safety should always be your top priority. Turning off the gas supply, handling electrical connections with care, and following proper disposal procedures are essential steps to ensure a secure and risk-free removal.
Additionally, enlisting the help of professionals, such as gas fireplace technicians, electricians, or contractors, can offer invaluable expertise and guidance throughout the removal process. If you’re unsure about any step or encounter difficulties, don’t hesitate to seek professional assistance.
By following the steps outlined in this guide, you’ve learned how to turn off the gas supply, remove the fireplace surround, disconnect gas and venting connections, and address electrical components. You’ve also gained insight into repairing or replacing the wall surrounding the fireplace opening.
Remember, it’s important to approach each step with caution and attention to detail. Taking your time and being thorough will ensure a smooth removal process and help protect the integrity of your home.
Once the gas fireplace has been removed, take pride in the transformation of your space. You now have the opportunity to reimagine and repurpose the area to suit your needs and preferences.
Whether you’re upgrading to a different heating option, renovating the space, or removing the fireplace altogether, this guide has equipped you with the knowledge and confidence to tackle the job effectively.
Thank you for using this comprehensive guide to remove your gas fireplace. We hope it has been informative and valuable in assisting you with this project. Remember to always prioritize safety and consult professionals when needed. Best of luck with your future endeavors!
Frequently Asked Questions about How To Remove A Gas Fireplace
Was this page helpful?
At Storables.com, we guarantee accurate and reliable information. Our content, validated by Expert Board Contributors, is crafted following stringent Editorial Policies. We're committed to providing you with well-researched, expert-backed insights for all your informational needs.

0 thoughts on “How To Remove A Gas Fireplace”