
Articles
How Much To Install A Gas Fireplace
Modified: October 20, 2024
Looking for articles on how much it costs to install a gas fireplace? Find all the information you need, including pricing details and installation tips, right here.
(Many of the links in this article redirect to a specific reviewed product. Your purchase of these products through affiliate links helps to generate commission for Storables.com, at no extra cost. Learn more)
Introduction
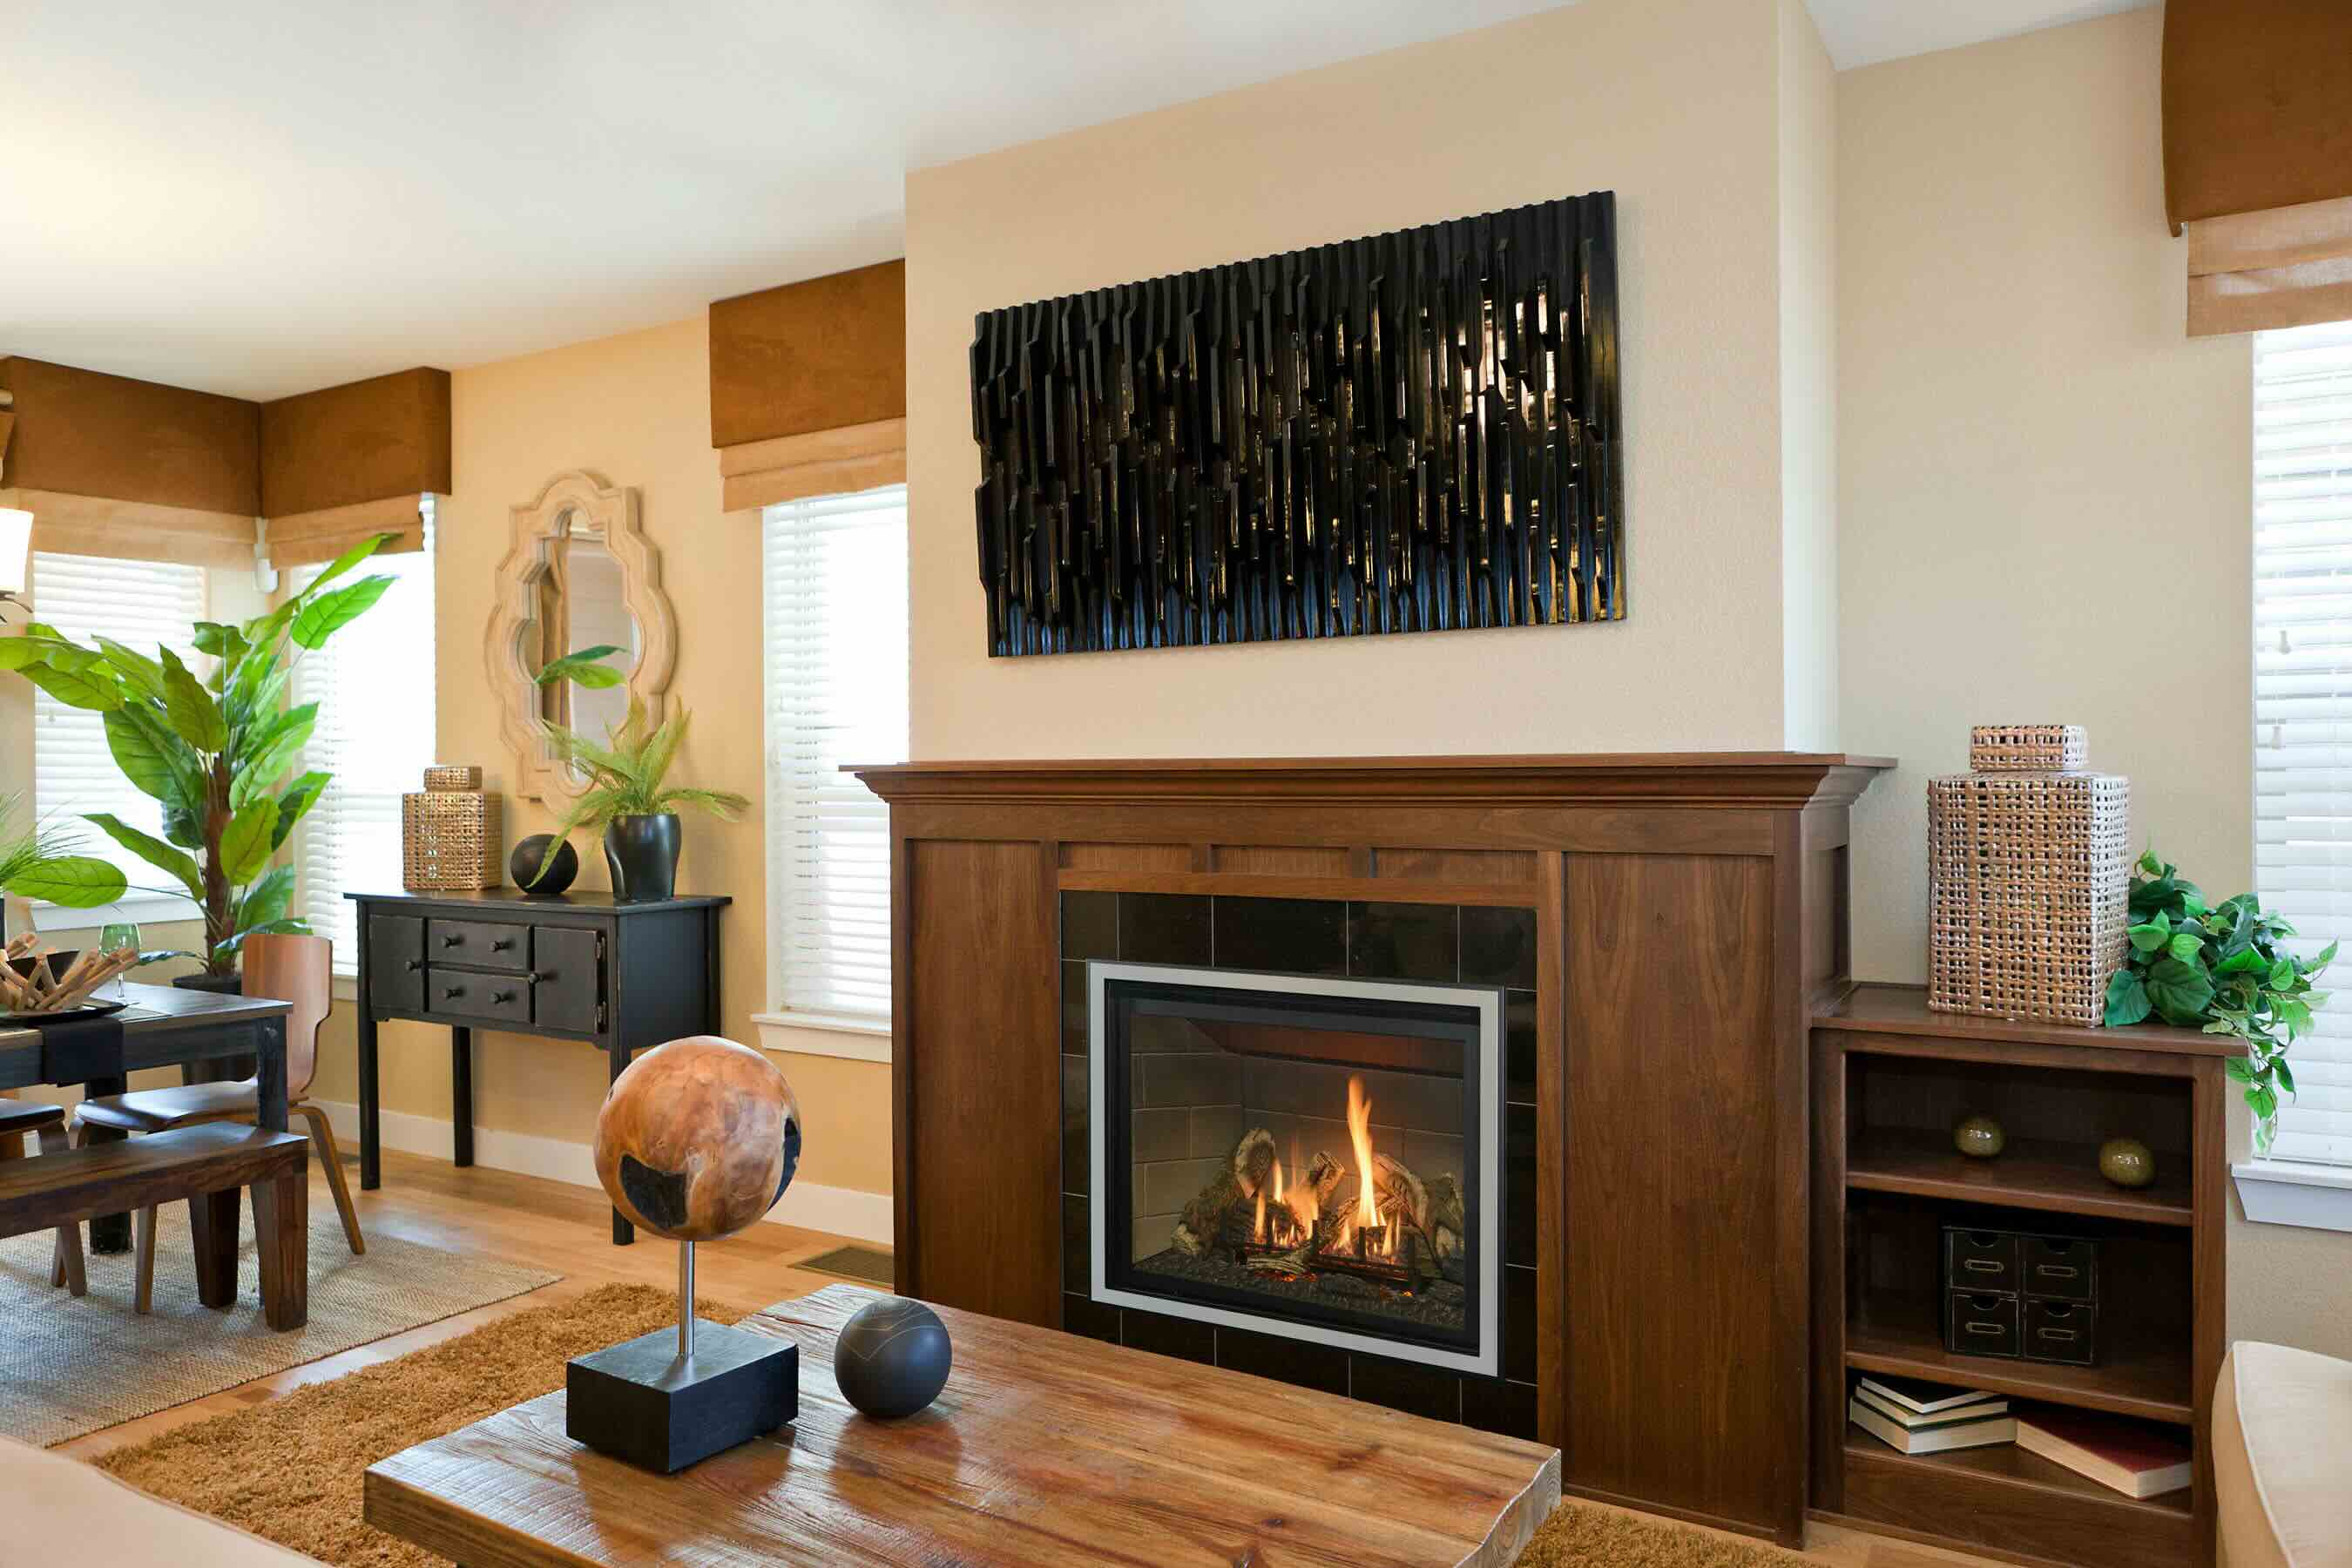
Installing a gas fireplace in your home can not only provide warmth and comfort, but it can also add a touch of elegance and style to your living space. Whether you’re looking to replace an old wood-burning fireplace or want to create a cozy atmosphere in a room without an existing fireplace, installing a gas fireplace can be a perfect solution.
But before you dive into the world of gas fireplace installation, it’s important to understand the factors that come into play and the costs involved. This comprehensive guide will walk you through everything you need to know about installing a gas fireplace and how much it may cost you.
Read more: How To Install Gas Logs In Fireplace
Factors to Consider
When it comes to installing a gas fireplace, there are several factors that you need to consider:
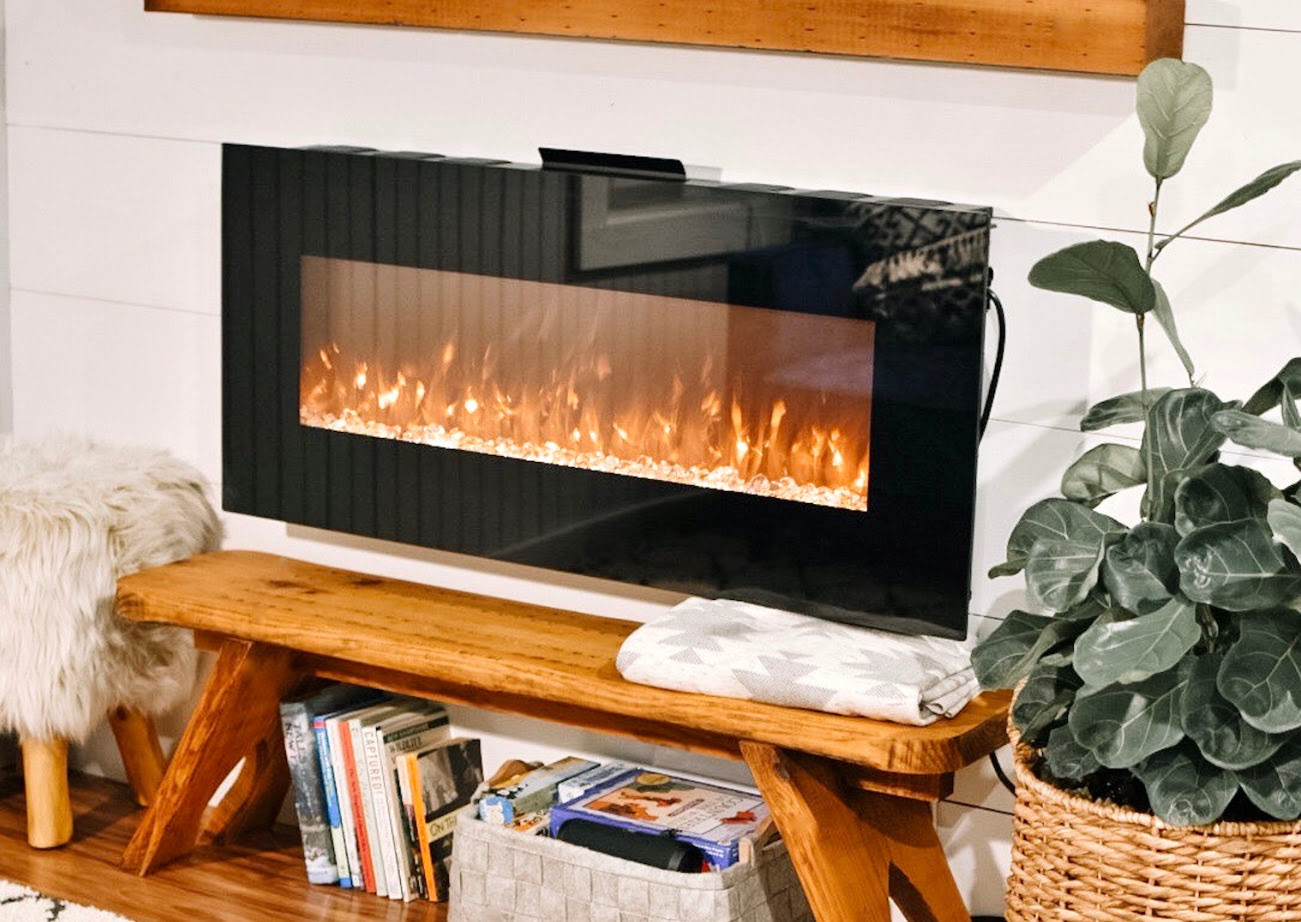
- Type of Gas Fireplace: There are different types of gas fireplaces available, including direct-vent, ventless, and electric start models. Each type has its own installation requirements and cost implications.
- Location: The location where you want to install the gas fireplace plays a significant role in determining the overall cost. If you already have an existing fireplace, the installation may be simpler and more cost-effective. However, if you need to create a new opening or convert a non-fireplace space, the installation costs may be higher.
- Access to Gas Lines: If your home already has a natural gas line, the installation process may be relatively straightforward. However, if you don’t have a gas line, you will need to consider the cost of extending the line to the desired location.
- Ventilation Requirements: Gas fireplaces require proper ventilation to ensure the safety of your home. The need for venting or chimney installation will depend on the type of gas fireplace you choose.
- Add-ons and Accessories: Adding features like mantels, surrounds, or custom designs can impact the overall cost of the installation.
Considering these factors will help you make informed decisions and determine the most suitable type of gas fireplace for your home.
Key Takeaways:
- Installing a gas fireplace involves considering factors such as type, location, and ventilation, impacting costs. Professional installation is recommended for safety, compliance, and warranty coverage.
- In addition to the unit and labor costs, budget for permits, electrical work, maintenance, and decorative features. Consulting with professionals ensures accurate estimates and successful installation.
Factors to Consider
When it comes to installing a gas fireplace, there are several factors that you need to consider:
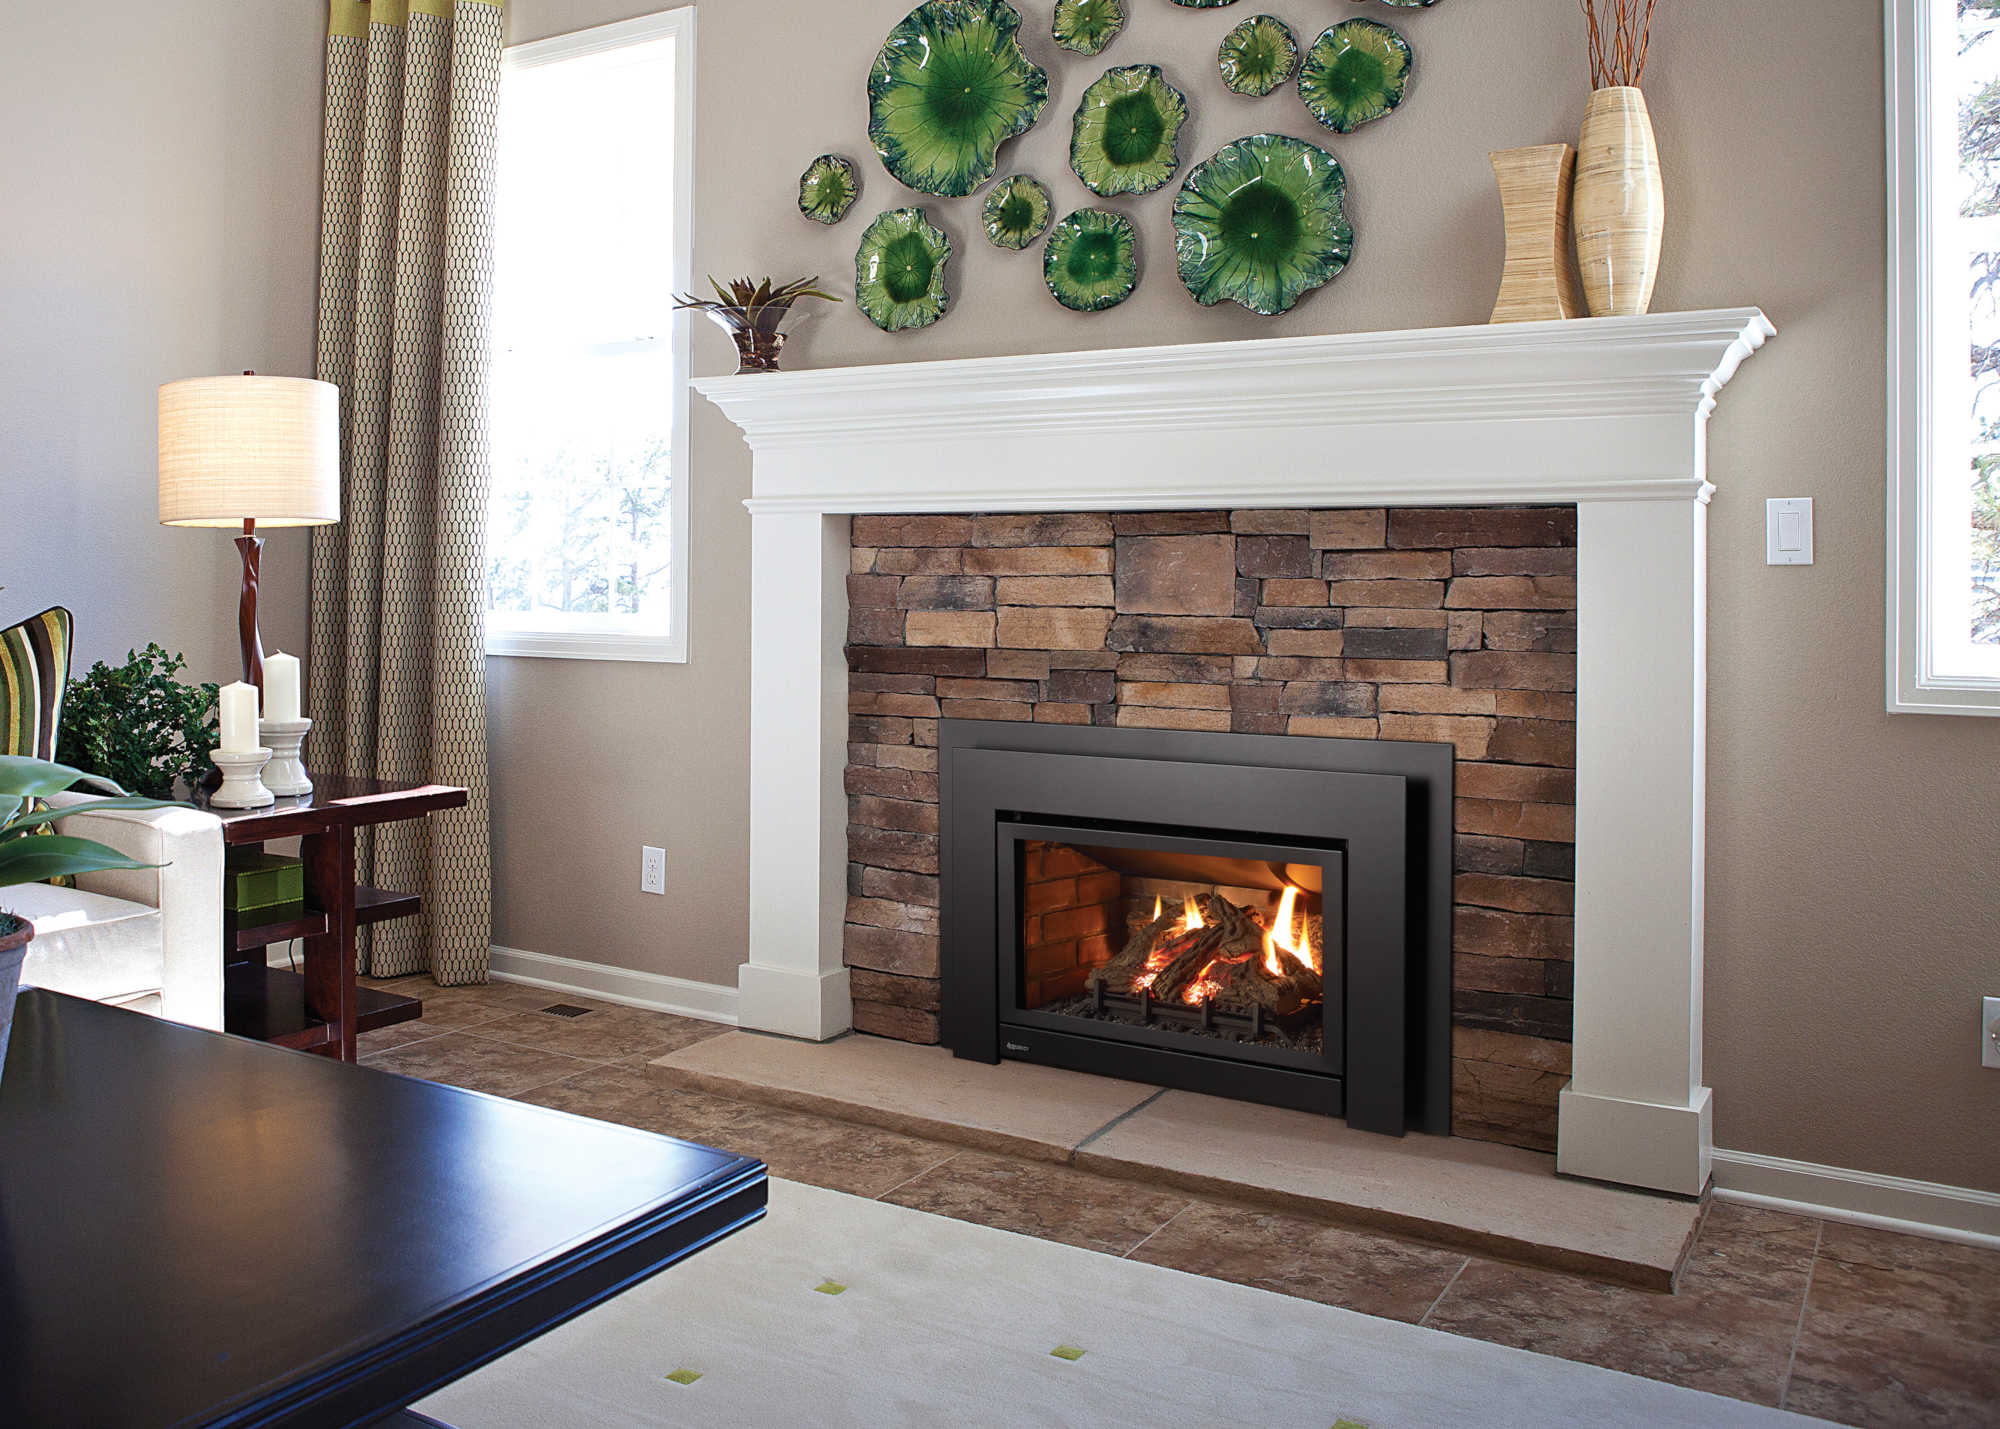
- Type of Gas Fireplace: The first factor to consider is the type of gas fireplace you want to install. The most common types are direct-vent, ventless, and electric start models. Each type has its own installation requirements and cost implications. Direct-vent fireplaces are the most popular choice as they offer efficient heating and safe ventilation. Ventless fireplaces are easier to install but require careful consideration of indoor air quality. Electric start models are convenient and easy to use, but they may not provide the same level of ambiance as a traditional gas fireplace.
- Location: The location of the gas fireplace is another important factor. If you already have an existing fireplace, the installation process may be simpler and more cost-effective. The existing chimney and venting system can be utilized, reducing the need for additional structural modifications. On the other hand, if you want to install a gas fireplace in a room without an existing fireplace, you will need to create a new opening or convert a non-fireplace space. This will require more extensive work and may increase the overall cost of the installation.
- Access to Gas Lines: Before installing a gas fireplace, you need to ensure that you have access to a gas line. If your home already has a natural gas line, the installation process will be relatively straightforward. However, if you don’t have an existing gas line, you will need to consider the cost of extending the line to the desired location. This may involve trenching, piping, and connecting the gas line to the fireplace.
- Ventilation Requirements: Gas fireplaces require proper ventilation to ensure the safety of your home. The need for venting or chimney installation will depend on the type of gas fireplace you choose. Direct-vent fireplaces require a vent pipe that runs through an exterior wall or roof, allowing combustion air to enter and exhaust gases to exit the home. Ventless fireplaces, as the name suggests, do not require any venting system. They are designed to burn fuel cleanly and release combustion byproducts back into the room. However, ventless fireplaces may not be suitable for every home, as they can affect indoor air quality and require additional precautions.
- Add-ons and Accessories: Finally, consider if you want to add any additional features or accessories to your gas fireplace. This could include a mantel, surround, custom design elements, or remote control options. These add-ons can enhance the aesthetics and functionality of your fireplace but will also add to the overall cost of the installation.
By considering these factors, you can make informed decisions about the type of gas fireplace that best suits your needs and the associated costs of installation. It is recommended to consult with a professional to ensure a safe and successful installation.
Cost of Gas Fireplace Installation
The cost of gas fireplace installation can vary depending on several factors, including the type of fireplace, the location, and the additional features or accessories you choose. Here are some cost considerations to keep in mind:
- Gas Fireplace Unit: The cost of the gas fireplace itself can range from a few hundred dollars to several thousand dollars, depending on the brand, size, style, and features. Higher-end models may offer more advanced technology, customizable options, and premium materials, but they also come with a higher price tag.
- Installation Labor: Hiring a professional to install the gas fireplace is highly recommended to ensure proper installation and compliance with safety regulations. The cost of labor will depend on the complexity of the installation, the location, and the timeframe. On average, installation labor can range from $500 to $1,500, but this does not include any additional work, such as structural modifications or gas line extensions.
- Structural Modifications: If you need to create a new fireplace opening or convert a non-fireplace space, additional structural modifications may be required. This can include cutting through walls, adding a chimney or venting system, or reinforcing the surrounding structure. The cost of these modifications will depend on the scope of work and can range from a few hundred dollars to several thousand dollars.
- Gas Line Extension: If you don’t have an existing gas line in the desired location, you will need to extend the gas line to the fireplace. This involves running a new gas pipe, installing shut-off valves, and connecting the line to the fireplace. The cost of gas line extension can vary depending on the distance, accessibility, and the need for permits or inspections. On average, gas line extension can cost between $500 and $1,500.
- Venting System: Proper ventilation is essential for gas fireplaces. The cost of a venting system will depend on the type of fireplace you choose. Direct-vent fireplaces require a vent pipe that runs through an exterior wall or roof. The cost of venting materials, such as vent pipes, termination caps, and firestop plates, can range from $200 to $500. Ventless fireplaces, on the other hand, do not require any venting system, eliminating the cost of ventilation.
- Add-ons and Accessories: Adding additional features or accessories, such as a mantel, surround, or custom design elements, can significantly impact the overall cost of the installation. The price will depend on the materials, size, and complexity of the add-ons. On average, the cost for add-ons and accessories can range from a few hundred dollars to several thousand dollars.
Keep in mind that these costs are estimates and can vary based on factors such as location, contractor rates, and market conditions. It is recommended to obtain multiple quotes from reputable contractors to get a more accurate understanding of the total cost of gas fireplace installation.
Average Installation Costs
The average cost of installing a gas fireplace can vary depending on the factors mentioned earlier, including the type of fireplace, location, and additional features. While it’s difficult to provide an exact cost without specific details, here are some average installation costs to give you a rough idea:
- Gas Fireplace Unit: The cost of a basic gas fireplace unit can range from $1,000 to $3,000. Mid-range models with more features and customization options can cost between $3,000 and $6,000, while high-end or luxury models can exceed $6,000.
- Installation Labor: On average, the installation labor cost for a gas fireplace can range from $500 to $1,500. However, this cost can increase if additional work or modifications are required, such as creating a new opening or extending a gas line.
- Structural Modifications: The cost of structural modifications will depend on the extent of the work required. Adding a fireplace opening or converting a non-fireplace space can range from $500 to $3,000 or more, depending on factors such as the complexity of the project, building materials, and labor costs.
- Gas Line Extension: The average cost of extending a gas line to the desired location for a gas fireplace can range from $500 to $1,500, depending on factors such as the distance, accessibility, and any necessary permits or inspections.
- Venting System: If you choose a direct-vent gas fireplace, the cost of the venting system can range from $200 to $500, depending on the materials and length of the vent pipe. For ventless fireplaces, there is no need for a venting system, eliminating the cost of ventilation.
- Add-ons and Accessories: The cost of add-ons and accessories for a gas fireplace can vary widely depending on the materials and customization options. On average, add-ons such as a mantel, surround, or custom design elements can range from a few hundred dollars to several thousand dollars.
It’s important to note that these are general average costs and can vary significantly depending on your location, contractor rates, and specific project requirements. Obtaining multiple quotes from reputable contractors will give you a more accurate estimate based on your unique circumstances.
Additionally, don’t forget to factor in any potential costs for permits, inspections, or additional electrical work that may be necessary during the installation process. These costs can vary depending on local regulations and requirements.
When considering the cost to install a gas fireplace, it’s important to factor in the price of the fireplace unit, installation labor, and any necessary venting or gas line modifications. It’s best to get multiple quotes from licensed professionals to ensure you’re getting a fair price.
Read more: How Much To Convert To A Gas Fireplace
DIY vs. Professional Installation
When it comes to installing a gas fireplace, you may be faced with the decision of whether to tackle the project yourself or hire a professional. While DIY installation may seem tempting to save money, there are several important factors to consider:
1. Safety: Gas fireplace installation involves working with potentially dangerous materials and requires knowledge of proper venting, gas connections, and electrical wiring. Improper installation can lead to gas leaks, fire hazards, and other safety risks. Professional installers have the expertise and experience to ensure a safe and secure installation, giving you peace of mind that your fireplace is operating correctly and efficiently.
2. Compliance with Building Codes: Gas fireplace installations must comply with local building codes and regulations. Professional installers are familiar with these requirements and can ensure that your installation meets all necessary codes and permits. DIY installations may risk non-compliance, which can result in fines or future issues during home inspections or insurance claims.
3. Technical Knowledge: Installing a gas fireplace involves understanding the intricacies of gas lines, venting systems, electrical connections, and more. Professional installers have the technical knowledge and training to handle these aspects correctly. They can also troubleshoot any issues that may arise during the installation process.
4. Warranty Coverage: Many gas fireplace manufacturers require professional installation in order to maintain warranty coverage. DIY installations may void any warranties, leaving you responsible for repair or replacement costs in the event of a malfunction or damage.
5. Time and Convenience: Gas fireplace installations can be time-consuming and require physical labor. Hiring a professional installer can save you the hassle and stress of doing the work yourself. Professionals have the necessary tools and experience to complete the installation efficiently and effectively.
6. Cost Considerations: While DIY installations may seem cost-effective initially, they can end up costing you more in the long run. Mistakes or improper installation may lead to costly repairs or even the need to redo the entire installation. Additionally, professionals may have access to discounts or special pricing on materials and can ensure that the installation is done correctly the first time.
7. Insurance Coverage: DIY installations may not be covered by your homeowner’s insurance in the event of any damages or accidents. Professional installers typically have insurance coverage, providing you with protection and peace of mind in case of unforeseen incidents.
Ultimately, the decision between a DIY installation and hiring a professional will depend on your level of expertise, knowledge, and confidence in undertaking such a project. If you have little to no experience with gas fireplace installations, it’s strongly recommended to hire a professional to ensure a safe and successful installation.
Additional Costs to Consider
When budgeting for a gas fireplace installation, it’s important to consider potential additional costs that may arise. These costs can vary depending on the specifics of your project and any unique requirements. Here are some additional costs to keep in mind:
1. Permits and Inspections: Depending on your local regulations, you may need to obtain permits for gas fireplace installation. Permit fees can vary but typically range from $50 to $200. Additionally, some areas require inspections before, during, or after the installation to ensure compliance with safety standards. Inspection fees may apply and can range from $50 to $150.
2. Electrical Work: Gas fireplaces typically require an electrical connection for ignition systems, blowers, or other accessories. If your desired installation location does not have an existing electrical outlet, you may need to hire an electrician to install one. The cost of electrical work can range from $100 to $500, depending on the complexity and wiring needed.
3. Gas Line Upgrades: If your existing gas line does not meet the requirements for the gas fireplace installation, you may need to upgrade the gas line. This can involve extending or replacing the gas line to accommodate the fireplace. The cost for gas line upgrades can vary depending on factors such as the distance, accessibility, and local labor rates, but it typically ranges from $500 to $1,500.
4. Decorative Features: While the gas fireplace unit itself may come with basic features, you may want to enhance its aesthetic appeal with additional decorative features, such as a mantel, surround, or custom design elements. The cost for these decorative features can vary widely based on materials, complexity, and customization options. It’s best to consult with a contractor or fireplace specialist to get a more accurate estimate for the specific features you desire.
5. Maintenance and Service: After the initial installation, you will need to consider ongoing maintenance and service costs. Gas fireplaces require annual inspections, cleaning, and tune-ups to ensure optimal performance and safety. Professional service visits can range from $100 to $200 per year, depending on the complexity of the fireplace and the services provided.
6. Accessories and Upgrades: In addition to decorative features, you may also want to consider accessories or upgrades to enhance your gas fireplace experience. This could include a remote control, thermostat, decorative logs, or other optional features. The cost for these accessories can vary depending on the brand and features you choose.
It’s important to keep in mind that these are additional costs that may arise during the gas fireplace installation process. Before starting the project, consult with a professional installer or contractor to assess your specific requirements and obtain accurate cost estimates for your project.
Conclusion
Installing a gas fireplace can not only provide warmth and comfort but also add a touch of elegance and sophistication to your home. However, it is essential to consider several factors and costs associated with gas fireplace installation in order to make informed decisions and ensure a successful project. Factors such as the type of gas fireplace, location, access to gas lines, ventilation requirements, and add-ons can significantly impact the overall cost of installation. Understanding these factors will help you determine the most suitable type of gas fireplace for your home and budget. While it may be tempting to attempt a DIY installation to save money, hiring a professional installer comes with several benefits. Professionals have the expertise, knowledge, and experience to ensure a safe and compliant installation. They can also provide valuable guidance and troubleshoot any issues that may arise during the process. In addition to the costs of the gas fireplace unit and installation labor, it is important to consider potential additional costs. These include permits and inspections, electrical work, gas line upgrades, decorative features, ongoing maintenance and service, and optional accessories and upgrades. By carefully considering these additional costs and consulting with reputable contractors, you can obtain accurate estimates and budget accordingly. In conclusion, gas fireplace installation requires careful planning, consideration of various factors, and a realistic budget. By making informed decisions and working with professionals, you can create a warm and inviting ambiance in your home while enjoying the benefits of a gas fireplace for years to come.
Frequently Asked Questions about How Much To Install A Gas Fireplace
Was this page helpful?
At Storables.com, we guarantee accurate and reliable information. Our content, validated by Expert Board Contributors, is crafted following stringent Editorial Policies. We're committed to providing you with well-researched, expert-backed insights for all your informational needs.


0 thoughts on “How Much To Install A Gas Fireplace”