
Articles
How To Update Gas Fireplace
Modified: January 6, 2024
Discover step-by-step articles on updating your gas fireplace, from maintenance tips to design ideas. Unlock the full potential of your gas fireplace with expert guidance.
(Many of the links in this article redirect to a specific reviewed product. Your purchase of these products through affiliate links helps to generate commission for Storables.com, at no extra cost. Learn more)
Introduction
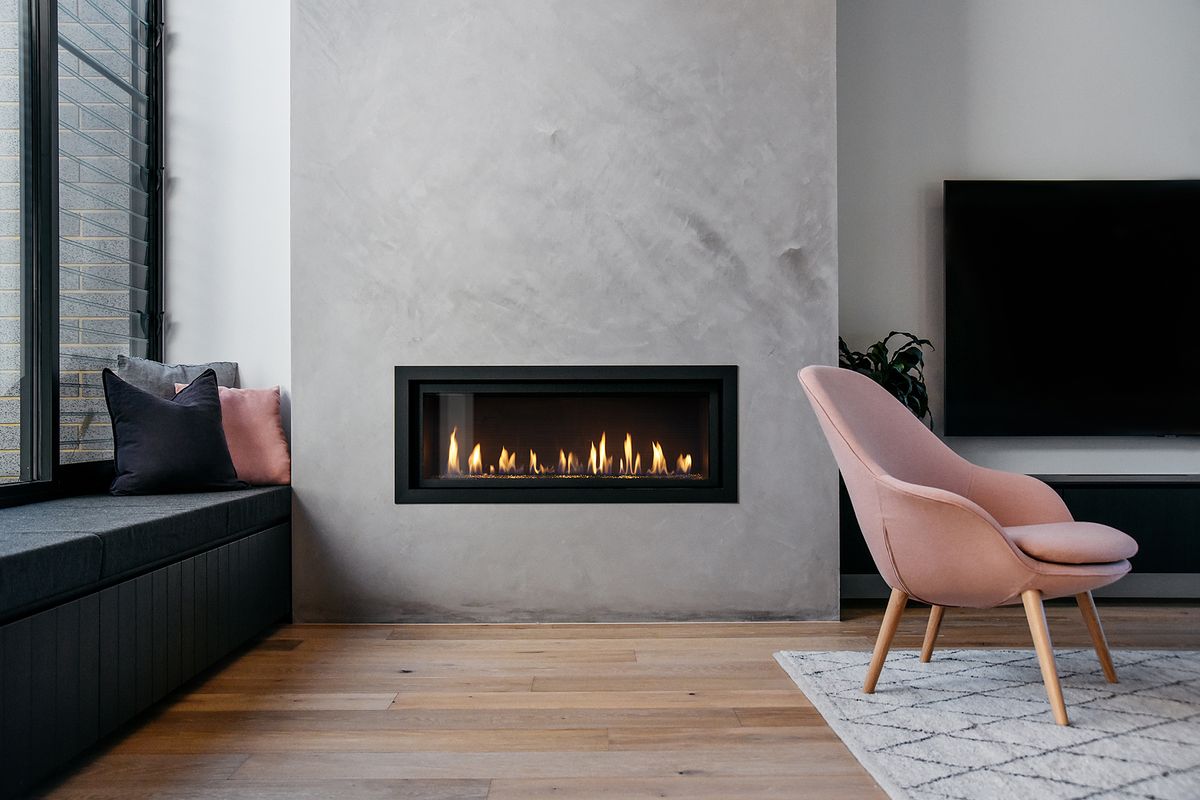
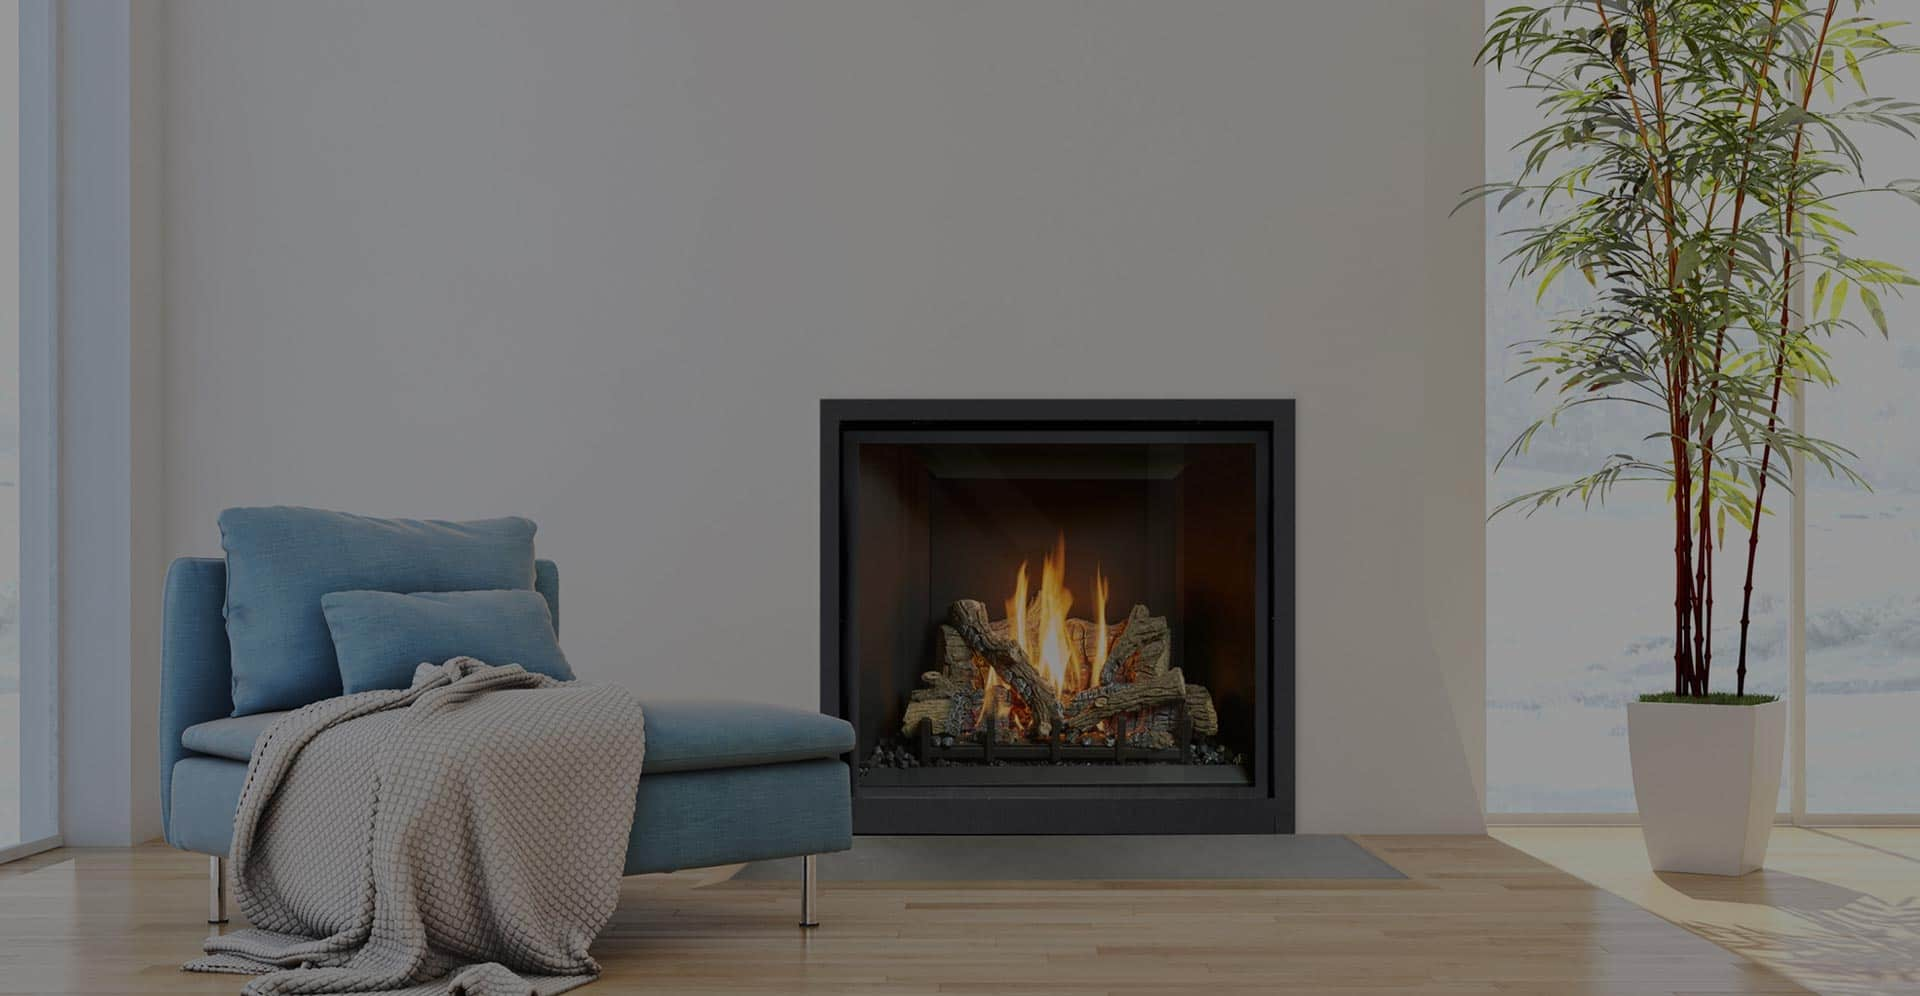
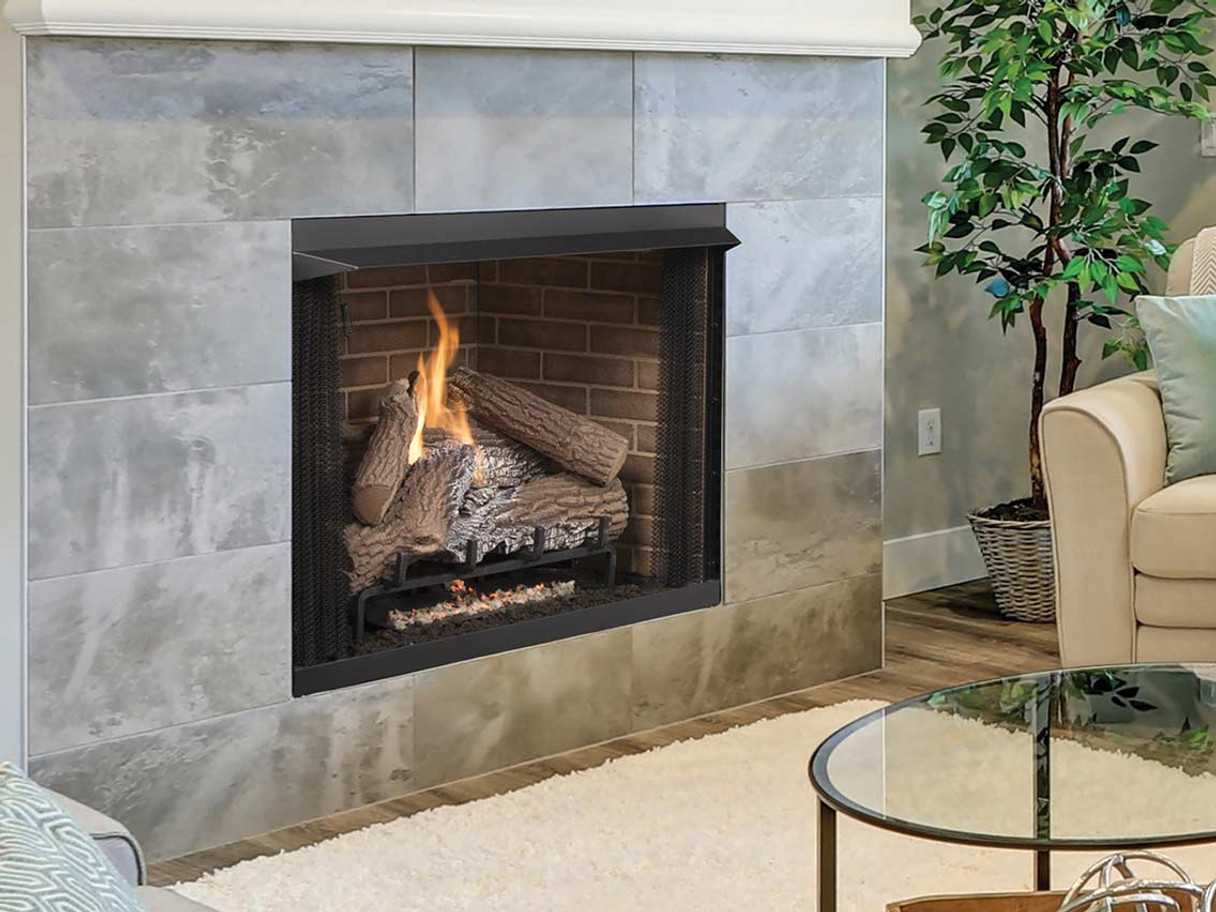
Gas fireplaces can be a wonderful addition to any home, providing warmth, ambiance, and a cozy atmosphere. However, over time, gas fireplaces may become outdated or need repairs, prompting the need for an update. Updating a gas fireplace not only gives it a fresh look but also ensures its optimal functionality and safety.
In this article, we will guide you through the steps to update your gas fireplace. Whether you want to replace the gas logs, upgrade the burner, or give the fireplace a complete makeover, this comprehensive guide will help you get started.
Please keep in mind that working with gas appliances can be potentially dangerous, and if you are not comfortable or confident with performing these steps yourself, it is always best to consult with a professional gas fireplace technician.
Now, let’s dive into the steps to update your gas fireplace and transform it into a stunning centerpiece in your home.
Key Takeaways:
- Transform your gas fireplace with a fresh look and optimal functionality by following these DIY steps. Prioritize safety and enjoy the cozy ambiance of your updated centerpiece.
- Gather necessary materials, shut off gas supply, and carefully reconnect your gas fireplace for a successful and safe update. Prioritize safety and enjoy your refreshed home ambiance.
Read more: How To Update A Fireplace Mantel
Step 1: Gathering the Necessary Materials
Before you begin updating your gas fireplace, it’s important to gather all the necessary materials to ensure a smooth and successful project. Here are some of the common items you may need:
- New gas logs or burner: Depending on what you want to update in your gas fireplace, you will need to purchase either new gas logs or a new burner. Choose a style and size that fits your aesthetic preferences and the dimensions of your fireplace.
- Gloves and safety goggles: Safety should always be your top priority when working with gas appliances. Wear protective gloves and safety goggles to protect your hands and eyes from any potential hazards.
- Screwdriver and wrench: These tools will come in handy for disconnecting and reconnecting the gas lines during the updating process.
- Measuring tape: To ensure a proper fit, use a measuring tape to measure the dimensions of your fireplace and the new gas logs or burner you plan to install.
- Cleaning supplies: Before installing the new gas logs or burner, it’s recommended to clean the fireplace thoroughly. Gather cleaning supplies such as a brush, vacuum cleaner, and glass cleaner to remove any dust, debris, or soot.
- Optional accessories: Depending on your preferences, you may also want to gather additional accessories such as decorative rocks, embers, or a remote control kit to enhance the overall appearance and convenience of your gas fireplace.
Ensure that you have all the necessary materials before starting the update process. This will save you time and frustration and ensure that you have everything you need to complete the project.
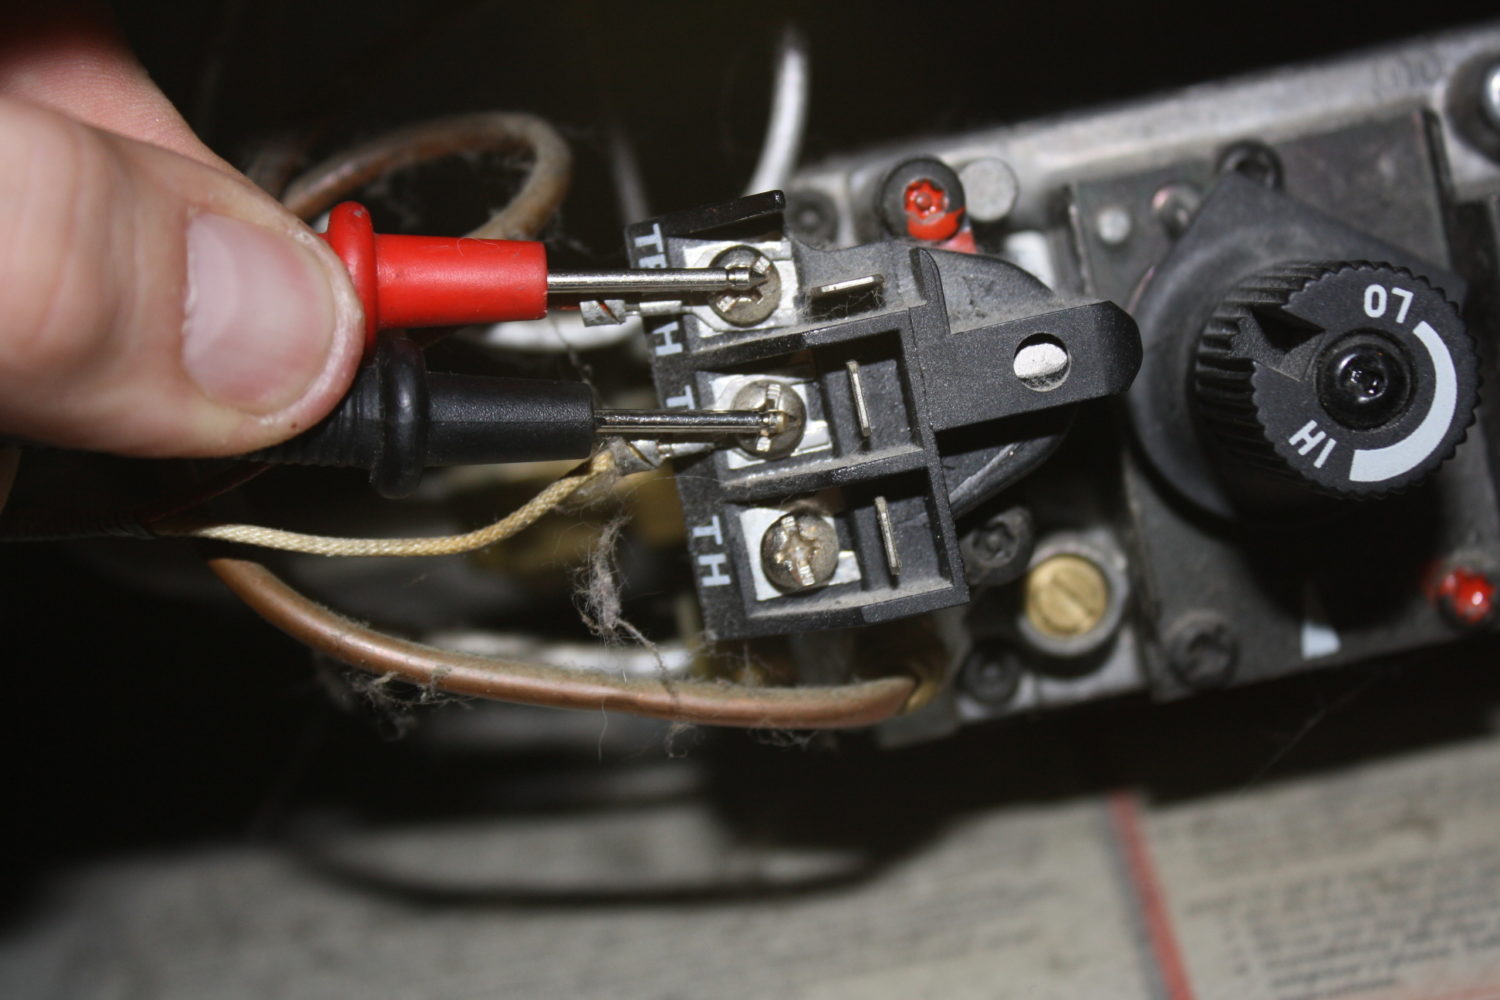
Step 2: Shutting off the Gas Supply
Prior to working on your gas fireplace, it is crucial to shut off the gas supply to ensure your safety. Here’s how to do it:
- Locate the gas valve: The gas valve is typically located near the gas fireplace. It may be a lever or a knob.
- Turn off the gas valve: Using either a wrench or your hand, turn the lever or knob clockwise to shut off the gas supply. Ensure that the valve is completely closed.
- Verify the gas is off: To confirm that the gas supply is shut off, you can light a match near the gas fireplace. If the flame does not ignite, it means the gas supply is successfully turned off. However, always exercise caution when working with gas.
Once the gas supply is shut off, it’s important to avoid turning it back on until the installation or updating process is complete. This will prevent any accidental leaks or hazards.
Remember, if you are unsure about shutting off the gas supply or if you encounter any issues during this step, it is recommended to consult a professional gas technician for assistance. Safety should always be the top priority when working with gas appliances.
Step 3: Disconnecting the Gas Fireplace
With the gas supply shut off, it’s now time to disconnect the gas fireplace to prepare for the update. Here’s how to do it:
- Remove the front panel or doors: Depending on the design of your gas fireplace, you may need to remove the front panel or doors. Carefully unscrew or unclip them to expose the inner components.
- Locate the gas line: The gas line is typically connected to the back of the gas fireplace. Look for a metal or flexible hose that connects the fireplace to the gas supply.
- Turn off the gas valve: Double-check that the gas valve is in the closed position to ensure no gas flows through the line.
- Disconnect the gas line: Using an adjustable wrench, loosen the nut connecting the gas line to the gas inlet on the fireplace. Slowly and carefully detach the gas line from the fireplace.
- Cap the gas line: To prevent any gas leaks, it’s essential to cap the open end of the gas line. You can use a pipe cap specifically designed for gas lines or consult a professional for guidance.
Remember to handle the gas line with care and avoid bending or damaging it during the disconnection process. If you’re uncertain about any step, it’s always recommended to seek assistance from a professional gas technician to ensure proper disconnection and safety.
Step 4: Removing the Old Gas Logs
Now that the gas fireplace is disconnected, it’s time to remove the old gas logs. Here’s a step-by-step guide:
- Inspect the gas logs: Before removing the gas logs, inspect them for any signs of damage or wear. This includes cracks, discoloration, or corrosion. If you notice any issues, it’s best to replace them with new gas logs.
- Remove the decorative elements: If your gas logs have any decorative elements such as fake embers or rocks, carefully remove them and set them aside.
- Unscrew or unclip the gas logs: Depending on the installation method, the gas logs may be screwed in place or held by clips. Use a screwdriver or pliers to remove any screws or undo the clips.
- Gently lift and remove the gas logs: Slowly lift the gas logs out of the fireplace, being cautious of any gas connections or wires that may still be attached. It’s best to have a helper assist you in safely removing the logs.
- Inspect the gas fireplace interior: Take a moment to inspect the interior of the gas fireplace. Clean out any debris, dust, or soot that may have accumulated over time. This will create a clean and suitable surface for installing the new gas logs.
Once the old gas logs are removed, you can now proceed to the next step of installing the new gas logs or making any necessary updates to your gas fireplace.
Remember, if you are unsure about how to remove the gas logs or encounter any difficulties during this step, it’s always advisable to consult a professional for proper guidance and assistance.
Make sure to turn off the gas supply before attempting to update your gas fireplace. Consult the manufacturer’s instructions for specific guidance on updating your particular model.
Read more: How To Update Fireplace Tile
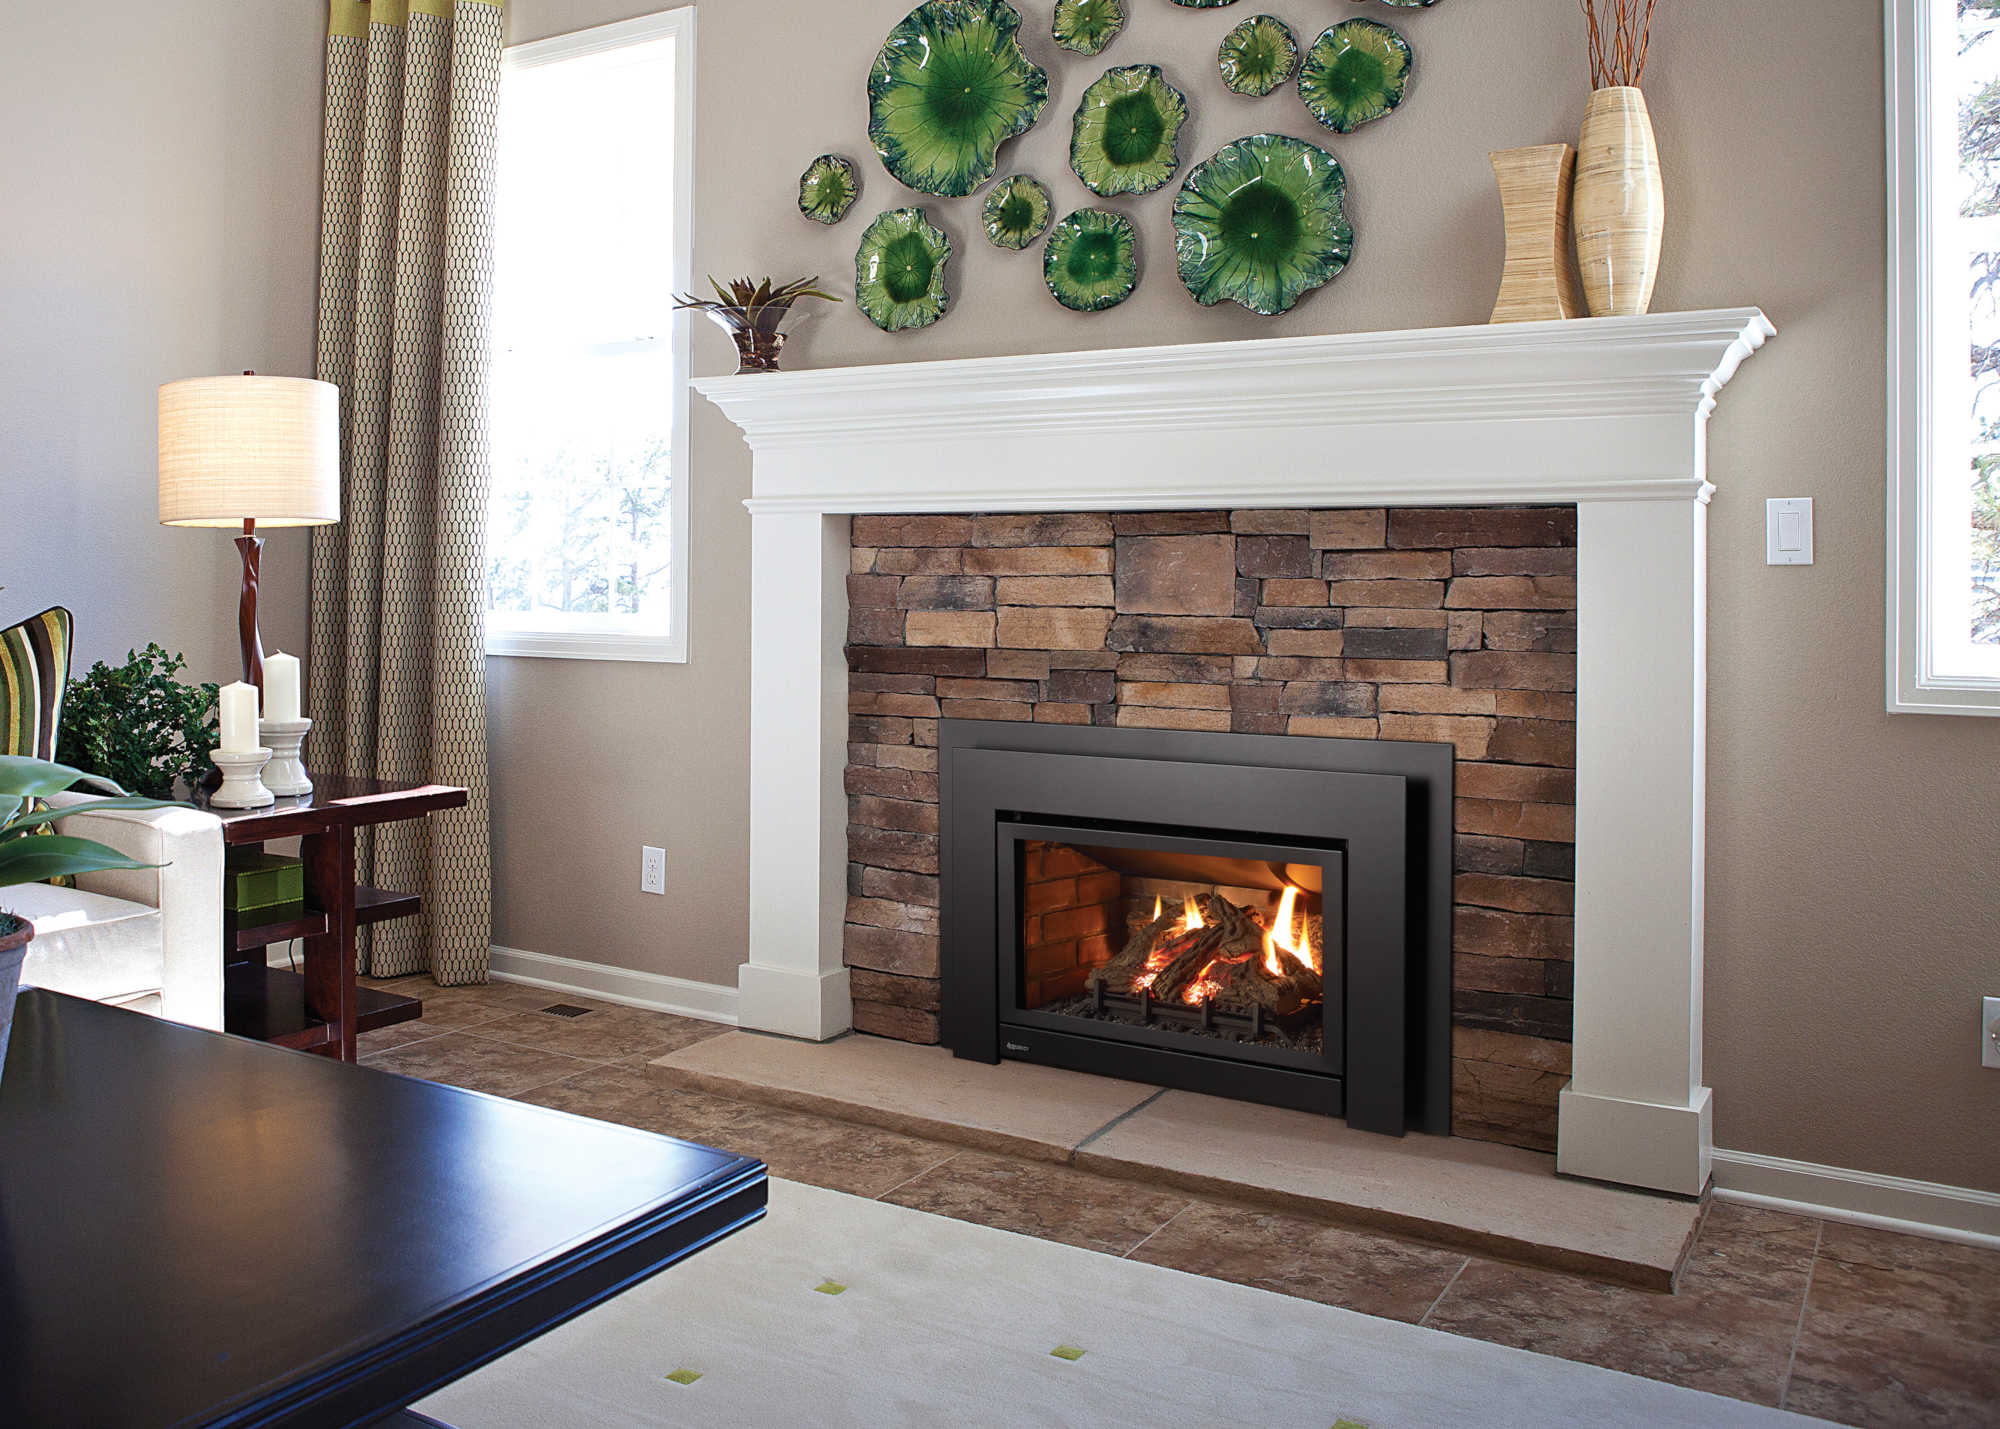
Step 5: Installing the New Gas Logs
With the old gas logs removed, it’s time to install the new gas logs to give your fireplace a fresh and updated look. Follow these steps:
- Position the gas logs: Carefully place the new gas logs in the desired arrangement according to the manufacturer’s instructions. Ensure that they are positioned securely and evenly in the fireplace.
- Connect any gas fittings: If the new gas logs require any additional gas fittings, such as connectors or burners, carefully follow the manufacturer’s instructions to properly connect them within the fireplace.
- Reattach decorative elements: If you removed any decorative elements such as embers or rocks, now is the time to place them back in their designated spots. This will enhance the appearance and realism of the gas logs.
- Double-check gas connections: Ensure that all gas connections are securely tightened and properly aligned. This will help prevent any gas leaks and ensure the safe operation of your gas fireplace.
Once the new gas logs are installed, take a moment to step back and admire the updated look of your fireplace. You can now move on to the next step of reconnecting the gas fireplace to complete the update.
If you are unsure about any step or encounter any difficulties during the installation process, it is advisable to consult a professional for guidance and assistance. Proper installation is crucial for the safety and functionality of your gas fireplace.
Step 6: Reconnecting the Gas Fireplace
Now that the new gas logs are in place, it’s time to reconnect the gas fireplace. Follow these steps:
- Ensure the gas valve is closed: Before reconnecting the gas line, double-check that the gas valve is in the closed position to prevent any gas flow.
- Remove the cap from the gas line: If you had previously capped the open end of the gas line, remove the cap carefully.
- Align the gas line: Align the gas line with the gas inlet on the gas fireplace. Ensure that they are properly aligned and that there are no kinks or obstructions.
- Tighten the gas line connection: Using an adjustable wrench, tighten the nut connecting the gas line to the gas inlet on the fireplace. Make sure the connection is secure but avoid over-tightening to prevent damage.
- Confirm the gas line is properly connected: Give the gas line a gentle tug to ensure it is securely fastened. Check for any signs of gas leakage, such as a faint smell of gas. If you suspect a leak, immediately turn off the gas supply and consult a professional technician.
Upon completing these steps, the gas fireplace should be properly reconnected and ready for use once the testing process is completed.
If you are uncertain about any step or experience difficulties during the reconnection process, it is recommended to seek the help of a professional gas technician to ensure proper installation and safety.
Step 7: Testing the Gas Fireplace
After reconnecting the gas fireplace, it’s crucial to test its functionality and ensure everything is working correctly. Follow these steps to test your gas fireplace:
- Turn on the gas valve: Open the gas valve by turning the lever or knob counterclockwise. Ensure that it is fully open to allow the gas to flow to the fireplace.
- Ignite the pilot light: If your gas fireplace has a pilot light, follow the manufacturer’s instructions to relight it. This usually involves holding down a button or switch until the pilot light ignites.
- Activate the main burner: Once the pilot light is lit, turn on the main burner of the gas fireplace. This can usually be done by flipping a switch or pressing a button.
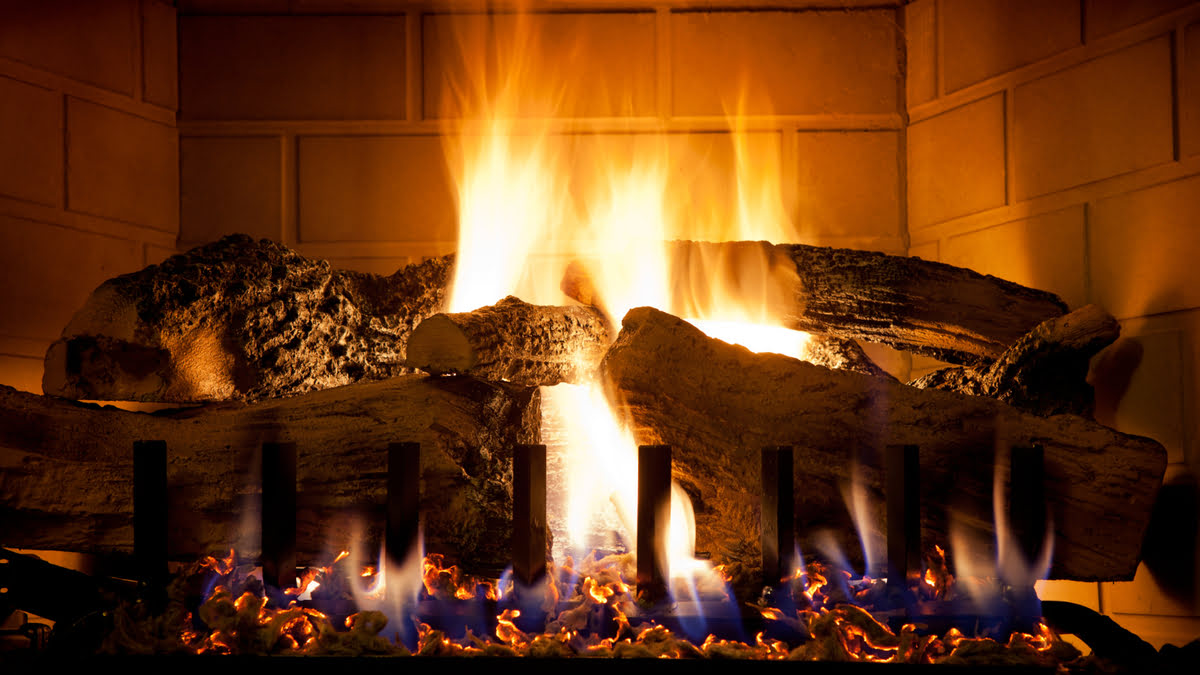
- Observe the flame: Pay attention to the flame appearance and color. It should be a steady blue flame that indicates proper combustion. If the flame appears yellow or has irregularities, there may be an issue that requires professional attention.
- Check for proper ventilation: Ensure that the vents and airflow of the gas fireplace are clear and unobstructed. Proper ventilation is essential for the safe operation of the fireplace.
- Monitor for any gas leaks: While the gas fireplace is in operation, carefully inspect the connections and surrounding areas for any signs of gas leakage, such as a distinct smell of gas or hissing sounds. If you suspect a leak, immediately turn off the gas supply and contact a professional technician.
It’s important to run the gas fireplace for a sufficient amount of time to ensure it operates smoothly and that there are no issues or abnormalities. If everything looks and functions properly, congratulations! Your gas fireplace update is complete.
Remember, if you encounter any problems, notice unusual behavior, or have concerns about the functionality of your gas fireplace during the testing process, it’s best to consult with a professional gas technician for further inspection and safety assurance.
Conclusion
Updating a gas fireplace can breathe new life into your home, providing a refreshed aesthetic and improved functionality. Whether you’re replacing the gas logs, upgrading the burner, or giving your fireplace a complete makeover, following the steps outlined in this guide will help ensure a successful and safe update.
Throughout the process, remember to prioritize safety. Shut off the gas supply before disconnecting the gas fireplace, and always double-check for any gas leaks during the reconnection and testing phases. If you ever feel uncertain or encounter difficulties, it’s recommended to seek the assistance of a professional gas technician who can guide you through the update with expertise and experience.
By gathering the necessary materials and carefully following each step, you can transform your gas fireplace into a stunning centerpiece in your home. Enjoy the warmth and ambiance it provides, while also relishing in the satisfaction that comes from completing a DIY project.
Now, go ahead and embark on your gas fireplace update journey. Get ready to create a cozy and inviting atmosphere that will make your home even more inviting.
Frequently Asked Questions about How To Update Gas Fireplace
Was this page helpful?
At Storables.com, we guarantee accurate and reliable information. Our content, validated by Expert Board Contributors, is crafted following stringent Editorial Policies. We're committed to providing you with well-researched, expert-backed insights for all your informational needs.


0 thoughts on “How To Update Gas Fireplace”