Articles
How To Remove A T3 Halogen Bulb
Modified: September 2, 2024
Learn how to safely remove a T3 halogen bulb with this informative article. Follow the step-by-step guide to ensure a hassle-free process.
(Many of the links in this article redirect to a specific reviewed product. Your purchase of these products through affiliate links helps to generate commission for Storables.com, at no extra cost. Learn more)
Introduction
Halogen bulbs are a popular choice for many lighting fixtures due to their bright and focused light output. However, over time, these bulbs may need to be replaced due to wear and tear or simple maintenance. In this article, we will guide you through the process of safely removing a T3 halogen bulb.
Before proceeding, it is important to note that working with electrical fixtures requires caution and adherence to safety guidelines. Always ensure that the power to the fixture is turned off before attempting any maintenance or replacement tasks.
Now, let’s dive into the step-by-step process of safely and effectively removing a T3 halogen bulb from your lighting fixture.
Key Takeaways:
- Safety is paramount when removing a T3 halogen bulb. Always turn off the power, allow the bulb to cool, wear gloves, and dispose of the bulb properly to ensure a safe and efficient process.
- Gather the necessary tools and follow the step-by-step instructions to safely remove a T3 halogen bulb. Remember to always prioritize safety and seek professional assistance if needed.
Read also: 9 Best T3 Halogen Bulb for 2025
Safety Precautions
When it comes to working with electrical fixtures, safety should always be the top priority. Before starting the process of removing a T3 halogen bulb, it is important to follow these safety precautions:
- Turn off the power: Before doing any work on the lighting fixture, make sure to turn off the power at the circuit breaker or by flipping the corresponding switch in the electrical panel. This will prevent any risk of electric shock.
- Allow the bulb to cool: Halogen bulbs can become extremely hot during use. Give the bulb sufficient time to cool down before attempting to handle or remove it. This will help avoid burns or other injuries.
- Wear protective gloves: To avoid direct contact with the bulb and reduce the risk of injury, wear a pair of gloves when handling and removing the halogen bulb.
- Use step ladder or stable platform: If the lighting fixture is located in a higher position, ensure that you use a step ladder or stable platform to reach it safely. Never overreach or balance on unstable surfaces.
- Avoid touching the glass: Halogen bulbs are sensitive to oils and dirt from our hands. When handling the bulb, avoid touching the glass part directly. If you accidentally touch it, clean the bulb with a soft cloth before installing it.
- Dispose of the bulb properly: Halogen bulbs contain hazardous materials, so it is important to dispose of them correctly. Contact your local waste management authority to inquire about proper disposal methods for halogen bulbs.
By following these safety precautions, you can ensure a safe working environment while removing a T3 halogen bulb from your lighting fixture.
Tools and Materials Needed
Before you begin removing a T3 halogen bulb, gather the following tools and materials:
- Gloves: It is essential to wear gloves to protect your hands during the removal process.
- Step ladder or stable platform: If the lighting fixture is located at a higher position, a step ladder or stable platform will be necessary for safe access.
- Soft cloth: A soft cloth will be helpful for cleaning the bulb or removing any fingerprints or debris.
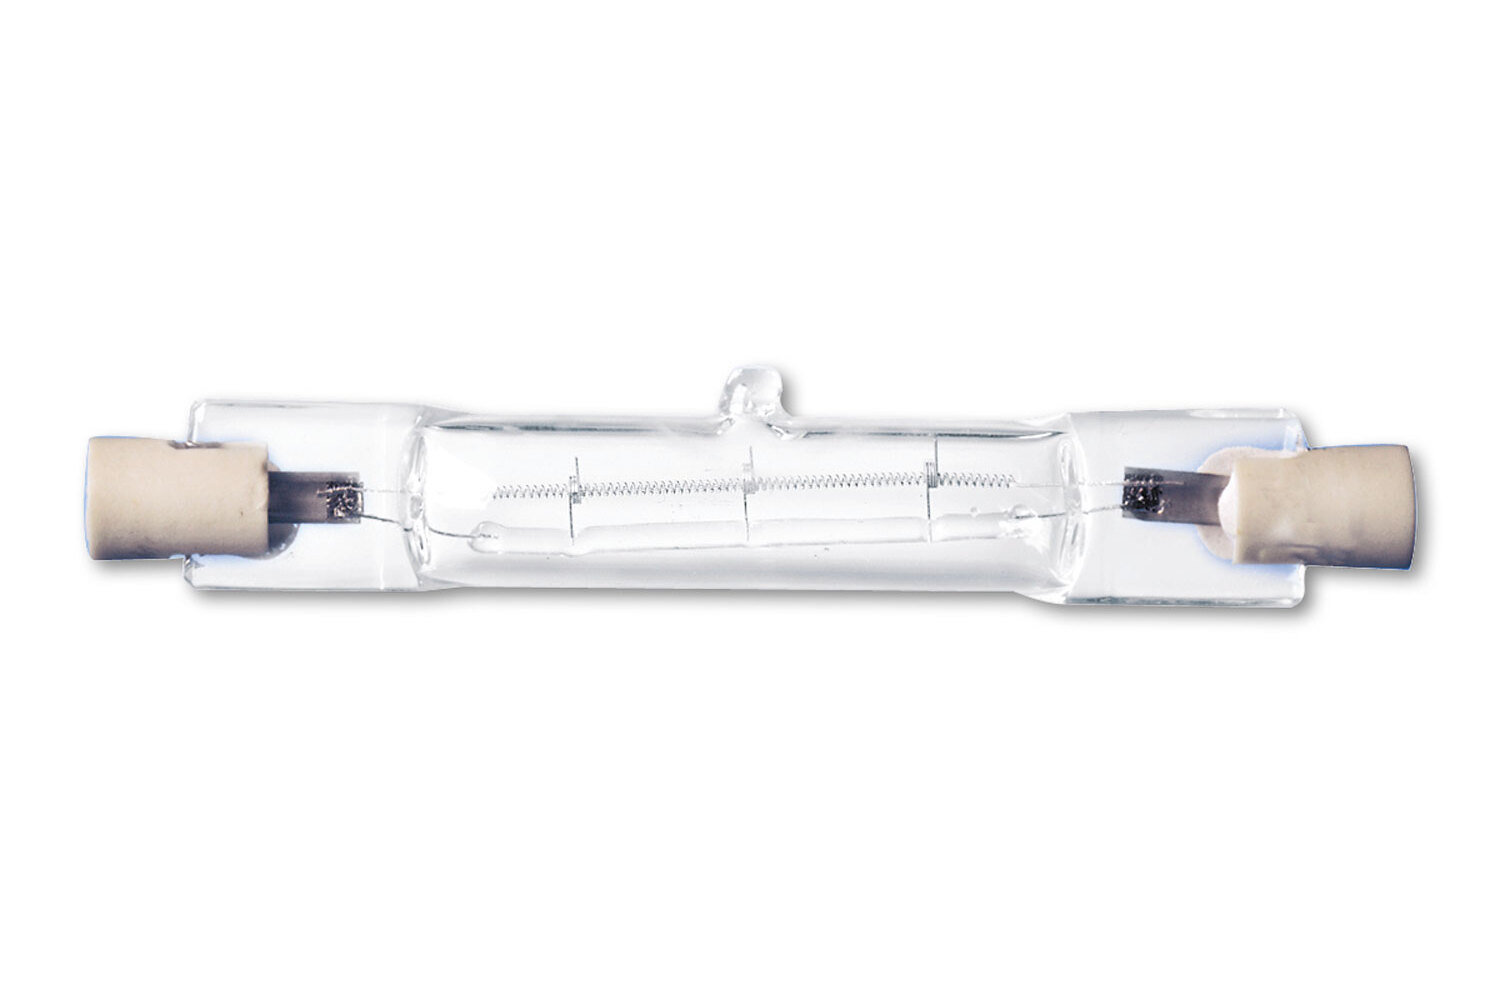
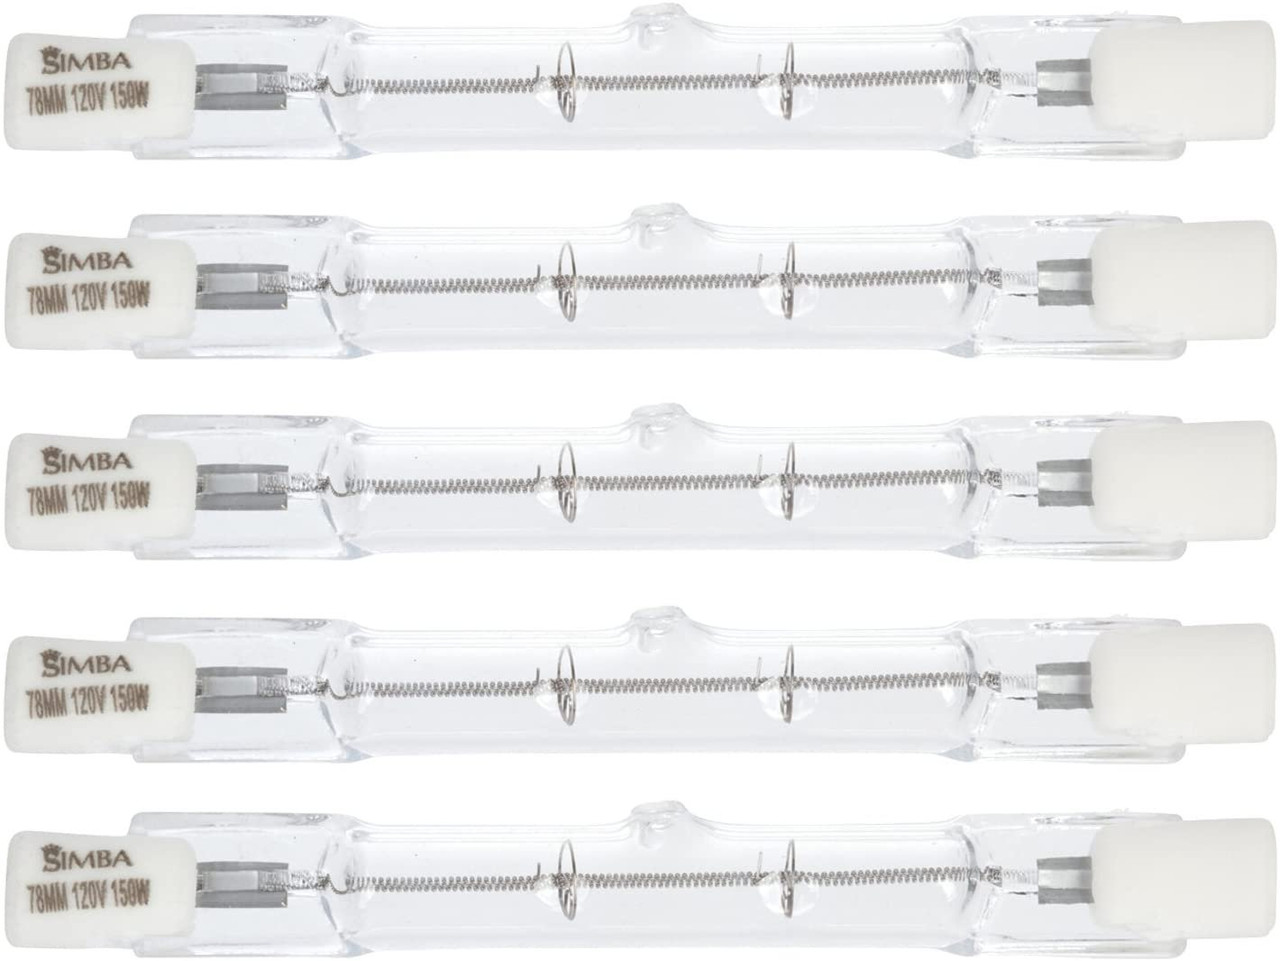
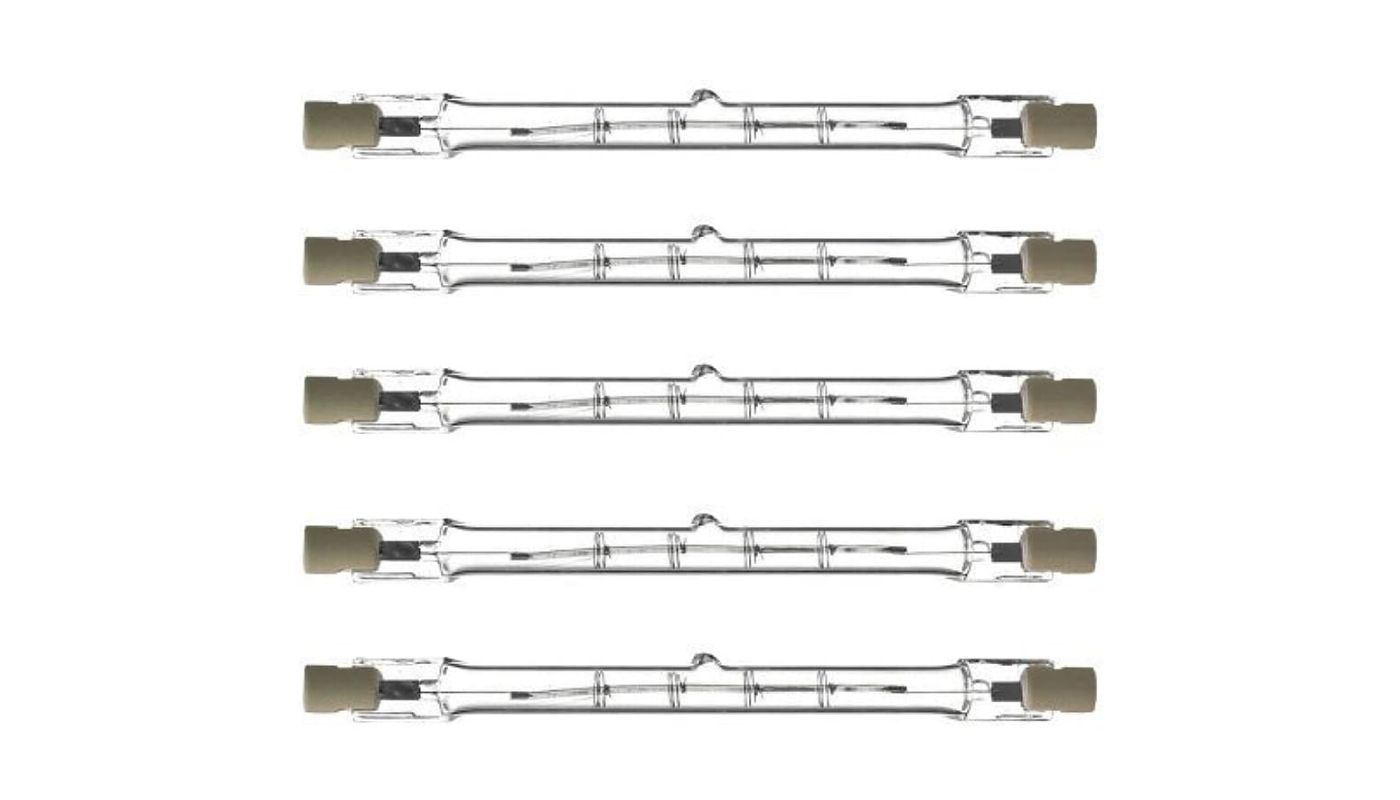
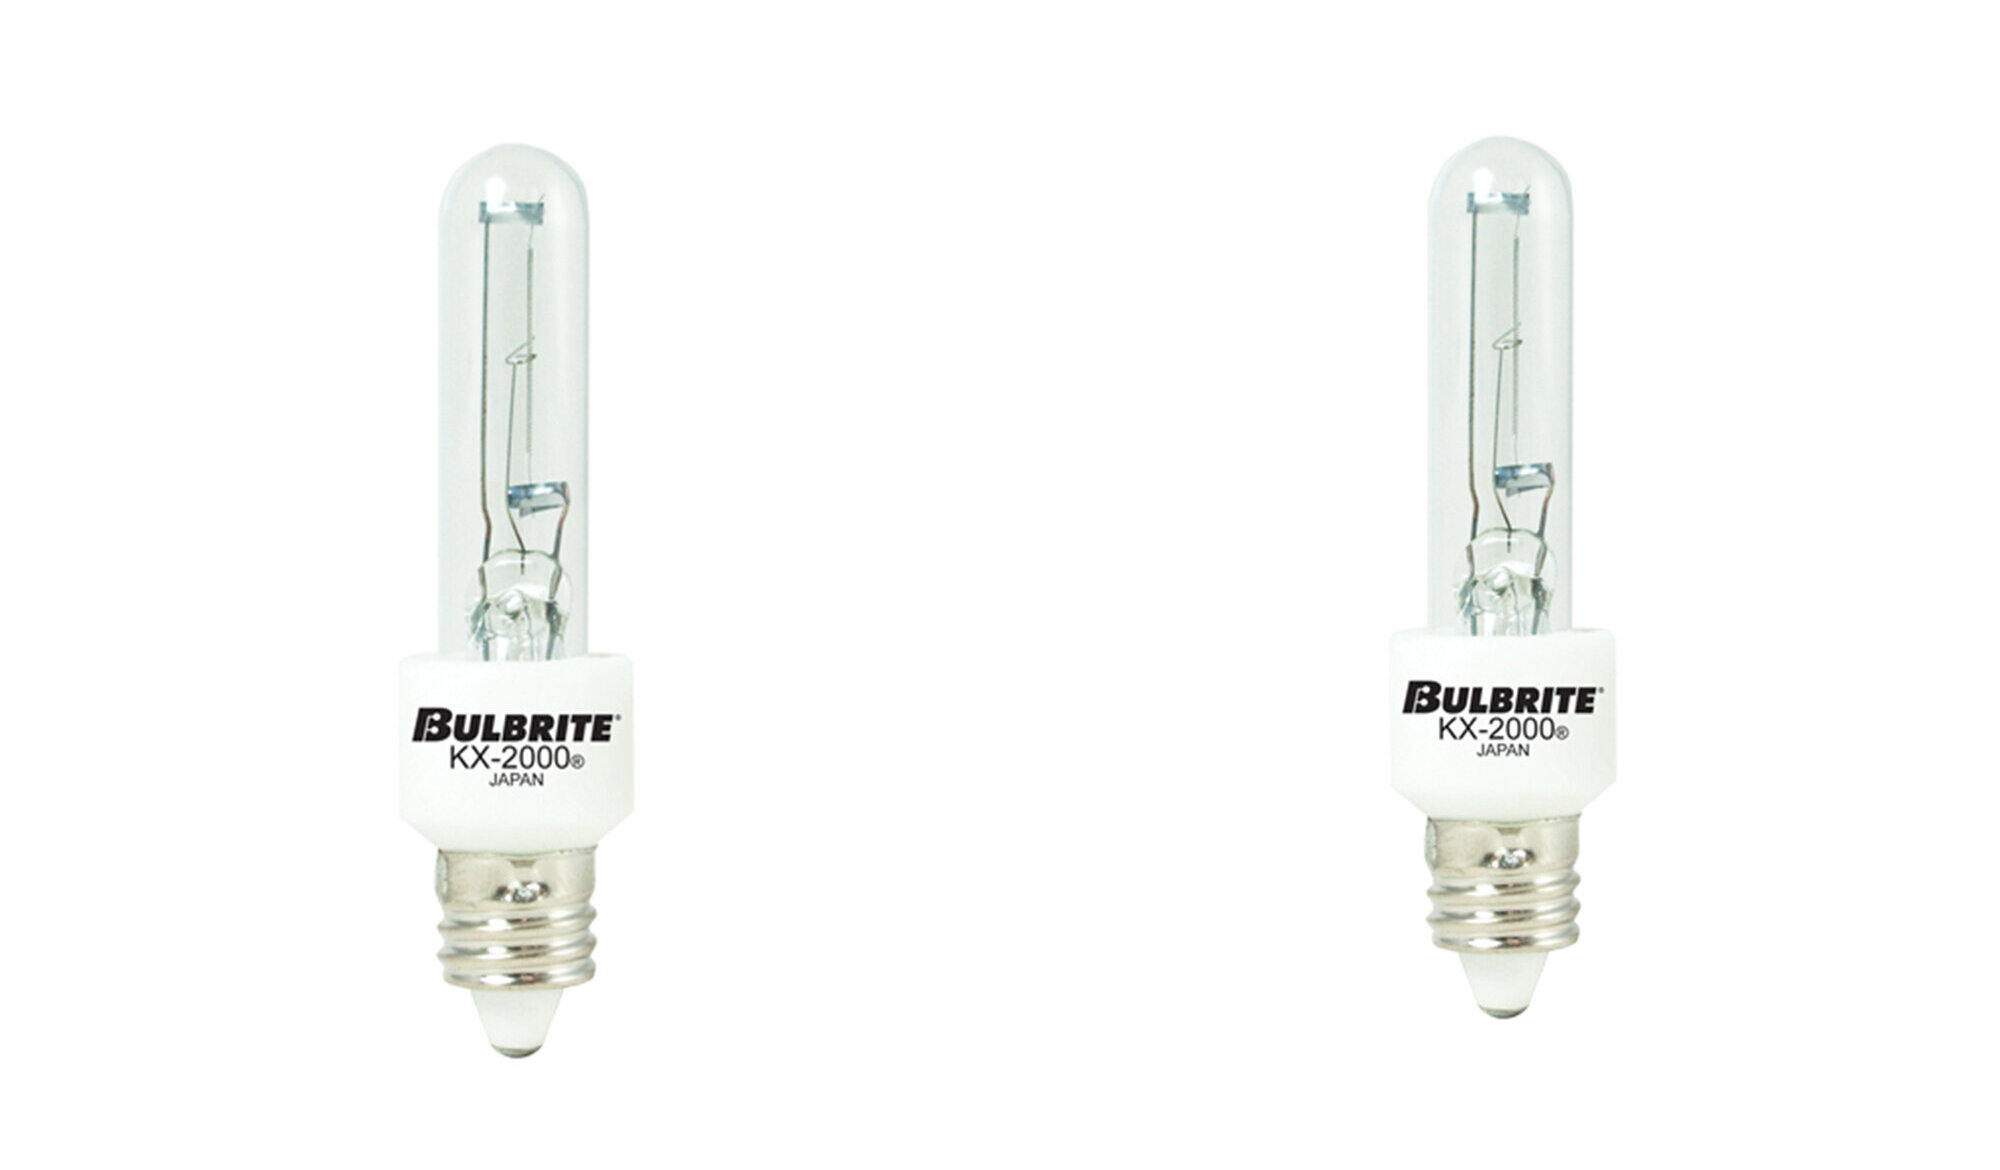
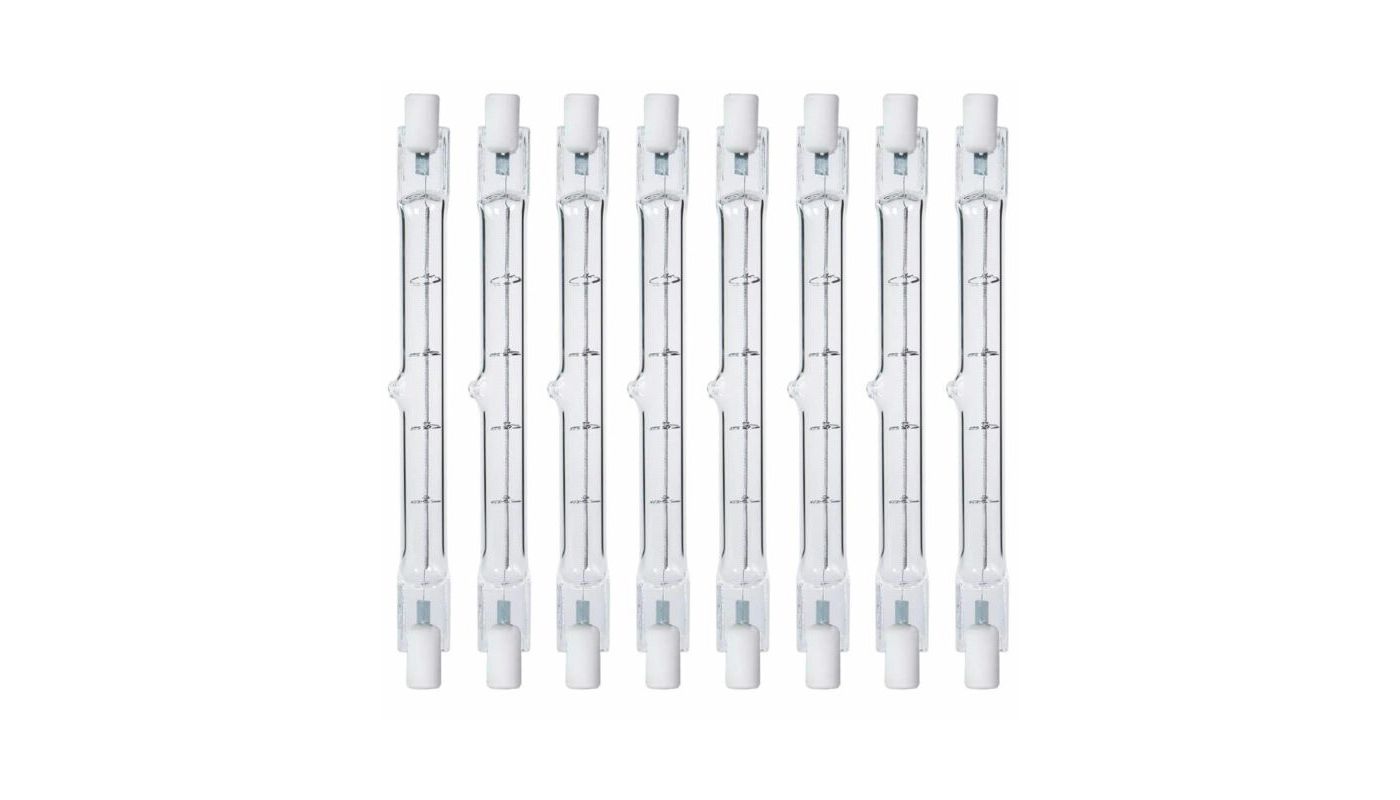
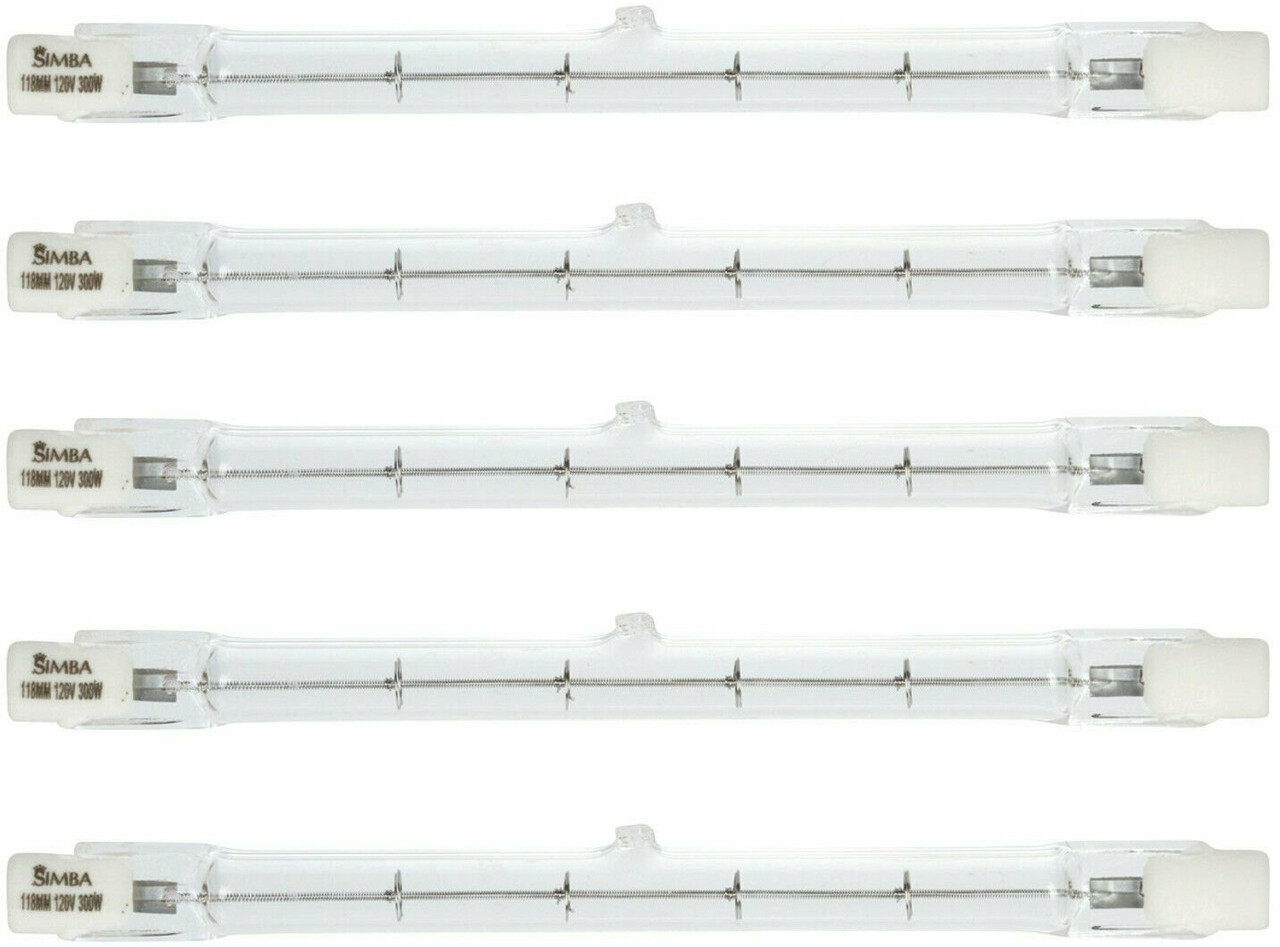
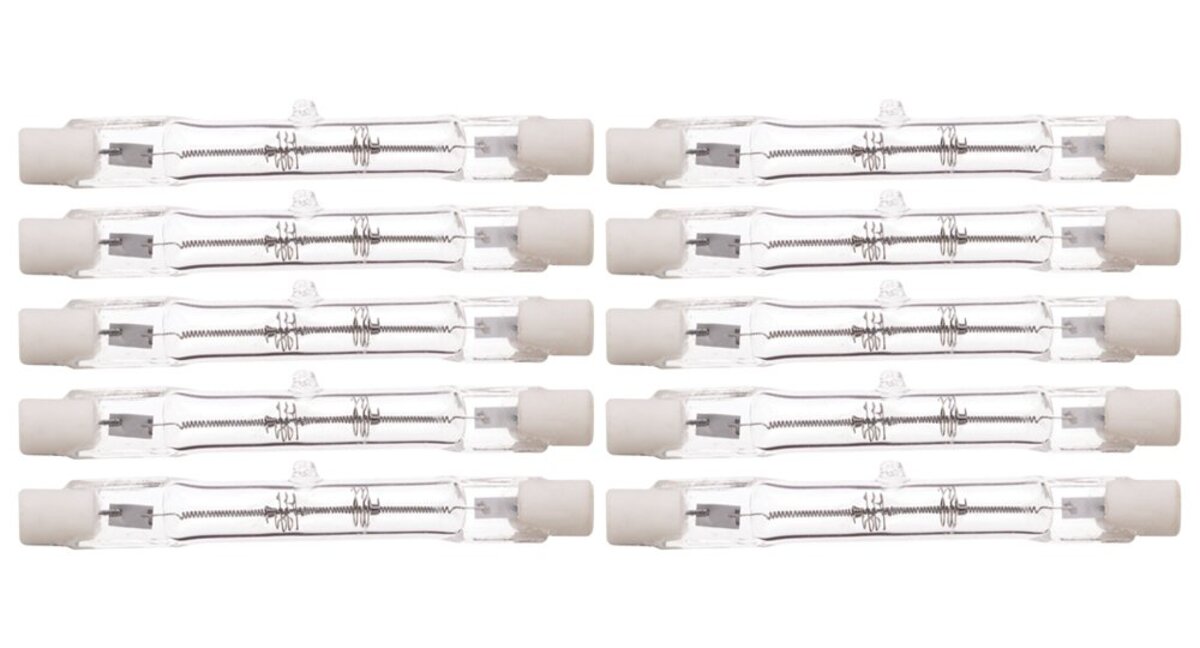
- Replacement bulb: Have a replacement T3 halogen bulb ready, ensuring it matches the wattage and voltage specifications of the old bulb.
- Small container or bag: Prepare a small container or bag to safely store the removed bulb or any broken fragments.
- Screwdriver or pliers (if needed): Depending on the type of fixture, you may require a screwdriver or pliers to remove any screws or clips holding the bulb in place.
- Masking tape (optional): If desired, masking tape can be used to mark the position of the bulb before removal, facilitating the alignment of the new one.
Having these tools and materials ready will make the process of removing a T3 halogen bulb more efficient and ensure you have everything you need to complete the task successfully.
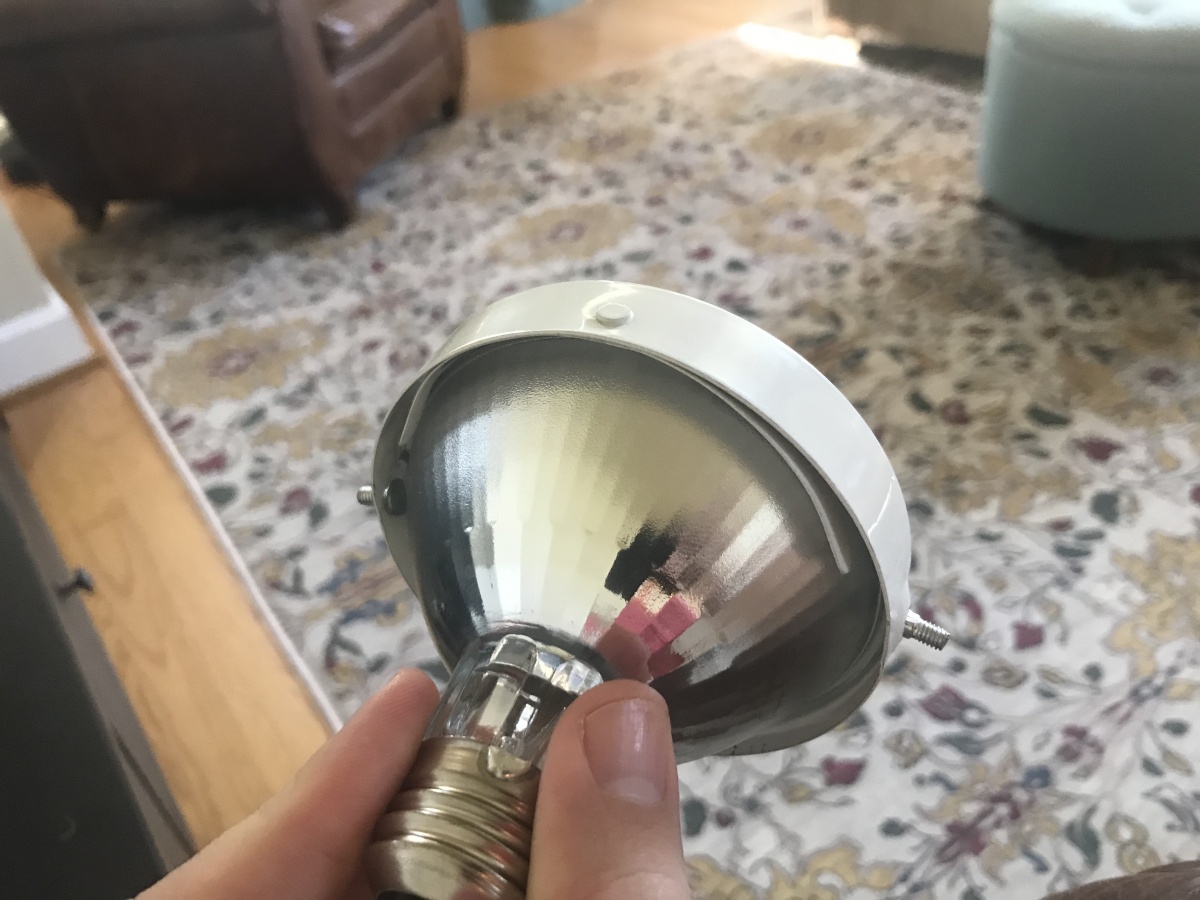
Before removing a T3 halogen bulb, make sure it has cooled down to avoid burns. Use a clean, dry cloth to handle the bulb and gently twist it counterclockwise to remove it from the socket.
Steps for Removing a T3 Halogen Bulb
Now that you have gathered the necessary tools and materials, follow these step-by-step instructions to safely remove a T3 halogen bulb:
- Turn off the power: Make sure the power to the lighting fixture is turned off. This can be done by switching off the corresponding circuit breaker or flipping the switch in the electrical panel.
- Allow the bulb to cool down: Halogen bulbs can get extremely hot during use. Give the bulb enough time to cool down before attempting to remove it. This will prevent any risk of burns or injuries.
- Put on gloves: Protect your hands by putting on a pair of gloves. This will also help prevent any fingerprints or oils from transferring onto the bulb.
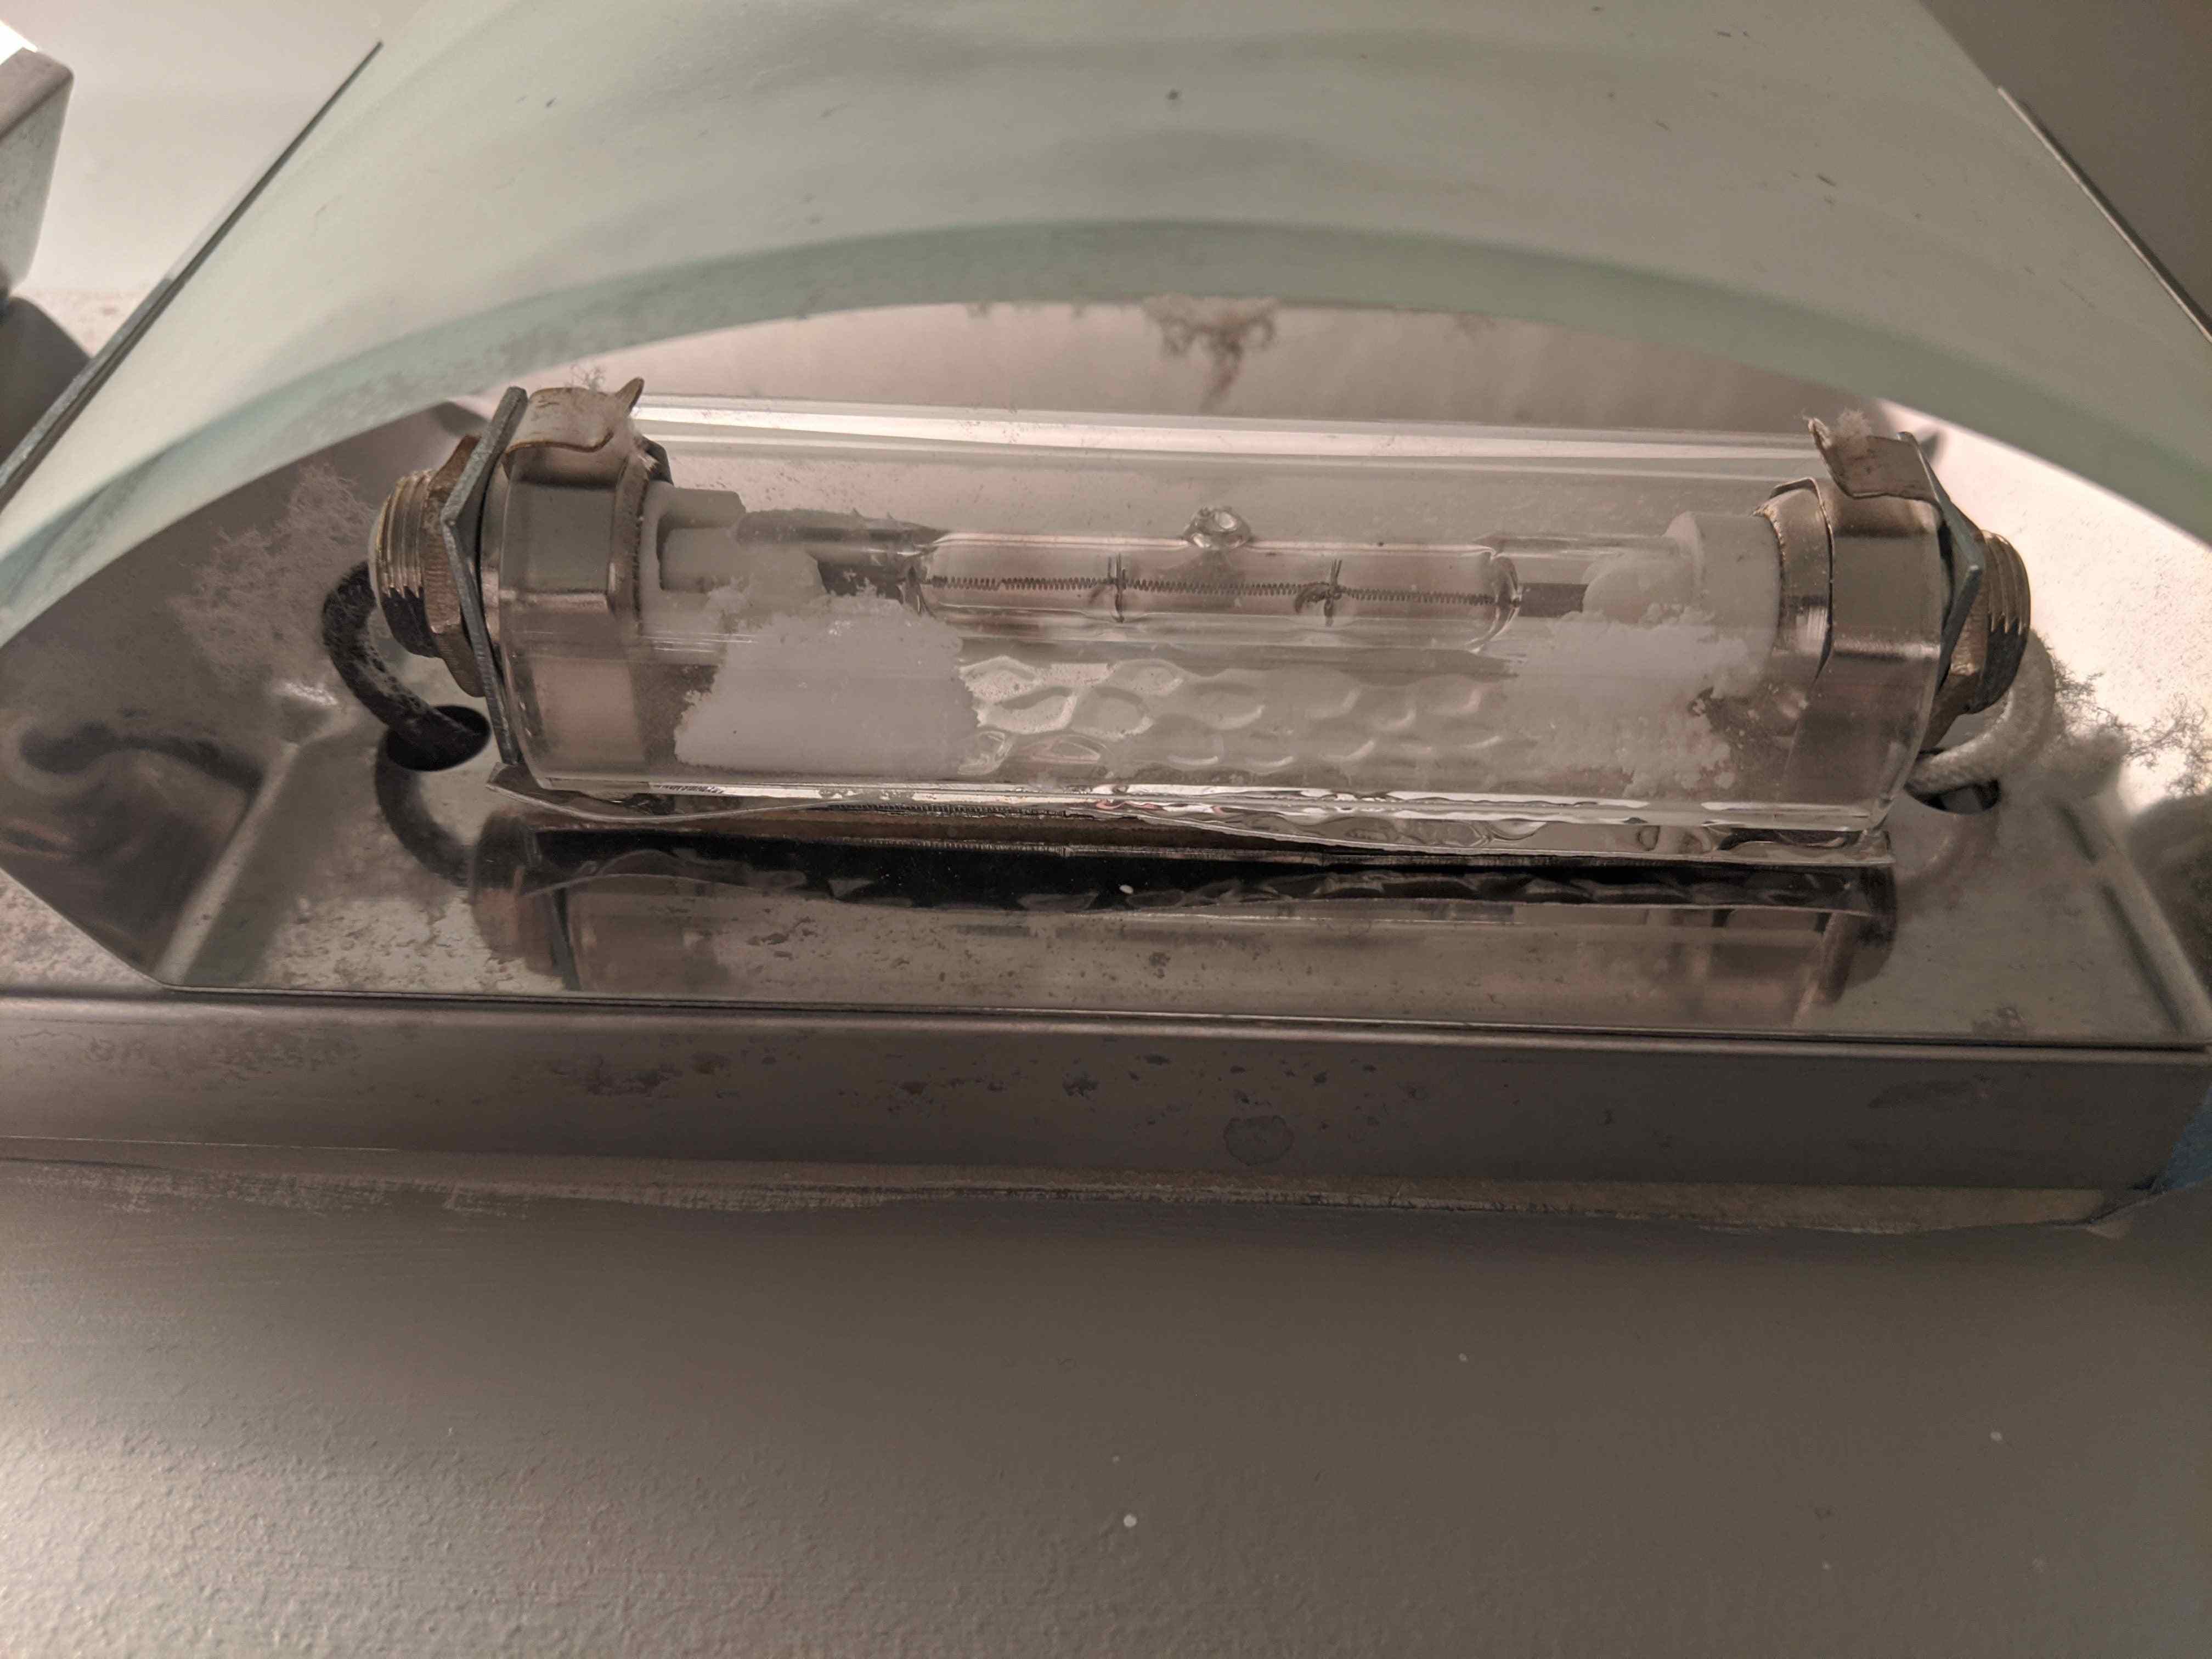
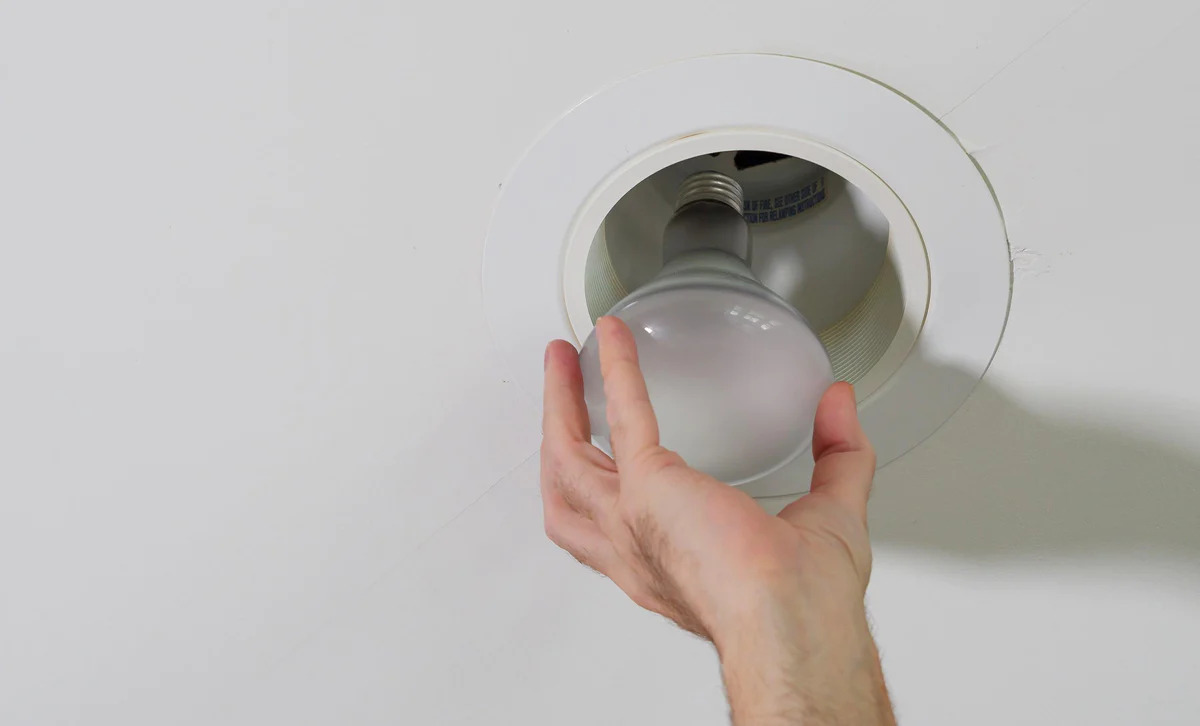
- Locate the bulb: Identify the location of the halogen bulb within the lighting fixture. Take note of any clips, screws, or other fasteners keeping the bulb in place.
- Remove any fasteners: If there are any clips, screws, or fasteners securing the bulb, carefully remove them using a screwdriver or pliers, depending on the type of fixture. Set aside the fasteners in a safe place, ensuring they won’t get lost.
- Gently detach the bulb: With the gloves still on, grip the base of the bulb firmly and gently pull it straight out. Avoid twisting or applying excessive force, as this can damage the bulb or the fixture.
- Store the removed bulb: Place the removed halogen bulb in a small container or bag, ensuring it is safely stored until disposal.
- Check for any broken fragments: Inspect the fixture and surrounding area for any broken fragments of the halogen bulb. If you notice any, carefully clean them up using a soft cloth or disposable gloves.
- Dispose of the bulb properly: Halogen bulbs contain hazardous materials, so it is important to dispose of them correctly. Contact your local waste management authority to inquire about the proper disposal methods for halogen bulbs in your area.
- Prepare for bulb replacement: Once the old bulb has been safely removed, you can proceed with installing a new T3 halogen bulb. Clean the fixture if needed and ensure it is ready for the replacement process.
By following these steps, you can safely remove a T3 halogen bulb from your lighting fixture without any hassle.
Conclusion
Removing a T3 halogen bulb from a lighting fixture is a simple process as long as the necessary precautions are taken. By following the safety guidelines and using the appropriate tools, you can safely remove the old bulb and prepare for a replacement.
Remember to always turn off the power and allow the bulb to cool down before attempting any maintenance. Wearing gloves and using a step ladder or stable platform will ensure your safety throughout the process.
Once removed, it is important to properly dispose of the old halogen bulb. Contact your local waste management authority to ensure correct disposal methods are followed, as these bulbs contain hazardous materials.
By understanding the steps involved in removing a T3 halogen bulb and taking the necessary precautions, you can confidently maintain and replace the lighting fixtures in your home or workspace.
Remember, if you ever feel unsure or uncomfortable performing any electrical work, it is always best to seek the assistance of a qualified electrician for your safety and peace of mind.
Now that you have the knowledge and understanding to safely remove a T3 halogen bulb, you can confidently take on this task when needed. Enjoy the bright and focused lighting that halogen bulbs provide in your space!
Frequently Asked Questions about How To Remove A T3 Halogen Bulb
Was this page helpful?
At Storables.com, we guarantee accurate and reliable information. Our content, validated by Expert Board Contributors, is crafted following stringent Editorial Policies. We're committed to providing you with well-researched, expert-backed insights for all your informational needs.


0 thoughts on “How To Remove A T3 Halogen Bulb”