Articles
How To Remove Halogen Bulb From Light Fixture
Modified: August 25, 2024
Learn the step-by-step process of removing a halogen bulb from a light fixture in this informative article. Ensure a safe and hassle-free experience with our expert tips and guidelines.
(Many of the links in this article redirect to a specific reviewed product. Your purchase of these products through affiliate links helps to generate commission for Storables.com, at no extra cost. Learn more)
Introduction
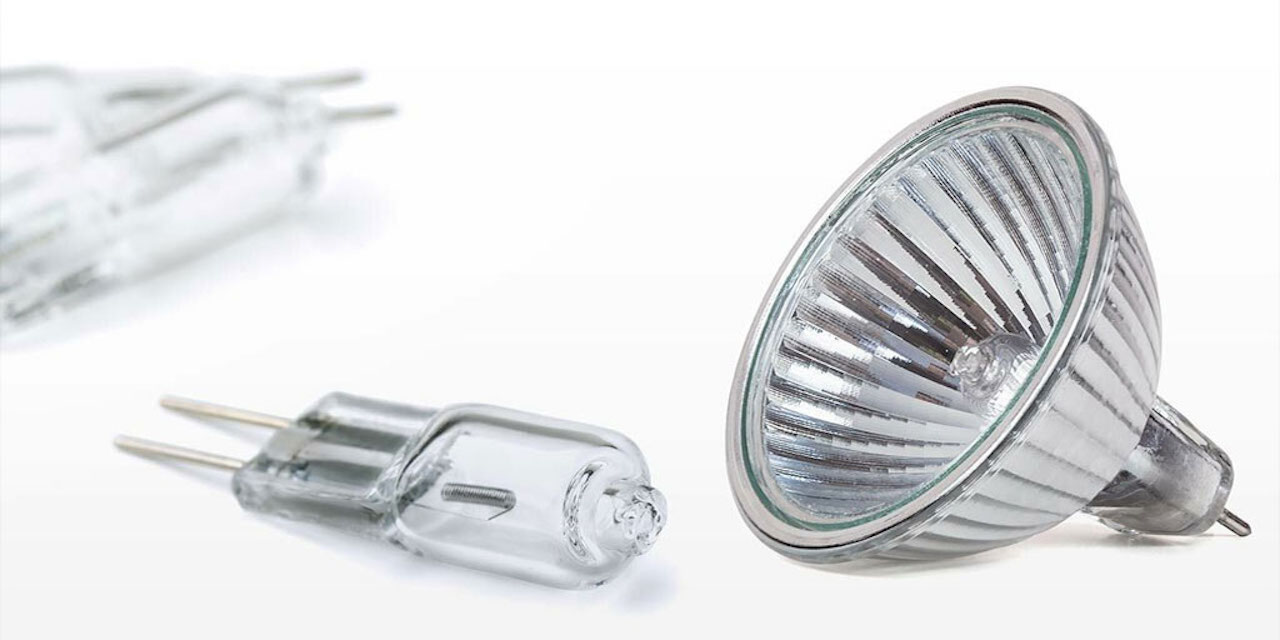
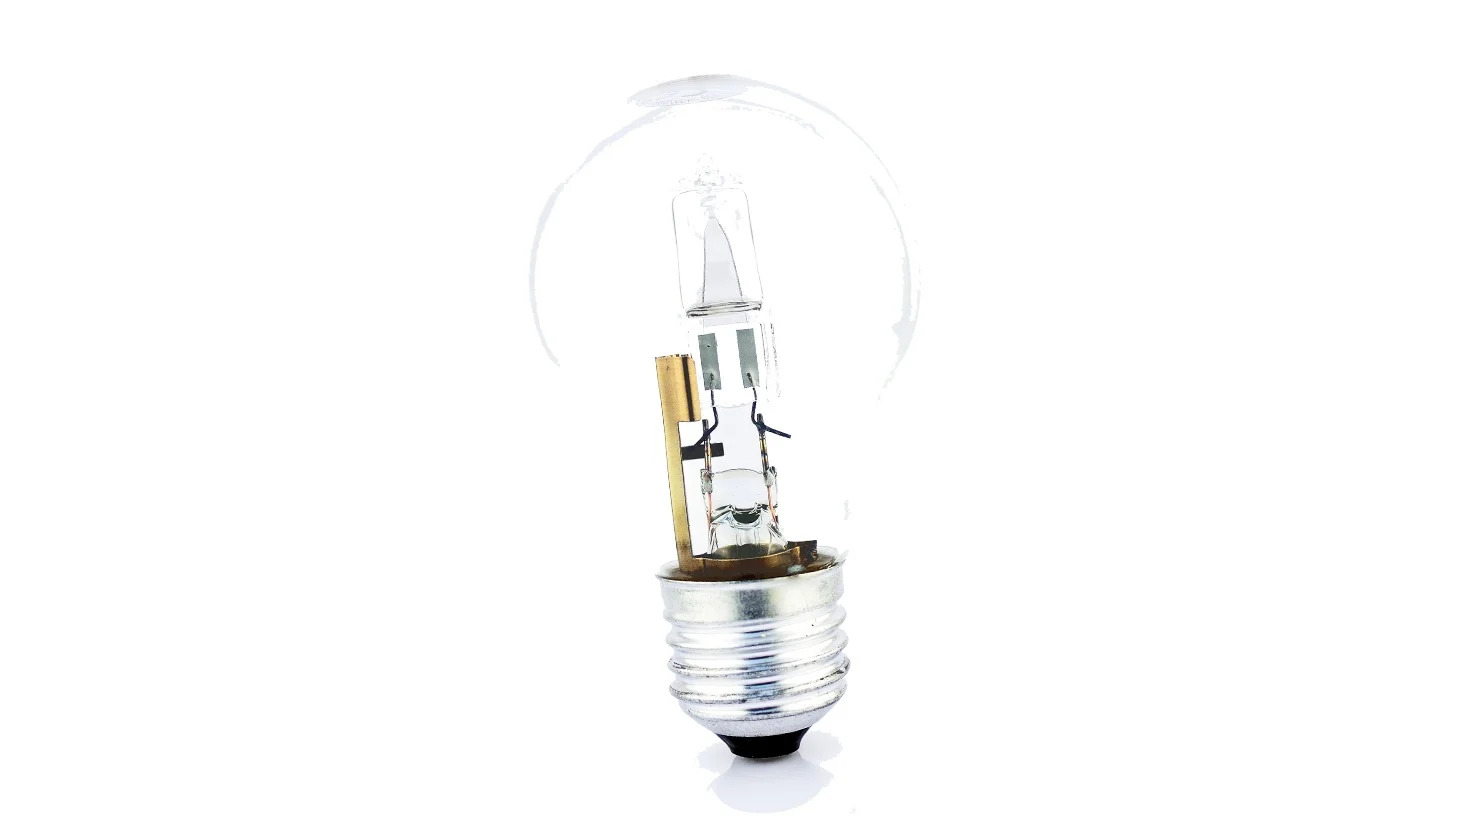
Halogen bulbs have been a popular lighting choice for many years due to their bright, white light and long lifespan. However, there may come a time when you need to remove a halogen bulb from a light fixture, whether it’s to replace a burnt-out bulb or to install a more energy-efficient alternative. While the process may seem straightforward, it’s important to follow the correct steps and take the necessary safety precautions to avoid any accidents or damage.
In this article, we will provide a comprehensive guide on how to safely remove a halogen bulb from a light fixture. We will also share some tips on disposing of the bulb properly and installing a new bulb if needed.
Note: Before attempting to remove a halogen bulb, make sure to consult the manufacturer’s instructions for your specific light fixture, as there may be slight variations in the removal process.
Key Takeaways:
- Safely remove a halogen bulb by following safety precautions, allowing it to cool, locating the retaining clip, and handling it with care. Dispose of the bulb responsibly to protect the environment.
- Prioritize safety and proper disposal when removing a halogen bulb from a light fixture. Follow the steps carefully and consider consulting a professional electrician if needed.
Safety Precautions
Before you begin the process of removing a halogen bulb from a light fixture, it’s important to prioritize safety. Halogen bulbs can get extremely hot and can cause burns if mishandled. Here are some safety precautions to keep in mind:
- Turn off the power: Before working with any electrical component, always turn off the power supply to the light fixture. This will help prevent any accidents or shocks. If you’re unsure which circuit breaker controls the fixture, it’s best to switch off the main power.
- Allow the bulb to cool: Halogen bulbs can retain heat for a significant amount of time, even after they are turned off. Allow the bulb to cool completely before attempting to remove it to avoid burns.
- Wear protective gloves: To protect your hands from any potential cuts or burns, it’s recommended to wear heat-resistant gloves or latex gloves while handling the bulb.
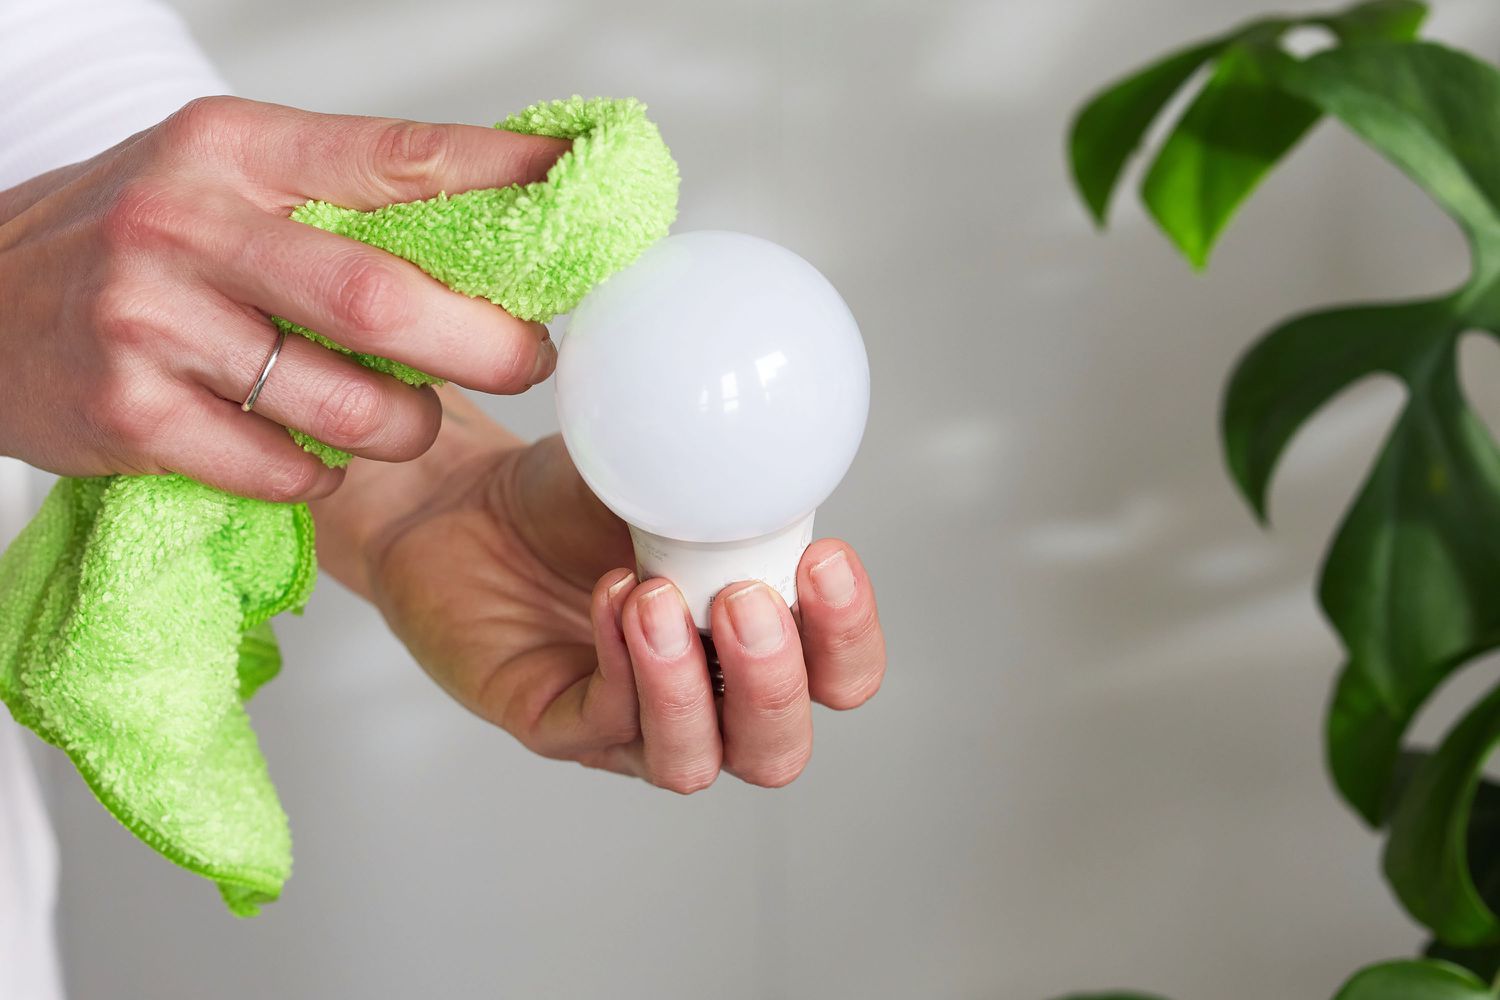
- Avoid touching the bulb directly: Halogen bulbs are sensitive to the oil and moisture on our skin. Avoid touching the bulb directly as it can shorten its lifespan or cause it to malfunction.
- Dispose of the bulb properly: Halogen bulbs contain small amounts of mercury and should not be disposed of in regular household waste. Check your local regulations for proper disposal methods.
By following these safety precautions, you can ensure a safe and hassle-free experience while removing a halogen bulb from your light fixture.
Step 1: Turn off the Power
Before starting the process of removing a halogen bulb from a light fixture, it is crucial to turn off the power. This step ensures your safety and prevents any electrical accidents from occurring. Follow these steps:
- Locate the switch or circuit breaker: Identify the switch or circuit breaker that controls the power supply to the light fixture. In most cases, the switch will be located near the entrance or in the main electrical panel.
- Turn off the switch: Flip the switch to the off position to disconnect the power supply to the light fixture. Double-check that the light is no longer functioning to ensure the power has been successfully cut off.
- Switch off the circuit breaker: If you cannot find a switch for the specific light fixture, you can switch off the circuit breaker that controls the electrical circuit the light is connected to. This will cut off power to the entire circuit.
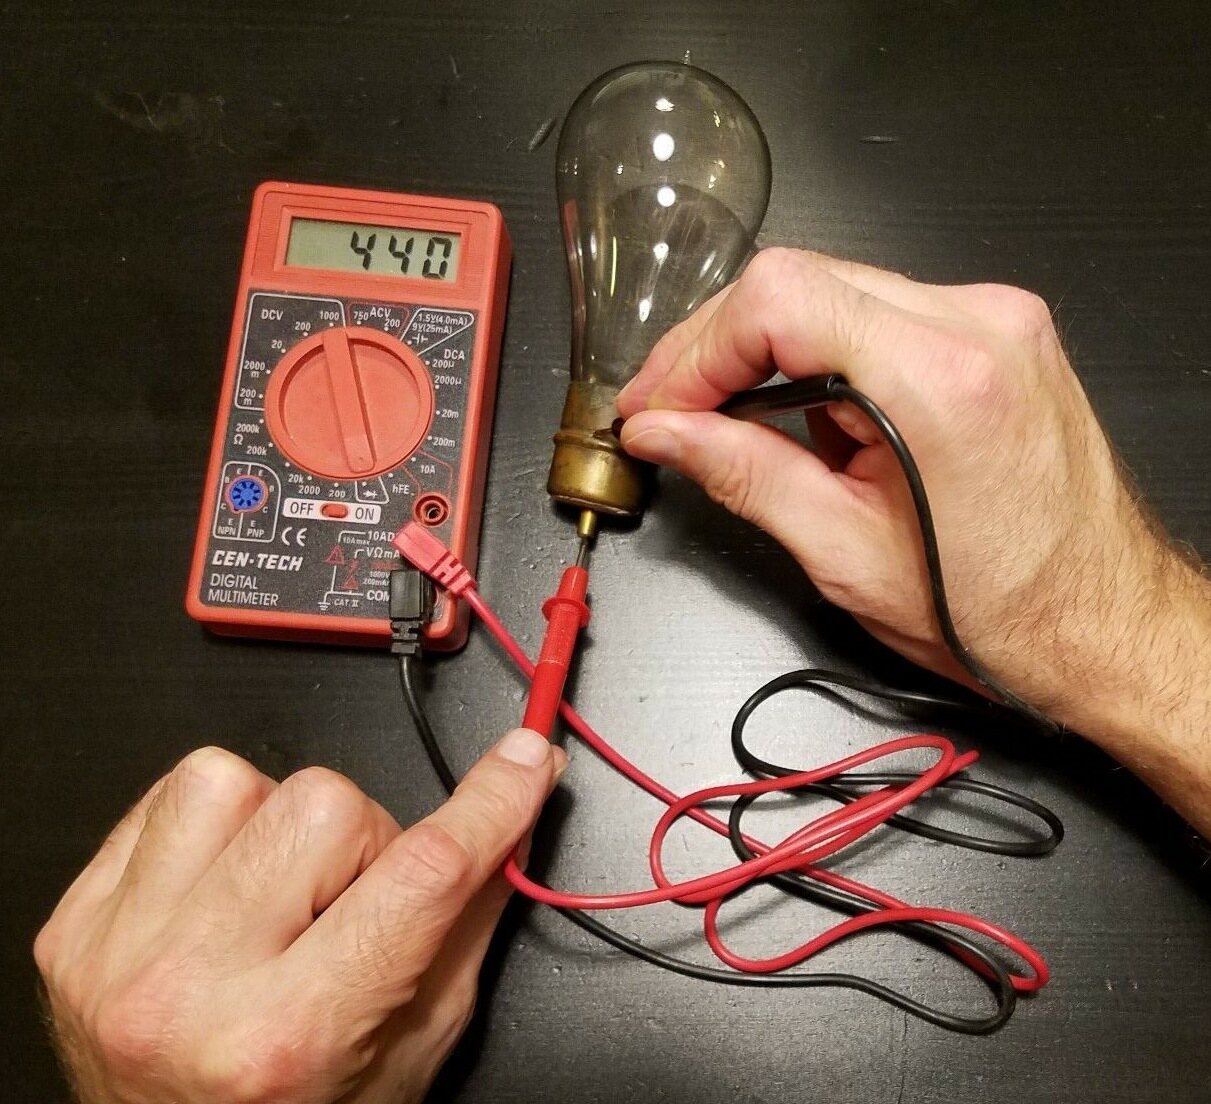
- Test the fixture: To be certain that the power is off, switch on the wall switch or press the light fixture’s control buttons. If the light does not turn on, you have successfully turned off the power.
It is essential to double-check and ensure that the power is turned off before proceeding to the next steps. Safety should always be the top priority when working with electrical components.
Step 2: Allow the Bulb to Cool
Once you have turned off the power to the light fixture, it is important to allow the halogen bulb to cool down before attempting to remove it. Halogen bulbs can reach high temperatures during operation and can cause severe burns if handled when hot. Follow these steps:
- Leave the light off for at least 10-15 minutes: Give the halogen bulb sufficient time to cool down. Even if the light has been turned off, the bulb may still retain heat from its operation. Waiting for a few minutes ensures that the bulb is safe to handle.
- Do not attempt to speed up the cooling process: It can be tempting to use tools or fans to cool down the bulb faster, but this is not recommended. Sudden temperature changes can cause the bulb to shatter, posing a safety risk.
- Check the bulb’s temperature: After the waiting period, approach the bulb carefully and feel its surface. If it still feels hot to the touch, wait a bit longer until it has cooled completely.
By allowing the halogen bulb to cool down, you reduce the risk of burns and minimize the chances of damaging the bulb or the light fixture during the removal process. Patience is key at this step to ensure a safe and successful outcome.
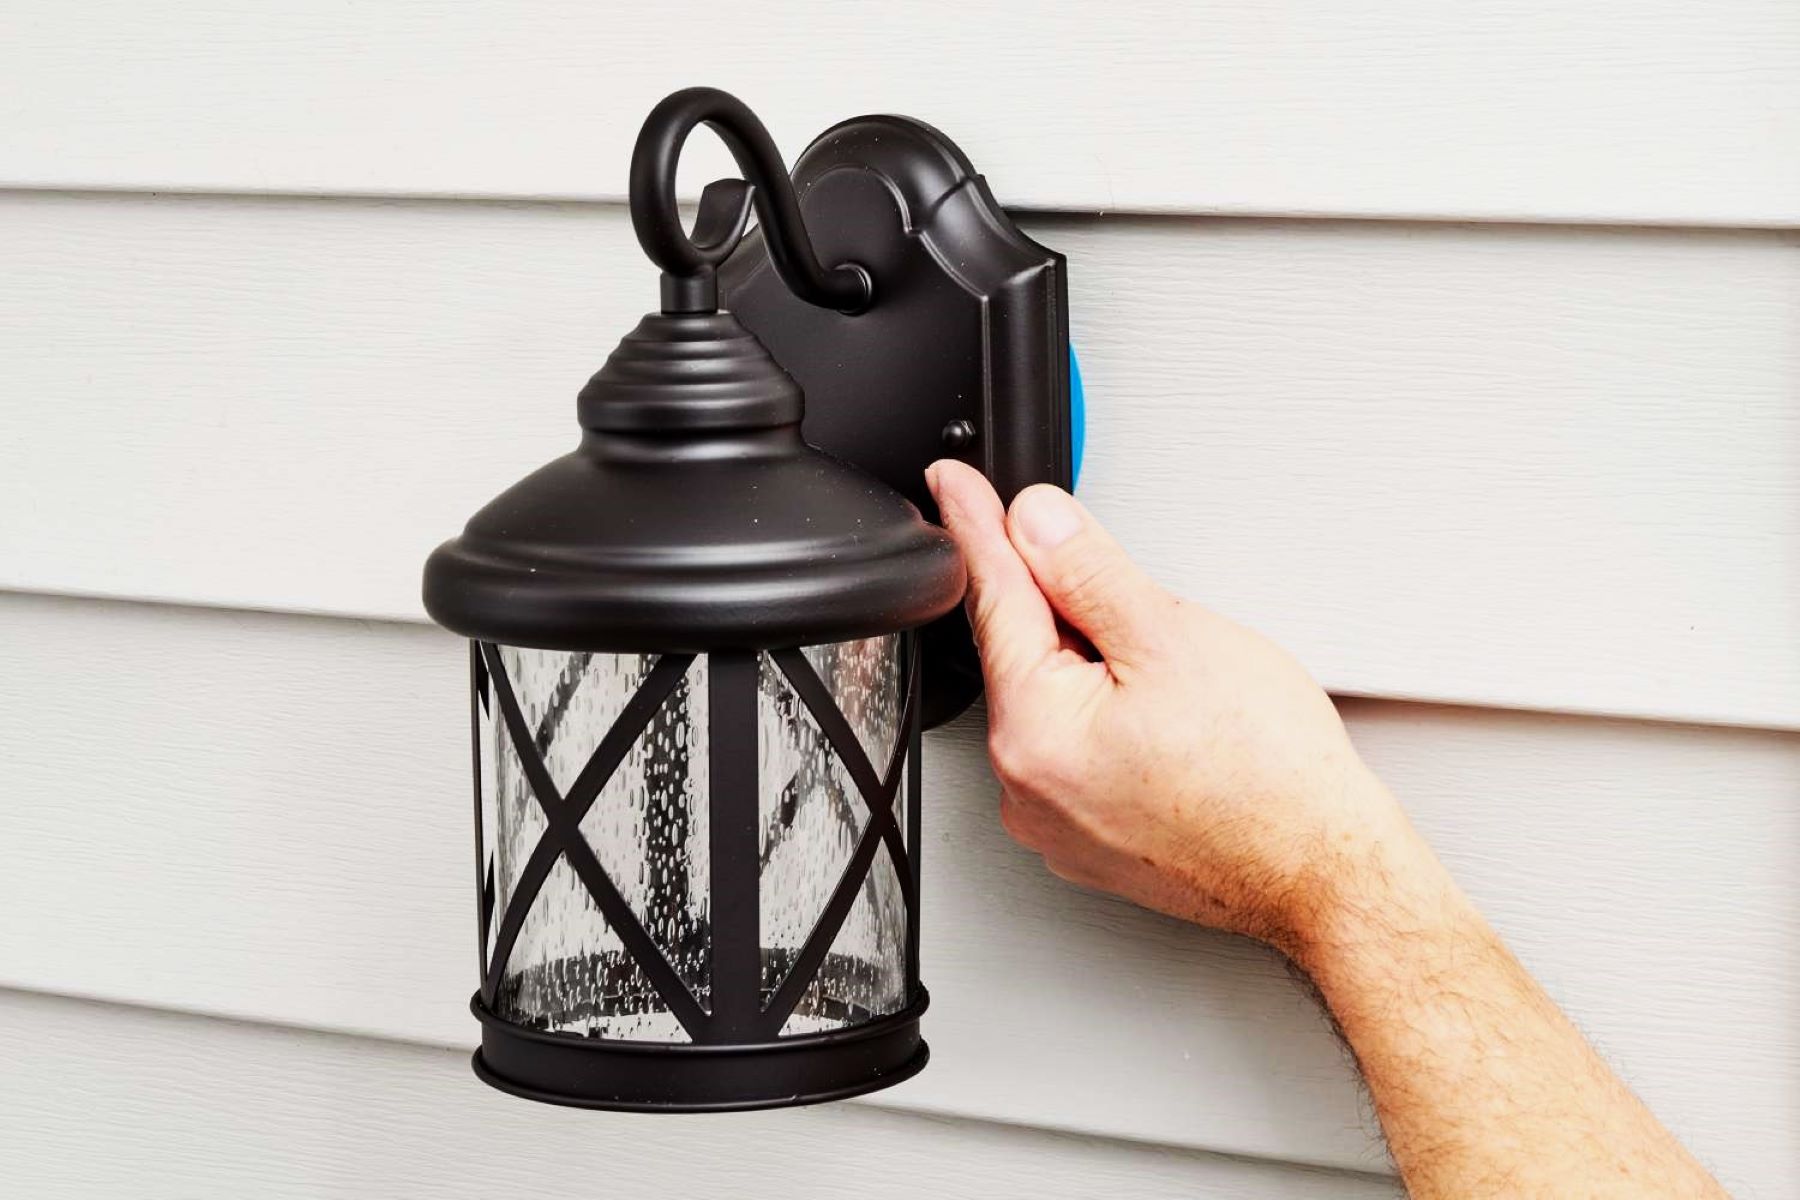
Step 3: Locate the Retaining Clip or Ring
Once the halogen bulb has cooled down, the next step is to locate the retaining clip or ring that holds the bulb in place within the light fixture. The exact design and location of the retaining mechanism may vary depending on the specific light fixture. To find it, follow these steps:
- Inspect the light fixture: Carefully examine the area surrounding the halogen bulb. Look for any visible clips, rings, or brackets that are securing the bulb.
- Refer to the manufacturer’s instructions: If you’re unsure about the location of the retaining mechanism, refer to the manufacturer’s instructions or consult the product manual. These resources can provide specific guidance for your particular light fixture.
- Use a flashlight if needed: In some cases, the retaining clip or ring may be located in a hard-to-see or hidden position. If necessary, use a flashlight to illuminate the area and locate the mechanism more easily.
- Be cautious of any other components: While searching for the retaining clip or ring, be mindful of any other components or wires that may be in close proximity to the halogen bulb. Take care not to disturb or damage them during the removal process.
Remember, the retaining clip or ring is responsible for holding the halogen bulb securely in place. Identifying and understanding its location is essential for the safe removal of the bulb.
Before removing a halogen bulb from a light fixture, make sure the bulb is cool to the touch. Then, gently grasp the bulb and twist it counterclockwise to release it from the fixture. Be careful not to apply too much pressure to avoid breaking the bulb.
Read more: How To Remove Glass Globe From Light Fixture
Step 4: Remove the Retaining Clip or Ring
After locating the retaining clip or ring that holds the halogen bulb in place, it’s time to proceed with its removal. This step varies depending on the design of the light fixture and the specific type of retaining mechanism used. Follow these general steps:
- Identify the type of retaining mechanism: Determine whether the light fixture uses a clip, spring, or ring to secure the halogen bulb. This information will help you understand how to remove it.
- Use the appropriate tool: Depending on the type of retaining mechanism, you may need to use your fingers, pliers, or a screwdriver to remove it. For clips or springs, gently squeeze or push them to release their hold on the bulb. Rings usually need to be rotated or unscrewed to loosen.
- Keep a firm grip on the retaining mechanism: As you loosen the retaining clip or ring, make sure to maintain a firm hold on it to prevent it from springing back or falling into the light fixture.
- Set the retaining clip or ring aside: Once the retaining mechanism is fully disengaged from the bulb, carefully set it aside in a safe place. This will prevent any accidental damage or loss.
It’s important to approach the removal of the retaining clip or ring with caution to avoid any damage to the bulb or the fixture. Take your time and be gentle to ensure a successful removal.
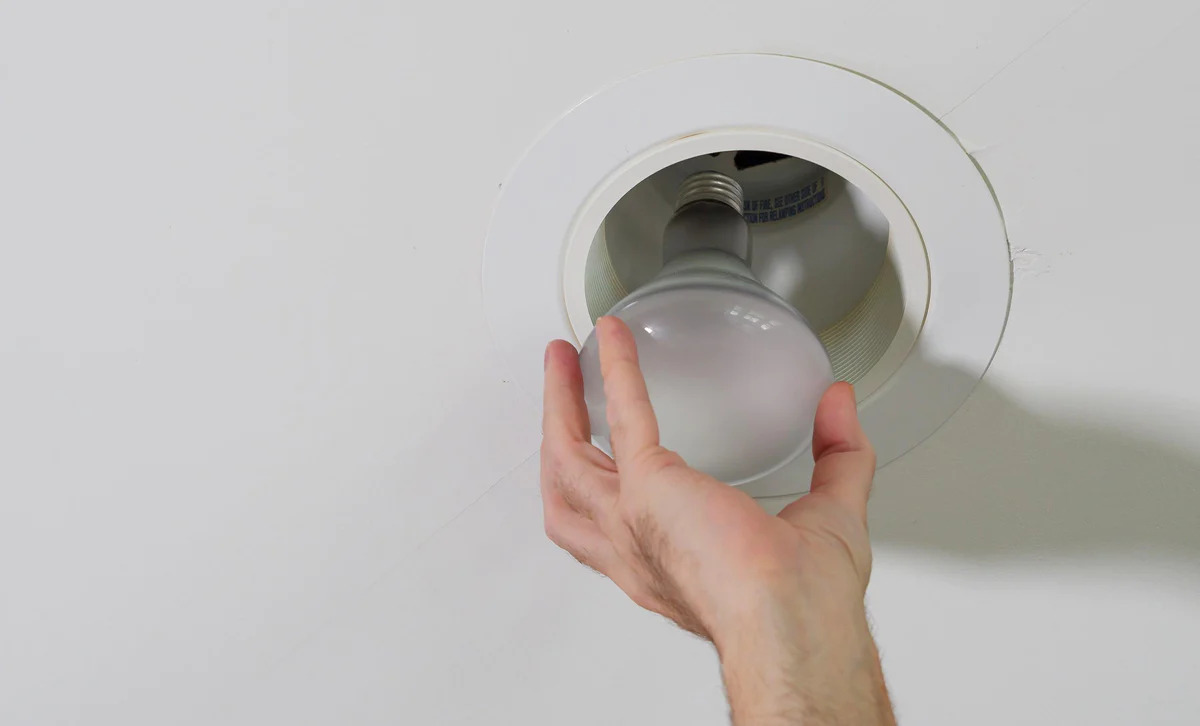
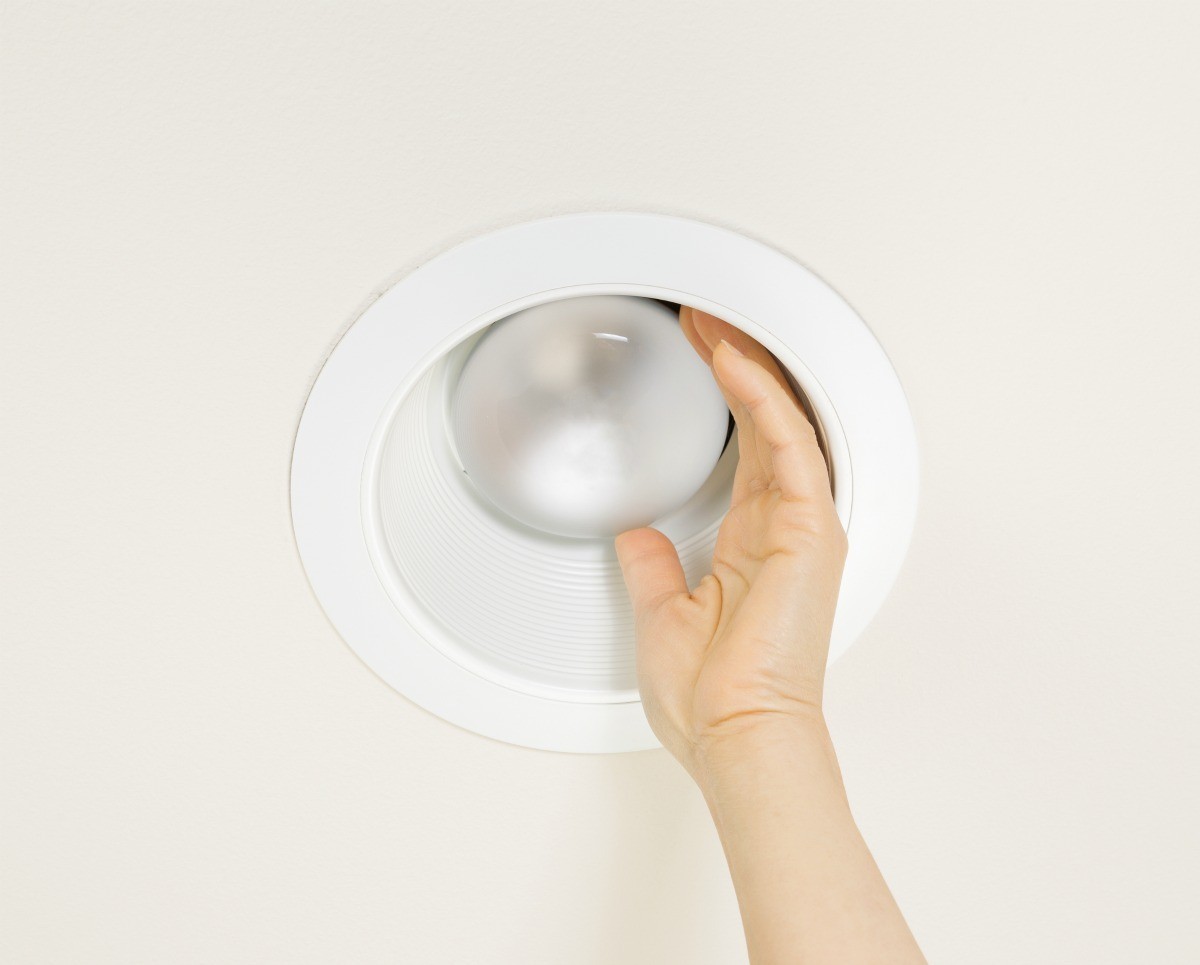
Step 5: Carefully Remove the Halogen Bulb
With the retaining clip or ring removed, you can now proceed to carefully remove the halogen bulb from the light fixture. Follow these steps to ensure a safe and successful removal:
- Grip the base of the bulb: With clean, dry hands, firmly grasp the base of the halogen bulb. Avoid touching the glass portion of the bulb as oils from your skin can cause damage and reduce its lifespan.
- Gently twist and pull: While maintaining a firm grip on the base, gently twist the bulb counterclockwise to loosen it from the socket. Once it’s loose, gently pull the bulb straight out of the socket.
- Use a slight rocking motion if needed: If the bulb feels stuck, try gently rocking it back and forth while applying slight pressure. Be careful not to apply excessive force, as this can cause the bulb to break or shatter.
- Set the bulb aside for disposal: Once the halogen bulb is fully removed, set it aside in a safe and secure place for proper disposal. Remember that halogen bulbs contain small amounts of mercury and should not be thrown into regular household waste.
It’s important to handle the halogen bulb with care during the removal process. By following these steps, you can safely detach the bulb from the light fixture without any damage or accidents.
Step 6: Dispose of the Bulb Properly
After removing the halogen bulb from the light fixture, it’s crucial to dispose of it properly. Halogen bulbs contain small amounts of mercury, which is hazardous to the environment if not handled correctly. Follow these guidelines to ensure the safe and responsible disposal of the bulb:
- Check local regulations: Research and familiarize yourself with the disposal guidelines and regulations in your area. Different regions may have specific requirements for handling and recycling halogen bulbs.
- Consult a recycling center: Contact your local recycling center or municipality to inquire about their policies and facilities for recycling halogen bulbs. They may have specific drop-off points or collection programs in place.
- Use designated collection sites: Some communities offer designated collection sites for hazardous waste, including halogen bulbs. Take advantage of these resources to ensure proper disposal.
- Protect the bulb during transport: If you need to transport the halogen bulb to a recycling center or collection site, be sure to package it securely to prevent breakage. Consider using the original packaging or wrapping it in protective material.
- Do not place in regular trash: Avoid throwing the halogen bulb in your regular household waste or recycling bins. Halogen bulbs require specialized handling due to their mercury content.
By following these disposal guidelines, you contribute to the protection of the environment and the proper management of hazardous materials. Always prioritize responsible and eco-friendly disposal methods for your halogen bulbs.
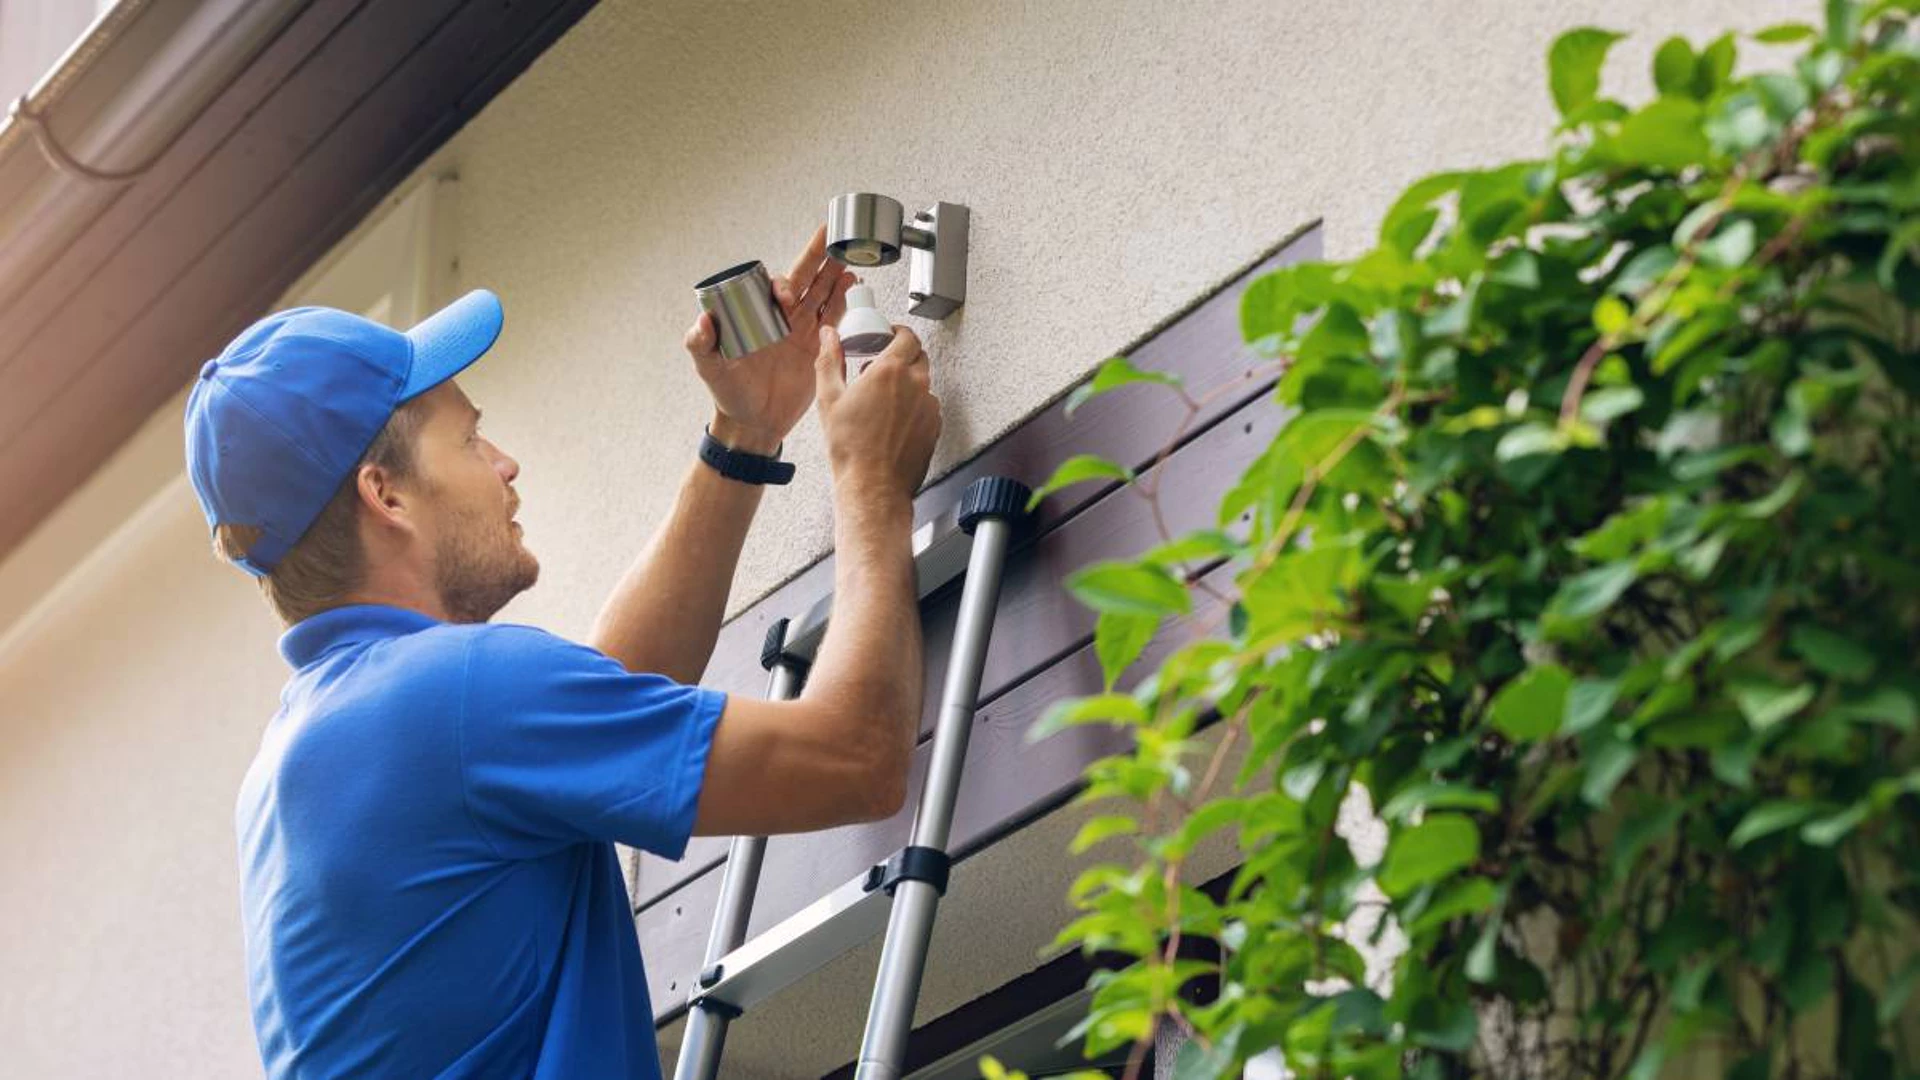
Step 7: Install a New Bulb (Optional)
If you removed the halogen bulb from your light fixture because it burned out or if you simply want to replace it with a new one, you can follow these steps to install a new bulb:
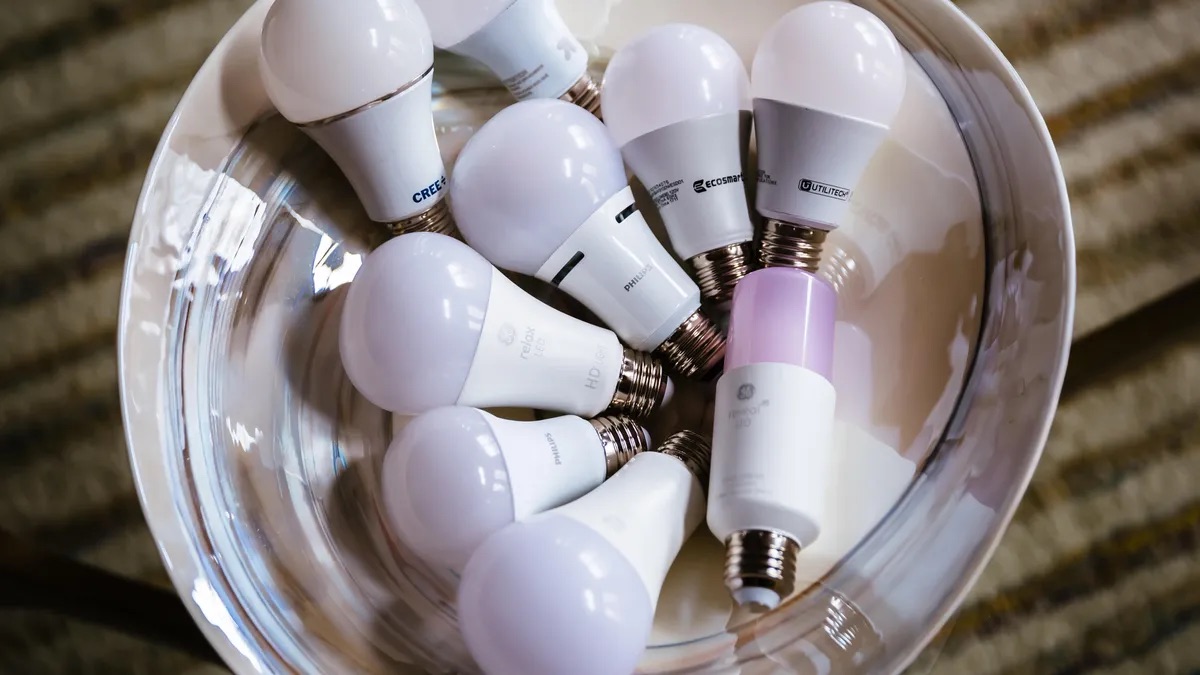
- Select the appropriate replacement bulb: Ensure that you choose a new halogen bulb that is compatible with your light fixture. Check the wattage, voltage, and base type to ensure a proper fit.
- Turn off the power: As a safety precaution, make sure to turn off the power supply to the light fixture before proceeding with the installation.
- Allow the fixture to cool: If the light fixture was recently in use, allow it to cool down before handling the new bulb.
- Insert the bulb into the socket: Align the pins or prongs on the base of the bulb with the corresponding slots in the socket. Gently insert the bulb and twist it clockwise until it is securely in place.
- Secure any retaining clips or rings: If your light fixture requires a retaining clip or ring to hold the bulb in place, reattach it according to the manufacturer’s instructions. Ensure that it is properly fastened.
- Turn on the power and test the new bulb: Once the new bulb is installed and secure, turn on the power to the light fixture. Test the bulb by switching on the light to ensure it is functioning correctly.
Remember to always follow the manufacturer’s instructions and recommendations when installing a new bulb. If you are unsure or uncomfortable with the installation process, it is recommended to consult a professional electrician.
Installing a new bulb can enhance the lighting in your space, providing a bright and welcoming atmosphere.
Conclusion
Removing a halogen bulb from a light fixture may seem like a straightforward task, but it’s crucial to approach it with caution and follow the proper steps to ensure your safety and avoid damaging the bulb or the fixture. By following the steps outlined in this guide, you can safely remove a halogen bulb from a light fixture:
- Turn off the power to the light fixture.
- Allow the bulb to cool down completely.
- Locate and remove the retaining clip or ring.
- Carefully remove the halogen bulb from the socket.
- Dispose of the bulb properly, following local regulations.
- If desired, install a new bulb following the manufacturer’s instructions.
Always prioritize safety by wearing protective gloves, turning off the power, and allowing the bulb to cool down before handling it. Remember to dispose of the bulb responsibly, as halogen bulbs contain small amounts of mercury.
Whether you are replacing a burnt-out bulb or upgrading to a more energy-efficient option, following these steps will help you successfully remove a halogen bulb from a light fixture. By doing so, you can maintain a well-lit and inviting space while ensuring your safety and adhering to environmentally-friendly practices.
If you are unsure about any step or if you encounter any difficulties during the process, it is always recommended to consult a professional electrician for assistance.
Frequently Asked Questions about How To Remove Halogen Bulb From Light Fixture
Was this page helpful?
At Storables.com, we guarantee accurate and reliable information. Our content, validated by Expert Board Contributors, is crafted following stringent Editorial Policies. We're committed to providing you with well-researched, expert-backed insights for all your informational needs.
0 thoughts on “How To Remove Halogen Bulb From Light Fixture”