
Articles
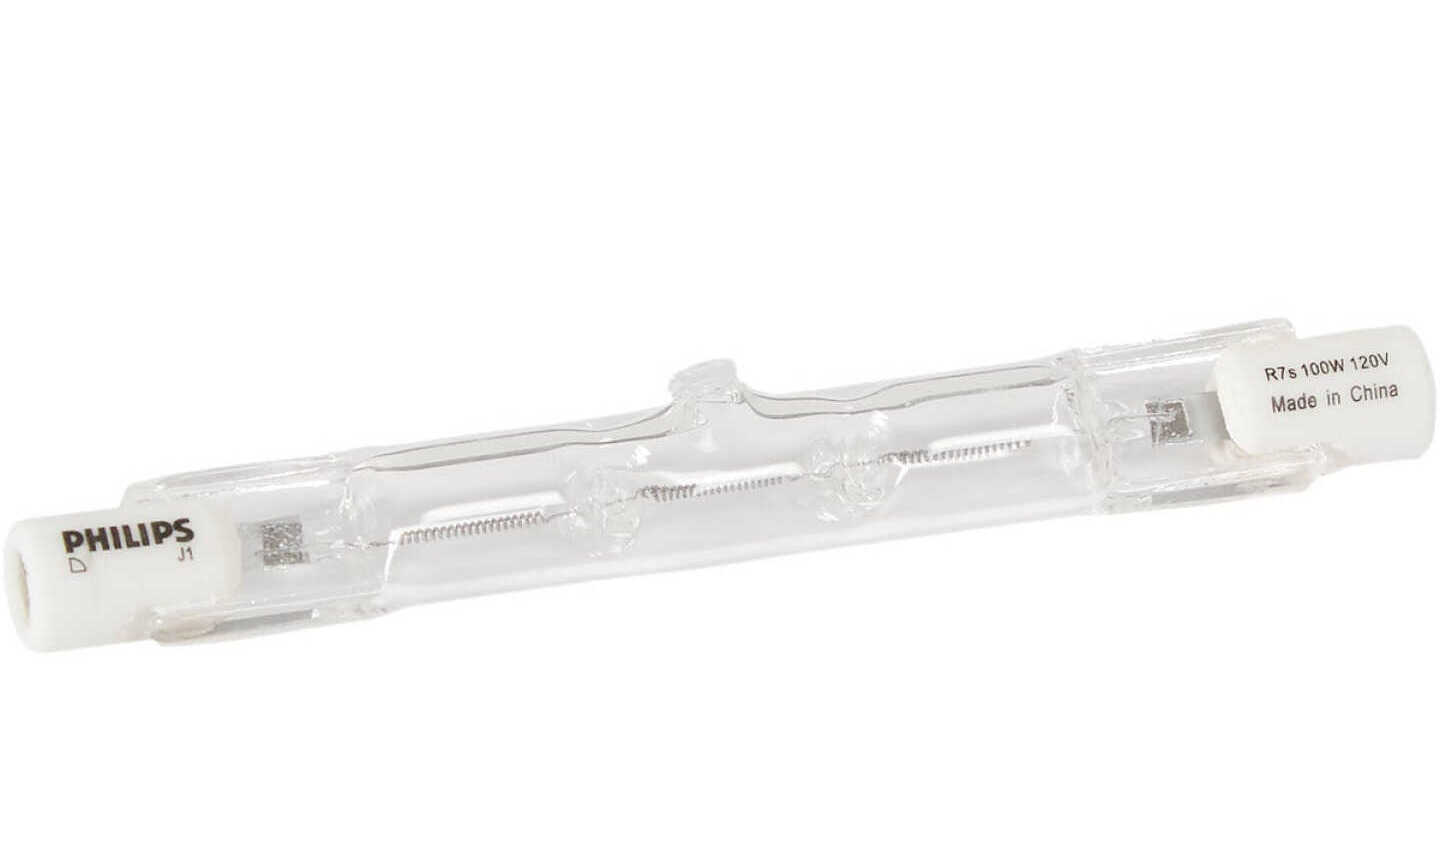
How To Replace T4 Halogen Bulb
Modified: September 2, 2024
Learn how to replace a T4 halogen bulb with step-by-step instructions and expert tips. This comprehensive article guides you through the process.
(Many of the links in this article redirect to a specific reviewed product. Your purchase of these products through affiliate links helps to generate commission for Storables.com, at no extra cost. Learn more)
Introduction
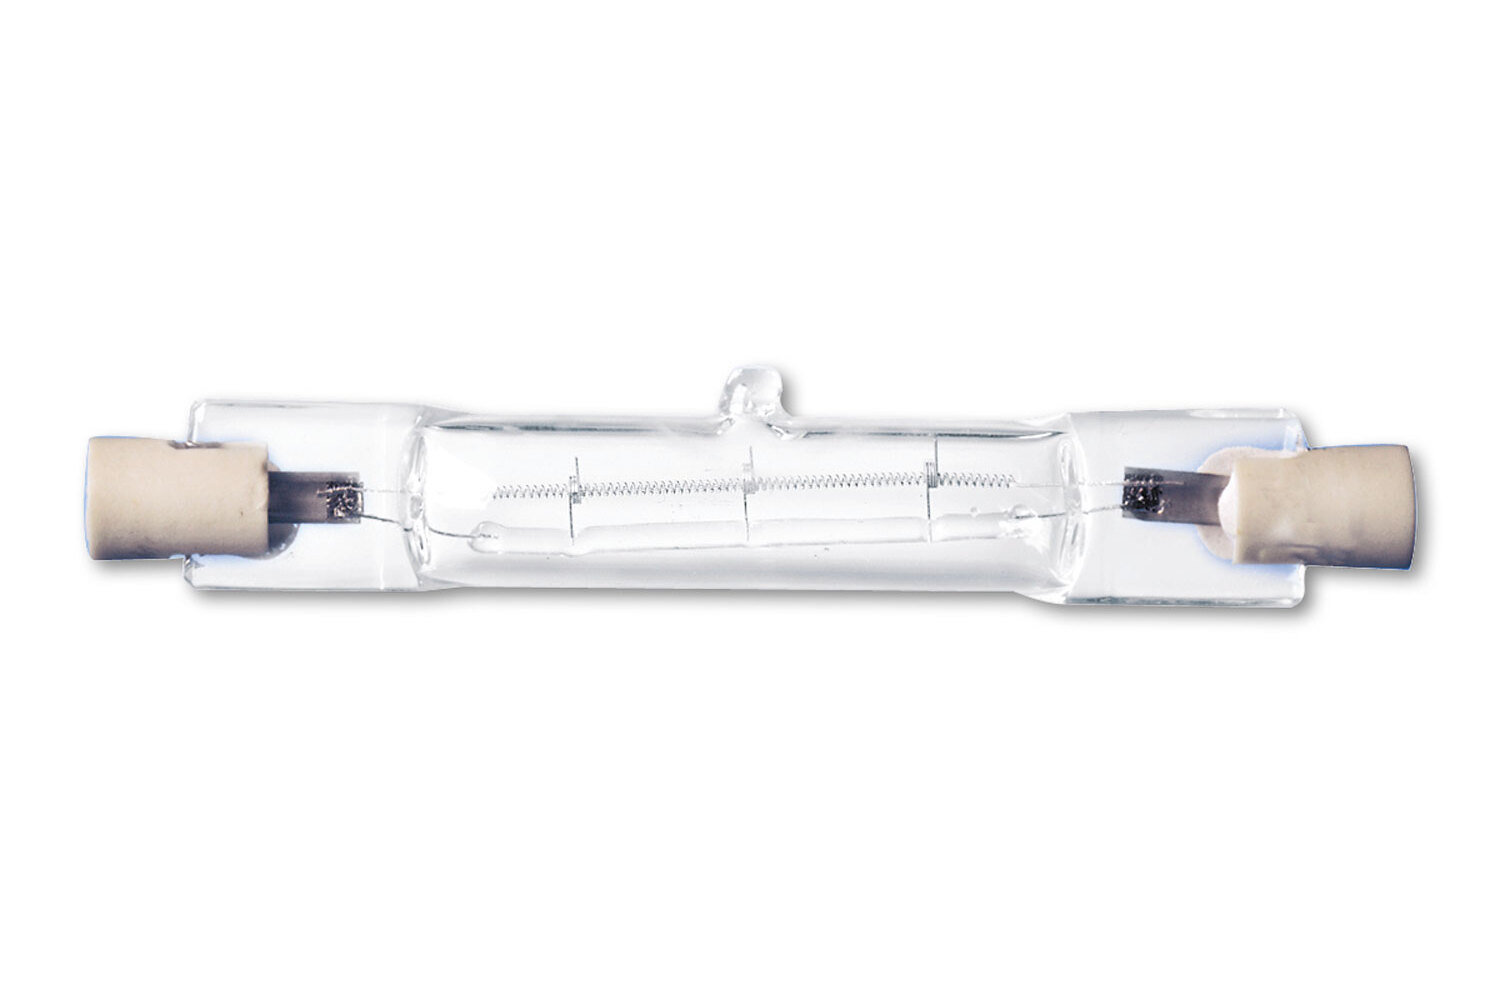
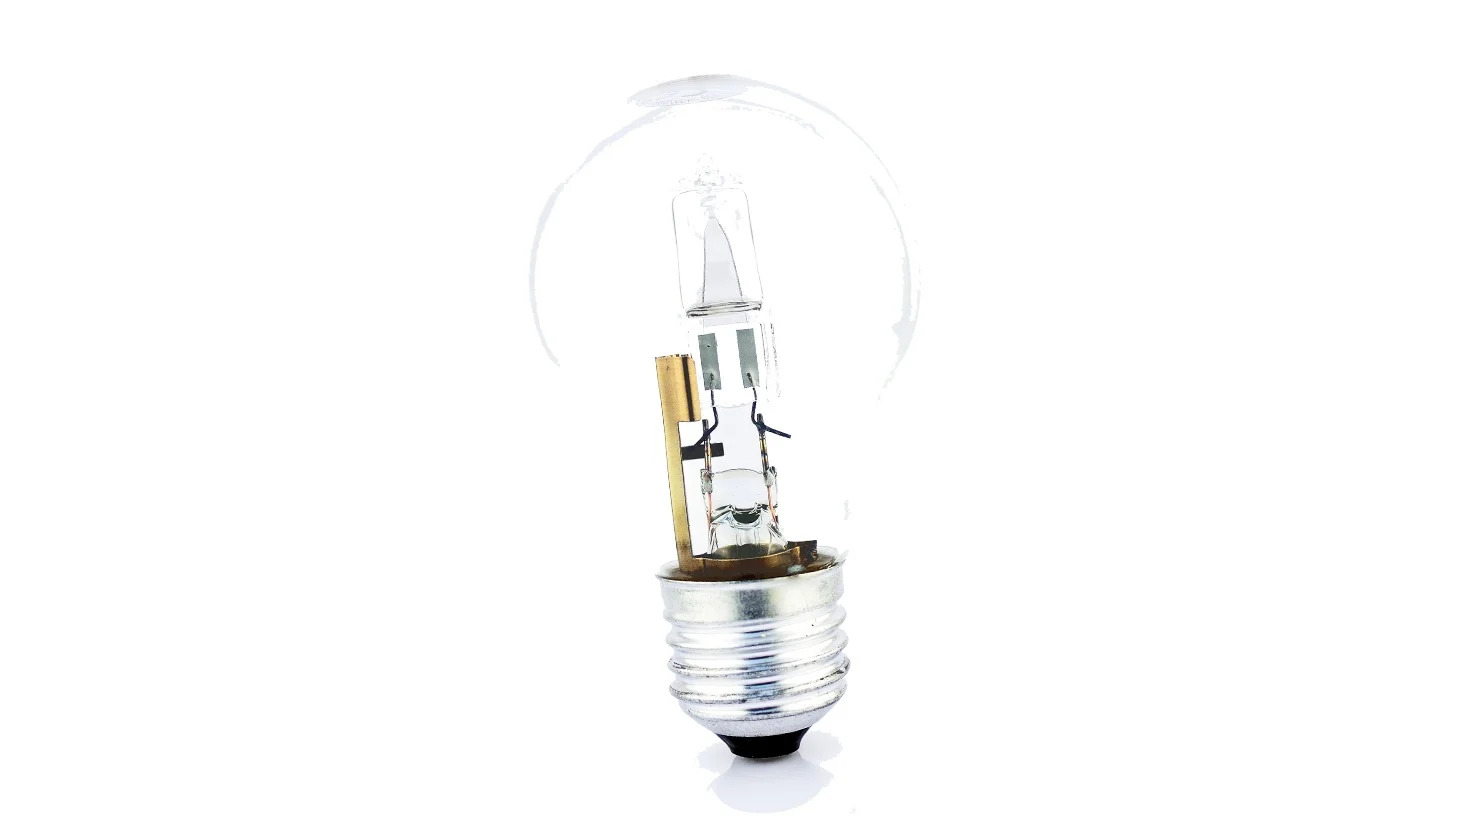
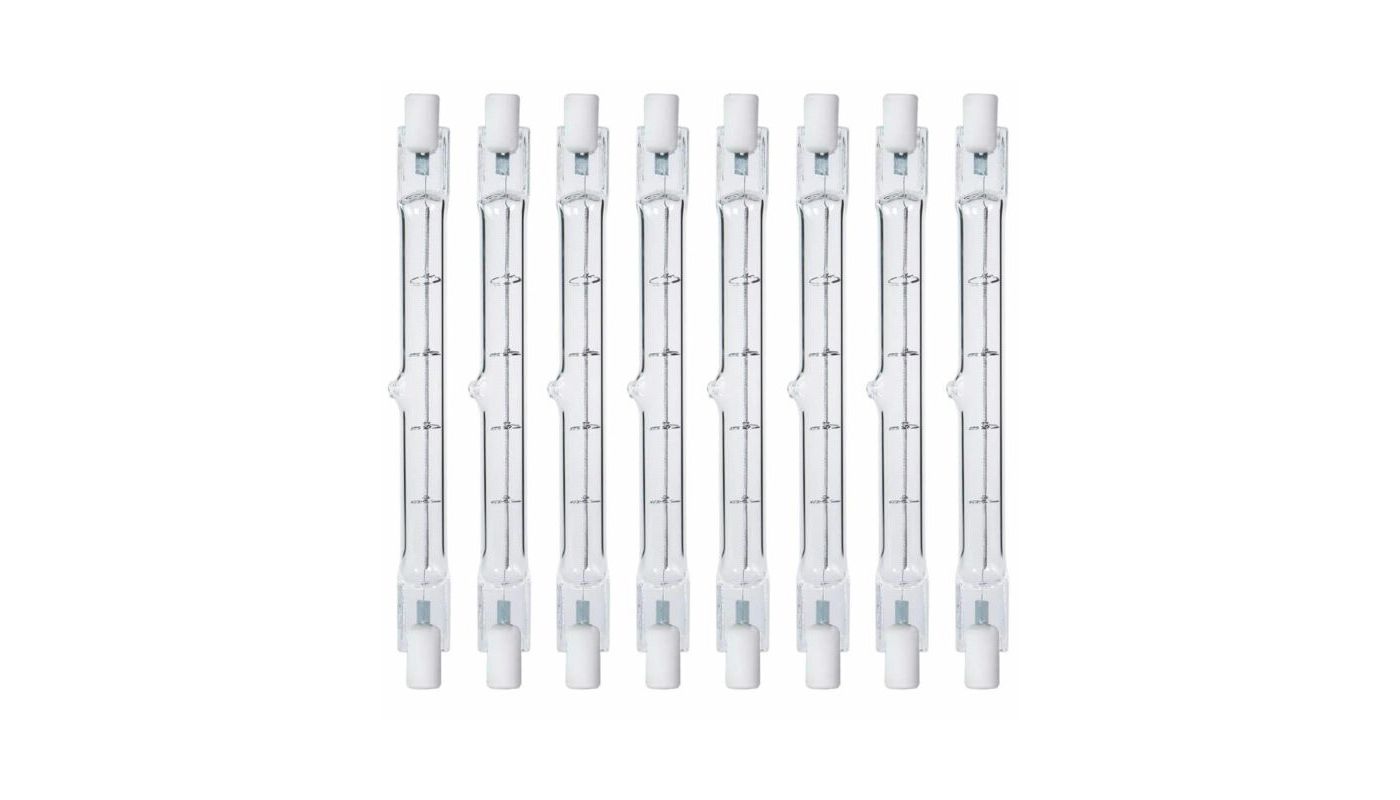
Replacing a T4 halogen bulb may seem like a daunting task, but with the right tools and knowledge, it can be a straightforward process. T4 halogen bulbs are commonly used in various lighting fixtures, providing bright and focused illumination. Over time, these bulbs may burn out or become faulty, requiring replacement.
In this article, we will guide you through the step-by-step process of replacing a T4 halogen bulb. From safety precautions to the final installation, we will ensure that you can successfully replace your bulb and restore the desired lighting in your space.
Before we proceed, it’s important to note that safety should always be a top priority when dealing with electrical components. If you are not comfortable working with electricity or unsure of the process, it is recommended to seek professional assistance.
Now, let’s gather the necessary tools and equipment before beginning the replacement process.
Key Takeaways:
- Prioritize safety by turning off the power, allowing the bulb to cool, and wearing safety gloves when replacing a T4 halogen bulb. Proper disposal of the old bulb is crucial for environmental protection.
- Follow the step-by-step process, from preparing the new bulb to testing its functionality, to ensure a successful replacement. If uncertain, seek professional assistance for a smooth and efficient process.
Read also: 11 Best T4 Halogen Bulb 75W for 2025
Safety Precautions
When working with electrical components, it is crucial to prioritize safety to avoid accidents and injuries. Before replacing a T4 halogen bulb, make sure to follow these safety precautions:
- Turn off the power: Before starting any work, shut off the power to the lighting fixture from the circuit breaker to eliminate the risk of electric shock.
- Allow the bulb to cool: Halogen bulbs can become extremely hot during operation. Let the bulb cool down completely before attempting to replace it to avoid burns.
- Wear safety gloves: It is advisable to wear protective gloves to reduce the risk of injury, especially when handling the bulb or any broken glass debris.
- Use a stable ladder or step stool: Ensure that you have a secure and sturdy platform to reach the lighting fixture safely.
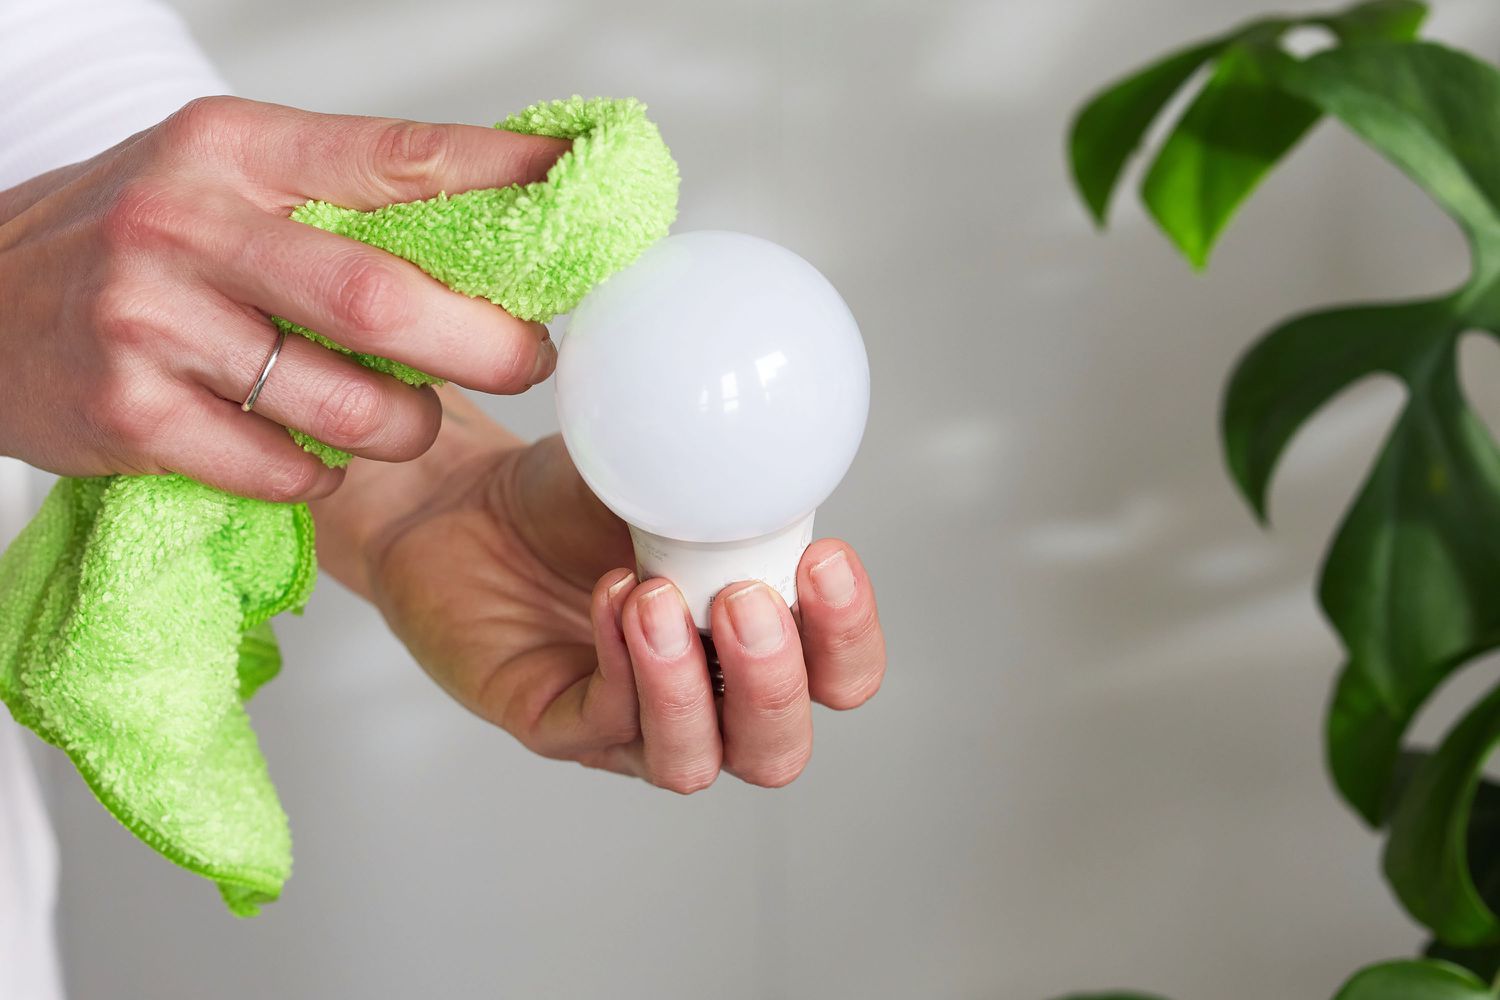
- Avoid touching the glass: Direct contact with the bulb’s glass surface can cause fingerprints or residue, which can shorten the bulb’s lifespan. If contact is made, clean it with a soft cloth and isopropyl alcohol before installing.
- Dispose of the bulb properly: Halogen bulbs contain harmful substances, so it is essential to dispose of them correctly. Check local regulations for proper disposal methods.
Remember, if you are uncertain or uncomfortable with any step in the process, it is always best to consult a professional electrician for assistance. Now that we have discussed the safety precautions, let’s proceed with gathering the tools and equipment required for this task.
Tools and Equipment Needed
Before you begin the process of replacing a T4 halogen bulb, ensure that you have the following tools and equipment:
- Safety gloves: Protect your hands with a pair of safety gloves to prevent any injuries or burns.
- Ladder or step stool: Depending on the height of the lighting fixture, you may need a stable ladder or step stool to access it safely.
- Screwdriver: Depending on the type of fixture, you may need a screwdriver to remove any screws or clips securing the bulb in place.
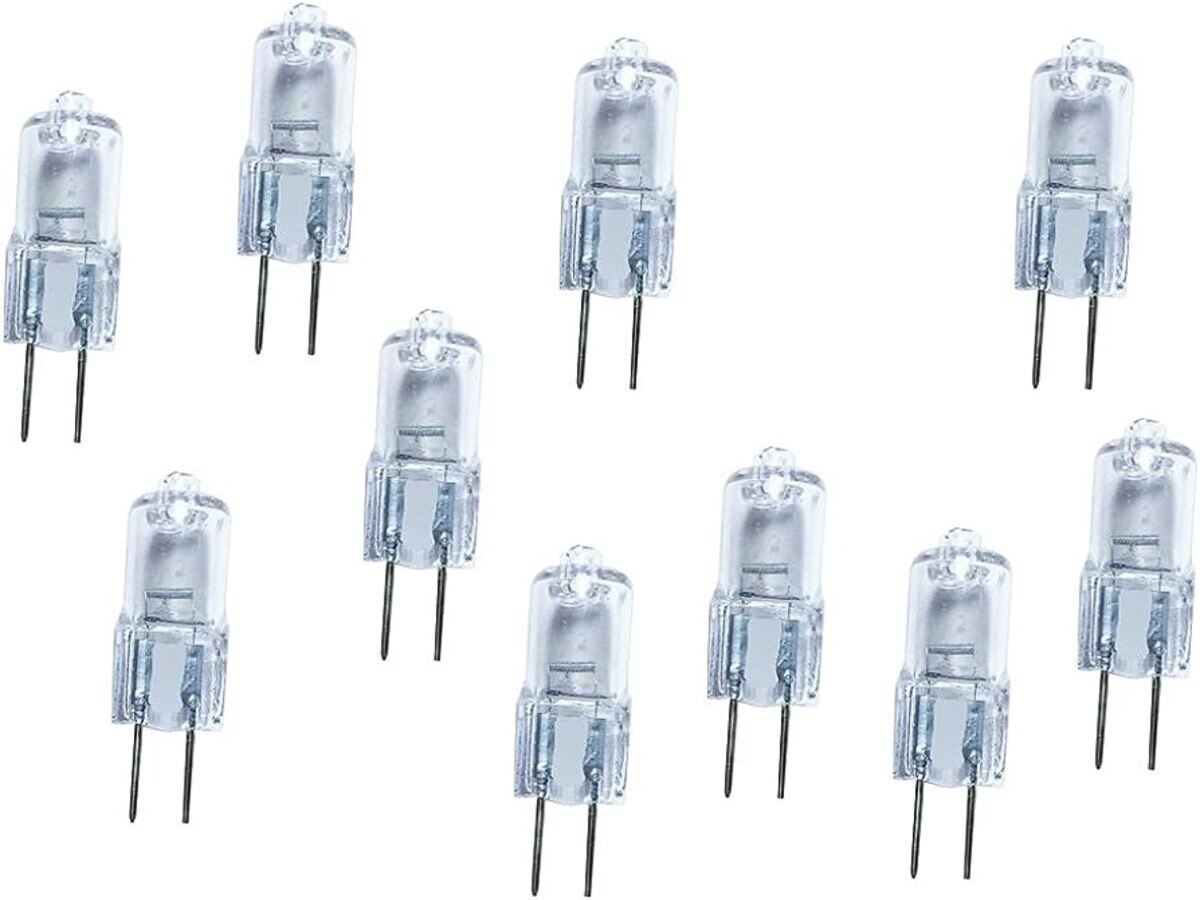
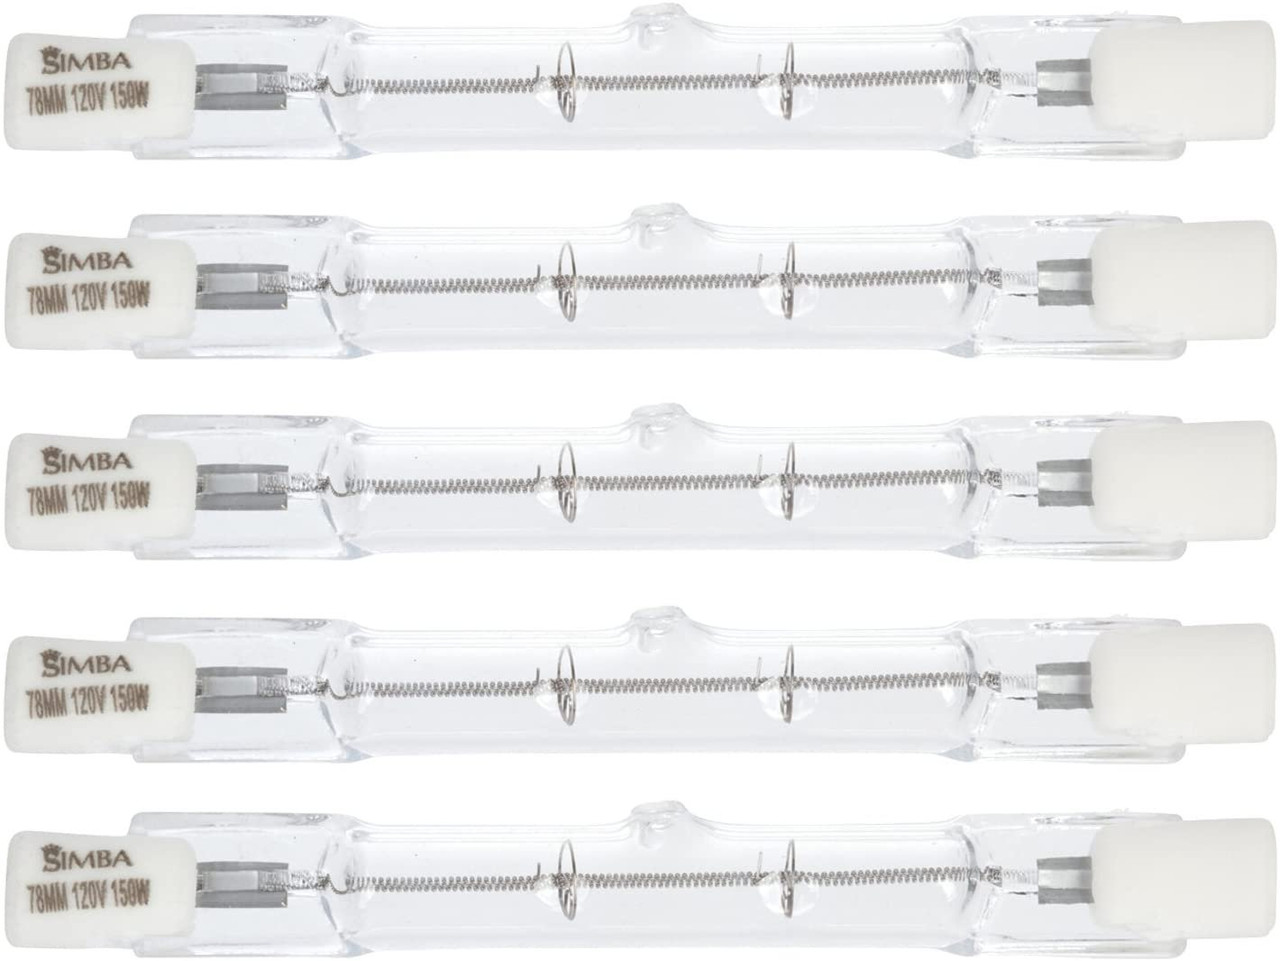
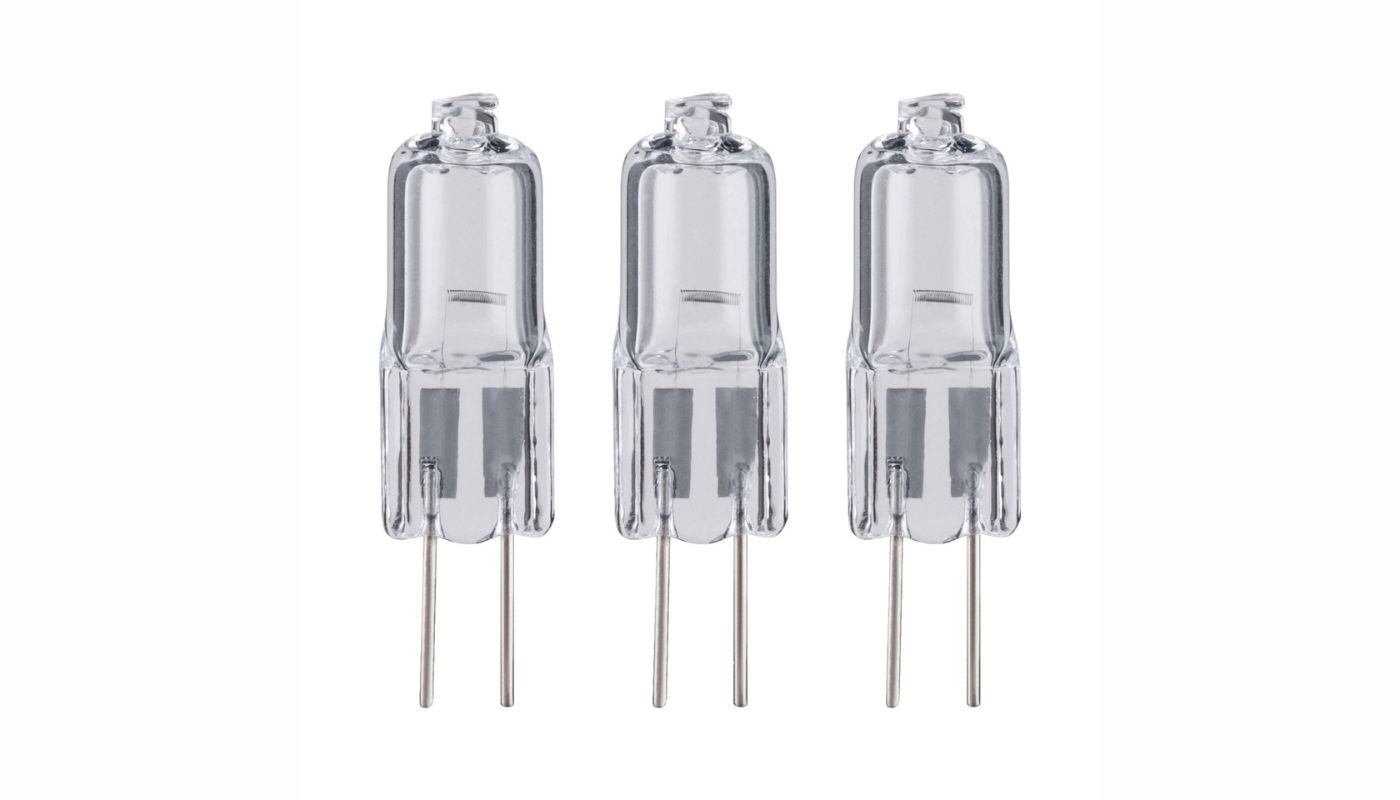
- New T4 halogen bulb: Purchase a replacement T4 halogen bulb with the correct wattage and base type. Check the specifications of the old bulb or consult the manufacturer’s guidelines to ensure compatibility.
- Soft cloth and isopropyl alcohol: These are useful for cleaning the bulb if it comes into contact with your hands or any contaminants.
- Waste disposal bag or container: As mentioned before, it is crucial to dispose of the old halogen bulb properly. Prepare a waste disposal bag or container for safe and environmentally-friendly disposal.
Make sure all necessary tools and equipment are within reach to streamline the replacement process. Now that we have the required tools, let’s move on to the step-by-step process of replacing the T4 halogen bulb.
Step 1: Turn Off the Power
Before you begin working on replacing the T4 halogen bulb, it is crucial to turn off the power to the lighting fixture. This step will ensure your safety and prevent any electrical mishaps. Follow these steps to turn off the power:
- Locate the circuit breaker: Identify the circuit breaker that controls the power supply to the lighting fixture. It is usually labeled with the name or description of the area or room the fixture is in.
- Switch off the circuit: Flip the switch for the corresponding circuit breaker to the “Off” position. This will cut off the power supply to the fixture.
- Test the fixture: To be certain that the power is indeed turned off, test the light switch to see if the fixture no longer illuminates. If it remains off, you have successfully disabled the power.
It is essential to double-check that the power is off before proceeding with the replacement. This will prevent any potential electrical accidents during the process. Remember, safety should always be a priority when dealing with electrical components.
Now that you have turned off the power, wait for the T4 halogen bulb to cool down completely before proceeding to the next step. Handling a hot bulb can lead to burns or damage to the new bulb. Once the bulb has cooled, we can move on to Step 2.
Step 2: Allow the Bulb to Cool
After turning off the power, it is important to allow the T4 halogen bulb to cool down completely before attempting to replace it. Halogen bulbs can become extremely hot during operation and can cause burns if handled too soon. Follow these steps to ensure the bulb has cooled down:
- Wait for the recommended time: Halogen bulbs can take anywhere from a few minutes to an hour to cool down completely, depending on the specific model and usage. Refer to the manufacturer’s guidelines or wait at least 10-15 minutes as a general rule of thumb.
- Check the bulb’s temperature: To be sure the bulb is cool enough to handle, place the back of your hand near the bulb without touching it. If you feel no significant heat, it is safe to proceed. If you still feel warmth, give it more time to cool.
It is crucial to wait for the bulb to cool down completely to avoid any burns or damage to the new bulb during the replacement process. Once you are confident that the bulb is cool to the touch, you can proceed to the next step.
Let’s move on to Step 3, where we will learn how to remove the existing T4 halogen bulb from the fixture.
Read also: 15 Best T4 LED Bulb for 2025
Step 3: Remove the Existing Bulb
Now that the T4 halogen bulb has cooled down, you can proceed with removing the existing bulb from the lighting fixture. Follow these steps to safely remove the bulb:
- Put on safety gloves: Before handling the bulb, put on a pair of safety gloves to protect your hands from any potential cuts or injuries.
- Identify the bulb housing: Locate the housing or socket that holds the bulb in place. This is usually a small metal or plastic structure connected to the fixture.
- Release the bulb: Depending on the type of fixture, there may be different methods to release the bulb. Look for any retaining clips, screws, or springs that are holding the bulb in place.
- Remove the bulb carefully: Once you have identified the retaining mechanism, gently release it and carefully remove the bulb from the housing. Be cautious not to twist or force the bulb out, as this may cause damage.
- Inspect the housing: Take a moment to inspect the housing for any signs of damage, such as corrosion or burnt connections. If you notice any issues, it is advisable to consult a professional electrician for further inspection and repair.
It’s important to handle the existing bulb with care to prevent any breakage or injury. If the bulb is broken, it is crucial to clean up the debris carefully. Dispose of any broken glass or other remnants by placing them in a waste disposal bag or container labeled for hazardous waste.
Now that you have successfully removed the existing T4 halogen bulb, you’re ready to prepare the new bulb for installation. We will cover this in Step 4.
When replacing a T4 halogen bulb, make sure to turn off the power and allow the bulb to cool before handling. Use gloves to avoid skin oils on the bulb, and be careful not to touch the glass with bare hands as this can cause the bulb to burn out prematurely.
Step 4: Prepare the New T4 Halogen Bulb
With the old bulb removed, it’s time to prepare the new T4 halogen bulb for installation. Proper preparation ensures a smooth and successful replacement process. Follow these steps to prepare the new bulb:
- Ensure the correct bulb type: Double-check that you have purchased the correct replacement T4 halogen bulb. Verify the wattage and base type of the new bulb to match the specifications of the old bulb.
- Inspect the new bulb: Carefully examine the new T4 halogen bulb for any visible damage or defects. Check for any loose filaments or cracks in the glass. If you notice any issues, it is advisable to return the bulb and acquire a new one.
- Handle the bulb properly: When handling the new bulb, avoid touching the glass surface. Oils and residue from your skin can cause the bulb to heat unevenly and reduce its lifespan. If you accidentally touch the glass, clean it with a soft cloth and isopropyl alcohol before installing.
- Keep the bulb protected: To prevent any accidental damage or breakage, keep the new bulb in its packaging until you are ready to install it. Handle it with care to avoid any unnecessary jostling or dropping.
By taking the time to properly inspect and handle the new T4 halogen bulb, you can ensure an optimal and long-lasting replacement. Now that the new bulb is ready, let’s move on to Step 5, where we will learn how to insert the new bulb into the fixture.
Step 5: Insert the New Bulb
Now that you have prepared the new T4 halogen bulb, it’s time to insert it into the lighting fixture. Follow these steps to safely and correctly insert the new bulb:
- Remove any protective coverings: If the new bulb came with any protective coverings or packaging, ensure that you remove them before proceeding.
- Align the bulb: Position the new T4 halogen bulb in line with the bulb housing. Take note of any markings or notches on the base of the bulb that need to align with corresponding features in the housing.
- Gently push the bulb into place: With a light touch, push the new bulb into the housing. Be sure not to force it or apply excessive pressure, as this could cause damage.
- Secure the bulb: If your fixture has retaining clips, screws, or springs, follow the manufacturer’s instructions to secure the new bulb in place. Ensure that it is held firmly without any wobbling or instability.
- Double-check the connection: Once inserted, give the new bulb a gentle twist or wiggle to ensure a secure connection. It should be snug and stable within the housing.
It is important to handle the new bulb with care to prevent any breakage or damage during installation. Once the new bulb is securely in place, you’re almost done! In the next step, we will test the new bulb to ensure it is functioning correctly.
Step 6: Test the New Bulb
After inserting the new T4 halogen bulb, it’s essential to test it to ensure it is functioning properly. Follow these steps to test the new bulb:
- Restore the power supply: Turn the power back on to the lighting fixture by flipping the circuit breaker switch to the “On” position. Ensure that the power supply is restored to the fixture.
- Activate the bulb: Depending on the type of lighting fixture, use the designated switch or control to activate the bulb. This may involve flipping a light switch or utilizing a dimmer switch if applicable.
- Observe the bulb’s operation: Once the bulb is activated, observe its performance. Check for consistent and steady illumination. Ensure there are no flickering, dimming, or other irregularities.
- Test different lighting levels (if applicable): If your lighting fixture offers adjustable brightness levels, experiment with different settings to ensure the bulb responds accordingly.
If the new bulb does not light up or shows any signs of malfunction, ensure that it is properly inserted and secured within the housing. If the issue persists, consult the manufacturer’s guidelines or consider seeking professional assistance.
Once you have verified that the new bulb is functioning correctly, you can proceed to the final step, where we will discuss how to dispose of the old bulb properly.
Read more: How To Remove A T3 Halogen Bulb
Step 7: Dispose of the Old Bulb Properly
Properly disposing of the old T4 halogen bulb is crucial to protect the environment and ensure safety. These bulbs contain hazardous materials like mercury, so they should not be thrown in regular trash. Follow these steps to dispose of the old bulb properly:
- Allow the bulb to cool down: Before handling the old bulb, make sure it is completely cool to avoid any burns or injuries.
- Wrap the bulb in protective material: To prevent any accidental breakage, wrap the old bulb in several layers of newspaper or place it in a protective container designed for light bulb disposal.
- Label the container: If you are using a container, label it clearly as “Hazardous Waste” or “Broken Light Bulb” to warn others of its contents.
- Contact a recycling center or disposal facility: Check with your local waste management or recycling center to find out the best way to dispose of the old T4 halogen bulb. Some municipalities offer specific drop-off locations or recycling programs for such bulbs.
- Follow proper disposal instructions: Follow the guidelines given by the recycling center or disposal facility for the safe and environmentally-friendly disposal of the old bulb. Avoid throwing it in regular trash or recycling bins.
By disposing of the old T4 halogen bulb responsibly, you can contribute to a cleaner environment and reduce the risk of any potential harm from the hazardous materials it contains.
Congratulations! You have successfully replaced the T4 halogen bulb and completed the entire process. Remember to store any remaining bulbs in a safe and secure location for future use.
As a final note, always refer to the manufacturer’s guidelines and follow any specific instructions provided with your lighting fixture for the best results.
Thank you for following this step-by-step guide. Now you can enjoy the enhanced and efficient lighting provided by your newly installed T4 halogen bulb!
Conclusion
Replacing a T4 halogen bulb may seem like a daunting task, but with the right knowledge and precautions, it can be a straightforward process. By following the step-by-step guide outlined in this article, you can successfully replace your T4 halogen bulb and restore optimal lighting in your space.
Throughout the process, your safety should always be a top priority. Remember to turn off the power, allow the bulb to cool, and wear safety gloves when handling the bulbs. Additionally, properly disposing of the old bulb is essential to protect the environment and ensure safety.
By gathering the necessary tools and equipment, preparing the new bulb, and following each step carefully, you can ensure a smooth and successful replacement process. Testing the new bulb is crucial to verify its functionality, and if any issues arise, it is advisable to consult the manufacturer’s guidelines or seek professional assistance.
Remember, working with electricity can be hazardous, and if you are unsure or uncomfortable with any step of the process, it is best to seek professional help.
Thank you for reading this article and we hope that it has provided you with a comprehensive understanding of how to replace a T4 halogen bulb. Enjoy your newly installed bulb and the improved lighting it will bring to your space!
Frequently Asked Questions about How To Replace T4 Halogen Bulb
Was this page helpful?
At Storables.com, we guarantee accurate and reliable information. Our content, validated by Expert Board Contributors, is crafted following stringent Editorial Policies. We're committed to providing you with well-researched, expert-backed insights for all your informational needs.
0 thoughts on “How To Replace T4 Halogen Bulb”