Articles
How To Clean Out A Water Dispenser
Modified: March 25, 2024
Learn how to clean out a water dispenser with our informative articles. Discover easy tips and tricks to keep your water dispenser clean and hygienic.
(Many of the links in this article redirect to a specific reviewed product. Your purchase of these products through affiliate links helps to generate commission for Storables.com, at no extra cost. Learn more)
Introduction
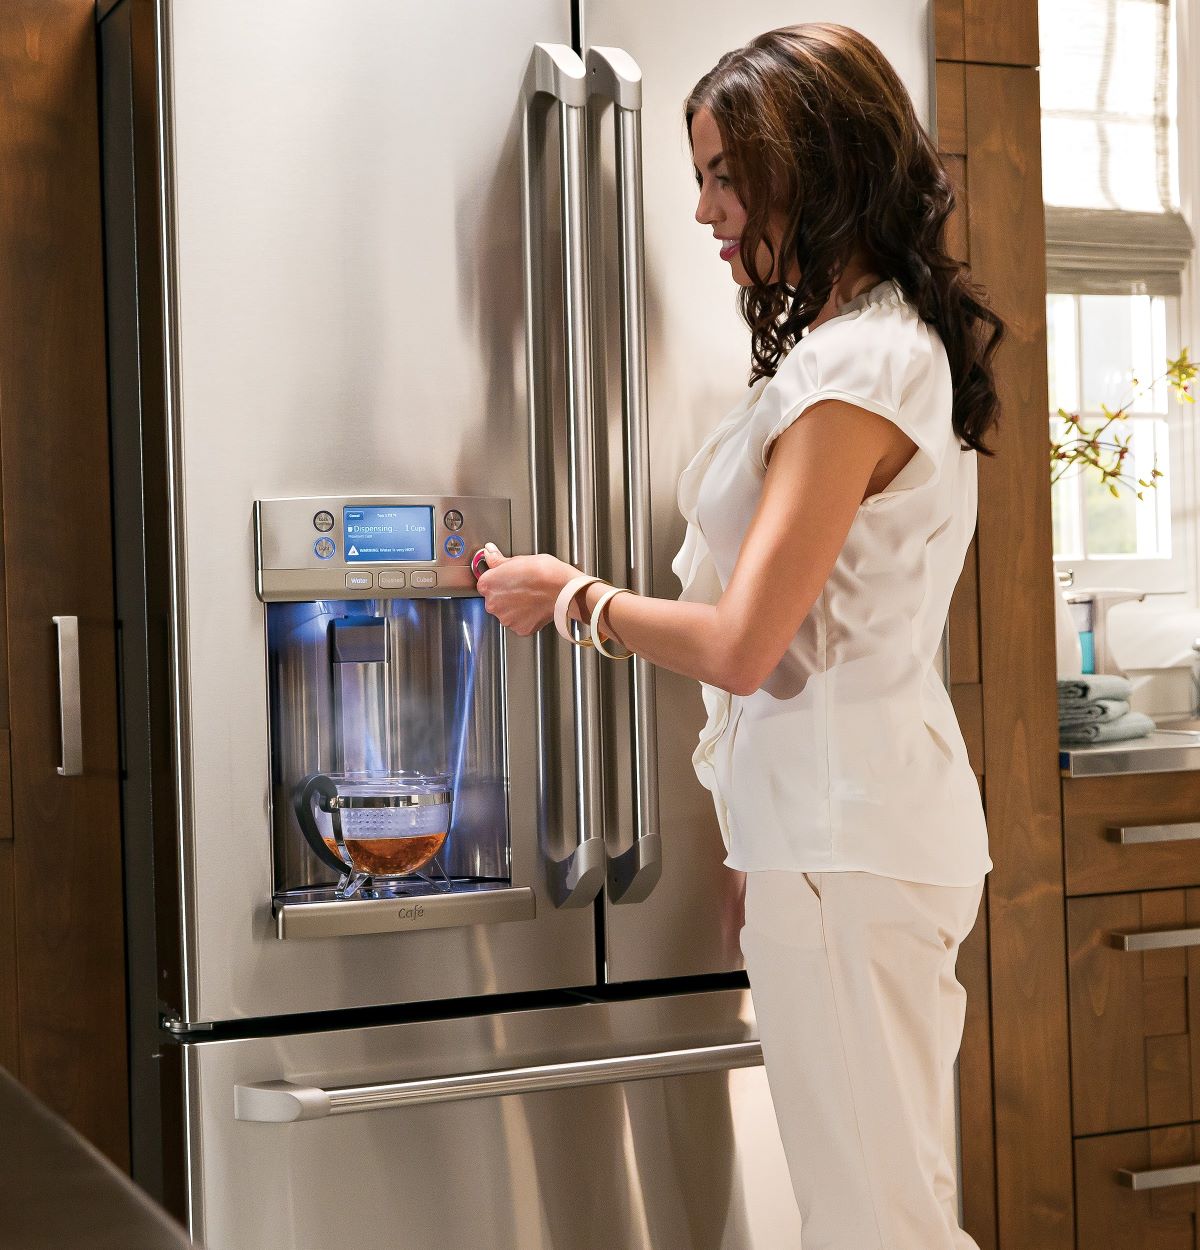
Welcome to this guide on how to clean out a water dispenser. Water dispensers are a convenient and efficient way to access instant cold or hot water in our homes or offices. However, over time, these devices can accumulate dirt, bacteria, and mineral deposits, which can affect the quality of the water and even pose health risks. Regular cleaning is essential to ensure that your water dispenser remains clean, hygienic, and in good working condition.
In this article, we will provide you with step-by-step instructions on how to clean out a water dispenser effectively. Before we dive into the cleaning process, it’s essential to familiarize ourselves with the necessary safety precautions we need to take.
Let’s get started!
Key Takeaways:
- Regularly cleaning your water dispenser with mild dish soap or vinegar, and following safety precautions, ensures clean, hygienic water and optimal device performance.
- Cleaning the interior, exterior, and components of your water dispenser, along with proper reassembly, promotes a healthy, hygienic environment and prolongs the device’s lifespan.
Read more: How To Clean Out A Primo Water Dispenser
Safety Precautions
Before you begin cleaning your water dispenser, it’s crucial to prioritize your safety. Follow these safety precautions to ensure a safe and hassle-free cleaning process:
- Always unplug the water dispenser from the power source before cleaning. This will prevent any electrical accidents or damage to the device.
- Wear protective gloves to shield your hands from any potentially harmful chemicals or bacteria during the cleaning process.
- Make sure the area where you are cleaning the water dispenser is well-ventilated to avoid inhaling any chemical fumes.
- Use mild cleaning agents or natural cleaning solutions to minimize the risk of chemical reactions or harmful residues.
- Read and follow the manufacturer’s instructions and recommendations for cleaning the water dispenser. Different dispensers may have specific cleaning requirements.
- If you encounter any difficulties or are uncertain about any step, consult the user manual or contact the manufacturer for assistance.
By following these safety precautions, you can ensure a safe and successful cleaning process for your water dispenser.
Materials Needed
Before you begin cleaning your water dispenser, gather the following materials to ensure a thorough and effective cleaning:
- Mild dish soap or vinegar: These cleaning agents will help remove any dirt, bacteria, or mineral deposits from the dispenser.
- Clean microfiber cloth or sponge: This will be used to wipe down the exterior of the dispenser.
- Clean, lint-free cloth or paper towels: These are essential for drying the dispenser after cleaning.
- Clean, long brush or pipe cleaner: This will assist in cleaning the small, hard-to-reach areas inside the dispenser.
- Warm water: It will be used for diluting the cleaning solution and rinsing the dispenser.
- Clean, empty container: You will need this to collect and discard the water from the dispenser.
- Protective gloves: These will protect your hands from any chemicals or bacteria during the cleaning process.
By gathering these materials beforehand, you will have everything you need to clean your water dispenser properly and efficiently.
Step 1: Unplug the Water Dispenser
The first step in cleaning your water dispenser is to unplug it from the power source. This will prevent any electrical accidents while you’re cleaning the device.
Locate the power cord at the back or bottom of the dispenser and gently unplug it from the outlet. Take care not to tug forcefully on the cord to avoid damaging it or the outlet.
Once unplugged, ensure that the cord is safely tucked away to prevent any tripping hazards. This step is crucial for your safety and to avoid any damage to the dispenser or electrical components.
By ensuring that the water dispenser is disconnected from the power source, you can proceed with the cleaning process with peace of mind.
Step 2: Emptying the Water Reservoir
Before you can start cleaning the water dispenser, it’s important to empty the water reservoir. This step ensures that you’re working with a clean and empty container.
To empty the water reservoir:
- Remove the water bottle or tank from the top of the dispenser, if applicable.
- Place a clean, empty container beneath the spigot or dispensing area.
- Turn the dispenser’s tap or lever to the “on” position, allowing any remaining water to flow into the container.
- Let the water empty completely, ensuring there is no residual water in the reservoir.
- If your dispenser has a hot water reservoir, wait for the water to cool down before proceeding with the cleaning process.
Once the water reservoir has been emptied, you can move on to the next step of cleaning the water dispenser.
Note: If there is any sediment or debris in the water that is being emptied, it’s a good indication that your water dispenser may require more frequent maintenance and cleaning.
Read more: How To Clean Water Dispenser
Step 3: Removing and Cleaning the Drip Tray
The drip tray is an essential component of a water dispenser as it collects any liquid that may have spilled or dripped while dispensing water. Over time, the drip tray can accumulate dirt, stains, and bacteria, making it important to clean it regularly.
To remove and clean the drip tray, follow these steps:
- Locate the drip tray at the bottom of the water dispenser. It is usually positioned beneath the dispensing area.
- Gently slide the drip tray out from the dispenser. In some models, you may need to lift it up to free it from its position.
- Empty any liquid or debris from the drip tray into a sink or container.
- Rinse the drip tray with warm water to remove any loose dirt or residue.
- Prepare a mixture of mild dish soap or vinegar with warm water in a basin or sink.
- Submerge the drip tray in the soapy water solution and let it soak for a few minutes.
- Using a sponge or soft brush, gently scrub the drip tray to remove any stubborn stains or debris.
- Rinse the drip tray thoroughly with clean water to remove all soap or vinegar residue.
- Dry the drip tray completely with a clean cloth or paper towel.
Once the drip tray is clean and dry, you can reinsert it back into the water dispenser. Ensure that it is securely in place before moving on to the next step.
By regularly cleaning the drip tray, you can maintain the cleanliness and hygiene of your water dispenser.
To clean out a water dispenser, mix equal parts of white vinegar and water and pour it into the reservoir. Let it sit for 10-15 minutes, then flush the dispenser with clean water. Wipe the exterior with a damp cloth and dry thoroughly before use.
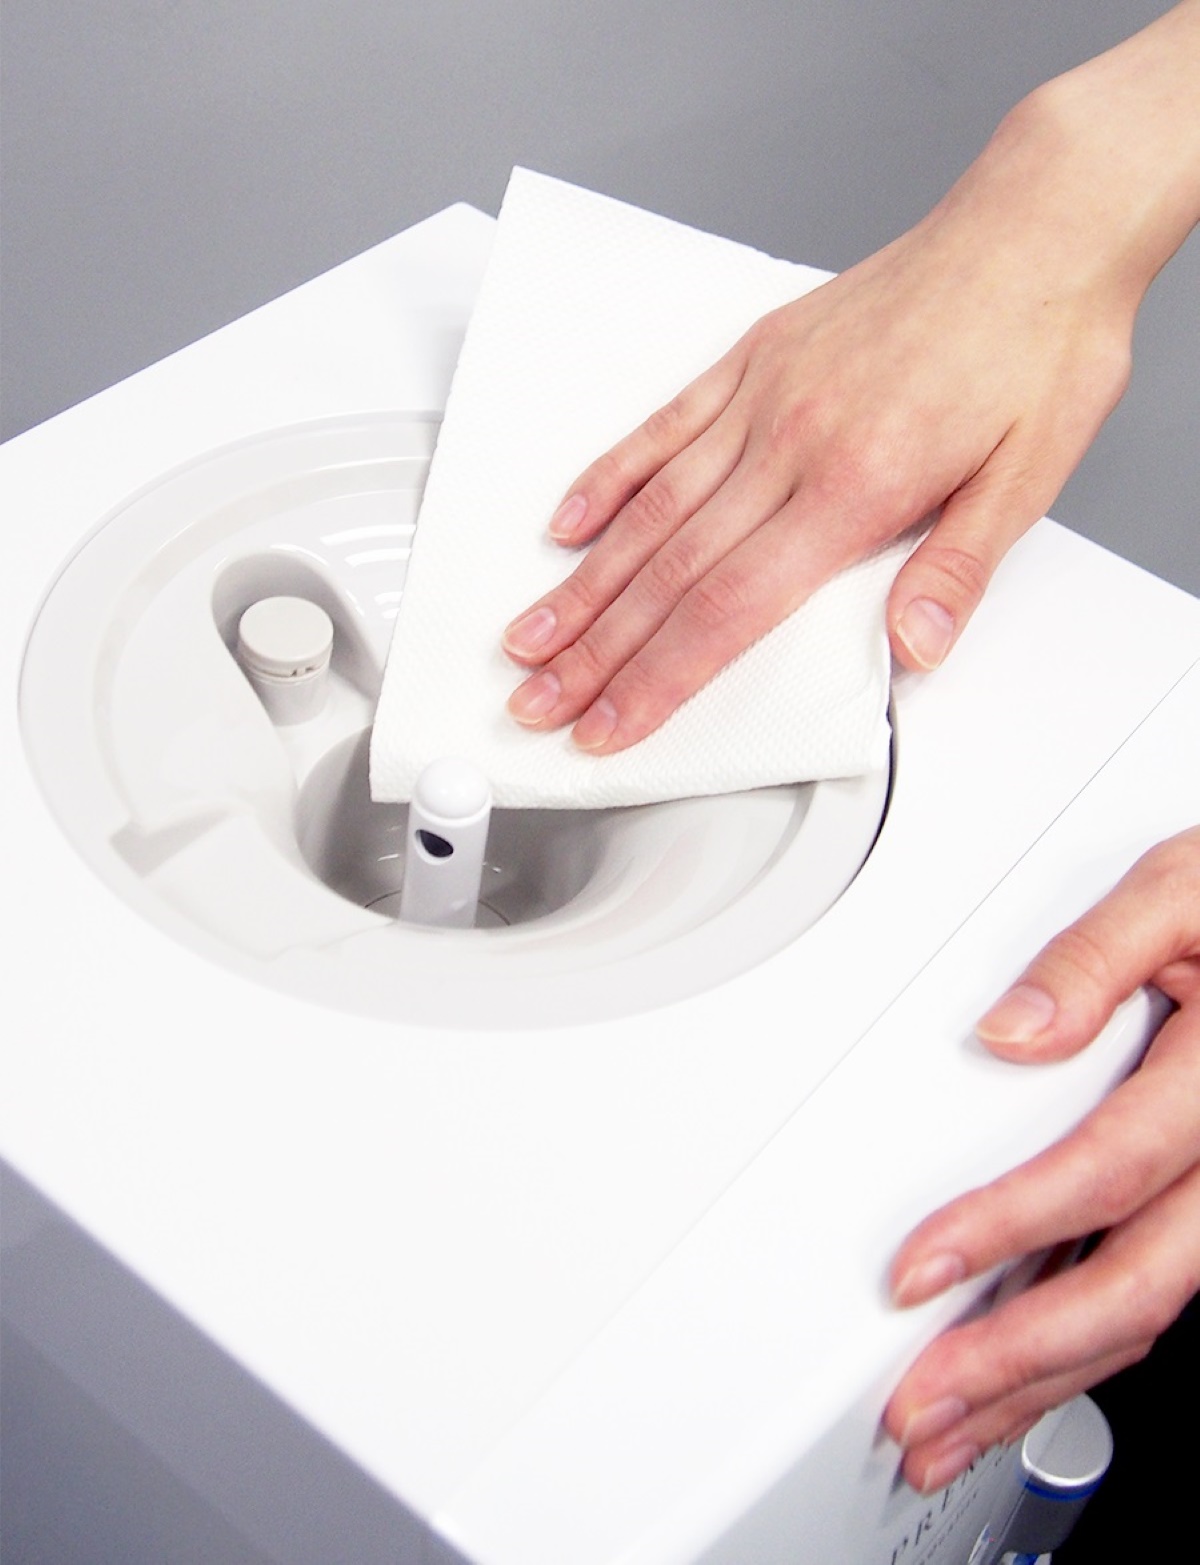
Step 4: Cleaning the Exterior of the Dispenser
The exterior of your water dispenser is susceptible to dirt, dust, and fingerprints, so regular cleaning is necessary to keep it looking fresh and presentable. Follow these steps to clean the exterior of your dispenser:
- Start by unplugging the water dispenser to ensure your safety.
- Prepare a solution of mild dish soap or vinegar and warm water in a bucket or basin.
- Dip a clean microfiber cloth or sponge into the soapy water solution and wring out any excess liquid.
- Gently wipe down the entire exterior surface of the water dispenser, including the sides, front, back, and top.
- Pay attention to any hard-to-reach areas or crevices, using a clean, long brush or pipe cleaner if necessary.
- If there are stubborn stains or dried-on residue, dip the cloth or sponge in the soapy water solution again and focus on those areas.
- Rinse the cloth or sponge with clean water and wring it out. Then, go over the exterior surface to remove any remaining soap residue.
- Use a dry, clean cloth or paper towel to thoroughly dry the exterior of the water dispenser.
It’s important to remember not to use abrasive or harsh cleaning agents, as they can damage the surface of your water dispenser. Stick to gentle cleaning solutions and soft materials to protect the appearance and finish of the dispenser.
By cleaning the exterior regularly, you will not only maintain its aesthetic appeal but also prevent the accumulation of dirt and grime that could potentially transfer onto your hands or the surrounding environment.
Step 5: Cleaning the Interior of the Dispenser
While the exterior of the water dispenser may be visible, it’s equally important to clean the interior to ensure the cleanliness and quality of the water. Follow these steps to clean the interior of your dispenser:
- Start by draining any remaining water from the dispenser as mentioned in Step 2.
- Prepare a cleaning solution by mixing equal parts of white vinegar and water in a container. Alternatively, you can use a mild dish soap diluted in water.
- Dip a clean sponge, cloth, or brush into the cleaning solution and squeeze out any excess liquid.
- Gently scrub the inside of the water reservoir, paying attention to all surfaces and corners.
- If your water dispenser has a removable baffle or water guard, remove it and clean it separately.
- For hard-to-reach areas, use a long brush or pipe cleaner to ensure thorough cleaning.
- Rinse the interior of the dispenser with clean water to remove any residue from the cleaning solution or vinegar.
- If there are stubborn stains or mineral deposits, you can use a mixture of water and baking soda applied to a cloth or sponge to scrub the affected areas.
- Rinse the interior of the dispenser again with clean water to ensure all cleaning agents are removed.
- Using a clean cloth or paper towel, thoroughly dry the interior of the water dispenser.
By regularly cleaning the interior of your water dispenser, you can ensure that the water you dispense is clean, fresh, and free from any impurities.
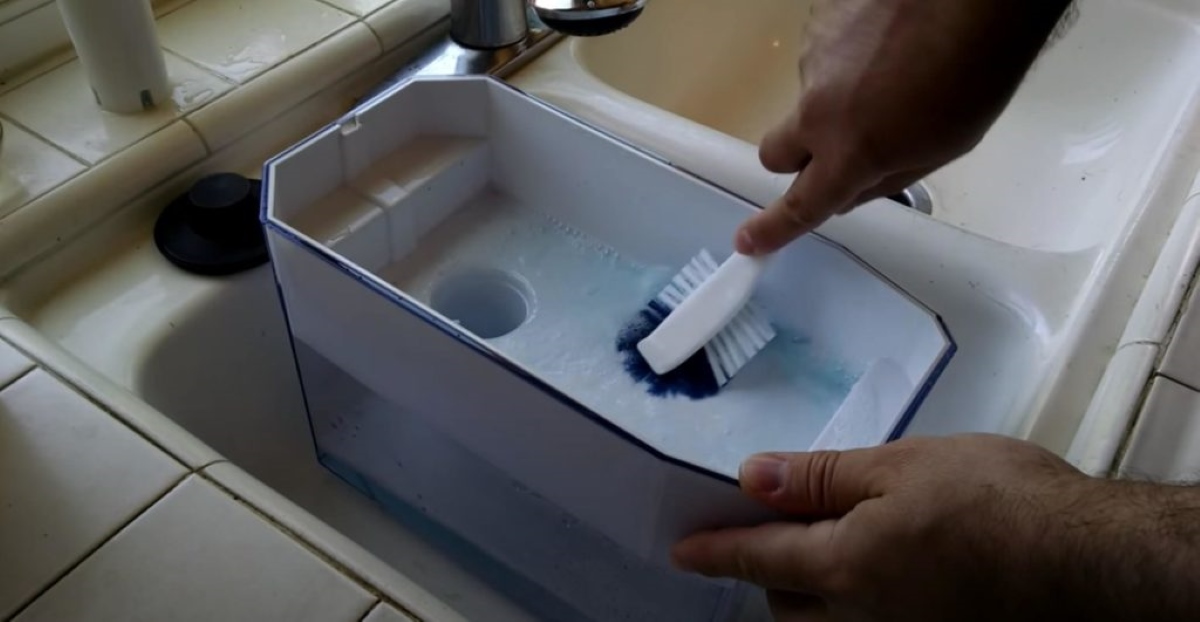
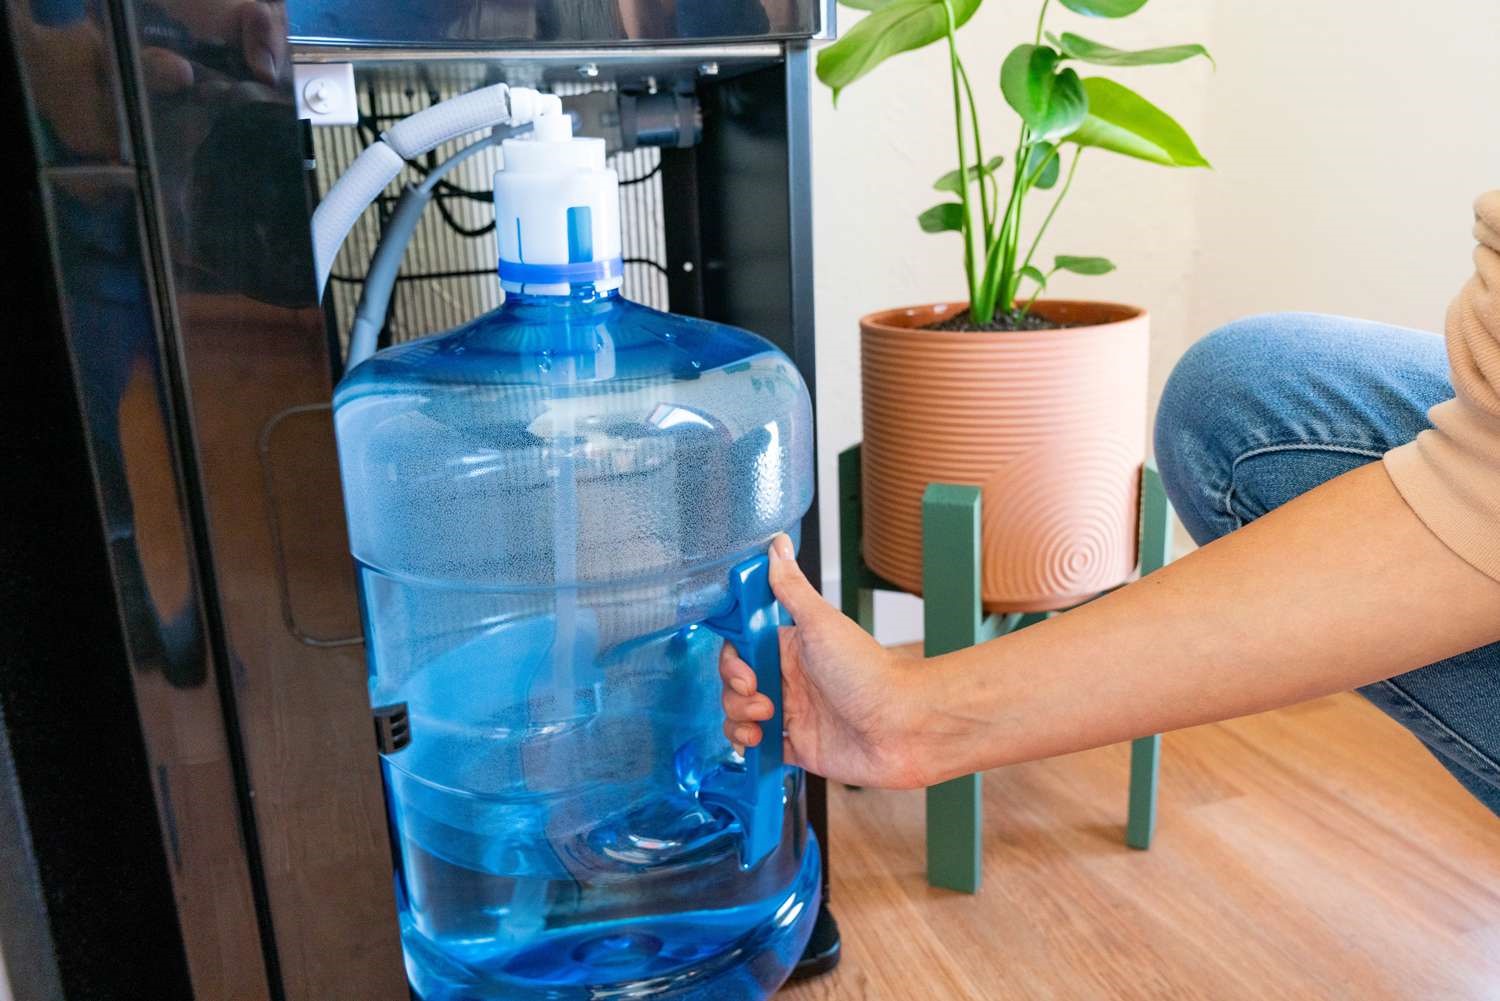
Step 6: Cleaning the Water Bottle or Tank
In addition to cleaning the exterior and interior of the water dispenser, it’s important to clean the water bottle or tank that holds the water supply. Follow these steps to effectively clean the water bottle or tank:
- Start by removing the water bottle or tank from the dispenser.
- Empty any remaining water from the bottle or tank and discard it.
- Fill a basin or sink with warm water and add a few drops of mild dish soap or vinegar.
- Place the water bottle or tank into the soapy water solution and let it soak for a few minutes.
- Using a sponge or cloth, wipe the interior and exterior surfaces of the water bottle or tank to remove any dirt, residue, or stains.
- If there are any stubborn stains or residue, use a brush to scrub the affected areas.
- Rinse the water bottle or tank thoroughly with clean water to remove all soap or vinegar residue.
- Dry the water bottle or tank completely with a clean cloth or paper towel.
- Before reattaching the water bottle or tank to the dispenser, ensure that it is completely dry to prevent the growth of mold or bacteria.
Regularly cleaning the water bottle or tank ensures that the water you pour into the dispenser remains clean and uncontaminated. It also helps prevent any potential buildup of bacteria or mold that may occur over time.
Remember to consult the manufacturer’s instructions for specific cleaning recommendations for your water dispenser and water bottle or tank, as different models may have varying requirements.
Read more: How To Clean A Vitapur Water Dispenser
Step 7: Reassembling the Water Dispenser
After completing the cleaning process, it’s time to reassemble your water dispenser. Follow these steps to ensure everything is properly reassembled:
- If you had removed any removable parts during the cleaning process, such as the drip tray or baffle, make sure they are dry and clean.
- Carefully reinsert the drip tray back into its appropriate position beneath the dispensing area.
- If applicable, reattach the baffle or water guard securely in place.
- If you had removed the water bottle or tank, carefully position it back onto the base or attachment point of your water dispenser.
- Ensure that the water bottle or tank is properly aligned and securely fastened to prevent water leakage.
- Double-check that all components are in their correct positions and properly secured.
Taking the time to reassemble your water dispenser correctly ensures that it functions correctly and safely. It also helps maintain a neat and tidy appearance.
Now that your water dispenser is reassembled, you’re almost done. The last step is to plug it back in and get it ready for use.
Step 8: Plugging the Water Dispenser Back In
The final step in the cleaning process is to plug your water dispenser back into the power source. Follow these steps to safely reconnect your dispenser:
- Ensure that the water dispenser is in its designated position and the power cord can easily reach the outlet.
- Gently insert the plug into the outlet, making sure it fits securely.
- Take care not to forcefully bend or twist the power cord as you connect it.
- Once the plug is inserted, ensure that it is fully inserted and making a reliable connection.
- After plugging in the dispenser, listen for any sounds or indicators that confirm it is powered on.
- Allow the water dispenser a few minutes to initialize and stabilize before using it.
With the water dispenser plugged back in, it is now ready for use. Remember to observe proper hygiene practices and refill the dispenser with clean, filtered water regularly to maintain its quality.
Regularly cleaning your water dispenser and following these steps will help ensure the longevity, cleanliness, and optimal performance of your device.
Enjoy the convenience and benefits of a clean and well-maintained water dispenser in your home or office!
Conclusion
Cleaning out a water dispenser is an essential task that should not be overlooked. By following the step-by-step instructions outlined in this guide, you can ensure that your water dispenser remains clean, hygienic, and in good working order.
Starting with the necessary safety precautions, such as unplugging the dispenser and wearing protective gloves, you can prioritize your well-being throughout the cleaning process. Gathering the required materials, such as mild dish soap or vinegar, clean cloths, and brushes, will ensure a thorough and effective cleaning.
Each step plays a vital role in the cleanliness of your water dispenser. Emptying the water reservoir, removing and cleaning the drip tray, and cleaning the exterior and interior of the dispenser contribute to the overall hygiene and functionality of the device. Additionally, cleaning the water bottle or tank helps maintain the quality of the water you dispense.
Reassembling the components properly and plugging the water dispenser back in ensures that it is ready for use. Following these steps regularly and incorporating deep cleaning sessions into your maintenance routine will prolong the lifespan and performance of your water dispenser.
Remember, each manufacturer may have specific instructions for cleaning their water dispensers, so consult the user manual for any additional recommendations or precautions.
By dedicating some time and effort to clean out your water dispenser, you can enjoy clean, refreshing water while promoting a healthy and hygienic environment.
So, go ahead and give your water dispenser the cleaning it deserves – your health and satisfaction will thank you for it!
Frequently Asked Questions about How To Clean Out A Water Dispenser
Was this page helpful?
At Storables.com, we guarantee accurate and reliable information. Our content, validated by Expert Board Contributors, is crafted following stringent Editorial Policies. We're committed to providing you with well-researched, expert-backed insights for all your informational needs.


0 thoughts on “How To Clean Out A Water Dispenser”