
Articles
How To Remove Stains From Furniture
Modified: November 1, 2024
Learn effective techniques and tips on how to remove stubborn stains from furniture. Bring back the beauty of your favorite pieces with our expert advice.
(Many of the links in this article redirect to a specific reviewed product. Your purchase of these products through affiliate links helps to generate commission for Storables.com, at no extra cost. Learn more)
Introduction
Furniture plays a crucial role in our homes and offices, providing comfort and functionality. Whether it’s a luxurious sofa, a sturdy dining table, or a cozy armchair, furniture is an investment that requires proper care and maintenance. One of the most common challenges we face with furniture is stains. Spills from food, beverages, ink, or other substances can quickly mar the beauty and allure of our beloved pieces.
The importance of removing stains from furniture cannot be overstated. Stains not only diminish the aesthetic appeal of your furniture but can also lead to permanent damage if not addressed promptly. By taking the time to learn how to remove stains effectively, you can prolong the lifespan of your furniture and keep it looking as good as new.
In this article, we will explore the common types of stains that can afflict furniture and provide you with practical techniques to remove them. We will also share some valuable tips on how to prevent future stains, ensuring your furniture remains in pristine condition for years to come.
So, whether you’re dealing with a stubborn coffee stain on your favorite armchair or a mysterious ink blotch on your elegant writing desk, read on to discover the secrets of stain removal that will help you restore the beauty of your furniture.
Remember, it’s always wise to act promptly when faced with a stain. The longer a stain sits on your furniture, the more difficult it becomes to remove. With the right knowledge and techniques, you can confidently tackle any stain and restore your furniture to its former glory. Let’s dive in and conquer those stains together!
Key Takeaways:
- Act promptly to remove stains from furniture to prevent permanent damage and maintain its aesthetic appeal. Use appropriate cleaning solutions and techniques for different types of stains to ensure successful removal.
- Consider using furniture protectors to safeguard your furniture from spills, stains, and everyday wear. Clean up spills immediately to prevent stains, odors, and structural damage, preserving the longevity of your furniture.
Read more: How To Remove Stain From Wooden Furniture
Importance of Removing Stains from Furniture
Stains are not just unsightly, but they can also cause irreversible damage to your furniture if left untreated. Here’s why it is crucial to remove stains from furniture promptly:
1. Preserve the Appearance: Your furniture is a reflection of your personal style and taste. Stains can quickly diminish the visual appeal of even the most beautiful pieces. By removing stains, you can restore the original charm and beauty of your furniture, ensuring it continues to enhance the overall aesthetics of your space.
2. Prolong the Lifespan: Stains can weaken the fabric or material of your furniture over time. They can cause discoloration, deterioration, and even structural damage if not addressed. By removing stains promptly, you can prevent further damage and help extend the lifespan of your furniture.
3. Maintain Hygiene: Stains can harbor bacteria, mold, and allergens, compromising the cleanliness and hygiene of your furniture. This can be especially problematic if you have children, pets, or individuals with allergies in your home. By removing stains, you can create a healthier environment for you and your loved ones.
Now that we understand the importance of removing stains, let’s explore the common types of furniture stains you may encounter:
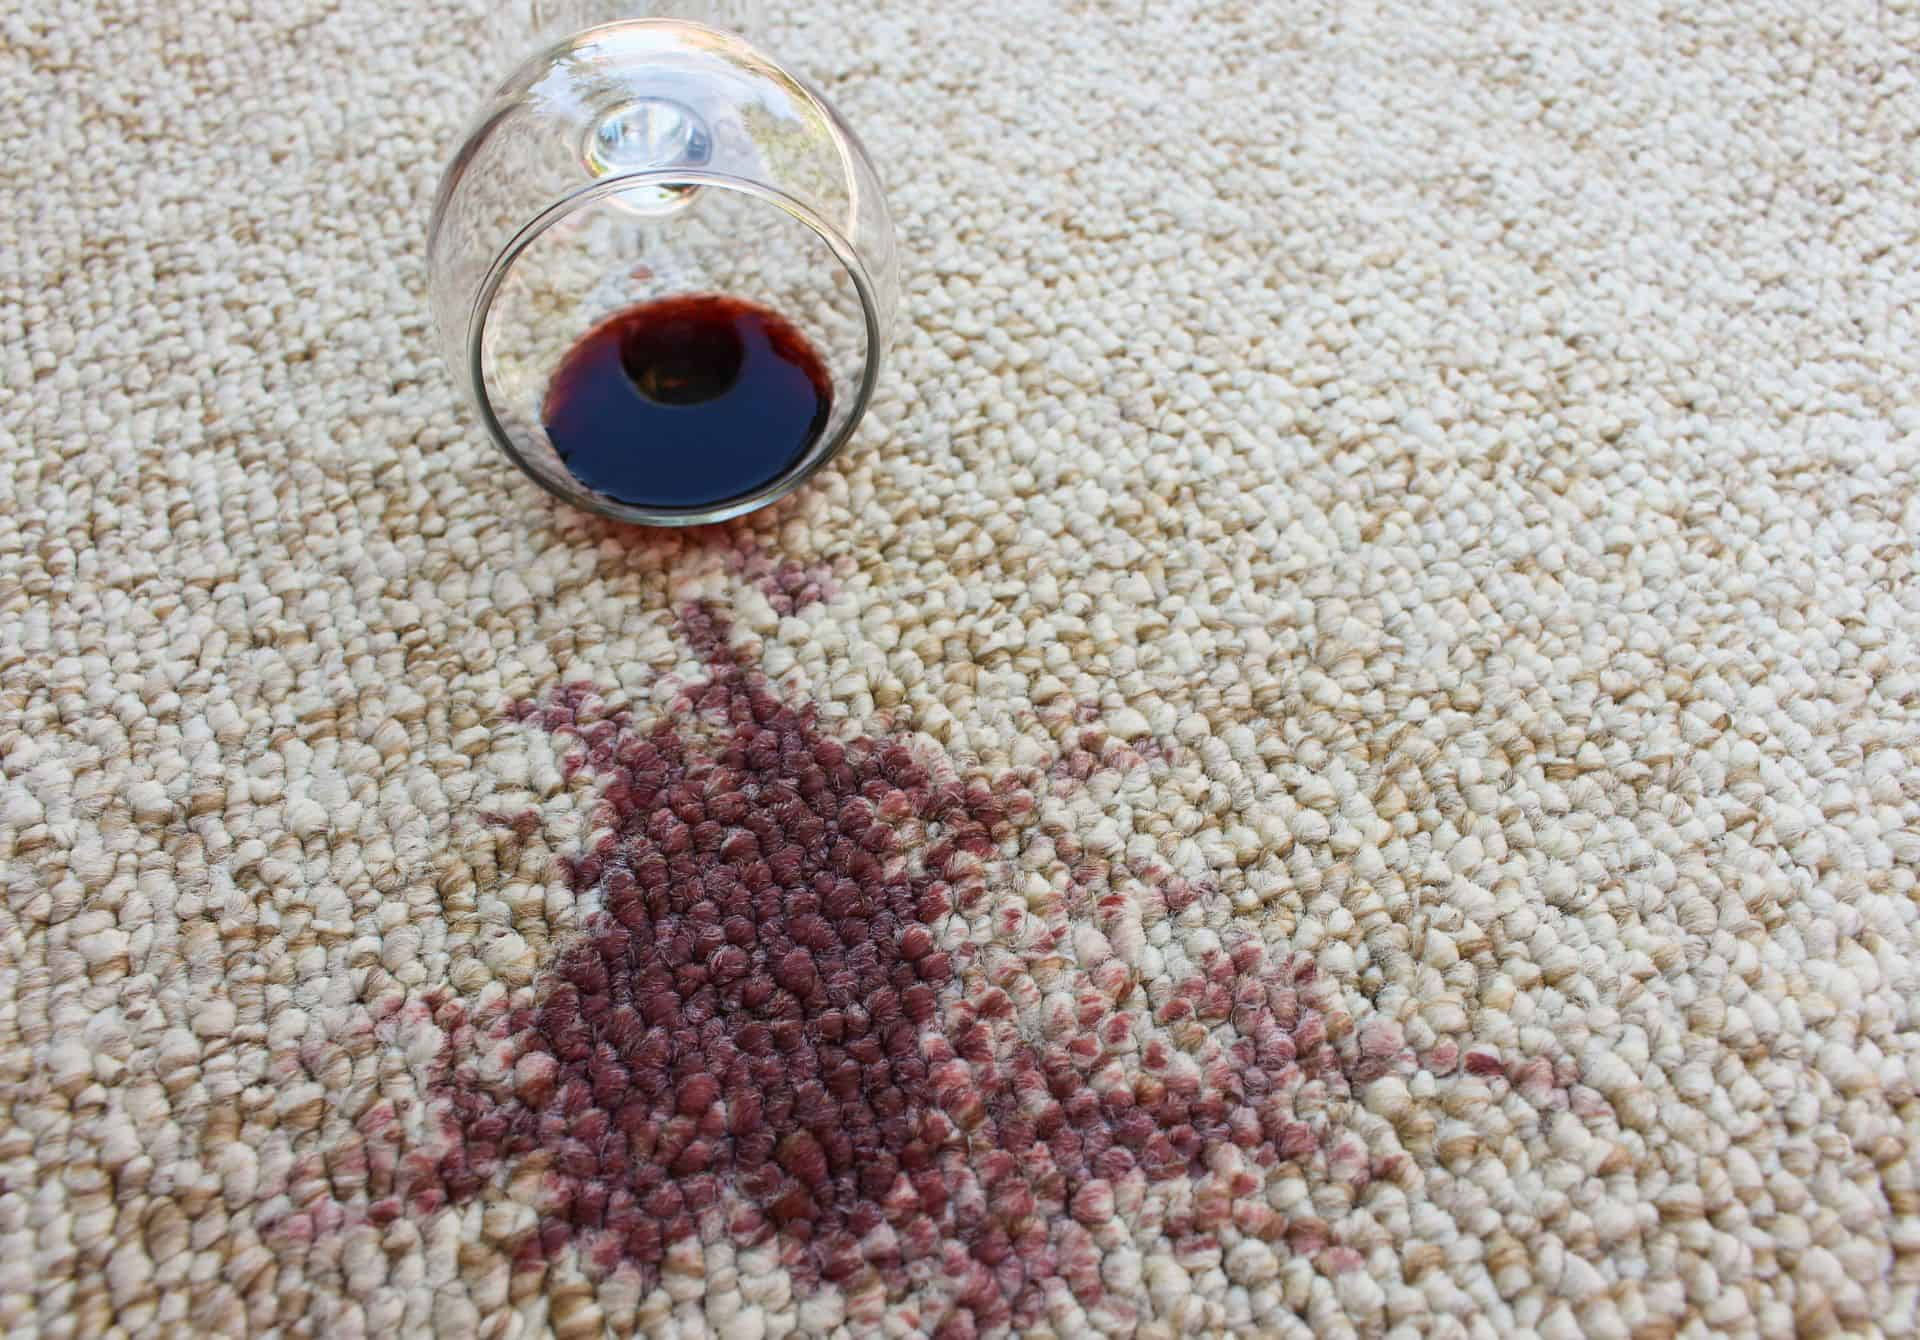
1. Food and Beverage Stains: Accidents happen, and spills from food or beverages are common culprits when it comes to staining furniture. From a glass of red wine on your couch to a coffee spill on your dining chair, these stains can be both stubborn and unsightly.
2. Ink Stains: Ink stains are a common nuisance, particularly if you have a home office or study area. Whether it’s a leaky pen or accidental ink smudges, these stains can be quite challenging to remove.
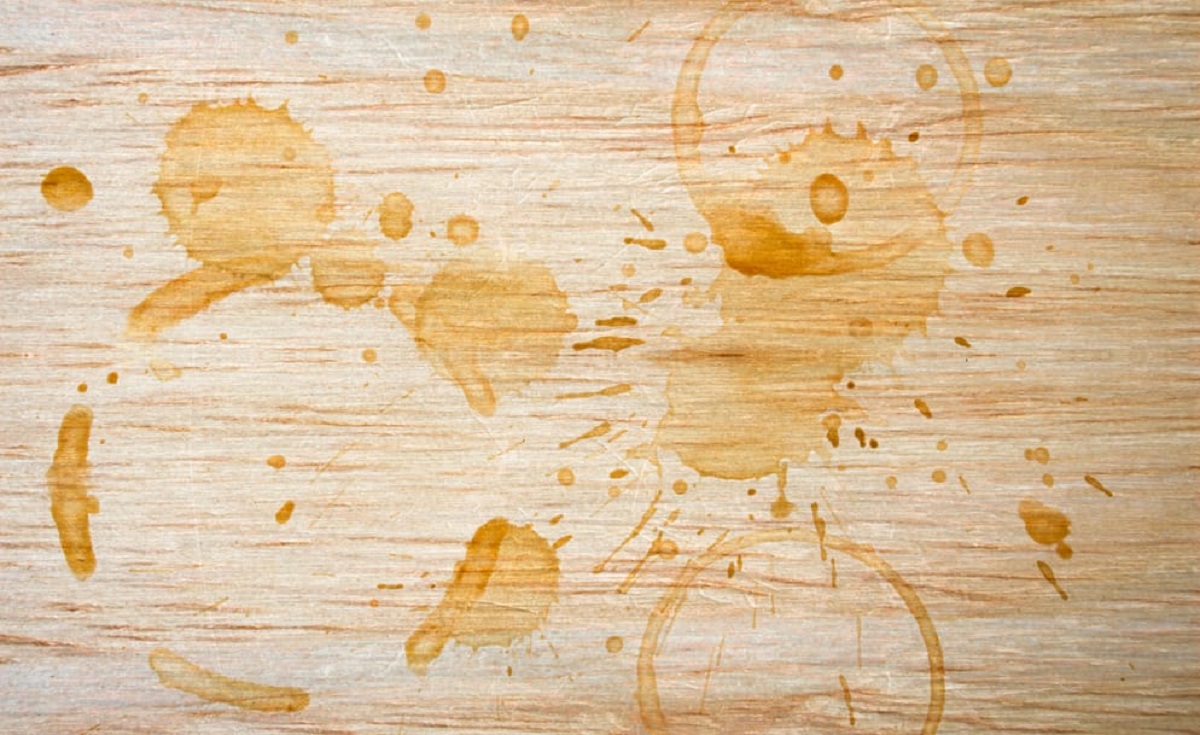
3. Water Stains: Water stains often occur when liquid is left sitting on the surface of the furniture for an extended period. They can cause discoloration and leave unsightly marks on wood, upholstery, or leather furniture.
4. Grease and Oil Stains: These types of stains are common in kitchen or dining areas. Whether it’s greasy fingerprints on a chair or oil splatters on a table, removing these stains requires specific techniques to prevent spreading and ensure effective removal.
Understanding the common types of stains that affect furniture is essential in determining the most appropriate methods for removal. In the next section, we will discuss how to prepare for stain removal and explore some practical techniques for each type of stain.
Food and Beverage Stains
Food and beverage stains are some of the most common stains that can mar the beauty of your furniture. Whether you’ve spilled coffee on your couch or dropped a dollop of gravy on your dining chair, it’s essential to act quickly to remove these stains. Here are some techniques to effectively tackle food and beverage stains:
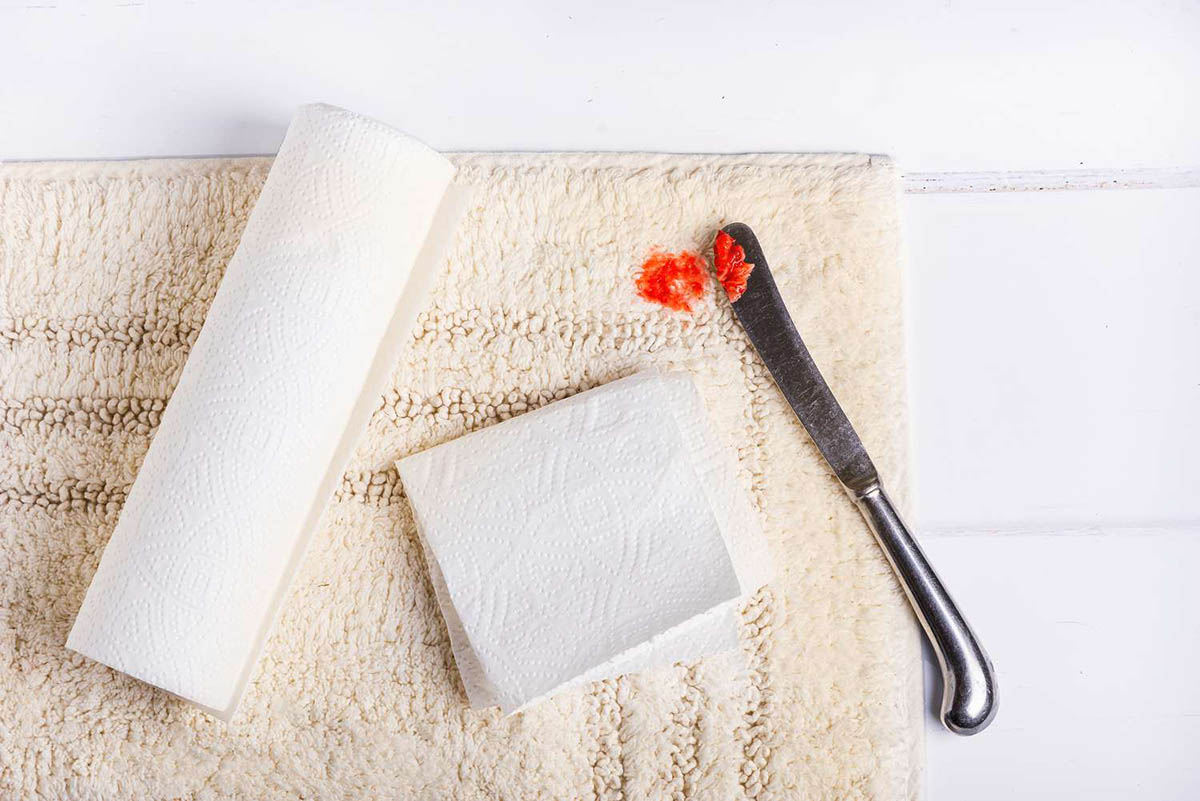
1. Blot, Don’t Rub: When dealing with a fresh food or beverage stain, start by blotting the area with a clean, absorbent cloth or paper towel. Avoid rubbing the stain, as this can spread it further into the fabric or upholstery. Gently blotting helps remove as much of the liquid as possible before treating the stain.
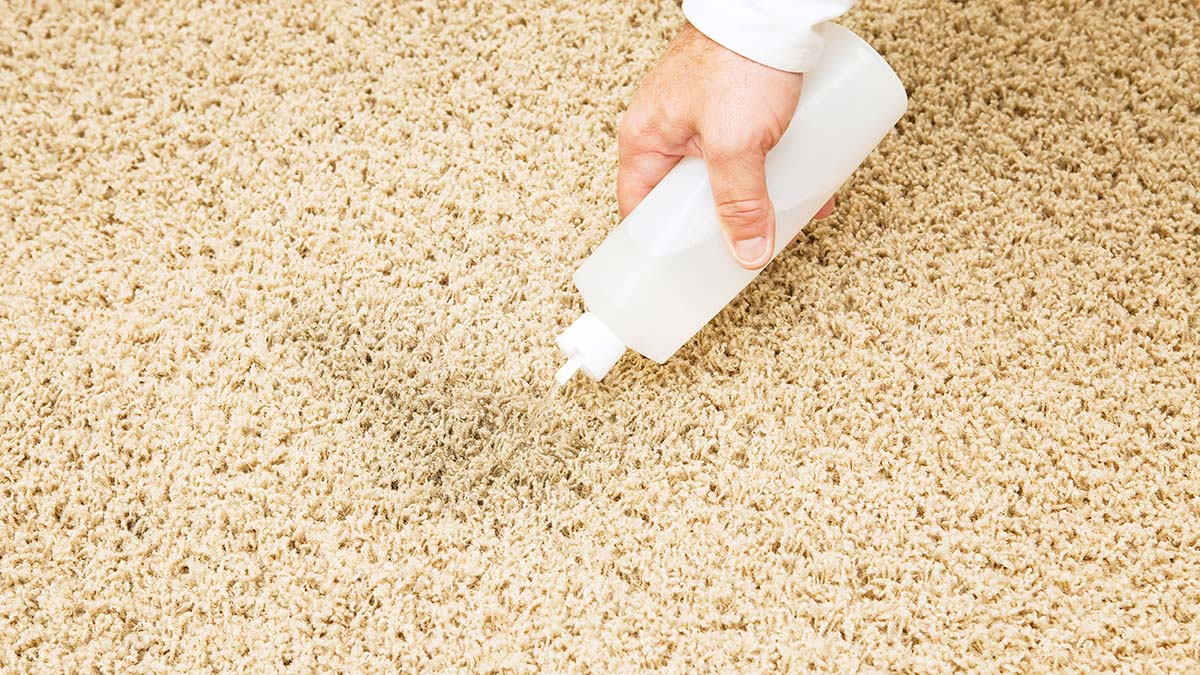
2. Use Mild Detergent or Stain Remover: Depending on the type of fabric, apply a small amount of mild detergent directly to the stained area. Gently agitate the detergent to work it into the stain, then let it sit for a few minutes. Rinse the area with clean water and blot away the excess moisture. For stubborn stains, you can also try a specialized upholstery stain remover, following the manufacturer’s instructions.
3. Test in an Inconspicuous Area: Before applying any cleaning solution, it’s crucial to test it in a hidden corner of your furniture or under a cushion to check for colorfastness. Some fabrics may be sensitive to certain cleaning agents, so it’s always best to be cautious to avoid any damage to your furniture.
4. Consider Professional Cleaning: If the stain remains stubborn or if you’re unsure how to proceed, it may be worth considering professional cleaning services. Professional cleaners have the expertise and specialized equipment to effectively remove even the most stubborn food and beverage stains without damaging the fabric or upholstery.
Remember, the key to successful stain removal is to act quickly. The longer a food or beverage stain sits on your furniture, the harder it becomes to remove. By promptly attending to the stain and using the appropriate techniques, you can preserve the beauty and integrity of your furniture.
To prevent future food and beverage stains, consider using furniture protectors such as slipcovers or stain-resistant treatments. Additionally, clean up any spills or accidents immediately. By being proactive, you can maintain the pristine condition of your furniture and enjoy it for years to come.
Ink Stains
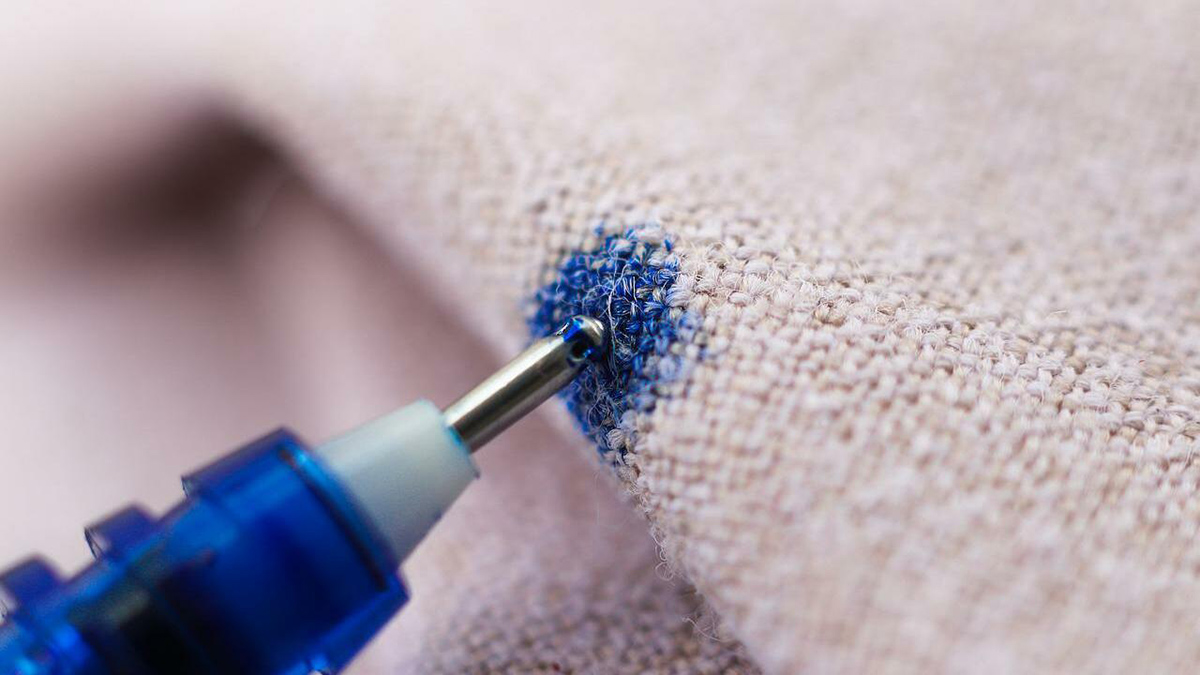
Ink stains are notorious for their ability to leave unsightly marks on furniture. Whether it’s from a clumsy pen mishap or an accidental spill, removing ink stains requires specific techniques. Here’s how you can effectively tackle ink stains on your furniture:
1. Act Fast: Ink stains can spread quickly, so it’s crucial to act as soon as possible. Grab a clean cloth or paper towel and gently blot the stain to absorb any excess ink. Avoid rubbing, as this can cause the ink to penetrate further into the fabric or surface.
2. Use an Alcohol-Based Solution: One effective method for removing ink stains is to use an alcohol-based solution. You can use rubbing alcohol, nail polish remover, or even a diluted mixture of water and isopropyl alcohol. Moisten a clean cloth with the solution, then gently blot the ink stain. Be sure to work from the outside of the stain towards the center to prevent spreading.
3. Test on an Inconspicuous Area: Before applying any cleaning solution, it’s important to test it in a hidden area of your furniture to ensure it doesn’t cause any discoloration or damage. Apply a small amount of the solution and wait for a few minutes. If there are no adverse effects, proceed with treating the ink stain.
4. Repeat if Necessary: Some ink stains may require multiple attempts to completely remove them. If the stain persists after the initial treatment, repeat the process until the stain is gone. Be patient and persistent while treating the ink stain, as it can take time to fully remove.
5. Seek Professional Help: If you’re dealing with a particularly stubborn or set-in ink stain, it may be best to seek professional help. Furniture cleaning professionals have the expertise and specialized equipment to remove even the most stubborn ink stains without damaging your furniture.
Remember, prevention is key to avoiding ink stains on your furniture. Keep pens and markers securely capped when not in use, and avoid placing them on furniture surfaces where they can easily roll and cause accidents. By taking these preventive measures and promptly treating any ink stains that do occur, you can keep your furniture looking its best.
In the next section, we will explore techniques for dealing with water stains on furniture.
Water Stains
Water stains are a common occurrence on furniture, especially wooden surfaces. Whether it’s from a spilled drink, a leaky plant pot, or condensation from a glass, water stains can leave unsightly marks on your furniture. Here are some techniques to effectively remove water stains:
1. Blot and Dry: For fresh water stains, start by blotting the affected area with a clean, absorbent cloth or paper towel. Absorb as much moisture as possible without rubbing the stain. Once you’ve blotted the area, allow it to air dry completely. This method may help remove minor water stains.
2. Use a Hairdryer: For more stubborn water stains, you can use a hairdryer on a low heat setting to gently evaporate the moisture from the affected area. Keep the hairdryer at a reasonable distance to avoid overheating or damaging the furniture surface. As you apply heat, continue to blot with a clean cloth to absorb the moisture being released.
3. Apply Mayonnaise or Petroleum Jelly: For water stains on wooden furniture, you can try applying a small amount of mayonnaise or petroleum jelly to the stain. Let it sit overnight and then gently wipe it off the next day with a soft cloth. This method helps to rehydrate the wood and restore its natural color.
4. Utilize a Wood Stain Remover: If the above methods don’t fully remove the water stain, you can try using a commercial wood stain remover. Follow the instructions provided with the product and test it in an inconspicuous area first to ensure compatibility with your furniture. Apply the stain remover to the water stain and gently rub with a clean cloth. Be sure to wipe away any residue or excess product afterwards.
5. Sand and Refinish: For deep or persistent water stains on wooden furniture, you may need to consider sanding and refinishing the affected area. This process involves sanding away the stained layer of wood and applying a new finish or stain to restore the furniture’s original appearance. It’s advisable to seek professional help or do thorough research before attempting this method, as it requires skill and knowledge.
Prevention is key to avoiding water stains on your furniture. Be cautious when placing drinks or plant pots on wooden surfaces, using coasters and saucers to prevent direct contact. Use protective pads or cloths when dealing with hot items to avoid heat damage. By taking these preventive measures and promptly addressing any water stains that do occur, you can keep your furniture looking flawless.
In the next section, we will discover techniques for removing grease and oil stains from furniture.
Read more: How To Remove Water Stains On Wood Furniture
Grease and Oil Stains
Grease and oil stains can be particularly challenging to remove from furniture. Whether it’s from cooking accidents, oily foods, or cosmetic products, these stains can leave behind unsightly marks. Here are some techniques to effectively tackle grease and oil stains:
1. Blot and Absorb: As with any stain, the first step is to blot up as much of the excess grease or oil as possible. Use a clean, absorbent cloth or paper towel to gently blot the stain, being careful not to rub it into the fabric or upholstery. This will prevent the stain from spreading further.
2. Use Dish Soap: Dish soap is a powerful ally in removing grease and oil stains. Mix a small amount of dish soap with warm water to create a soapy solution. Apply the solution to the stain and gently blot the area with a clean cloth. Rinse the cloth and repeat the process until the stain begins to lift.
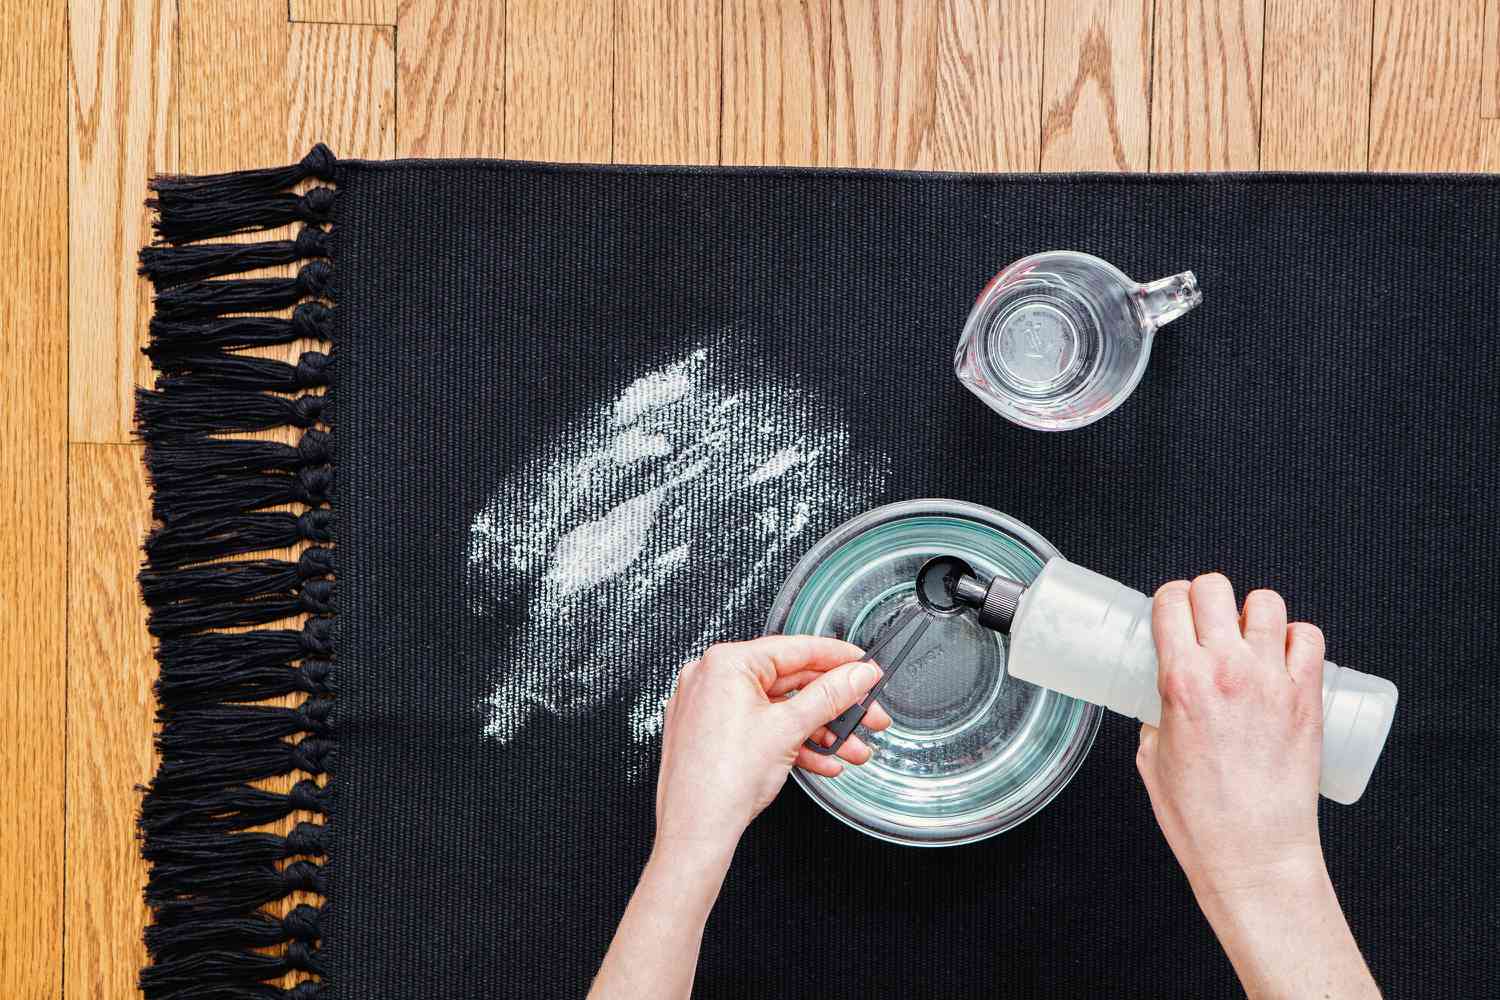
3. Try Baking Soda: Baking soda is an excellent natural absorbent that can help tackle grease and oil stains. Sprinkle baking soda generously over the stained area, allowing it to sit for at least 15 minutes. Then, vacuum or brush away the baking soda and assess the stain. If necessary, repeat the process until the stain is minimized.
4. Use a Dry Cleaning Solvent: For grease or oil stains on delicate fabrics or upholstery, such as silk or velvet, it’s best to use a dry cleaning solvent. Apply a small amount of the solvent to a clean cloth and blot the stain gently. Be sure to follow the manufacturer’s instructions for the dry cleaning solvent and check for colorfastness in an inconspicuous area.
5. Seek Professional Cleaning: If the grease or oil stain persists despite your best efforts, it may be time to consult professional furniture cleaners. These experts have specialized knowledge and equipment to safely and effectively remove stubborn stains without damaging your furniture.
Now that you have some techniques to remove grease and oil stains, it’s important to prepare properly for stain removal. Here are a few steps to follow before beginning the stain removal process:
1. Gather Necessary Materials: Before you start treating the stain, gather all the materials you’ll need. This includes clean cloths or paper towels, water, appropriate cleaning solutions like dish soap or dry cleaning solvent, and any other specialty stain removers.
2. Read and Follow Instructions: Take a moment to read and familiarize yourself with the instructions on the cleaning solutions and stain removers you plan to use. This will ensure you use them correctly and avoid any potential damage to your furniture.
3. Test the Cleaning Solution: Before applying any cleaning solution to the stain, perform a patch test in an inconspicuous area of your furniture. Apply a small amount of the solution and check for any adverse reactions, such as discoloration or fabric damage. If there are no issues, you can proceed with confidence.
By following these steps and being prepared, you can effectively tackle grease and oil stains on your furniture. In the next section, we will share tips for preventing future stains and maintaining the pristine condition of your furniture.
Gathering Necessary Materials
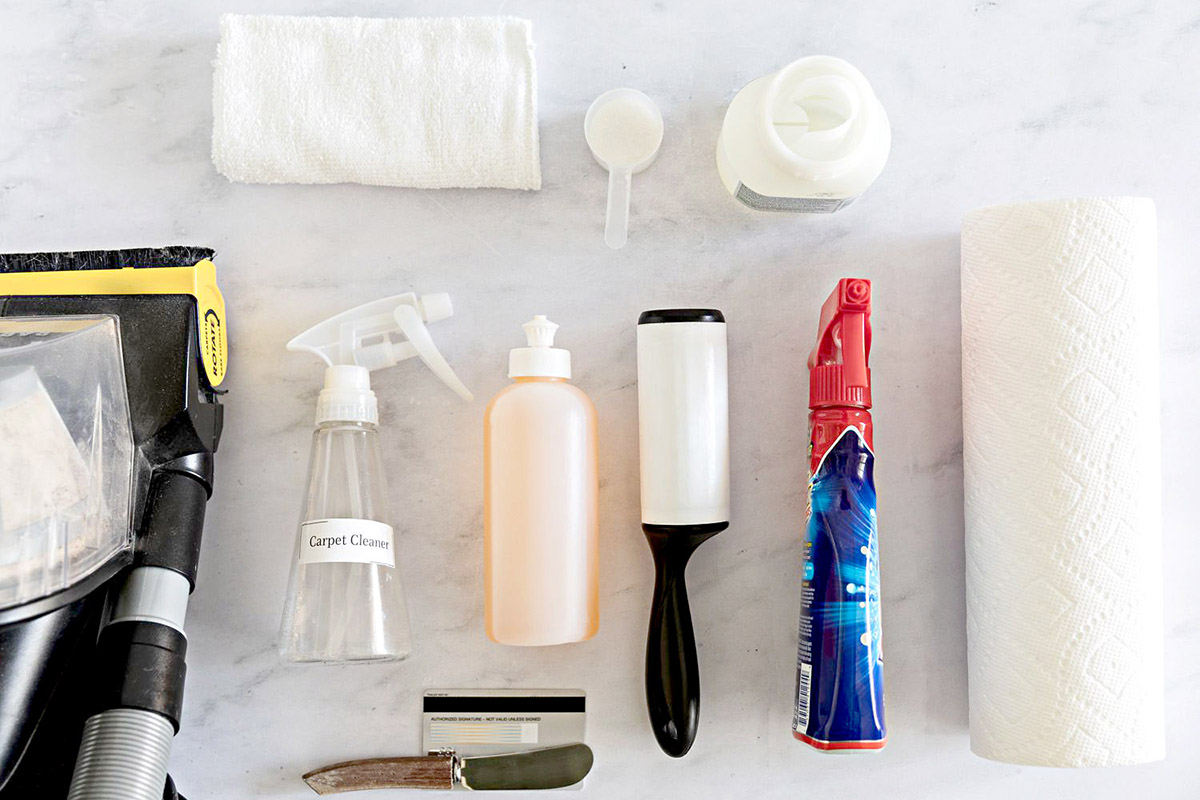
When it comes to removing stains from furniture, having the right materials on hand is essential for success. Here are some common materials and supplies you should gather before beginning the stain removal process:
1. Clean Cloths or Paper Towels: You’ll need a supply of clean, absorbent cloths or paper towels to blot and absorb excess liquid or cleaning solutions during stain removal. Choose lint-free cloths or soft, disposable paper towels to avoid leaving behind any fibers or residue.
2. Water: Plain water is often used in the initial stages of stain removal to blot or rinse the stained area. Make sure you have access to clean water either from a sink or a spray bottle for this purpose.
3. Cleaning Solutions: Depending on the type of stain you’re dealing with, you may require specific cleaning solutions. Common cleaning agents include mild dish soap, rubbing alcohol, stain removers, dry cleaning solvents, or specialized upholstery cleaners. Check the manufacturer’s instructions for proper usage and dilution ratios if applicable.
4. Baking Soda: Baking soda is a versatile household ingredient that can be used to absorb and lift stains, particularly for grease and oil stains. Ensure you have a box of baking soda on hand for this purpose.
5. Brush or Vacuum Cleaner: A soft-bristled brush or a vacuum cleaner with upholstery attachments can be helpful to remove loose particles or baking soda residue during the stain removal process. Use gentle strokes or the appropriate vacuum settings to avoid damaging the furniture.
6. Plastic Gloves: Protect your hands from any potential irritation or harmful chemicals by wearing plastic gloves while applying cleaning solutions or working with stain removers.
7. Bucket or Spray Bottle: Having a small bucket or spray bottle to hold water or cleaning solutions can make the stain removal process more efficient. This allows you to control the amount of solution applied and reduces the risk of oversaturation.
8. Stain Remover or Upholstery Cleaner: Depending on the nature and severity of the stains, you may want to have a commercial stain remover or upholstery cleaner on hand. Follow the instructions provided with the specific product and ensure it is suitable for your type of furniture fabric or upholstery.
By gathering these necessary materials before starting the stain removal process, you’ll be well-equipped to tackle stubborn stains effectively and minimize the risk of causing further damage to your furniture. Remember to always read and follow the instructions provided with the cleaning solutions and test them in an inconspicuous area first to ensure compatibility with your furniture.
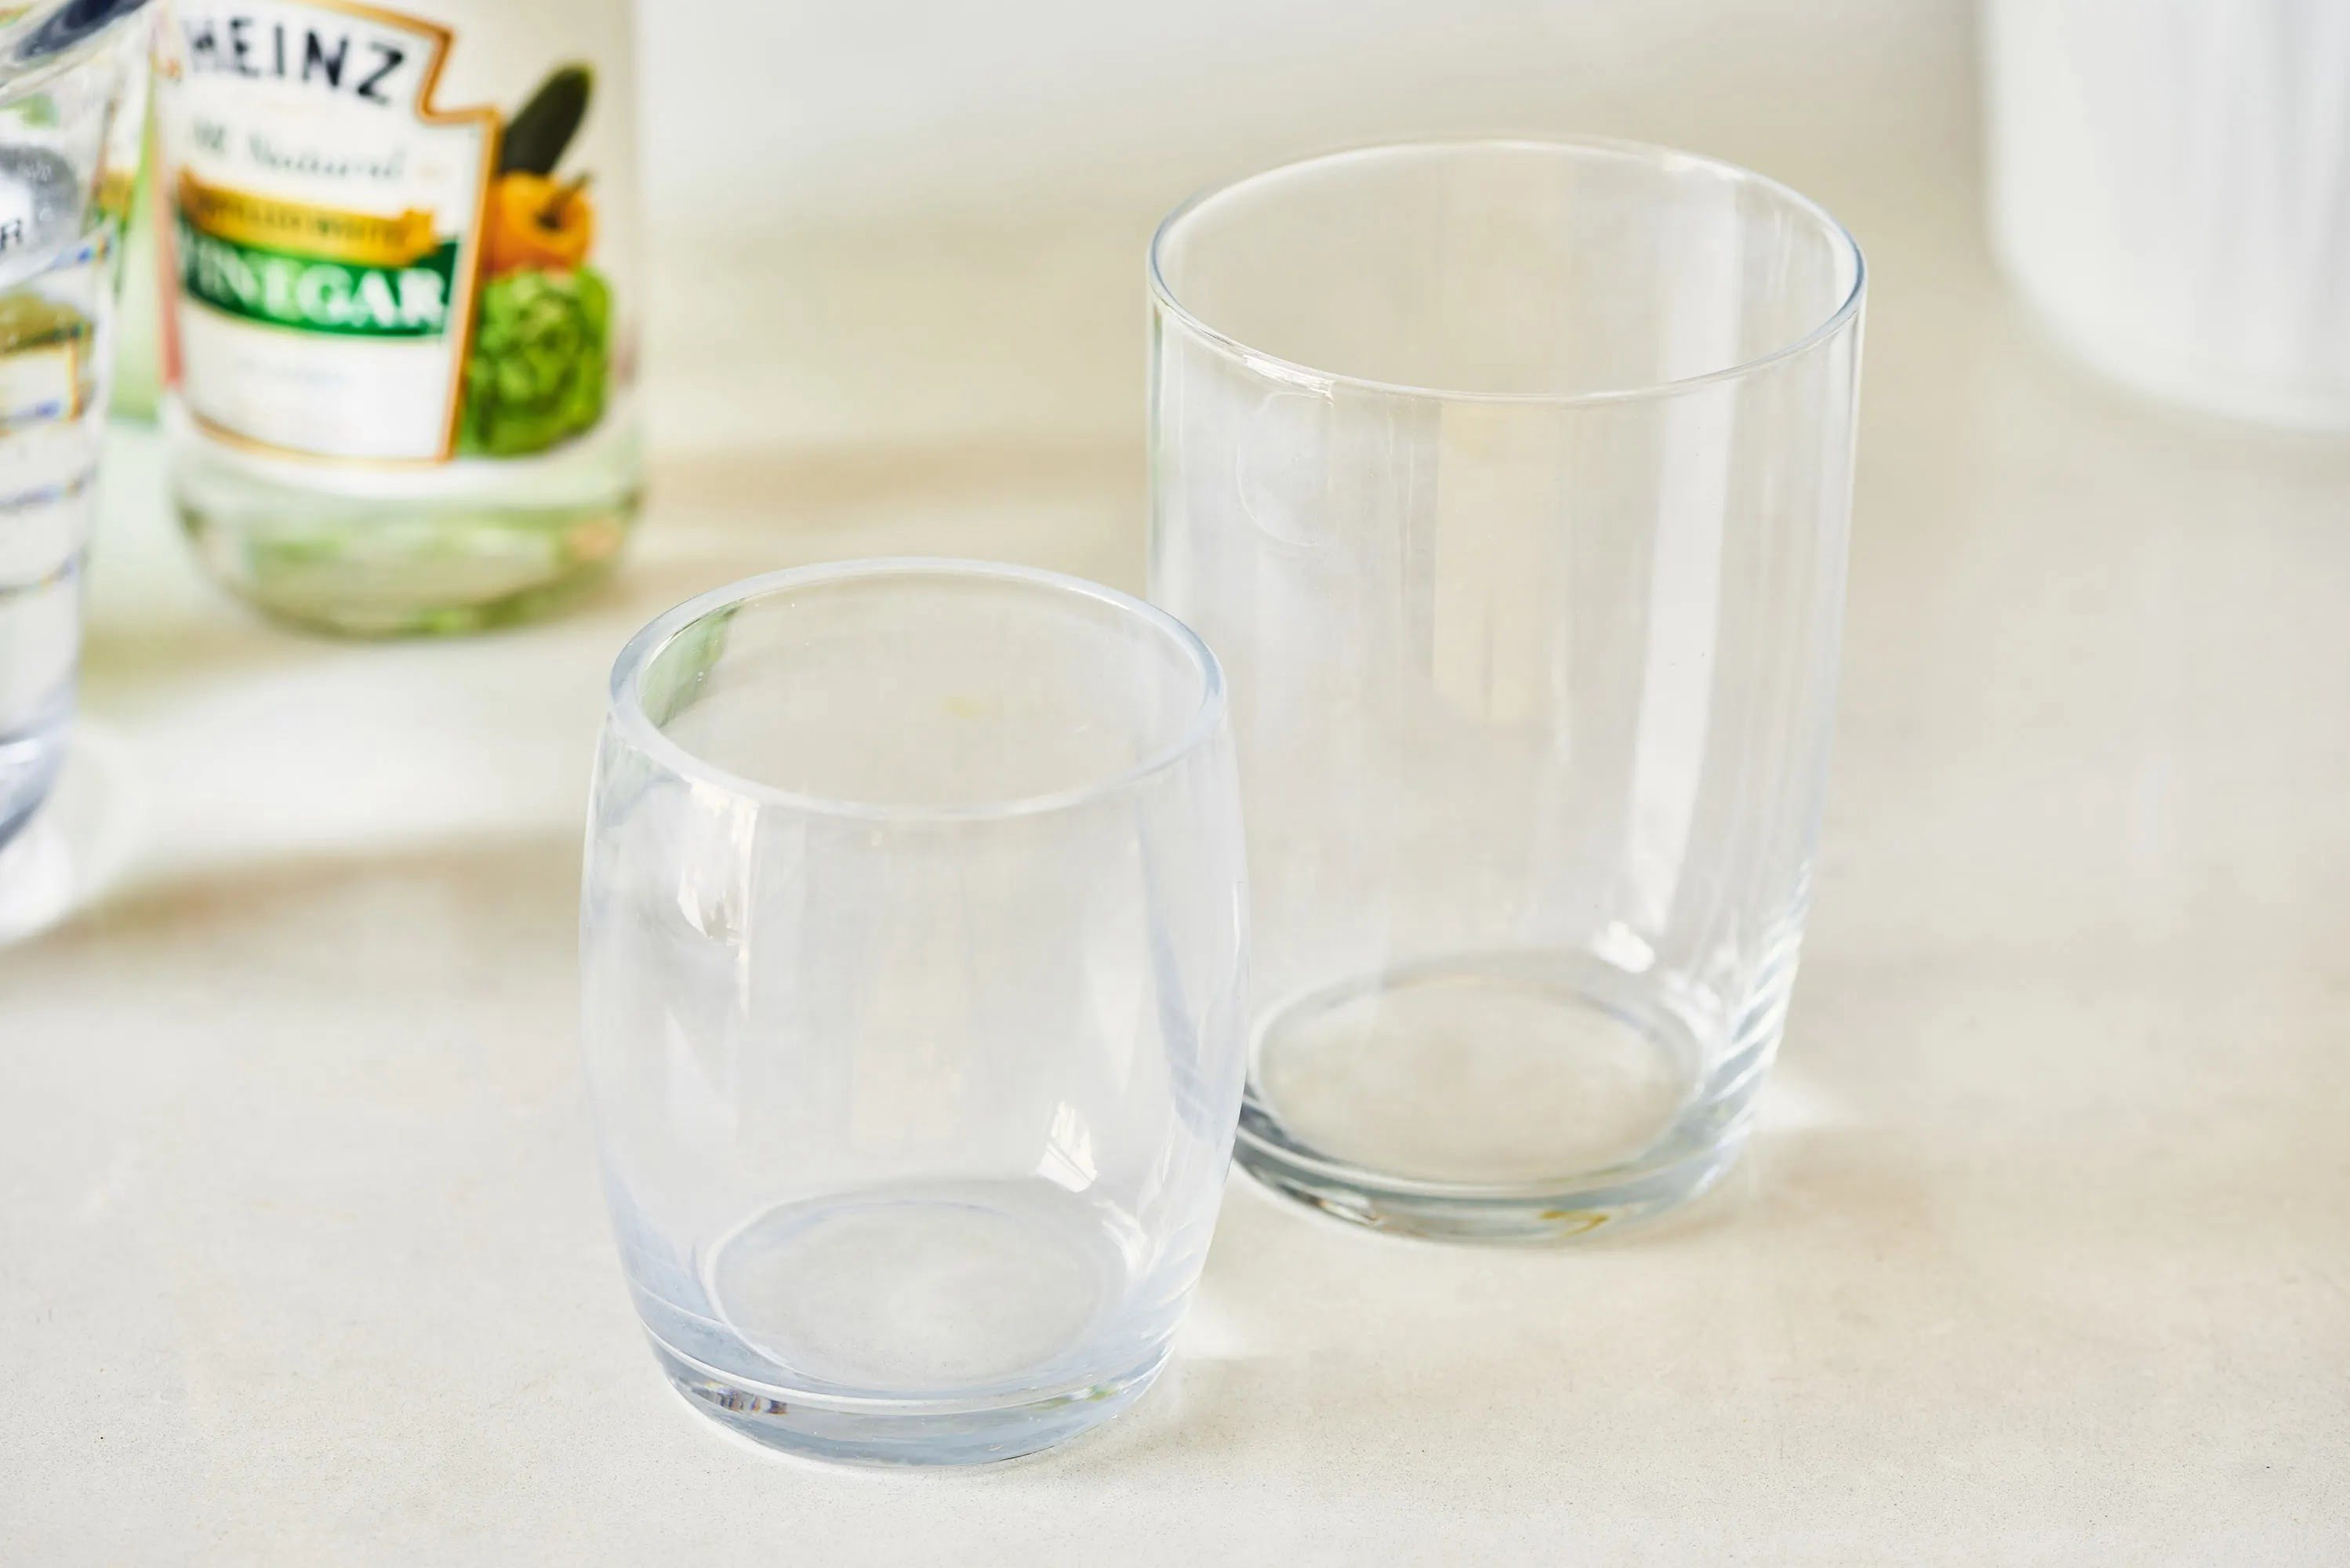
Mix equal parts of white vinegar and water, then gently dab the stained area with a cloth. Let it sit for a few minutes, then blot with a clean cloth. Repeat as necessary until the stain is gone.
Testing the Cleaning Solution
Before applying any cleaning solution or stain remover to your furniture, it’s crucial to perform a patch test on an inconspicuous area. Testing the cleaning solution helps ensure that it will not cause any damage or discoloration to your furniture. Here’s how to test the cleaning solution:
1. Choose an inconspicuous area: Pick a small, hidden area of your furniture, such as the back or underside, to perform the patch test. This way, if any adverse reactions occur, they won’t be visible in everyday use.
2. Apply the cleaning solution: Dampen a clean cloth or sponge with a small amount of the cleaning solution you intend to use. Gently dab the solution onto the chosen test area, making sure not to oversaturate the fabric or surface.
3. Wait and observe: Allow the cleaning solution to sit on the test area for the recommended time mentioned on the product label or for at least 10-15 minutes. Keep a close eye on the spot during this time, looking for any changes in color, texture, or damage to the fabric or finish.
4. Blot and assess: After the waiting period, blot the area with a clean cloth to remove the cleaning solution residue. Carefully inspect the test area, looking for any signs of discoloration, fading, or any other damage caused by the cleaning solution.
5. Check for compatibility: If the test area shows no signs of adverse reactions, such as color bleeding or damage, you can proceed with confidence in using the cleaning solution for stain removal. However, if you notice any negative effects, discontinue use and try an alternative cleaning solution or seek professional advice.
Once you have determined the compatibility and safety of the cleaning solution, you can move on to the techniques for removing stains from your furniture. The specific techniques will vary depending on the type of stain, fabric, and furniture material. Here are some general guidelines for tackling common stains:
1. Food and Beverage Stains: Blot the stain to remove any excess liquid. Use a mild detergent or stain remover specifically formulated for upholstery on a clean cloth to gently dab and treat the stain. Rinse the area with water and blot dry.
2. Ink Stains: Blot the ink stain as soon as possible. Apply an alcohol-based solution, such as rubbing alcohol or nail polish remover, to a clean cloth and gently dab the stain. Continue blotting until the ink is removed, then rinse with water and blot dry.
3. Water Stains: Blot the fresh water stain and allow it to air dry. If the stain persists, try using a hairdryer or applying mayonnaise or petroleum jelly to rehydrate the wood. Alternatively, use a wood stain remover, following the manufacturer’s instructions.
4. Grease and Oil Stains: Blot the stain to absorb excess grease or oil. Apply a small amount of dish soap mixed with warm water to a clean cloth and gently blot the stain. For delicate fabrics, use a dry cleaning solvent. Rinse with water and blot dry.
Remember to always work gently when applying cleaning solutions and avoid scrubbing or rubbing vigorously, as this can damage the fabric or finish of the furniture. It is also essential to follow specific instructions provided by the manufacturer or seek professional guidance when dealing with delicate or valuable pieces.
By testing the cleaning solution and using appropriate techniques, you can effectively remove stains from your furniture and restore its original beauty. In the next section, we will share tips for preventing future stains and maintaining the pristine condition of your furniture.
Removing Food and Beverage Stains
Food and beverage stains are common mishaps that can quickly tarnish the appearance of your furniture. Whether it’s an accidental spill or a splatter from a favorite meal, prompt action is crucial to prevent permanent staining. Here are effective techniques for removing food and beverage stains from your furniture:
1. Blot the Stain: As soon as a food or beverage spill occurs, act quickly by blotting the stain with a clean cloth or paper towel. Avoid rubbing the stain, as this can push it deeper into the fabric or upholstery. Instead, gently blot the area to absorb as much liquid as possible.
2. Check the Care Label: Before applying any cleaning solution, check the care label on your furniture to ensure you’re using appropriate methods. Different fabrics and materials may require specific cleaning techniques.
3. Mild Detergent Solution: For most upholstered furniture, a mild detergent solution can effectively remove food and beverage stains. Mix a small amount of mild dish soap with warm water. Using a clean cloth, lightly dab the stain with the solution, working from the outside towards the center. Rinse the cloth and blot the area with clean water to remove soap residue. Finally, blot dry with a dry cloth.
4. Vinegar Solution: Vinegar is a natural cleaning agent that can be effective in removing food stains. Mix equal parts white vinegar and water. Dab the stained area with a clean cloth soaked in the vinegar solution. Blot gently, and rinse with water. This method is particularly useful for coffee or tea stains.
5. Enzyme Cleaner: For tough food stains or odors, you can try using an enzyme cleaner specifically designed for upholstery. Follow the instructions on the product label for best results. Enzyme cleaners work by breaking down the organic compounds in the stain, effectively removing it.
6. Steam Cleaning: A steam cleaner, used according to the manufacturer’s instructions, can be effective in lifting food and beverage stains from upholstery or carpets. Steam helps to loosen the particles embedded in the fabric, making them easier to remove.
Remember to always test any cleaning solution in an inconspicuous area before applying it to the stained area of your furniture. This will ensure that the solution does not cause any discoloration or damage.
For delicate or valuable pieces, it is recommended to consult a professional cleaner who can provide specialized stain removal services.
By acting promptly, using the appropriate cleaning solutions, and following these techniques, you can effectively remove food and beverage stains from your furniture and restore its original beauty. Continue reading for tips on preventing future stains and maintaining the pristine condition of your furniture.
Read more: How To Remove Stains From Mattress
Treating Ink Stains
Ink stains can be a nightmare to deal with, whether it’s from a leaky pen, accidental scribbles, or a spilled inkwell. However, with the right techniques and a bit of patience, you can effectively remove ink stains from your furniture. Here’s how to tackle ink stains:
1. Act Quickly: Time is of the essence when it comes to ink stains. The faster you respond, the better chance you have of removing the stain completely. Start by blotting the stain gently with a clean cloth or paper towel to absorb any excess ink. Avoid rubbing, as this can spread the stain further.
2. Test the Cleaning Method: Before applying any cleaning solution to the ink stain, it’s important to test it on an inconspicuous area of your furniture. This ensures that the solution doesn’t cause any damage or discoloration. Wait for a few minutes after applying the solution and confirm that it doesn’t have any adverse effects.
3. Rubbing Alcohol or Hand Sanitizer: One of the most effective solutions for removing ink stains is rubbing alcohol or hand sanitizer. Moisten a clean cloth with the alcohol or hand sanitizer, then gently dab the stain. Blot the area with a separate clean cloth to lift the ink. Rinse the cloth and repeat until the stain is fully removed.
4. Hairspray: Hairspray, particularly one that contains a high alcohol content, can also help break down the ink. Spray a small amount of hairspray onto a clean cloth and dab the stain. Blot the area to lift the ink, and repeat the process if necessary. Rinse the cloth and blot the area with water to remove any residue.
5. Lemon Juice: Lemon juice is a natural stain remover that can be effective on ink stains. Saturate a clean cloth with lemon juice and gently dab the stain. Allow the lemon juice to sit on the stain for a few minutes, then blot with another clean cloth. Rinse the cloth and repeat if needed. Lemon juice may be particularly useful for lighter-colored fabrics.
6. Specialist Ink Removers: If the above methods don’t completely remove the ink stain, there are commercially available ink removers that are specifically designed for various fabric types. Follow the instructions provided with the ink remover, and test it on an inconspicuous area first to ensure it doesn’t cause any damage.
Remember to handle ink stains with care and avoid excessive rubbing or scrubbing, as this can damage the fabric or surface of your furniture. Always blot and gently dab the stain to lift the ink.
By reacting quickly, testing the cleaning method, and using the appropriate techniques, you can effectively treat ink stains on your furniture. Stay tuned to learn how to tackle water stains in the next section.
Dealing with Water Stains
Water stains on furniture are a common occurrence, especially on wooden surfaces, and they can be a frustrating sight. Whether caused by a spilled drink, a potted plant, or condensation, water stains can leave unsightly marks on your furniture. Here are some techniques to effectively deal with water stains:
1. Blot and Dry: For fresh water stains, start by blotting the affected area with a clean, absorbent cloth or paper towel. Absorb as much moisture as possible without rubbing the stain. Once you’ve blotted the area, allow it to air dry completely. This method may help remove minor water stains.
2. Heat and Pressure: For more stubborn water stains, you can try using heat and pressure to lift the stain. Place a clean, white cloth over the stain and run a warm iron over it on the lowest setting. The heat and pressure will transfer the moisture from the wood to the cloth. Repeat this process until the stain fades.
3. Use Toothpaste or Baking Soda: For light water stains on wood, toothpaste or baking soda can be effective. Apply a small amount of toothpaste or make a paste with baking soda and water. Gently rub the paste onto the stain using a soft cloth, following the direction of the wood grain. Rinse with a damp cloth and let it dry.
4. Apply a Mayonnaise or Petroleum Jelly: For deeper water stains on wood, such as rings or spots, you can try applying a small amount of mayonnaise or petroleum jelly to the affected area. Let it sit overnight, and wipe it off the next day with a clean, soft cloth. These substances help rehydrate the wood and restore its natural color.
5. Use a Wood Stain Remover: If the above methods don’t fully remove the water stain, a wood stain remover can be your next option. Follow the instructions provided with the remover and test it on a small, inconspicuous area of the furniture first to ensure compatibility. Apply the stain remover to the water stain, gently rubbing it with a clean cloth. Wipe away any residue and inspect the area. Repeat the process if necessary.
It’s important to note that the success of these methods depends on factors such as the type of wood, the severity of the water stain, and the finish of the furniture. If you’re unsure or dealing with valuable or antique pieces, it’s advisable to consult a professional furniture restorer for guidance.
Prevention is key to avoiding water stains on your furniture. Use coasters and placemats to protect wooden surfaces from spills, and be mindful of placing potted plants on top of a protective saucer or felt pad. Regularly wipe up any moisture or spills to prevent them from penetrating the wood.
By using these techniques and taking preventive measures, you can effectively deal with water stains and restore the beauty of your furniture. In the next section, we will explore how to remove grease and oil stains from furniture.
Removing Grease and Oil Stains
Grease and oil stains can be quite stubborn and challenging to remove from furniture. However, with the right techniques and a little effort, you can successfully tackle these stains. Here are some effective methods for removing grease and oil stains:
1. Blotting and Absorbing: As soon as a grease or oil spill occurs, it’s important to act quickly and blot the stain immediately. Use a clean cloth or paper towel to gently blot and absorb as much of the grease or oil as possible. Avoid rubbing, as this can spread the stain and push it deeper into the fabric or upholstery.
2. Dish Soap and Water: For most upholstery and fabric surfaces, a mixture of dish soap and water can work wonders in removing grease and oil stains. In a small bowl, mix a few drops of mild dish soap with warm water. Moisten a clean cloth with the soapy solution and gently dab the stained area. Be careful not to oversaturate the fabric. Rinse the cloth and continue blotting the stain until it lifts. Rinse the area with clean water to remove any soap residue and blot dry with a dry cloth.
3. Baking Soda: Baking soda is a natural absorbent that can help trap and lift grease and oil stains. Sprinkle a generous amount of baking soda over the stained area and let it sit for at least 15 minutes. The baking soda will absorb the grease or oil. Afterward, use a vacuum cleaner with an upholstery attachment or a soft brush to remove the baking soda residue. Repeat the process if necessary.
4. Stain Removers: If the dish soap or baking soda methods don’t completely remove the grease or oil stain, you may consider using a commercial stain remover specifically formulated for upholstery. Follow the instructions on the product label and test it on a small, inconspicuous area first to ensure compatibility with your furniture fabric.
5. Professional Cleaning: In some cases, particularly for deep or stubborn grease and oil stains, it may be necessary to seek professional cleaning services. Professional cleaners have the expertise and specialized equipment to effectively remove tough stains without causing damage to your furniture.
Aside from knowing how to remove grease and oil stains, it’s equally important to implement preventive measures to minimize the occurrence of future stains. Here are some tips to help prevent grease and oil stains on your furniture:
1. Use Furniture Protectors: Consider using furniture protectors, such as slipcovers or furniture covers, to shield your furniture from accidental spills and stains. These protective covers can be easily removed and washed, providing an extra layer of defense.
2. Clean Up Spills Immediately: Whenever a spill occurs, it’s essential to clean it up promptly. Use a clean cloth or paper towel to blot the spill, absorbing as much of the grease or oil as possible. Avoid rubbing, as this can spread the stain further.
3. Be Mindful of Placement: Avoid placing greasy or oily items directly on the furniture surface. If you have food or drinks containing oil or grease, use coasters, trays, or placemats to provide a barrier between the item and the furniture.
By following these tips for stain prevention and using the right techniques for stain removal, you can keep your furniture looking clean and pristine. Remember, the key is to act quickly and tackle stains as soon as they occur.
Using Furniture Protectors
Furniture protectors are a valuable addition to your home when it comes to maintaining the beauty and longevity of your furniture. These protective covers not only safeguard your beloved pieces from spills and stains but also provide an extra layer of defense against everyday wear and tear. Here’s why using furniture protectors is beneficial and how they can help preserve your furniture:
1. Shield Against Spills and Stains: One of the primary benefits of using furniture protectors is their ability to guard against spills and stains. Accidents happen, whether it’s a cup of coffee tipping over, a child’s juice box going astray, or a wine glass that accidentally topples. Furniture protectors act as a barrier between the spill and your furniture, giving you time to clean it up before it seeps into the fabric or upholstery.
2. Preserve the Aesthetic Appeal: Furniture protectors help maintain the pristine condition of your furniture, preventing fading, discoloration, and fabric wear caused by sunlight or direct contact with people and pets. By keeping your furniture shielded from daily use, the original beauty and coloration can be preserved for longer periods.
3. Easy Maintenance and Cleaning: Furniture protectors are designed to be removable and washable, making them easy to clean and maintain. When accidental spills or stains occur, simply remove the protector and follow the care instructions for washing. This ensures that your furniture stays fresh and clean without the need for expensive professional cleaning services.
4. Enhance Durability and Longevity: Regular use of furniture protectors helps extend the lifespan of your furniture. These covers offer an additional layer of protection against wear and tear, reducing the risk of scratches, scuffs, and general damage caused by daily activities. By minimizing direct contact with people, pets, and objects, furniture protectors help preserve the structural integrity and appearance of your furniture.
5. Versatile Style Options: Furniture protectors are available in a wide array of styles, colors, and patterns, allowing you to find the perfect match for your furniture and decor. Whether you prefer a sleek and modern look or a cozy and traditional vibe, there is a furniture protector to suit your personal style and taste.
6. Pet-Friendly Solution: If you have furry friends at home, furniture protectors can be especially valuable. They provide an extra layer of defense against pet hair, scratches, and accidental pet accidents. Investing in pet-friendly furniture protectors can help keep your furniture looking clean and pet-hair-free while maintaining a harmonious living environment.
When choosing furniture protectors, ensure that they are the appropriate size and design for your specific furniture pieces. Consider the type of fabric or upholstery your furniture has and select protectors that are compatible and effective for that particular material.
By using furniture protectors, you can enjoy the comfort and aesthetic appeal of your furniture while providing reliable protection against spills, stains, and daily wear. With proper care and maintenance, your furniture can withstand the test of time, remaining in excellent condition for years to come.
Read more: How To Remove Stain From Fence
Cleaning Spills Immediately
When it comes to maintaining the cleanliness and longevity of your furniture, one of the most important practices is to clean spills immediately. Whether it’s a food or beverage spill, a pet accident, or an ink mishap, taking prompt action can make a significant difference in preventing stains and damage. Here’s why cleaning spills immediately is crucial:
1. Prevent Stains: Spills can quickly seep into the fabric or upholstery of your furniture, leaving behind unsightly stains. By cleaning spills immediately, you minimize the amount of time the substance has to penetrate and set into the material. This increases the chances of complete stain removal and reduces the risk of permanent discoloration.
2. Avoid Odors and Bacteria: Spills, especially those involving food or liquids, can lead to unpleasant odors and create a breeding ground for bacteria. These odors and bacteria can not only be bothersome but also compromise the hygiene of your furniture. By promptly cleaning spills, you can eliminate the source of these odors and minimize the potential for bacteria buildup.
3. Preserve the Upholstery: Certain spills, such as those containing acidic substances or dyes, can cause damage to the fabric or upholstery if left unattended. Acidic liquids can eat away at the fibers, while dyes can cause color bleeding or fading. By cleaning spills immediately, you can prevent such damage and help maintain the integrity of the upholstery.
4. Prevent Structural Damage: In addition to the fabric or upholstery, spills that are not cleaned promptly can also seep into the wood or other materials beneath the surface. This can lead to warping, delamination, or other types of structural damage. By addressing spills immediately, you protect the internal components of your furniture and prolong its lifespan.
Here are some steps to follow when cleaning spills on your furniture:
1. Blot: Begin by blotting the spill gently with a clean cloth or paper towel. This helps to absorb as much of the liquid as possible without spreading it further. Avoid rubbing, as this can push the spill deeper into the fabric or upholstery.
2. Treat the Stain: Depending on the type of spill, you can use appropriate cleaning solutions or methods to address the stain. Refer to the specific stain removal techniques mentioned earlier in this article for guidance on treating different types of stains.
3. Rinse and Dry: After treating the stain, rinse the area with clean water to remove any leftover cleaning product. Blot the area again with a dry cloth or towel to remove excess moisture. Ensure the area is fully dry to prevent the growth of mold or mildew.
In conclusion, cleaning spills immediately is essential for maintaining the cleanliness, appearance, and overall condition of your furniture. By promptly addressing spills, you can prevent stains, odors, bacterial growth, and potential damage to the fabric, upholstery, and structure of your furniture. Implementing these practices will help your furniture stay beautiful and in excellent shape for years to come.
Remember, prevention is always better than cure. Using furniture protectors, being mindful of placement, and practicing good habits like using coasters and placemats can go a long way in preventing spills in the first place. With proper care, regular cleaning, and quick action when spills occur, you can enjoy your furniture for many years while keeping it looking its best.
Frequently Asked Questions about How To Remove Stains From Furniture
Was this page helpful?
At Storables.com, we guarantee accurate and reliable information. Our content, validated by Expert Board Contributors, is crafted following stringent Editorial Policies. We're committed to providing you with well-researched, expert-backed insights for all your informational needs.


0 thoughts on “How To Remove Stains From Furniture”