Articles
How To Repair Microwave Oven Not Heating
Modified: January 5, 2024
Learn how to fix a microwave oven that is not heating with these informative articles. Find troubleshooting tips and step-by-step instructions to get your microwave back in working condition.
(Many of the links in this article redirect to a specific reviewed product. Your purchase of these products through affiliate links helps to generate commission for Storables.com, at no extra cost. Learn more)
Introduction
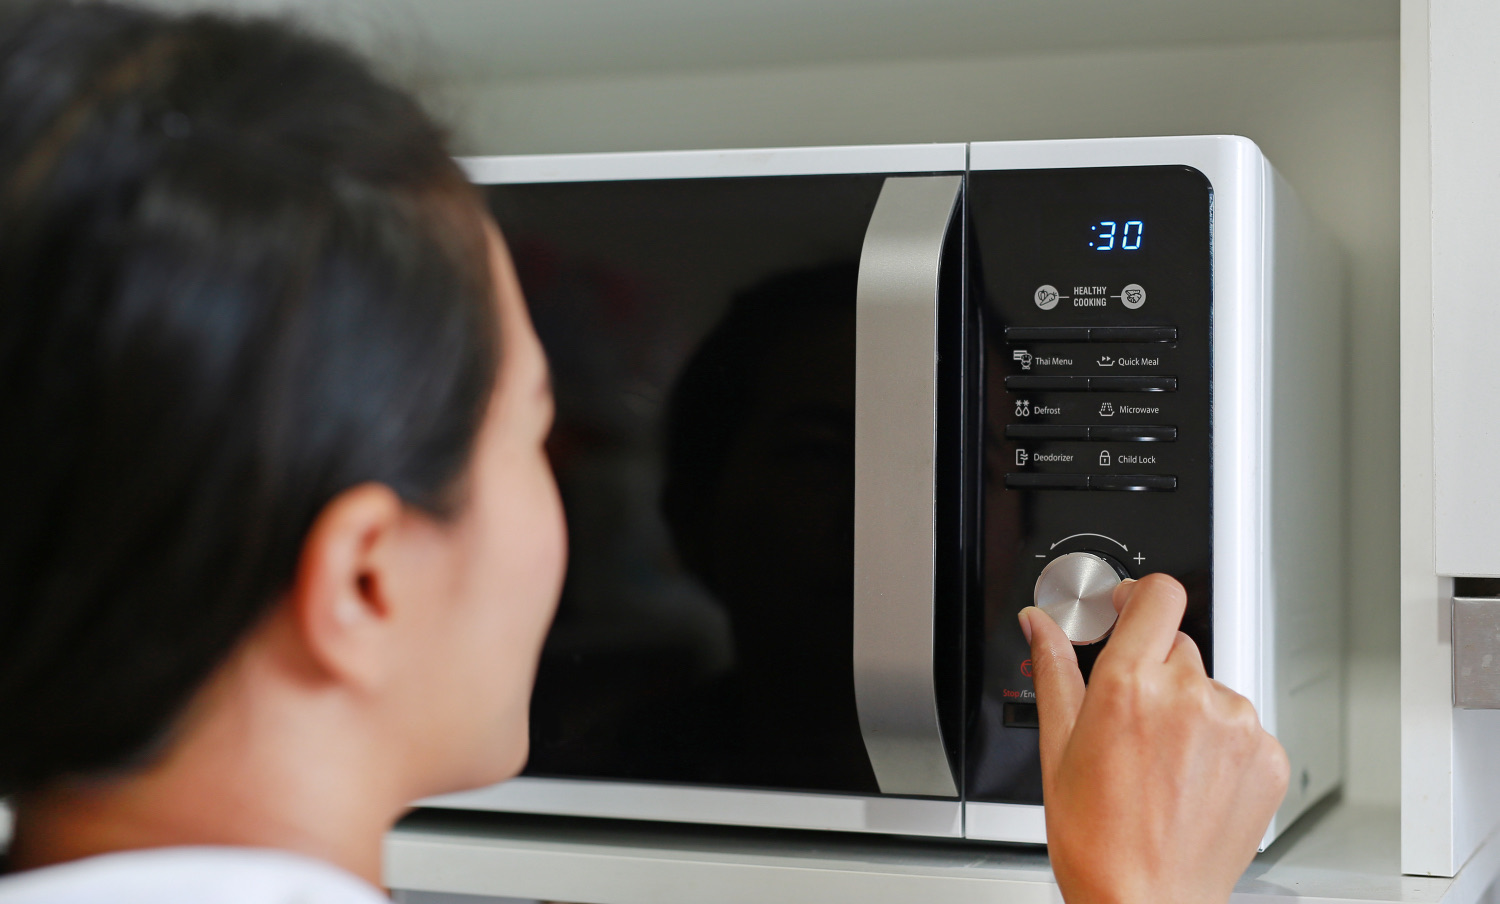
Welcome to our guide on repairing microwave ovens that are experiencing heating issues. A microwave oven is a convenient and essential appliance in any kitchen, allowing us to quickly and easily heat up our meals. However, when the microwave oven stops heating, it can be frustrating and disrupt our daily cooking routine.
There are several common causes for a microwave oven not heating properly. It could be due to a faulty power supply, a malfunctioning magnetron, a defective high voltage capacitor, a damaged diode, issues with the door switches, or problems with the control board. In this article, we will explore each of these potential causes and guide you on how to troubleshoot and repair your microwave oven.
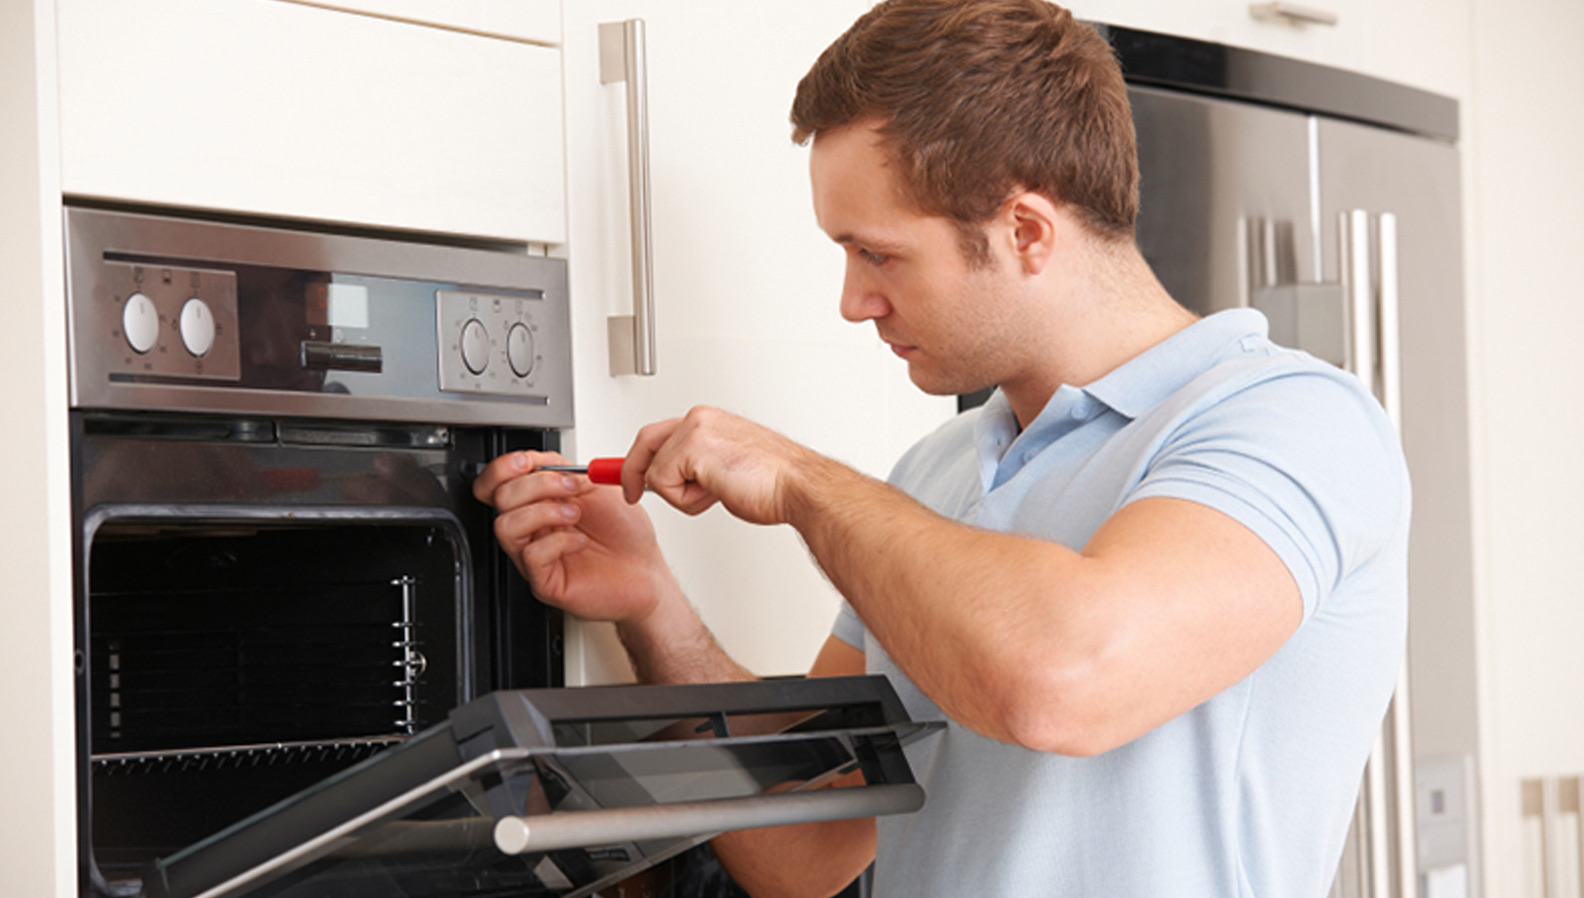
Before we dive into the troubleshooting process, please note that working with microwave ovens involves handling high voltages that can be dangerous. If you are not comfortable or experienced with electrical repairs, it is recommended to seek professional assistance. Safety should always be a top priority when dealing with electrical appliances.
Now, let’s explore the common causes and solutions for a microwave oven not heating. By following these step-by-step instructions, you may be able to diagnose and fix the problem, saving you time and money.
Key Takeaways:
- Troubleshoot and repair your microwave oven not heating by checking power supply, testing components, and prioritizing safety. Save time and money with DIY fixes or seek professional assistance.
- Prioritize safety and follow step-by-step troubleshooting to identify and resolve heating issues in your microwave oven. From power supply to control board, ensure a properly functioning appliance.
Common Causes of Microwave Oven Not Heating
When your microwave oven is not heating properly, there are several potential causes that you should consider. Understanding these common causes will help you troubleshoot the issue and identify the necessary repairs. Here are the most common reasons why a microwave oven may not be heating:
- Power Supply: The first thing to check is the power supply to the microwave oven. Make sure it is plugged in securely and that the circuit breaker hasn’t tripped. If the power supply is not the issue, move on to the next possible cause.
- Magnetron: The magnetron is the component responsible for generating the microwaves that heat the food. If the magnetron is faulty or damaged, it will prevent the microwave oven from heating. To test the magnetron, you will need a multimeter to check for continuity. If the magnetron is defective, it will need to be replaced.
- High Voltage Capacitor: The high voltage capacitor is responsible for storing electrical energy that powers the magnetron. A defective capacitor can cause the microwave oven to not heat properly. Test the capacitor with a multimeter to check for continuity. If the capacitor is faulty, it should be replaced.
- Diode: The diode in a microwave oven allows electrical current to flow in one direction. A faulty diode can disrupt the flow of current, resulting in the microwave oven not heating. Use a multimeter to test the diode for continuity. If the diode is defective, it needs to be replaced.
- Door Switches: Microwave ovens have multiple door switches that detect whether the door is open or closed. If any of these switches are faulty, the microwave oven may not heat properly. Inspect the door switches for any signs of damage or wear and test them using a multimeter. If a switch is defective, it should be replaced.
- Control Board: If all the above components are working correctly, the issue may lie with the control board. A malfunctioning control board can prevent the microwave oven from heating. However, diagnosing and repairing control board issues can be more complex and may require professional assistance.
By examining these common causes, you can narrow down the potential problem with your microwave oven not heating. Checking each component and testing for faults will help you determine the appropriate course of action for repair. In the following sections, we will guide you through the step-by-step process of troubleshooting and fixing these issues.
Checking Power Supply
When your microwave oven is not heating, the first thing you should check is the power supply. There are a few steps you can follow to ensure that the power supply is not the cause of the problem:
- Plug and Outlet: Start by checking if the microwave oven is properly plugged into the electrical outlet. Make sure the plug is inserted securely and that there are no loose connections. Additionally, check if the outlet is functioning by plugging in another device and seeing if it works.
- Circuit Breaker: If the microwave oven is plugged in properly and there is still no power, check your home’s circuit breaker panel. Look for any tripped breakers and reset them if necessary. Sometimes, a power surge or overload can cause the breaker to trip, cutting off power supply to the microwave oven.
- Fuse: If your microwave oven has a fuse, it may have blown out due to a power surge or other electrical issue. Locate the fuse, usually near the power cord, and check if it is intact. If the fuse is blown, replace it with the appropriate fuse rating as specified by the manufacturer.
- Power Cord: Inspect the power cord for any signs of damage such as cuts, fraying, or exposed wires. If you notice any damage, it is important to replace the power cord to prevent any electrical hazards. Contact the manufacturer or a professional appliance repair service to obtain a compatible replacement cord.
By checking the power supply, you can eliminate any potential issues related to a faulty electrical connection. Sometimes, a simple fix such as ensuring a secure plug or resetting the circuit breaker can resolve the problem and restore power to your microwave oven.
If you have checked the power supply thoroughly and are confident that it is not the cause of the issue, proceed to the next step of troubleshooting – testing the magnetron.
Testing the Magnetron
If your microwave oven is not heating, one of the potential culprits could be a malfunctioning magnetron. The magnetron is the component responsible for generating the microwaves that heat the food. Here’s how you can test the magnetron:
- Safety First: Before you begin any testing, ensure that the microwave oven is unplugged from the power source. Working with high voltage components can be dangerous, so take necessary precautions and consider seeking professional assistance if you’re not comfortable with electrical repairs.
- Access the Magnetron: Depending on the design of your microwave oven, you may need to remove the outer cover or access panel to locate the magnetron. Consult the user manual or search for instructions specific to your model online to determine the process for accessing the magnetron.
- Test for Continuity: Using a multimeter set to the continuity (ohms) function, you can test the magnetron for continuity. Touch the multimeter probes to the terminal connectors of the magnetron. If the multimeter shows continuity, then the magnetron is functioning properly. If there is no continuity, it indicates a faulty magnetron that needs to be replaced.
- Check for Visible Damage: While testing for continuity, visually inspect the magnetron for any signs of damage such as burnt marks, cracked casing, or loose connections. These could indicate a malfunctioning magnetron that needs to be replaced.
- Replace the Magnetron: If the magnetron fails the continuity test or shows visible damage, it is likely the cause of the microwave oven not heating. In this case, you will need to acquire a replacement magnetron from the manufacturer or a trusted appliance parts supplier. Follow the manufacturer’s instructions or seek professional assistance to safely install the new magnetron.
By testing the magnetron, you can determine if it is functioning properly and diagnose whether it is the source of the heating issue. If the magnetron passes the continuity test and shows no visible damage, you can move on to troubleshooting the next component – the high voltage capacitor.
However, if the magnetron is found to be faulty, replacing it should restore the heating functionality to your microwave oven.
Checking the High Voltage Capacitor
If your microwave oven is still not heating after testing the magnetron, the next component to examine is the high voltage capacitor. The high voltage capacitor stores electrical energy that is used to power the magnetron. Here’s how you can check the high voltage capacitor:
- Ensure Safety: Turn off and unplug the microwave oven before proceeding with any testing. Capacitors can store a dangerous amount of electrical charge even when the power is off, so exercise caution.
- Locate the Capacitor: The high voltage capacitor is usually located near the magnetron and can be identified by its cylindrical shape. Refer to the microwave oven’s user manual or search for instructions specific to your model to find the capacitor’s exact location.
- Discharge the Capacitor: Before testing the high voltage capacitor, it needs to be safely discharged to prevent electrical shocks. Use an insulated screwdriver with a long handle to short the capacitor’s terminals together. Hold the metal part of the screwdriver by the insulated handle and touch the blade across the terminals of the capacitor. This will discharge any remaining electrical charge.
- Test for Continuity: Set your multimeter to the resistance or continuity mode. Touch the probes of the multimeter to the terminals of the capacitor. If the multimeter shows continuity or a resistance reading that gradually decreases, it indicates that the high voltage capacitor is functioning properly. If there is no continuity or the resistance reading remains infinite, it suggests a faulty capacitor that needs to be replaced.
- Inspect for Visible Damage: While testing for continuity, visually inspect the capacitor for any signs of damage such as bulging, leaking, or burnt marks. These are indications of a defective capacitor that needs to be replaced.
- Replace the High Voltage Capacitor: If the high voltage capacitor fails the continuity test or shows visible damage, it is likely the cause of the microwave oven not heating. Replacement high voltage capacitors can be obtained from the manufacturer or reputable appliance parts suppliers. Follow the manufacturer’s instructions or seek professional assistance to safely install the new capacitor.
Checking the high voltage capacitor allows you to determine if it is functioning correctly and whether it is contributing to the heating issue in your microwave oven. If the capacitor is found to be faulty, replacing it should resolve the problem. However, if the high voltage capacitor is not the cause, proceed to the next step of troubleshooting – testing the diode.
Remember to always prioritize safety when working with electrical components and seek professional assistance if you are unsure or uncomfortable with the repair process.
Check the internal fuse and the door switch. If they are both functioning properly, the issue may be with the magnetron or the high voltage diode, which may need to be replaced. Always ensure the microwave is unplugged before attempting any repairs.
Read more: How To Repair Microwave Oven
Testing the Diode
If your microwave oven is still not heating, the next component to examine is the diode. The diode in a microwave oven allows electrical current to flow in one direction and plays a crucial role in the heating process. Here’s how you can test the diode:
- Ensure Safety: Turn off and unplug the microwave oven before proceeding with any testing. Remember that capacitors may still hold a dangerous amount of electrical charge, so exercise caution.
- Locate the Diode: The diode is typically located near the magnetron, either attached to the magnetron itself or mounted on a separate board. Refer to the microwave oven’s user manual or search for instructions specific to your model to find the diode’s exact location.
- Discharge the Capacitor: As a precaution, discharge the high voltage capacitor as explained in the previous step to eliminate any electrical charge.
- Set Multimeter to Diode Mode: Set your multimeter to the diode mode or the continuity mode if it has the diode symbol. This mode allows you to test the forward and reverse bias of the diode.
- Test the Diode: Touch the diode terminals with the multimeter probes. The diode should conduct current in the forward bias direction, which means the multimeter should show a small resistance value or beep. If the diode is working properly, reverse the probe connections. In the reverse bias direction, the multimeter should not show any continuity or resistance. If the diode fails these tests in either direction, it is faulty and needs to be replaced.
- Inspect for Visible Damage: While testing the diode, visually inspect it for any signs of damage such as burnt marks, cracks, or loose connections. Any visible damage indicates a defective diode that should be replaced.
- Replace the Diode: If the diode is found to be faulty or damaged during testing, it is likely the cause of the heating issue in your microwave oven. Replacement diodes can be obtained from the manufacturer or reputable appliance parts suppliers. Follow the manufacturer’s instructions or seek professional assistance to safely install the new diode.
Testing the diode helps identify whether it is working correctly and whether it is contributing to the heating problem in your microwave oven. If the diode is faulty, replacing it should resolve the issue. However, if the diode is not the cause, proceed to the next step of troubleshooting – inspecting the door switches.
Remember to prioritize safety at all times during the repair process and consider seeking professional help if you are unsure or uncomfortable with electrical repairs.
Inspecting the Door Switches
If your microwave oven is still not heating, it’s time to inspect the door switches. Microwave ovens have multiple door switches that detect whether the door is open or closed. If any of these switches are faulty, it can lead to problems with the heating functionality. Here’s how you can inspect the door switches:
- Ensure Safety: As always, turn off and unplug the microwave oven before conducting any inspections or repairs. Safety should always be a top priority.
- Locate the Door Switches: The door switches are usually located inside the control panel of the microwave oven. You may need to remove the outer cover or access panel to gain access to the switches. Check the user manual or search for instructions specific to your model to find the exact location of the door switches.
- Visual Inspection: Carefully inspect each door switch for any signs of physical damage or wear. Look for broken or bent switches, loose connections, or burnt marks. If any of the switches appear damaged, they will likely need to be replaced.
- Testing with a Multimeter: With the microwave oven still unplugged, use a multimeter to test the continuity of each door switch. Set the multimeter to the continuity mode and touch the probes to both terminals of each switch. The multimeter should show a closed circuit or continuity when the switch is pressed or closed, and no continuity when the switch is released or open. If a switch fails to show the proper continuity, it indicates a faulty switch that needs to be replaced.
- Replacing Faulty Door Switches: If you have identified any faulty door switches, they will need to be replaced. Contact the manufacturer or a reputable appliance parts supplier to obtain the correct replacement switches. Follow the manufacturer’s instructions or seek professional assistance to safely install the new switches.
Inspecting the door switches is crucial because if any of the switches are malfunctioning, it can prevent the microwave oven from heating. By visually inspecting and testing the door switches, you can identify faulty switches that require replacement. However, if the door switches are not the cause of the heating problem, proceed to the next step of troubleshooting – checking the control board.
Remember to always prioritize safety during the inspection and repair process. If you are not comfortable with electrical repairs, it is recommended to seek professional assistance.
Troubleshooting the Control Board
If your microwave oven is still not heating after checking the previous components, it’s time to troubleshoot the control board. The control board, also known as the main control panel or electronic control unit, plays a vital role in operating various functions of the microwave oven, including the heating element. Here’s how you can troubleshoot the control board:
- Ensure Safety: As always, turn off and unplug the microwave oven before attempting any troubleshooting or repairs. Safety should be your top priority throughout the process.
- Visual Inspection: Start by visually inspecting the control board for any visible signs of damage, such as burnt marks, loose connections, or damaged components. If you notice any abnormalities, it may indicate a problem with the control board.
- Reset the Control Board: Sometimes, a simple reset can resolve issues with the control board. Locate the circuit breaker that supplies power to the microwave oven and flip it off for a few minutes. Then, turn it back on to reset the control board. Check if the microwave oven starts heating after the reset.
- Test Control Board Components: If resetting the control board doesn’t solve the problem, you may need to test the individual components of the control board using a multimeter. This can help you identify any faulty components, such as relays, fuses, or integrated circuits. Testing control board components can be complex and requires knowledge of electronics. If you’re not familiar with it, it’s best to consult a professional technician.
- Seek Professional Assistance: If you suspect that the control board is the cause of the heating issue and you are unable to troubleshoot or repair it yourself, it’s advisable to seek help from a professional technician. They have the expertise and specialized equipment to properly diagnose and repair control board problems.
The control board troubleshooting process can be more complex and challenging compared to other components. It often requires technical knowledge and experience to identify and fix issues. If you are uncertain or uncomfortable with working on the control board, it is best to seek professional assistance. They will be able to properly diagnose the problem and suggest the necessary repairs or replacements.
Remember, safety should always be a priority when working with electrical components. If in doubt, it’s better to leave the troubleshooting and repair to the experts.
Conclusion
In conclusion, a microwave oven not heating can be frustrating, but with the right troubleshooting steps, you may be able to pinpoint and address the issue. We have discussed the common causes behind a microwave oven not heating, including problems with the power supply, magnetron, high voltage capacitor, diode, door switches, and control board.
During the troubleshooting process, it is important to prioritize safety by unplugging the microwave oven and taking necessary precautions. If you are not comfortable or experienced with electrical repairs, it is highly recommended to seek professional assistance to avoid any potential hazards.
Remember to check the power supply first by ensuring the microwave oven is properly plugged in and that the circuit breaker hasn’t tripped. If the power supply is not the issue, proceed to test the magnetron, high voltage capacitor, diode, and door switches. Inspect each component for visible damage and use a multimeter to test for continuity or proper functionality.
If all else fails, the control board may be the culprit. Troubleshooting the control board can be complex and often requires professional expertise. Seek the assistance of a qualified technician to properly diagnose and repair control board issues.
By following these troubleshooting steps, you can potentially identify and resolve the problem with your microwave oven not heating. However, if you are unable to resolve the issue on your own, it is best to consult a professional technician who can accurately diagnose and repair the problem.
Remember, the safety of you and your household should always be the top priority. If in doubt, seek professional help. A properly functioning microwave oven will ensure that you can continue to enjoy quick and convenient hot meals for years to come.
Frequently Asked Questions about How To Repair Microwave Oven Not Heating
Was this page helpful?
At Storables.com, we guarantee accurate and reliable information. Our content, validated by Expert Board Contributors, is crafted following stringent Editorial Policies. We're committed to providing you with well-researched, expert-backed insights for all your informational needs.


0 thoughts on “How To Repair Microwave Oven Not Heating”