
Articles
How To Secure Dishwasher
Modified: August 28, 2024
Discover effective strategies and articles on how to secure your dishwasher and prevent accidents. Safeguard your kitchen with these essential tips.
(Many of the links in this article redirect to a specific reviewed product. Your purchase of these products through affiliate links helps to generate commission for Storables.com, at no extra cost. Learn more)
Introduction
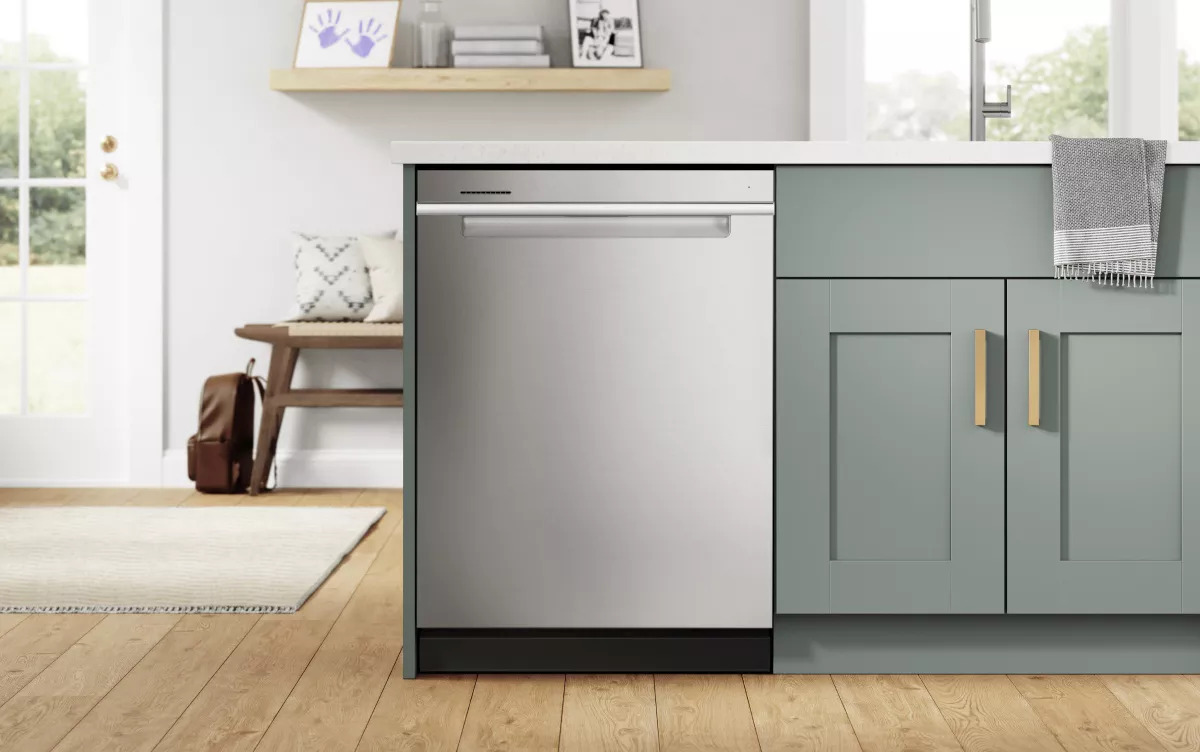
Having a dishwasher in your kitchen is a convenient and time-saving appliance. However, ensuring that it is securely installed is essential to prevent any accidents or damage. A properly secured dishwasher not only provides stability and support but also ensures its efficient performance and longevity.
In this article, we will guide you through the process of securing your dishwasher step-by-step. From choosing the right location to connecting it to the necessary supplies, we will cover all the important aspects to help you achieve a secure installation.
So let’s get started with the first step: choosing a location for your dishwasher.
Key Takeaways:
- Securely installing a dishwasher involves choosing the right location, securing it to the countertop and cabinet, and connecting it to water and electrical supplies. Thoroughly checking its stability ensures safe and efficient operation.
- Regular maintenance and proper installation of a dishwasher are essential for longevity and efficient performance. Following the step-by-step guide ensures a secure installation, providing convenience and time-saving benefits in the kitchen.
Read more: How To Wash Hats In The Dishwasher
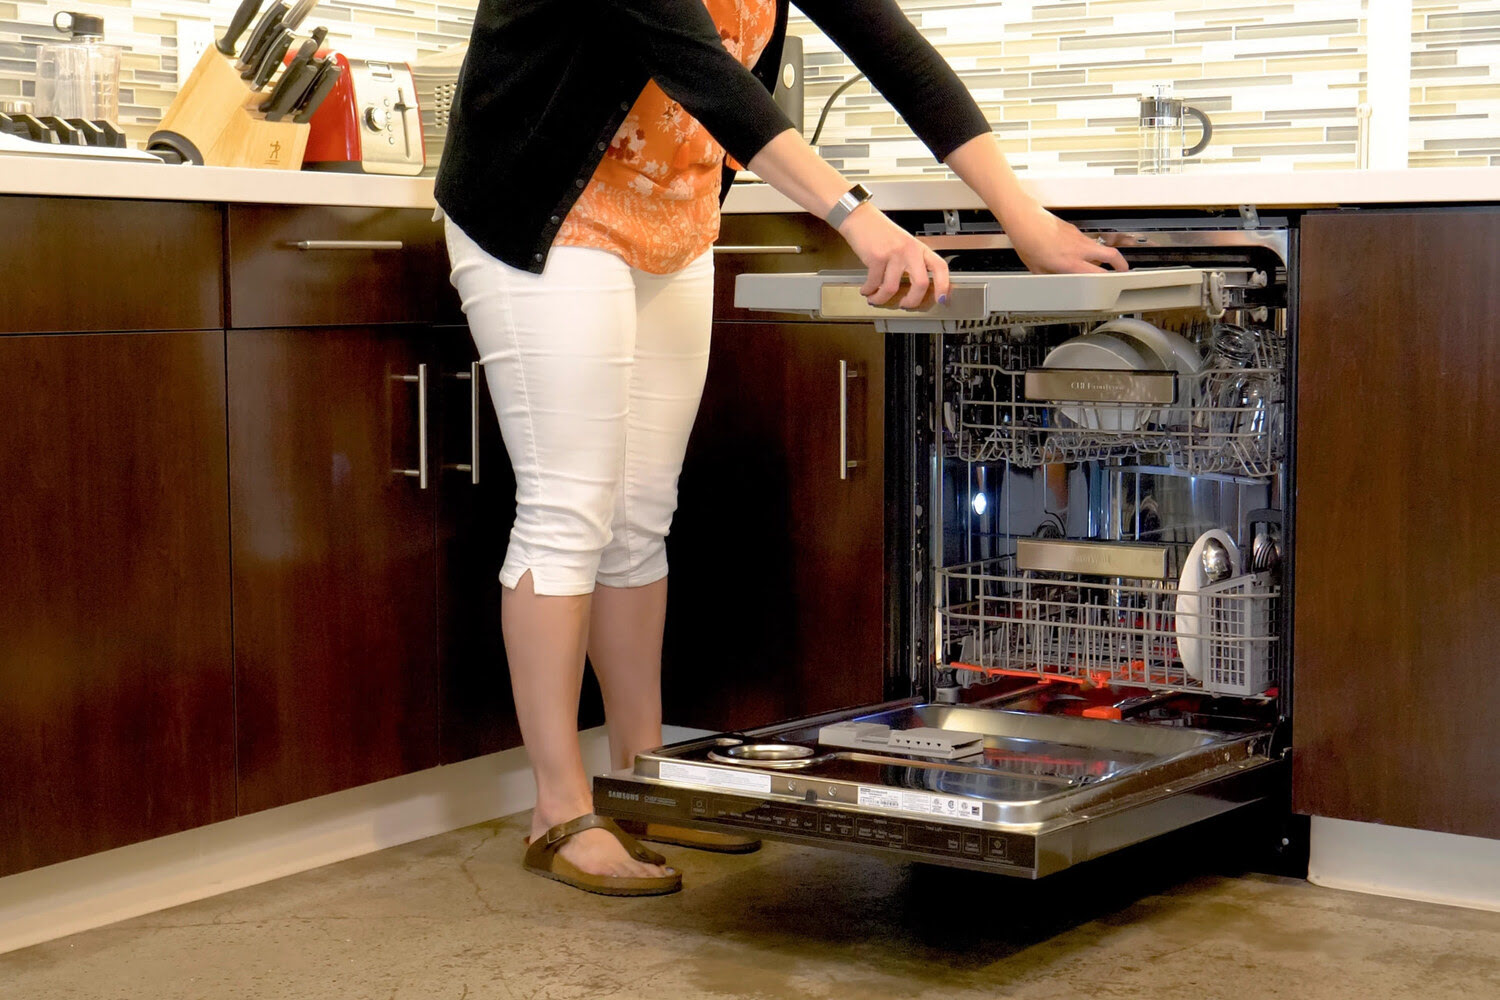
Step 1: Choose a location for your dishwasher
The first step in securing your dishwasher is to choose the right location for it in your kitchen. Here are a few factors to consider when selecting the ideal placement:
- Proximity to the sink: It is recommended to position your dishwasher near the sink for easy access to the water supply and drain. This will make installation and maintenance more convenient.
- Available space: Ensure that you have enough space to accommodate the dishwasher. Measure the dimensions of the appliance and check if there is a suitable spot available where it can fit comfortably.
- Accessibility: Consider the accessibility of the dishwasher. Ideally, it should be easily accessible for loading and unloading dishes without any obstacles in the way.
- Level surface: Make sure the surface where you plan to install the dishwasher is level. This will ensure proper functioning and prevent any leakage.
- Electrical and plumbing connections: Check if there are electrical and plumbing connections available near the chosen location. If not, you may need to hire a professional to install the necessary connections.
By considering these factors, you can choose the most suitable location for your dishwasher. Once you have determined the placement, you can move on to securing the appliance to the countertop.
Step 2: Secure the dishwasher to the countertop
Securing your dishwasher to the countertop is an important step to prevent any movement or instability during its operation. Here’s how you can do it:
- Locate the brackets: Most dishwasher models come with brackets specifically designed for securing them to the countertop. Locate these brackets on the top of the dishwasher, usually near the sides.
- Position the brackets: Position the brackets against the underside of the countertop, aligning them with the front edge. Make sure they are placed symmetrically on both sides.
- Mark the screw holes: Use a pencil or marker to mark the screw holes of the brackets on the underside of the countertop. It’s important to ensure accuracy, so take your time to do this properly.
- Pre-drill holes: Using a suitable drill bit, pre-drill holes on the marked spots to make it easier to insert the screws later.
- Attach the brackets: With the pre-drilled holes, attach the brackets to the underside of the countertop using screws. Make sure they are securely fastened but avoid overtightening.
- Check the alignment: Once the brackets are attached, check the alignment of the dishwasher with the countertop. Ensure that it is level and centered properly.
By following these steps, you can securely fasten your dishwasher to the countertop, providing the necessary stability for its operation. Now, let’s move on to the next step: attaching the dishwasher to the cabinet.
Step 3: Attach the dishwasher to the cabinet
Attaching your dishwasher to the cabinet is another crucial step in securing it in place. This helps to prevent any movement or shifting during use. Here’s how you can proceed with this step:
- Locate the side brackets: Look for the side brackets on the dishwasher. These brackets are typically located on the sides near the top or towards the front.
- Position the brackets: Position the brackets against the sides of the cabinet where you plan to attach the dishwasher. Make sure they are aligned properly and symmetrically on both sides.
- Mark the screw holes: Use a pencil or marker to mark the screw holes of the brackets on the cabinet. Take your time to ensure accuracy.
- Pre-drill holes: Using a suitable drill bit, pre-drill holes on the marked spots to make it easier to insert the screws later.
- Attach the brackets: With the pre-drilled holes, attach the brackets to the cabinet using screws. Make sure they are securely fastened but avoid overtightening.
- Check the alignment: Once the brackets are attached, check the alignment of the dishwasher with the cabinet. Ensure that it is level and centered properly.
By following these steps, you can secure the dishwasher to the cabinet, providing additional stability and minimizing any movement or vibrations during its operation. The next step will guide you in connecting the dishwasher to the water supply.
Always use a dishwasher lock to prevent children from opening the dishwasher and accessing potentially harmful items inside.
Step 4: Connect the dishwasher to the water supply
Connecting your dishwasher to the water supply is an essential step to ensure its proper functioning. Here’s a step-by-step guide to help you with this process:
- Turn off the water supply: Before you begin, locate the shut-off valve for the water supply line to the dishwasher and turn it off. This will prevent any water flow during installation.
- Locate the supply line connection: Look for the supply line connection on the back of the dishwasher. It is usually located at the bottom of the appliance.
- Connect the water supply line: Attach one end of the water supply line to the connection on the dishwasher. Ensure that it is tightly secured to prevent any leaks.
- Connect the other end of the supply line: Attach the other end of the supply line to the water supply valve. Again, ensure that it is tightly secured.
- Tighten all connections: Double-check all the connections, including the one between the dishwasher and the supply line, as well as the supply line and the water supply valve. Make sure they are all properly tightened.
- Turn on the water supply: Once all the connections are secured, turn on the water supply by turning the shut-off valve back on.
- Check for leaks: After turning on the water supply, inspect all the connections for any possible leaks. If you notice any leaks, tighten the connections further or apply plumber’s tape to ensure a watertight seal.
By following these steps, you can successfully connect your dishwasher to the water supply, ensuring a steady flow of water for its operation. Now, let’s move on to connecting the dishwasher to the electrical supply.
Read more: How To Move A Dishwasher
Step 5: Connect the dishwasher to the electrical supply
Connecting your dishwasher to the electrical supply is an important step to ensure its safe and reliable operation. Here’s a guide to help you with this process:
- Turn off the power: Before you begin, make sure to turn off the power supply to the area where you will be working. This will prevent any electrical mishaps.
- Locate the electrical junction box: Look for the electrical junction box on the back of the dishwasher. It is usually located near the bottom.
- Prepare the electrical wiring: If the dishwasher requires hardwiring, you will need to prepare the electrical wiring. Strip the insulation from the wires and twist them together to match the corresponding colors (e.g., black to black, white to white, and green/copper to green/copper).
- Connect the wires: Connect the prepared wires to the corresponding wires in the junction box. Use wire nuts or electrical connectors to secure the connections.
- Tighten the electrical junction box: Make sure the electrical junction box is securely fastened to the dishwasher to prevent any loose connections.
- Turn on the power: Once all the electrical connections are secured, turn on the power supply to the area.
- Test the dishwasher: To ensure that the dishwasher is properly connected to the electrical supply, run a test cycle and check if it operates without any issues. If you encounter any problems or unusual behavior, double-check the electrical connections.
By following these steps, you can successfully connect your dishwasher to the electrical supply, ensuring its safe and reliable operation. Now, let’s move on to the final step: checking the dishwasher’s stability and security.
Step 6: Check the dishwasher’s stability and security
After completing the installation of your dishwasher, it is crucial to check its stability and security to ensure that it is properly installed. Follow these steps to perform a thorough check:
- Verify the levelness: Use a leveling tool to check if the dishwasher is level both from side to side and front to back. Adjust the leveling feet or add shims if necessary to achieve perfect balance.
- Ensure proper alignment: Make sure the dishwasher is aligned properly with the surrounding cabinets and countertops. Check for any gaps or misalignments and make adjustments as needed.
- Inspect the brackets: Examine the brackets that secure the dishwasher to the countertop and cabinet. Ensure that they are securely fastened and there is no movement or looseness.
- Verify the water connection: Check the water supply line connection to ensure that it is tightly secured and there are no leaks. Test the dishwasher by running a cycle to confirm proper water flow.
- Check the electrical connections: Inspect the electrical junction box and wires to confirm that they are securely connected without any exposed wires. Run a test cycle to verify the dishwasher’s electrical functionality.
- Test the door latch: Open and close the dishwasher door to ensure that the latch mechanism works smoothly and securely. Make sure it seals properly to prevent any leaks during operation.
- Inspect the drain hose: Check the drain hose to ensure that it is properly connected and not kinked or blocked. Test the dishwasher by running a drain cycle to confirm that water is effectively draining.
- Run a test cycle: Finally, run a full test cycle of the dishwasher to check for any abnormal noises, leaks, or malfunctions. Pay attention to the overall performance and functionality of the appliance.
By following these steps, you can thoroughly check and ensure the stability and security of your dishwasher installation. Once you are satisfied with the results, you can confidently start using your dishwasher with peace of mind.
Concluding our guide, we have covered the necessary steps to securely install your dishwasher. From choosing the right location to connecting it to the water and electrical supplies, each step is important for a successful installation. By following these guidelines, you can enjoy the convenience and efficiency of a properly secured dishwasher in your kitchen.
Conclusion
Securing your dishwasher is a crucial step to ensure its stability, longevity, and efficient performance. By following the steps outlined in this guide, you can securely install your dishwasher and minimize the risk of accidents or damage.
In this article, we covered the following steps:
- Choosing a location for your dishwasher.
- Securing the dishwasher to the countertop.
- Attaching the dishwasher to the cabinet.
- Connecting the dishwasher to the water supply.
- Connecting the dishwasher to the electrical supply.
- Checking the dishwasher’s stability and security.
By carefully following these steps, you can ensure a secure installation and enjoy the convenience that a dishwasher brings to your kitchen. Remember to take your time during the installation process and double-check all connections to prevent any issues in the future.
In addition, it’s important to regularly inspect your dishwasher for any signs of wear or damage. This includes checking for leaks, ensuring proper alignment, and cleaning the appliance as recommended by the manufacturer. By maintaining your dishwasher properly, you can extend its lifespan and maximize its performance.
Now that you have the knowledge to securely install your dishwasher, you can confidently proceed with the installation process. Enjoy the convenience and time-saving benefits that a well-installed and properly secured dishwasher brings to your daily kitchen routine!
Frequently Asked Questions about How To Secure Dishwasher
Was this page helpful?
At Storables.com, we guarantee accurate and reliable information. Our content, validated by Expert Board Contributors, is crafted following stringent Editorial Policies. We're committed to providing you with well-researched, expert-backed insights for all your informational needs.
0 thoughts on “How To Secure Dishwasher”