Articles
How To Drain My Dishwasher
Modified: March 23, 2024
Learn how to drain your dishwasher with these helpful articles. Find step-by-step guides and expert tips to make the process quick and easy.
(Many of the links in this article redirect to a specific reviewed product. Your purchase of these products through affiliate links helps to generate commission for Storables.com, at no extra cost. Learn more)
Introduction
Having a dishwasher in your kitchen can be a convenient and time-saving appliance. It effortlessly cleans and sanitizes your dishes, making post-meal cleanup a breeze. However, there may come a time when you need to drain your dishwasher, whether it is due to maintenance or a malfunction. In this article, we will guide you through the step-by-step process of properly draining your dishwasher.
Before we begin, it’s important to note that draining a dishwasher requires caution and attention to detail. If you’re unsure about any of the steps or encounter any difficulties, it’s always best to consult a professional or the manufacturer’s instructions for guidance.
Now, let’s dive into the necessary materials and the steps you need to follow to successfully drain your dishwasher.
Key Takeaways:
- Properly draining your dishwasher involves gathering materials, disconnecting the drain hose, and testing the appliance. Following these steps ensures safety and maintains the dishwasher’s efficiency.
- After draining and reconnecting the dishwasher, testing its functionality is crucial. This ensures that the appliance is ready for use and helps identify any potential issues that may require professional attention.
Read more: Why Is My Whirlpool Dishwasher Not Draining
Step 1: Gather necessary materials
Before you start draining your dishwasher, it’s important to gather all the necessary materials. Here’s a list of items you will need:
- A pair of gloves: Wearing gloves will protect your hands from any potential mess or chemicals.
- A bucket or container: This will be used to collect the water that will be drained from the dishwasher.
- Pliers or adjustable wrench: You may need these tools to disconnect the drain hose from the dishwasher.
- A towel or absorbent cloth: This will be handy to clean up any spills or drips during the draining process.
Once you have gathered all the necessary materials, you’re ready to move on to the next step.
Step 2: Turn off the power
Before you begin draining your dishwasher, it’s crucial to turn off the power to ensure your safety. Here’s how:
- Locate the power source of your dishwasher. Typically, the power cord is connected to an outlet near the kitchen sink, or it might be hardwired into the electrical system.
- If your dishwasher is plugged into an outlet, simply unplug it. If it is hardwired, you will need to turn off the circuit breaker that supplies power to the dishwasher. Locate the appropriate breaker in your electrical panel and switch it off.
- Use a voltage tester to double-check that there is no power flowing to the dishwasher. This will ensure your safety while working on the appliance.
Turning off the power is an essential step to prevent any accidental electrocution or damage to the dishwasher components. Once you have confirmed that there is no power, you can proceed to the next step.
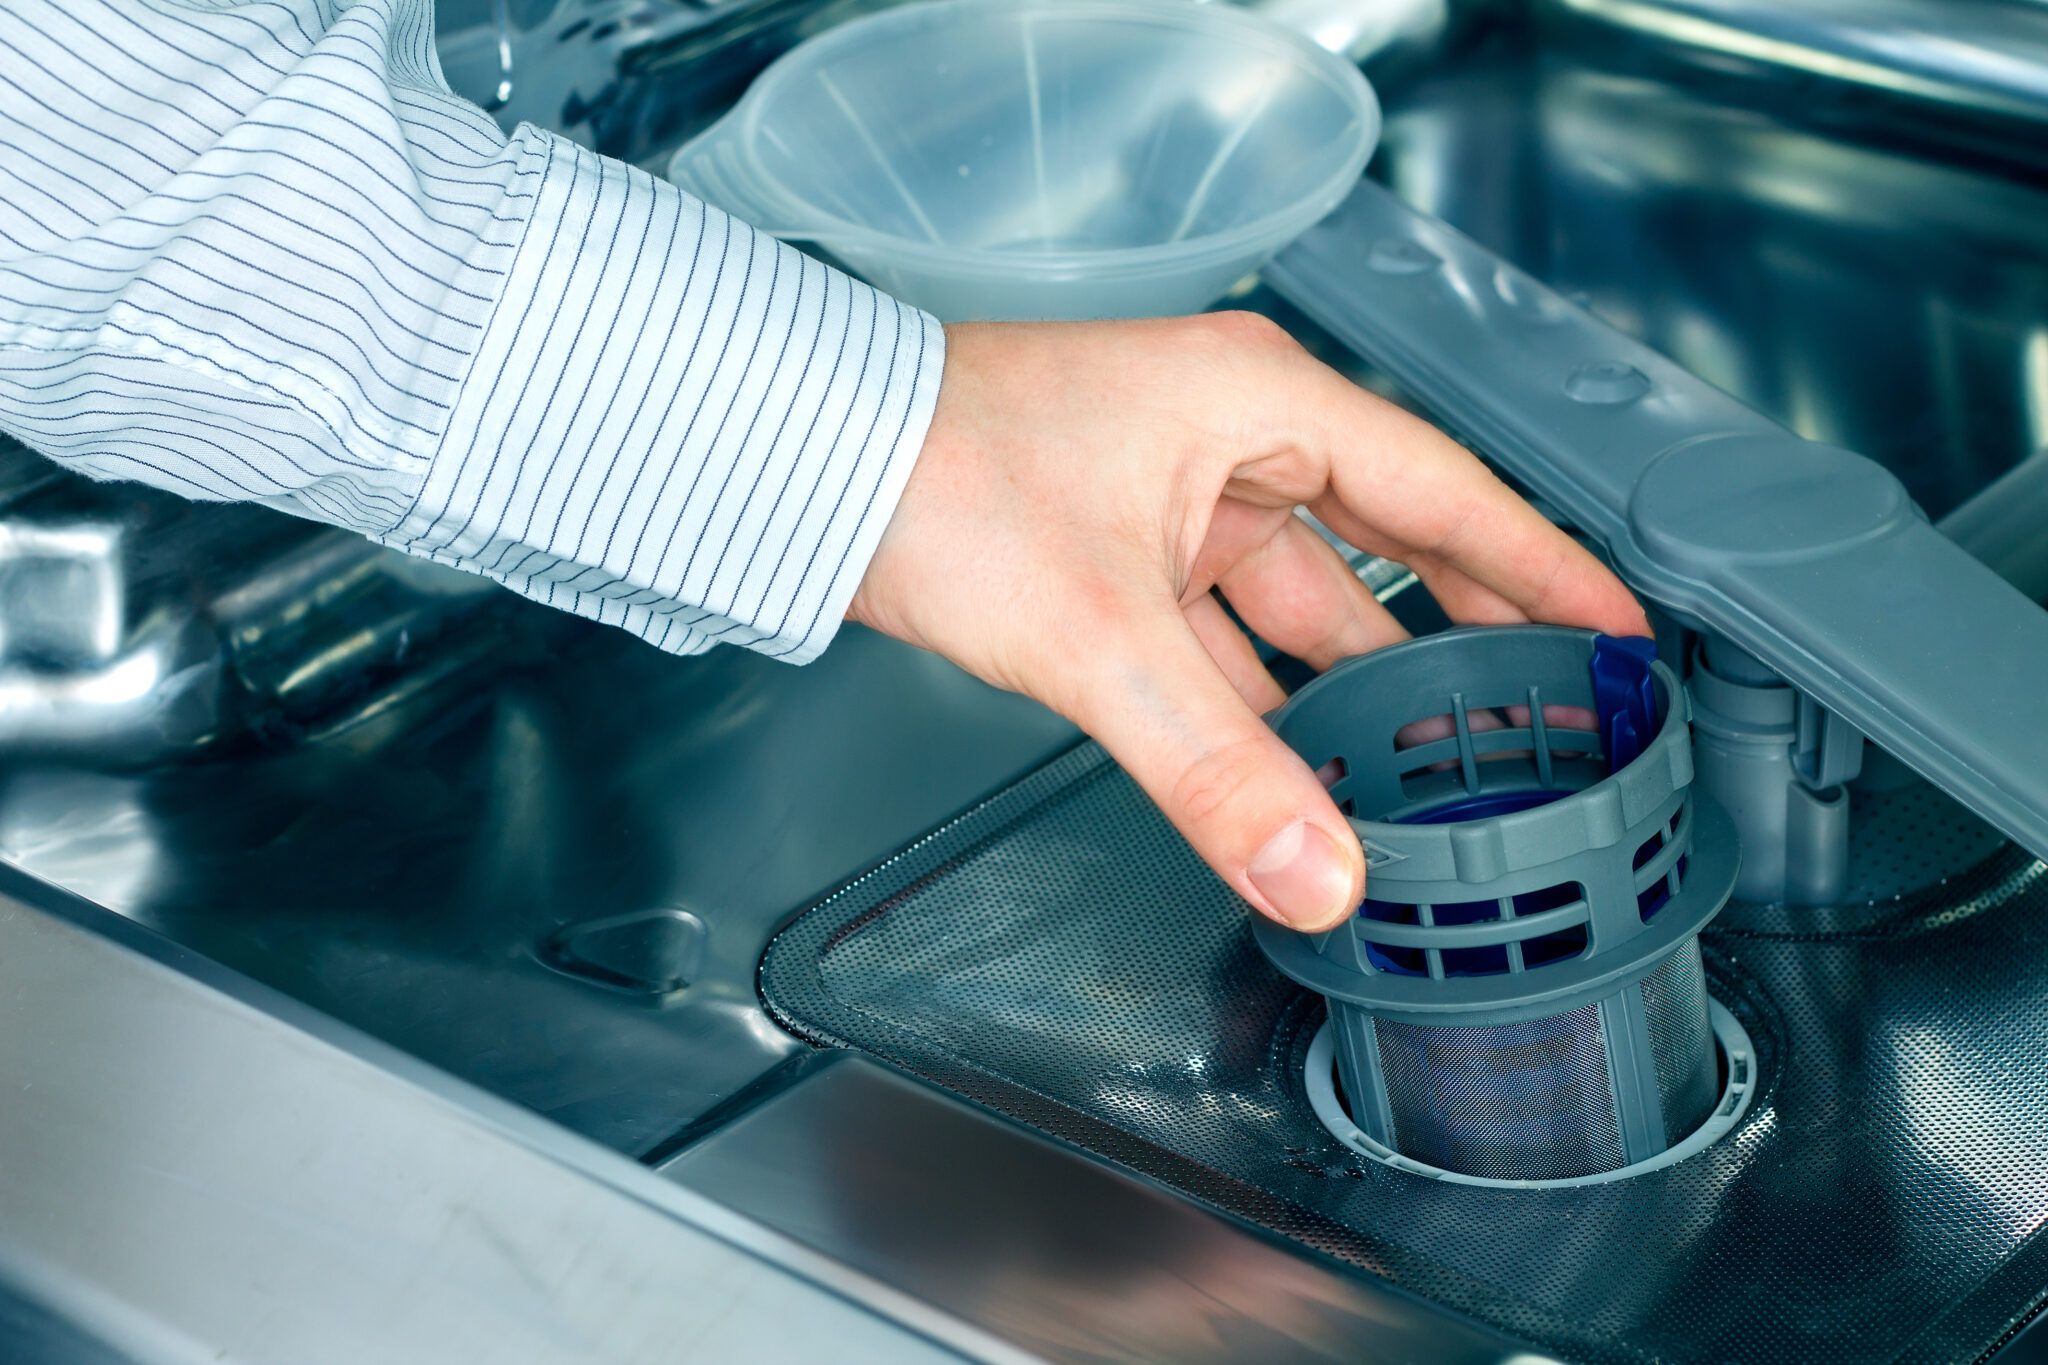
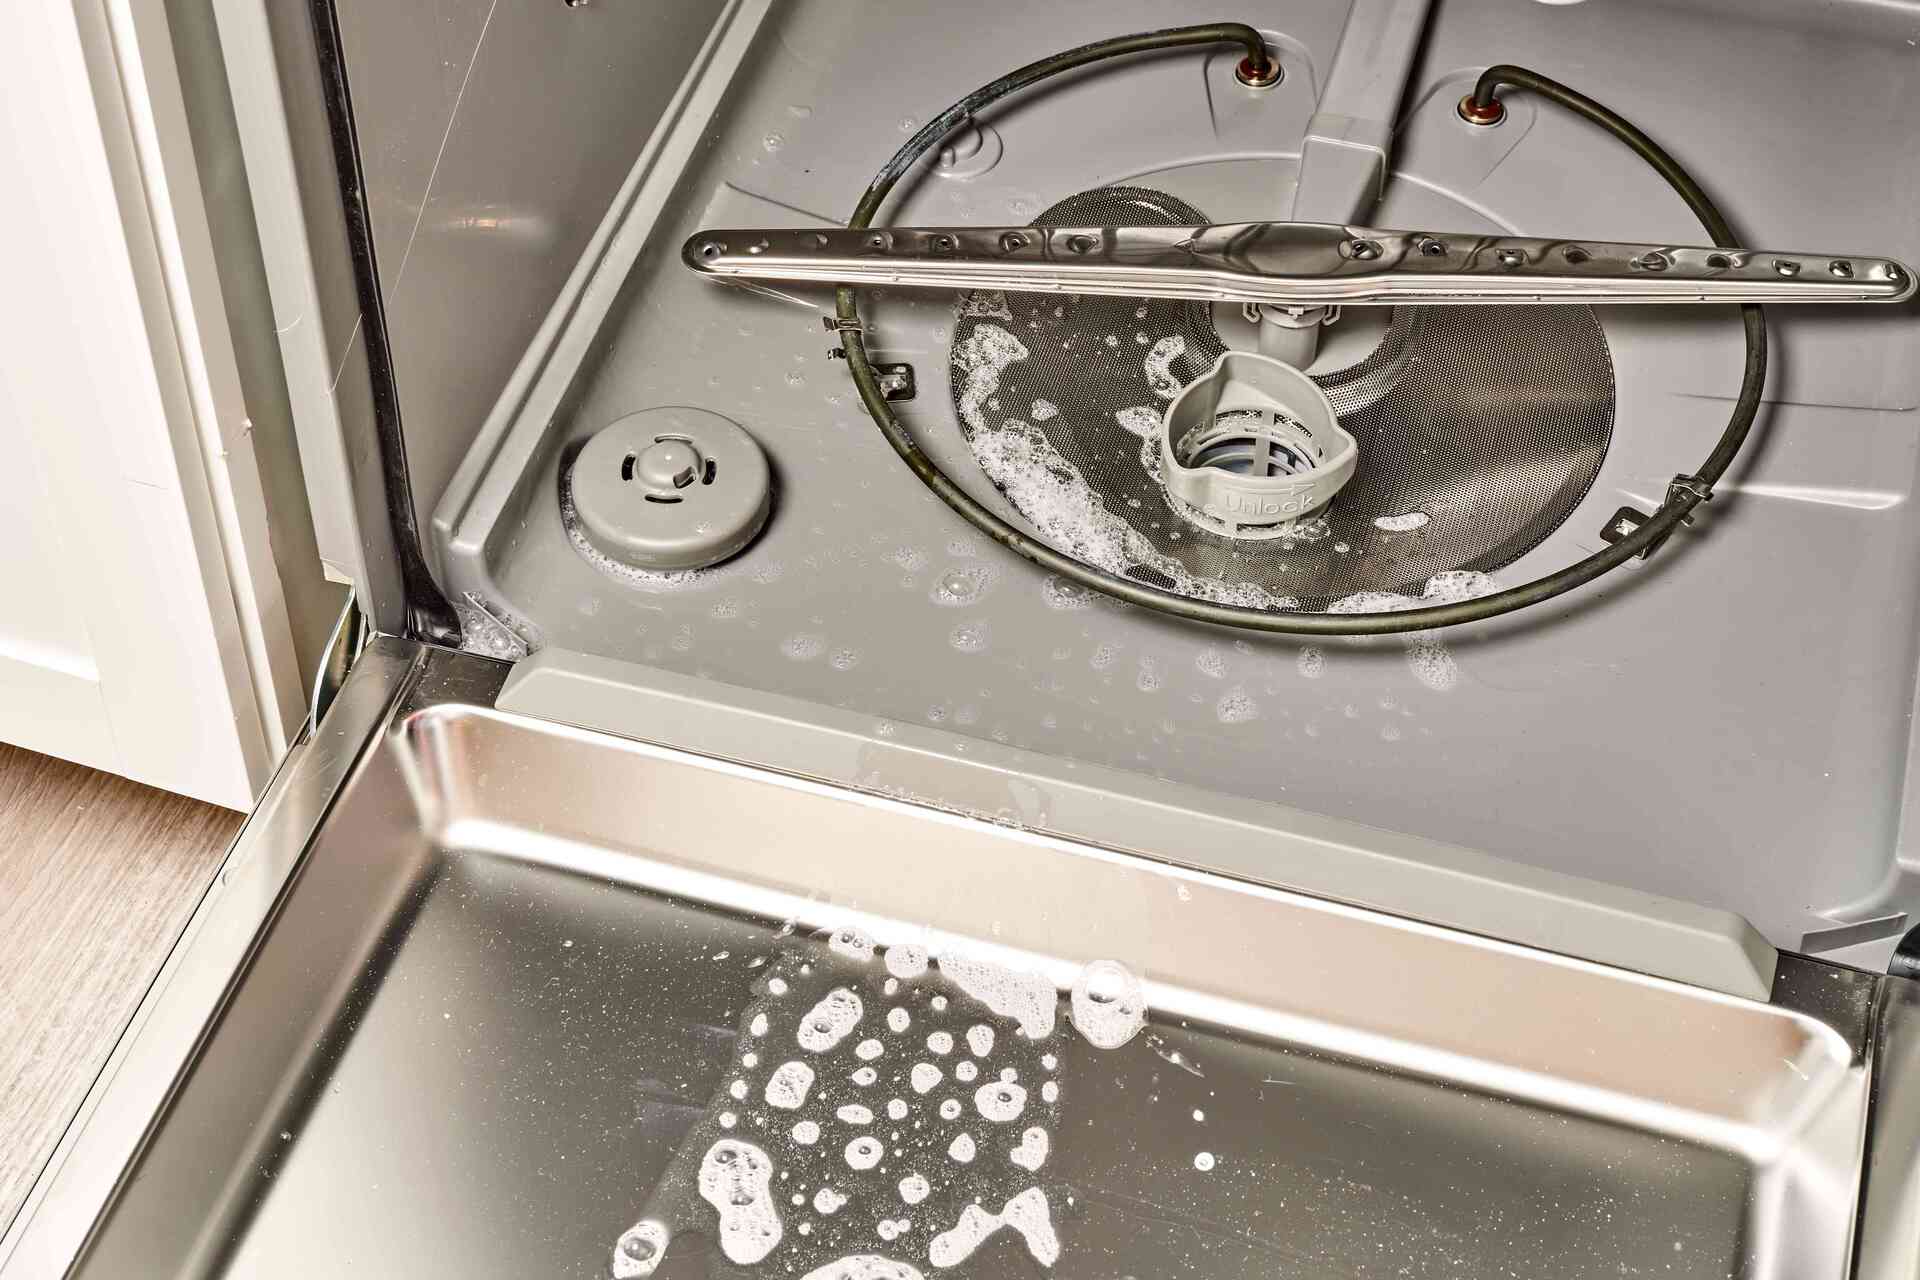
Step 3: Locate the drain hose
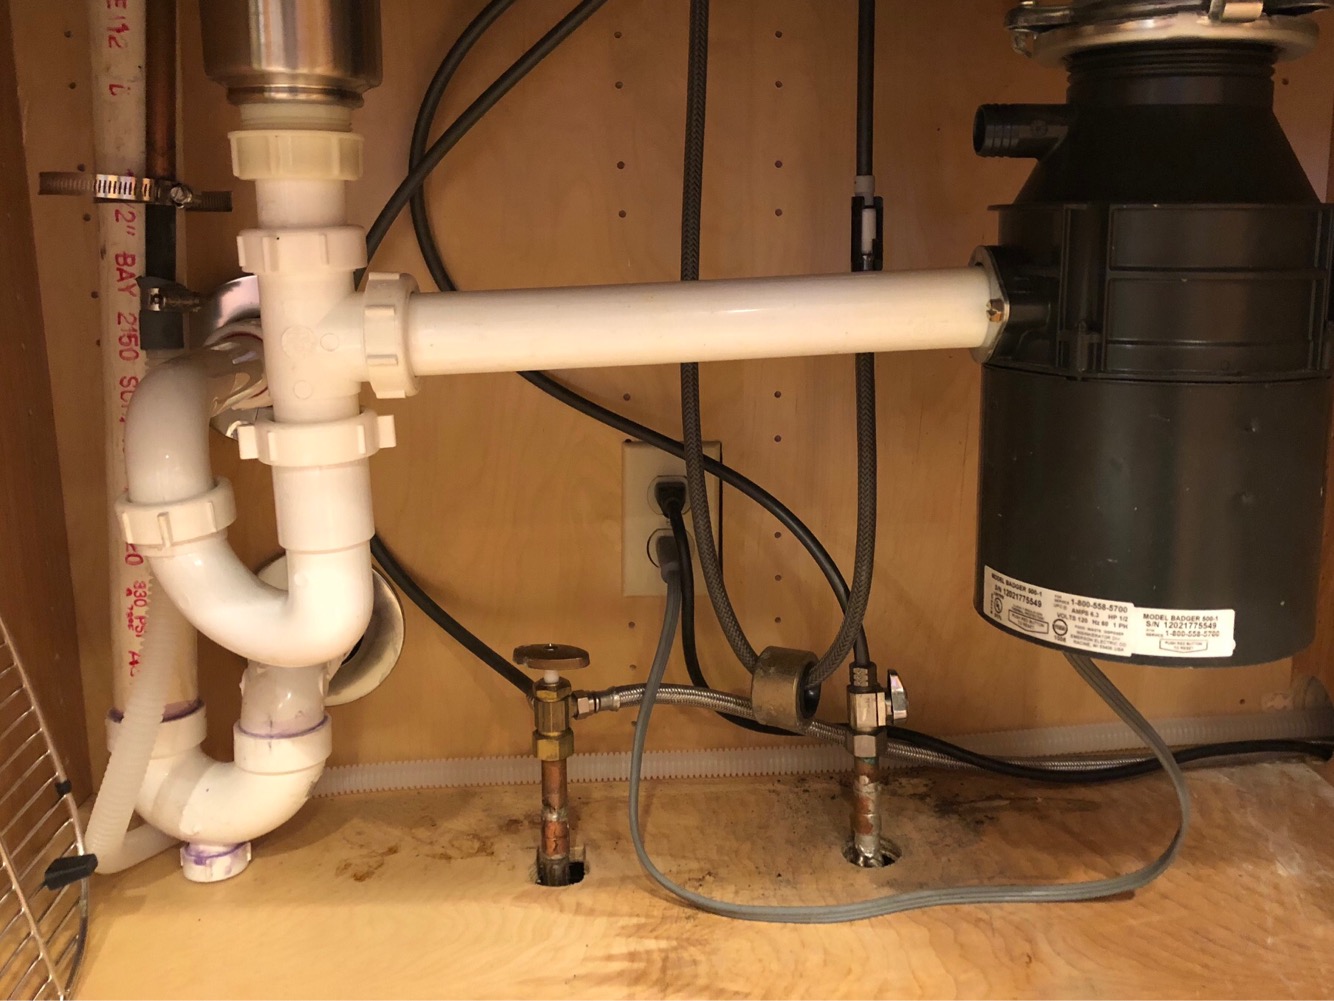
The next step in draining your dishwasher is to locate the drain hose. The drain hose is responsible for carrying the wastewater out of the dishwasher and into your home’s plumbing system. Here’s how to find it:
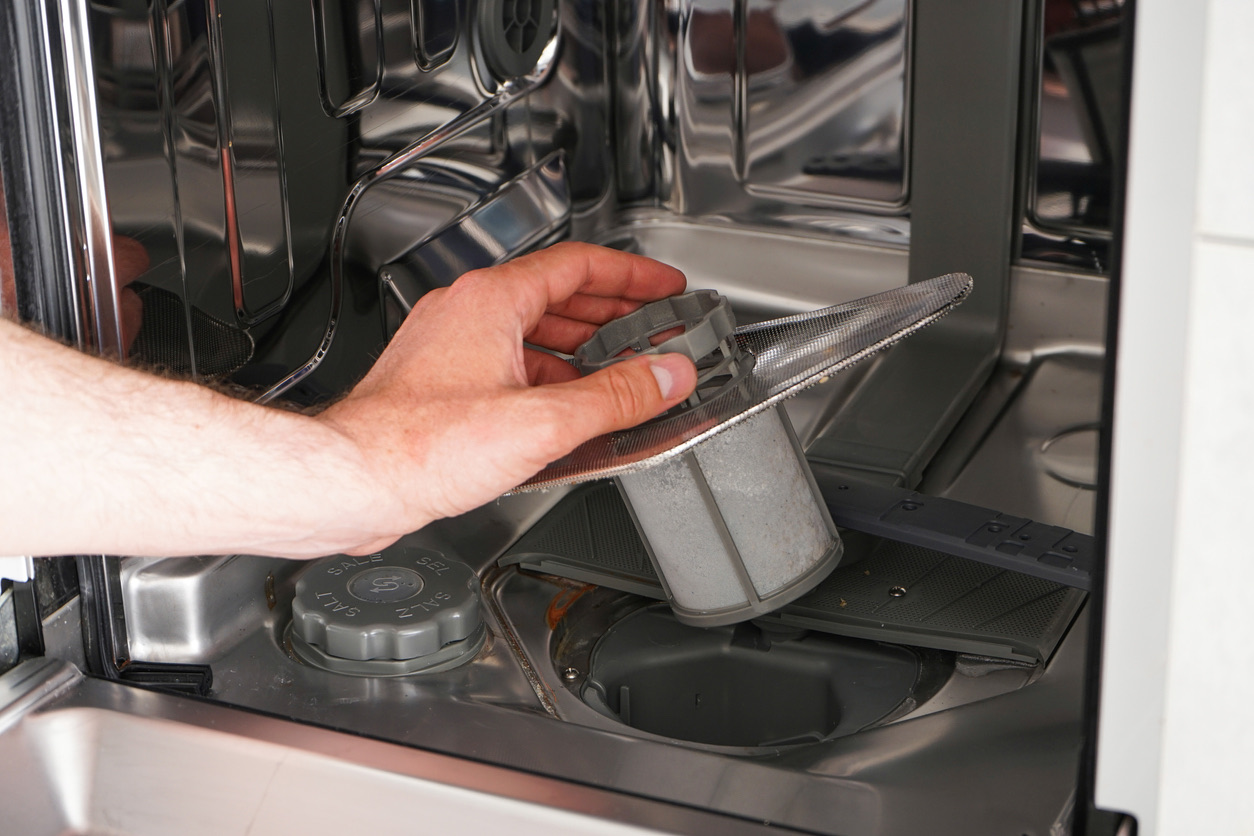
- Start by opening the dishwasher door and removing any dishes or racks that may be obstructing your view.
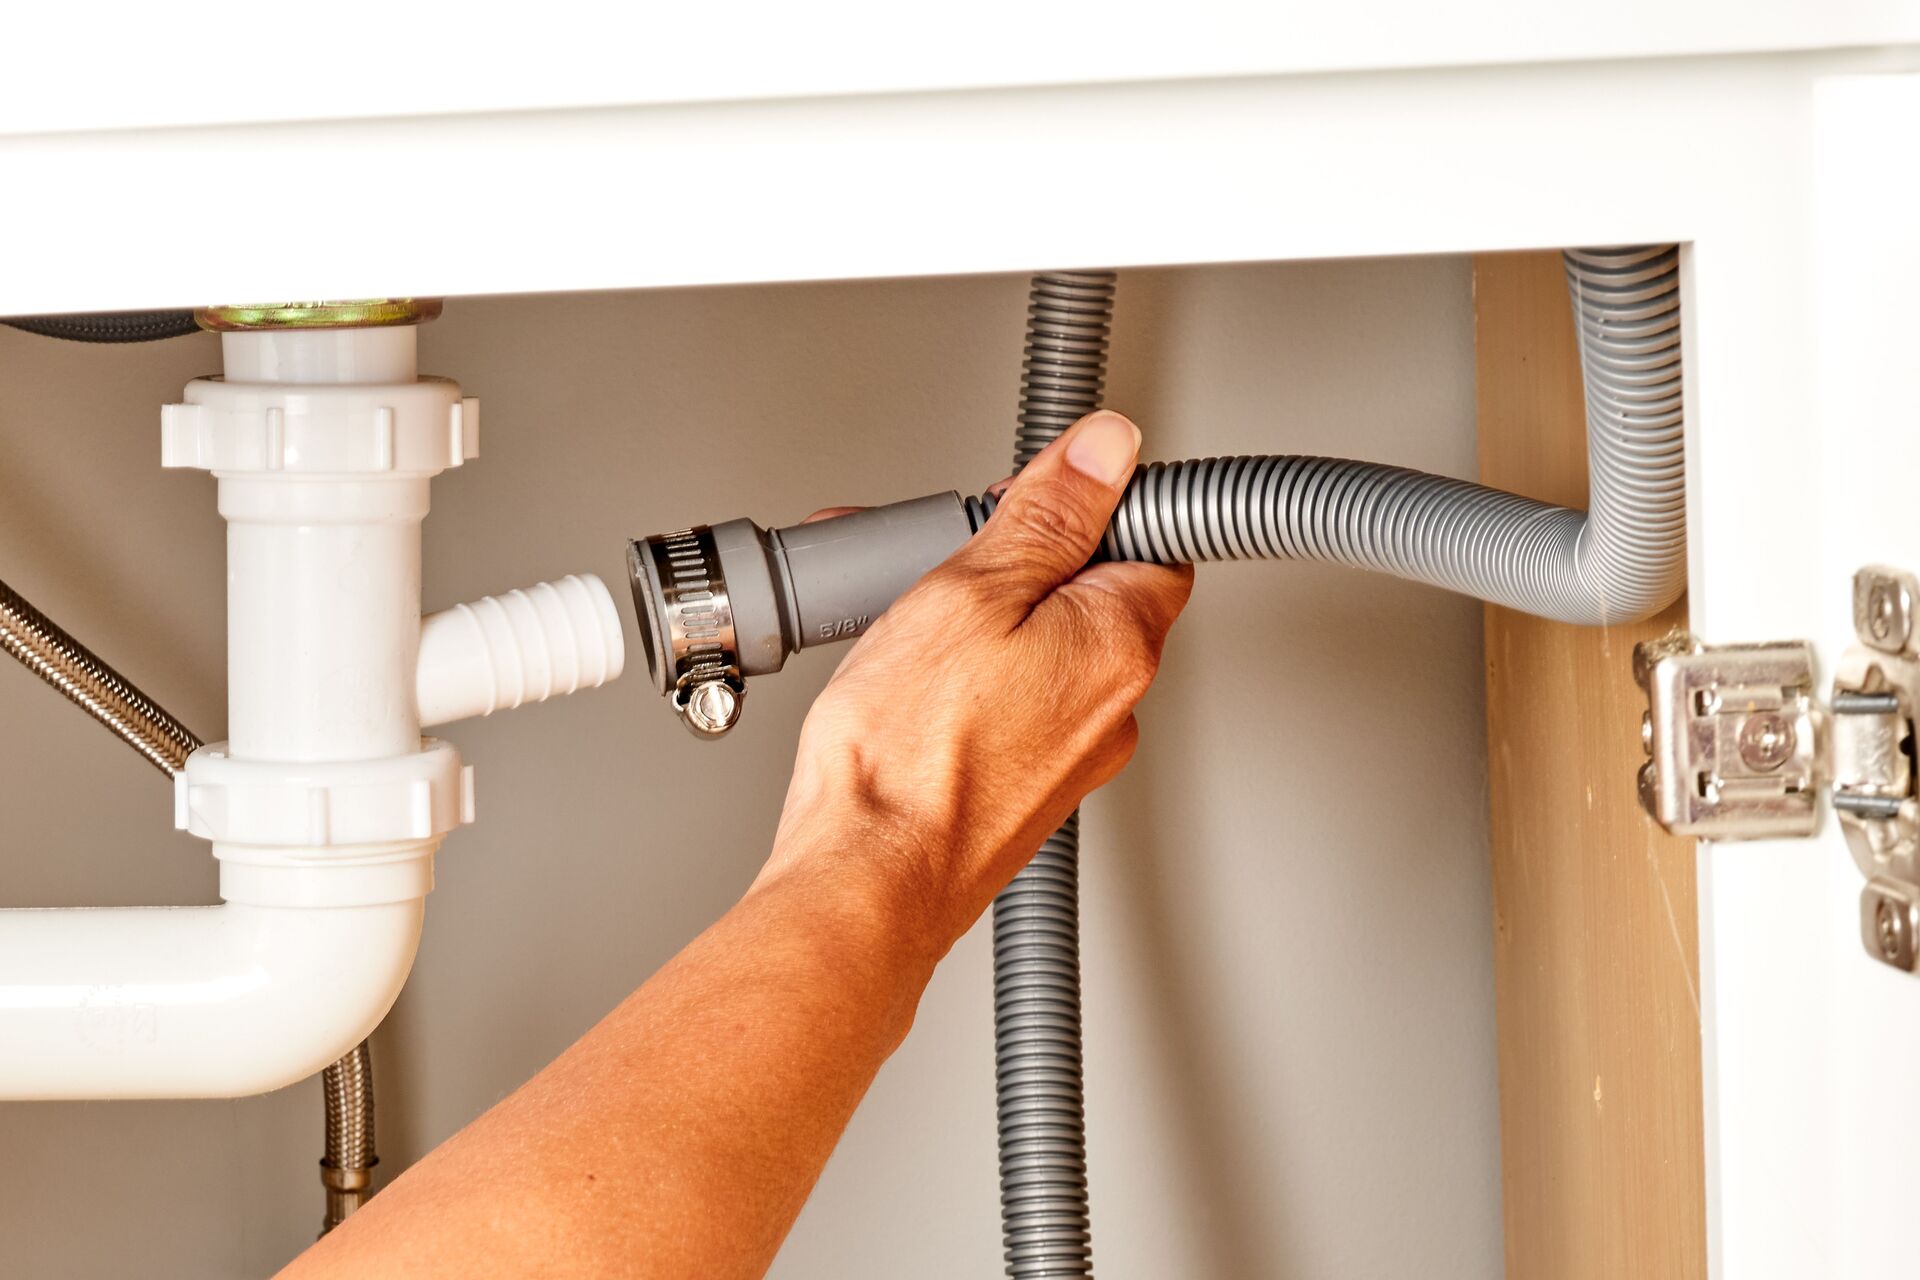
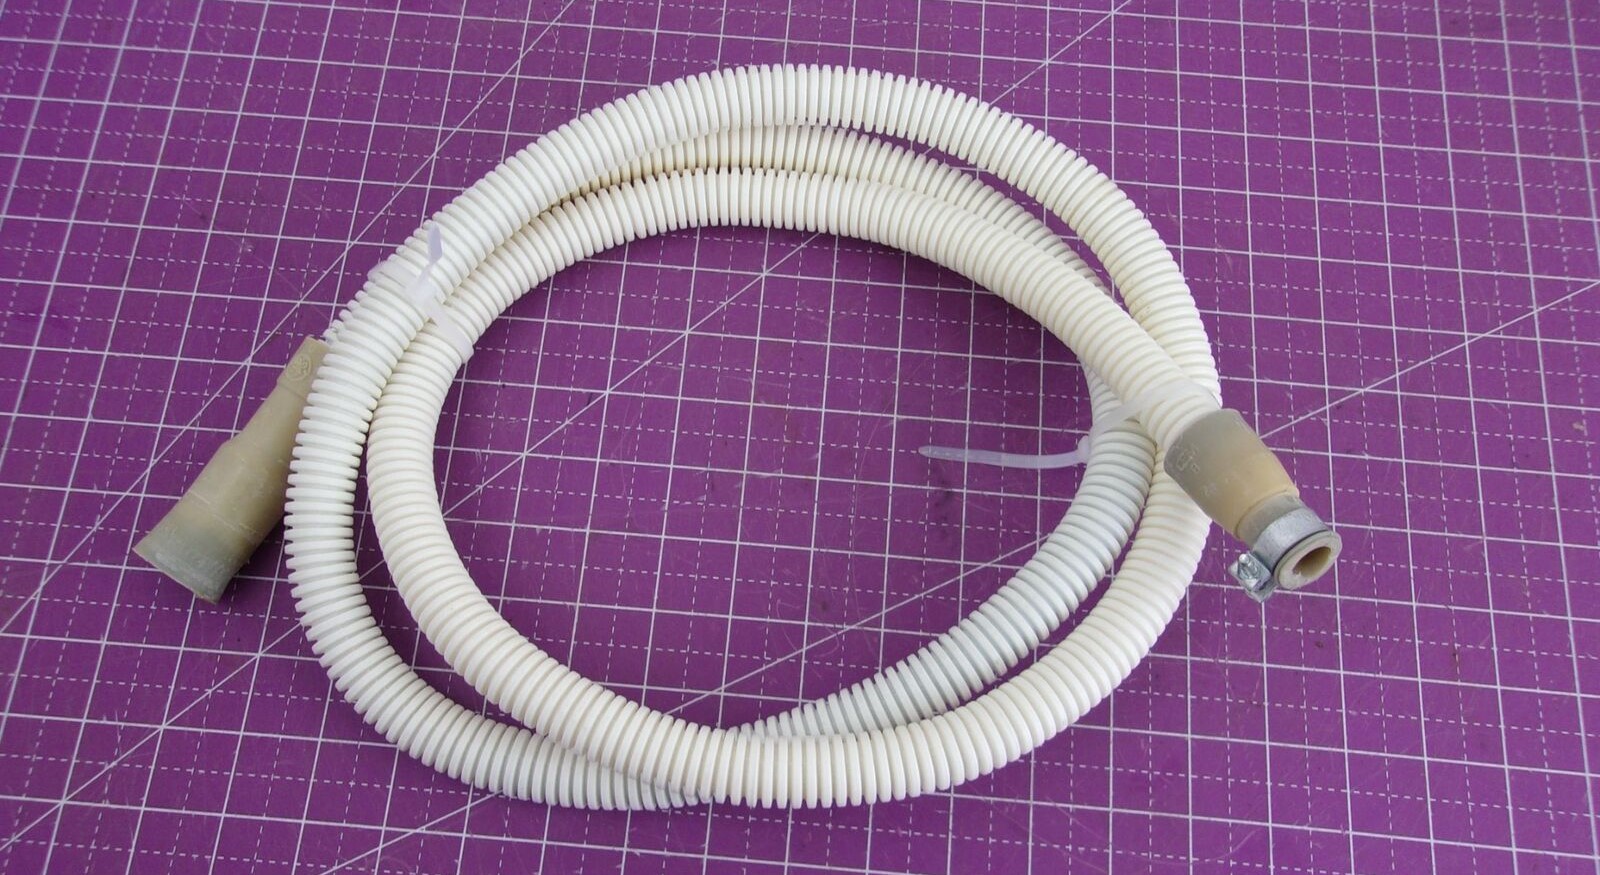
- Look for a flexible, plastic or rubber tube connected to the bottom of the dishwasher. This tube is the drain hose.
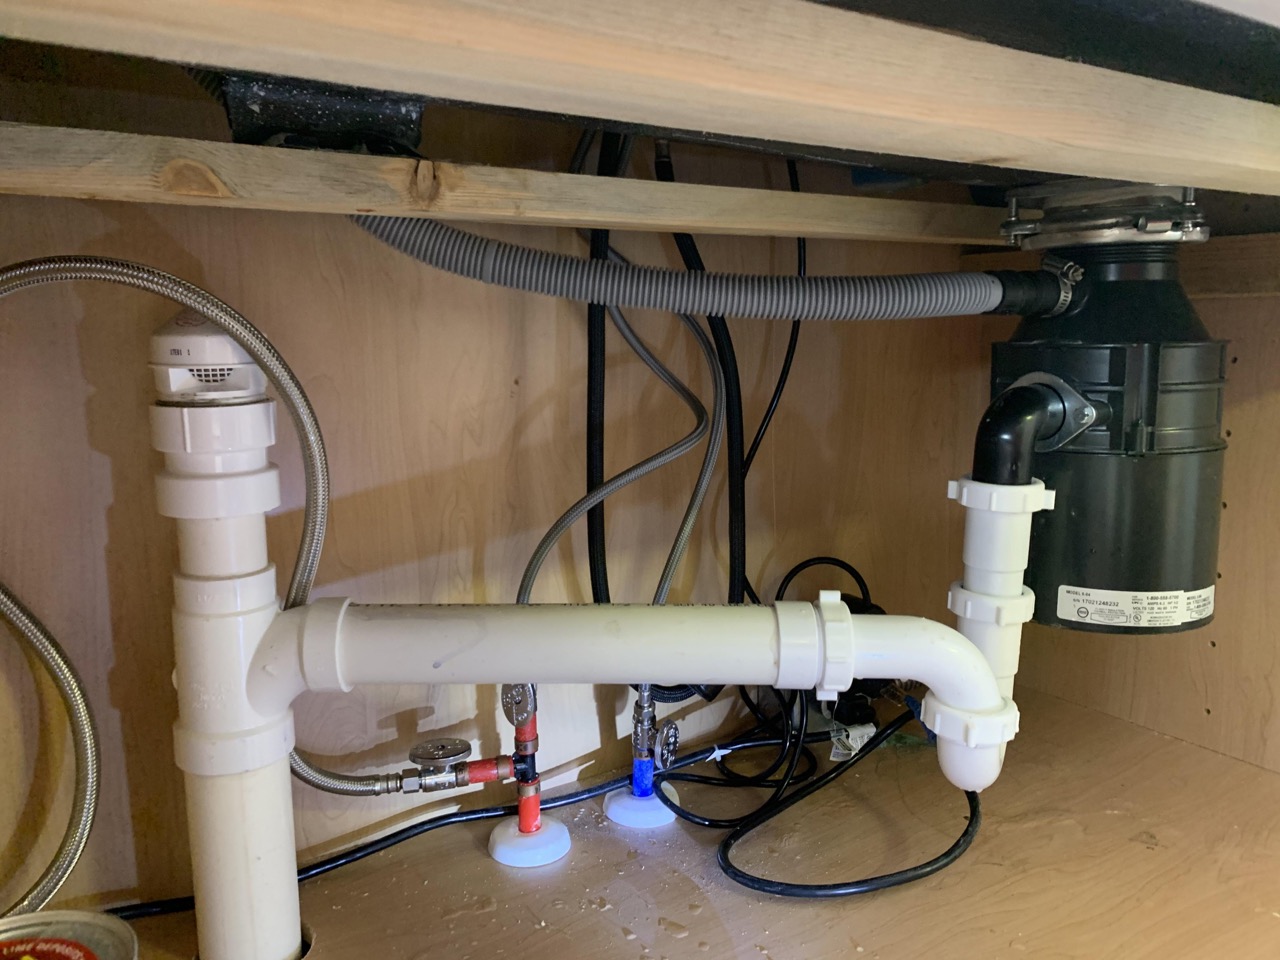
- Trace the drain hose from the dishwasher to where it connects to your plumbing system. In most cases, it will be connected to the sink’s drainpipe or the garbage disposal unit.
It’s important to familiarize yourself with the path of the drain hose as it will help you disconnect and reconnect it later in the process. Take note of any clamps or connections along the hose that may need to be loosened or detached.
Once you have located the drain hose, you can proceed to the next step of disconnecting it from the plumbing system.
Step 4: Disconnect the drain hose
Before you can drain your dishwasher, you’ll need to disconnect the drain hose from the plumbing system. Here are the steps to follow:
- Put on a pair of gloves to protect your hands from any water or debris.
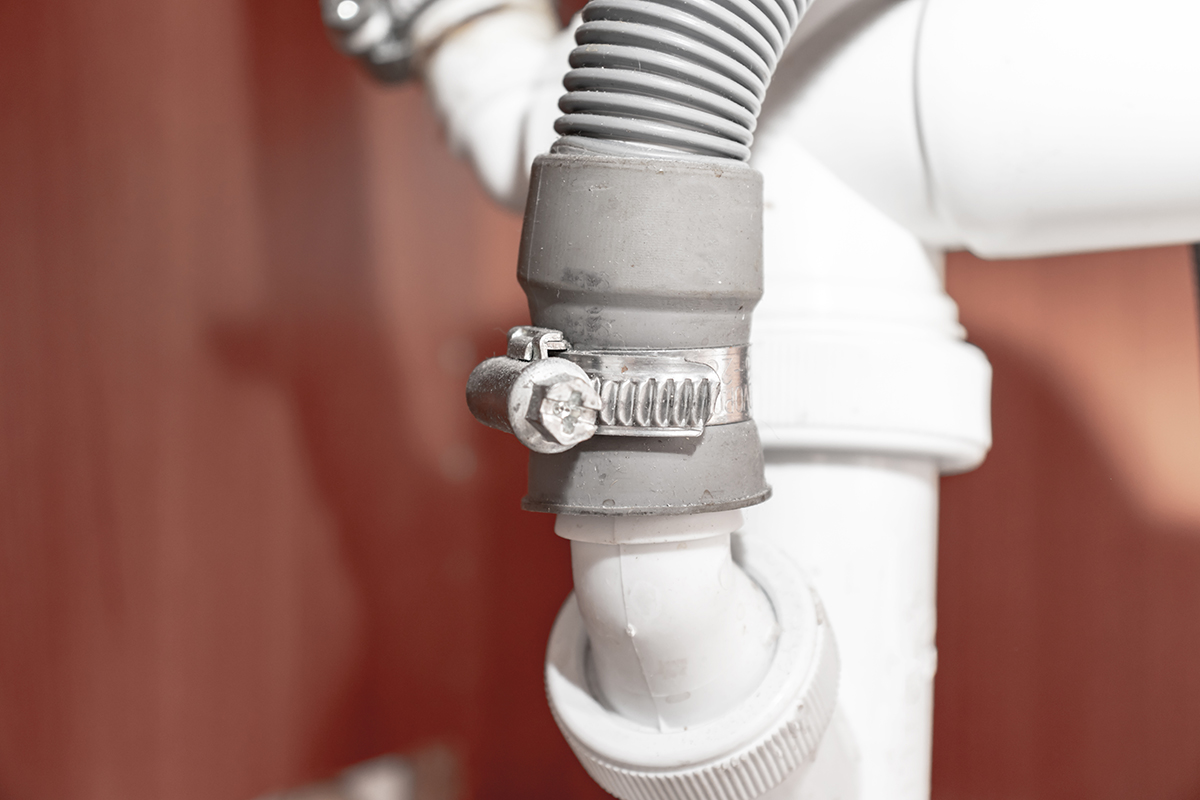
- Using pliers or an adjustable wrench, loosen the clamps that secure the drain hose to the sink’s drainpipe or the garbage disposal unit. Depending on the model of your dishwasher, you may find hose clamps or other types of connectors.
- Once the clamps are loose, gently pull the drain hose away from the connection point. Be careful not to damage the hose or any surrounding pipes.
- If you encounter resistance while trying to detach the hose, use a twisting motion combined with gentle pulling to loosen it. Avoid using excessive force, as this could cause damage to the hose or the plumbing system.
- Once the drain hose is disconnected, have a towel or absorbent cloth nearby to catch any water that may spill out during the draining process.
By following these steps, you should be able to successfully disconnect the drain hose from the plumbing system. This will allow you to proceed with draining the dishwasher in the next steps.
Read more: How To Unclog Dishwasher Drain
Step 5: Prepare a bucket or container
Now that you’ve disconnected the drain hose from the plumbing system, it’s time to prepare a bucket or container to collect the water that will be drained from the dishwasher. Here’s how to do it:
- Find a sturdy bucket or container that is large enough to hold the water from the dishwasher. Make sure it is clean and free from any debris or contaminants.
- Place the bucket or container near the dishwasher, ensuring that it is positioned securely and will not tip over during the draining process.
- Consider placing a towel or absorbent cloth beneath the bucket to catch any potential spills or drips.
- If you prefer, you can also connect a longer extension hose to the drain hose of your dishwasher, directing the water to a convenient drain or outdoor area. This can be useful if you have a large amount of water to drain or if you want to avoid any potential mess inside your kitchen.
Preparing a bucket or container will ensure that you have a proper receptacle to collect the water from your dishwasher as you proceed with the draining process. Now that you’re ready, let’s move on to the next step of actually draining the dishwasher.
Run the garbage disposal before starting the dishwasher to ensure that any food particles are cleared from the drain. This will help prevent clogs and ensure proper drainage.
Step 6: Drain the dishwasher
With all the preparations in place, it’s time to start draining the dishwasher. Follow these steps:
- Ensure that the dishwasher door is closed securely to prevent any water from leaking out.
- If your dishwasher has a cancel or drain feature, look for the corresponding button or setting on the control panel. Press or select it to initiate the draining process.
- If your dishwasher doesn’t have a dedicated drain function, you can alternatively run a short wash cycle without adding any detergent or dishes. This will activate the draining process.
- As the water starts to drain, you will see it flowing out of the disconnected drain hose and into the bucket or container you prepared earlier. Be prepared for any splashing or gushing water, and make sure to keep the bucket in place to collect all the water.
- Allow the dishwasher to continue draining until you no longer see any water flowing into the bucket. This may take several minutes, depending on the amount of water in the dishwasher.
- Once the dishwasher has finished draining, close the dishwasher door and proceed to the next step of reconnecting the drain hose.
By following these steps, you will successfully drain the dishwasher and collect the water in the bucket or container. Take your time during this process and ensure you’re monitoring the flow of water to prevent any spills or messes. With the dishwasher drained, it’s time to move on to the next step of reconnecting the drain hose.
Step 7: Reconnect the drain hose
Now that the dishwasher is drained, it’s time to reconnect the drain hose to the plumbing system. Follow these steps:
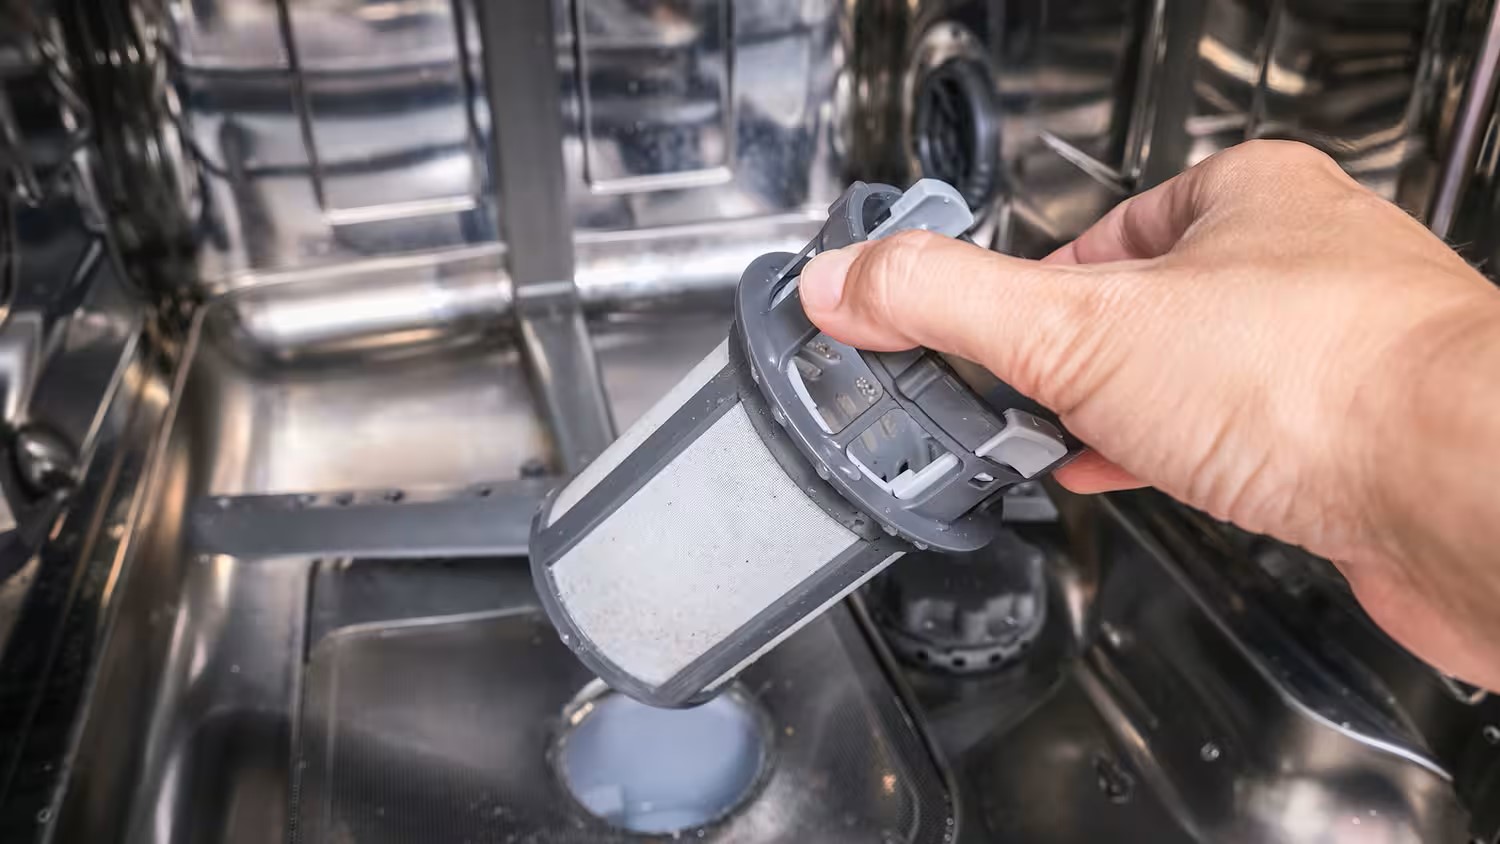
- Ensure that the drain hose and the connection points on the sink’s drainpipe or garbage disposal are clean and free from any debris.
- Align the end of the drain hose with the connection point and carefully insert it until it is securely in place.
- Use pliers or an adjustable wrench to tighten the clamps or connectors at the connection points. Make sure they are snug but not overly tight to avoid damaging the hose or the plumbing system.
- Give the drain hose a gentle tug to ensure it is properly secured and won’t come loose during future dishwasher use.
It’s important to take your time with this step and ensure that the drain hose is properly connected. Double-check for any potential leaks or loose connections before moving on to the next step.
With the drain hose reconnected, you’re almost done! Just a few more steps to go before you can use your dishwasher again.
Step 8: Turn on the power
Now that you have completed the necessary steps to drain your dishwasher and reconnect the drain hose, it’s time to turn the power back on. Follow these steps:
- If you had turned off the circuit breaker to disconnect the power, locate the breaker switch in your electrical panel.
- Switch the breaker back on by flipping it to the “on” position. This will restore power to the dishwasher.
- If your dishwasher is plugged into an outlet, simply plug it back in.
As you turn on the power, listen for any sounds that indicate the dishwasher is receiving power and starting up. This may include a hum or the sound of water flowing into the dishwasher.
It’s important to note that if you had disconnected the power to address a malfunction or issue with your dishwasher, turning the power back on does not guarantee that the issue has been resolved. If you continue to experience problems, it may be necessary to consult a professional or contact the manufacturer for assistance.
With the power restored, it’s time to move on to the final step of testing your dishwasher.
Read more: How To Connect A Dishwasher Drain
Step 9: Test the dishwasher
After draining and reconnecting your dishwasher, it’s important to test it to ensure that everything is functioning properly. Follow these steps:
- Check that the dishwasher door is securely closed.
- Select a short wash cycle or any other appropriate cycle on the dishwasher’s control panel.
- Add a small amount of detergent to the designated dispenser and close it.
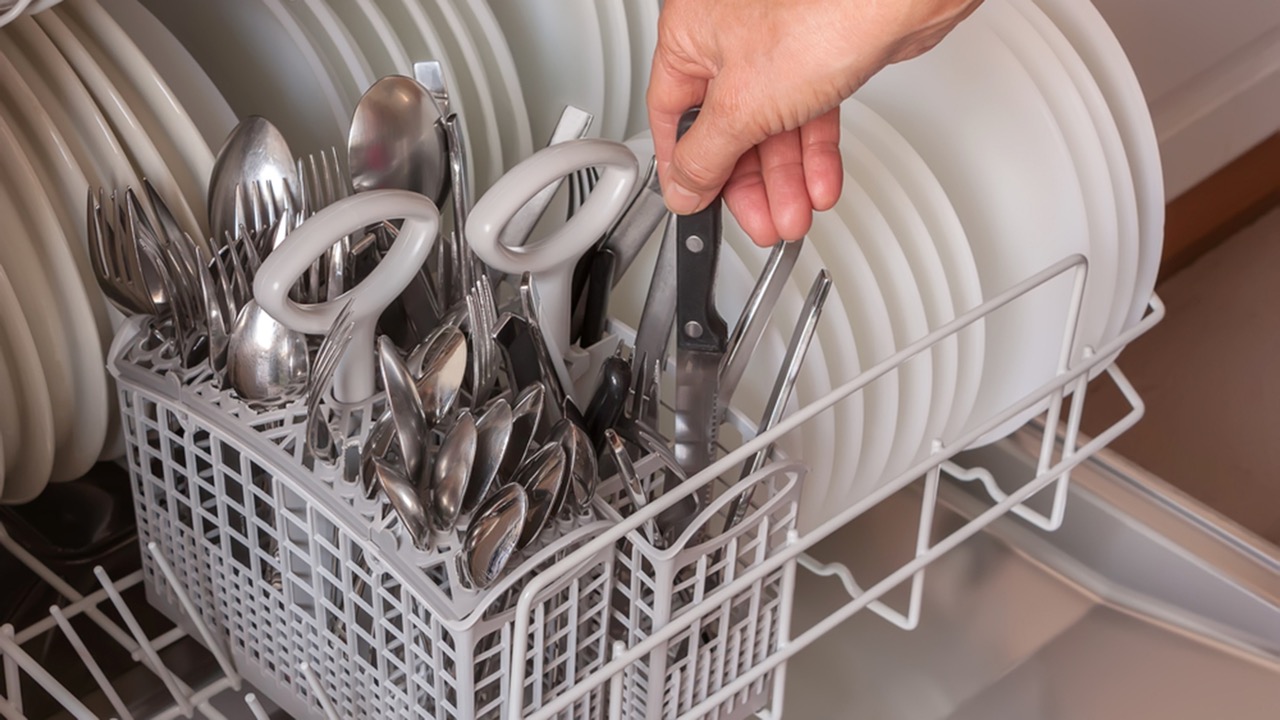
- If needed, load a few dishes into the dishwasher, making sure not to overcrowd them.
- Start the dishwasher and listen for any unusual noises or vibrations.
- Monitor the dishwasher throughout the cycle to ensure that the water is filling, draining, and spraying effectively.
- Once the cycle is complete, open the dishwasher and inspect the dishes to see if they are clean and properly sanitized.
If the dishwasher completes the cycle without any issues and the dishes come out clean, it indicates that your dishwasher is functioning properly after the draining process. However, if you notice any problems, such as leaks, strange noises, or ineffective cleaning, it may be necessary to seek professional assistance or refer to the manufacturer’s instructions for troubleshooting.
By testing your dishwasher, you can have confidence that it is ready to be used again for your everyday cleaning needs.
Conclusion
Draining your dishwasher can be a necessary task for maintenance or troubleshooting purposes. By following the step-by-step guide outlined in this article, you can confidently and safely drain your dishwasher without any complications.
Remember to gather all the necessary materials before starting, turn off the power to ensure your safety, locate and disconnect the drain hose, and prepare a bucket or container to collect the water. Then, proceed to drain the dishwasher, reconnect the drain hose, and turn the power back on. Finally, test the dishwasher to ensure it is functioning properly.
It’s important to note that if you encounter any difficulties or are unsure about any step, it’s always best to consult a professional or refer to the manufacturer’s instructions for guidance.
By properly draining your dishwasher, you can maintain its efficiency and prolong its lifespan. Regular maintenance and troubleshooting can help prevent any potential issues and ensure that your dishwasher continues to operate smoothly.
With the information provided in this article, you now have the knowledge to confidently drain your dishwasher and keep it in optimal working condition. So go ahead and tackle this task with ease, knowing you have followed the proper steps to drain your dishwasher successfully.
Frequently Asked Questions about How To Drain My Dishwasher
Was this page helpful?
At Storables.com, we guarantee accurate and reliable information. Our content, validated by Expert Board Contributors, is crafted following stringent Editorial Policies. We're committed to providing you with well-researched, expert-backed insights for all your informational needs.
0 thoughts on “How To Drain My Dishwasher”