Articles
How To Shred Cheese With Ninja Food Processor
Modified: August 17, 2024
Learn how to easily shred cheese using your Ninja Food Processor with the help of these informative articles.
(Many of the links in this article redirect to a specific reviewed product. Your purchase of these products through affiliate links helps to generate commission for Storables.com, at no extra cost. Learn more)
Introduction
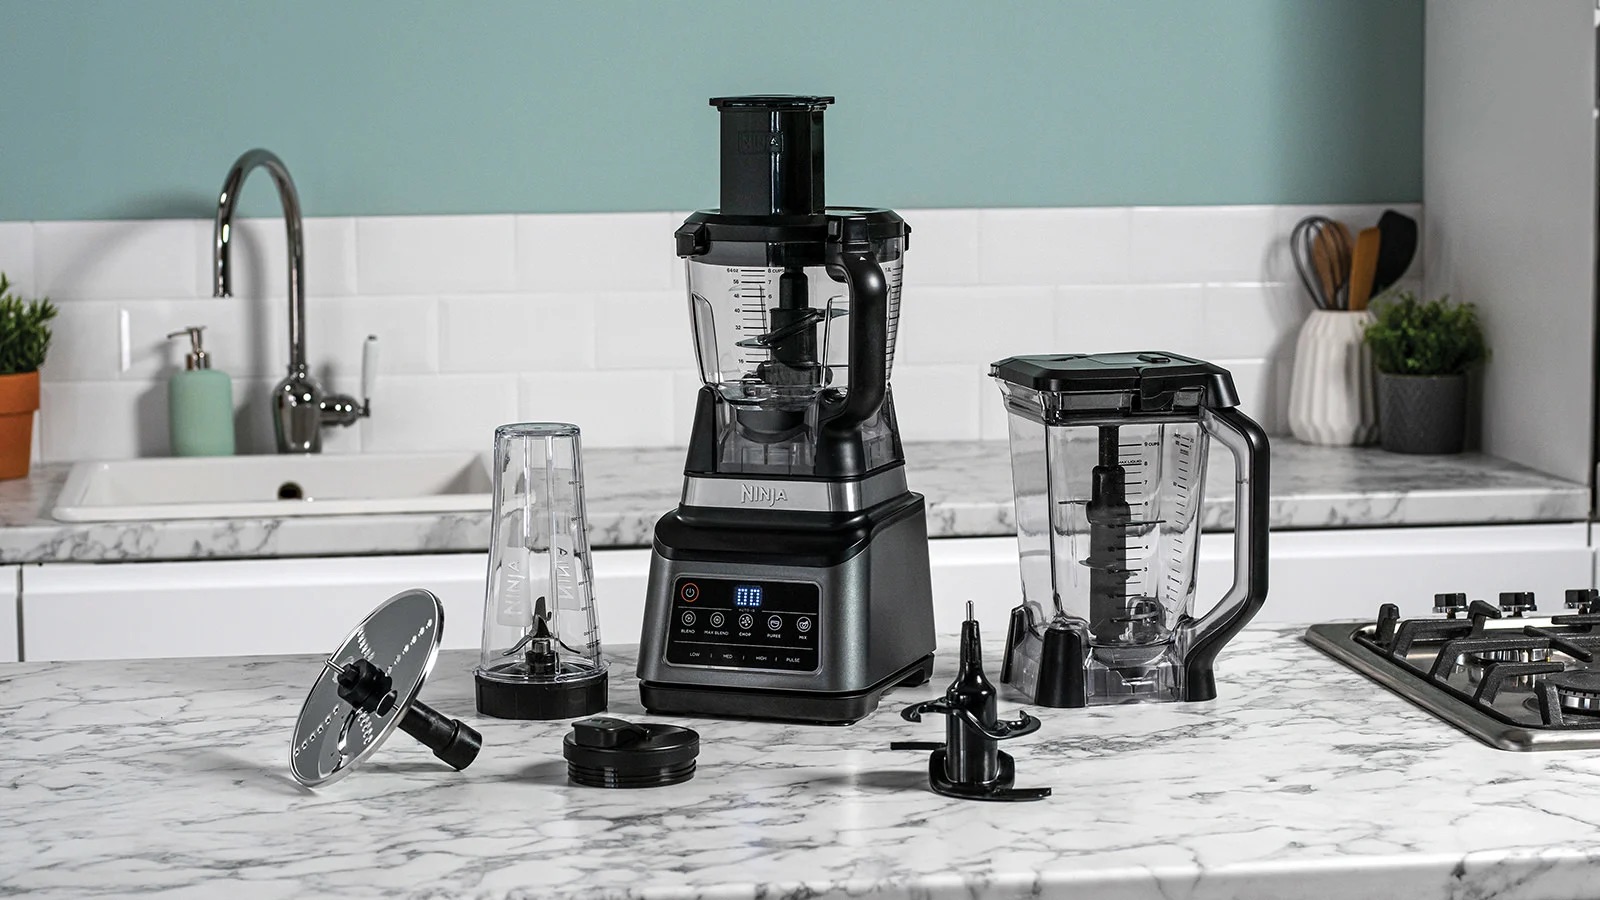
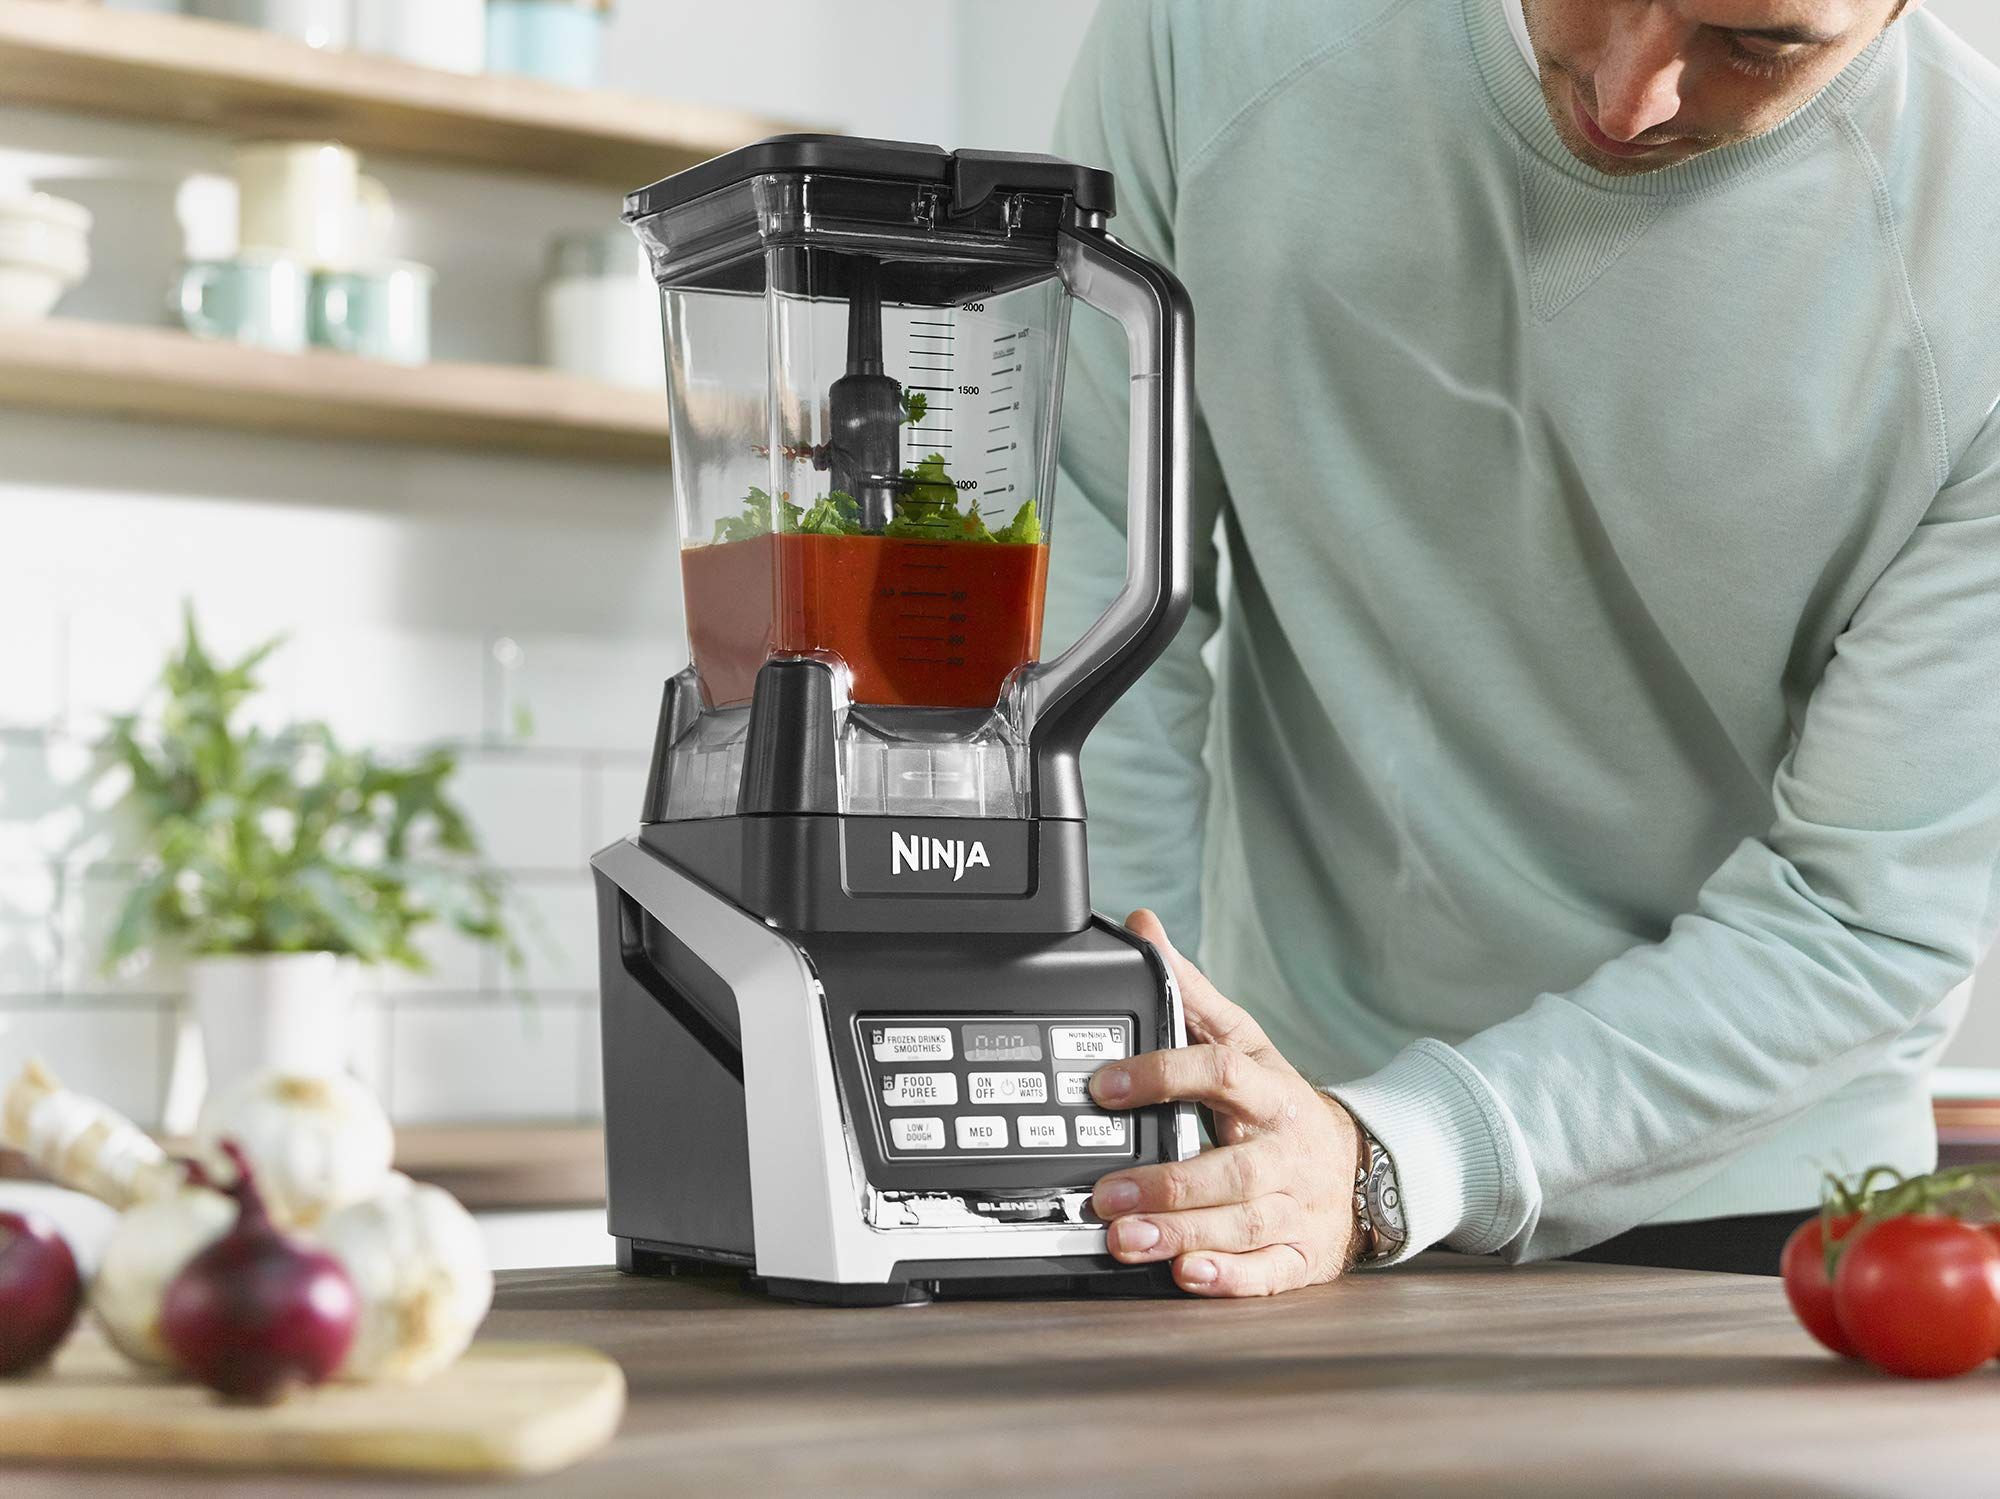
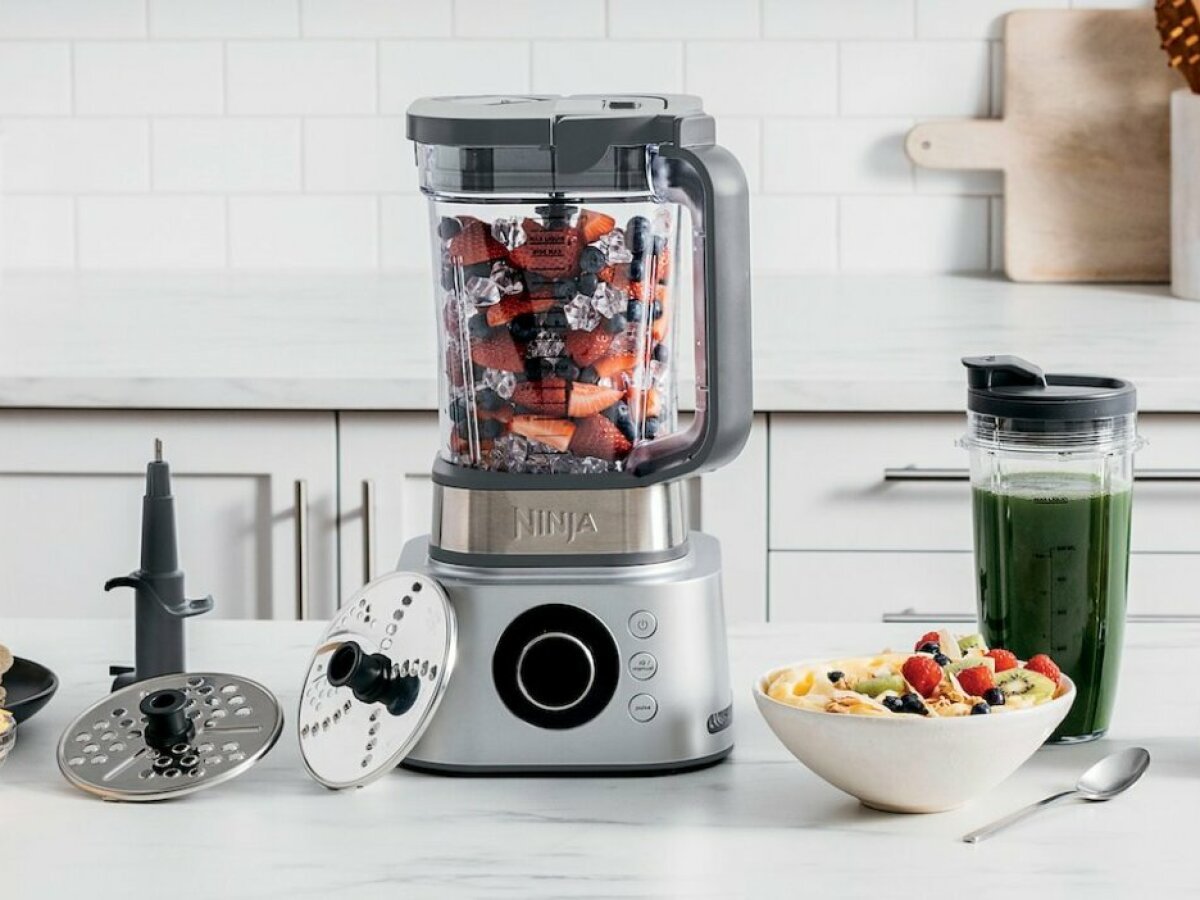
Welcome to the world of cheese aficionados! If you are a cheese lover like me, you know that perfectly shredded cheese can take your dishes to a whole new level. Whether you’re topping off a gooey pizza, melting it over a plate of nachos, or sprinkling it on a bowl of pasta, the texture and meltability of shredded cheese can make all the difference in the world. And when it comes to shredding cheese, one kitchen tool stands out: the Ninja Food Processor.
The Ninja Food Processor is not only a versatile appliance for all your culinary needs, but it also excels at shredding cheese with precision and ease. With its powerful motor and sharp blades, this kitchen powerhouse can transform a block of cheese into perfectly shredded strands in no time. Say goodbye to the tedious task of grating cheese by hand or struggling with a manual grater. The Ninja Food Processor takes the hassle out of shredding cheese, allowing you to enjoy your favorite dishes with minimal effort and maximum flavor.
In this article, we will explore the benefits of using a Ninja Food Processor for shredding cheese and provide you with a step-by-step guide to achieve cheese-shredding perfection. We’ll also share some tips and tricks to help you avoid common pitfalls and troubleshoot any issues that may arise. So, let’s dive in and elevate your cheese game with the mighty Ninja Food Processor!
Key Takeaways:
- Elevate your culinary game with the Ninja Food Processor, making cheese shredding effortless, time-saving, and consistent. Say goodbye to manual grating and hello to perfectly shredded cheese for all your favorite dishes!
- Embrace the versatility of the Ninja Food Processor for cheese shredding, ensuring easy cleanup, uniform strands, and the ability to experiment with different cheese varieties. Enjoy the convenience and flavor enhancement in every dish!
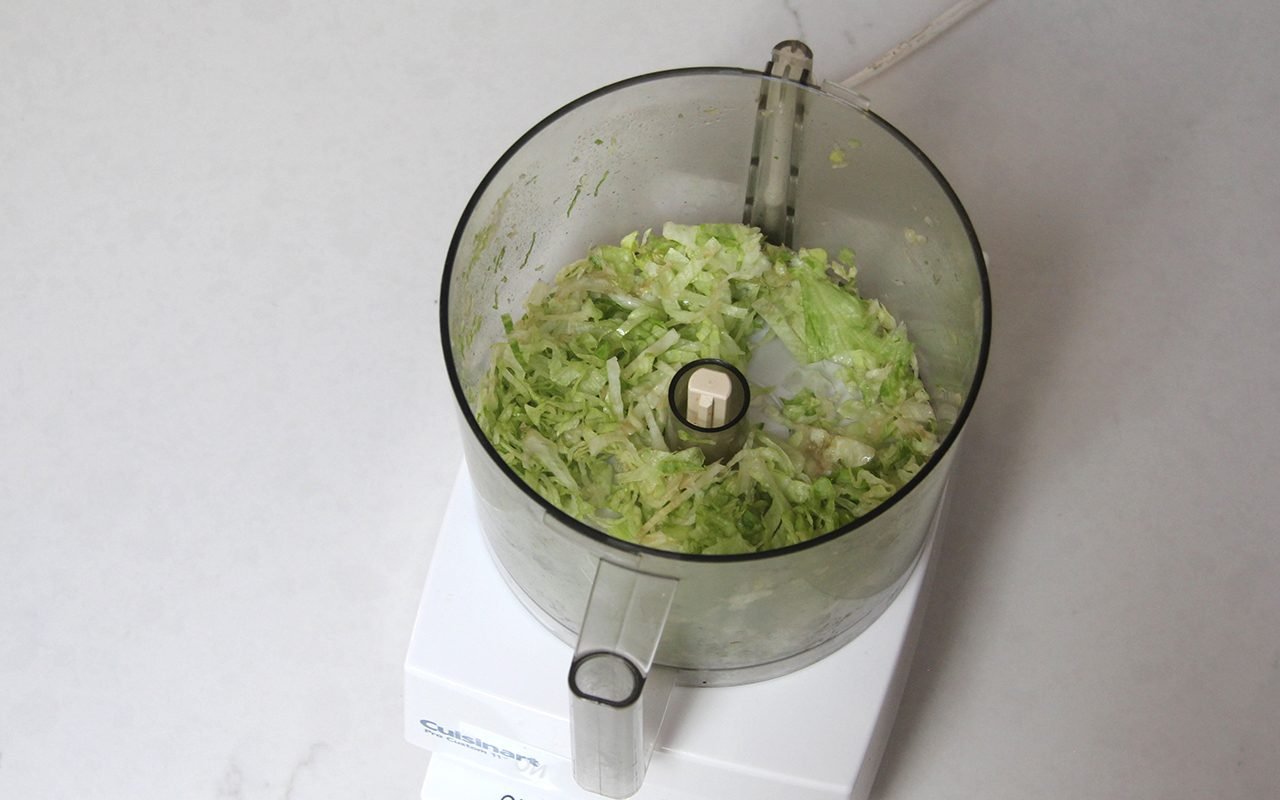
Read more: How To Shred Zucchini In A Food Processor
Benefits of Using a Ninja Food Processor for Shredding Cheese
When it comes to shredding cheese, the Ninja Food Processor offers a multitude of advantages that make it the ultimate tool for the job. Here are some key benefits:
- Time-Saving: Shredding cheese can be a tedious and time-consuming task, especially when done manually. The Ninja Food Processor’s powerful motor and sharp blades ensure quick and efficient shredding, allowing you to save valuable time in the kitchen.
- Consistency: Achieving consistent results with hand-grated cheese can be challenging. Uneven shreds can lead to uneven melting, resulting in an inconsistent texture and taste in your dishes. The Ninja Food Processor’s blades create uniform strands of cheese, ensuring even melting and a perfect distribution of flavor.
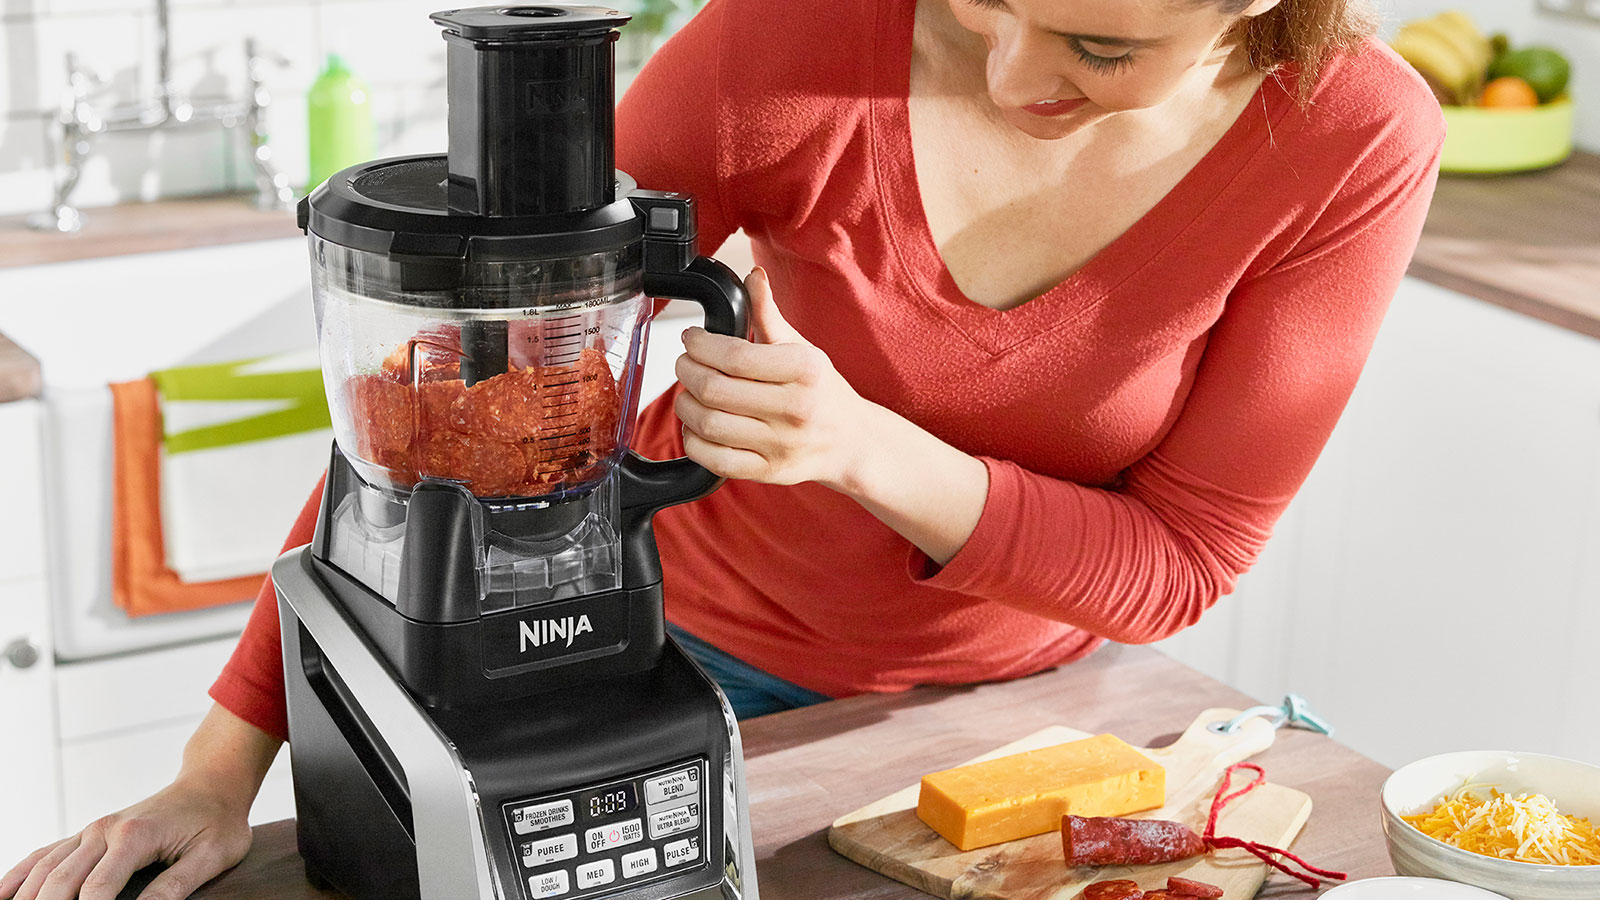
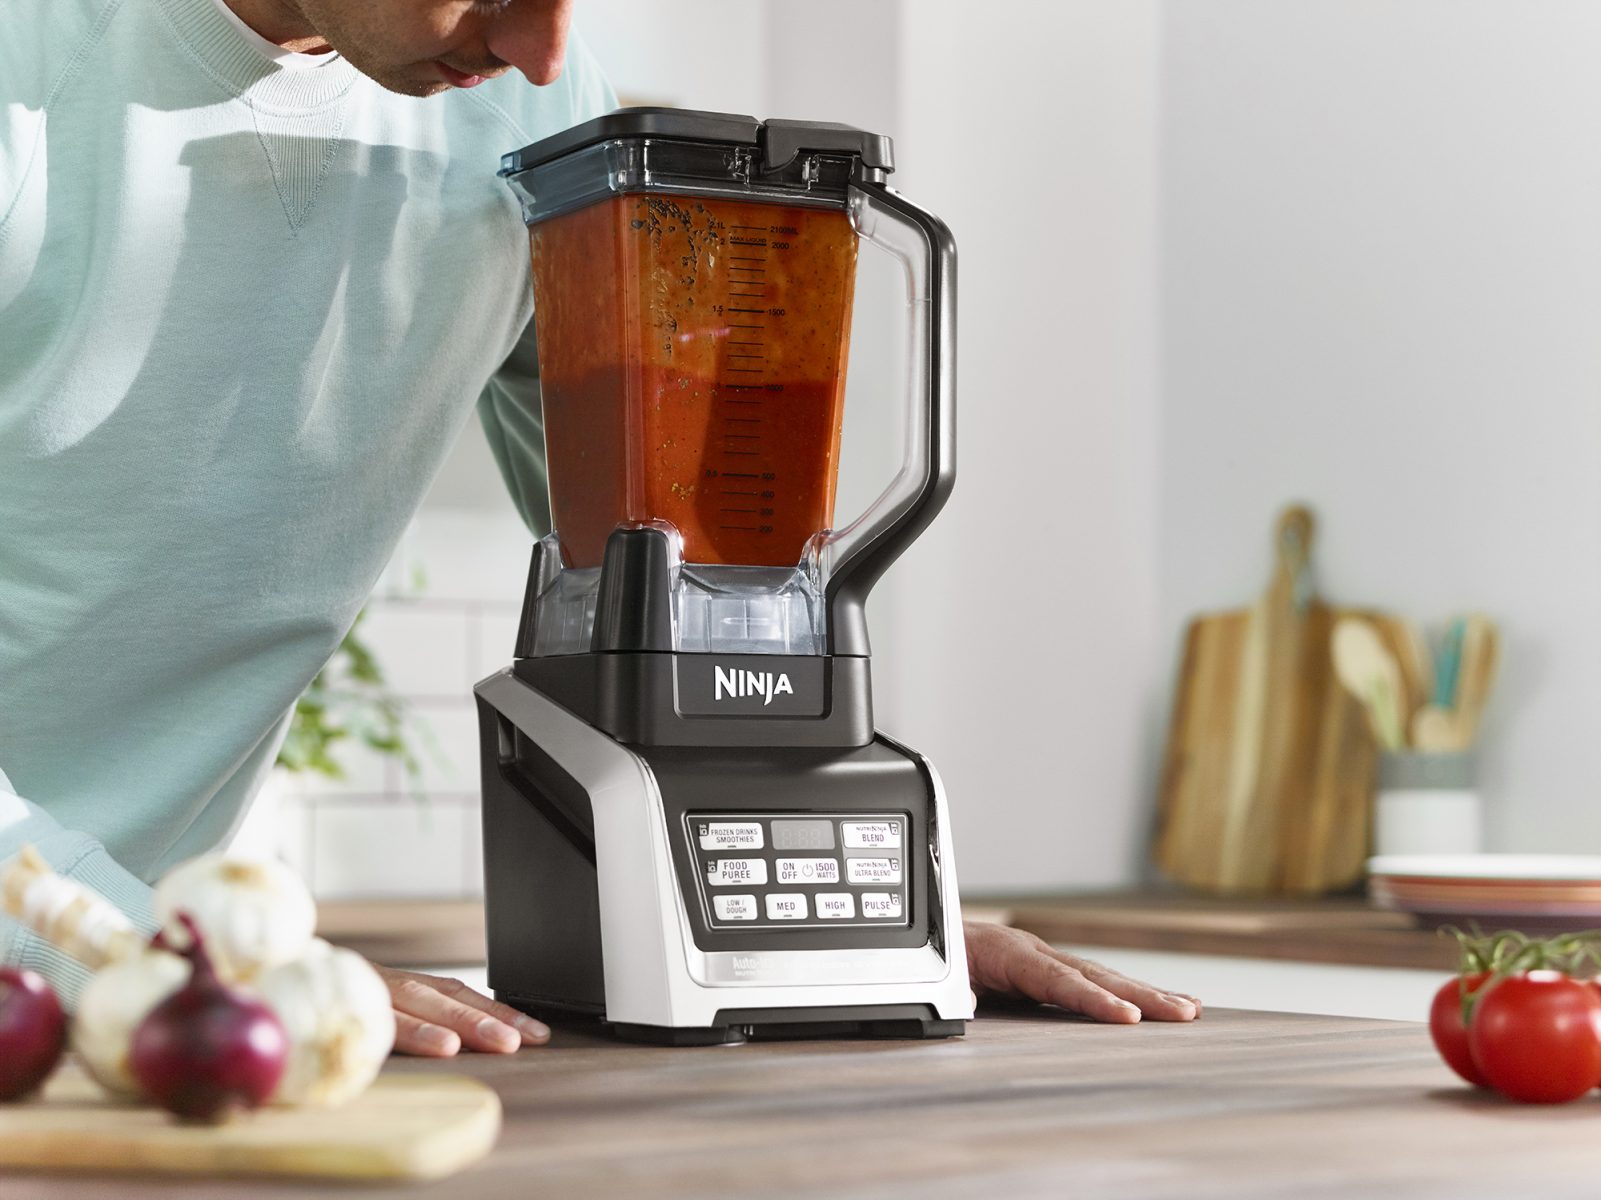
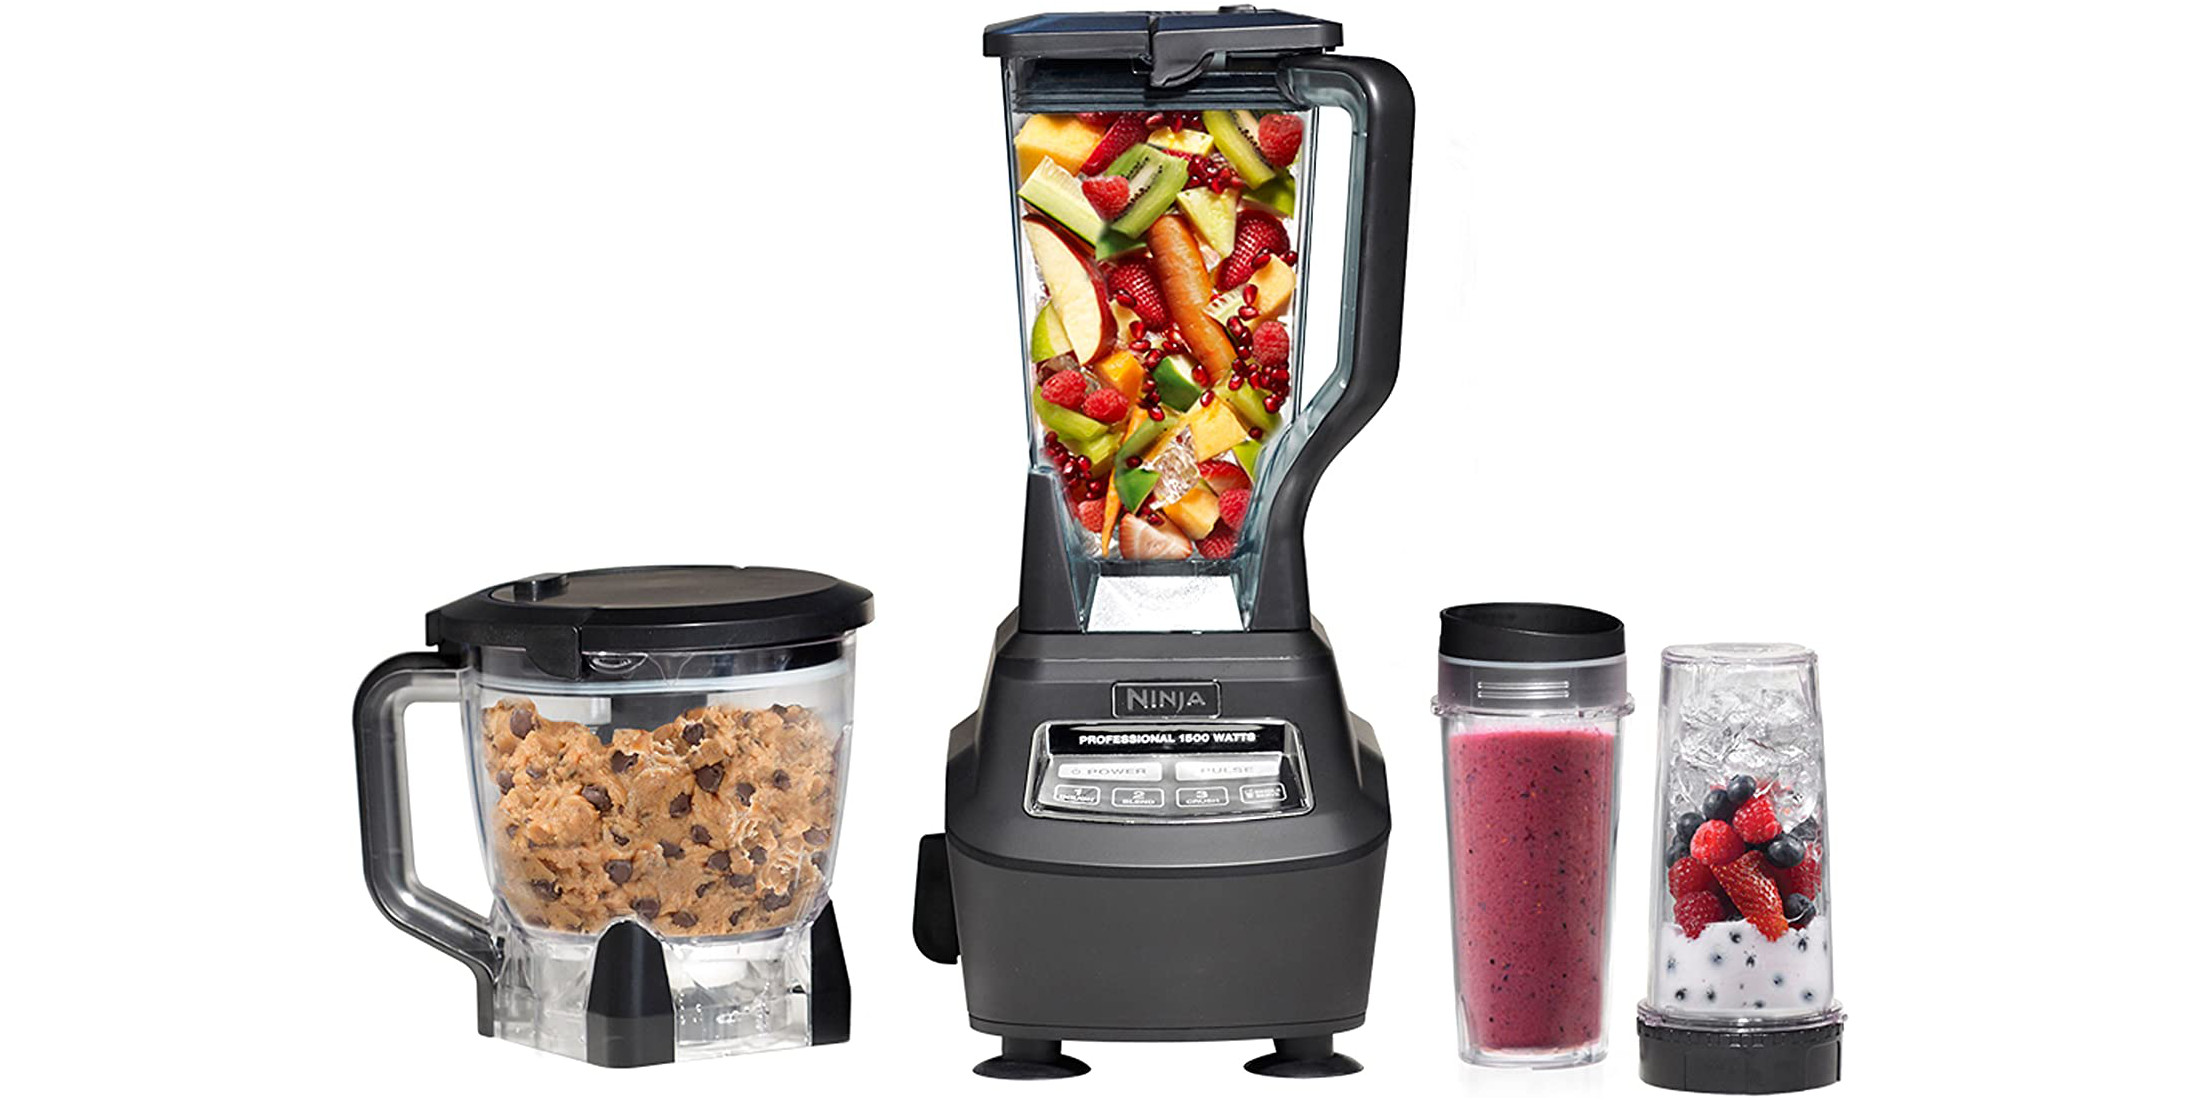
- Versatility: The Ninja Food Processor is not only designed for shredding cheese but can also handle a wide range of ingredients. From chopping vegetables to making creamy sauces and dips, this versatile appliance is a must-have in any kitchen.
- Effortlessness: Grating cheese by hand can be physically demanding, especially when dealing with hard cheeses. The Ninja Food Processor takes away the need for manual effort, making the cheese-shredding process effortless and more enjoyable.
- Ease of Cleaning: Cleaning up after shredding cheese can be a messy affair. The detachable parts of the Ninja Food Processor are dishwasher safe, making cleanup a breeze. You can spend less time scrubbing and more time indulging in your delicious creations.
With these benefits in mind, it’s clear that the Ninja Food Processor is a game-changer when it comes to shredding cheese. Its time-saving features, consistency, versatility, ease of use, and easy cleanup make it a valuable addition to any kitchen.
Step-by-Step Guide to Shredding Cheese with a Ninja Food Processor
Ready to embark on your cheese-shredding journey with the Ninja Food Processor? Follow these simple steps for excellent results:
- Select the Right Cheese: Choose a block of cheese that is firm and well-chilled. Soft or crumbly cheeses may not yield the desired results and can stick to the blades.
- Prepare the Food Processor: Make sure the food processor is clean and assembled properly. Attach the shredding disc to the processor’s base by sliding it into the designated slot. Ensure it is securely locked in place.
- Cut the Cheese: Cut your block of cheese into smaller chunks, ensuring they fit through the feed chute of the food processor. This will make for easier and more efficient shredding.
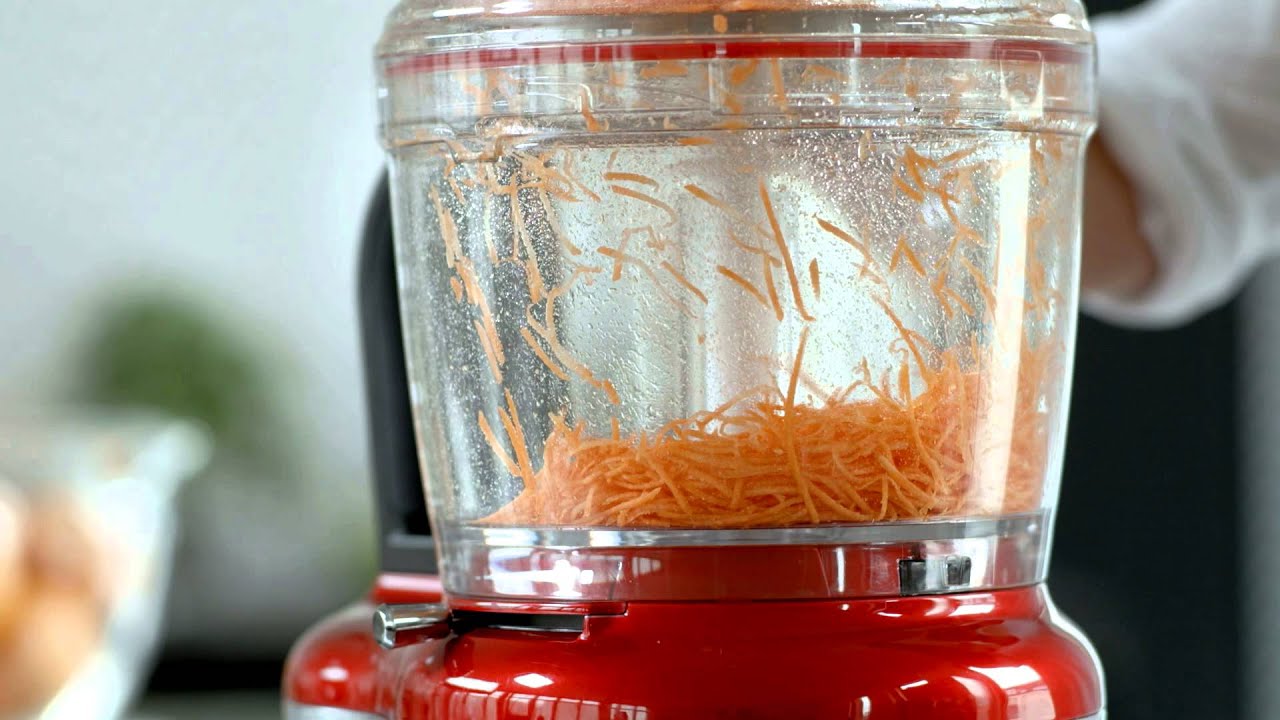
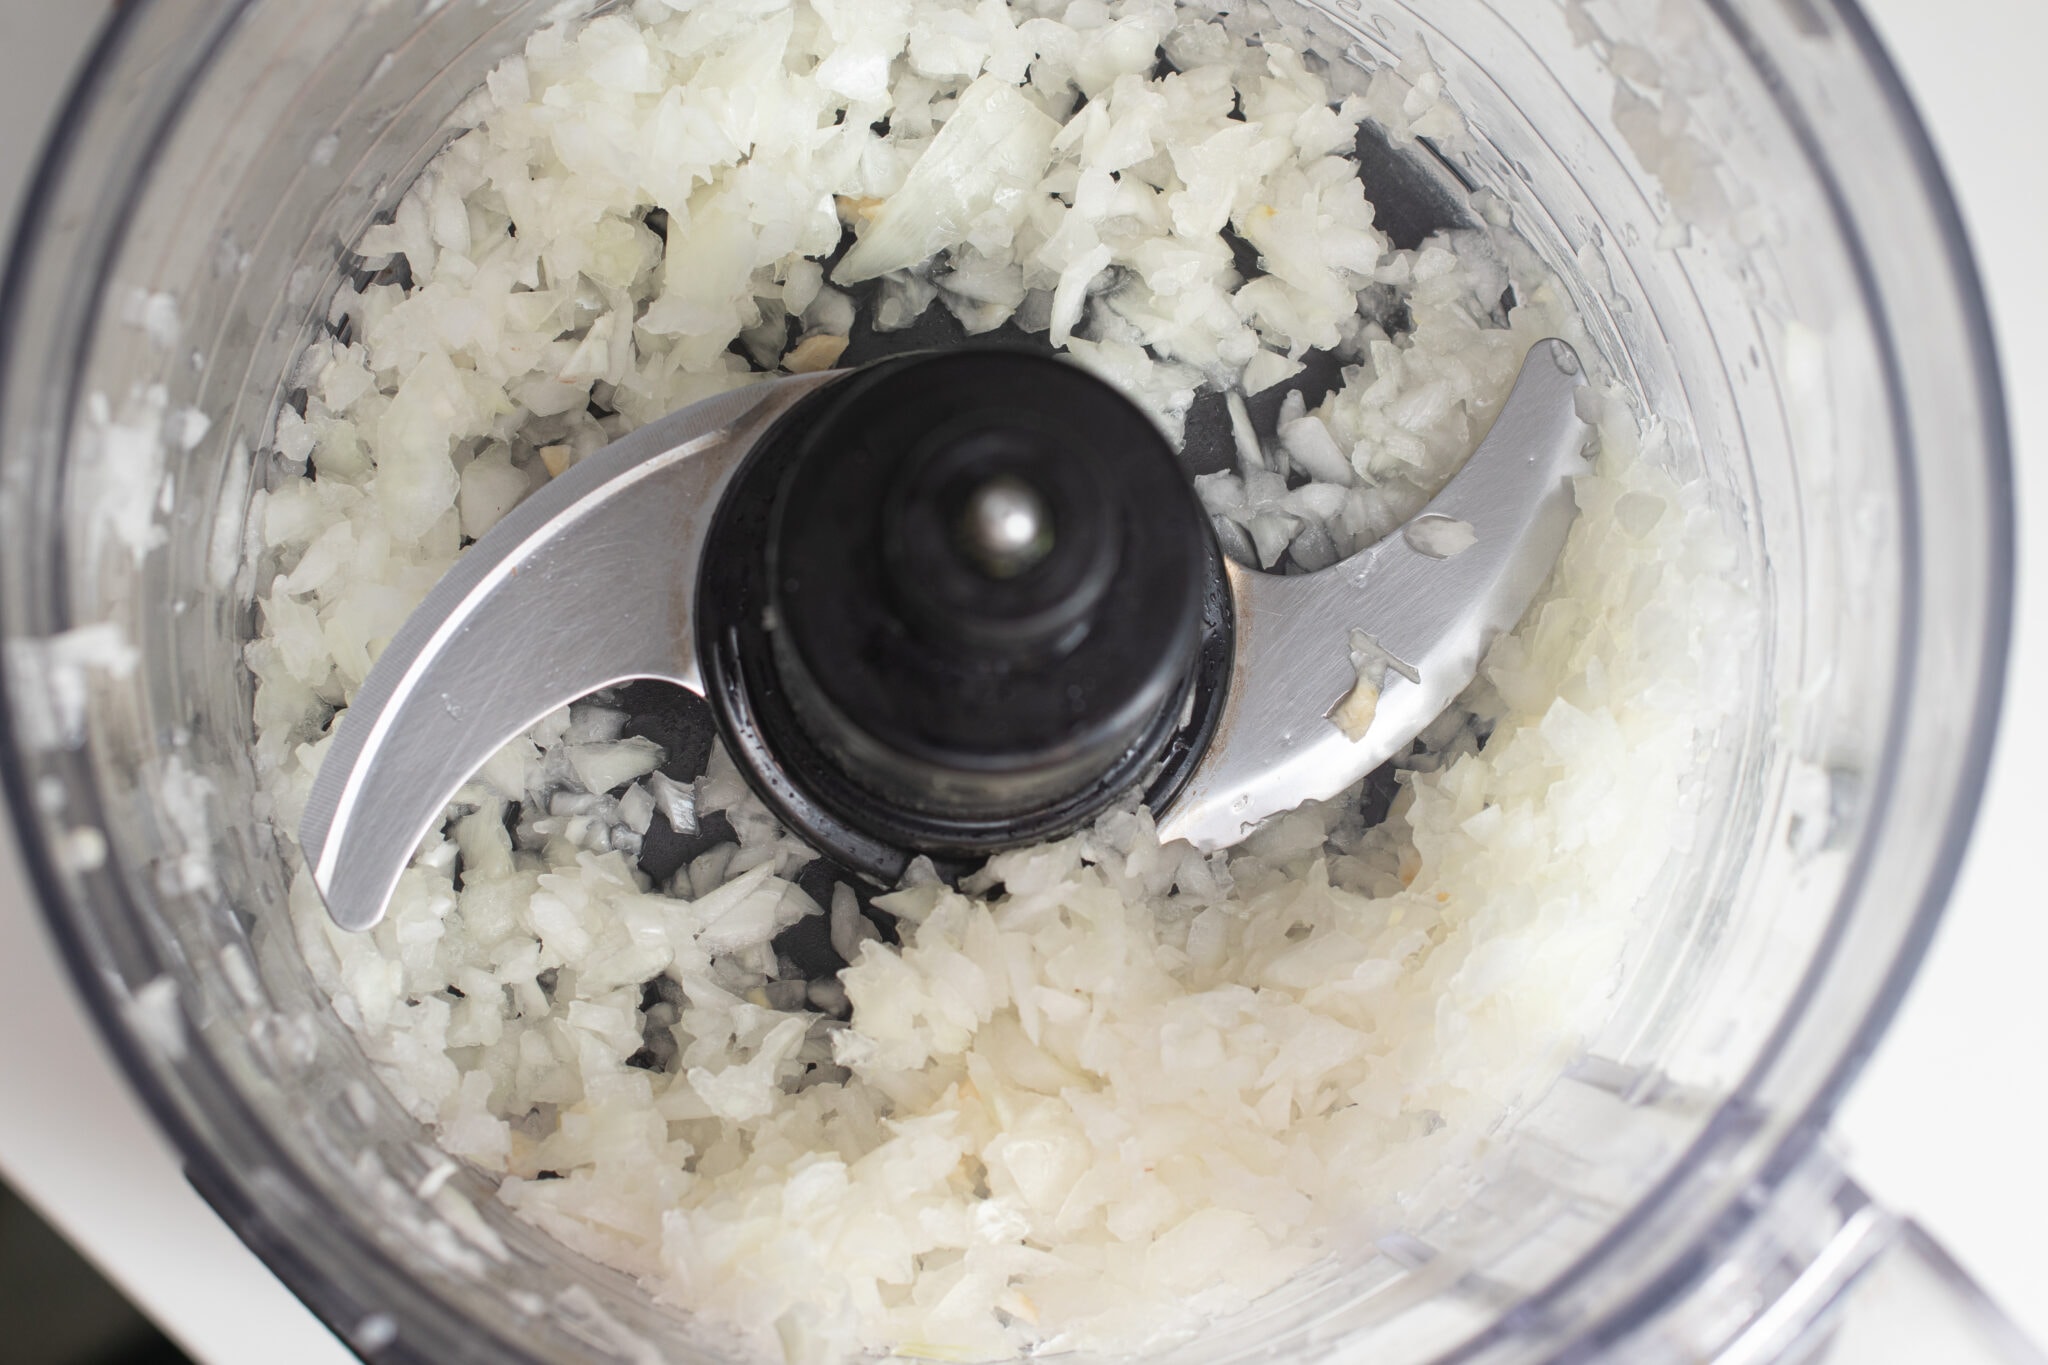
- Start Shredding: Turn on the Ninja Food Processor and carefully feed the cheese chunks through the feed chute. As the cheese passes through the shredding disc, it will be effortlessly transformed into finely shredded strands.
- Collect the Shredded Cheese: Once all the cheese has been shredded, turn off the food processor and carefully remove the lid. Use a spatula or your hands to gather the perfectly shredded cheese from the bowl of the processor.
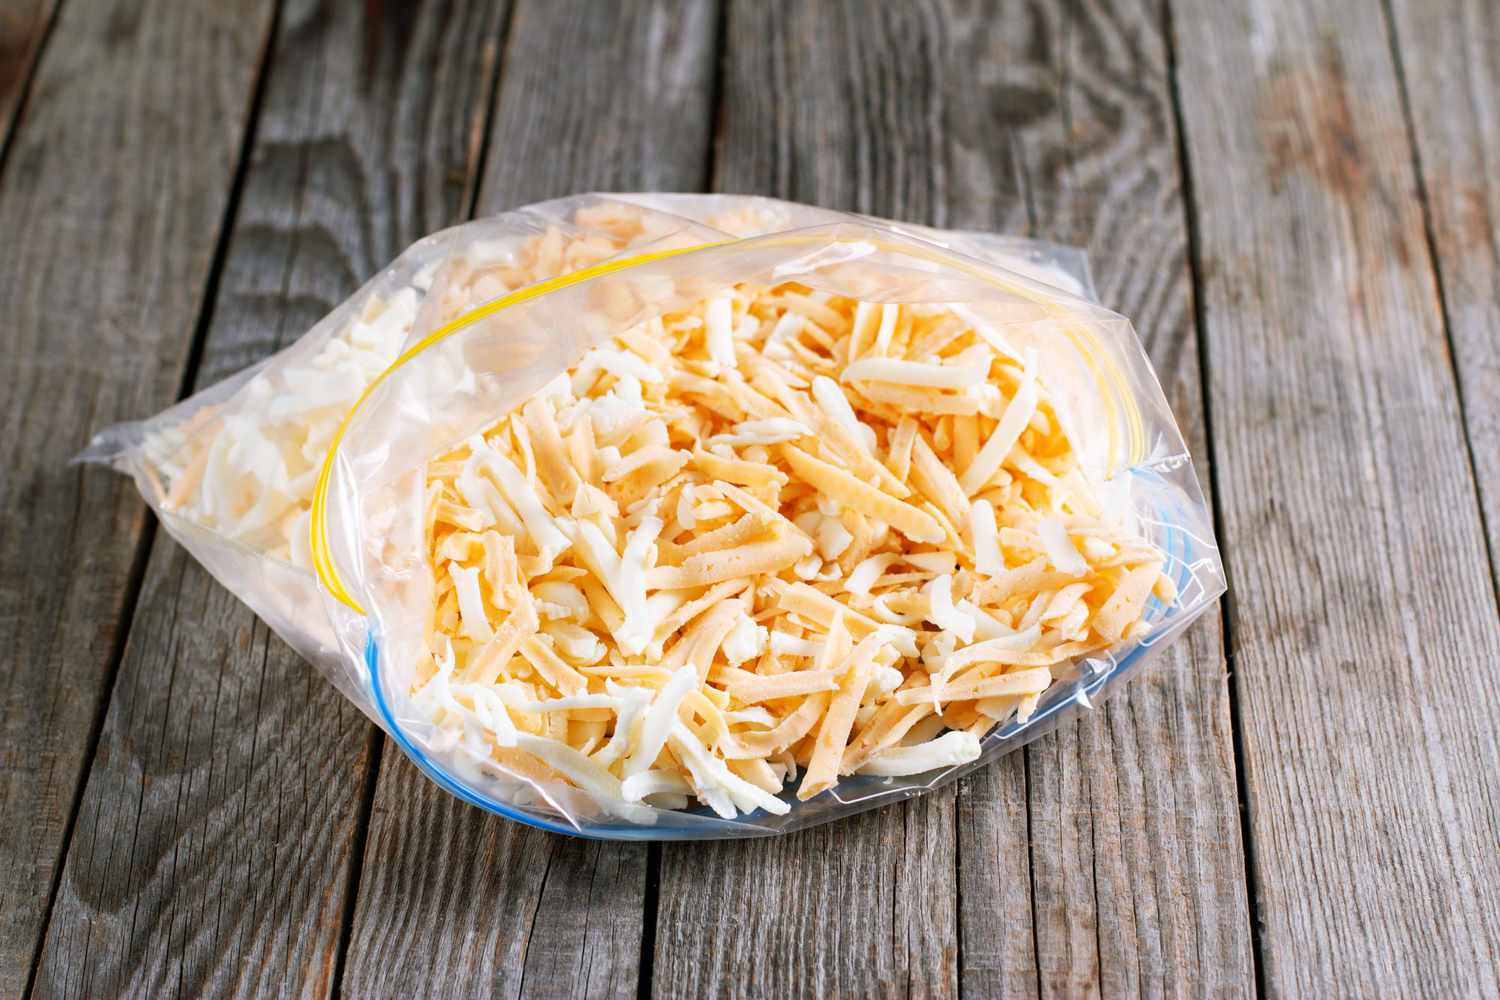
- Store or Use Immediately: Transfer the shredded cheese to an airtight container if you’re not using it immediately. Properly stored, shredded cheese can last in the refrigerator for a few days without compromising its quality.
And voila! You now have perfectly shredded cheese, ready to elevate your favorite recipes. It’s important to note that the exact shredding time may vary depending on the amount and type of cheese used, as well as the speed settings of your Ninja Food Processor. Experiment with different settings and quantities to find the perfect balance for your needs.
Now that you have mastered the art of shredding cheese with the Ninja Food Processor, the possibilities are endless. From cheesy casseroles to mouthwatering sandwiches, you can unleash your creativity and enjoy the perfect meltability and flavor of shredded cheese in all your culinary creations.
To shred cheese with a Ninja Food Processor, cut the cheese into small chunks and pulse in the processor until it reaches the desired consistency. Avoid over-processing to prevent the cheese from becoming too fine.
Tips and Tricks for Perfectly Shredded Cheese
While the Ninja Food Processor makes the process of shredding cheese a breeze, here are some additional tips and tricks to ensure you achieve perfectly shredded cheese every time:
- Use Cold Cheese: It’s important to start with well-chilled cheese. Cold cheese is firmer and easier to shred, ensuring clean and consistent results.
- Freeze Cheese for Easy Shredding: For hard cheeses like Parmesan or Cheddar, consider freezing them for a few minutes before shredding. This will make them even firmer, allowing for effortless shredding.
- Grate by Hand for Finer Shreds: If you prefer a finer texture for your shredded cheese, you can use a hand grater or microplane instead of the food processor. This will give you more control over the size and texture of the cheese strands.
- Avoid Overfilling: Don’t overload the food processor with too much cheese at once. Opt for smaller batches to ensure even shredding and to prevent the cheese from getting stuck or clumping together.
- Experiment with Different Cheese Varieties: Don’t limit yourself to just one type of cheese. Experiment with different varieties like mozzarella, Gouda, or Colby Jack to add unique flavors and textures to your dishes.
- Use Shredded Cheese Immediately: For the best results, it’s recommended to use the shredded cheese immediately after shredding. Freshly shredded cheese melts more evenly and provides a better texture in your dishes.
- Mix and Match Cheese: Get creative by combining different types of shredded cheese to create your own custom blends. Mix sharp cheddar with Monterey Jack or add a sprinkle of Parmesan for added depth of flavor.
- Clean the Food Processor Properly: After shredding the cheese, make sure to clean the food processor thoroughly. Remove the shredding disc and wash it along with the processor bowl and lid according to the manufacturer’s instructions.
By following these tips and tricks, you can elevate your cheese-shredding game and achieve consistent, flavorful, and perfectly shredded cheese every time. So get ready to impress your family and friends with your culinary creations!
Troubleshooting Common Issues
While the Ninja Food Processor is a reliable tool for shredding cheese, you may encounter a few common issues along the way. Here are some troubleshooting tips to help you overcome them:
Issue: Cheese Sticking to the Shredding Disc
If the cheese sticks to the shredding disc and doesn’t shred properly, try the following:
- Ensure that the cheese is well-chilled before shredding to prevent it from sticking.
- Cut the cheese into smaller chunks to help it pass through the disc more smoothly.
- Grease the shredding disc lightly with cooking spray to reduce friction and sticking.
Issue: Cheese Clumping Together
If the shredded cheese clumps together instead of forming uniform strands, try these solutions:
- Avoid overloading the food processor. Shred smaller batches of cheese at a time for better results.
- Ensure that the cheese is evenly distributed in the food processor bowl before shredding.
Issue: Shredded Cheese Has a Watery Texture
If the shredded cheese has a watery texture, consider the following tips:
- Make sure that the cheese is properly drained before shredding. Excess moisture can result in a watery texture.
- Use a firmer and drier cheese variety for shredding to reduce the chances of a watery texture.
Issue: Food Processor Struggling or Overheating
If you notice that the food processor is struggling or overheating during the shredding process, here’s what you can do:
- Give the food processor a break and let it cool down if it becomes too hot. Overheating can affect its performance and longevity.
- Ensure that you’re using the correct speed setting for shredding cheese. High speed may cause the motor to strain unnecessarily.
- Double-check that the food processor is assembled correctly and securely locked in place.
If you encounter any other issues or problems while shredding cheese with the Ninja Food Processor, consult the user manual or reach out to the manufacturer’s customer support for further assistance. They will be able to provide specific guidance based on the model of your food processor.
Remember, practice makes perfect, and with time and experience, you’ll become an expert at shredding cheese with your Ninja Food Processor.
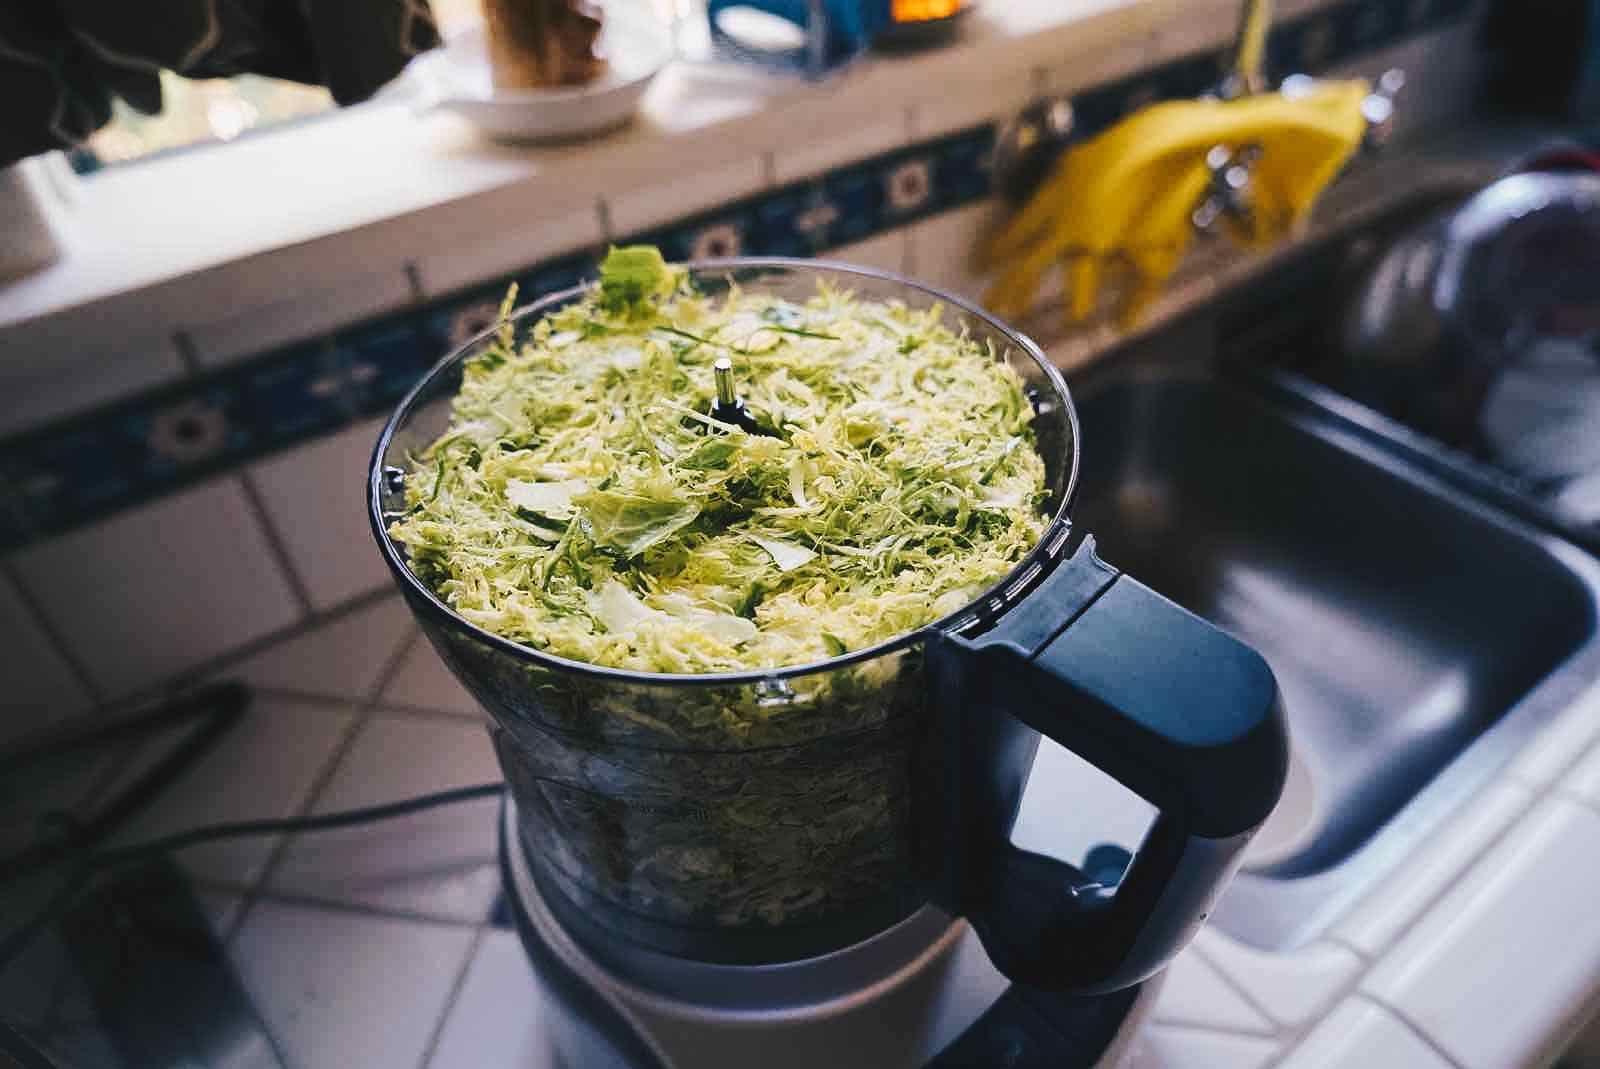
Read more: How To Shred Cabbage Food Processor
Conclusion
Shredding cheese with the Ninja Food Processor is a game-changer for any cheese lover. With its powerful motor, sharp blades, and user-friendly design, the Ninja Food Processor makes the process of shredding cheese quick, effortless, and consistent. By following the step-by-step guide, taking advantage of the tips and tricks, and troubleshooting common issues, you can achieve perfectly shredded cheese that will elevate your culinary creations.
The benefits of using a Ninja Food Processor for shredding cheese are numerous. Not only does it save you time and effort, but it also ensures consistent results, versatility in the kitchen, and easy cleanup. You no longer have to struggle with manual graters or worry about the uneven texture of hand-grated cheese. The Ninja Food Processor takes care of it all, leaving you with finely shredded strands of cheese that melt beautifully and enhance the flavor of your dishes.
With the right cheese selection, proper preparation, and a little experimentation, you can explore a world of possibilities when it comes to the types of cheese you shred. From classic cheddar and mozzarella to more unique and flavorful varieties, the Ninja Food Processor allows you to customize your shredded cheese blends and unlock new taste experiences.
Remember to take note of the troubleshooting tips if you encounter any issues along the way. From cheese sticking to the shredding disc to clumping or watery textures, there are practical solutions to help you overcome these challenges and achieve the best results with your Ninja Food Processor.
Elevate your culinary creations and make your dishes truly exceptional with perfectly shredded cheese using the Ninja Food Processor. Whether you’re creating a cheesy pizza, a delightful pasta dish, or a mouthwatering casserole, the meltability, texture, and flavor of shredded cheese can make all the difference. So, step into the world of convenience and deliciousness, and take your cheese game to new heights with the Ninja Food Processor!
Excited about mastering your Ninja Food Processor? Don't stop now! Dive into our detailed guide on the best models available for 2024. Whether you're upgrading your kitchen tools or just curious about the latest features, this article offers an in-depth look at options that will fit any cooking style. With insights into performance, design, and user-friendliness, you'll find yourself well-equipped to make an informed decision on your next culinary assistant.
Frequently Asked Questions about How To Shred Cheese With Ninja Food Processor
Was this page helpful?
At Storables.com, we guarantee accurate and reliable information. Our content, validated by Expert Board Contributors, is crafted following stringent Editorial Policies. We're committed to providing you with well-researched, expert-backed insights for all your informational needs.

0 thoughts on “How To Shred Cheese With Ninja Food Processor”