Home>Furniture & Design>Outdoor Furniture>How To Install Gas Line For Outdoor Grill
Outdoor Furniture
How To Install Gas Line For Outdoor Grill
Modified: August 20, 2024
Learn how to safely install a gas line for your outdoor grill with our expert tips and guidelines. Ensure the proper setup of your outdoor furniture and design for a seamless grilling experience.
(Many of the links in this article redirect to a specific reviewed product. Your purchase of these products through affiliate links helps to generate commission for Storables.com, at no extra cost. Learn more)
**
Introduction
**
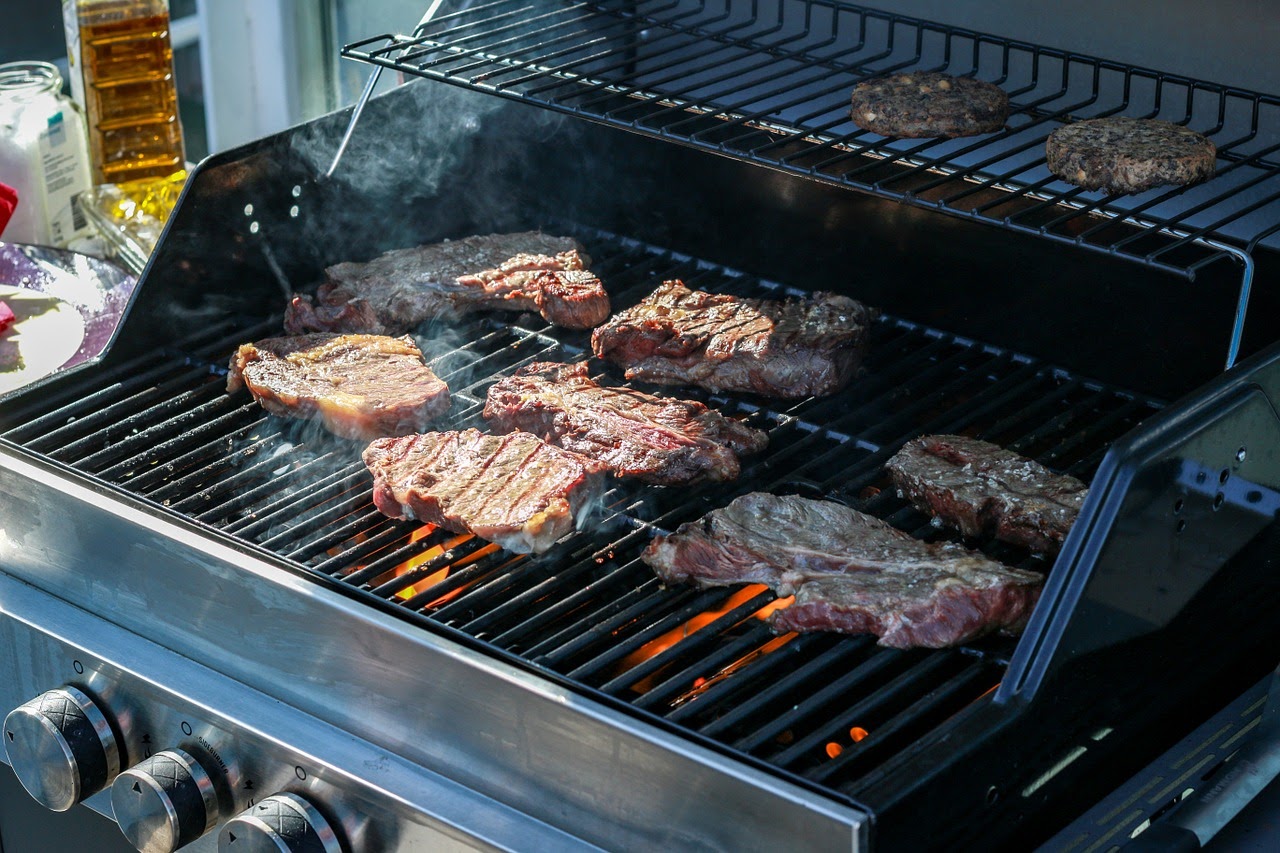
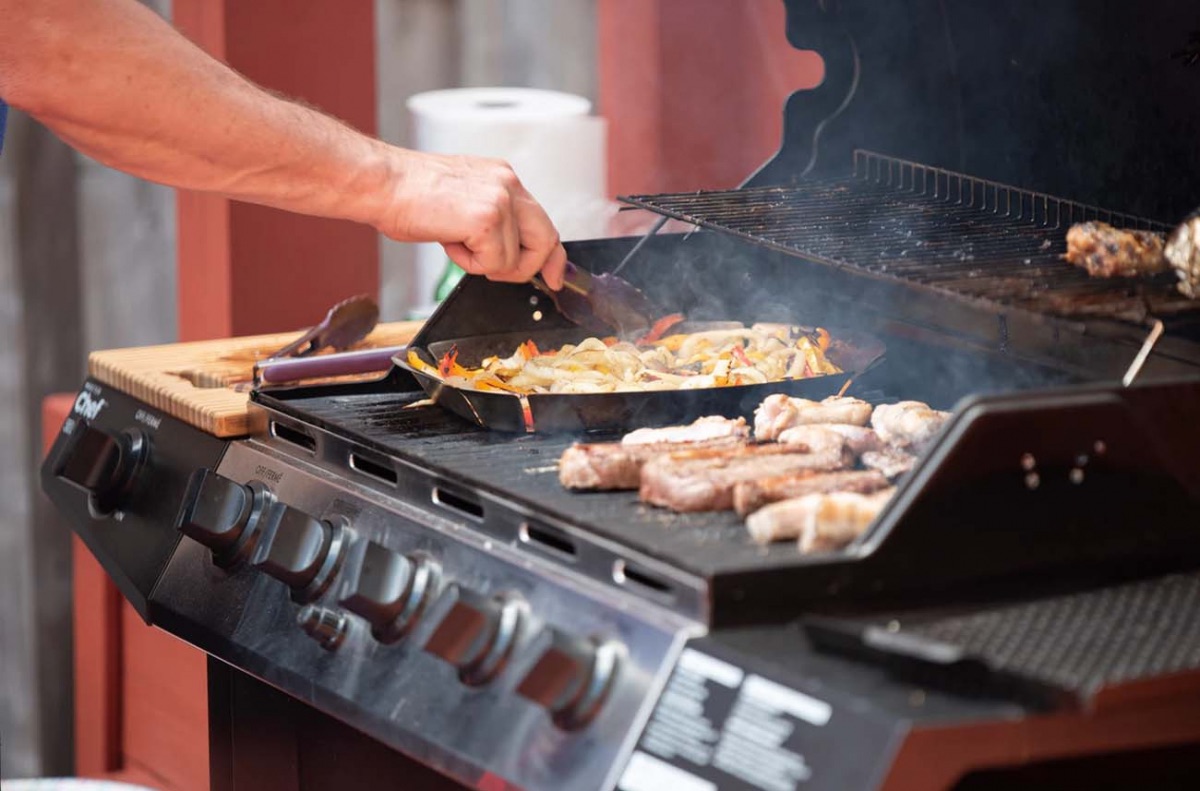
Welcome to the world of outdoor grilling, where the tantalizing aroma of sizzling steaks and the convivial atmosphere of backyard gatherings reign supreme. While the allure of this culinary pastime is undeniable, ensuring a safe and efficient gas supply to your outdoor grill is paramount. In this comprehensive guide, we will walk you through the process of installing a gas line for your outdoor grill, equipping you with the knowledge and confidence to embark on this project.
Whether you are a seasoned grilling aficionado or a novice eager to elevate your outdoor cooking experience, understanding the intricacies of installing a gas line is crucial. By following the steps outlined in this guide, you can harness the convenience and reliability of a direct gas supply, bidding adieu to the hassle of propane tanks and embracing the seamless functionality of a dedicated gas line.
Join us as we delve into the essential safety precautions, meticulous planning and preparation, and the step-by-step process of installing and testing the gas line. By the end of this journey, you will be equipped with the expertise to bring your outdoor grilling oasis to life while prioritizing safety and precision. Let's embark on this enlightening expedition into the realm of outdoor grilling and gas line installation.
Key Takeaways:
- Elevate your outdoor grilling experience by installing a gas line with meticulous planning, precision, and adherence to safety protocols. Enjoy the convenience and reliability of a dedicated gas supply for seamless cooking adventures.
- Prioritize safety and precision in installing a gas line for your outdoor grill. Embrace the culinary freedom and convivial gatherings while ensuring a secure and efficient gas supply.
Read more: What Size Gas Line For Outdoor Fire Pit
Safety Precautions
Before delving into the installation process, it is imperative to prioritize safety at every stage of this undertaking. Working with gas lines demands meticulous adherence to safety protocols to mitigate potential hazards. Here are crucial safety precautions to consider:
- Turn Off Gas Supply: Prior to commencing any work, shut off the main gas supply to your property. This crucial step ensures that no gas is flowing through the lines as you embark on the installation process.
- Ventilation: Adequate ventilation is essential when working with gas. Ensure that the area where the gas line will be installed is well-ventilated to prevent the accumulation of gas fumes.
- Use Protective Gear: Don appropriate protective gear, including gloves and safety goggles, to shield yourself from potential hazards during the installation process.
- Gas Leak Detection: Familiarize yourself with the distinct odor of natural gas, which resembles rotten eggs. This knowledge will enable you to swiftly detect any potential gas leaks during and after the installation.
- Professional Consultation: If you are uncertain about any aspect of the installation process, seek guidance from a qualified professional. Gas line installation demands precision and expertise, and consulting a professional can provide invaluable insights.
By meticulously adhering to these safety precautions, you can lay a robust foundation for a secure and efficient gas line installation. Prioritizing safety not only safeguards your well-being but also ensures the longevity and reliability of your outdoor grilling setup.
Planning and Preparation
Embarking on the installation of a gas line for your outdoor grill necessitates thorough planning and meticulous preparation. By laying a comprehensive groundwork, you can streamline the installation process and preempt potential challenges. Here’s a step-by-step guide to aid you in this crucial phase:
- Regulatory Compliance: Familiarize yourself with local building codes and regulations pertaining to gas line installations. Compliance with these guidelines is essential to ensure the safety and legality of your installation.
- Assessment of Space: Evaluate the layout of your outdoor grilling area to determine the optimal placement for the gas line. Consider factors such as accessibility, proximity to the grill, and aesthetic integration into the outdoor space.
- Gas Line Sizing: Calculate the required gas line size based on the distance from the main gas supply and the BTU (British Thermal Unit) rating of your grill. Accurate sizing is crucial to ensure optimal gas flow and performance.
- Acquisition of Permits: Determine whether permits are required for the installation and secure them before commencing the project. Adhering to permit regulations is pivotal for a seamless and compliant installation.
- Utility Line Identification: Before digging or trenching, identify the location of existing utility lines to prevent accidental damage. Contact your local utility company or utilize specialized equipment to locate underground lines.
- Selection of Quality Materials: Procure high-quality gas lines, fittings, and connectors from reputable suppliers. Opting for durable and certified materials is essential for the longevity and safety of your gas line.
By meticulously planning and preparing for the installation, you can navigate the subsequent phases with confidence and precision. This proactive approach sets the stage for a successful gas line installation, laying the groundwork for a seamless outdoor grilling experience.
Gathering Tools and Materials
Equipping yourself with the requisite tools and materials is a pivotal precursor to a successful gas line installation for your outdoor grill. By assembling a comprehensive array of tools and high-quality materials, you can navigate the installation process with efficiency and precision. Here’s a curated list of essential tools and materials:
- Pipe Cutter: A reliable pipe cutter is indispensable for cleanly and accurately cutting the gas line to the required dimensions.
- Wrenches and Pliers: High-quality adjustable wrenches and pliers are essential for securing fittings and connectors with precision.
- Teflon Tape: This versatile sealing tape is instrumental in creating a secure and leak-proof seal for threaded connections.
- Pipe Wrench: A sturdy pipe wrench is indispensable for tightening and securing the gas line fittings with optimal torque.
- Gas Line: Procure high-quality, corrosion-resistant gas lines of the appropriate size to facilitate optimal gas flow to your outdoor grill.
- Fittings and Connectors: Acquire durable and certified fittings and connectors to ensure secure and reliable junctions in the gas line.
- Pressure Gauge: A pressure gauge is essential for testing the gas line and verifying the integrity of the installation.
- Measuring Tape: A measuring tape is crucial for accurately determining the dimensions and layout of the gas line.
- Safety Gear: Prioritize safety by donning protective gear, including gloves and safety goggles, to safeguard yourself during the installation process.
By meticulously gathering these tools and materials, you can fortify yourself with the essentials required to execute a seamless and secure gas line installation. Investing in high-quality tools and materials is a testament to your commitment to safety and precision, laying the groundwork for a reliable and efficient outdoor grilling setup.
Before starting, check local building codes and regulations. Use proper materials and fittings rated for outdoor use. Consider hiring a professional for safety and compliance.
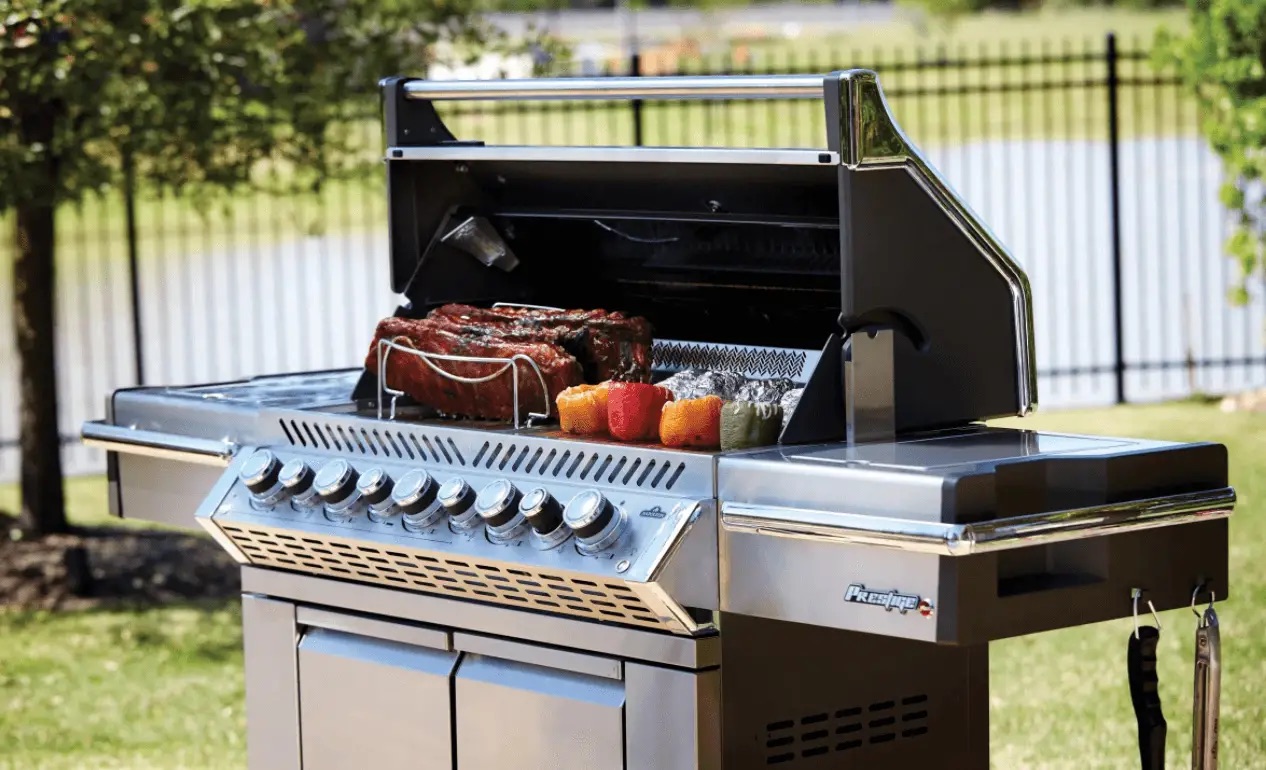
Choosing the Right Location
Optimal placement of the gas line is pivotal in ensuring the functionality, safety, and aesthetic integration of your outdoor grilling area. By carefully selecting the location for the gas line, you can optimize accessibility and streamline the gas supply to your grill. Here are essential considerations to guide you in choosing the right location:
- Proximity to the Grill: Position the gas line in close proximity to your outdoor grill to minimize the length of the gas line and facilitate convenient access for maintenance and potential future upgrades.
- Accessibility: Ensure that the gas line is easily accessible for inspection, maintenance, and potential repairs. Accessibility is crucial for addressing any issues that may arise in the future.
- Aesthetic Integration: Strive for a seamless integration of the gas line into your outdoor space, minimizing visual impact and preserving the overall aesthetic appeal of the grilling area.
- Safety Clearance: Maintain adequate clearance between the gas line and potential sources of heat, open flames, or electrical components to mitigate safety hazards and ensure compliance with safety regulations.
- Underground Considerations: If opting for an underground gas line, assess the soil composition, drainage, and potential excavation challenges to determine the feasibility and optimal route for the gas line.
- Future Expansion: Anticipate potential future expansions or modifications to your outdoor grilling area and factor in the flexibility of the gas line layout to accommodate these developments.
By carefully deliberating on these considerations, you can pinpoint the ideal location for the gas line, optimizing functionality, safety, and visual harmony within your outdoor grilling space. The strategic placement of the gas line sets the stage for a seamless and efficient gas supply to elevate your outdoor cooking endeavors.
Read more: How To Cook On A Gas Grill
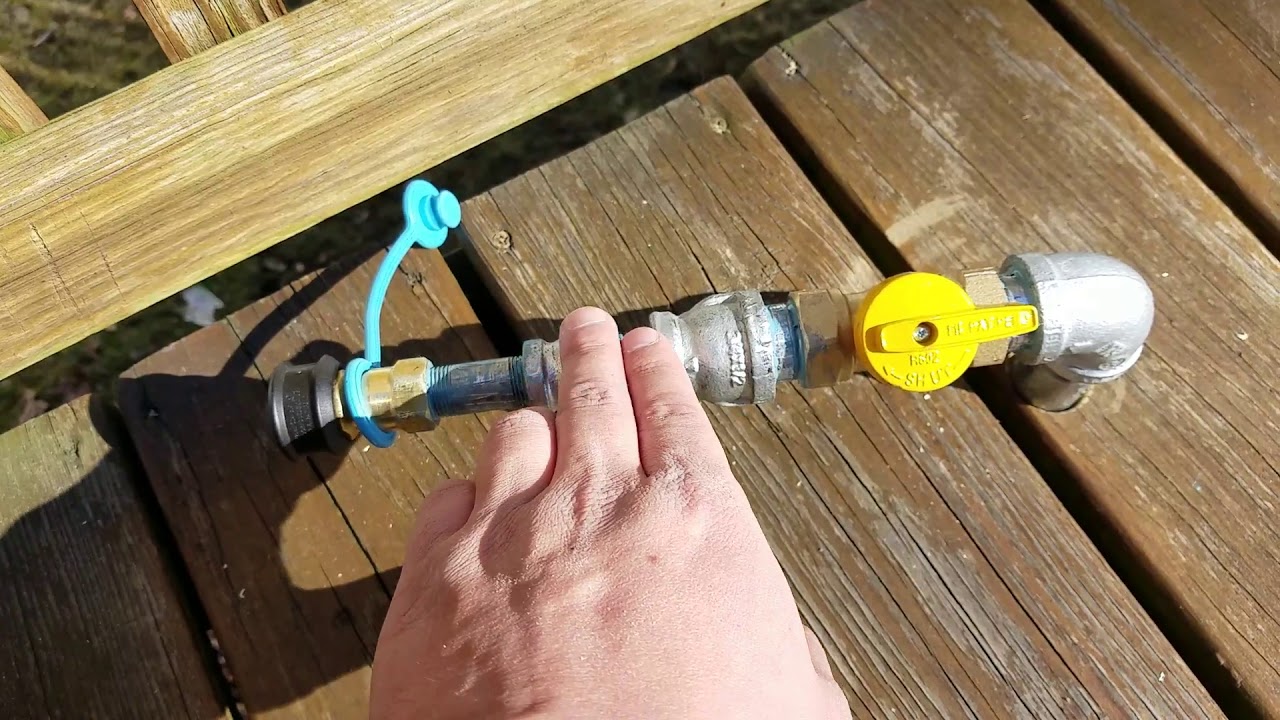
Installing the Gas Line
Embarking on the installation of the gas line marks a pivotal phase in bringing your outdoor grilling vision to fruition. This meticulous process demands precision, adherence to safety protocols, and a methodical approach to ensure a secure and reliable gas supply to your grill. Here’s a comprehensive guide to aid you in the installation of the gas line:
- Preparation: Begin by shutting off the main gas supply to your property and ensuring adequate ventilation in the installation area. Don the necessary safety gear, including gloves and safety goggles, to safeguard yourself during the installation process.
- Cutting and Fitting: Utilize a pipe cutter to cleanly and accurately cut the gas line to the required dimensions. Subsequently, secure the fittings and connectors with precision, employing Teflon tape to create a secure and leak-proof seal for threaded connections.
- Securing the Gas Line: Utilize wrenches and pliers to firmly secure the fittings and connectors, ensuring optimal torque for a reliable and secure junction in the gas line.
- Pressure Testing: Following the installation, conduct a thorough pressure test using a pressure gauge to verify the integrity of the gas line. This crucial step ensures that the installation is free from leaks and capable of maintaining the required gas pressure.
- Adherence to Regulations: Throughout the installation process, meticulously adhere to local building codes and regulations governing gas line installations. Compliance with these guidelines is essential to ensure the safety and legality of the installation.
By meticulously following these steps and prioritizing precision and safety, you can execute a seamless and secure installation of the gas line for your outdoor grill. This meticulous approach lays the foundation for a reliable and efficient gas supply, setting the stage for an elevated outdoor grilling experience.
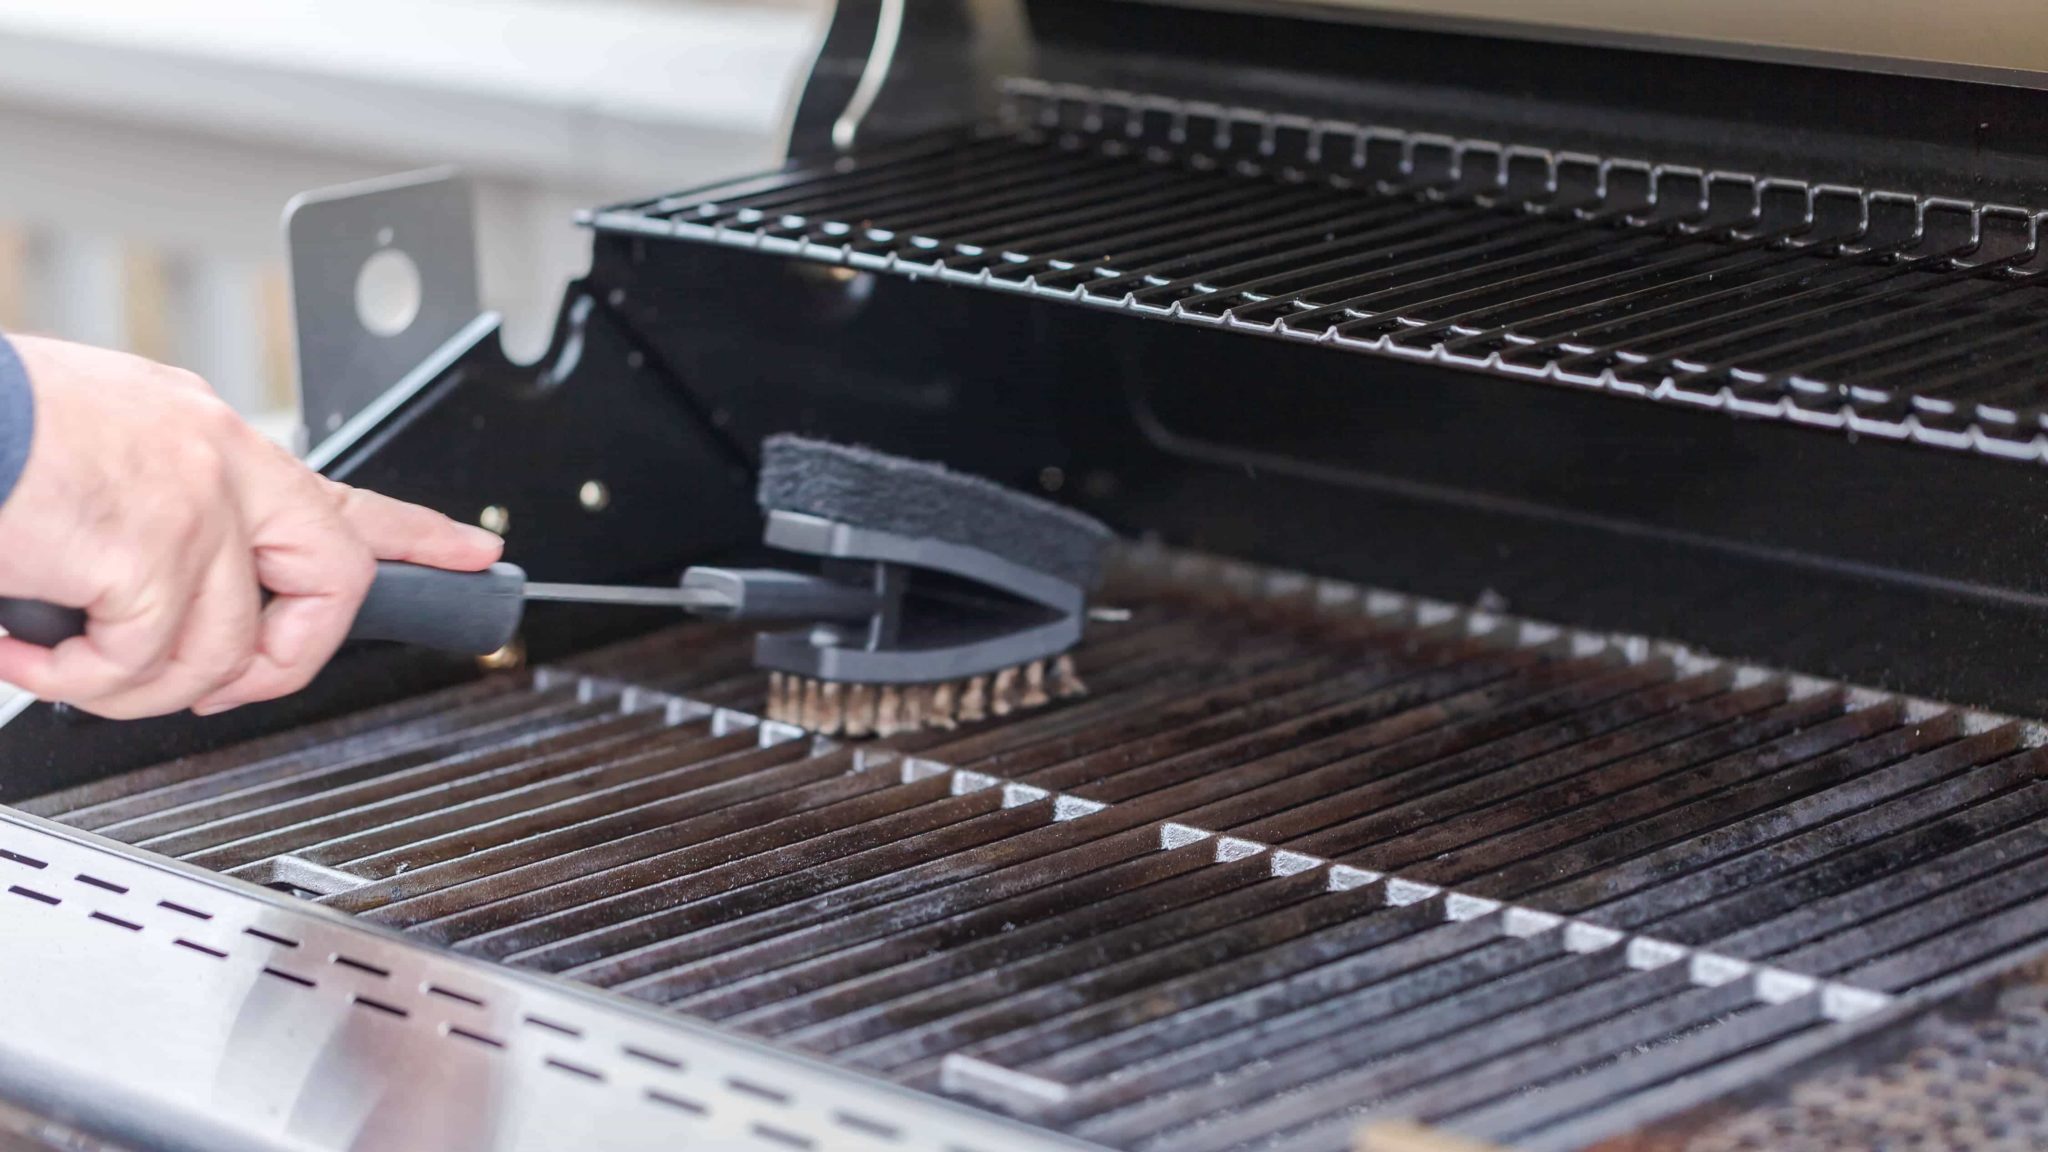
Testing the Gas Line
Upon completing the installation of the gas line for your outdoor grill, thorough testing is imperative to verify its integrity and ensure a secure and reliable gas supply. Rigorous testing not only safeguards against potential leaks but also validates the efficacy of the installation, providing peace of mind as you embark on your outdoor grilling endeavors. Here’s a comprehensive guide to testing the gas line:
- Pressure Test: Conduct a pressure test using a pressure gauge to assess the integrity of the gas line. Pressurize the line to the recommended pressure level and monitor it for a specified duration to detect any fluctuations, which may indicate potential leaks.
- Leak Detection: Employ a gas leak detection solution or a gas leak detector to meticulously inspect all connections, fittings, and joints for potential leaks. This meticulous examination is essential for identifying and rectifying any imperfections in the installation.
- Odor Detection: Familiarize yourself with the distinct odor of natural gas, resembling rotten eggs, to swiftly detect any gas leaks. A keen sense of smell and attentiveness to this odor is crucial for promptly identifying potential leaks during the testing process.
- Professional Inspection: Consider enlisting the expertise of a qualified professional to conduct a comprehensive inspection of the gas line installation. A professional assessment can provide invaluable insights and validation of the integrity of the installation.
By rigorously testing the gas line and meticulously scrutinizing its components, you can ascertain the reliability and safety of the installation. Prioritizing thorough testing is a testament to your commitment to safety and precision, ensuring that your outdoor grilling setup is equipped with a secure and efficient gas supply.
Conclusion
Congratulations on navigating the intricate process of installing a gas line for your outdoor grill with diligence and precision. By prioritizing safety, meticulous planning, and adherence to regulatory guidelines, you have laid the foundation for a secure and reliable gas supply that will elevate your outdoor grilling experience.
Throughout this enlightening journey, you have embraced the essential safety precautions, meticulously planned and prepared for the installation, gathered the requisite tools and materials, and executed a seamless installation of the gas line. Your unwavering commitment to precision and safety has culminated in a robust and efficient gas supply, setting the stage for countless memorable grilling gatherings in your outdoor oasis.
As you bask in the satisfaction of a successful gas line installation, remember to conduct periodic inspections and maintenance to uphold the integrity and efficiency of the gas supply. Additionally, remain attuned to the distinct odor of natural gas, swiftly addressing any potential leaks to safeguard the well-being of yourself and your loved ones.
With the installation of the gas line, you have unlocked a realm of culinary possibilities, seamlessly harnessing the convenience and reliability of a dedicated gas supply for your outdoor grill. Whether you are savoring the joys of al fresco dining or hosting vibrant gatherings, your meticulously installed gas line stands as a testament to your dedication to safety and precision in the realm of outdoor grilling.
Embrace this newfound culinary freedom and relish the seamless functionality of your outdoor grilling setup, knowing that you have embarked on this transformative journey with unwavering commitment and expertise. May your outdoor grilling escapades be infused with delectable flavors, convivial camaraderie, and the assurance of a secure and efficient gas supply, courtesy of your meticulously installed gas line.
Frequently Asked Questions about How To Install Gas Line For Outdoor Grill
Was this page helpful?
At Storables.com, we guarantee accurate and reliable information. Our content, validated by Expert Board Contributors, is crafted following stringent Editorial Policies. We're committed to providing you with well-researched, expert-backed insights for all your informational needs.


0 thoughts on “How To Install Gas Line For Outdoor Grill”