
Articles
How To Clean A Weber Gas Grill
Modified: September 1, 2024
Learn the best tips and tricks to clean your Weber gas grill in this informative article. Keep your grill in top shape for delicious barbecues all summer long!
(Many of the links in this article redirect to a specific reviewed product. Your purchase of these products through affiliate links helps to generate commission for Storables.com, at no extra cost. Learn more)
Introduction
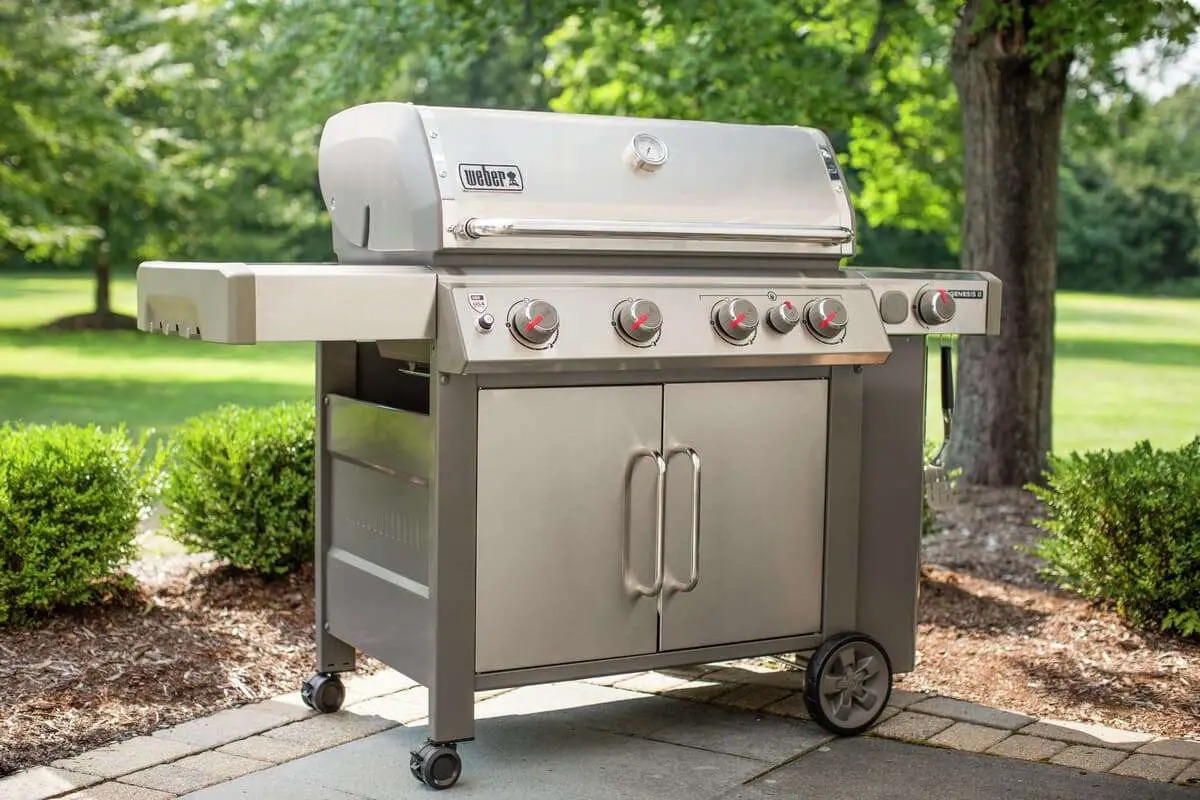
Welcome to our comprehensive guide on how to clean a Weber gas grill. If you’re a grilling enthusiast, you know that maintaining a clean grill is essential for optimal performance and delicious results. Over time, grease, food particles, and carbon buildup can accumulate on the grill grates, burners, and other components, negatively impacting the flavor of your food and potentially causing flare-ups. By following our step-by-step instructions, you’ll be able to keep your Weber gas grill in pristine condition and ensure that every cookout is a success.
Before we dive into the cleaning process, let’s talk about some important safety precautions to keep in mind. It’s crucial to remember that you will be working with hot surfaces and cleaning agents, so taking the necessary precautions will minimize the risk of accidents or injuries. Always wear heat-resistant gloves and eye protection when handling hot grill parts, and ensure that the grill is completely cooled down before starting the cleaning process. Additionally, make sure that the grill is turned off and disconnected from the gas source to prevent any mishaps.
Now that we’ve covered the safety measures, let’s gather a few tools and materials that will come in handy during the cleaning process. You’ll need a grill brush with stainless steel bristles, a wire brush, a sponge or cloth, a bucket of warm soapy water, a mild dish detergent, a spatula or scraper, and some paper towels. It’s also helpful to have a spray bottle filled with a vinegar-water solution or a specialized grill cleaner for tackling tough stains and stubborn grime.
Key Takeaways:
- Regularly cleaning and maintaining your Weber gas grill is crucial for optimal performance and delicious grilling results. Follow safety precautions, use appropriate cleaning agents, and consider a deep clean at least once a year.
- Prioritize safety, wear protective gear, and disconnect the gas source before cleaning your Weber gas grill. Reassemble the grill components carefully and maintain a clean cooking surface for enjoyable grilling experiences.
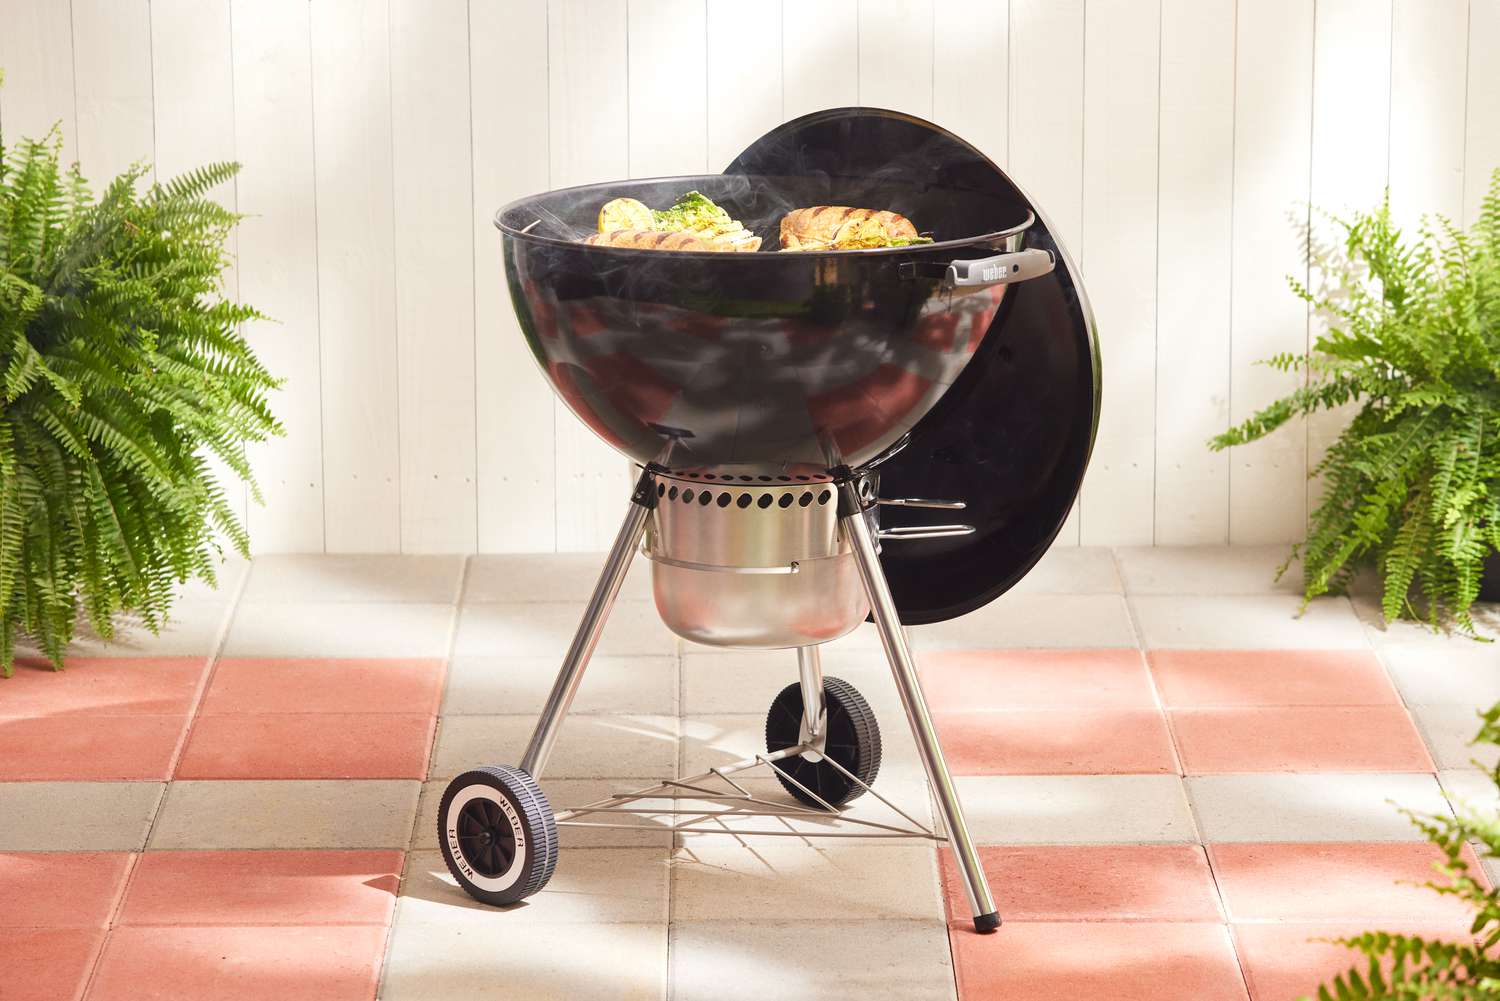
Read more: How To Clean A Weber Kettle Grill
Safety Precautions
As mentioned earlier, cleaning a Weber gas grill involves working with hot surfaces and potentially hazardous substances. Therefore, it’s essential to prioritize safety during the entire cleaning process. By following these safety precautions, you can ensure a safe and efficient cleaning experience:
- Wear protective gear: Before you start cleaning, put on heat-resistant gloves and eye protection. This will protect your hands from burns and shield your eyes from any debris or cleaning agents.
- Allow the grill to cool down completely: It’s crucial to wait until the grill has cooled down before starting the cleaning process. This will prevent any accidental burns or injuries.
- Turn off and disconnect the grill: Ensure that the grill is turned off and disconnected from the gas source before cleaning. This will minimize the risk of gas leaks or flare-ups.
- Use caution when handling hot surfaces: When cleaning the grill grates, burners, or any other hot components, always use heat-resistant gloves or tools to avoid burns.
- Work in a well-ventilated area: Cleaning agents and fumes can be harmful if inhaled. Make sure you clean the grill in a well-ventilated area or open space to prevent any respiratory issues.
- Follow manufacturer’s instructions: Different grill models may have specific cleaning instructions provided by the manufacturer. Be sure to consult the owner’s manual for any specific guidelines or recommendations.
- Dispose of cleaning materials properly: After cleaning, dispose of any used cleaning agents, grease, or debris in a safe and responsible manner.
By adhering to these safety precautions, you can minimize the risk of accidents and injuries while effectively cleaning your Weber gas grill. Now, let’s move on to the step-by-step cleaning process to ensure your grill is sparkling clean and ready for your next backyard barbecue.
Tools and Materials Needed
Before getting started with the cleaning process, it’s important to gather the necessary tools and materials. Having everything prepared and within reach will make the cleaning process more efficient. Here’s a list of items you’ll need:
- Grill brush with stainless steel bristles: A grill brush with sturdy stainless steel bristles will be your primary tool for removing food residues and debris from the grill grates. Make sure the brush is in good condition for effective cleaning.
- Wire brush: A wire brush will come in handy for cleaning hard-to-reach areas and removing stubborn grime. Ensure the wire brush has a comfortable grip handle for easy use.
- Sponge or cloth: A sponge or cloth will be useful for wiping down surfaces and applying cleaning agents. Choose a non-abrasive sponge or microfiber cloth to avoid scratching the grill.
- Bucket of warm soapy water: Prepare a bucket of warm water and add a mild dish detergent to create a soapy cleaning solution. This will be used to clean various parts of the grill.
- Mild dish detergent: Choose a mild dish detergent that is safe for cleaning cooking surfaces. Avoid using harsh chemicals or abrasive cleaners that can damage the grill.
- Paper towels: Keep some paper towels handy for wiping down excess moisture, cleaning small areas, or drying surfaces after cleaning.
- Spatula or scraper: A spatula or scraper will be useful for removing stuck-on food particles from the grill grates. Look for a sturdy and heat-resistant tool.
- Spray bottle with vinegar-water solution or grill cleaner: For tougher stains, a vinegar-water solution or a specialized grill cleaner can be used. Fill a spray bottle with the desired solution for targeted cleaning.
Having these tools and materials readily available will streamline the cleaning process and ensure effective removal of grease, grime, and residue from your Weber gas grill. Now that we have everything we need, let’s move on to the step-by-step cleaning process.
Step 1: Preparing the Grill
Before diving into the actual cleaning process, it’s important to properly prepare your Weber gas grill. Follow these steps to ensure a smooth and efficient cleaning experience:
- Ensure the grill is cool and turned off: Before starting the cleaning process, make sure the grill is completely cool. This will prevent any accidental burns during the cleaning process. Also, double-check that the grill is turned off and disconnected from the gas source to ensure safety.
- Remove the grill grates: Most Weber gas grills have removable grates for easy cleaning. Carefully lift and remove the grates from the grill. Place them on a safe surface where you can easily clean them later.
- Inspect the grill grates: Take a moment to inspect the grill grates for any visible signs of damage, such as rust or excessive wear. If you notice any significant issues, consider replacing the grates to maintain optimal grilling performance.
- Empty the grease tray: Locate the grease tray, typically located beneath the grill. Carefully remove the tray and empty the accumulated grease. You can wipe it clean with a cloth or paper towels if necessary.
- Empty and clean the grease catch pan: Remove the grease catch pan, usually located at the back or side of the grill. Empty any grease or debris from the pan and wipe it clean using warm soapy water. Rinse and dry it thoroughly before reinserting it into the grill.
By following these steps to prepare your grill, you’ll ensure a clean and organized workspace for the rest of the cleaning process. With the grill properly prepared, we can now move on to the next steps, starting with cleaning the grill grates.
Step 2: Cleaning the Grill Grates
Now that you’ve prepared the grill, it’s time to focus on cleaning the grill grates, which are key to ensuring deliciously grilled food. The grill grates can accumulate grease, food particles, and residue over time, so it’s essential to keep them clean.
- Brush off loose debris: Begin by using a grill brush with stainless steel bristles to brush off any loose debris and food particles from the grates. Scrub both sides of the grates to remove as much residue as possible.
- Scrape off stuck-on grime: For any stubborn grime or residue, use a spatula or scraper to scrape it off the grates. Apply gentle pressure to avoid damaging the grates.
- Soak in warm soapy water: Fill a bucket or sink with warm soapy water and submerge the grill grates. Allow them to soak for about 15-30 minutes to loosen any remaining grease or residue.
- Scrub with a sponge or cloth: Remove the grates from the soapy water and scrub them thoroughly with a sponge or cloth. Pay attention to any stubborn areas and gently scrub away the remaining residue.
- Rinse and dry the grates: Once the grates are clean, rinse them thoroughly with water to remove any soap residue. Shake off excess water and use a towel or paper towels to dry them completely.
- Apply oil to the grates: To prevent rust and ensure easy food release, lightly coat the grates with cooking oil. Use a brush or paper towel to evenly spread the oil over the grates.
Cleaning the grill grates regularly will help maintain their longevity and ensure that your food grills evenly and doesn’t stick to the surface. With the grates clean and oiled, it’s time to move on to cleaning the burners.
Read also: 14 Amazing Weber Portable Gas Grill for 2025
Step 3: Cleaning the Burners
The burners are an integral part of your Weber gas grill, responsible for distributing heat and ensuring consistent cooking. Over time, they can become clogged with grease and debris, leading to uneven heat distribution and potential performance issues. Cleaning the burners regularly will help maintain their efficiency and extend their lifespan.
- Disconnect the gas source: Before starting the cleaning process, ensure the grill is turned off and disconnected from the gas source to prevent any accidents.
- Remove the burners: Depending on your grill model, the burners can be easily removable or require some disassembly. Refer to your owner’s manual to find the specific instructions for removing the burners.
- Inspect the burners: Take a close look at the burners and check for any signs of damage, such as rust or corrosion. If you notice any significant issues, consider replacing the burners to maintain optimal grilling performance.
- Clean the burner ports: Using a wire brush or a toothbrush, gently scrub the burner ports to remove any clogs or blockages. Pay special attention to removing any built-up grease or debris that may be obstructing the ports.
- Check the burner tubes: Inspect the burner tubes for any obstructions or debris. You can use a small brush or pipe cleaner to clean out any dirt or buildup within the tubes.
- Wipe down the burners: Use a damp cloth or sponge to wipe down the burners, removing any remaining grease or residue. Be careful not to use strong cleaning agents that may damage the burners.
- Reinstall the burners: Once the burners are clean and dry, carefully reinstall them according to the manufacturer’s instructions. Ensure they fit securely and are properly aligned.
By properly cleaning and maintaining the burners of your Weber gas grill, you’ll ensure even heat distribution and optimal performance during your grilling sessions. With the burners cleaned, it’s time to move on to the next step: cleaning the flavorizer bars.
Step 4: Cleaning the Flavorizer Bars
The flavorizer bars play a crucial role in enhancing the flavor of your grilled food by vaporizing drippings and creating delicious smoke. However, these bars can accumulate grease, food particles, and debris over time, potentially affecting their performance. Cleaning the flavorizer bars regularly will help maintain their efficiency and ensure optimal flavor in your grilled dishes.
- Disconnect the gas source: Before starting the cleaning process, ensure the grill is turned off and disconnected from the gas source to prevent any accidents.
- Remove the flavorizer bars: Carefully remove the flavorizer bars from the grill. Depending on your Weber gas grill model, the bars may be located above or below the grill grates.
- Inspect the bars: Check the flavorizer bars for any signs of damage, such as rust or excessive wear. If you notice any significant issues, consider replacing the bars for optimal grilling performance.
- Scrape off debris: Use a wire brush or scraper to remove any grease, food particles, or debris from the surface of the flavorizer bars. Apply gentle pressure and scrub both sides of the bars to ensure thorough cleaning.
- Soak in warm soapy water: Fill a bucket or sink with warm soapy water and submerge the flavorizer bars. Allow them to soak for about 15-30 minutes to loosen any remaining residue.
- Scrub with a sponge or brush: Remove the flavorizer bars from the soapy water and scrub them with a sponge or brush. Pay attention to any stubborn areas and scrub away the remaining residue.
- Rinse and dry the bars: Once the bars are clean, rinse them thoroughly with water to remove any soap residue. Shake off excess water and use a towel or paper towels to dry them completely.
- Reinstall the flavorizer bars: Carefully place the clean and dry flavorizer bars back into their respective positions in the grill. Ensure they fit securely and are properly aligned.
By regularly cleaning the flavorizer bars of your Weber gas grill, you’ll ensure that they continue to enhance the flavor of your grilled food. With the flavorizer bars cleaned and reinstalled, it’s time to move on to the next step: cleaning the heat deflectors.
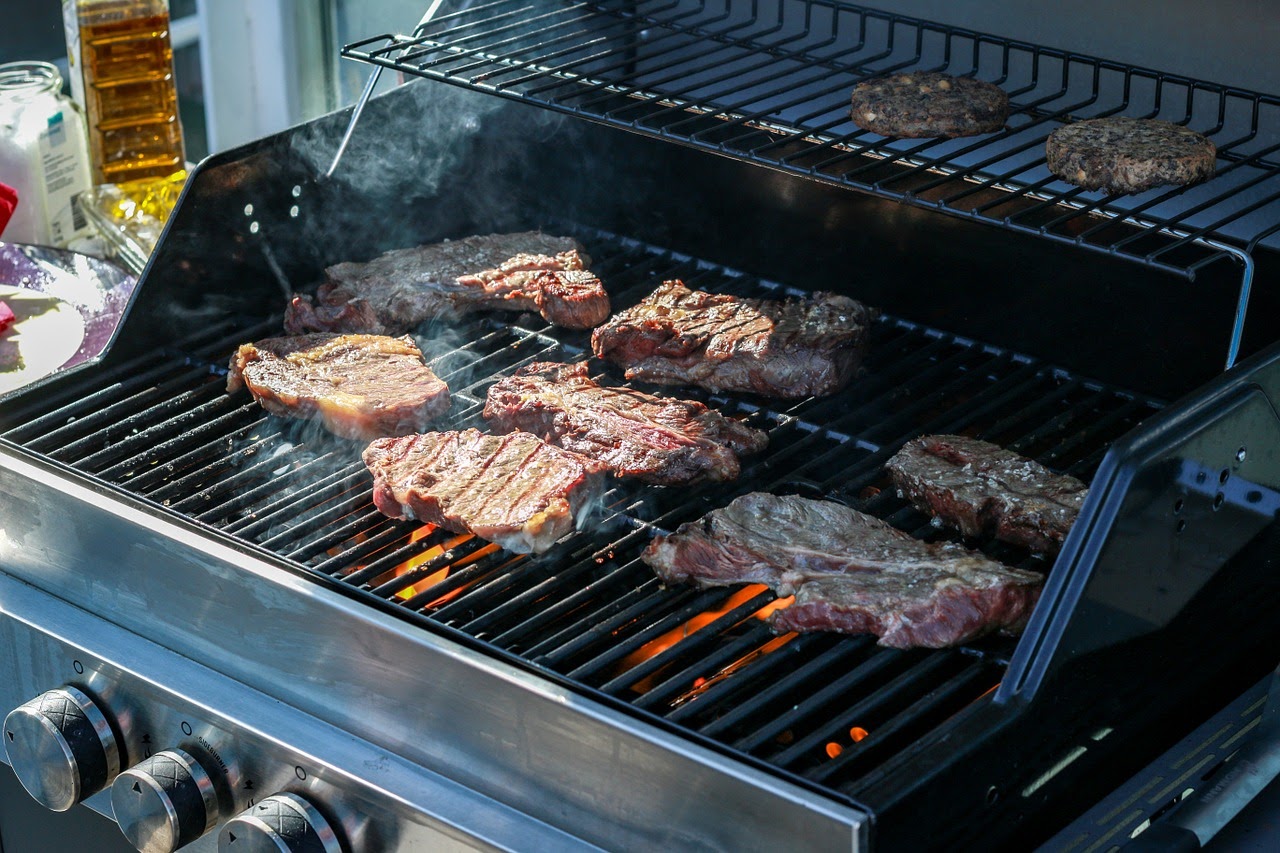
After each use, turn the grill to high for 10-15 minutes to burn off any residue. Then, use a grill brush to clean the grates and wipe down the exterior with a damp cloth.
Step 5: Cleaning the Heat Deflectors
The heat deflectors, also known as heat plates or heat tents, play a crucial role in evenly distributing heat and protecting the burners in your Weber gas grill. Over time, these deflectors can become covered in grease, food drippings, and debris, which can affect their performance and create flare-ups. Cleaning the heat deflectors regularly will help maintain their functionality and ensure optimal grilling results.
- Disconnect the gas source: Before starting the cleaning process, ensure the grill is turned off and disconnected from the gas source to prevent any accidents.
- Access the heat deflectors: Locate the heat deflectors in your Weber gas grill. Depending on the model, the deflectors may be located beneath the burners or above them.
- Remove the heat deflectors: Carefully remove the heat deflectors from the grill. They are typically positioned on top of the burners and can be easily lifted out. Make sure to handle them with care to avoid any damage.
- Inspect the deflectors: Check the heat deflectors for any signs of damage, such as rust or excessive wear. If you notice any significant issues, consider replacing them for optimal grilling performance.
- Scrape off debris: Use a wire brush or scraper to remove any built-up grease, food drippings, or debris from the surface of the heat deflectors. Apply gentle pressure and scrub both sides of the deflectors to ensure thorough cleaning.
- Soak in warm soapy water: Fill a bucket or sink with warm soapy water and submerge the heat deflectors. Allow them to soak for about 15-30 minutes to loosen any remaining residue.
- Scrub with a sponge or brush: Remove the heat deflectors from the soapy water and scrub them with a sponge or brush. Pay attention to any stubborn areas and scrub away the remaining residue.
- Rinse and dry the deflectors: Once the deflectors are clean, rinse them thoroughly with water to remove any soap residue. Shake off excess water and use a towel or paper towels to dry them completely.
- Reinstall the heat deflectors: Carefully place the clean and dry heat deflectors back into their respective positions in the grill. Ensure they fit securely and are properly aligned.
By regularly cleaning the heat deflectors of your Weber gas grill, you’ll maintain the efficiency of the grill and prevent flare-ups caused by grease and debris. With the heat deflectors cleaned and reinstalled, it’s time to move on to the next step: cleaning the grease tray.
Step 6: Cleaning the Grease Tray
The grease tray in your Weber gas grill is designed to collect and trap grease and drippings that occur during cooking. Over time, this tray can become filled with residue and debris, which can lead to unpleasant odors and potentially even pose a fire hazard. Cleaning the grease tray regularly will help maintain a clean and safe grilling environment.
- Disconnect the gas source: Before starting the cleaning process, ensure the grill is turned off and disconnected from the gas source to prevent any accidents.
- Locate the grease tray: Identify the location of the grease tray in your Weber gas grill. It is typically located below the grill or in a designated compartment.
- Remove the grease tray: Carefully remove the grease tray from the grill. Depending on your model, it may slide out or require you to unscrew it.
- Dispose of grease and debris: Empty the contents of the grease tray into a proper disposal container. Dispose of the grease according to local regulations, as it should not be poured down the drain.
- Clean the grease tray: Use warm soapy water and a sponge or brush to thoroughly clean the grease tray. Pay attention to any built-up residue or grease, ensuring it is completely removed.
- Rinse and dry the tray: Rinse the grease tray with clean water to remove any soap residue. Shake off excess water and use a towel or paper towels to dry it completely.
- Reinstall the grease tray: Carefully place the clean and dry grease tray back into its designated location in the grill. Ensure it is properly aligned and securely in place.
By regularly cleaning the grease tray in your Weber gas grill, you’ll prevent grease buildup, maintain a clean grilling environment, and reduce the risk of flare-ups and potential fire hazards. With the grease tray cleaned and reinstalled, it’s time to move on to the next step: cleaning the exterior of the grill.
Read more: How To Clean Gas Grill Burners
Step 7: Cleaning the Exterior of the Grill
While it’s important to focus on cleaning the internal components of your Weber gas grill, keeping the exterior clean is equally essential. Over time, the exterior of the grill can accumulate dirt, grime, and grease splatters, which can affect its appearance and overall cleanliness. Follow these steps to clean the exterior of your grill:
- Prepare a cleaning solution: In a bucket, mix warm water with a mild dish detergent to create a soapy cleaning solution. This solution will help remove grease and dirt from the exterior of the grill.
- Dampen a sponge or cloth: Dip a sponge or cloth into the soapy water solution and wring out any excess liquid. You want the sponge or cloth to be damp, not soaking wet.
- Start cleaning: Gently scrub the exterior of the grill, paying attention to areas with visible dirt or grease stains. Use circular motions to effectively remove the grime. For stubborn stains, you may need to apply a bit more pressure or use a soft brush.
- Focus on stainless steel surfaces: If your grill has stainless steel surfaces, you can use a stainless steel cleaner instead of the soapy water solution for better results. Follow the instructions on the cleaner and apply it to the stainless steel surfaces using a soft cloth or sponge.
- Rinse with clean water: Once you have thoroughly scrubbed and cleaned the exterior of the grill, rinse it with clean water. This will help remove any soap residue and leave a clean finish.
- Dry with a towel: Use a towel or cloth to dry the exterior of the grill. This will prevent water spots and keep the grill looking clean and shiny.
- Polish or protect the exterior: Depending on the material of your grill, you may want to apply a protective polish or coating to keep it looking new and to provide extra protection against the elements. Follow the instructions on the polish or coating product for proper application.
By regularly cleaning the exterior of your Weber gas grill, you’ll maintain its appearance and remove any dirt or grease that could potentially affect its performance. Now that the exterior is clean, it’s time to move on to the final step: reassembling the grill.
Step 8: Reassembling the Grill
Now that you have thoroughly cleaned all the individual components of your Weber gas grill, it’s time to reassemble them and get your grill ready for future cookouts. Follow these steps to reassemble the grill:
- Start with the grill grates: Begin by placing the clean and dry grill grates back into their designated position on the grill. Ensure they fit securely and are aligned properly.
- Reinstall the burners: Carefully position and insert the cleaned burners back into their respective slots. Ensure they fit securely and are properly aligned.
- Place the flavorizer bars: Slide the clean and dry flavorizer bars back onto the grill, positioning them above the burners. Ensure they fit securely and cover the burners.
- Insert the heat deflectors: Put the clean and dry heat deflectors back into their designated positions. Ensure they fit securely and cover the burners and flavorizer bars.
- Replace the grease tray: Carefully place the clean and dry grease tray back into its designated location in the grill. Ensure it fits securely and is aligned properly.
- Reassemble any other removable parts: If there are any other removable parts, such as side tables or warming racks, reattach them to the grill according to the manufacturer’s instructions.
- Clean the exterior once more: Take a moment to give the exterior of the grill a final wipe-down to remove any fingerprints, smudges, or dirt that may have accumulated during the reassembly process.
- Reconnect the gas source: Once everything is reassembled, reconnect the grill to the gas source and ensure it is securely attached. Check for any leaks by using a solution of soapy water and observing for any bubbles forming, indicating a gas leak.
By following these steps to reassemble your Weber gas grill, you’ll ensure that all components are in their proper place, and the grill is ready for the next grilling session. With the grill fully reassembled and connected to the gas source, you can now enjoy cooking delicious meals with the confidence of a clean and well-maintained grill.
Final Tips and Recommendations
Congratulations! You’ve successfully completed the process of cleaning your Weber gas grill. Before we conclude, here are some final tips and recommendations to keep in mind:
- Clean your grill regularly: Regular cleaning is essential to maintain the performance and longevity of your Weber gas grill. Aim to clean your grill at least once every few months, or more frequently if you use it frequently.
- Stay safe: Always prioritize safety by wearing protective gear, disconnecting the gas source, and working in a well-ventilated area. Following safety precautions will ensure a safe and enjoyable grilling experience.
- Consider a deep clean: In addition to regular cleaning, it’s a good idea to schedule a deep clean at least once a year. This involves disassembling the grill and thoroughly cleaning all components.
- Invest in grill covers: To protect your grill from the elements and minimize the accumulation of dirt and debris, consider investing in a high-quality grill cover. This will help extend the lifespan of your grill and reduce the frequency of cleaning.
- Use appropriate cleaning agents: When cleaning your grill, avoid harsh chemicals or abrasive cleaners that can damage the components. Stick to mild dish detergent, warm soapy water, and specialized grill cleaners when necessary.
- Check for propane leaks: Regularly inspect the propane tank and connections for any signs of wear or leaks. If you detect any issues, it’s important to address them promptly to ensure safe grilling.
- Maintain a clean cooking surface: After each use, brush the grill grates to remove excess debris and food particles. This will prevent them from sticking and make subsequent cleaning easier.
- Keep a clean grease tray: Empty and clean the grease tray regularly to prevent excessive grease buildup and reduce the risk of flare-ups. This will also help maintain a clean grilling environment.
- Inspect and replace worn parts: Regularly inspect all grill components for signs of damage or wear, including the grates, burners, flavorizer bars, and heat deflectors. Replace any worn out or broken parts to ensure optimal grilling performance.
- Consult the owner’s manual: Always refer to the owner’s manual or manufacturer’s guidelines for specific cleaning instructions and recommendations for your particular Weber gas grill model.
By following these tips and recommendations, you’ll be able to maintain a clean and well-functioning Weber gas grill, ensuring delicious grilling results for years to come. Happy grilling!
Conclusion
Congratulations on completing the comprehensive guide on how to clean a Weber gas grill! By following the step-by-step instructions and taking the necessary safety precautions, you have successfully restored your grill to its sparkling clean and optimal condition.
Regular cleaning and maintenance of your Weber gas grill are essential for ensuring its longevity, performance, and the quality of your grilled dishes. By removing grease, grime, and debris from the grill grates, burners, flavorizer bars, heat deflectors, grease tray, and exterior, you have not only improved its appearance but also enhanced the flavor of your food.
Remember to clean your grill regularly to prevent the buildup of residue and maintain a clean cooking surface. Additionally, consider scheduling annual deep cleans and checking for propane leaks to ensure your safety and the longevity of your grill.
We hope that this guide has equipped you with the knowledge and confidence to keep your Weber gas grill in pristine condition for years of enjoyable grilling experiences. Please refer to the owner’s manual or manufacturer’s guidelines for any specific cleaning instructions or recommendations for your particular grill model.
Thank you for taking the time to follow this guide. Now, it’s time to fire up your clean Weber gas grill and savor the delicious flavors of your favorite grilled dishes!
Frequently Asked Questions about How To Clean A Weber Gas Grill
Was this page helpful?
At Storables.com, we guarantee accurate and reliable information. Our content, validated by Expert Board Contributors, is crafted following stringent Editorial Policies. We're committed to providing you with well-researched, expert-backed insights for all your informational needs.


0 thoughts on “How To Clean A Weber Gas Grill”