Articles
How To Clean A Gas Grill
Modified: January 18, 2024
Learn how to clean a gas grill with these helpful articles. Get tips and tricks for maintaining your grill and extending its lifespan.
(Many of the links in this article redirect to a specific reviewed product. Your purchase of these products through affiliate links helps to generate commission for Storables.com, at no extra cost. Learn more)
Introduction
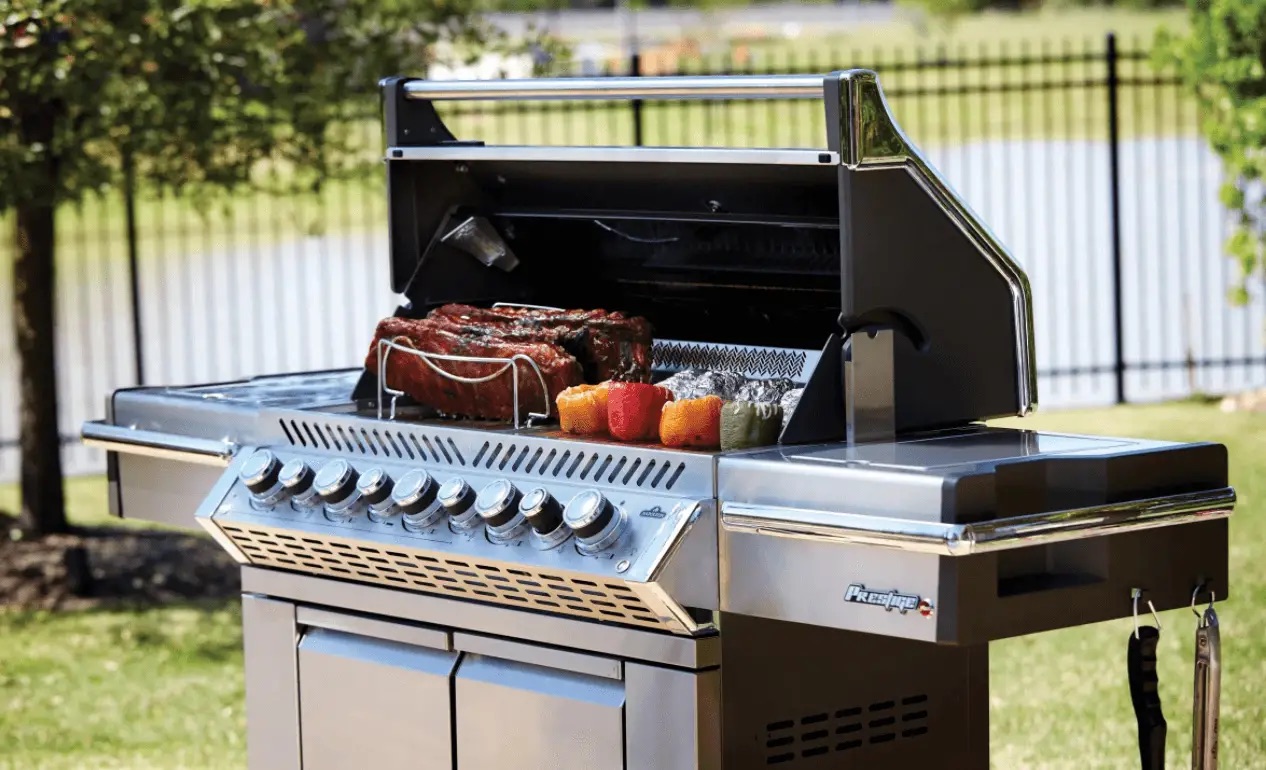
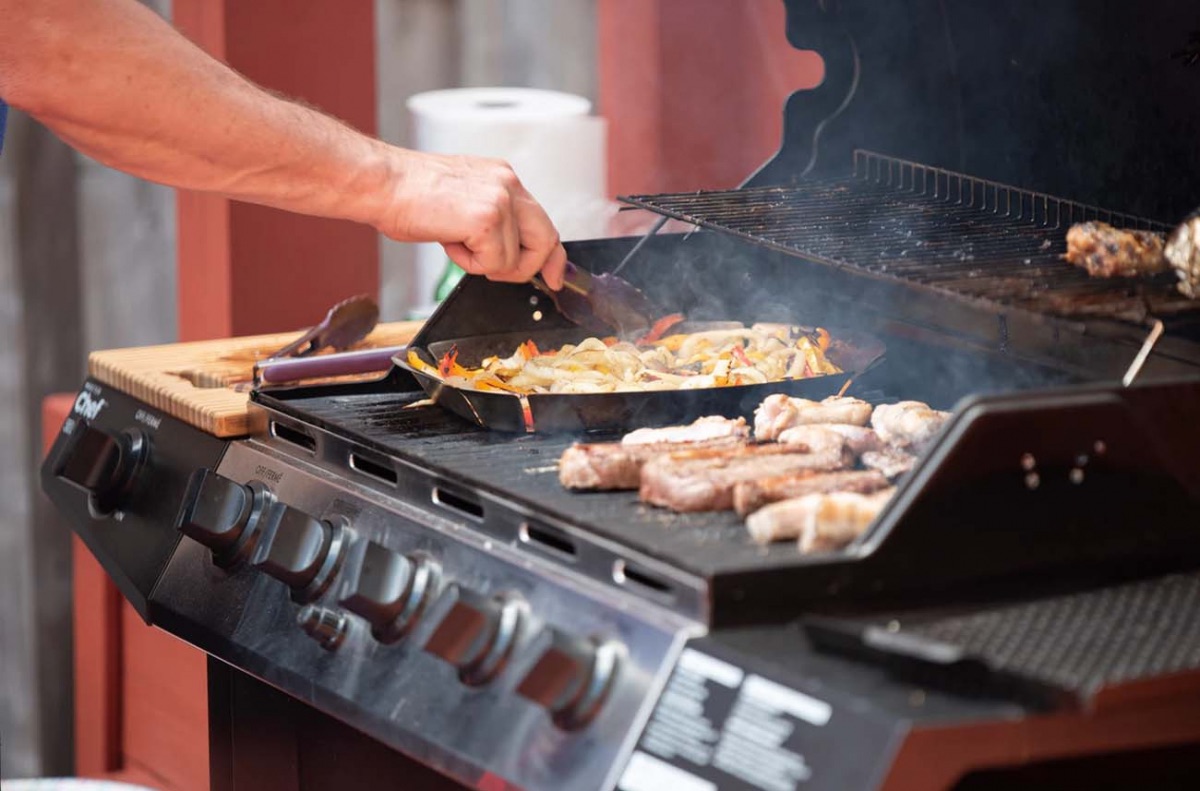
Having a gas grill is a wonderful addition to any backyard or outdoor cooking space. It provides convenience, speed, and delicious results. However, just like any other cooking appliance, a gas grill needs regular cleaning and maintenance to ensure optimal performance and longevity.
Cleaning a gas grill might sound like a daunting task, but with the right techniques and tools, it can be a straightforward and rewarding process. In this article, we will guide you through the step-by-step process of cleaning your gas grill, from preparing the grill to cleaning the exterior, removing the grates, and addressing the burners and ignition system. By following these instructions, you will be able to keep your gas grill in top shape and enjoy countless barbecues and outdoor meals.
Key Takeaways:
- Regular cleaning and maintenance of your gas grill is essential for optimal performance, safety, and longevity. Follow the step-by-step guide to keep your grill in top shape and enjoy countless delicious outdoor meals.
- Prioritize safety, use the right tools, and follow manufacturer’s instructions for effective gas grill cleaning. Incorporate regular maintenance and deep cleaning to ensure a clean, safe, and efficient grilling experience.
Read more: How To Clean A Weber Gas Grill
Preparing the Grill
Before you start the cleaning process, it’s important to take some precautions and prepare the grill properly. Here are the steps to follow:
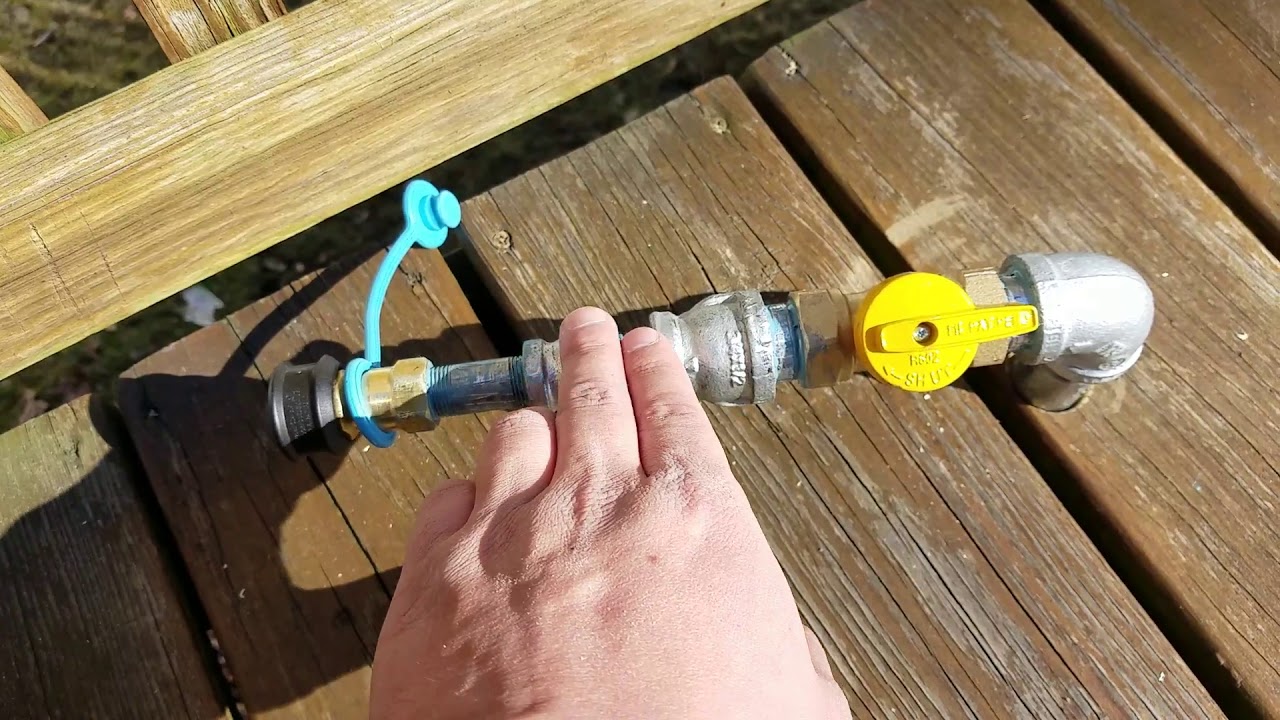
- Disconnect the propane tank or turn off the gas supply to the grill. Safety should always be your top priority, so ensure that there are no gas leaks or potential hazards.
- Remove all accessories and attachments from the grill, including side burners, shelves, and grilling utensils. This will allow you to clean every part of the grill more effectively.
- Place a protective tarp or newspaper under the grill to catch any debris or cleaning solutions that may drip during the cleaning process. This will make clean-up easier and prevent any potential mess.
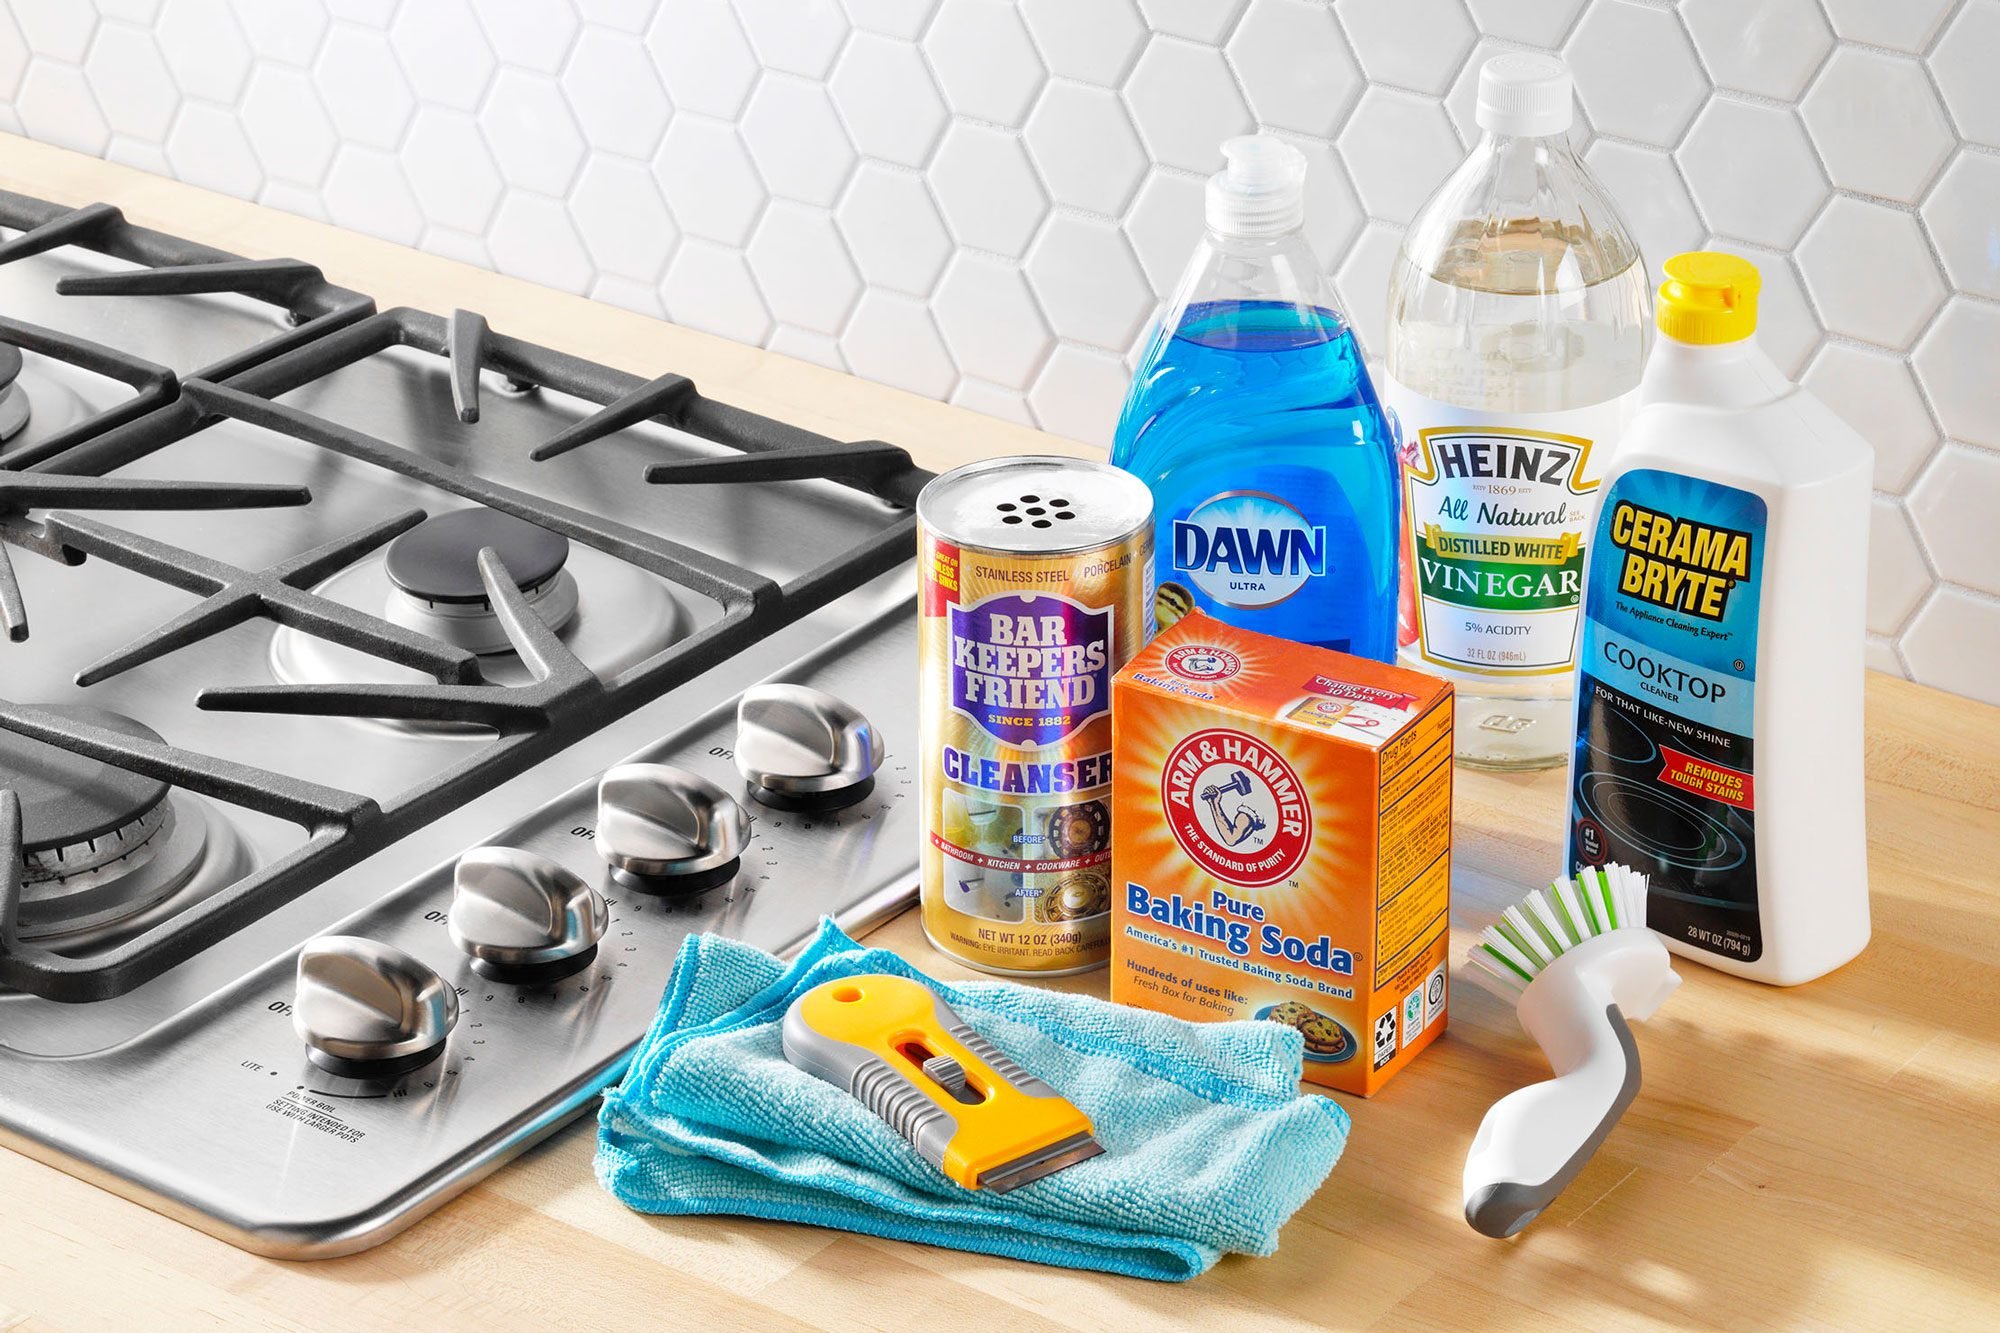
- Gather the necessary cleaning tools, such as a wire brush, grill scraper, mild dish soap, warm water, and a bucket. These tools will help you remove grease, grime, and burnt-on food residue.
Once you have completed these steps, you are ready to move on to the next stage of cleaning your gas grill. Proper preparation ensures that the cleaning process goes smoothly and efficiently, allowing you to achieve the best possible results.
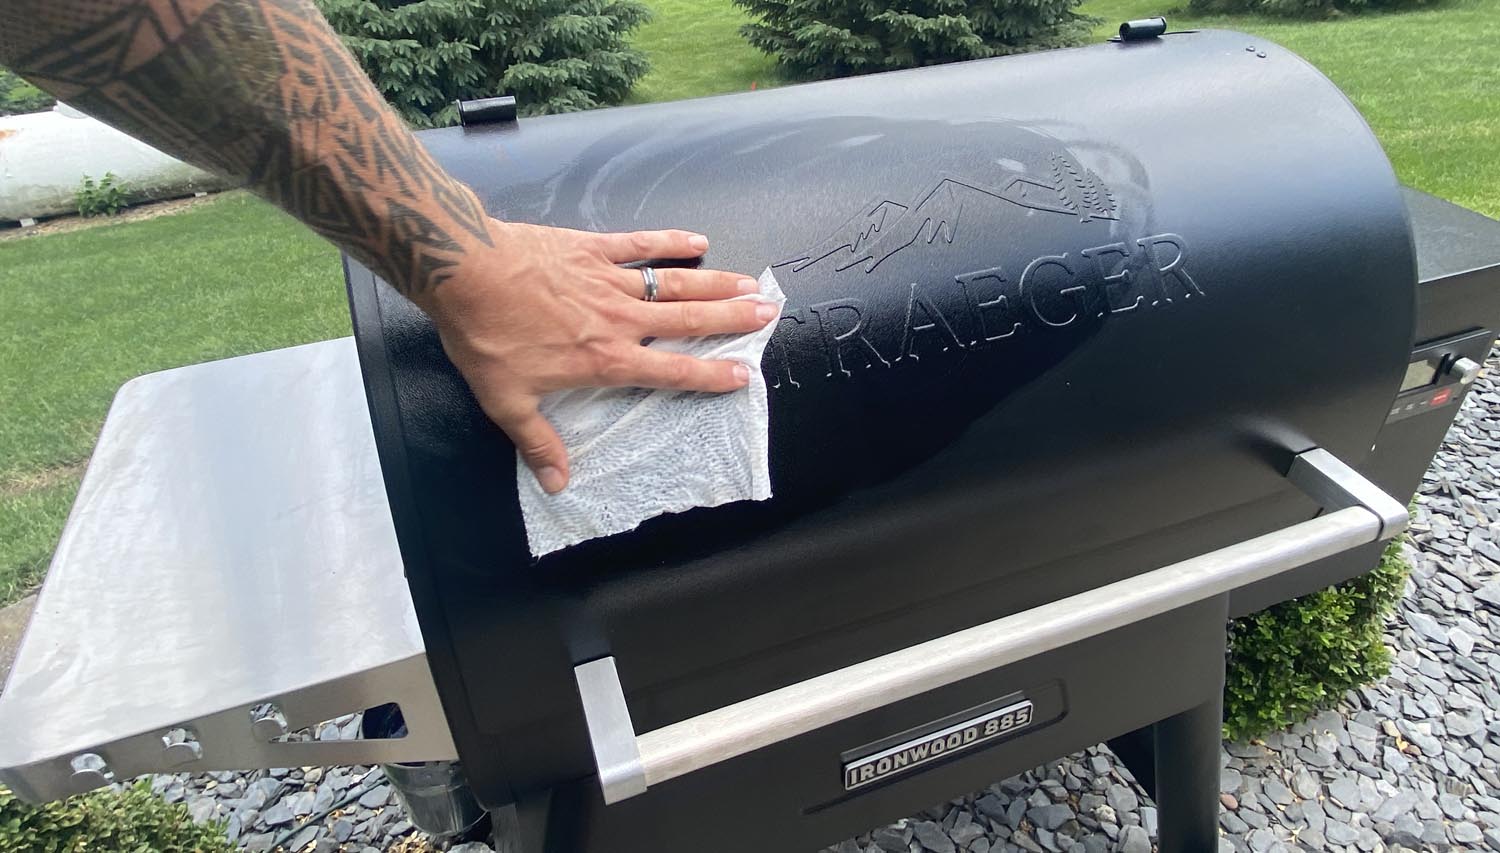
Cleaning the Exterior
The exterior of your gas grill may accumulate dirt, grease, and other residues over time. Cleaning the exterior not only improves the overall appearance of the grill but also prevents the buildup of grime that can affect its performance. Here’s how to clean the exterior of your gas grill:
- Start by filling a bucket with warm water and adding a small amount of mild dish soap.
- Dip a sponge or soft cloth into the soapy water and gently scrub the exterior surfaces of the grill, including the hood, side panels, and control knobs.
- For stubborn stains or grease buildup, use a grill cleaner specifically designed for the exterior surfaces of gas grills. Follow the manufacturer’s instructions and apply the cleaner to the affected areas. Use a sponge or cloth to scrub away the grime.
- Rinse the exterior surfaces of the grill with clean water, removing any soap residue or cleaning solution.
- Dry the grill thoroughly with a clean towel or allow it to air dry.
Cleaning the exterior of your gas grill not only restores its shine but also protects it from rust and corrosion. Regularly cleaning the exterior will prolong the lifespan of your grill and ensure it remains in excellent condition.
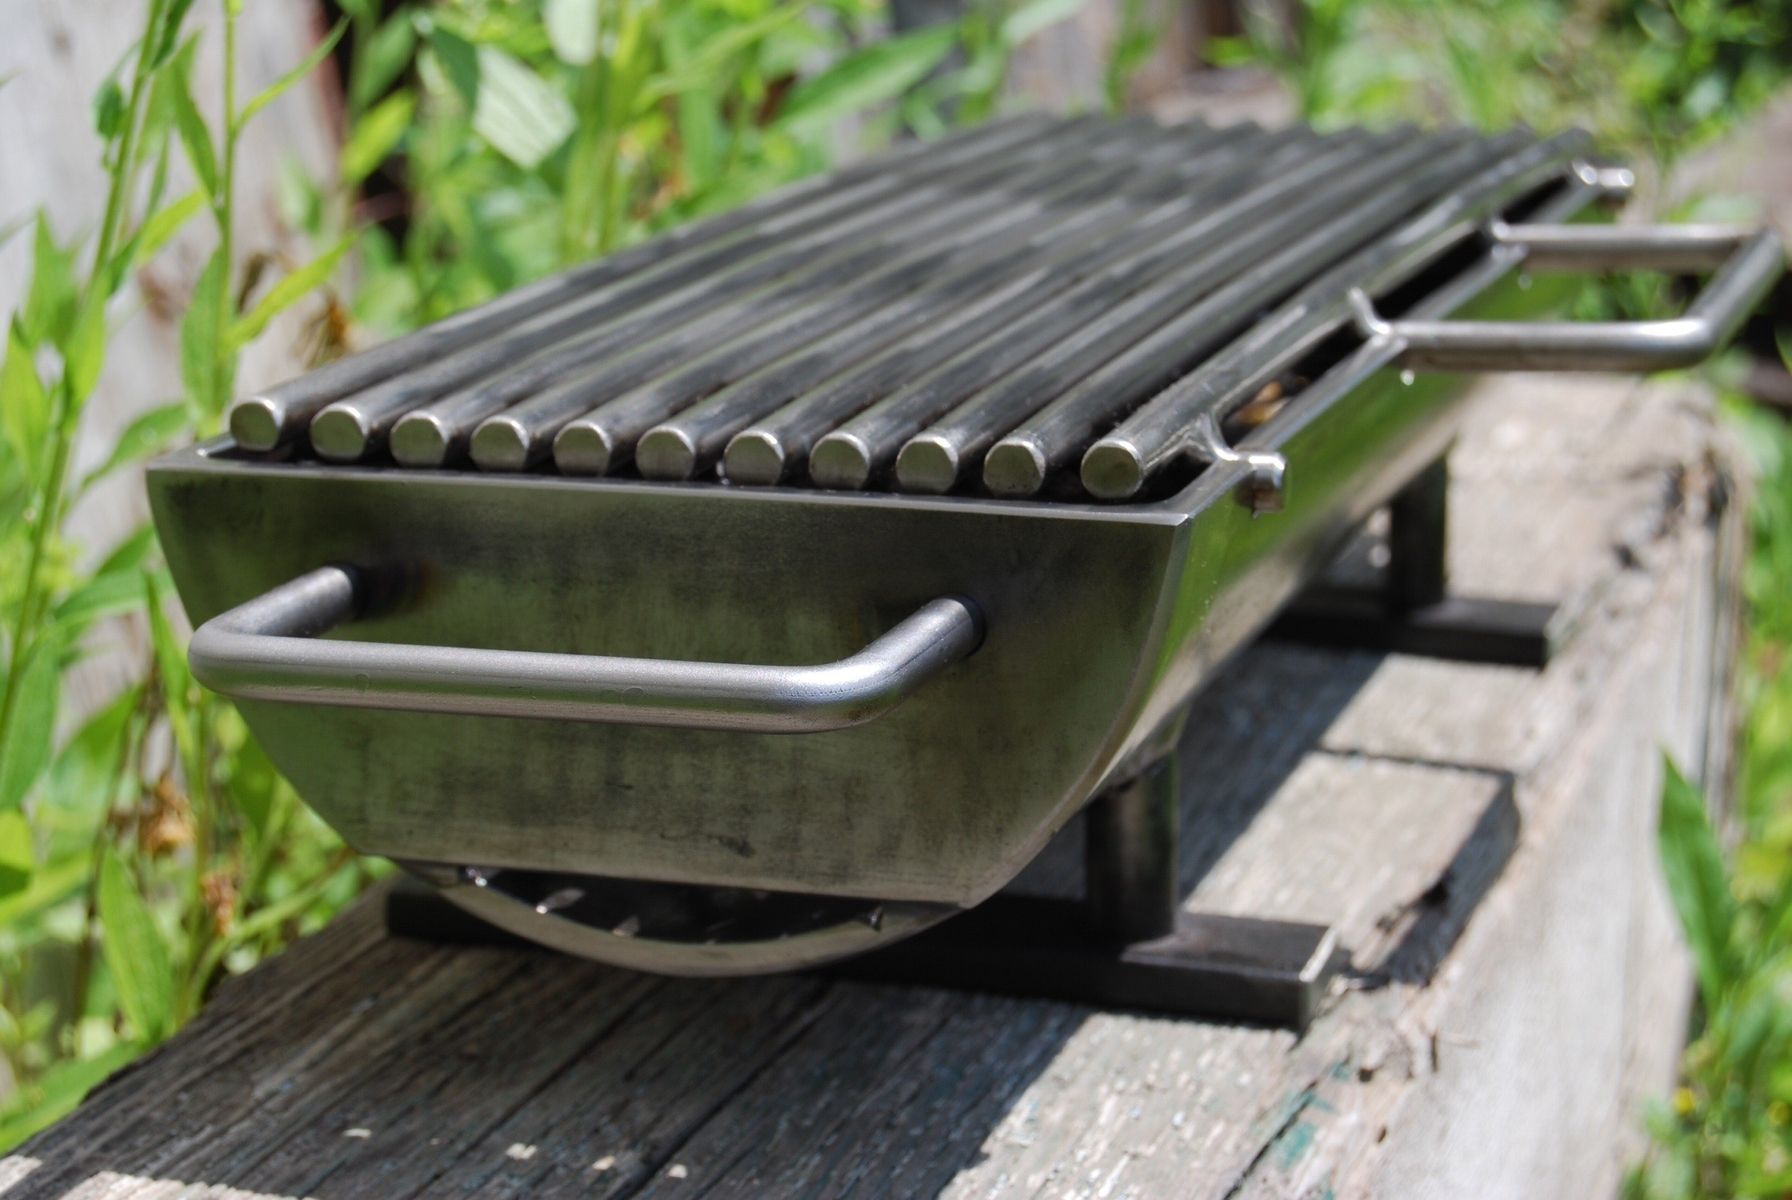
Removing the Grates
The grates of your gas grill are where the cooking magic happens, but they can also accumulate a significant amount of grease, food particles, and carbon buildup. To clean them effectively, you need to remove the grates from the grill. Here’s how:
- Ensure that the grill is completely cool before attempting to remove the grates. This will prevent any burns or accidents.
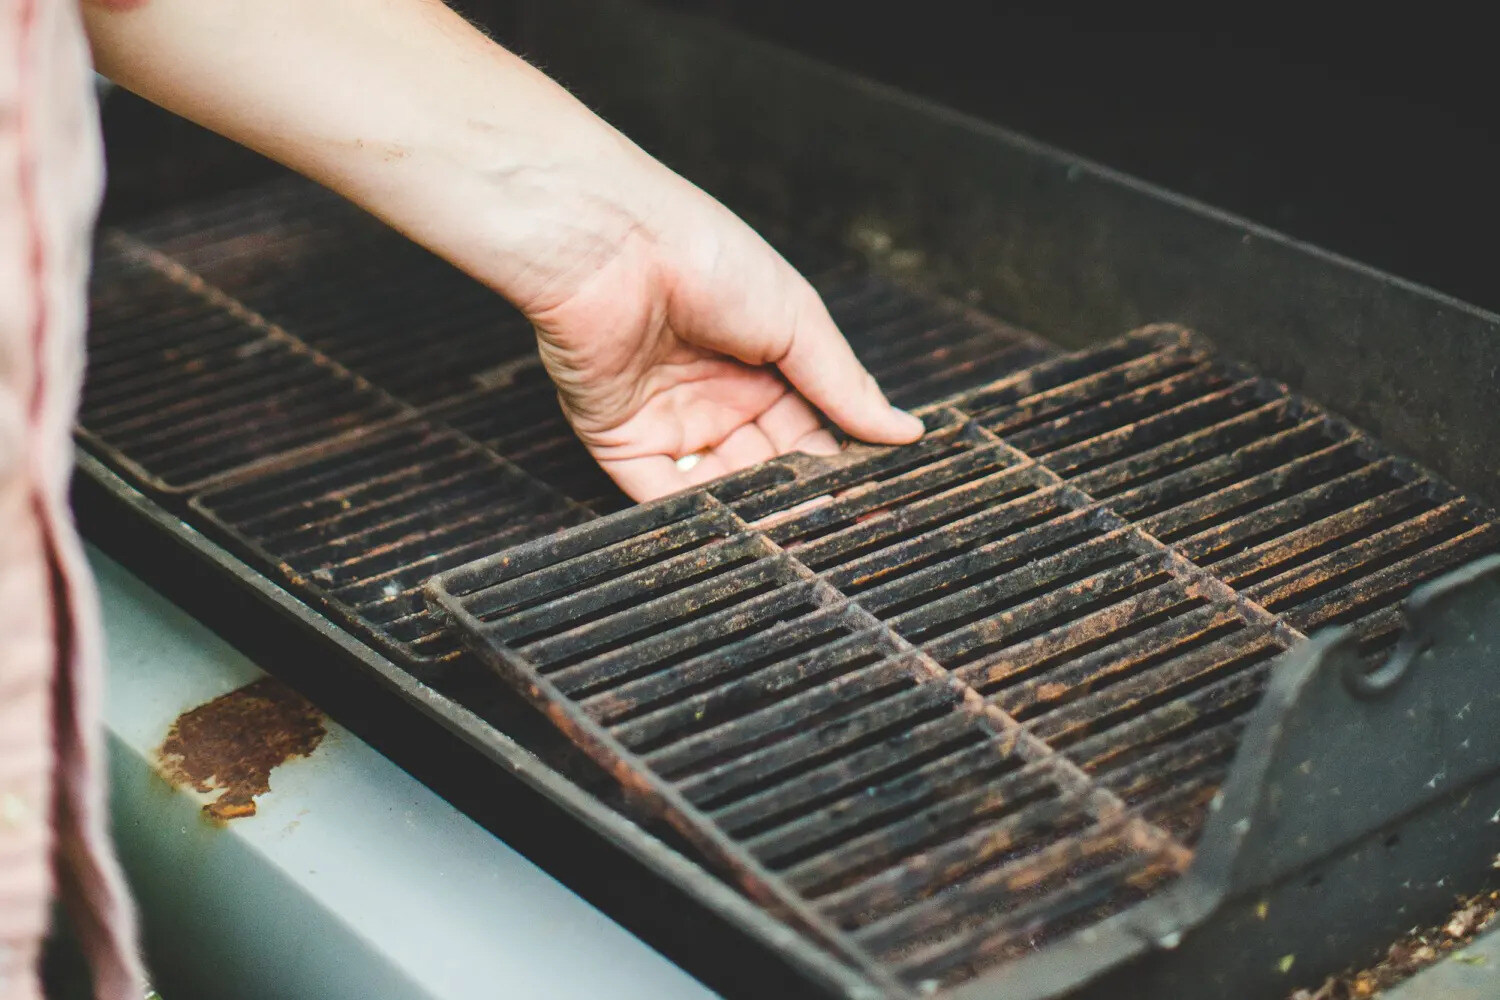
- Open the grill and locate the grates. Depending on your grill model, there may be one or multiple grates.
- Carefully lift the grates from the grill, being mindful of any grease or debris that may fall off. Place them on a clean surface or a tarp.
- Inspect the grates for any loose debris or large chunks of residue. Use a grill brush or scraper to remove any stubborn particles.
- Prepare a mix of warm water and mild dish soap in a bucket. Place the grates in the bucket and let them soak for about 15-20 minutes. This will help to loosen the grease and make the cleaning process easier.
- After soaking, scrub the grates with a grill brush or scouring pad to remove any remaining debris. Pay extra attention to the areas with stubborn stains or carbon buildup.
- Rinse the grates thoroughly with clean water to remove any soap residue.
- Allow the grates to air dry completely or pat them dry with a clean towel.
By removing and cleaning the grates of your gas grill regularly, you ensure that your food cooks evenly, and any remnants from previous meals are eliminated. This enhances the overall taste and prevents flare-ups during cooking.
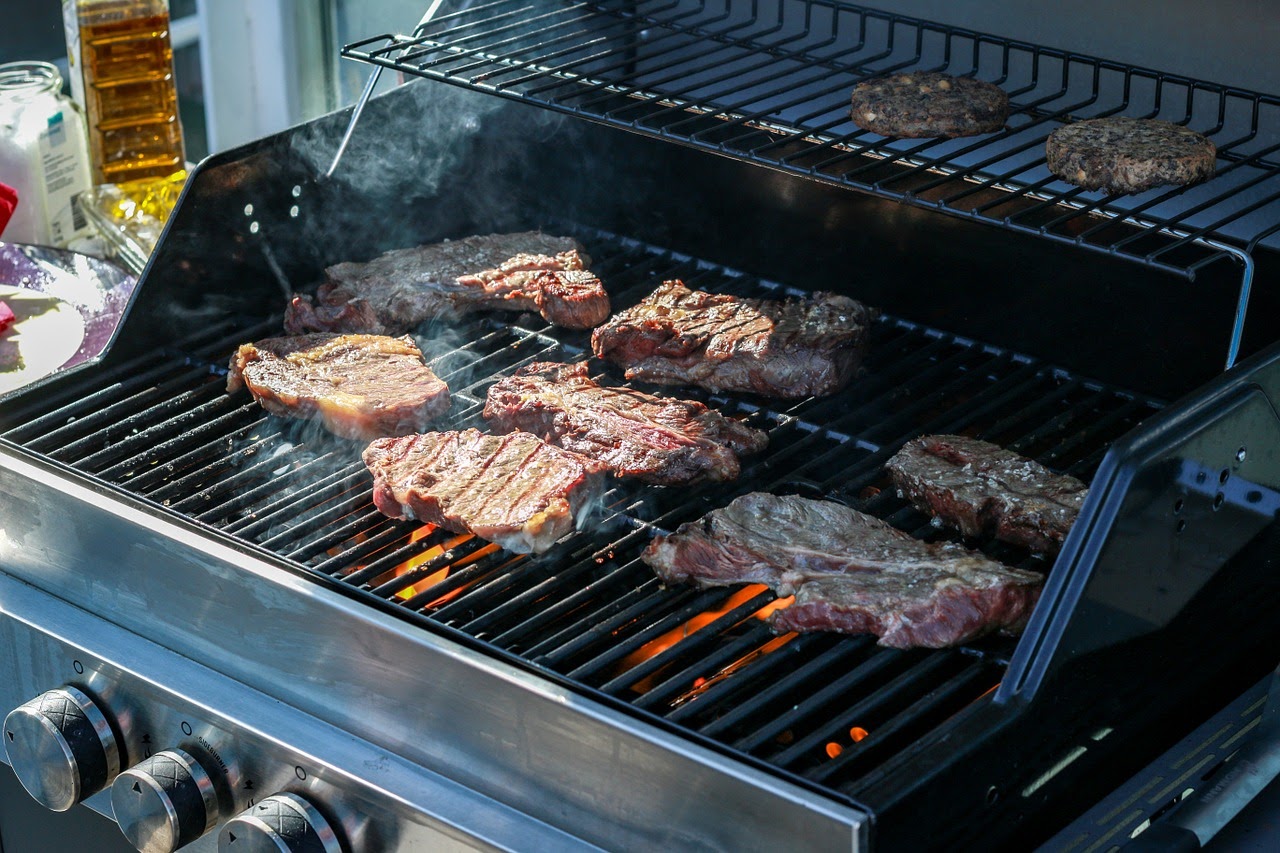
Cleaning the Burners
The burners are the heart of your gas grill, responsible for generating heat and evenly distributing it across the cooking surface. Over time, they can become clogged with grease, food particles, and debris, affecting their performance. Cleaning the burners is essential to maintain optimal functionality. Here’s how to clean the burners of your gas grill:
- Ensure that the grill is completely cool and that the gas supply is turned off.
- Remove the grates and any other accessories that may obstruct access to the burners.
- Inspect the burners for any clogs or blockages. Use a wire brush or a paper clip to carefully clean out any debris from the burner holes. Avoid using anything that could damage or enlarge the holes.
- Check the burner tubes for any obstructions or signs of corrosion. If there are any visible issues, consult the manufacturer’s instructions or contact a professional for assistance.
- Once the burners are clear of debris, mix equal parts of warm water and white vinegar in a spray bottle.
- Spray the mixture onto the burners and allow it to sit for a few minutes. The vinegar will help dissolve any remaining grease or residue.
- Gently scrub the burners with a soft brush or sponge to remove the loosened grime.
- Rinse the burners thoroughly with clean water to remove any vinegar or cleaning solution.
- Allow the burners to dry completely before reassembling the grill.
Regularly cleaning the burners of your gas grill ensures that they operate efficiently, providing consistent heat distribution and minimizing the risk of flare-ups. This will result in better cooking performance and delicious grilled meals every time.
After each use, turn the grill to high for 10-15 minutes to burn off any residue. Then, use a grill brush to scrub the grates and wipe down the exterior with a damp cloth. Finally, remove and clean the burner protectors and drip tray.
Read more: How To Clean Gas Grill Burners
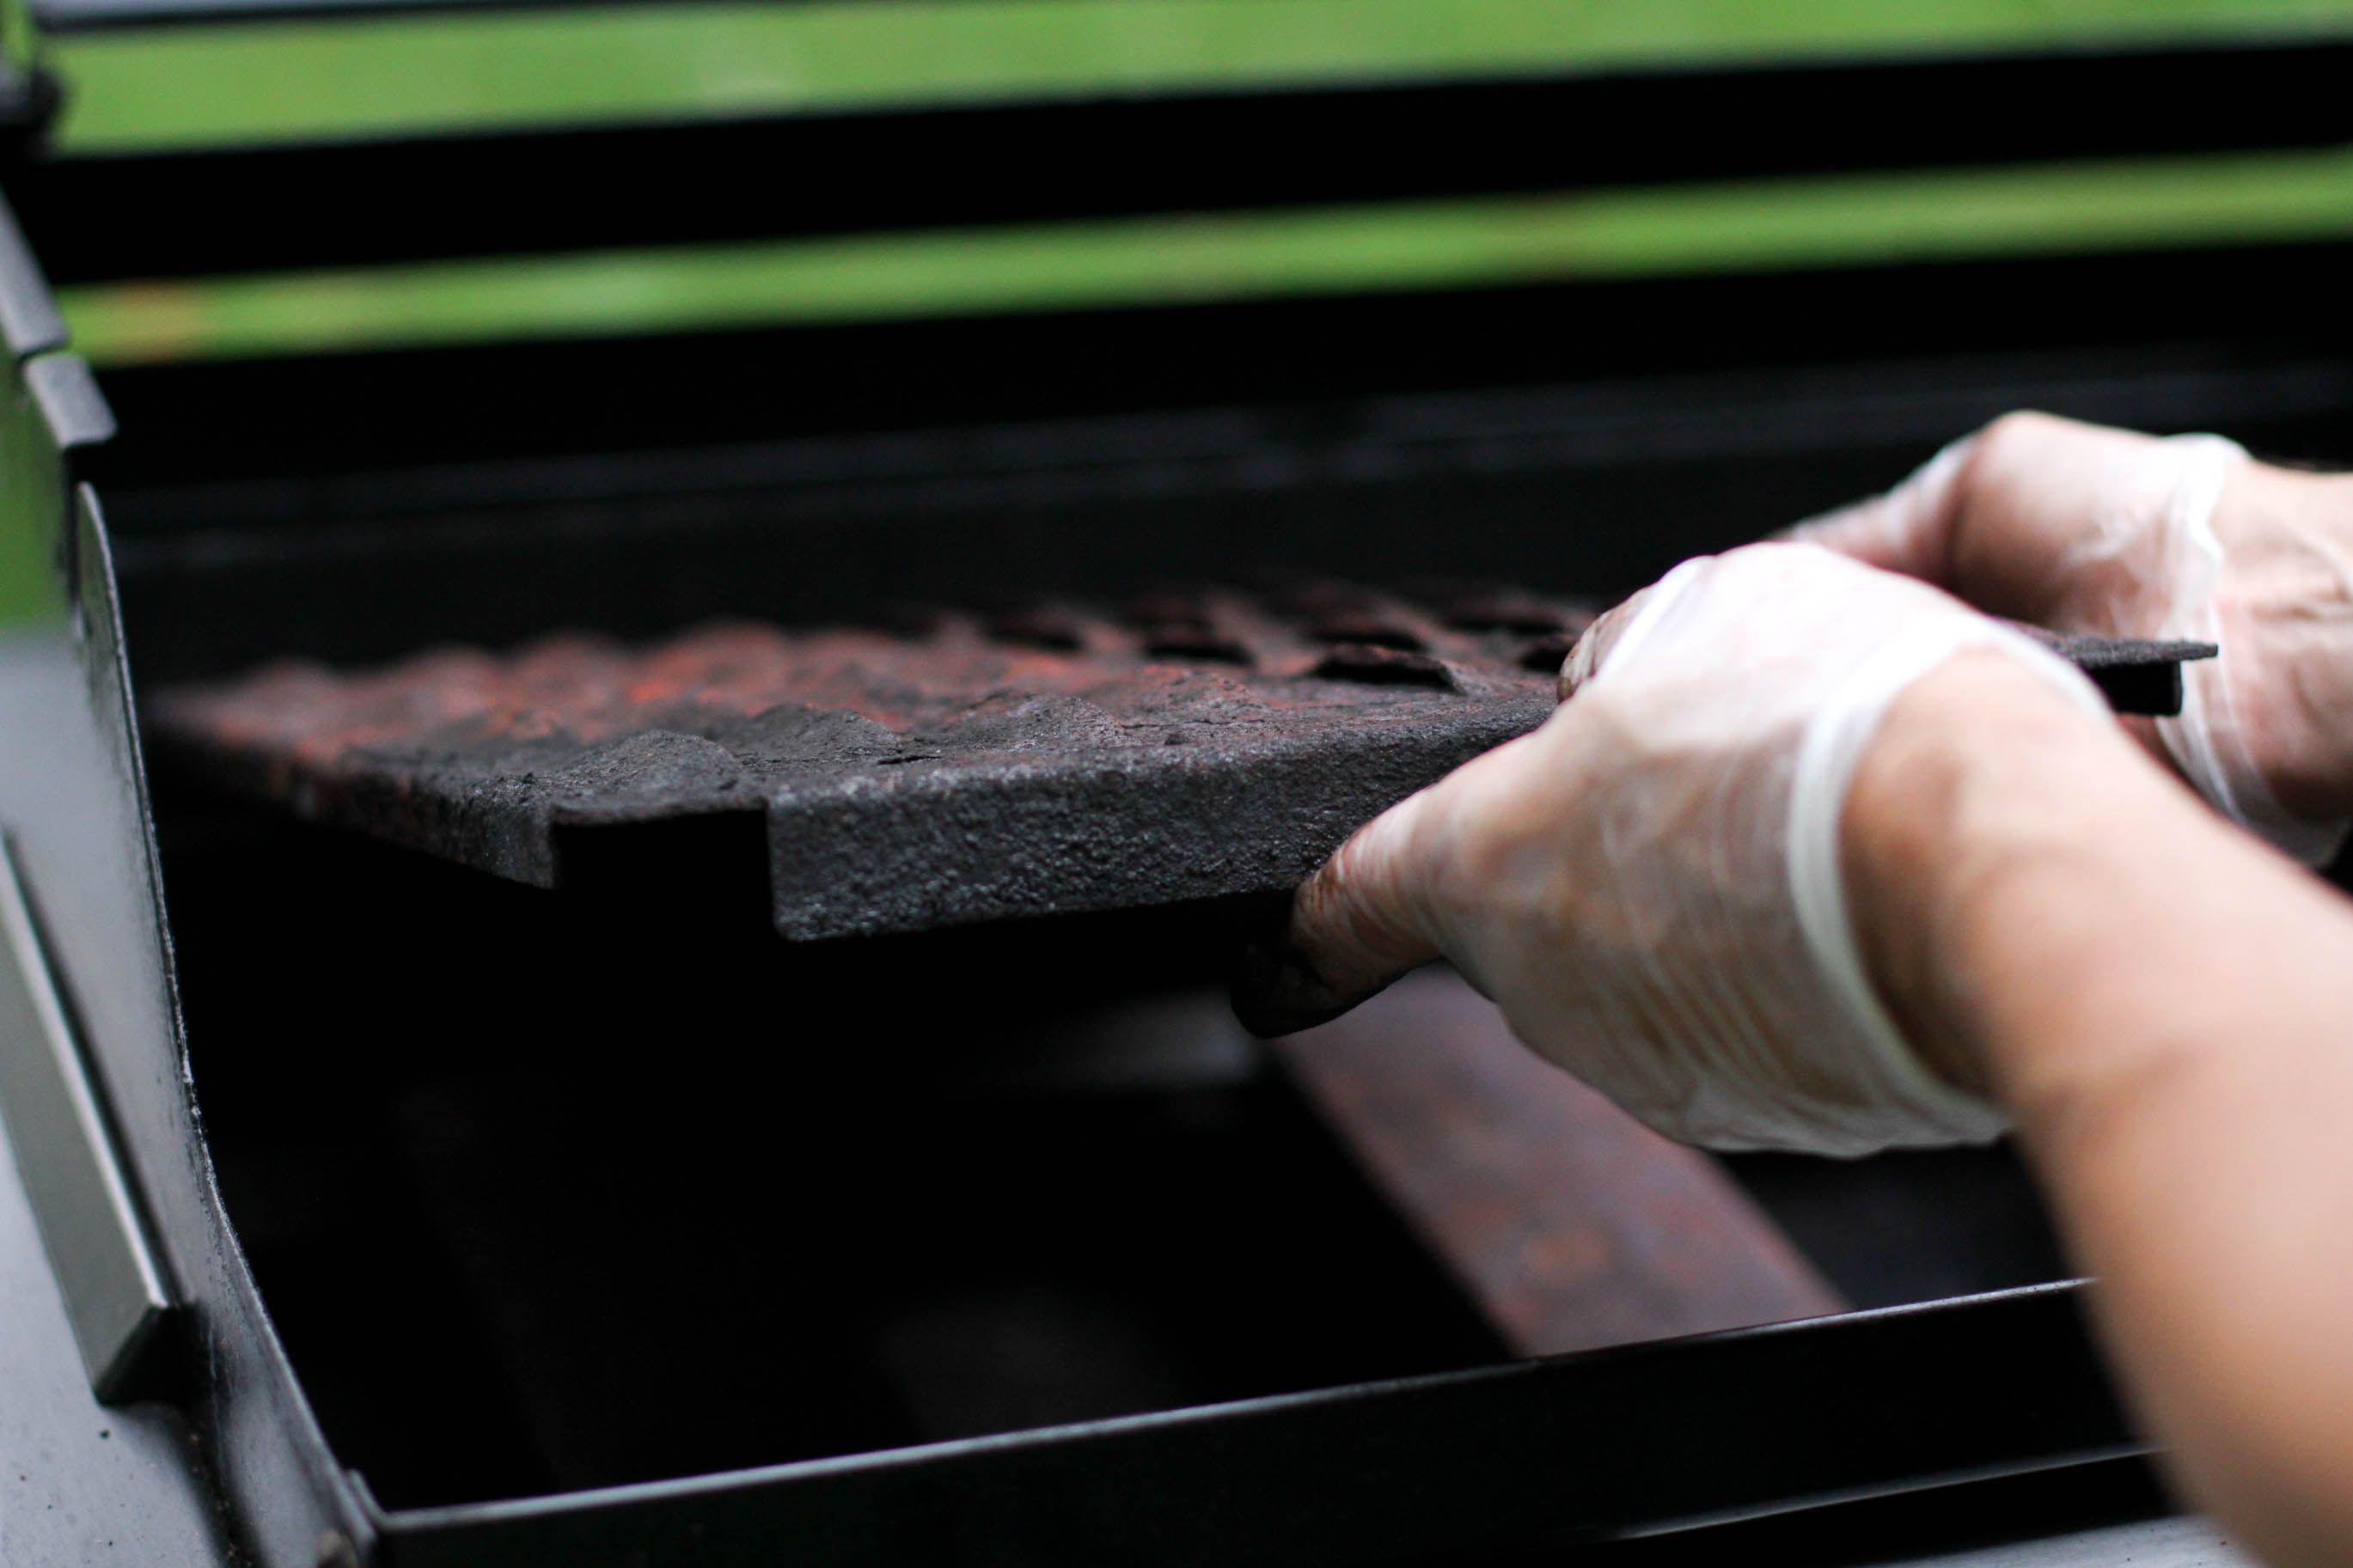
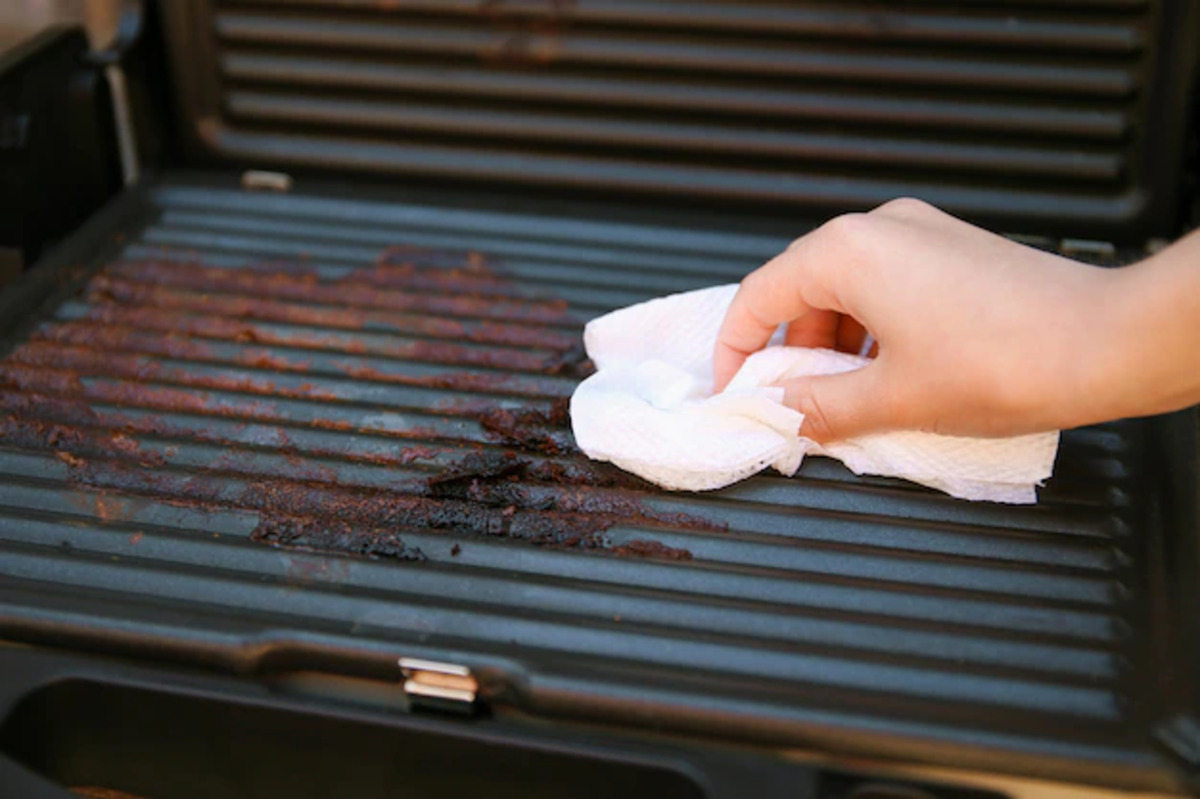
Cleaning the Drip Pan
The drip pan of your gas grill is an often overlooked but crucial component when it comes to cleaning. It collects grease, drippings, and other residues that can build up over time. Regularly cleaning the drip pan is essential to prevent grease fires and maintain a sanitary cooking environment. Here’s how to clean the drip pan of your gas grill:
- Ensure that the grill is completely cool before attempting to clean the drip pan.
- Locate the drip pan, which is usually located underneath the burners.
- Using heat-resistant gloves or tongs, remove the drip pan from the grill.
- Empty the contents of the drip pan into a trash bag or disposable container.
- Scrape off any solid debris or grease buildup using a grill brush or scraper. Be careful not to damage the surface of the drip pan.
- Prepare a mixture of warm soapy water in a bucket.
- Submerge the drip pan in the soapy water and let it soak for a few minutes to help loosen any remaining grease or residue.
- Use a sponge or cloth to scrub the drip pan, paying close attention to any stubborn spots.
- Rinse the drip pan thoroughly with clean water to remove any soap residue.
- Allow the drip pan to air dry completely before placing it back into the grill.
Cleaning the drip pan not only prevents the buildup of grease and food particles but also eliminates any potential fire hazards. Regular maintenance of the drip pan ensures a clean and safe grilling experience every time.
Cleaning the Ignition System
The ignition system of your gas grill is responsible for starting the burners and ensuring a consistent flame. Over time, the ignition system can become dirty or clogged, affecting its performance. Regularly cleaning the ignition system will help maintain its functionality and prevent any ignition issues. Here’s how to clean the ignition system of your gas grill:
- Ensure that the grill is completely cool and that the gas supply is turned off.
- Remove the cooking grates and any other accessories that may hinder access to the ignition system.
- Carefully remove the ignition electrode from each burner, taking note of their positions.
- Inspect the electrodes for any dirt, grease, or corrosion. Use a brush or cloth to gently clean them, ensuring that the small holes or slits are free from debris.
- Check the ignition wires for any damage or fraying. Replace any wires that show signs of wear and tear.
- Use a can of compressed air or a small brush to remove any debris that may be obstructing the ignition system, including the igniter module and the surrounding area.
- Wipe down the electrodes and the ignition system with a damp cloth or sponge to remove any remaining dirt or cleaner residue.
- Allow the ignition system to dry completely before reassembling the grill.
Cleaning the ignition system ensures a reliable and efficient start to your gas grill. Proper maintenance of the ignition system will help you avoid frustrating ignition problems and ensure that your grill is always ready for use.
Reassembling the Grill
After thoroughly cleaning the various components of your gas grill, it’s time to reassemble everything and get it ready for your next grilling session. Here are the steps to follow when reassembling your grill:
- Start by reattaching the cleaned grates back onto the grill, making sure they are properly aligned and sit securely in place.
- If you removed any additional accessories or attachments, such as side burners or shelves, reinstall them according to the manufacturer’s instructions.
- Ensure that all connections, such as propane tanks or gas lines, are properly reconnected and secured to the grill.
- If your grill has a drip pan, insert it back into its designated spot.
- Reposition the ignition electrode in each burner, ensuring they are in the correct locations.
- Double-check that any knobs or controls on the grill are functioning properly and securely in place.
- Remove the protective tarp or newspaper from under the grill and dispose of any debris or cleaning solutions.
Once you have completed these steps, your gas grill is ready to be fired up and enjoyed. Take a moment to admire your clean and well-maintained grill before igniting the burners and beginning your grilling adventure!
Final Tips and Recommendations
Cleaning your gas grill is not just about maintaining its appearance; it also plays a crucial role in its performance and longevity. Here are some final tips and recommendations to keep in mind:
- Regular cleaning: Make it a habit to clean your gas grill after every use or at least once a month, depending on frequency of use. This will prevent the buildup of grease and ensure optimal performance.
- Safety first: Always prioritize safety when cleaning your grill. Ensure that the grill is cool and the gas supply is turned off before starting the cleaning process.
- Use the right tools: Invest in quality cleaning tools, such as grill brushes, scrapers, and wire brushes, to effectively remove grime and debris from your grill.
- Deep cleaning: Consider performing a deep cleaning of your gas grill at least once a year. This involves disassembling all components and thoroughly cleaning each part individually.
- Protective covers: When not in use, consider using a grill cover to protect your gas grill from the elements. This will help prevent rust and maintain its appearance.
- Consult the manufacturer’s instructions: Always refer to the manufacturer’s instructions for specific cleaning guidelines and product recommendations for your specific grill model.
- Regular maintenance: In addition to cleaning, perform regular maintenance tasks such as checking gas connections, inspecting burners and ignitors, and replacing worn-out parts.
- Proper disposal: Dispose of any cleaning solutions, debris, or old parts in accordance with local regulations and environmental guidelines.
By following these tips and recommendations, you can ensure that your gas grill remains in excellent condition, providing you with many enjoyable and delicious grilling experiences for years to come.
Read more: How To Cook On A Gas Grill
Conclusion
Cleaning and maintaining your gas grill is vital for its performance, longevity, and your overall grilling experience. By following the step-by-step process outlined in this article, you can effectively clean the exterior, remove the grates, address the burners and ignition system, clean the drip pan, and reassemble the grill.
Regular cleaning not only enhances the appearance of your gas grill but also ensures that it operates efficiently and safely. Removing grease, grime, and food residue prevents flare-ups, promotes even heat distribution, and reduces the risk of accidents.
Remember to take necessary precautions when cleaning your gas grill, such as ensuring it is cool, disconnecting the propane tank or turning off the gas supply, and using the appropriate cleaning tools and solutions. Always consult the manufacturer’s instructions and guidelines for your specific grill model.
Additionally, don’t overlook other maintenance tasks like checking gas connections, inspecting burners and igniters, and protecting your grill with a cover when not in use. These practices will extend the life and performance of your gas grill.
By incorporating regular cleaning and maintenance into your grilling routine, you can enjoy delicious meals and memorable gatherings with family and friends.
So, grab your cleaning tools, follow the steps outlined in this article, and get ready to keep your gas grill in top shape. Happy grilling!
Frequently Asked Questions about How To Clean A Gas Grill
Was this page helpful?
At Storables.com, we guarantee accurate and reliable information. Our content, validated by Expert Board Contributors, is crafted following stringent Editorial Policies. We're committed to providing you with well-researched, expert-backed insights for all your informational needs.

0 thoughts on “How To Clean A Gas Grill”