Articles
How To Store A Bale Of Hay
Modified: January 8, 2024
Learn the best techniques for storing a bale of hay with our informative articles. Get expert advice and tips on preserving the quality of your hay.
(Many of the links in this article redirect to a specific reviewed product. Your purchase of these products through affiliate links helps to generate commission for Storables.com, at no extra cost. Learn more)
Introduction
Welcome to our comprehensive guide on how to properly store a bale of hay. Whether you are a farmer, a horse owner, or simply someone who wants to learn about hay storage, this article will provide you with all the necessary information. Hay is an essential source of food for livestock, so it is crucial to store it correctly to maintain its quality and prevent damage.
In this guide, we will take you through the step-by-step process of storing a bale of hay. We will cover everything from preparing the storage area to weatherproofing it, ensuring that your hay remains fresh and free from moisture, mold, and pests. Let’s dive in!
Key Takeaways:
- Properly preparing, wrapping, stacking, weatherproofing, and maintaining hay bales is essential for preserving their quality and nutritional value, ensuring a reliable food source for livestock.
- Attention to detail and regular maintenance are key to successful hay storage, leading to a well-preserved and reliable supply of hay for livestock.
Read more: How To Store Hay For Rabbits
Step 1: Preparing the Storage Area
Before storing your bales of hay, it’s crucial to make sure the storage area is appropriately prepared. Here are the steps you need to follow:
- Clean the area: Start by clearing the storage area of any debris, weeds, or other organic materials. This will help prevent pests and mold from infesting your hay.
- Lay a base: Lay down a base in the storage area to provide a barrier between the ground and the hay. This can be a layer of pallets, plastic sheets, or crushed gravel. The base helps to prevent moisture from seeping into the bales.
- Consider ventilation: If possible, choose a storage area that allows for proper airflow. Good ventilation helps to reduce moisture buildup and prevents the formation of mold. If your storage area doesn’t naturally have good airflow, consider installing vents or using fans to circulate air.
- Protect from rodents: Take precautions to protect your hay from rodents. Seal off any entry points and consider using rodent repellents or traps to keep them away from your stored hay.
- Ensure adequate space: Make sure you have enough space in your storage area to accommodate the size and quantity of bales you need to store. Avoid overcrowding, as this can lead to increased moisture buildup and the risk of mold.
- Organize the storage area: Create clear pathways within your storage area to access the bales easily. Group similar types of hay together and label them accordingly for ease of identification later on.
By following these steps, you will ensure that your storage area is well-prepared and ready to house your bales of hay. This initial preparation is essential to maintain the quality of your hay and prevent any potential damage. Now, let’s move on to the next step!
Step 2: Wrapping the Bale
Once your storage area is prepared, it’s time to properly wrap the bales of hay. Wrapping the bales helps to protect them from moisture, preserve their nutritional value, and prevent mold growth. Here are the steps to follow:
- Choose the right wrapping material: Select a durable and high-quality wrapping material specifically designed for hay storage. Common options include plastic wrap or netting. Ensure that the material provides sufficient protection from moisture and UV rays.
- Wrap the bales tightly: When wrapping each bale, make sure the material is wrapped tightly around it. This will prevent air and moisture from getting inside and causing spoilage.
- Overwrap the ends: Pay special attention to the ends of the bales, as they are more susceptible to moisture penetration. Ensure that the wrapping material extends beyond the ends and is tightly secured to provide extra protection.
- Seal any holes: Inspect the wrapped bales for any holes or tears in the wrapping material. Patch up any holes immediately, as they can provide entry points for moisture and pests.
- Stack wrapped bales properly: As you wrap each bale, stack them in your storage area in a stable and organized manner. Position them in rows, leaving enough space between each row for air circulation.
Properly wrapping the bales of hay is crucial to maintaining their quality and preventing spoilage. The tight wrapping and secure sealing will create a barrier against moisture, pests, and other potential contaminants. This step ensures that your hay remains in good condition throughout its storage period. Let’s now move on to the next step!
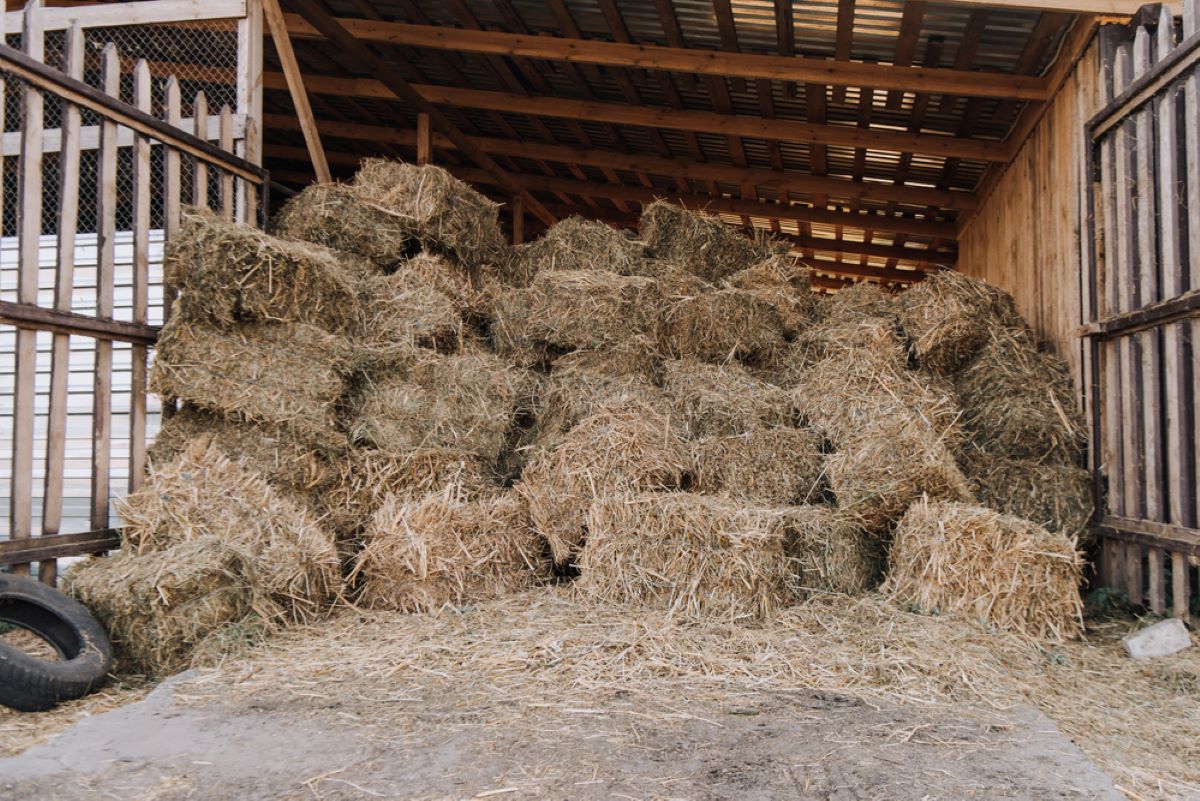
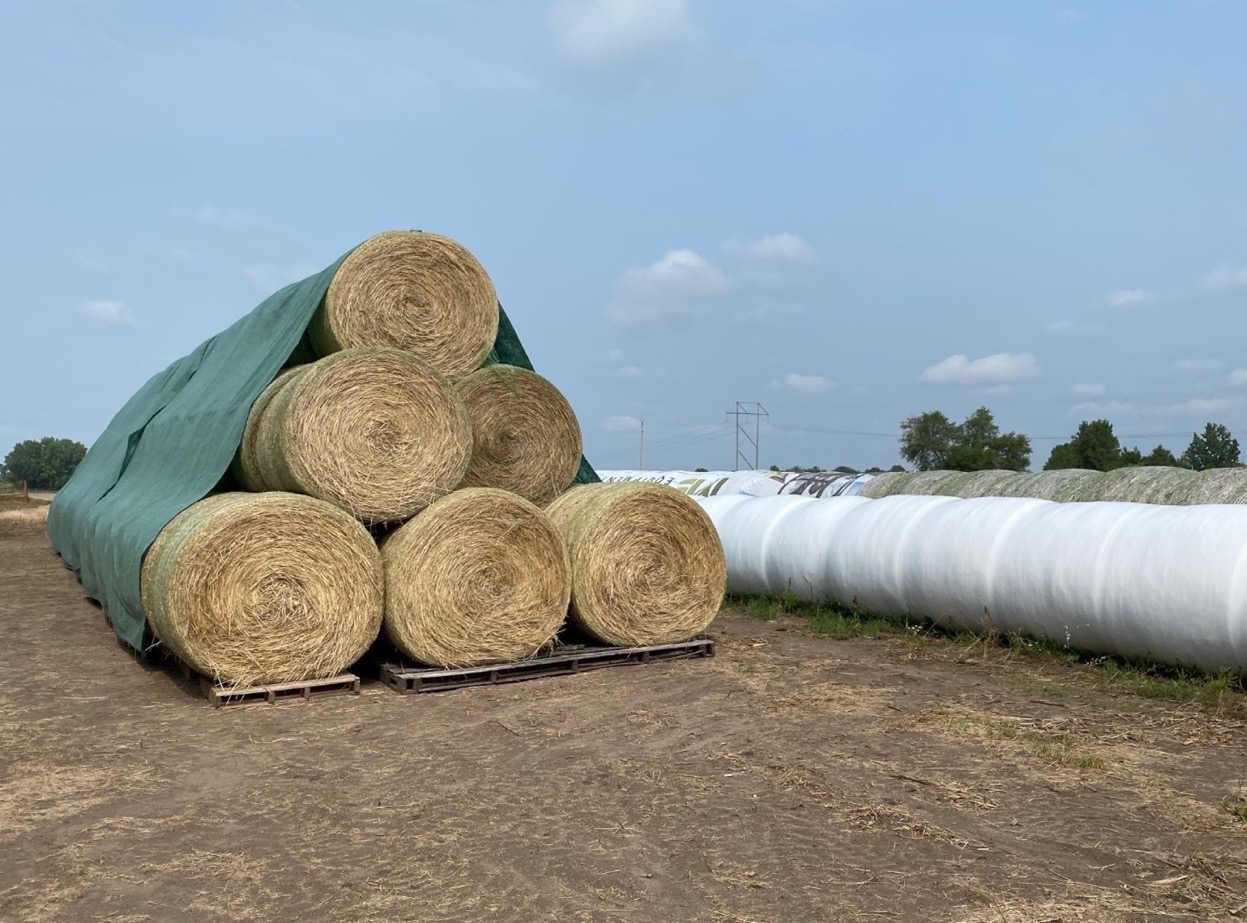
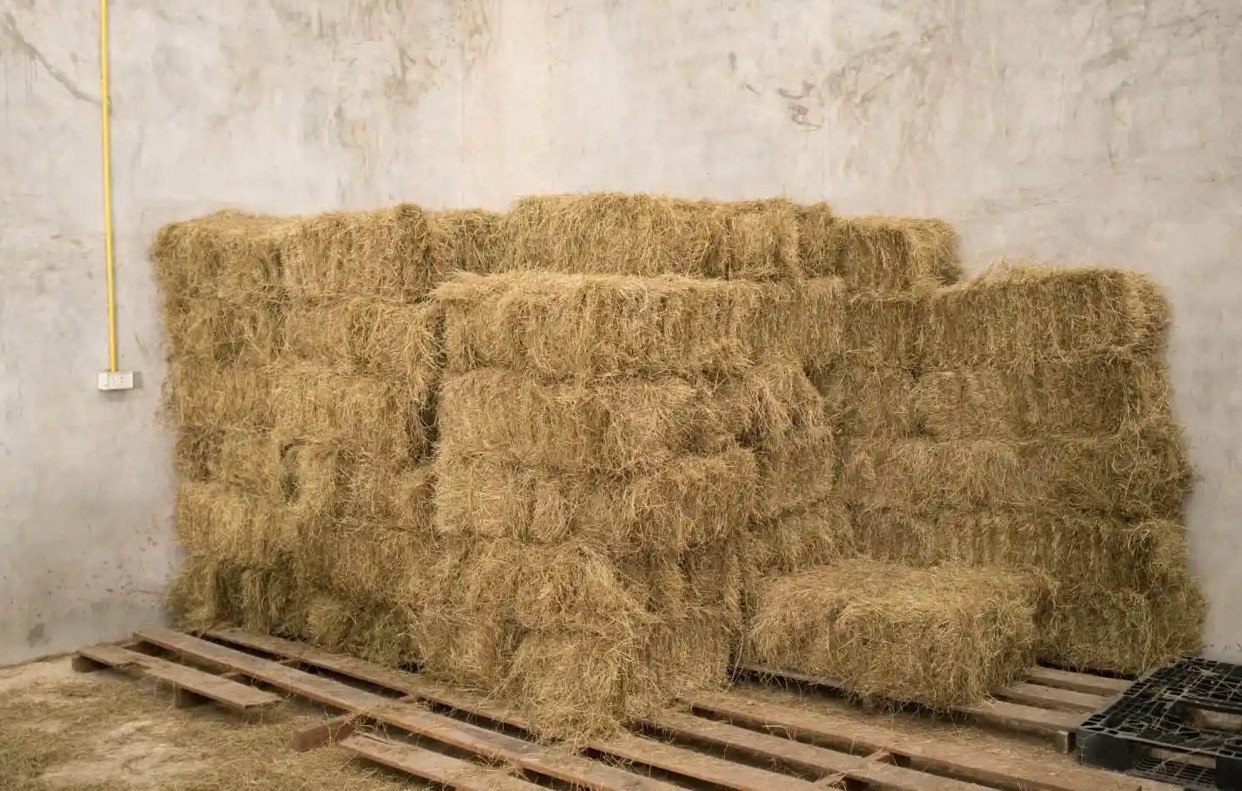
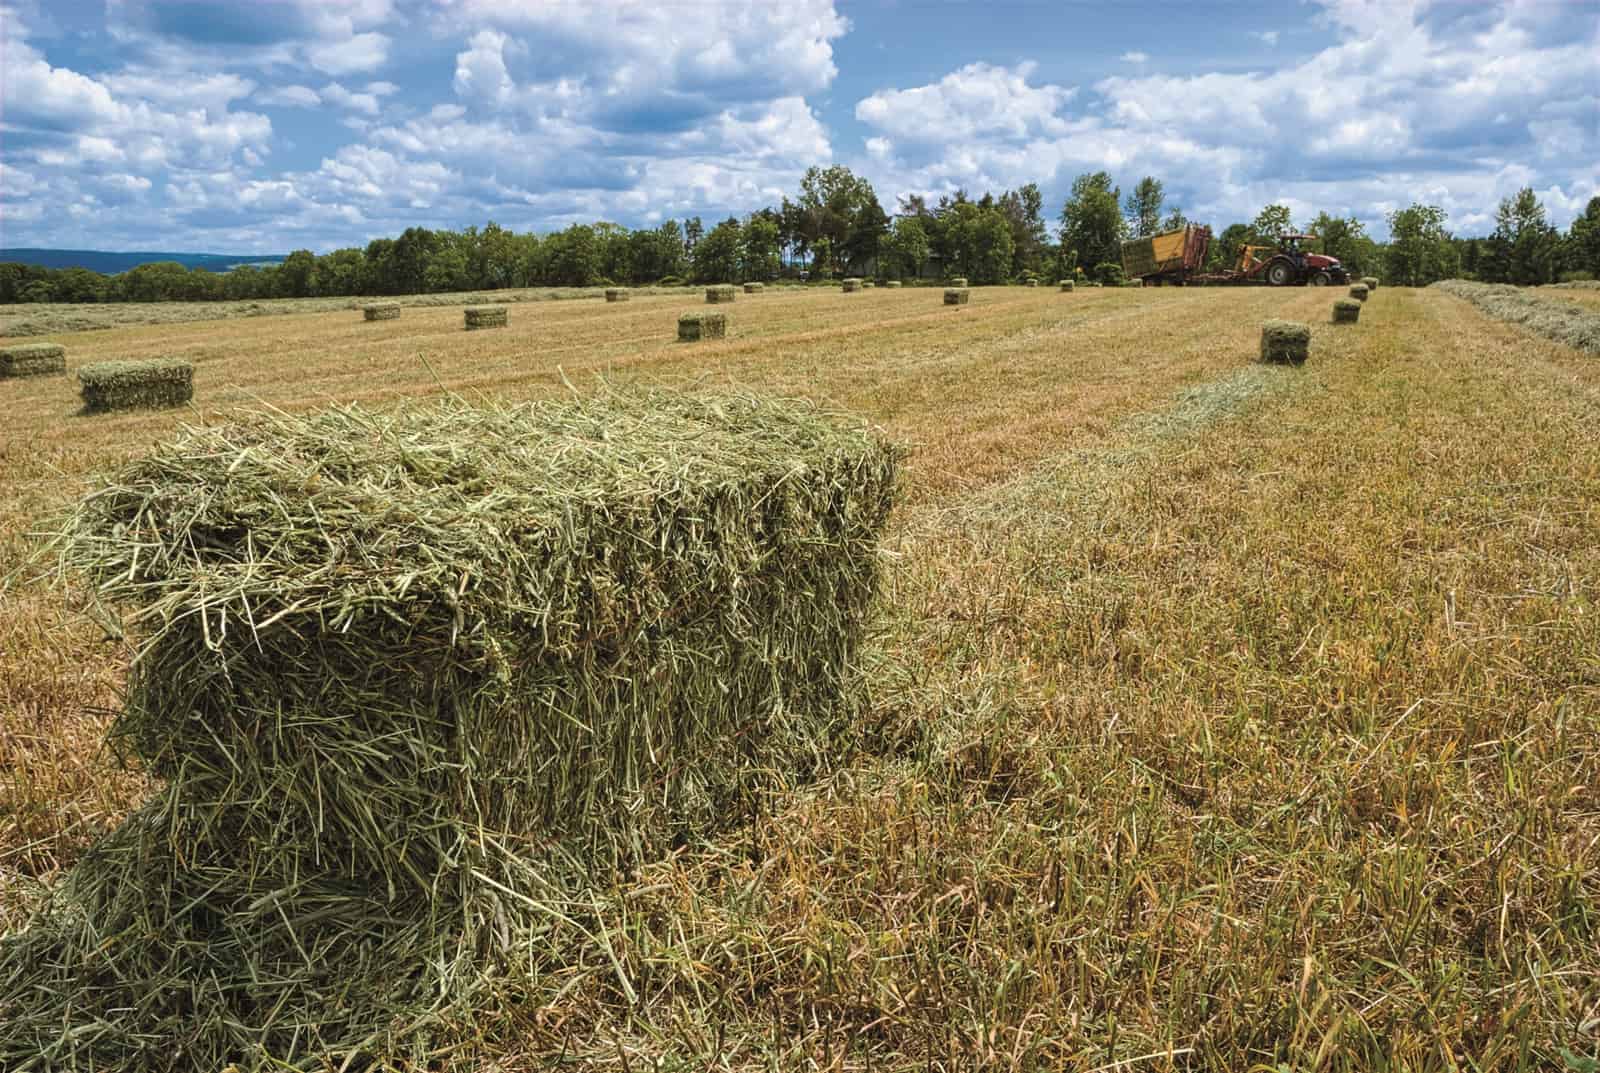
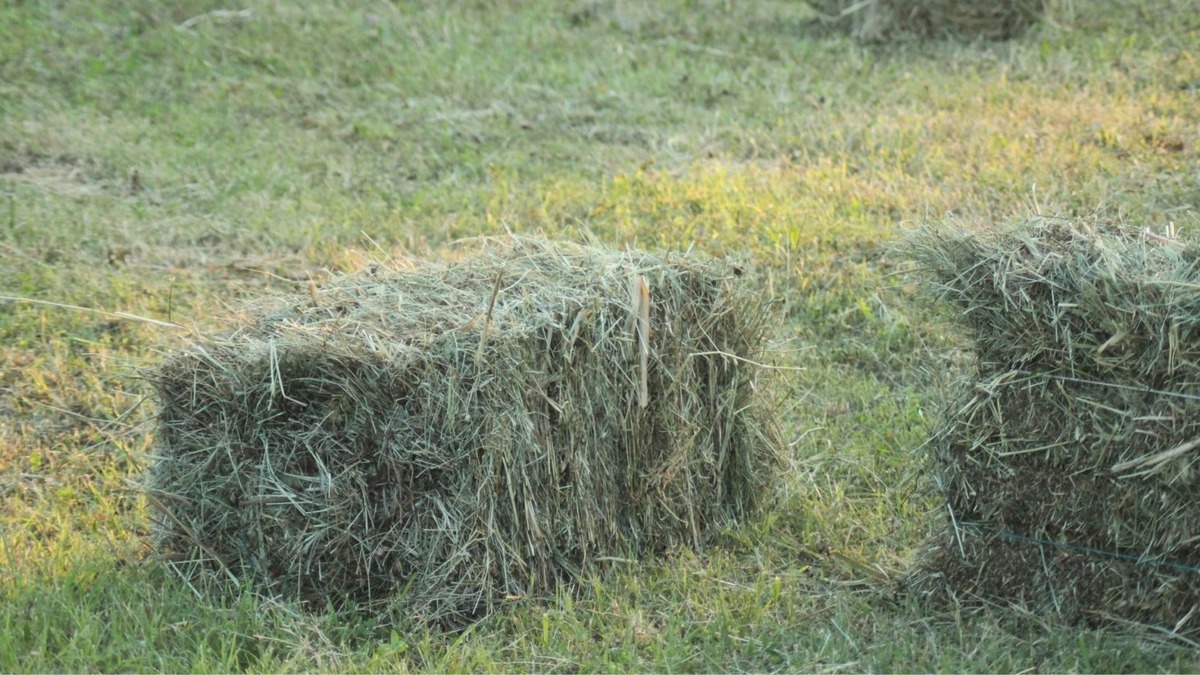
Step 3: Stacking the Bales
Once you have wrapped your bales of hay, the next step is to stack them properly in your storage area. Stacking the bales correctly ensures stability, efficient use of space, and easy access when you need to retrieve them. Follow these guidelines for proper stacking:
- Start with a stable base: Begin by creating a stable base for your stack of bales. Use pallets or a sturdy foundation to elevate the first layer off the ground. This helps to prevent moisture absorption and improves airflow.
- Layer the bales: Stack the bales in a pyramid or crisscross pattern to create a stable structure. Start with the largest and heaviest bales at the bottom to provide a solid foundation. Place the smaller and lighter bales on top.
- Leave space between bales: Ensure that you leave a small gap between each bale to allow for air circulation. This prevents moisture buildup and helps to maintain the quality of the hay. Avoid stacking the bales too tightly, as it can restrict airflow and increase the risk of mold formation.
- Stack in rows: Create rows of stacked bales, leaving enough space between each row for easy access. This allows for better ventilation and makes it more convenient to retrieve individual bales as needed.
- Ensure stability: As you stack the bales, ensure that each layer is stable and secure. Make sure the stacked bales do not lean or wobble. A stable stack reduces the risk of collapse and damage to the bales.
- Use wedges or strapping: For added stability, use wedges or strapping to secure the stacked bales together. This helps to prevent shifting and ensures that the stack remains intact.
By following these guidelines, you can create a well-organized and stable stack of bales in your storage area. Proper stacking not only maximizes space utilization but also promotes ventilation, reducing the risk of moisture-related issues. Now, let’s move on to the next step of weatherproofing the storage area.
Store bales of hay off the ground on pallets to prevent moisture damage and allow for air circulation. Cover with a tarp to protect from the elements.
Step 4: Weatherproofing the Storage Area
Weatherproofing your hay storage area is crucial to protect the bales from the elements and maintain their quality. Here are the steps to effectively weatherproof the storage area:
- Cover the roof: If your storage area has a roof, ensure that it is in good condition and provides adequate protection against rain or snow. Patch any leaks or damages to prevent water from seeping in.
- Add side coverings: If your storage area is open on the sides, consider adding temporary or permanent coverings to protect the bales from wind, rain, and direct sunlight. Tarps or corrugated sheets can be used to provide additional protection.
- Insulate the area: If you live in an area with extreme temperatures, consider insulating the storage area to help regulate the temperature inside. This can be done by adding insulation materials to the walls or using insulated panels.
- Install gutters and downspouts: Proper drainage is essential to prevent water from pooling around the storage area. Install gutters and downspouts to effectively channel rainwater away, reducing the risk of moisture damage.
- Check for ventilation: Ensure that your storage area has adequate ventilation to prevent moisture buildup and condensation. Consider installing vents or using a venting system to allow for proper airflow.
- Monitor humidity levels: Use a hygrometer or similar device to monitor the humidity levels inside your storage area. Ideally, the humidity should be kept below 70% to prevent mold growth. If necessary, use dehumidifiers to maintain optimal humidity levels.
By weatherproofing your hay storage area, you can protect the bales from moisture, extreme temperatures, and other weather-related factors. This step ensures that your hay remains in good condition throughout its storage period. Let’s move on to the final step: regular maintenance.
Read more: How To Store Timothy Hay
Step 5: Regular Maintenance
To ensure the longevity and quality of your stored hay, it is essential to perform regular maintenance checks. Regular maintenance helps you identify any issues early on and take necessary actions to prevent further damage. Follow these steps for proper maintenance:
- Inspect the bales: Regularly inspect the bales for signs of damage, mold, or pests. Remove any damaged or spoiled bales immediately to prevent contamination of the rest of the hay.
- Monitor temperature and humidity: Continuously monitor the temperature and humidity levels inside the storage area. Extreme temperatures and high humidity can lead to mold or spoilage. Take appropriate measures to maintain optimal conditions.
- Check for pest infestations: Keep an eye out for any signs of pests such as rodents or insects in your storage area. Monitor for chew marks, droppings, or nests. Take necessary steps to eliminate pests and prevent further infestations.
- Rotate bales: Regularly rotate the bales within the storage area. This helps to evenly distribute the weight and prevents excessive pressure on certain bales. It also allows for better airflow and reduces the risk of mold formation.
- Address any ventilation issues: If you notice any ventilation problems within the storage area, such as poor air circulation or stagnant air, address them immediately. Ensure that vents are clear and functioning correctly to maintain proper airflow.
- Keep the storage area clean: Regularly clean the storage area to remove any accumulated dust, debris, or organic materials. This prevents mold growth and minimizes the risk of pests.
- Recheck wrapping and stacking: Periodically check the wrapping of the bales to ensure it is intact and properly sealed. Recheck the stability of the stacked bales and make any necessary adjustments.
By following these regular maintenance practices, you can ensure that your stored hay remains in optimal condition for an extended period. Taking proactive steps to address potential issues will help you maintain the quality and nutritional value of the hay. With proper maintenance, you can confidently rely on your stored hay as a valuable food source for your livestock.
By following all the steps outlined in this guide, you will be well-prepared to store your bales of hay effectively. Remember, proper preparation, wrapping, stacking, weatherproofing, and regular maintenance are crucial for maintaining the quality and longevity of your stored hay. Implement these practices, and you will have a well-preserved and reliable supply of hay for your livestock.
We hope this guide has provided you with valuable insights and helpful tips. Happy hay storage!
Conclusion
Properly storing a bale of hay is essential for maintaining its quality, nutritional value, and preventing any damage or spoilage. By following the steps outlined in this guide, you can ensure that your stored hay remains in optimal condition for an extended period.
Start by preparing the storage area, ensuring that it is clean, ventilated, and protected from rodents. Wrap each bale tightly with the appropriate material, paying special attention to the ends to prevent moisture penetration. Stack the wrapped bales in a stable and organized manner, allowing for proper airflow and easy access. Weatherproof the storage area by covering the roof, adding side coverings, and monitoring ventilation and humidity levels. Lastly, perform regular maintenance checks to inspect the bales, monitor temperature and humidity, address ventilation issues, and keep the storage area clean.
By implementing these steps and consistently following proper storage practices, you can ensure that your stored bales of hay remain fresh, nutritious, and free from moisture, mold, and pests. Your livestock will benefit from a reliable and high-quality food source.
Remember, attention to detail and regular maintenance are key to successful hay storage. By investing time and effort into proper storage techniques, you will be rewarded with a supply of hay that provides optimum nutrition and supports the health and wellbeing of your animals.
We hope this comprehensive guide has provided you with valuable insights and practical tips for storing your bales of hay. Now it’s time to apply this knowledge and ensure the long-term preservation of your hay. Happy hay storage!
Frequently Asked Questions about How To Store A Bale Of Hay
Was this page helpful?
At Storables.com, we guarantee accurate and reliable information. Our content, validated by Expert Board Contributors, is crafted following stringent Editorial Policies. We're committed to providing you with well-researched, expert-backed insights for all your informational needs.

0 thoughts on “How To Store A Bale Of Hay”