Articles
How To Store Hay Outside
Modified: December 7, 2023
Learn the best practices for storing hay outside in this informative article. Discover tips to prevent spoilage and maintain hay quality.
(Many of the links in this article redirect to a specific reviewed product. Your purchase of these products through affiliate links helps to generate commission for Storables.com, at no extra cost. Learn more)
Introduction
Storing hay outside can be a cost-effective solution for farmers and livestock owners. It allows for ample storage space and reduces the risk of fire hazards associated with indoor hay storage. However, proper storage techniques are crucial to ensure the hay remains fresh, dry, and free from mold or spoilage.
In this article, we will explore the essential steps involved in storing hay outside. From selecting the ideal location to monitoring moisture levels, these guidelines will help you maintain the quality of your hay throughout the storage period.
By following these tips, you can ensure that your stored hay remains in optimal condition, ready to provide nutrition for your livestock during the colder months or periods of hay scarcity.
Key Takeaways:
- Proper outdoor hay storage involves selecting an ideal location, ensuring proper air circulation, and covering the hay with waterproof tarps to maintain quality and nutrition for livestock.
- Regular monitoring of moisture levels, conducting inspections, and practicing routine maintenance are crucial for preserving the quality of stored hay and preventing spoilage.
Read more: How To Store Hay For Rabbits
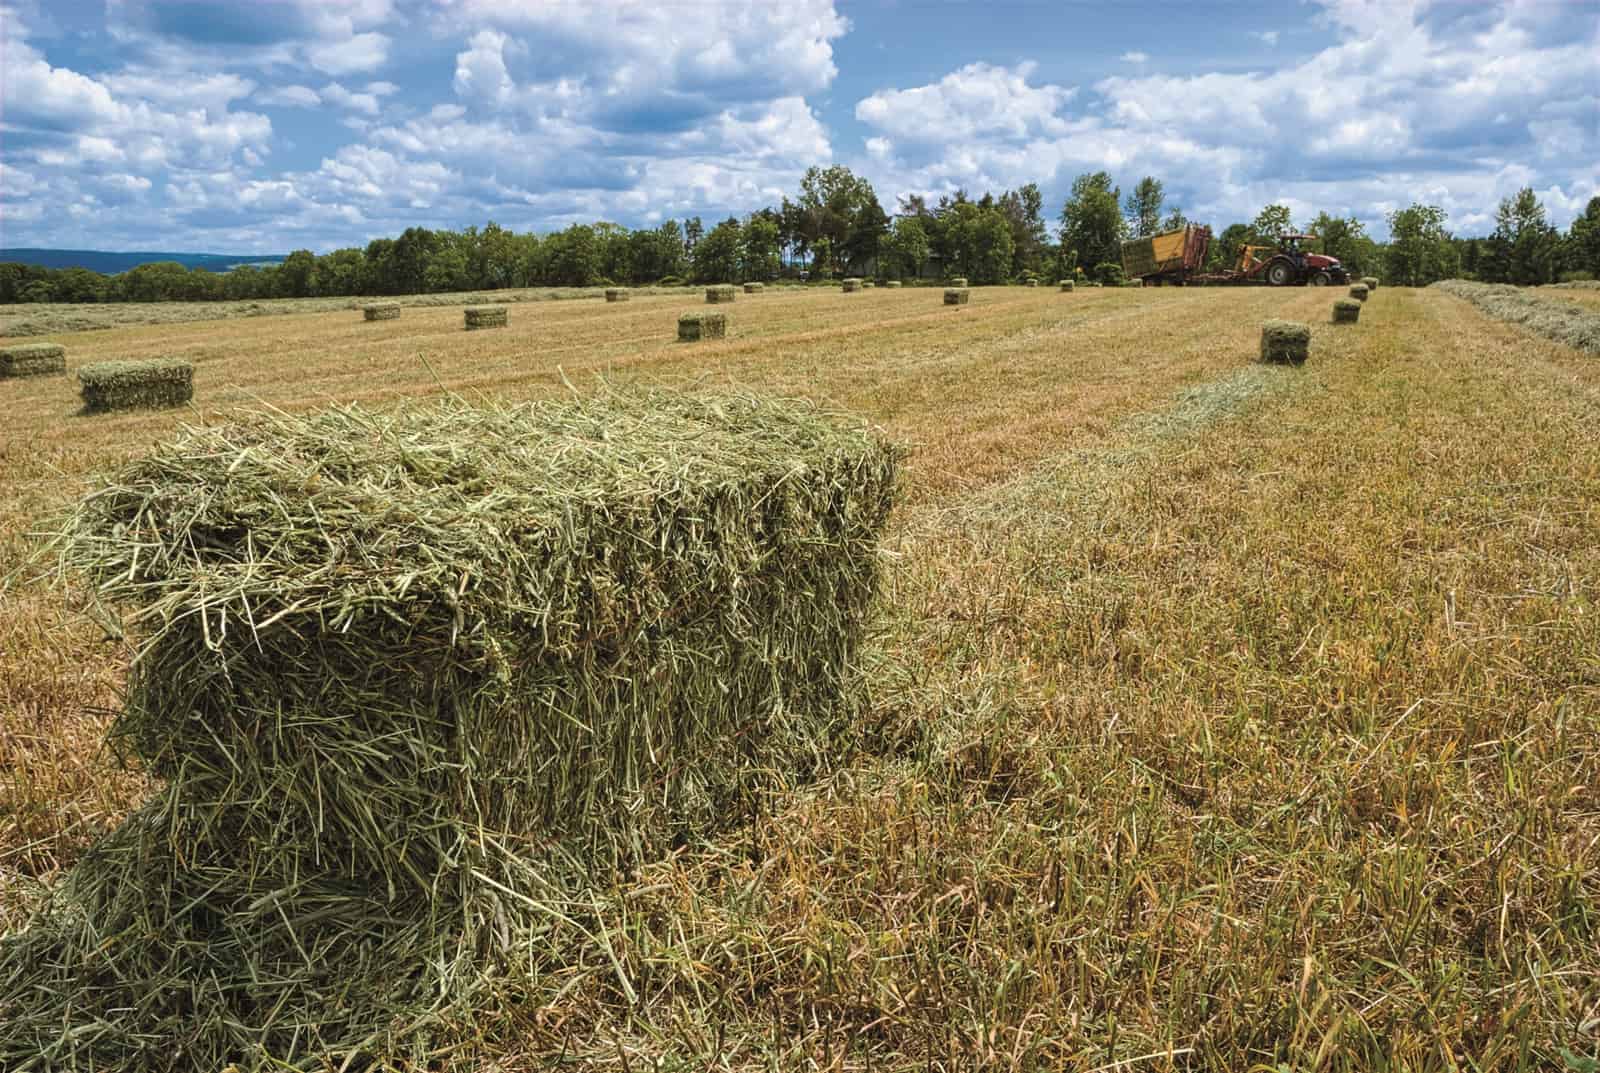
Selecting the Ideal Location
When choosing a location to store hay outside, there are several factors to consider. The goal is to find a spot that provides protection from the elements and minimizes the risk of moisture damage. Here are some guidelines for selecting the ideal location:
- Elevation and Drainage: Choose an area that is elevated and well-drained to prevent waterlogging and excess moisture accumulation. This will help preserve the quality of the hay and reduce the risk of mold growth.
- Proximity to Livestock: If possible, select a location that is close to your livestock feeding area to minimize transportation efforts. This will also ensure easy access to the stored hay when needed.
- Absence of Overhanging Trees or Structures: Avoid areas with overhanging trees or structures that can drop debris onto the hay or hinder air circulation. Falling leaves, branches, or bird droppings can contaminate the hay and compromise its quality.
- Sun Exposure: Opt for a location that receives adequate sunlight throughout the day. Sun exposure helps to dry out any moisture absorbed by the hay and prevents mildew formation.
- Wind Direction: Consider the prevailing wind direction in your area when selecting a storage location. Position the hay stacks perpendicular to the prevailing winds to allow for proper air circulation and prevent the formation of hotspots or moisture pockets.
- Accessibility: Ensure that the location is easily accessible for hay delivery trucks or machinery. This will facilitate the transport and stacking process, saving time and effort.
By carefully considering these factors, you can select an ideal location for storing your hay outside. Remember, the goal is to create a storage area that promotes good air circulation, minimizes the risk of moisture accumulation, and provides easy access when needed.
Preparing the Storage Area
Once you have selected the ideal location for storing hay outside, it’s essential to prepare the storage area properly. This involves clearing the space, leveling the ground, and taking necessary precautions to minimize potential risks. Here’s how you can prepare the storage area:
- Clear the Space: Remove any debris, rocks, or vegetation from the area where you plan to stack the hay. Clearing the space will help prevent punctures to the bales and reduce the risk of contamination.
- Level the Ground: Ensure that the ground is level and even. Uneven ground can cause issues with stability, leading to collapsed or leaning hay stacks. Use compacting equipment or manual labor to level the ground if necessary.
- Install a Base Layer: Consider installing a layer of gravel or pallets as a base for your hay stacks. This will provide additional stability and help keep the bottom layer of bales dry and free from ground moisture.
- Mark the Boundaries: Use markers or barriers to clearly define the storage area boundaries. This will prevent accidental damage to the hay stacks and ensure safety when handling or moving the hay.
- Address Fire Safety: Implement fire prevention measures in the storage area. This includes keeping flammable materials away, ensuring proper ventilation, and having fire extinguishers readily available.
- Consider Hay Tarps: If the storage area is exposed to rain or extreme weather conditions, consider investing in high-quality hay tarps. These tarps will provide an additional layer of protection against moisture and preserve the hay’s quality.
By properly preparing the storage area, you can minimize potential risks and create a safe and stable environment for storing your hay outside. Taking these steps will help ensure the integrity and quality of the hay throughout its storage period.
Ensuring Proper Air Circulation
Proper air circulation is critical when storing hay outside. Adequate airflow helps prevent the buildup of moisture, which can lead to mold growth and spoilage. Here are some steps to ensure proper air circulation in your hay storage area:
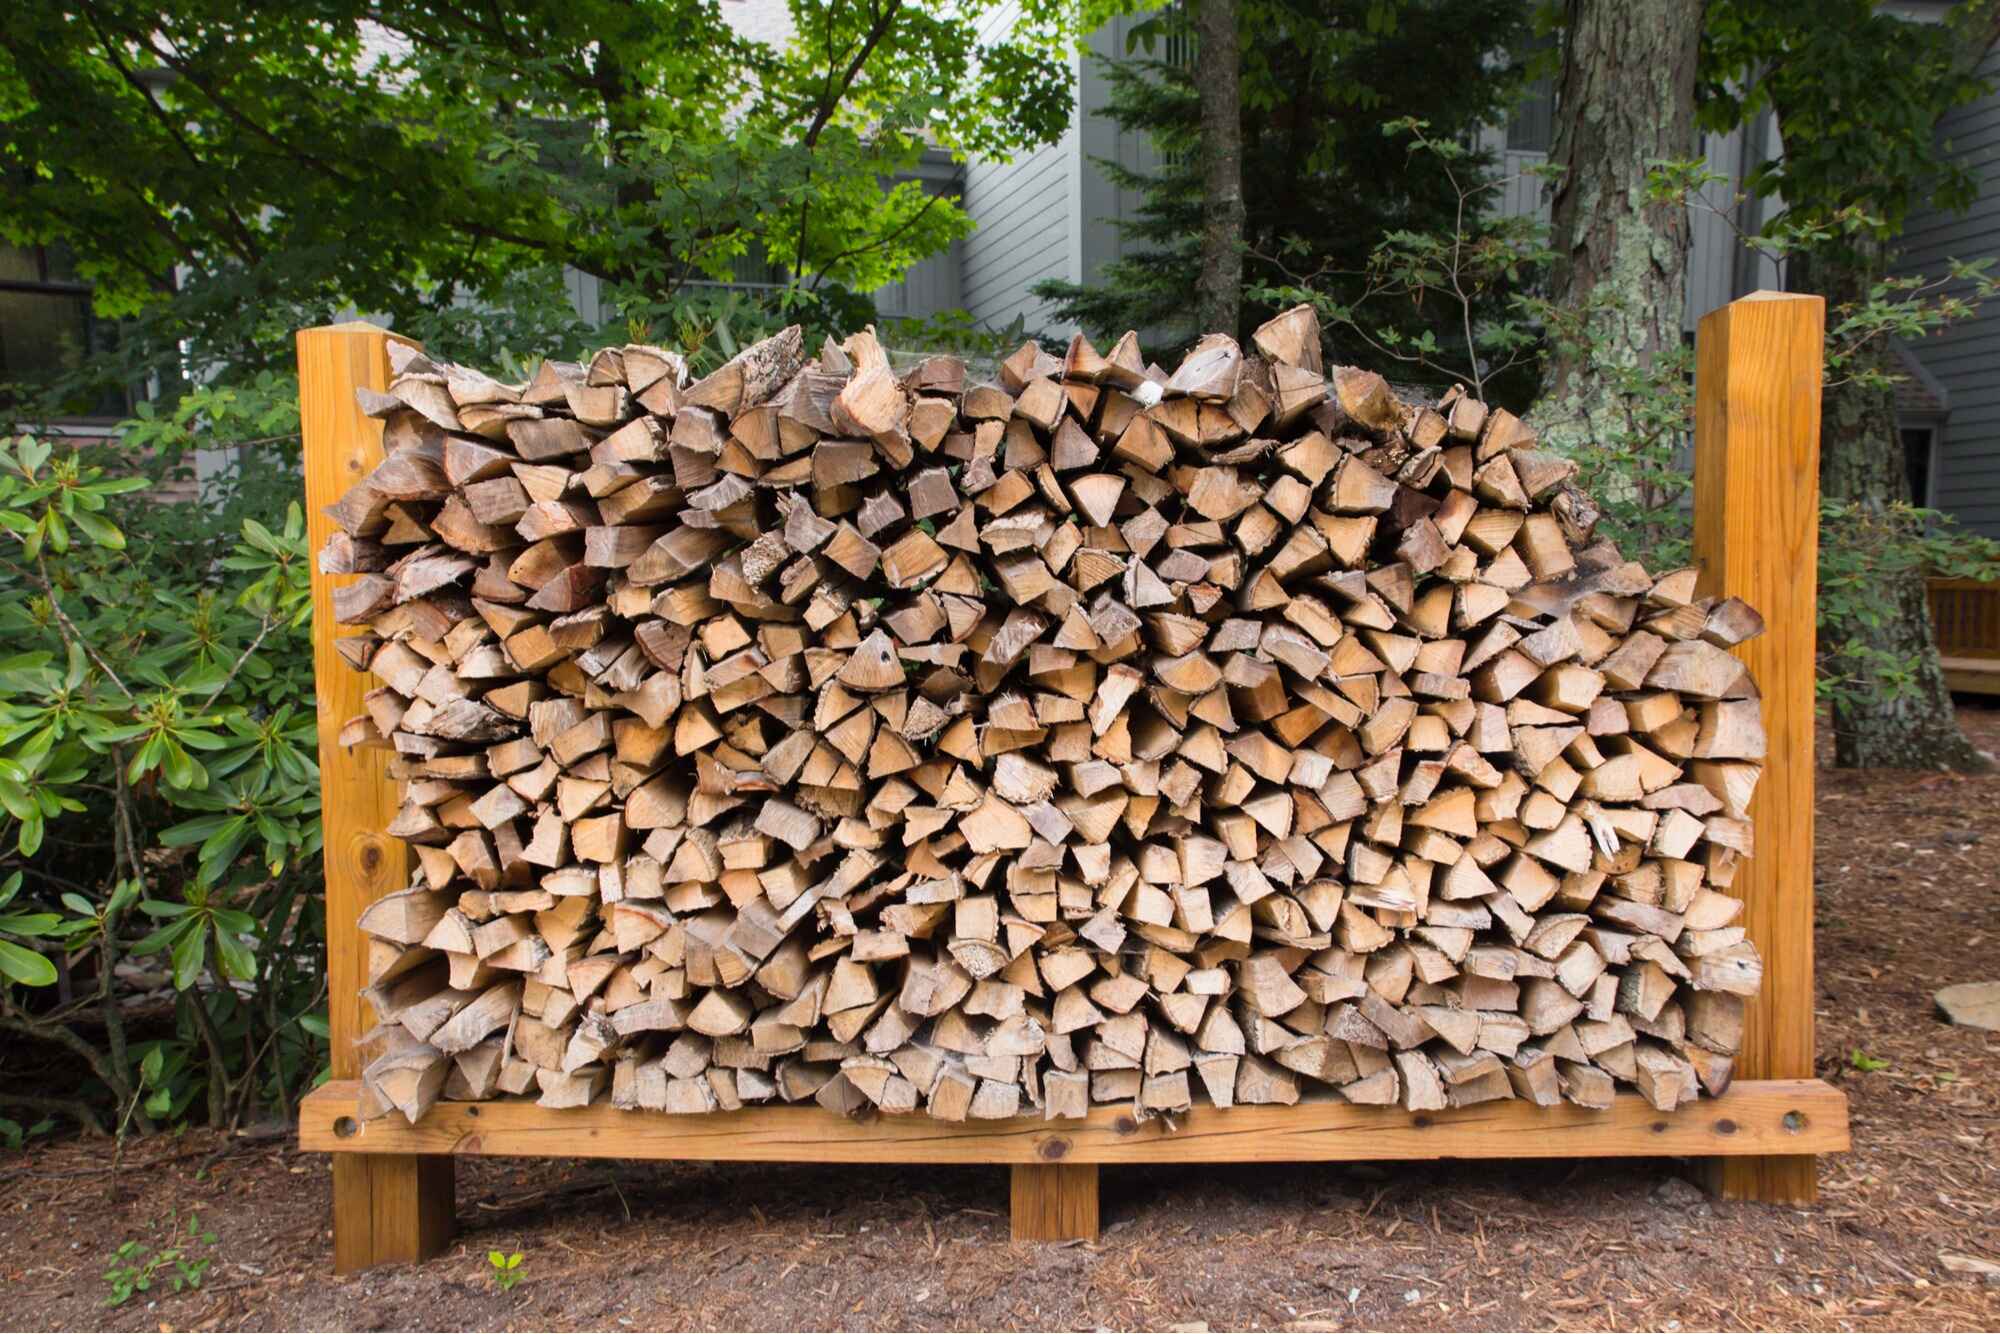
- Stack with Gaps: When stacking the hay bales, leave narrow gaps between the rows and columns. These gaps allow air to flow freely through the stacks, preventing the formation of stagnant air pockets.
- Avoid Overcrowding: Avoid tightly packing the hay bales together. Leave enough space between the bales to allow air to circulate freely. Overcrowding can result in restricted airflow and increase the risk of mold formation.
- Elevate Stacks: If possible, consider elevating the hay stacks slightly off the ground. This elevation helps to improve air circulation, as well as prevent moisture absorption from the ground.
- Use Ventilation Devices: Install ventilation devices, such as fans or vents, to promote air movement within the storage area. These devices can help in circulating fresh air and preventing the buildup of humidity.
- Create Aisles: Leave clear aisles between the hay stacks to facilitate air circulation during inspections or retrieval. These aisles allow for better access and promote even airflow throughout the storage area.
- Regularly Rotate Stacks: Periodically rotate the hay stacks to break up any potential stagnant air spots. This rotation will allow fresh air to circulate and minimize the risk of mold formation in the stored hay.
- Monitor Weather Conditions: Keep an eye on the local weather forecasts. During periods of high humidity or rain, take extra precautions to ensure proper air circulation and protect the hay stacks from excessive moisture.
By implementing these measures, you can ensure that your hay storage area has sufficient air circulation to keep the hay dry and mold-free. Regularly monitor the airflow within the storage area and make adjustments as needed to maintain optimal storage conditions.
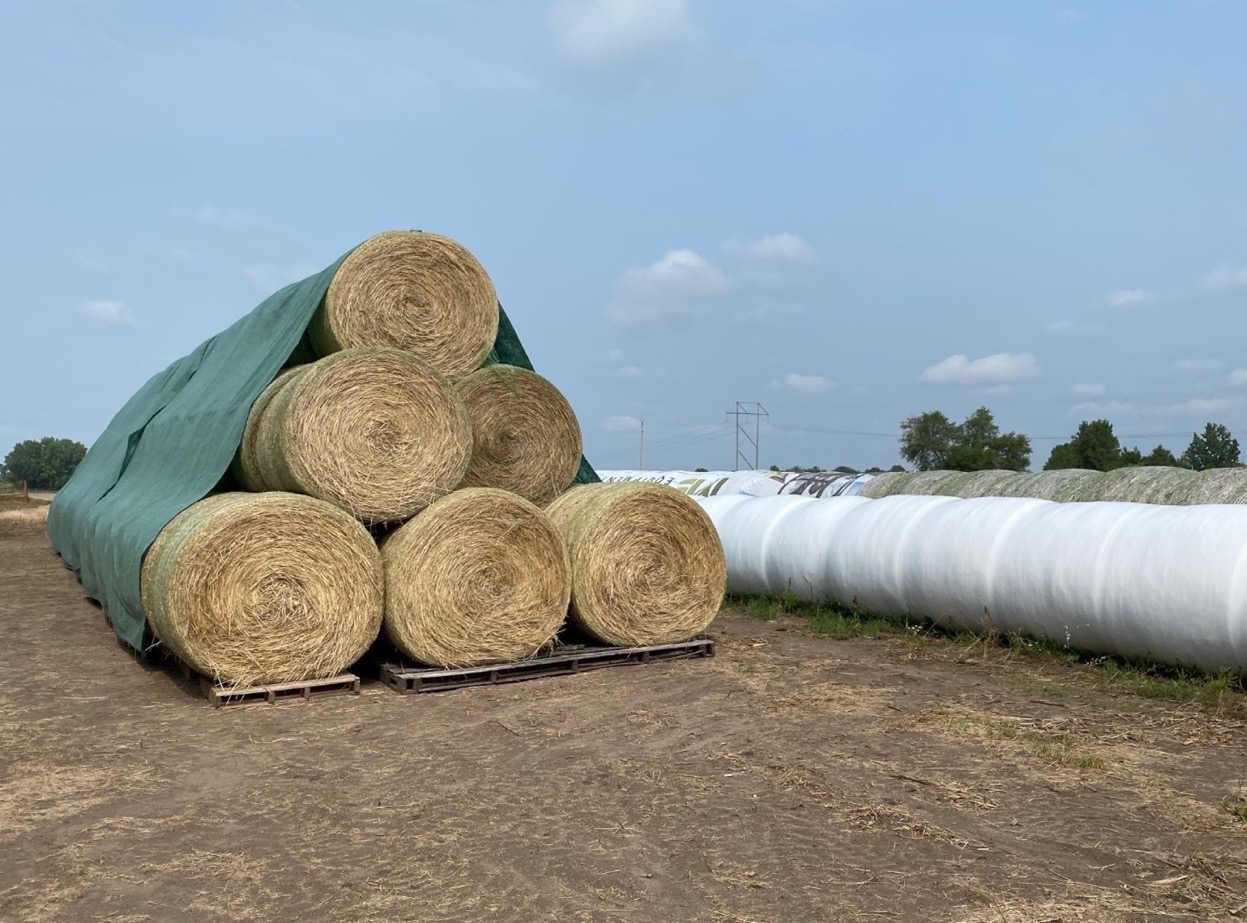
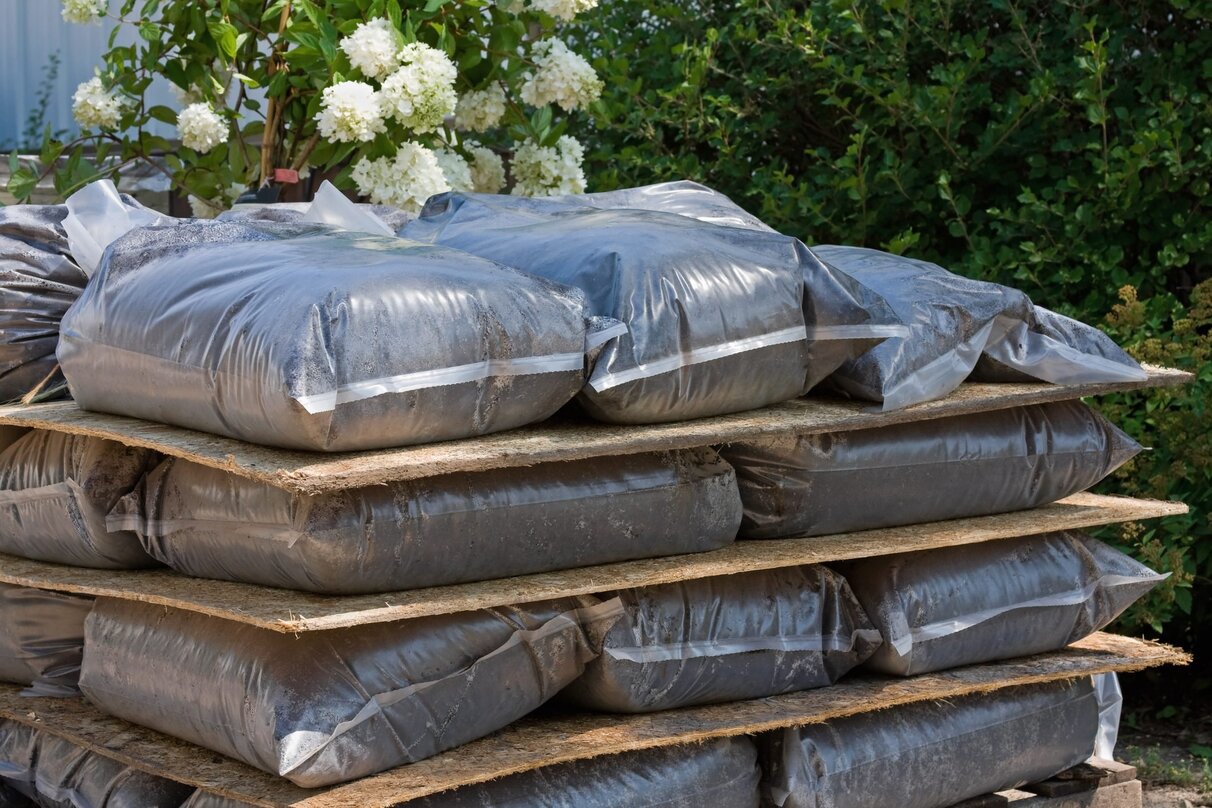
Covering the Hay
Covering the hay is an essential step in protecting it from the elements and preserving its quality during outdoor storage. Proper coverings provide an additional layer of defense against moisture, dust, and sunlight. Here’s how you can effectively cover your hay:
- Use Waterproof Tarps: Invest in high-quality waterproof tarps specifically designed for hay storage. These tarps should be durable, UV-resistant, and large enough to completely cover the hay stacks.
- Secure the Tarps: Ensure that the tarps are tightly secured over the hay stacks to prevent wind gusts from blowing them away. Use bungee cords, ropes, or straps to fasten the tarps securely to the stacks.
- Slope the Tarp: When covering the hay stacks, create a slight slope on the top surface of the tarp. This slope will help prevent water pooling and facilitate runoff, reducing the risk of water infiltration.
- Overhang the Tarp: Extend the tarps beyond the edges of the hay stacks to provide extra protection. This overhang will shield the sides of the stacks from direct exposure to rain or moisture.
- Seal the Edges: Seal the overlapping edges of the tarps using adhesive tape or zip ties. This will prevent water from seeping through the gaps and ensure a more effective barrier against moisture.
- Inspect for Tears or Damage: Regularly inspect the tarps for any signs of tears, holes, or damage. Repair or replace damaged tarps promptly to maintain their effectiveness in protecting the hay.
Remember, covering the hay with proper tarps provides a protective barrier against moisture and sunlight, helping to preserve its nutritional content and quality. Regularly check the tarps and make any necessary adjustments to ensure the hay remains well covered throughout its storage period.
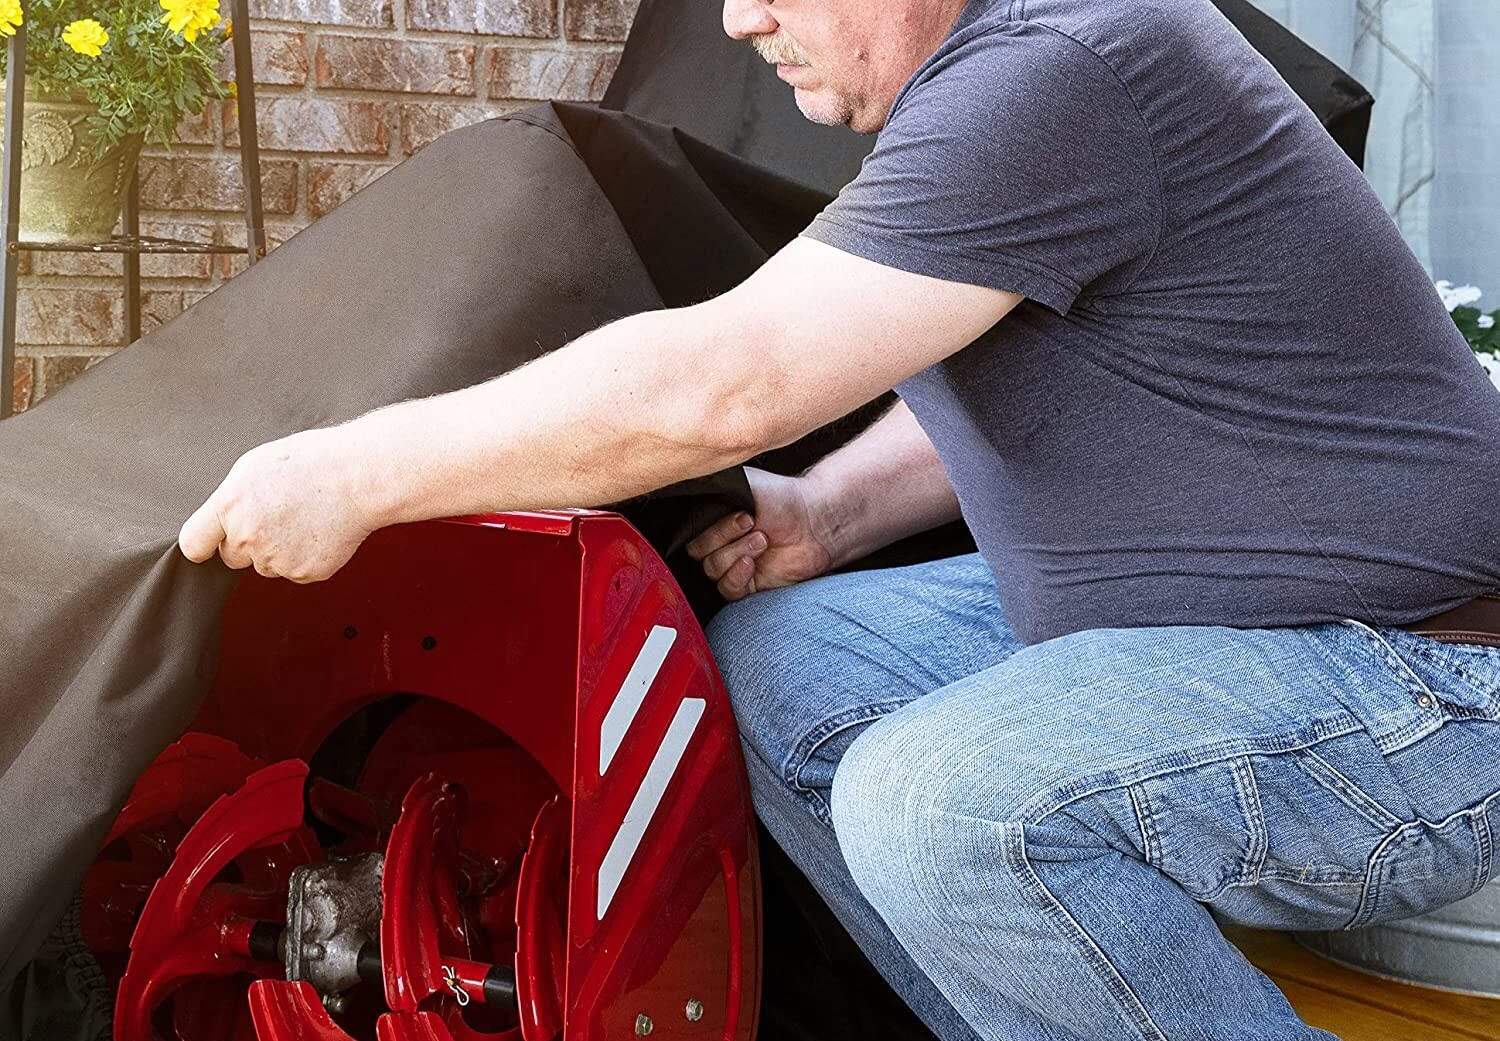
Covering hay with a tarp can help protect it from the elements and preserve its quality. Make sure the tarp is securely fastened to prevent it from blowing away in the wind.
Read more: How To Store Timothy Hay
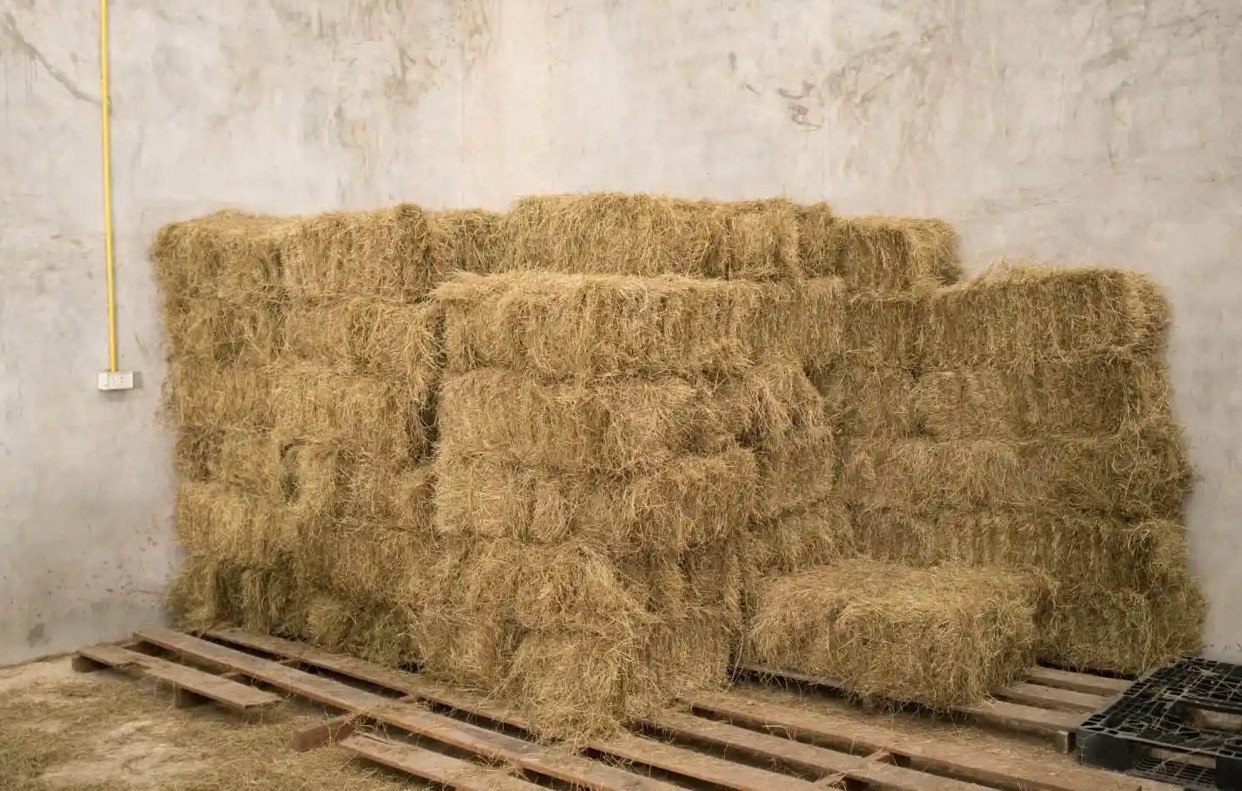
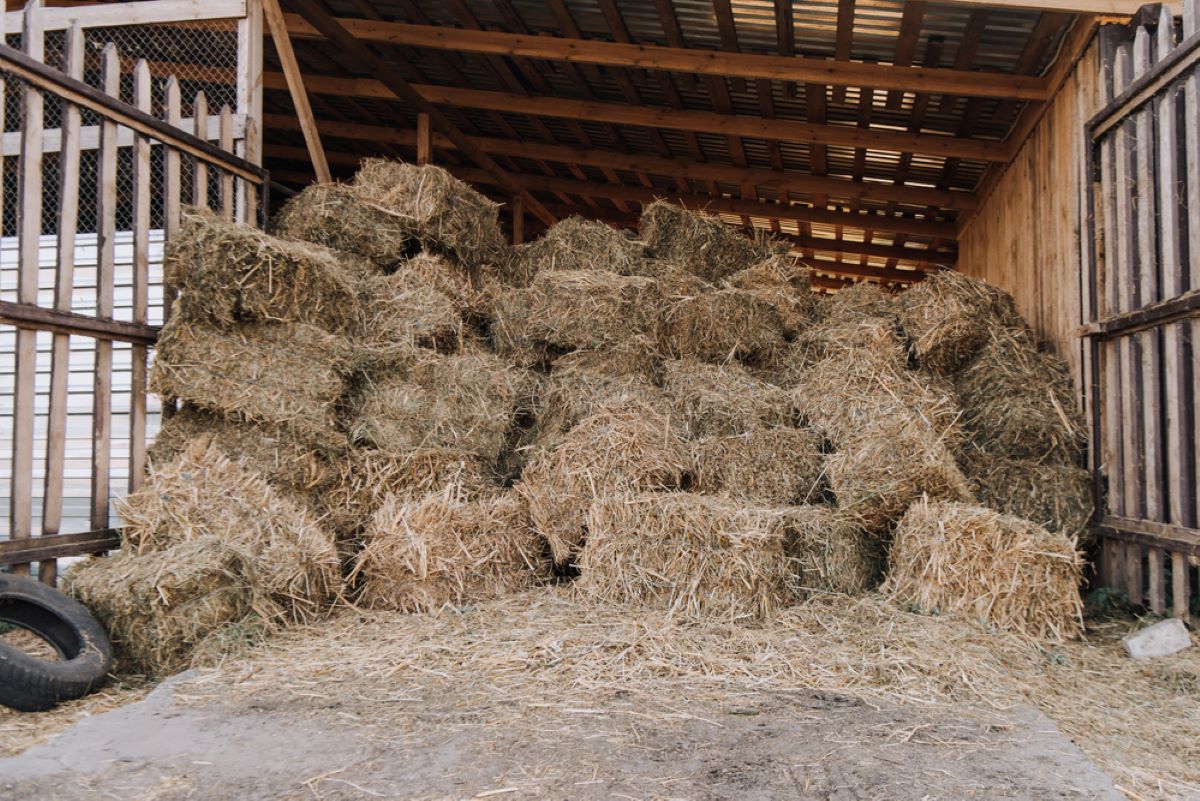
Protecting the Stacked Hay
In addition to covering the hay, there are additional measures you can take to protect the stacked hay and preserve its quality during outdoor storage. These steps will help prevent damage from pests, rodents, and physical factors that can compromise the hay’s integrity. Here’s how you can protect your stacked hay:
- Implement Pest Control: Take proactive measures to control pests such as mice, rats, and insects. Regularly inspect the storage area for signs of infestation and use appropriate pest control methods to safeguard the hay.
- Use Hay Grates: Consider using hay grates or pallets as a base for each stack. These elevated platforms will help prevent ground moisture absorption and discourage pests from nesting in the lower layers of the stacks.
- Install Rodent Deterrents: Place rodent deterrents, such as traps or repellents, around the hay stacks. Scent-based repellents or strategically placed traps can help keep rodents away, reducing the risk of damage and contamination.
- Minimize Hay Contact with the Ground: Avoid allowing the hay stacks to come into direct contact with the ground. Use pallets or a layer of gravel underneath each stack to provide a barrier against moisture and pests.
- Regularly Inspect the Stacks: Conduct routine inspections of the hay stacks, checking for signs of mold, decay, or pest activity. Remove any damaged or contaminated hay immediately to prevent further spread.
- Arrange Stacks Properly: Ensure that the stacks are stacked in a stable and organized manner. Secure the base layers tightly to prevent shifting or collapsing that may lead to compressed or crushed bales.
- Protect against Wind: If strong winds are common in your area, consider erecting windbreaks around the hay storage area. This will help shield the stacks from excessive wind exposure and minimize the risk of damage or toppling.
By following these protective measures, you can significantly reduce the risk of damage and maintain the quality of your stacked hay. Regular monitoring and proactive actions will help ensure that the hay remains in excellent condition throughout the storage period.
Monitoring Moisture Levels
Monitoring moisture levels is essential for maintaining the quality of stored hay. Excess moisture can lead to mold growth, heating, and deterioration of the hay, rendering it unfit for consumption. To prevent these issues, it’s crucial to regularly check and manage moisture levels. Here’s how you can effectively monitor moisture levels:
- Use a Moisture Probe: Invest in a moisture probe or hay moisture tester. These devices allow you to measure the moisture content within the hay bales accurately. Follow the manufacturer’s instructions for proper usage.
- Take Samples: Take periodic samples from different sections of the hay stacks to gauge the moisture levels. Probe the center of the bales, as that is where moisture is typically retained the longest.
- Monitor Weather Conditions: Stay aware of the weather conditions in your area, especially during humid or rainy periods. High humidity can increase the risk of moisture absorption in the hay, leading to mold growth.
- Observe Color and Texture: Inspect the hay for discoloration, changes in texture, or the presence of mold. These visual cues can indicate excessive moisture and potential spoilage.
- Keep Records: Maintain a log of moisture readings and observations over time. This record-keeping will help you identify patterns or trends and make informed decisions about hay storage and management.
- Make Adjustments as Needed: If moisture levels are too high, take corrective action promptly. This may include adjusting the coverings, increasing ventilation, or relocating the stacks to a drier area.
- Consider Hay Preservatives: In high-moisture areas, you may want to use hay preservatives or mold inhibitors. These products help minimize the risk of mold growth and can be applied during the baling process or at the time of storage.
Regularly monitoring moisture levels is crucial for preventing hay spoilage. By being proactive and taking prompt action when needed, you can preserve the quality of your stored hay and ensure its suitability for feeding your livestock.
Regular Inspection and Maintenance
Regular inspection and maintenance of your hay storage area are essential to identify and address any potential issues promptly. By conducting routine checks, you can ensure the continued quality and safety of your stored hay. Here are some key steps to follow for regular inspection and maintenance:
- Inspect for Damage: Regularly inspect the hay stacks for signs of damage, such as punctures, torn tarp coverings, or sagging stacks. Address any issues promptly to prevent further deterioration.
- Check for Moisture: Monitor moisture levels regularly, as discussed in the previous section. Look for any signs of excessive moisture or mold growth and take necessary steps to address the issue.
- Address Pest Infestations: Inspect the storage area for potential pest infestations, such as rodents or insects. Address any signs of infestation by implementing appropriate pest control measures.
- Ensure Proper Air Circulation: Check that the hay stacks have adequate air circulation by ensuring gaps between bales and proper ventilation. Make any necessary adjustments for improved airflow if required.
- Inspect Hay Tarps: Regularly inspect the tarps covering the hay stacks for any tears, holes, or loose attachments. Repair or replace damaged tarps promptly to maintain their effectiveness in protecting the hay.
- Remove Contaminated Hay: If you encounter any moldy or spoiled hay during inspections, remove it immediately to prevent further contamination and spread of mold to other bales.
- Maintain Fire Safety Measures: Regularly check and maintain fire safety measures in the storage area, including clear pathways, easily accessible fire extinguishers, and proper storage of flammable materials.
- Keep Records: Maintain a log of inspection dates, observations, and any actions taken. This record-keeping will help you track the condition of your hay storage area over time and identify any recurring issues.
By conducting regular inspections and performing necessary maintenance tasks, you can ensure that your hay storage area remains in optimal condition. This proactive approach will help you address potential issues early on and maintain the quality and usability of your stored hay.
Conclusion
Storing hay outside can be a viable solution for farmers and livestock owners, offering ample space and cost-effective storage options. However, it is crucial to follow proper storage techniques to ensure the hay remains fresh, dry, and free from mold or spoilage.
In this article, we have explored the key steps involved in storing hay outside. From selecting the ideal location to monitoring moisture levels, each aspect plays a vital role in maintaining the quality of the stored hay.
By selecting an ideal location that provides proper drainage, sun exposure, and protection from overhanging trees or structures, you can create an optimal storage environment. Preparing the storage area, ensuring proper air circulation, and covering the hay with waterproof tarps add layers of protection against moisture and maintain the hay’s nutritional content.
Furthermore, taking steps to protect stacked hay from pests, rodents, and physical damage is essential. Regularly monitoring moisture levels, conducting inspections, and practicing routine maintenance will help identify and address any potential issues before they escalate.
By following these guidelines, you can ensure that your stored hay remains in excellent condition, ready to provide necessary nutrition for your livestock during the colder months or periods of hay scarcity.
Remember, a well-maintained and properly stored hay supply can significantly impact the overall health and productivity of your livestock. With proper attention to detail and regular upkeep, you can reap the benefits of efficient outdoor hay storage.
Frequently Asked Questions about How To Store Hay Outside
Was this page helpful?
At Storables.com, we guarantee accurate and reliable information. Our content, validated by Expert Board Contributors, is crafted following stringent Editorial Policies. We're committed to providing you with well-researched, expert-backed insights for all your informational needs.


0 thoughts on “How To Store Hay Outside”