Home>Garden Essentials>How To Plant Hay Seed
Garden Essentials
How To Plant Hay Seed
Modified: August 17, 2024
Learn how to plant hay seed in your garden with our step-by-step guide. Start growing your own fresh hay for your livestock today!
(Many of the links in this article redirect to a specific reviewed product. Your purchase of these products through affiliate links helps to generate commission for Storables.com, at no extra cost. Learn more)
Introduction
Welcome to the world of gardening! If you’ve decided to plant hay seed in your garden, you’re in for a rewarding and fulfilling experience. Hay is an essential agricultural crop that is used for feeding livestock and can also be used for decorative purposes. Planting hay seed requires proper knowledge and techniques to ensure successful growth and bountiful yields.
In this comprehensive guide, we will walk you through the step-by-step process of planting hay seed, from choosing the right seed to harvesting the hay. By following these instructions, you can create a beautiful and productive hay field that will provide nourishment for your livestock or add a touch of greenery to your landscape.
Before we dive into the planting process, it’s important to note that successful hay seed cultivation relies on several factors, including soil quality, climate, and proper care. By considering these variables and implementing the appropriate techniques, you can set yourself up for a thriving hay field.
Now, let’s get started on this exciting gardening journey by learning how to choose the right hay seed for your specific needs.
Key Takeaways:
- Choose the right hay seed based on climate, soil, and use. Consider mixtures for balanced nutrition and review seed quality for successful growth.
- Prepare soil, plant hay seed, and provide proper care for a thriving hay field. Harvest at the right time and protect the hay for future use.
Read more: How Long For Hay To Germinate
Step 1: Choosing the Right Hay Seed
Choosing the right hay seed is crucial for the success of your hay field. The type of hay seed you select will depend on various factors, including your location, soil type, and intended use. Here are some key points to consider when choosing the right hay seed:
- Know your climate: Different types of hay grow better in certain climates. Research the climate of your region to determine which hay seeds are best suited for your area. For example, cool-season grasses like timothy and orchardgrass are ideal for cooler climates, while warm-season grasses like Bermuda grass thrive in hotter regions.
- Consider soil conditions: Assessing your soil’s fertility, pH level, and drainage is essential. Some hay seeds prefer rich and well-drained soil, while others can tolerate poorer soil conditions. Conduct a soil test to determine the nutrient content and pH level, and choose hay seed varieties that are compatible with your soil type.
- Identify your intended use: Hay can serve different purposes, such as animal feed, erosion control, or ornamental landscaping. Determine your primary goal for planting hay, as this will help you choose the best hay seed variety. For instance, if you plan to use the hay as livestock feed, consider seed varieties that offer high nutritional value.
- Consider mixtures: Sometimes, a combination of different hay seed species can provide a more balanced and nutritious feed for animals. There are pre-mixed hay seed blends available in the market that contain a variety of grasses and legumes. These mixtures can offer a greater diversity of nutrients and improved forage quality.
- Review seed quality: When purchasing hay seed, ensure that you are buying from a reputable source. Check the seed label for information about purity, germination rate, and weed seed content. High-quality seeds will have better germination rates, resulting in more vigorous and successful growth.
By carefully considering these factors, you can choose the right hay seed that will thrive in your specific conditions and meet your intended use.
Step 2: Preparing the Soil
Before planting your hay seed, it’s important to properly prepare the soil to create an optimal growing environment. The condition of the soil has a significant impact on the health and productivity of your hay field. Here are the key steps to follow when preparing the soil:
- Clear the area: Start by clearing the area of any existing vegetation, such as weeds or grass. Use a lawnmower or a weed trimmer to remove the top layer of vegetation. This will make it easier to work the soil and reduce competition for nutrients.
- Test the soil: Conduct a soil test to assess its nutrient content and pH level. This will help you determine if any amendments are needed. Most hay crops prefer a slightly acidic to neutral soil pH (around 6.0 to 7.0). If the soil pH is too low or too high, you may need to add lime or sulfur to adjust it accordingly.
- Amend the soil: Based on the soil test results, you may need to add organic matter or fertilizers to improve the soil’s fertility. Organic matter, such as well-rotted compost or manure, can improve soil structure, water retention, and nutrient availability. Fertilizers should be applied as per the recommendations of the soil test, considering the specific nutrient deficiencies.
- Loosen the soil: Use a tiller, garden fork, or a shovel to loosen the soil in the designated area. This will break up compacted soil and allow for better root penetration and water drainage. Aim for a depth of around 8 to 10 inches for optimal root development.
- Level the surface: After loosening the soil, smooth out the surface using a rake or a drag harrow. This will create a level surface for planting and ensure more uniform growth of the hay crop.
By properly preparing the soil, you are creating a hospitable environment for your hay seed to take root and thrive. This step sets the foundation for healthy growth and abundant yields.
Step 3: Planting the Hay Seed
Now that you have chosen the right hay seed and prepared the soil, it’s time to move on to the exciting process of planting. Follow these steps to ensure successful planting of your hay seed:
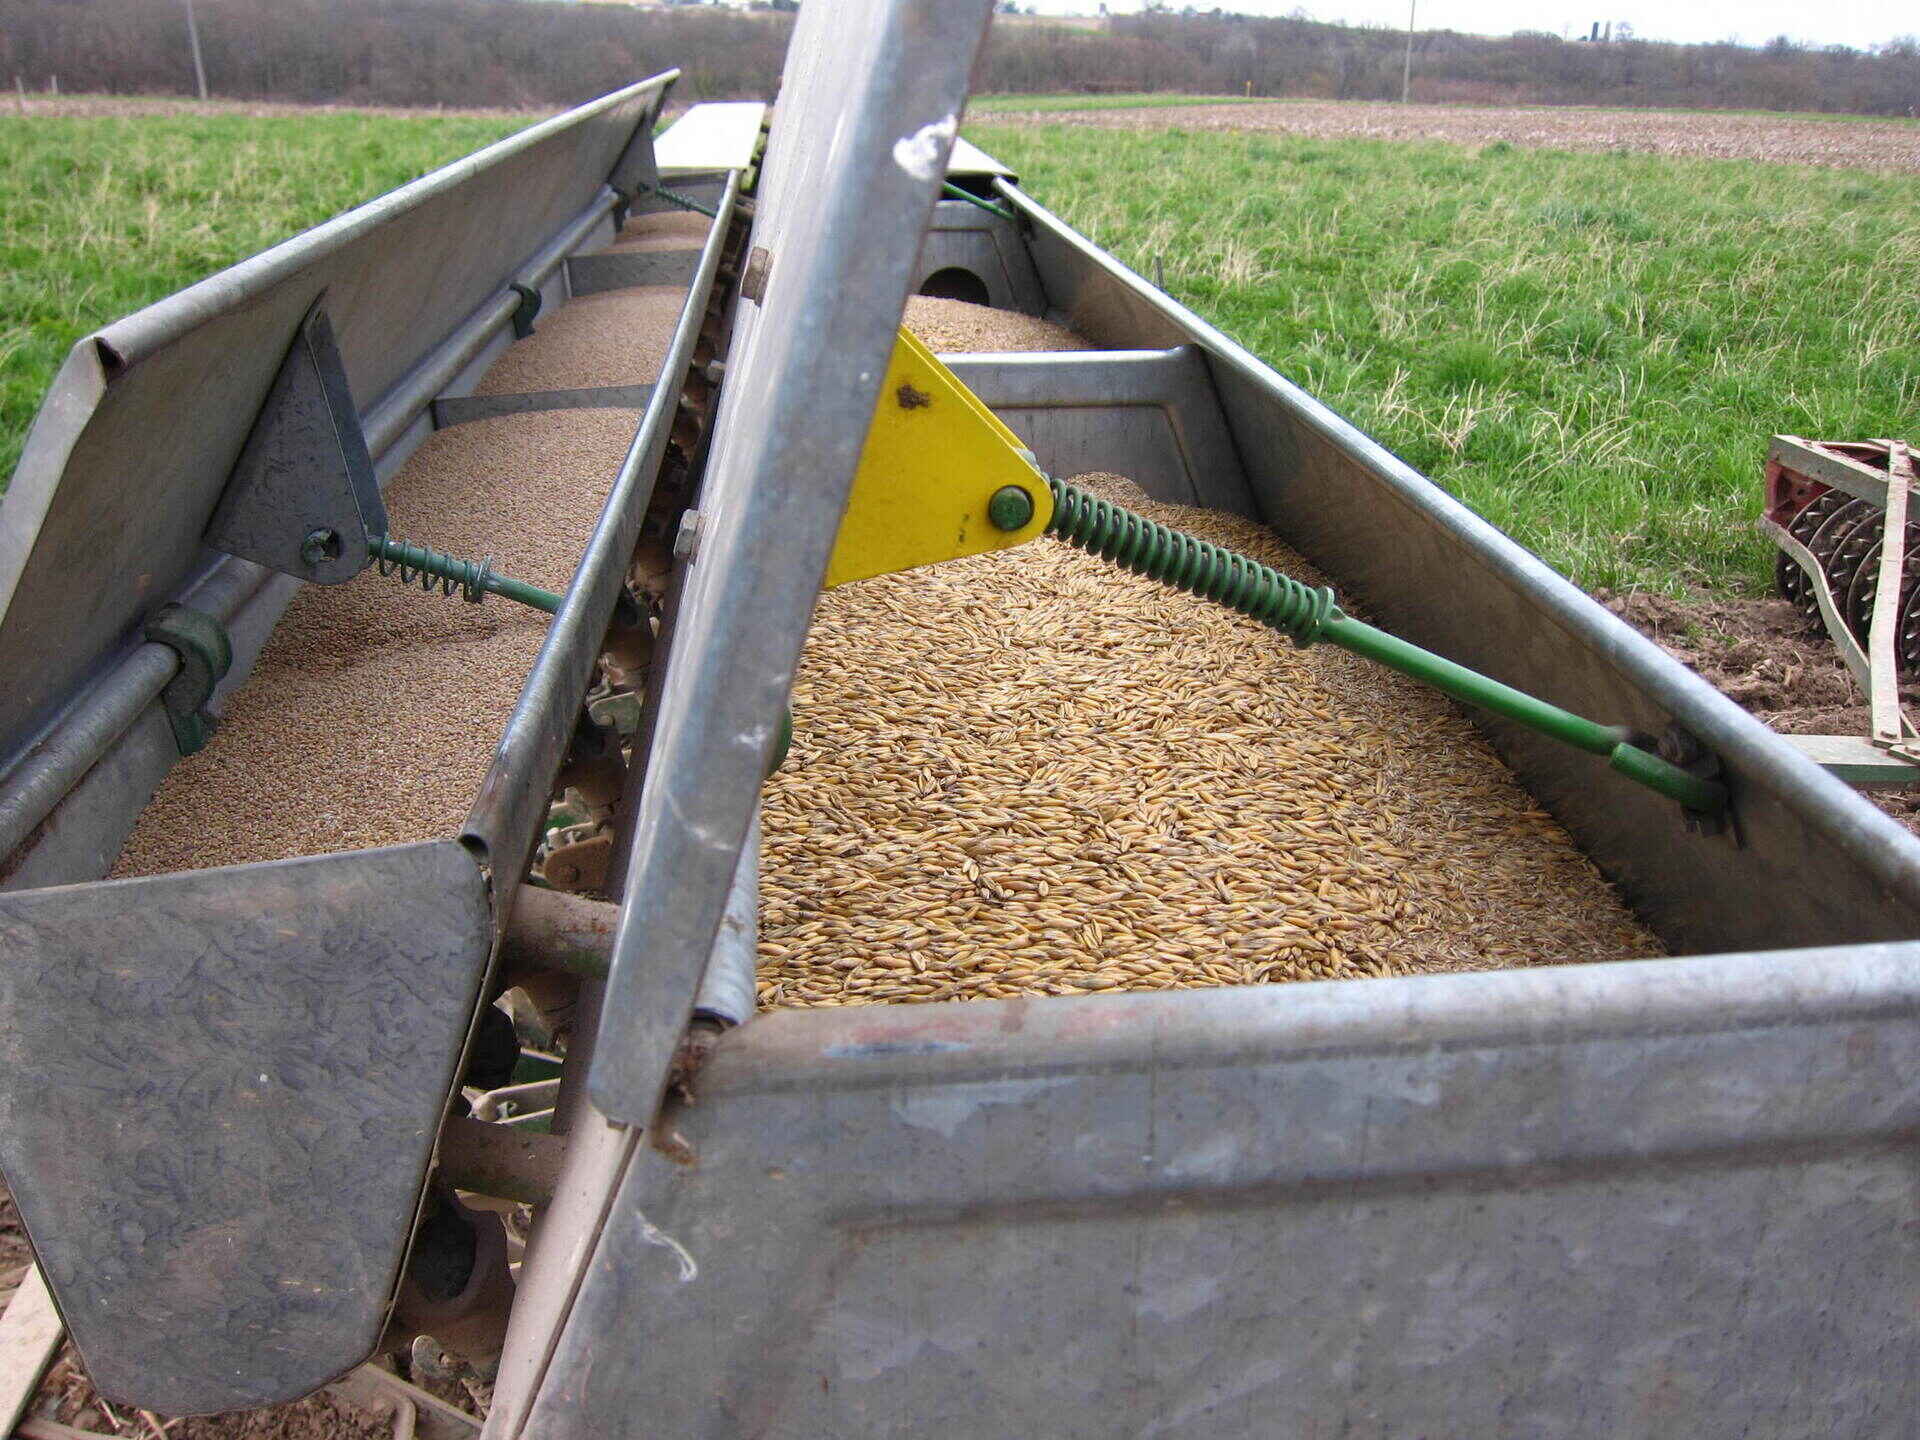
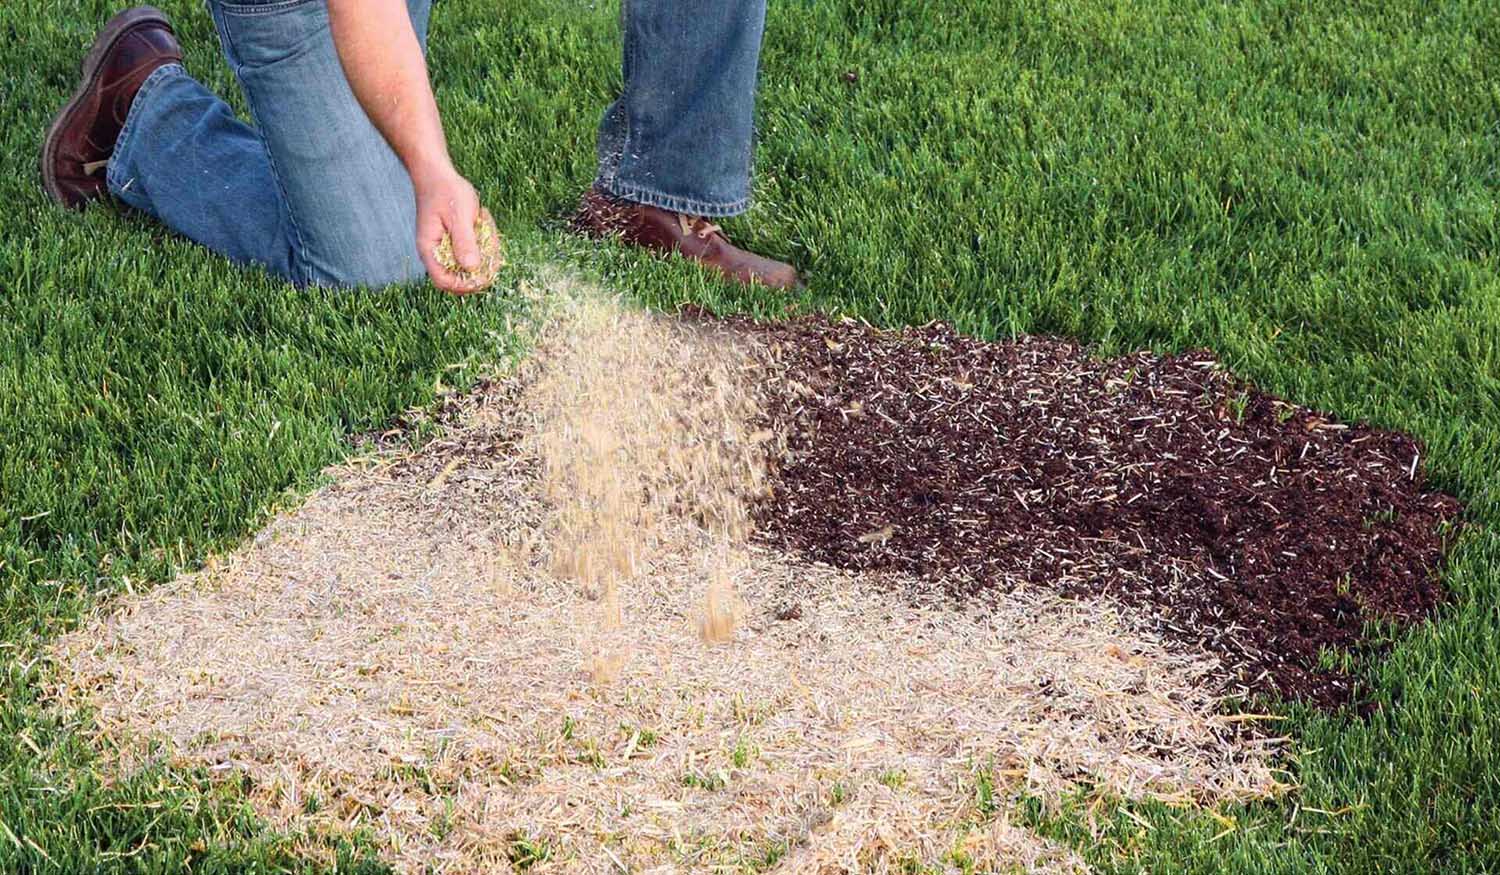
- Select the planting method: There are two main methods for planting hay seed: broadcasting and drilling. Broadcasting involves spreading the seed evenly by hand or with a seed spreader, while drilling requires the use of a seed drill or planter to place the seed at a specific depth. The method you choose will depend on the type of hay seed and your personal preference.
- Calculate the seeding rate: Refer to the recommended seeding rate for your specific hay seed variety. The seeding rate is the amount of seed needed to achieve the desired plant density. It is usually measured in pounds per acre. Ensure that you have sufficient seed on hand for the size of your planting area.
- Apply the seed: If you are broadcasting, divide your seed into manageable portions and evenly distribute it over the planting area. If you are drilling, set the seed drill to the appropriate depth and spacing according to the manufacturer’s instructions. Make sure to follow the recommended planting depth for your hay seed.
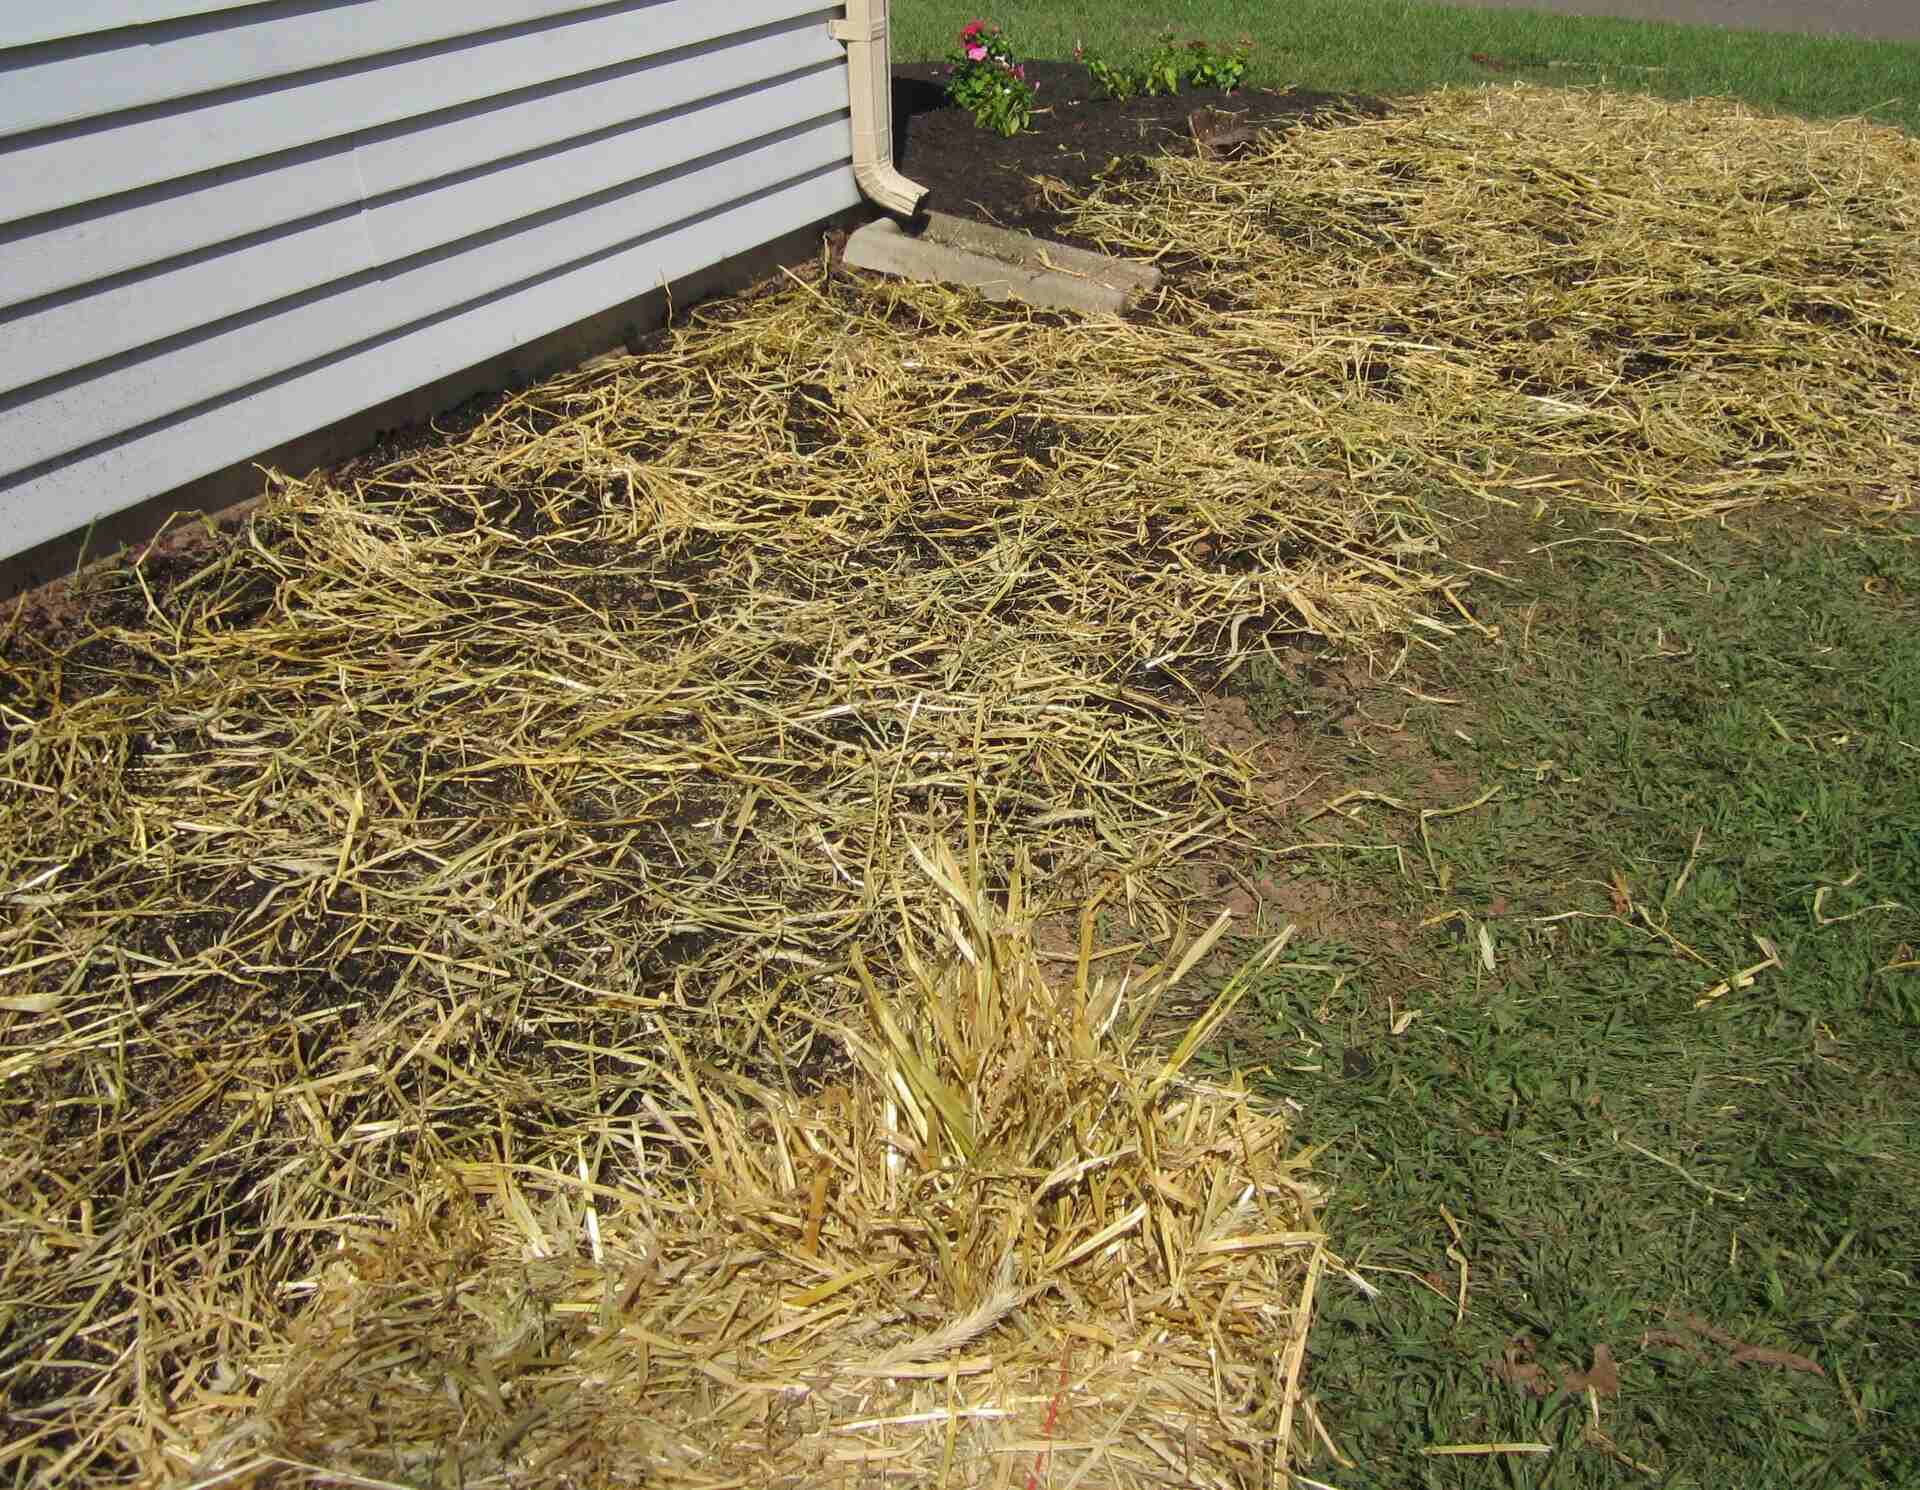
- Cover the seed: After applying the seed, lightly rake or roll the area to cover the seeds with a thin layer of soil. This will protect them from birds and ensure good seed-to-soil contact for germination. Avoid burying the seeds too deeply, as this can hinder germination.
- Water the planting area: Immediately after planting, thoroughly water the area to ensure that the seeds are adequately moistened. Use a gentle spray or sprinkler to avoid washing away the seeds. Keep the soil consistently moist during the germination and establishment period.
Monitor the planting area closely for any signs of germination. Depending on the hay seed variety, germination can take anywhere from a week to several weeks. Once the hay plants have established themselves, you can move on to the next step: watering and maintenance.
Before planting hay seed, make sure to prepare the soil by tilling and removing any debris. Plant the seeds at the recommended depth and spacing, and water them regularly to help them germinate and grow.
Step 4: Watering and Maintenance
Proper watering and maintenance play a vital role in the growth and development of your hay field. Here are the key steps to follow to ensure the health and productivity of your hay crop:
- Watering: Provide adequate water to your hay field, especially during the initial stages of growth. Monitor the soil moisture regularly and water as needed. Generally, hay crops require about 1 to 2 inches of water per week. However, this may vary depending on the climate, soil type, and specific hay seed variety. Water deeply and uniformly to encourage a deep root system.
- Weed control: Regularly inspect and remove any weeds that may compete with your hay plants for nutrients and space. Hand-pulling or using a hoe can be effective for small-scale weed control. For larger areas, consider using organic weed control methods or approved herbicides. Take care to follow the label instructions and apply herbicides only when necessary.
- Fertilization: Monitor the nutrient levels in your hay field as the plants grow. Conduct soil tests periodically to determine if additional fertilization is needed. Apply fertilizers based on the specific nutrient requirements of your hay seed variety and the recommendations of the soil test. Avoid over-fertilization, as this can lead to nutrient imbalances and environmental issues.
- Pest and disease management: Keep an eye out for any signs of pests or diseases in your hay field. Monitor the plants regularly and take prompt action if you notice any issues. Consult with a local agricultural extension service or a gardening expert to identify the problem and determine the appropriate course of action. Integrated pest management techniques, such as using beneficial insects or organic pest control methods, can help manage pests effectively.
- Mowing: Regular mowing is essential to maintain the health and productivity of your hay field. Mow the hay plants to the recommended height for your specific hay seed variety. This will promote healthy regrowth and help prevent the hay from becoming overly mature or developing tough stems. Aim to mow when the hay is dry to avoid mold and ensure better drying for future harvesting.
By diligently carrying out these watering and maintenance practices, you can ensure that your hay crop remains healthy, productive, and free from pests and diseases. Regular care and attention will contribute to a thriving hay field.
Read more: How Much Hay Seed Per Acre
Step 5: Harvesting the Hay
After months of hard work and careful nurturing, the time has finally come to harvest your hay crop. Here are the essential steps to follow for a successful hay harvest:
- Determine the right time to harvest: Timing is crucial when it comes to hay harvesting. You want to cut the hay at the optimal stage of growth when the nutritional value is highest. Different hay seed varieties have specific growth patterns and ideal harvest times. Consult with local agricultural resources or experts to determine the best harvest time for your specific hay crop.
- Cut the hay: Use a hay mower or sickle bar mower to cut the hay plants to the desired height. Make sure to leave enough stubble for regrowth and to protect the soil from erosion. Aim for a clean cut to minimize damage to the hay stems and preserve the quality of the forage.
- Air dry the hay: After cutting the hay, allow it to dry in the field for several days. This process, known as curing, allows the moisture content to decrease, preventing mold formation. Rake the hay gently to promote even drying and prevent clumping. Monitor the weather conditions to avoid rainfall or high humidity, which can slow down drying and lead to spoilage.
- Bale or store the hay: Once the hay is sufficiently dry, it is time to bale or store it. Use a hay baler to create compact and manageable bales. Alternatively, you can stack loose hay in a well-ventilated barn or storage area. Properly stack the hay in a way that allows air circulation to prevent moisture buildup and spoilage. Label the bales or storage area with the hay seed variety and harvest date for proper inventory management.
- Protect the harvested hay: It’s important to protect the harvested hay from moisture, pests, and direct sunlight. Store the bales or loose hay in a dry and sheltered area, such as a barn or shed. Ensure proper ventilation to prevent heat buildup and fermentation. Regularly inspect the stored hay for signs of mold or pest infestation.
By following these steps, you can ensure a successful hay harvest and preserve the quality of your hay crop. Proper storage and protection will allow you to enjoy the fruits of your labor and provide nutritious feed for your livestock or a beautiful landscape feature.
Conclusion
Congratulations! You have now gained comprehensive knowledge on how to plant hay seed and successfully grow a productive hay field. By following the steps outlined in this guide, you have taken the necessary steps to choose the right hay seed, prepare the soil, plant the hay, and ensure proper watering and maintenance. Finally, you have learned how to harvest and store the hay for future use.
Planting and growing hay can be a rewarding endeavor, whether you are a farmer looking to feed your livestock or a gardener seeking an attractive and functional addition to your landscape. Hay plays a crucial role in agriculture, providing nourishment for animals and improving soil health through its root system.
Remember, success in hay cultivation relies on careful planning, proper techniques, and ongoing care. Consider the specific needs of your hay seed variety, as well as the climate and soil conditions of your region. Regular monitoring, nutrient management, and pest control are crucial for maintaining a healthy hay field.
Whether you are an experienced farmer or a beginner gardener, the satisfaction of growing your own hay field and reaping the benefits of a bountiful harvest is truly gratifying. With dedication and commitment, your hay field will provide abundant and nutritious feed for your animals or add a touch of natural beauty to your surroundings.
Now it’s time to put your knowledge into practice! Gather your tools, select the right hay seed, and begin your journey towards a thriving hay field. Remember to stay curious, keep learning, and enjoy the rewards of your hard work as you watch your hay seed transform into a lush and vibrant field.
Frequently Asked Questions about How To Plant Hay Seed
Was this page helpful?
At Storables.com, we guarantee accurate and reliable information. Our content, validated by Expert Board Contributors, is crafted following stringent Editorial Policies. We're committed to providing you with well-researched, expert-backed insights for all your informational needs.


0 thoughts on “How To Plant Hay Seed”