Home>Storage Ideas>Kitchen Storage>How To Clean Windows Inside And Out For Streak-Free Results
Kitchen Storage
How To Clean Windows Inside And Out For Streak-Free Results
Modified: January 5, 2024
Learn how to clean your windows inside and out with these expert tips for streak-free results. Transform your kitchen with these creative and practical storage ideas to maximize space and organization.
(Many of the links in this article redirect to a specific reviewed product. Your purchase of these products through affiliate links helps to generate commission for Storables.com, at no extra cost. Learn more)
Introduction
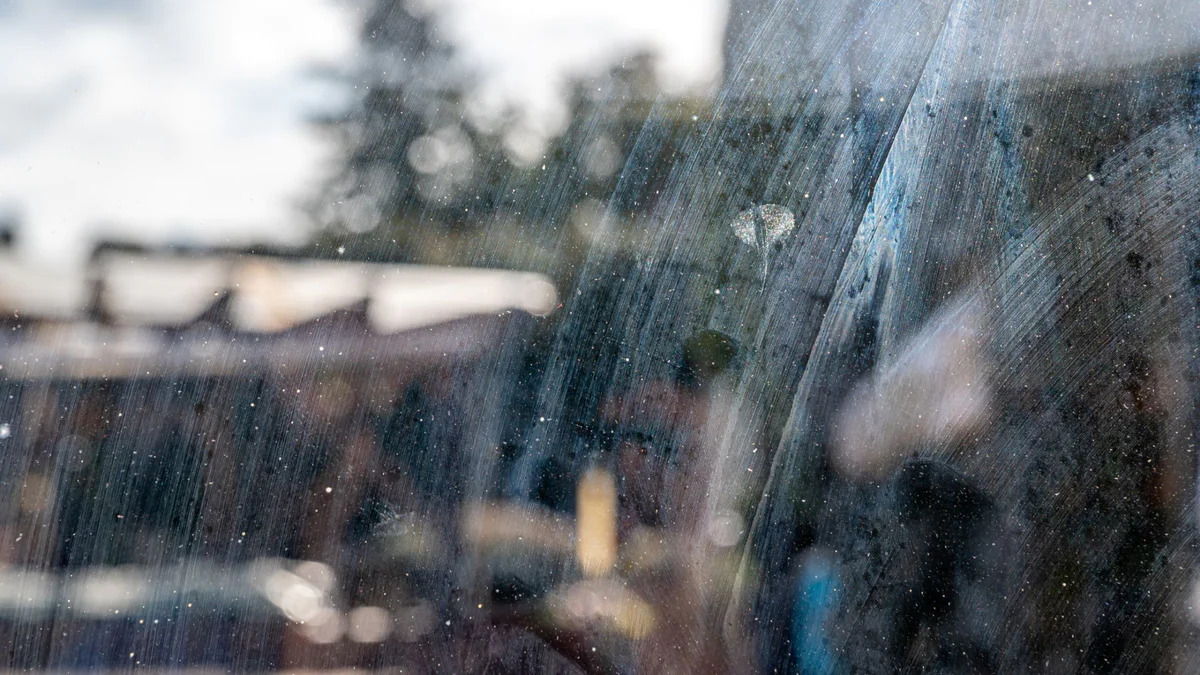
Welcome to this comprehensive guide on how to clean windows inside and out for streak-free results. Clean and sparkling windows can greatly enhance the appearance of your home or office space, allowing natural light to flood in and providing a clear view of the outside world. However, cleaning windows can be a daunting task, especially when streaks seem to appear no matter how much effort you put into it.
But fear not! With the right techniques and tools, you can achieve streak-free windows that will make your space shine. In this guide, we will take you through the step-by-step process of cleaning your windows both on the inside and outside, ensuring that every pane is crystal clear and free of streaks.
Before we dive into the cleaning process, it’s important to gather all the necessary supplies. This will ensure that you have everything you need within reach, saving you time and effort during the cleaning process. Let’s take a look at the essential supplies you’ll need.
Key Takeaways:
- Achieve streak-free windows by using the right tools and techniques, such as squeegeeing and drying with lint-free cloths. Regular maintenance and attention to detail are key for sparkling, clear views.
- Safety first! When cleaning windows, ensure proper preparation, use the right cleaning solutions, and follow expert tips to achieve professional-looking, streak-free results. Enjoy the benefits of bright, inviting spaces with clean, sparkling windows.
Read more: How To Get Streak-Free Car Windows
Gathering Your Supplies
Before you begin cleaning your windows, it’s essential to gather all the necessary supplies. Having these items on hand will make the cleaning process more efficient and effective. Here’s a list of the essential supplies you’ll need:
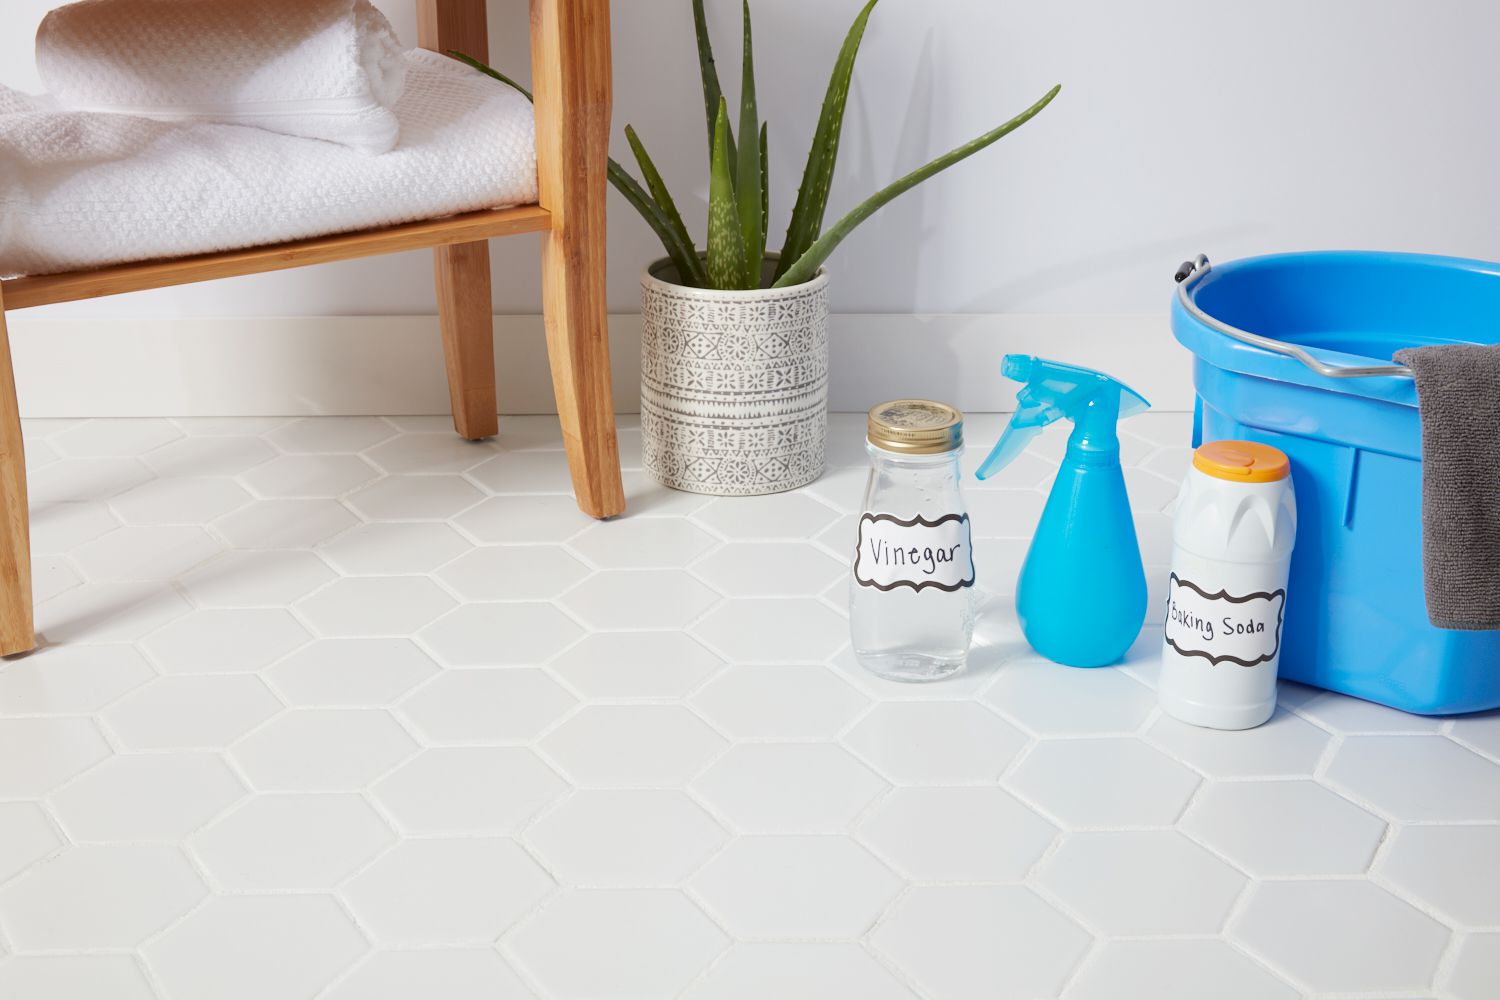
- Glass cleaner: Choose a high-quality, streak-free glass cleaner specifically designed for windows. You can opt for commercial cleaners or make your own using a mixture of vinegar and water.
- Microfiber cloths: These soft and lint-free cloths are perfect for cleaning windows without leaving behind any residue. Avoid using paper towels or newspaper, as they can leave streaks and lint.
- Squeegee: Invest in a good-quality squeegee with a rubber blade that can effectively remove water and cleaner from the glass.
- Bucket: Use a bucket to hold your cleaning solution and rinse water.
- Sponge or scrubber: Choose a non-abrasive sponge or scrubber to remove stubborn dirt and grime from the windows.
- Ladder or step stool: Depending on the height of your windows, you may need a ladder or step stool to reach them safely.
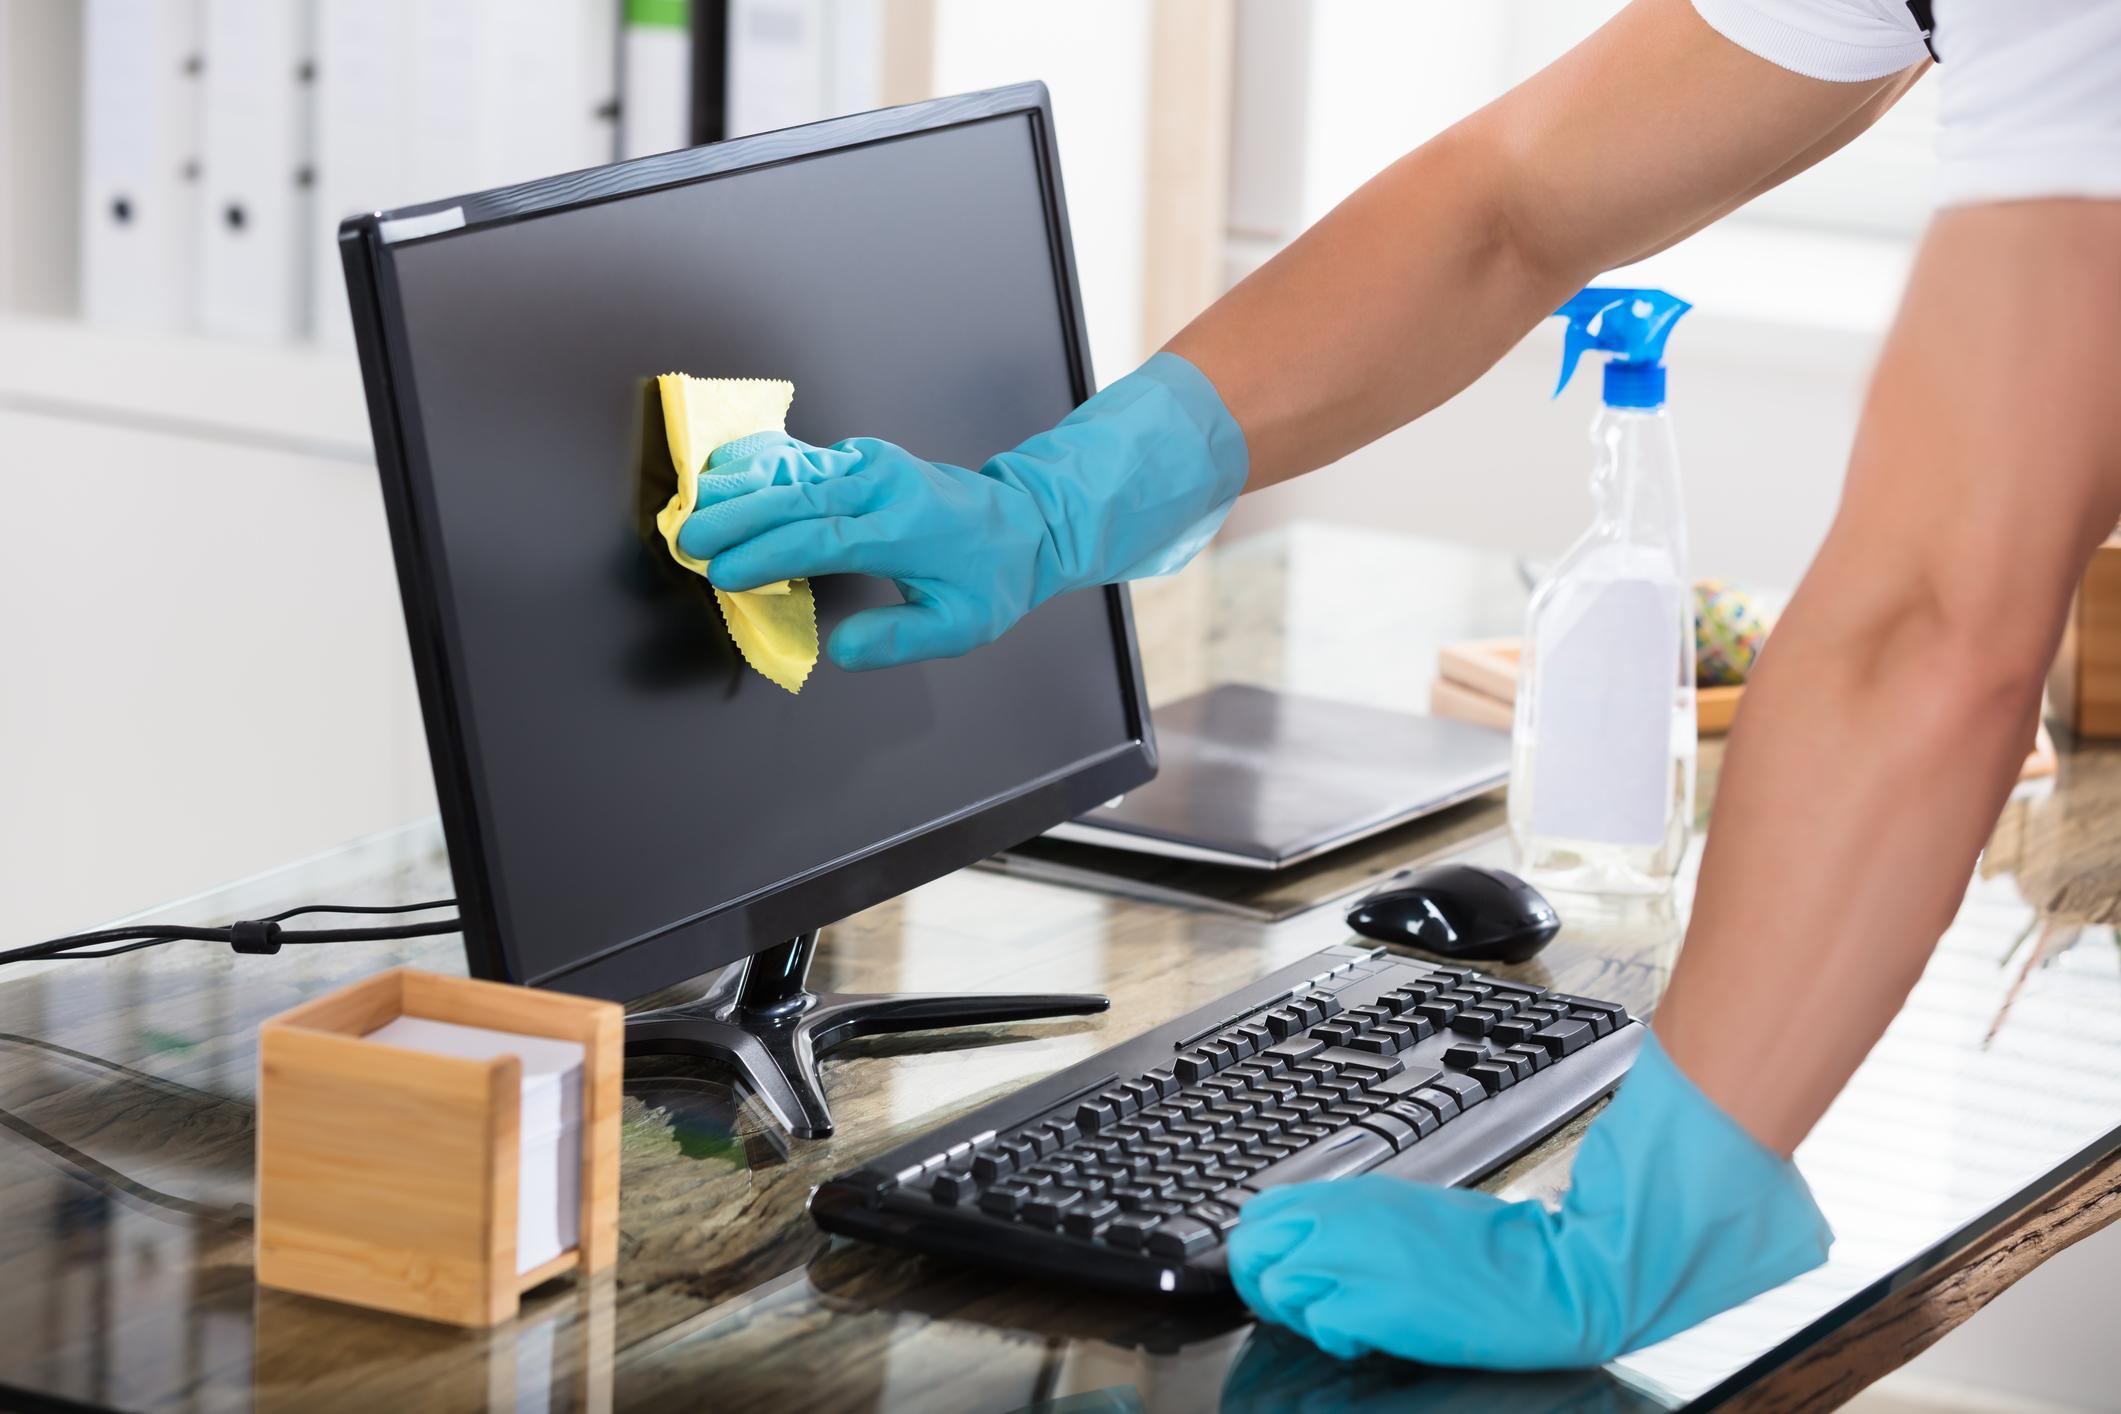
- Rubber gloves: Protect your hands from chemicals and cleaning solutions by wearing rubber gloves.
- Extension pole: An extension pole can be helpful for reaching higher windows without the need for a ladder.
- Drop cloth or old towels: Place a drop cloth or old towels on the floor beneath the windows to protect your flooring from any drips or spills.
Now that you have gathered all the necessary supplies, let’s move on to preparing the window for cleaning.
Preparing the Window
Before you start cleaning the window, it’s important to properly prepare it to ensure an effective and streak-free cleaning process. Here are the steps to follow when preparing your window:
- Remove any curtains or blinds: Take down any curtains or blinds that may obstruct your access to the window. This will allow you to clean the entire window surface without any obstructions.
- Open the window: If your windows are hinged and can be opened, go ahead and open them to access both the interior and exterior surfaces more easily.
- Clear the window area: Remove any objects or obstacles near the window that may hinder your cleaning process. This includes plants, furniture, or decorative items.
- Dust the window frame and sill: Use a soft brush or cloth to remove any loose dirt, dust, or cobwebs from the window frame and sill. This will prevent any debris from falling onto the glass during the cleaning process.
- Cover the window sill: If your window sill is prone to getting wet, place a towel or absorbent cloth on the sill to catch any drips and protect it from potential water damage.
By properly preparing your window, you create a clean and clear surface to work on, allowing for a more efficient and effective cleaning process. Now that your window is prepared, it’s time to move on to cleaning the inside of the window.
Inside Window Cleaning
Now that your window is properly prepared, it’s time to move on to cleaning the inside surface. Follow these steps for a thorough and streak-free cleaning:
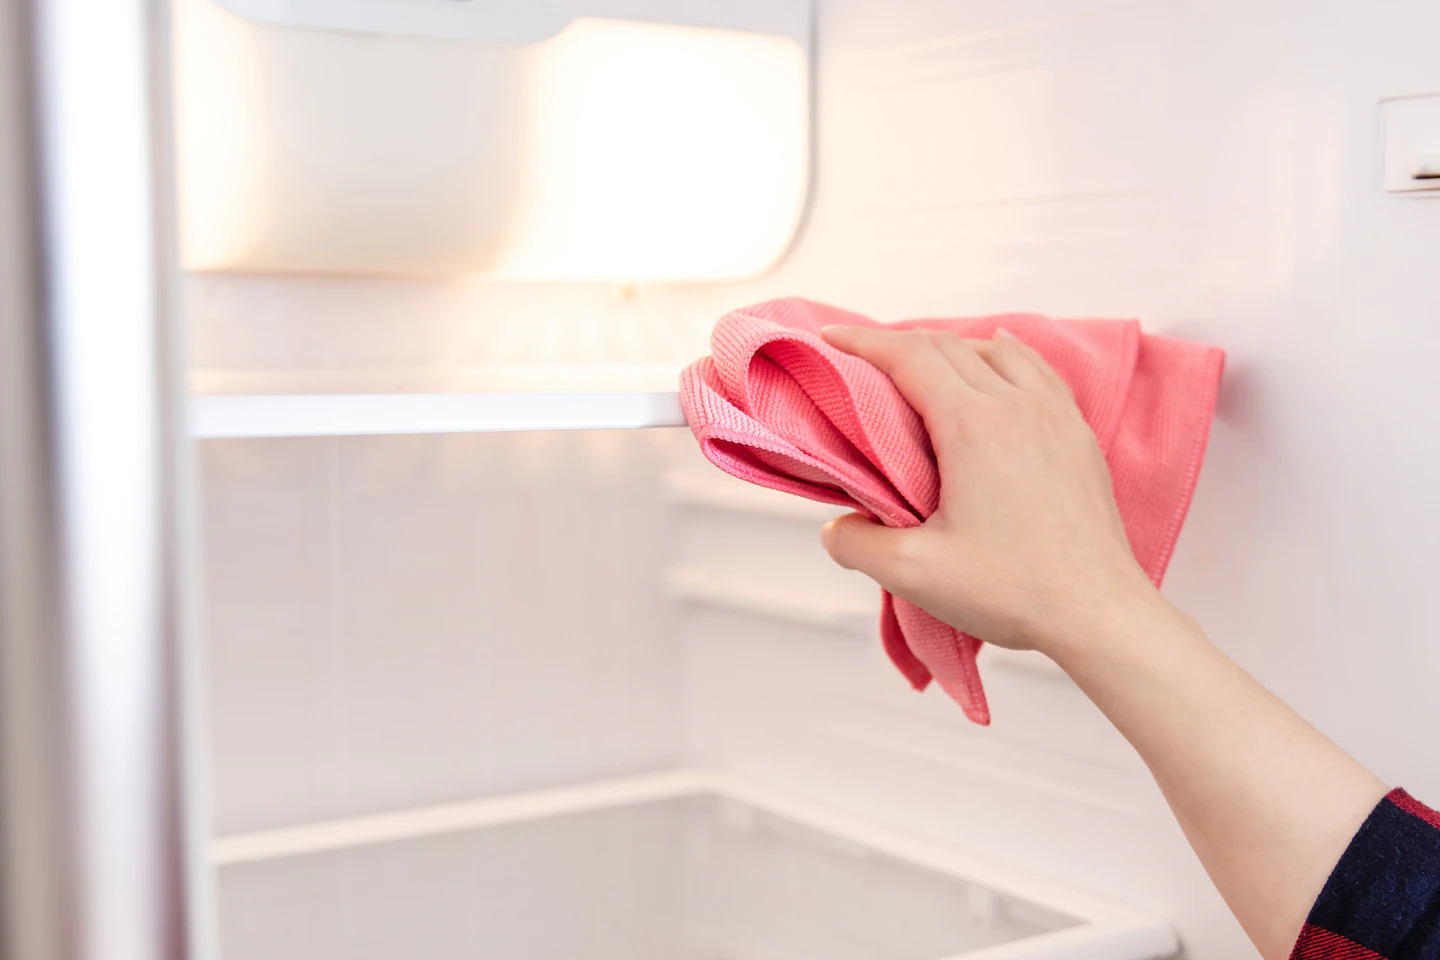
- Start with the window frame: Use a damp microfiber cloth or sponge to wipe down the window frame. Pay attention to any corners or crevices where dirt and grime may accumulate.
- Clean the window pane: Spray your chosen glass cleaner onto the window pane, covering the entire surface. If you’re using a homemade cleaner, apply the vinegar and water mixture using a spray bottle.
- Work from top to bottom: Start at the top of the window and use a microfiber cloth to wipe the cleaner in a vertical motion. This ensures that any drips or streaks are easily visible and can be addressed promptly.
- Pay attention to corners and edges: Use a folded microfiber cloth or a cotton swab to clean the corners and edges of the window. These areas often accumulate dust and grime, so be thorough in your cleaning.
- Remove excess cleaner: After wiping the entire window, use a clean, dry microfiber cloth to remove any excess cleaner or moisture. This step is crucial for achieving streak-free results.
Remember to clean both sides of the window if it opens or if you have easy access to the exterior surface from the inside. Once you have finished cleaning the inside of the window, it’s time to move outside for the exterior window cleaning process.
Outside Window Cleaning
Now that you have successfully cleaned the inside of your windows, it’s time to tackle the outside surface. Cleaning the exterior of your windows can be a bit trickier due to factors such as height and accessibility. Here are some steps to follow for effective outside window cleaning:
- Ensure safety first: Before you begin cleaning the outside of your windows, assess the height and accessibility. If your windows are on the ground floor, you can safely clean them from the outside using a ladder or step stool. However, if your windows are higher up, consider using an extension pole or hiring a professional window cleaner for safety reasons.
- Remove any obstacles: Clear any objects, such as potted plants or outdoor furniture, that may obstruct your access to the exterior of the window.
- Pre-rinse the window: Use a hose or bucket of clean water to pre-rinse the outside surface of the window. This will help remove any loose dirt or debris before you begin with the actual cleaning.
- Apply the cleaner: Spray your glass cleaner or vinegar and water mixture onto the window, making sure to cover the entire surface. Allow the cleaner to sit for a couple of minutes to loosen any stubborn grime.
- Scrub the window: Use a non-abrasive sponge or scrubber to gently scrub the window in a circular motion. Pay close attention to areas with built-up dirt or stains. For higher windows, use an extension pole with a sponge attachment for ease of reach.
- Rinse with clean water: Rinse the window thoroughly with clean water, either using a hose or a bucket. This step ensures that all the cleaner and loosened dirt are completely removed.
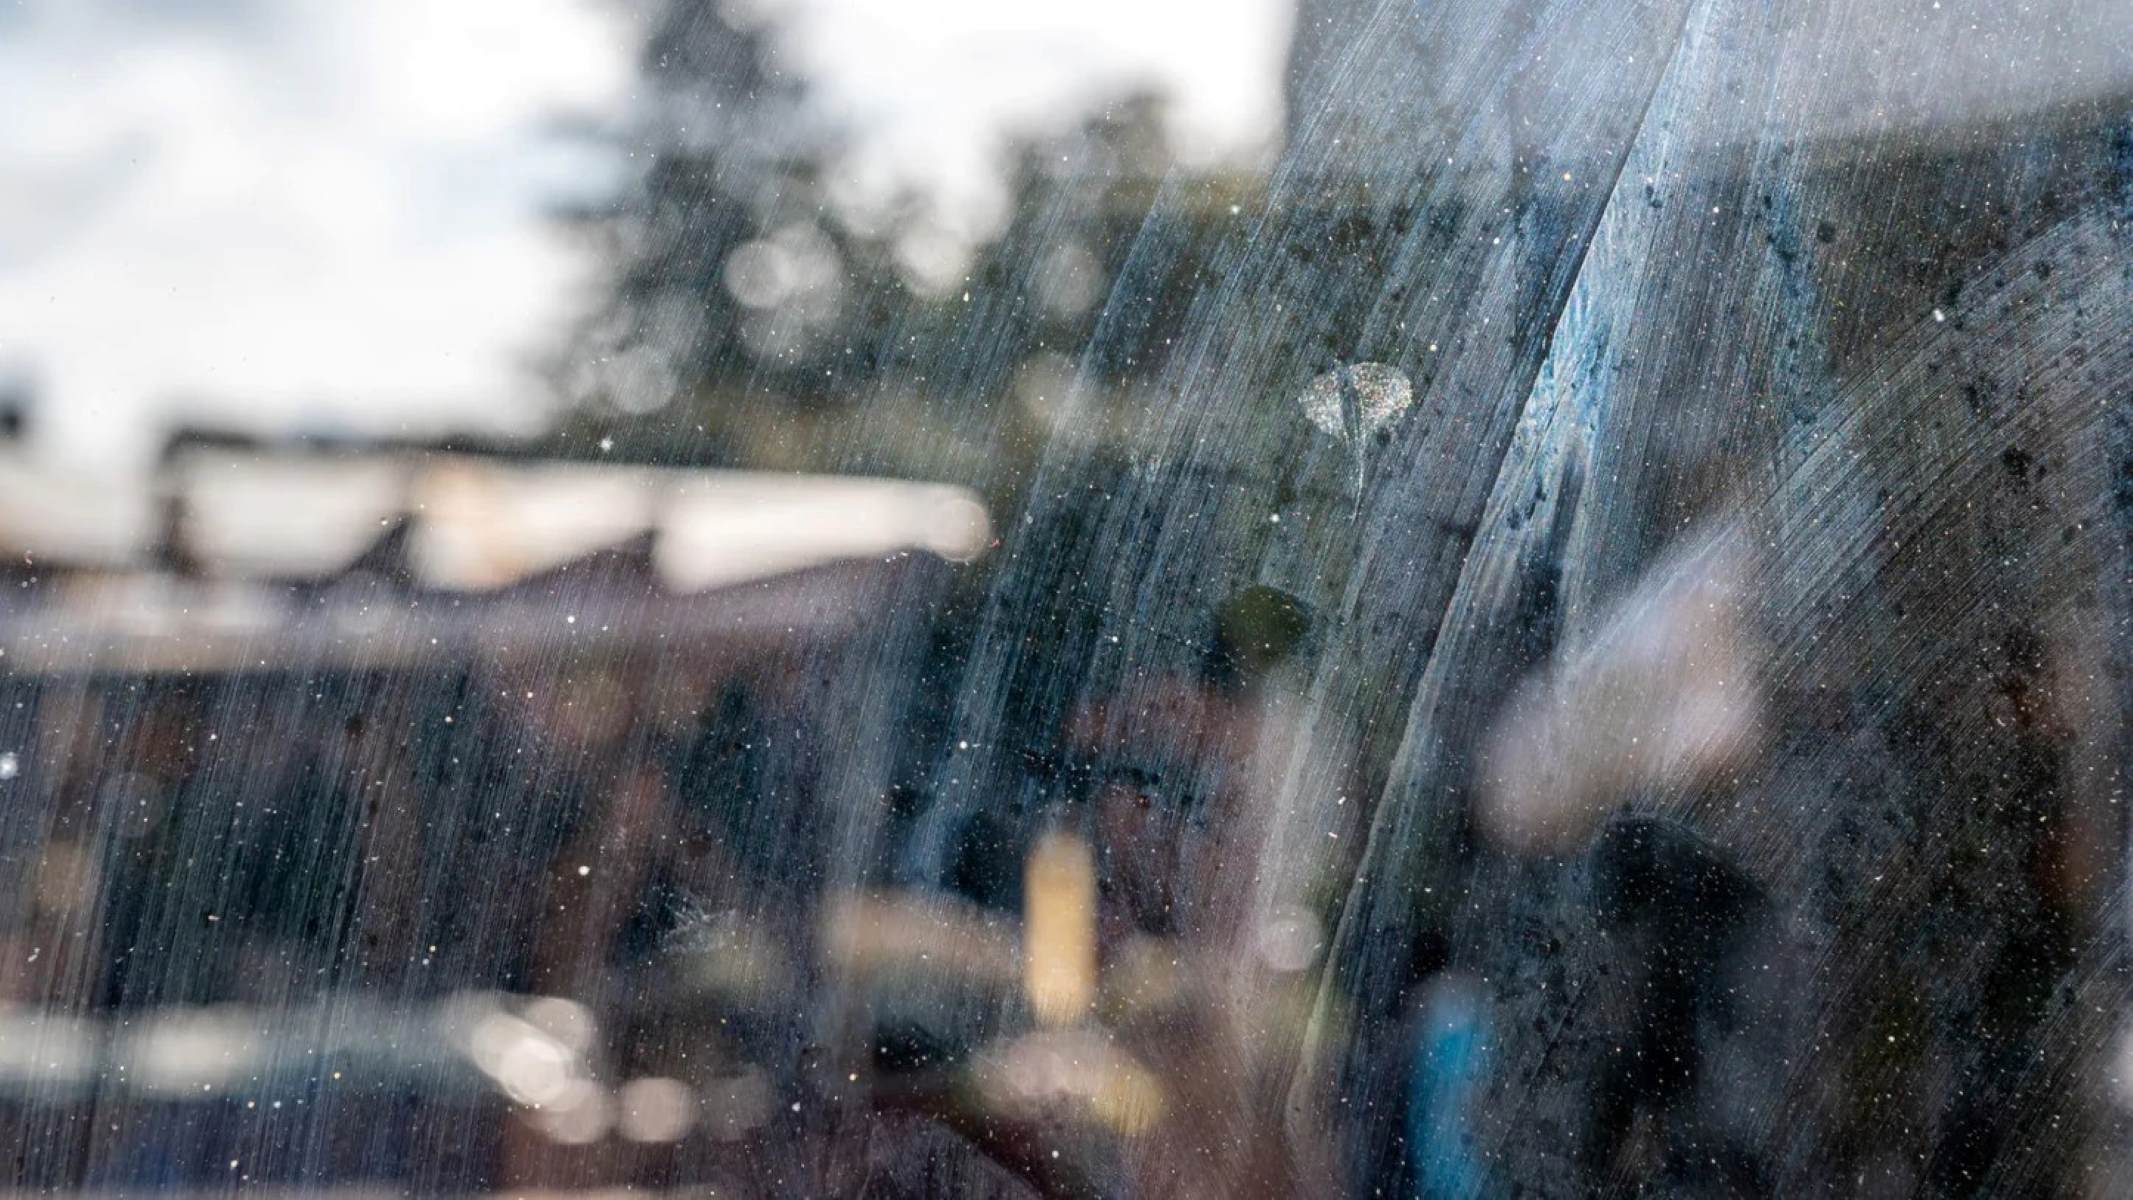
- Check for streaks: After rinsing, inspect the window for any streaks or spots. If needed, repeat the cleaning process in the areas where streaks are present.
Cleaning the outside of your windows may require additional effort and precautions, but the end result will be well worth it. Once you have finished cleaning the exterior, it’s time to move on to the squeegeeing process to achieve perfectly streak-free windows.
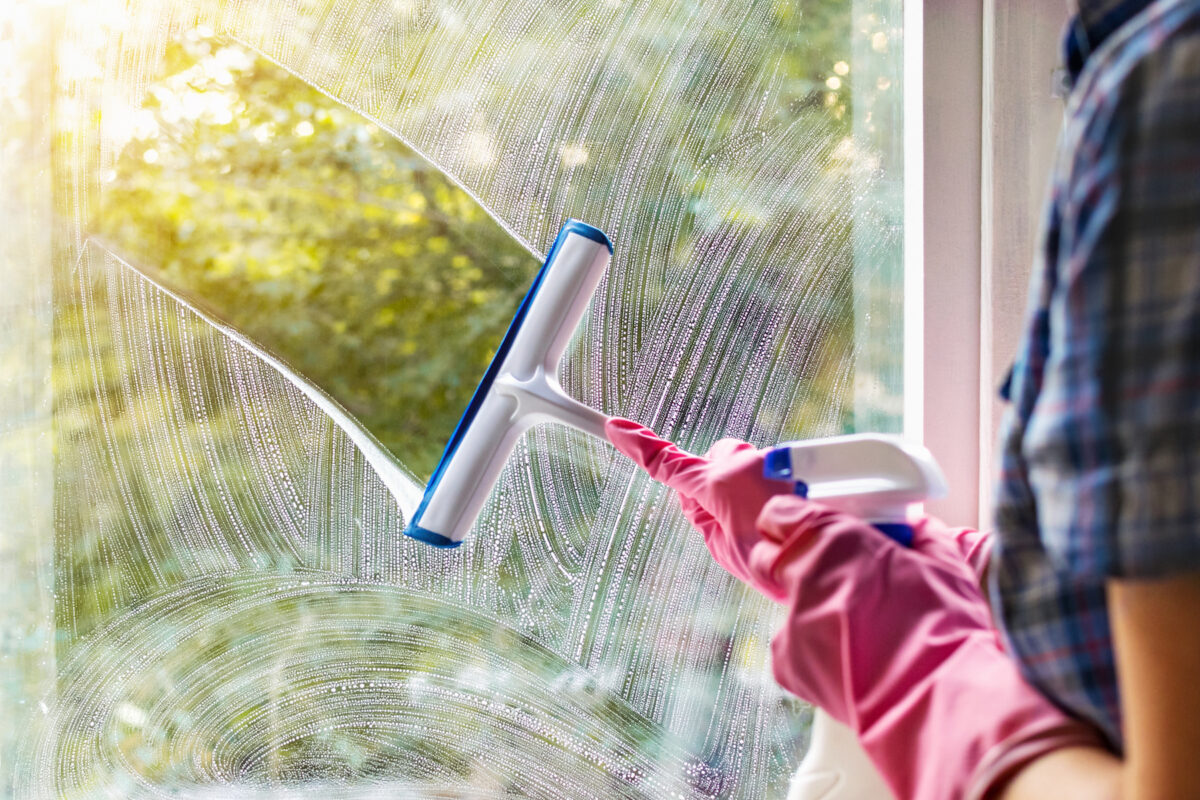
Use a solution of water and white vinegar to clean windows for streak-free results. Apply with a microfiber cloth in a circular motion, then use a squeegee to remove excess liquid.
Squeegeeing
After completing the cleaning process for both the inside and outside of your windows, it’s time to use a squeegee to remove any remaining moisture and achieve streak-free results. Here’s how to properly squeegee your windows:
- Choose the right squeegee: Select a squeegee with a rubber blade that matches the size of your window. A squeegee with a wider blade is more efficient for larger windows, while a smaller blade is ideal for smaller windows or hard-to-reach areas.
- Start at the top: Begin by placing the squeegee at the top edge of the window and angle it slightly downwards.
- Pull down with even pressure: Using a smooth and steady motion, pull the squeegee down the window, overlapping each stroke slightly. Apply even pressure to ensure the blade removes all the moisture from the glass.
- Wipe the blade after each stroke: After each stroke, wipe the squeegee blade with a clean, lint-free cloth or microfiber cloth to remove excess liquid and prevent streaks.
- Continue across the window: Repeat the process of pulling down the squeegee across the entire width of the window until you reach the bottom.
- Dry the squeegee: After completing each window, dry the squeegee blade with a cloth before moving on to the next one. This prevents water from transferring back onto the glass.
By using a squeegee, you can remove all remaining moisture and achieve streak-free windows. Ensure the squeegee blade remains clean and dry throughout the process to minimize the risk of streaks or water smudges on the glass.
Now that the squeegeeing process is complete, it’s time to dry the windows to leave them crystal clear. Let’s move on to the next step.
Drying the Windows
After squeegeeing the windows, it’s important to properly dry them to ensure a streak-free finish. Here’s how to effectively dry your windows:
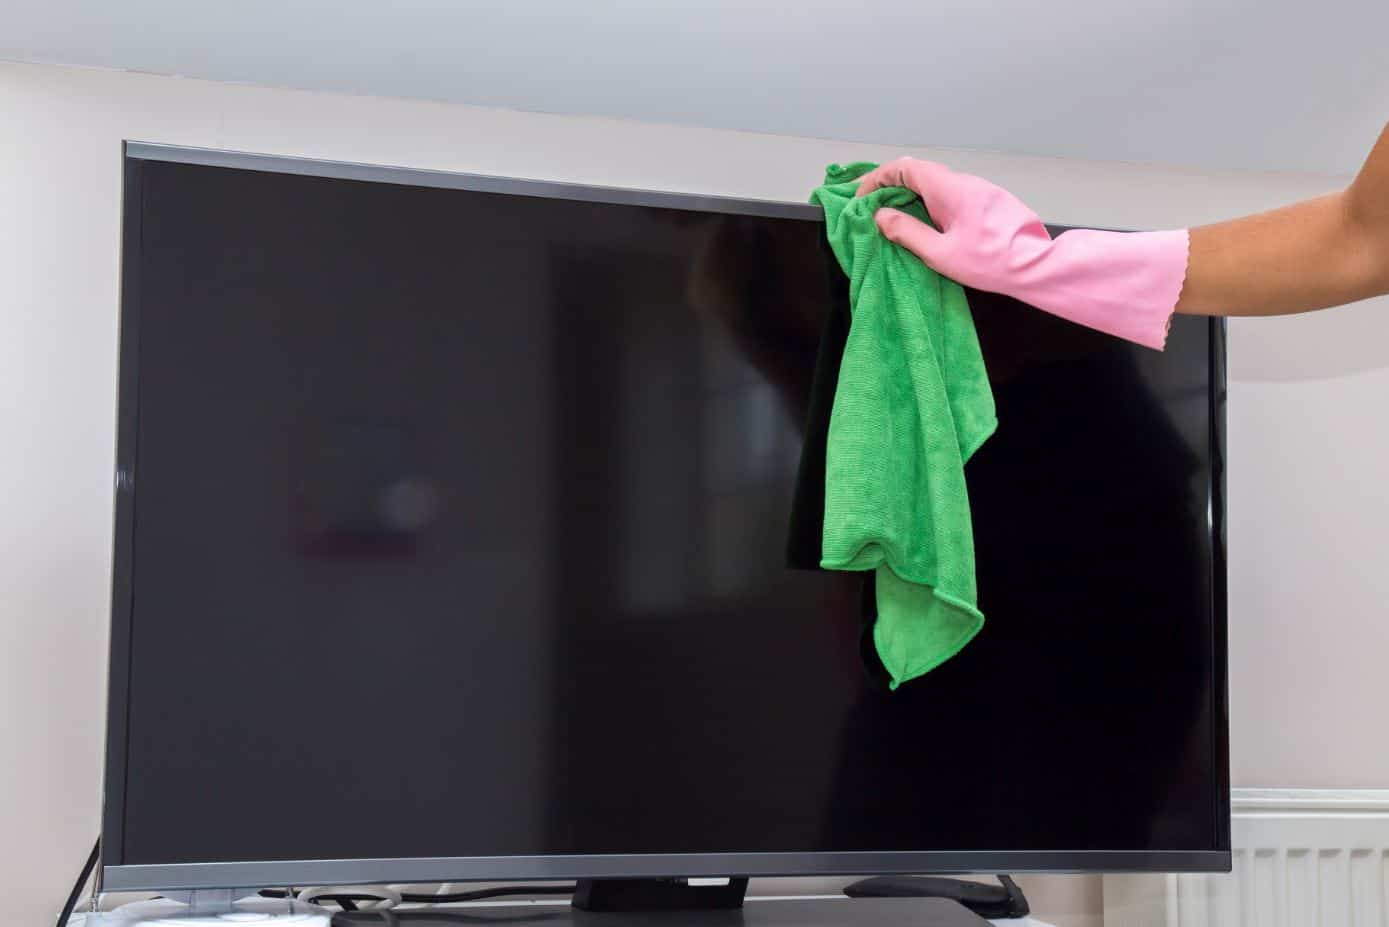
- Use a lint-free cloth: Grab a clean, lint-free cloth or microfiber cloth to dry the windows. Avoid using paper towels or regular towels, as they can leave behind lint or fibers.
- Start at the top: Begin drying the windows from the top, working your way down. Use a gentle wiping motion to absorb any remaining moisture.
- Pay attention to corners and edges: Be thorough in drying the corners and edges of the windows, as these areas are prone to collecting water droplets.
- Check for any streaks or spots: After drying each window, inspect it for any streaks or spots that may have been missed. If necessary, go back and repeat the drying process in those areas.
By effectively drying the windows, you ensure that all moisture is removed, leaving behind a perfectly clear and streak-free surface. Take your time to ensure each window is thoroughly dried before moving on to the next one.
Now that you have completed the process of cleaning and drying your windows, it’s time for some additional tips and tricks to achieve the best results possible.
Tips and Tricks for Streak-Free Results
Achieving streak-free results when cleaning windows requires attention to detail and a few extra tricks. Here are some tips and tricks to help you achieve the best possible outcome:
- Clean on a cloudy day: Avoid cleaning windows on a sunny day as the heat can cause the cleaning solution to dry quickly, leading to streaks. It’s best to clean on a cloudy day or when the windows are in the shade.
- Avoid cleaning in direct sunlight: Similar to the previous tip, cleaning windows in direct sunlight can cause the cleaning solution to evaporate too quickly, leaving behind streaks. Choose a time when the windows are not exposed to direct sunlight.
- Do not use too much cleaner: Using an excessive amount of glass cleaner can lead to streaks. Apply the cleaner sparingly to the window, ensuring the surface is adequately covered without excessive moisture present.
- Wipe in different directions: Instead of wiping in just one direction, try wiping the window in a back-and-forth or crisscross motion. This technique helps to capture any missed streaks and ensures a more uniform cleaning.
- Replace or clean the squeegee blade: Over time, the blade of the squeegee can deteriorate or accumulate dirt, leading to streaks on the window. Regularly inspect the blade and replace it if necessary, or clean it thoroughly before each use.
- Use distilled water: If your tap water is hard or contains minerals, it can leave streaks on the windows. Consider using distilled water in your cleaning solution to prevent mineral deposits and achieve a streak-free finish.
- Dry with a microfiber cloth: Avoid using regular towels or paper towels to dry the windows, as they can leave behind lint or fibers. Opt for a clean microfiber cloth or lint-free cloth for a streak-free drying process.
- Inspect from different angles: After cleaning and drying, step back and view the window from different angles and lighting conditions. This helps you identify any streaks or smudges that may have been missed.
- Regular maintenance: To keep your windows looking their best, establish a regular window cleaning routine. Regular maintenance ensures that dirt, dust, and grime don’t build up and become more difficult to remove.
By implementing these tips and tricks, you can significantly improve your chances of achieving streak-free windows. Experiment with different techniques and find the methods that work best for you and your specific windows.
Now that you have a thorough understanding of how to clean windows inside and out for streak-free results, it’s time to put your knowledge into action and enjoy the clear, sparkling view that clean windows provide.
Conclusion
Cleaning windows can be a challenging and time-consuming task, but with the right techniques and tools, you can achieve streak-free results that make your windows sparkle. Throughout this comprehensive guide, we have covered the step-by-step process of cleaning windows inside and out, from gathering the necessary supplies to the final drying stage.
By following the tips and tricks provided, such as using the proper cleaning solutions, utilizing a squeegee, and drying with lint-free cloths, you can achieve professional-looking results. Remember to pay attention to corners, edges, and hard-to-reach spots, as these areas tend to accumulate dirt and grime.
Additionally, we strongly recommend ensuring safety at all times, especially when cleaning windows at heights or accessing hard-to-reach areas. If necessary, consider seeking professional help or using safety equipment, such as ladders or extension poles, to avoid any accidents or injuries.
Lastly, regular maintenance is key to keeping your windows looking their best. Establishing a cleaning routine will prevent the buildup of dirt and grime, making future cleaning efforts more manageable.
Now that you have the knowledge and tools to achieve streak-free windows, it’s time to put them into practice. So grab your supplies, prepare your windows, and get ready to enjoy the clear, unobstructed views that clean windows provide. Once you experience the difference, you’ll be motivated to maintain your windows’ cleanliness and enjoy the benefits of a bright and inviting space.
Happy cleaning!
Frequently Asked Questions about How To Clean Windows Inside And Out For Streak-Free Results
Was this page helpful?
At Storables.com, we guarantee accurate and reliable information. Our content, validated by Expert Board Contributors, is crafted following stringent Editorial Policies. We're committed to providing you with well-researched, expert-backed insights for all your informational needs.


0 thoughts on “How To Clean Windows Inside And Out For Streak-Free Results”