
Articles
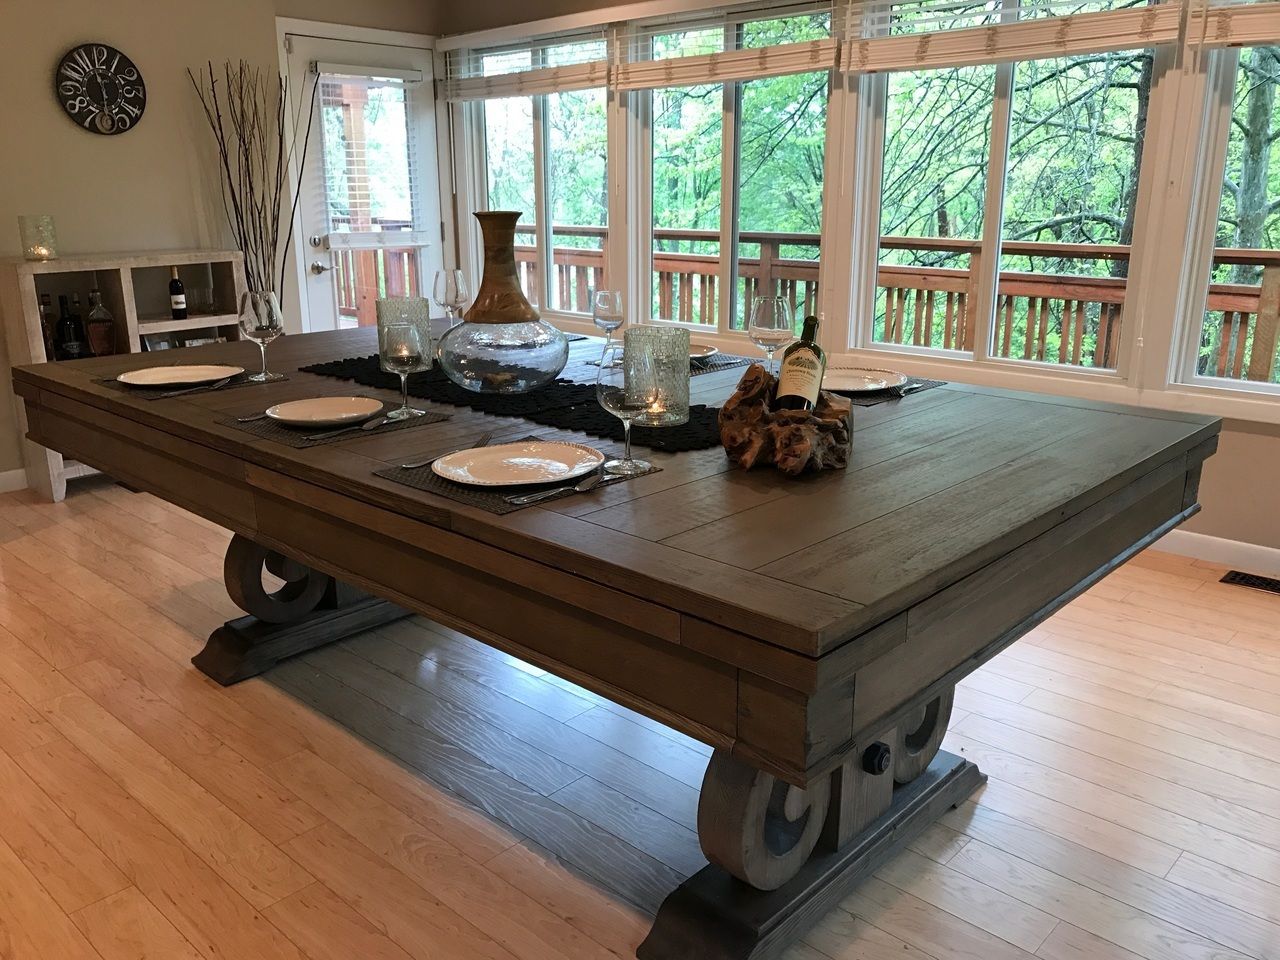
How To Store A Pool Table
Modified: December 7, 2023
Looking for articles on how to store a pool table? Discover top tips and techniques for safely and effectively storing your pool table.
(Many of the links in this article redirect to a specific reviewed product. Your purchase of these products through affiliate links helps to generate commission for Storables.com, at no extra cost. Learn more)
Introduction
Storing a pool table may seem like a daunting task, but with the right approach, it can be a smooth and efficient process. Whether you’re moving to a new home, renovating your current space, or simply need to create more room, properly storing your pool table is key to keeping it in good condition and ready for use whenever you’re ready to bring it out again.
Pool tables are not only heavy and bulky but also delicate and susceptible to damage if not handled with care. That’s why it’s crucial to follow a step-by-step guide to ensure the proper storage of your pool table. From cleaning and disassembling to wrapping and protecting the parts, transporting, and finally reassembling, each step plays a vital role in maintaining the integrity of your pool table.
In this article, we’ll walk you through the process of how to store a pool table properly. We’ll provide you with clear instructions and helpful tips to make the task easier and minimize the risk of any damage. So let’s dive in and learn how to store your pool table like a pro!
Key Takeaways:
- Properly storing a pool table involves thorough cleaning, careful disassembly, protective wrapping, cautious transportation, suitable storage conditions, and meticulous reassembly. Prioritizing these steps ensures the table’s longevity and optimal condition for future use.
- Taking the time to clean, disassemble, wrap, and transport a pool table with care significantly reduces the risk of damage. Storing the table in a clean, suitable environment and reassembling it properly ensures it will be ready for many more enjoyable games in the future.
Read more: How To Store A Pool For Winter
Step 1: Cleaning the Pool Table
Before you store your pool table, it’s essential to clean it thoroughly. Dust, debris, and chalk residue can accumulate on the playing surface and can cause damage if left unaddressed. Here’s how to clean your pool table:
- Start by removing any balls from the table and placing them in a secure location.
- Use a soft-bristle brush or a vacuum cleaner with a brush attachment to gently remove any loose dirt, dust, or debris from the table’s surface. Be sure to pay attention to the pockets and corners of the table.
- Next, dampen a cloth with a mild soap and water solution. Wring out any excess liquid to avoid saturating the cloth.
- Gently wipe down the entire playing surface, working in a consistent motion from one end to the other. Avoid applying excessive pressure, as it can damage the felt.
- If there are any stubborn stains or marks on the felt, consult the manufacturer’s instructions or seek professional assistance for proper stain removal.
- Once you’ve cleaned the playing surface, use a separate cloth to wipe down the rails, cushions, and pockets of the table. Pay attention to any areas where dirt or grime may have accumulated.
By taking the time to clean your pool table thoroughly, you’re not only preserving its appearance but also removing any particles that could cause damage during storage. A clean and well-maintained pool table will ensure a smooth and enjoyable gaming experience when you’re ready to use it again.
Step 2: Disassembling the Pool Table
Once you’ve cleaned your pool table, the next step is to disassemble it. Disassembling the pool table is essential for both transporting it safely and maximizing the storage space. Here’s how to disassemble your pool table:
- Start by removing the pockets from the rails. Most pockets can be unscrewed or detached easily. Make sure to keep the screws or any components in a safe place.
- Next, carefully remove the rails from the table. Depending on the pool table model, the rails may be held in place with bolts or screws. Use the appropriate tools to loosen and remove them, ensuring not to strip or damage the fasteners.
- Once the rails are detached, you can proceed to remove the felt from the playing surface. Start by loosening the staples or glue holding the felt in place. Be extra cautious while removing the felt to avoid tearing or damaging it.
- After the felt has been removed, take off the slate sections. Pool table slate is heavy and delicate, so it’s important to handle it with care. Enlist the help of others to lift and carry the slate sections, making sure not to put any unnecessary strain on the slate or yourself.
- Lastly, if your pool table has detachable legs, disassemble them following the manufacturer’s instructions. Some pool tables may have fixed legs, in which case, skip this step.
It’s important to keep track of all the hardware and components you remove during the disassembly process. Place them in a labeled bag or storage container to ensure that nothing gets misplaced or lost. Taking photos or making notes during disassembly can also help with reassembly later on.
By disassembling your pool table properly, you not only make it easier to transport and store but also reduce the risk of any damage occurring to the various components. Remember to handle each piece with care and enlist the help of others if necessary to ensure a smooth disassembly process.
Step 3: Wrapping and Protecting the Pool Table Parts
After disassembling your pool table, it’s crucial to properly wrap and protect the various components to safeguard them during storage. This step is essential in preventing any scratches, dings, or other damages that may occur during transportation or while in storage. Follow these guidelines to ensure the protection of your pool table parts:
- Start by wrapping the slate sections. Use moving blankets or thick furniture pads to cover each slate piece individually. Make sure the entire surface is covered, and secure the blankets with high-quality packing tape or plastic wrap.
- For the rails, wrap each rail individually using bubble wrap or moving blankets. Secure the wrapping with packing tape to keep it in place.
- Similarly, wrap the pockets in bubble wrap or moving blankets. Ensure that they are adequately protected and secure the wrapping with tape.
- If your pool table legs are detachable, wrap them individually. Use bubble wrap or moving blankets to protect the legs from any potential damage. Secure the wrapping with tape or straps.
When wrapping each component, remember to give extra attention to the corners and edges, as these areas are more susceptible to damage. Wrapping the pool table parts individually not only provides an additional layer of protection but also helps in organizing and storing them efficiently.
Once each component is wrapped, consider storing them in a designated wooden crate or a storage unit that provides a secure and climate-controlled environment. This will further protect your pool table parts from potential moisture, extreme temperatures, or any other environmental factors that could damage them.
By taking the time to wrap and protect your pool table parts, you’re ensuring their safety during the storage period. This step plays a crucial role in preserving the quality and integrity of the components, allowing you to enjoy a well-preserved pool table when it’s time to reassemble and bring it back into use.
When storing a pool table, disassemble it carefully, label the parts, and store them in a dry, climate-controlled area to prevent warping or damage. Cover the pieces to protect them from dust and scratches.
Step 4: Transporting the Pool Table
When it comes to transporting a pool table, proper handling and precautions are crucial to avoid any damage or accidents along the way. Follow these guidelines to ensure a safe and smooth transportation process:
- Enlist the help of at least two or three strong individuals to assist with lifting and carrying the different components of the pool table. Moving a pool table requires physical strength and coordination.
- Use sturdy furniture dollies or hand trucks to transport the heavy slate sections. These tools can help minimize the strain on your back and make it easier to move the weighty slate.
- Be cautious while maneuvering the slate sections through doorways and narrow passages. Measure the doorway and make sure the slate can fit without causing any damage to the walls or the table itself.
- Load the disassembled pool table components onto a secure and spacious moving truck. Make sure they are properly secured and stable to prevent shifting or falling during transit.
- Take extra care when loading and unloading the truck, ensuring that each component is handled gently and placed in a safe position to avoid any damage.
- If you are hiring professional movers, communicate clearly with them about the fragile nature of the pool table components and any specific handling instructions. Provide them with clear directions to help them navigate the transporting process.
During transportation, try to avoid sudden stops, excessive vibrations, or rough road conditions that could potentially cause damage to the pool table parts. Proper securing and stability are crucial to minimize any potential risks during transit.
Remember, the safety of the pool table components should be your top priority during transportation. By following these guidelines and ensuring careful handling, you can transport your pool table to its storage location with minimal risk of damage.
Read more: How To Store Pool Floats
Step 5: Storing the Pool Table
Proper storage is key to keeping your pool table in good condition during its period of inactivity. Follow these guidelines to ensure the safe storage of your pool table:
- Choose a suitable storage location that is clean, dry, and free from excessive humidity. Moisture can damage the components of the pool table, particularly the felt.
- Consider placing a moisture absorber or desiccant near the pool table to help maintain the optimal humidity level and prevent any mold or mildew growth.
- If possible, store the disassembled pool table components in an upright position to prevent warping or damage. If vertical storage is not feasible, carefully lay them flat, ensuring that no unnecessary pressure or weight is exerted on them.
- Ensure that the storage area is well-protected from potential impacts, such as heavy objects or other items that could fall and cause damage.
- If you are using a storage unit, make sure it is adequately climate-controlled to prevent temperature fluctuations that could harm the pool table components, particularly the slate.
- Label and organize the storage space to make it easier to locate the different pool table parts when you’re ready to reassemble them.
It’s important to periodically check on the stored pool table components to ensure they remain in good condition. If you notice any signs of damage, such as moisture buildup, pests, or warping, take immediate action to address the issue. This could include adjusting the storage conditions, seeking professional assistance, or making necessary repairs.
By storing your pool table correctly, you’re providing it with the care it needs during its period of inactivity. This ensures that when you’re ready to bring it back into use, it will be in optimal condition and ready for countless hours of fun and entertainment.
Step 6: Reassembling the Pool Table
Once you’re ready to bring your pool table out of storage and back into use, it’s time to go through the process of reassembling it. Follow these steps to ensure a smooth and successful reassembly:
- Begin by unpacking the pool table parts from their storage containers or crates. Take the time to check each component for any signs of damage or wear.
- If needed, refer back to any notes or photographs taken during the disassembly process to help guide you during reassembly.
- Start by reattaching the legs to the frame of the pool table. Use the appropriate tools and follow the manufacturer’s instructions to ensure a secure and stable attachment.
- Next, carefully position the slate sections back onto the frame. Take your time to align the slate pieces evenly, ensuring a smooth and level playing surface.
- Attach the rails to the table frame, securing them with the necessary bolts or screws. Ensure that the rails are securely fastened and aligned properly.
- Once the rails are in place, reattach the pockets to each side of the table. Make sure they are securely fixed and aligned correctly.
- Finally, if you previously removed the felt, now is the time to reapply it. Follow the manufacturer’s instructions or seek professional assistance to ensure the proper installation of the felt.
Take your time during the reassembly process, and double-check each step to ensure that everything is properly aligned and securely attached. It’s important to maintain the integrity of the pool table structure to ensure optimal gameplay and longevity.
After reassembling the pool table, give it a thorough inspection to ensure everything is in proper condition. Test the levelness of the playing surface and make any adjustments if necessary. It’s also a good idea to clean the surface and rails before starting your first game post-storage.
By carefully reassembling your pool table, you’re ensuring that it is ready for play once again. With proper maintenance and care, your pool table will continue to provide hours of entertainment and enjoyment for years to come.
Conclusion
Storing a pool table may initially seem like a daunting task, but with the right approach and careful attention to each step, it can be a manageable and successful process. By following the proper procedures for cleaning, disassembling, wrapping, transporting, storing, and reassembling your pool table, you can ensure its longevity and maintain its quality over time.
Cleaning the pool table before storage helps remove any dirt, dust, and debris that could potentially cause damage. Disassembling the table allows for easier transportation and maximizes storage space. Wrapping and protecting the individual components with care ensure their safety during storage. Transporting the pool table requires caution and proper handling to prevent any accidents or damage. Storing the table in a suitable location with the right conditions helps preserve its integrity. And finally, reassembling the pool table requires careful attention to detail to ensure a level playing surface and proper functionality.
Throughout this process, it’s important to prioritize the safety and protection of the pool table components. Taking the time to clean, disassemble, wrap, and transport with care significantly reduces the risk of any damage occurring. Additionally, storing the pool table in a clean and suitable environment, and reassembling it properly, ensures that it will be ready for many more enjoyable games in the future.
Remember, if you’re unsure about any specific steps or need assistance, it’s always a good idea to consult the manufacturer’s instructions or seek professional help. Taking the proper precautions and investing time and effort into storing your pool table will pay off in the long run by preserving its quality and allowing you to continue enjoying this classic game for years to come.
Frequently Asked Questions about How To Store A Pool Table
Was this page helpful?
At Storables.com, we guarantee accurate and reliable information. Our content, validated by Expert Board Contributors, is crafted following stringent Editorial Policies. We're committed to providing you with well-researched, expert-backed insights for all your informational needs.
0 thoughts on “How To Store A Pool Table”