
Articles
How To Store A Gas Weed Eater
Modified: May 6, 2024
Learn effective tips and techniques for storing a gas weed eater in this informative article. Protect your investment and prolong its lifespan with proper storage methods.
(Many of the links in this article redirect to a specific reviewed product. Your purchase of these products through affiliate links helps to generate commission for Storables.com, at no extra cost. Learn more)
Introduction
When it comes to maintaining a well-manicured lawn, a gas weed eater is an essential tool for keeping those unwanted weeds and grass in check. However, when the outdoor season comes to an end or if you simply need to store your gas weed eater for an extended period of time, it’s important to take the necessary steps to ensure it remains in top condition.
Properly storing a gas weed eater not only extends its lifespan but also reduces the risk of accidents or injuries when it’s time to use it again. In this article, we’ll guide you through the process of storing your gas weed eater safely and effectively.
Key Takeaways:
- Properly storing a gas weed eater involves safety precautions, fuel maintenance, and choosing the right storage location. Regular cleaning, detachment of attachments, and long-term preparation are key for optimal performance and longevity.
- To store a gas weed eater effectively, prioritize safety, fuel storage, and attachment detachment. Regular maintenance and thorough inspection before and after storage ensure equipment longevity and reliable performance.
Read more: How To Clean Ryobi Weed Eater Carburetor
Safety Precautions
Properly storing a gas weed eater involves more than just finding a convenient space in your garage or shed. It’s essential to take certain safety precautions to ensure the equipment is secure and doesn’t pose a risk to yourself or others. By following these guidelines, you can greatly reduce the risk of accidents or injuries.
First and foremost, always make sure the gas weed eater is turned off and the engine is cooled down before attempting to store it. This will prevent accidental starts and protect you from potential burns. Additionally, never store a gas weed eater with fuel still in the tank. Gasoline can be highly flammable and storing it in an enclosed space can lead to dangerous situations.
It’s also important to keep the gas weed eater out of reach of children and pets. Consider installing a lock or placing it in a secure area to prevent unauthorized usage. Additionally, when handling or storing the equipment, always wear proper protective gear such as gloves and safety glasses. This will help protect you from any potential debris or accidents.
Lastly, be mindful of the transportation and storage of the gas canisters or fuel containers. Always store them in a well-ventilated area away from heat sources and ensure they are tightly sealed. Improper handling of fuel can lead to hazardous situations, so it’s crucial to exercise caution when dealing with flammable substances.
By adhering to these safety precautions, you can store your gas weed eater with peace of mind, knowing that you have taken the necessary steps to prevent accidents or injuries.
Cleaning and Maintenance
To ensure your gas weed eater performs optimally and lasts for years to come, regular cleaning and maintenance are essential. Here are some key steps to include in your cleaning and maintenance routine.
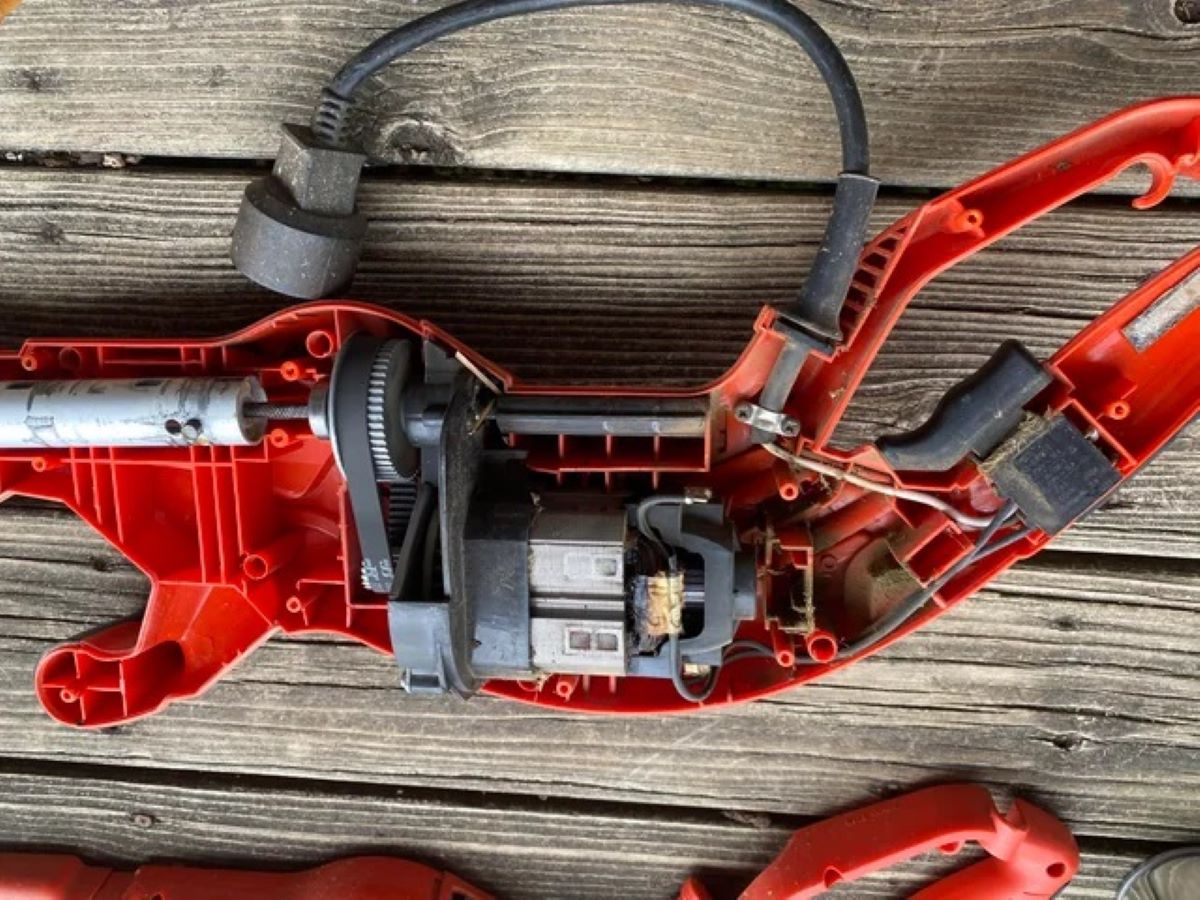
Cleaning the gas weed eater involves removing any debris, grass clippings, or dirt that may have accumulated during use. Start by turning off the engine and disconnecting the spark plug wire to prevent any accidental start-ups. Use a brush or a soft cloth to gently wipe away any dirt from the exterior of the weed eater. For hard-to-reach areas, a toothbrush or a small brush can be helpful.
In addition to cleaning the exterior, it’s important to clean the cutting head of the weed eater. Remove the cutting head according to the manufacturer’s instructions and inspect it for any debris or grass buildup. Use a brush or a toothpick to dislodge any foreign materials. Additionally, consider lubricating the cutting head with a light machine oil to ensure smooth operation.
Another crucial aspect of weed eater maintenance is checking and replacing the spark plug. Over time, the spark plug can become worn or dirty, which affects the engine’s performance. Remove the spark plug and inspect it for any signs of damage or fouling. If necessary, clean it using a wire brush or replace it with a new one. A well-maintained spark plug ensures reliable starting and efficient operation of the weed eater.
By regularly cleaning and maintaining your gas weed eater, you can keep it in top shape and extend its lifespan. This will result in more effective weed trimming and fewer issues down the line.
Fuel Storage
Proper fuel storage is a critical aspect of storing a gas weed eater. By taking the necessary precautions, you can prevent fuel-related issues and ensure that your equipment remains in good working condition. Here are some key steps to follow when it comes to fuel storage.
Firstly, it’s important to drain the fuel tank before storing the gas weed eater. Gasoline can degrade over time, leading to engine performance issues. To drain the fuel tank, run the engine until it stalls due to lack of fuel. Alternatively, you can siphon out the fuel using a hand pump or another appropriate method. Make sure to dispose of the fuel in accordance with local regulations.
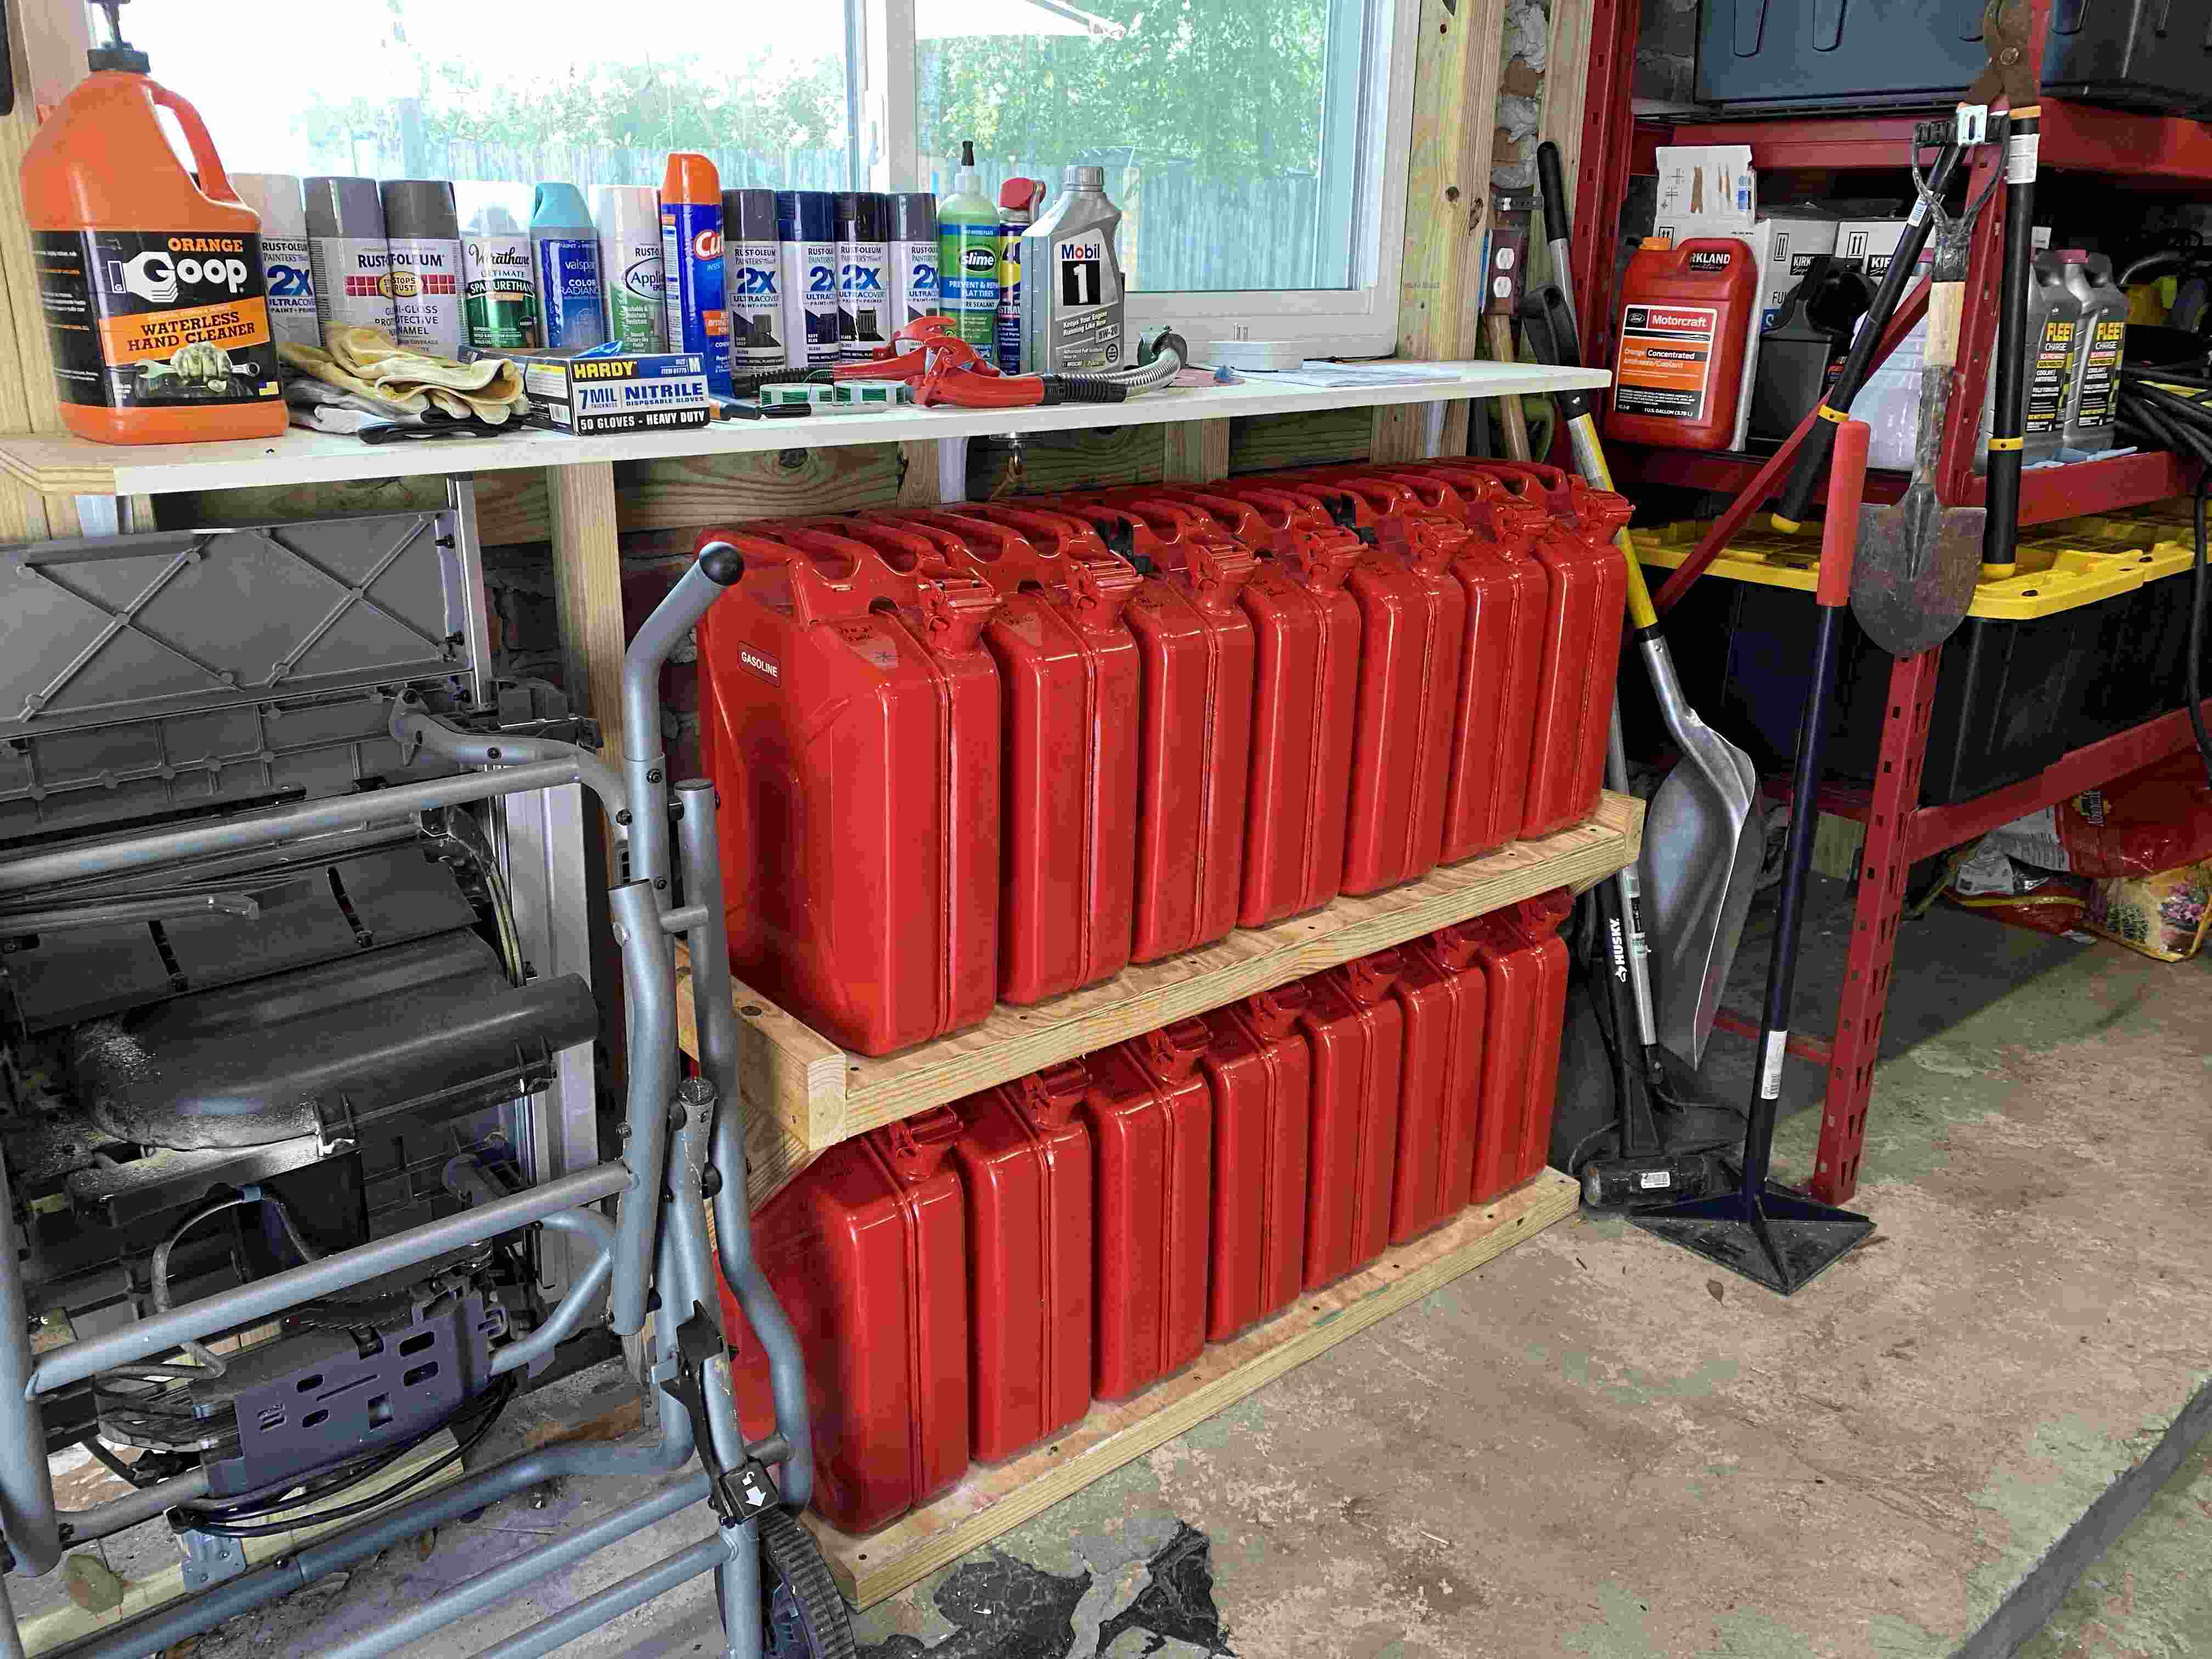
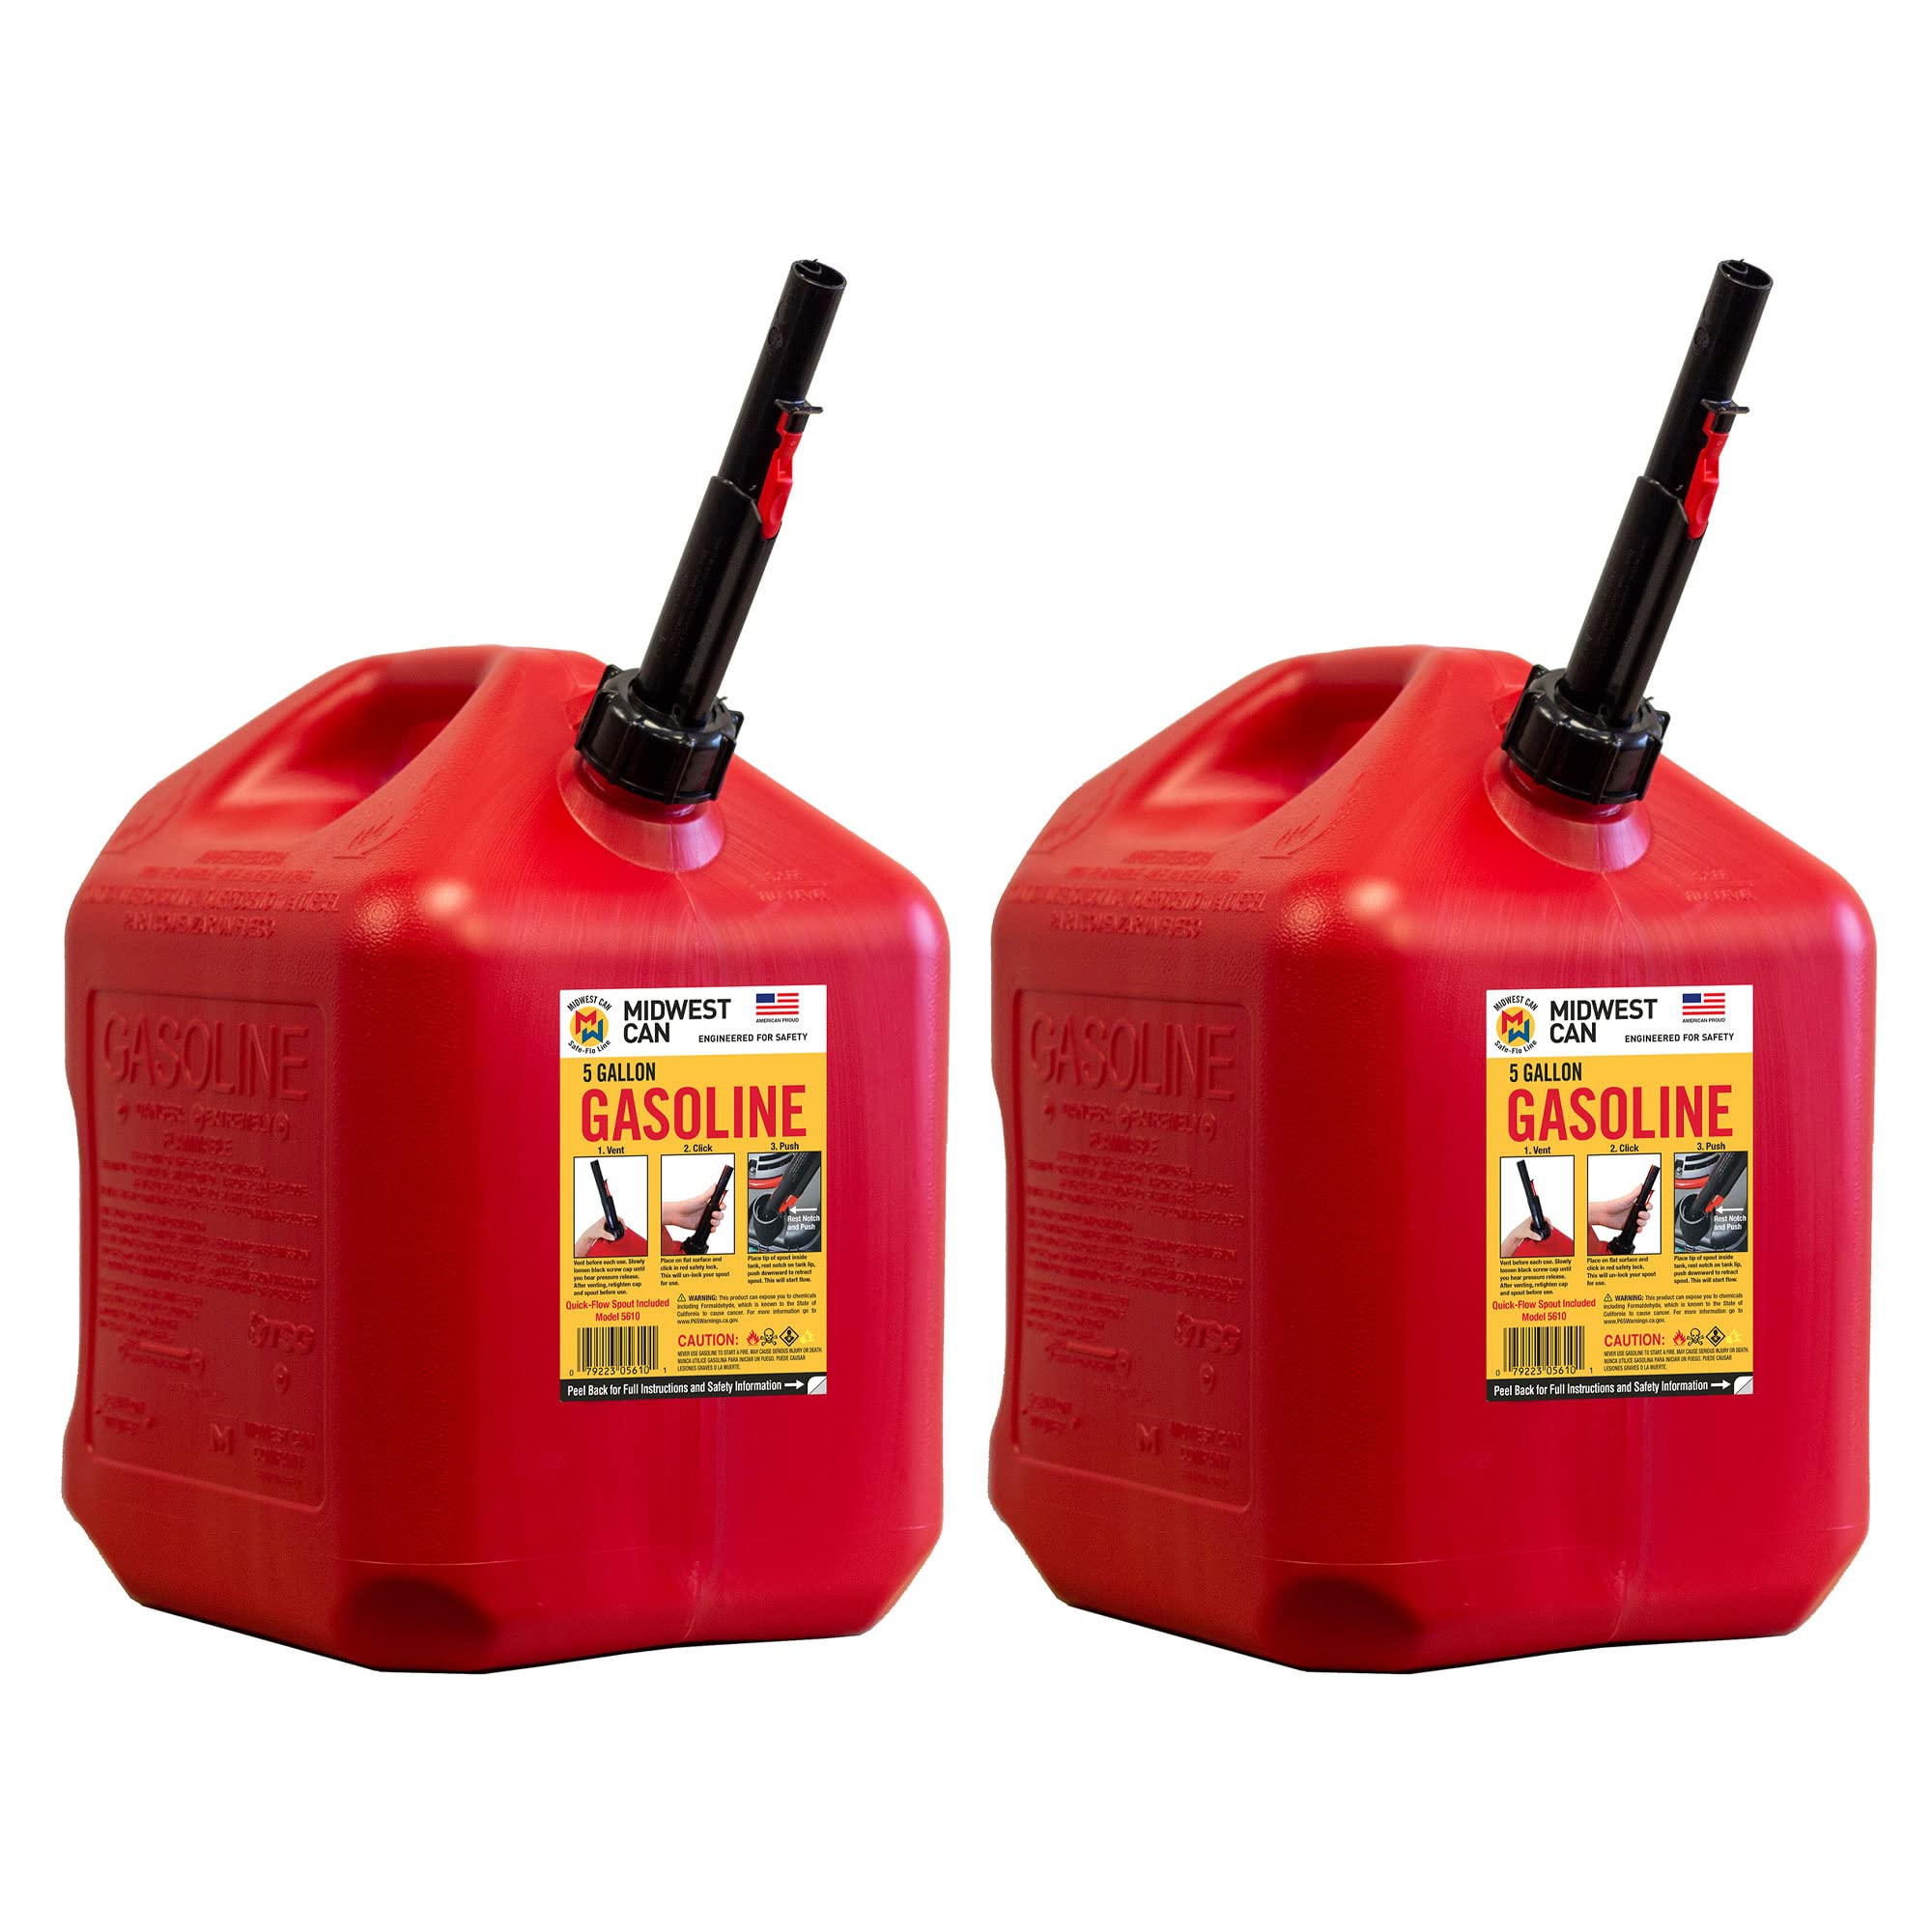
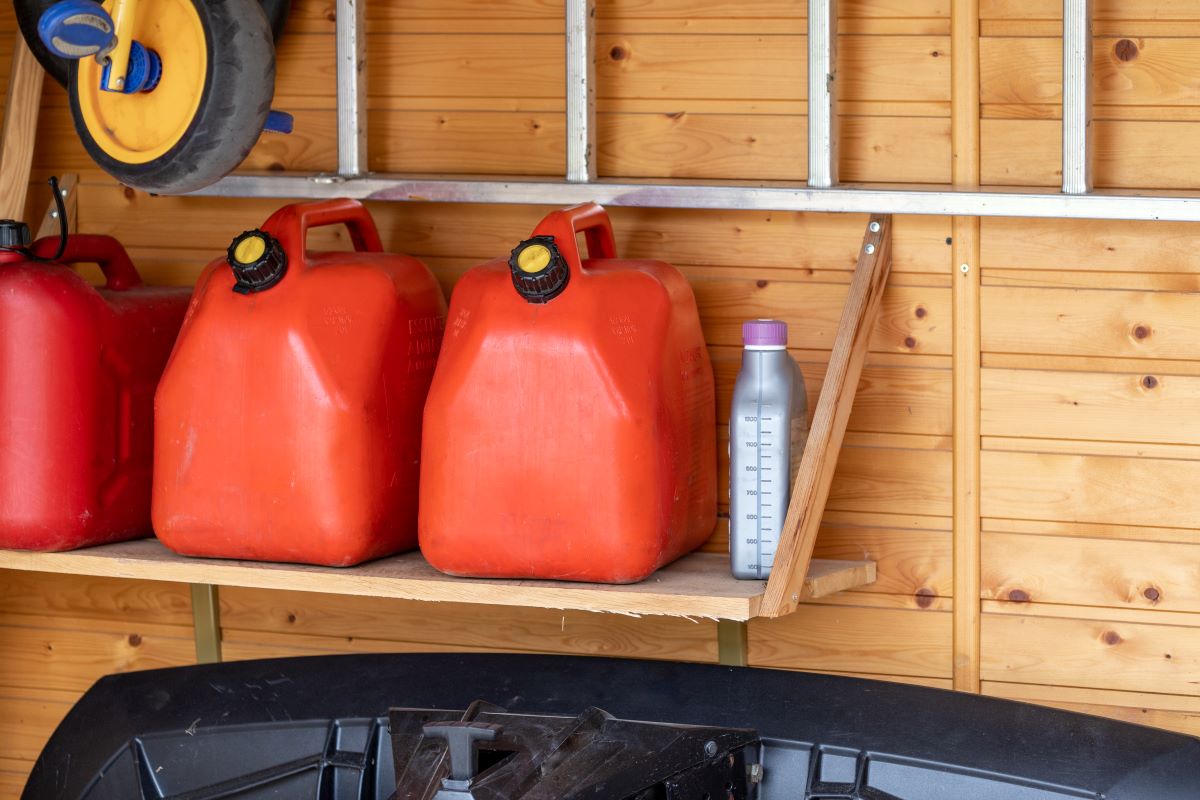
Once the fuel tank is empty, it’s recommended to store the fuel separately in a suitable container. Fuel should never be stored in the same area as the gas weed eater or any other flammable materials. Choose a well-ventilated place away from heat sources and direct sunlight. Consider using a approved fuel canister with a secure lid to ensure the fuel remains fresh and uncontaminated.
Using fuel stabilizers can also help maintain the quality of the stored fuel. Fuel stabilizers are additives that inhibit the breakdown of gasoline and prevent the formation of varnish and deposits. Follow the instructions on the stabilizer’s packaging to correctly add it to the fuel before storing. This will help ensure that the fuel remains stable and doesn’t cause any issues when you’re ready to use the gas weed eater again.
By properly handling and storing fuel, you can avoid engine damage and maintain the overall performance of your gas weed eater. These precautions will help ensure that your equipment is ready to go when you need it without any fuel-related hiccups.
After using a gas weed eater, make sure to empty the fuel tank and run the engine until it stops to prevent fuel from sitting in the carburetor. Store it in a cool, dry place away from direct sunlight.
Storage Location
Choosing the right storage location for your gas weed eater is crucial to ensure its safety and longevity. When determining where to store your equipment, consider the following factors:
Firstly, choose a storage area that is clean, dry, and well-ventilated. Moisture can cause rust and other damage to the gas weed eater, so it’s essential to keep it in a dry environment. Avoid storing it in areas prone to leaks or excessive humidity.
Protecting the gas weed eater from environmental elements is also important. If possible, store it in a covered area such as a garage, shed, or storage unit. This will shield it from rain, snow, and direct sunlight, which can fade the equipment’s color and damage its components.
If storing the gas weed eater in an outdoor area is the only option, consider using a durable cover specifically designed for outdoor equipment. This will provide an additional layer of protection against the elements. Make sure the cover is securely fastened to prevent it from blowing off in strong winds.
It’s also worth noting that the storage area should be away from chemicals or other substances that could potentially damage the gas weed eater. Keep it separate from fertilizers, pesticides, and other harsh chemicals to prevent corrosion or undesirable reactions.
In addition to a suitable storage location, it’s essential to store the gas weed eater in an upright position. This helps prevent any fuel leaks and ensures proper functioning of the equipment. Avoid storing it in a position where it may lean or come into contact with other objects.
By choosing a proper storage area and protecting the gas weed eater from environmental elements, you can ensure that it remains in good condition, ready for use whenever you need it.
Read more: How To Clean Dried Grass From Weed Eater
Detaching and Securing Attachments
Before storing your gas weed eater, it’s important to properly detach and secure any attachments. This ensures that both the attachments and the weed eater itself are protected during storage. Follow these steps to effectively remove and store the attachments:
Start by turning off the weed eater and disconnecting the spark plug wire for safety. Then, carefully remove the cutting head or trimmer line according to the manufacturer’s instructions. This may involve unscrewing or releasing a locking mechanism. Take your time to avoid any accidental injuries or damage to the equipment.
After detaching the cutting head or trimmer line, clean any debris or grass clippings that may be stuck to the attachment. Use a brush or a cloth to wipe off any dirt or residue. This step is essential to prevent any build-up that could affect the attachment’s performance when it’s time to use it again.
Once the attachments are clean, it’s important to store them properly. Choose a dedicated container or a labeled bag to keep them organized and avoid misplacing or losing any pieces. Make sure the container is sturdy and sealed to protect the attachments from dust, moisture, or any potential damage.
Consider storing the attachments in the same area as the gas weed eater to ensure everything is together when you’re ready to use the equipment again. Alternatively, if you have limited space, designate a specific storage area for the attachments, clearly labeling it for easy identification.
If the attachments have any sharp edges, consider placing protective covers or wrapping them in a soft cloth to prevent accidental cuts or damage. This step will not only keep you safe but also preserve the integrity of the attachments.
By removing and storing the attachments properly, you can prolong their lifespan and ensure that they are in good condition when it’s time to use your gas weed eater again. Plus, it makes the process of assembling and preparing the equipment for use much more convenient and efficient.
Additional Tips
When it comes to storing a gas weed eater for the long term, there are a few additional tips to keep in mind. These tips will help ensure that your equipment remains in optimal condition and is ready for use whenever you need it.
Firstly, if you plan to store the gas weed eater for an extended period of time, it’s a good idea to take a few extra steps to prepare it for storage. Consider removing the spark plug and adding a small amount of oil into the cylinder. Then, slowly pull the starter cord a few times to distribute the oil and prevent corrosion.
Additionally, it’s important to establish a regular maintenance schedule for your gas weed eater. This includes routine maintenance tasks such as cleaning the air filter, inspecting the fuel lines, and checking the condition of the cutting head or trimmer line. By regularly maintaining your equipment, you can catch any potential issues early on and prevent them from developing into major problems.
Consider creating a maintenance checklist or setting reminders to ensure that you don’t overlook any important tasks. It’s recommended to follow the manufacturer’s guidelines for maintenance intervals and procedures to keep your gas weed eater running smoothly.
Lastly, when it’s time to use your gas weed eater again after a period of storage, remember to perform a thorough inspection and maintenance check. Check all the components, including the spark plug, fuel lines, and cutting head, to ensure that everything is in proper working order. If any parts appear worn or damaged, replace them before using the equipment.
By following these tips and maintaining a regular maintenance schedule, you can confidently store your gas weed eater for the long term, knowing that it will be in excellent condition when you’re ready to use it again.
Conclusion
Properly storing a gas weed eater is essential to preserve its performance and ensure safety when using it again. By following the necessary steps and precautions, you can prolong the lifespan of your equipment and reduce the risk of accidents or injuries.
Start by taking safety precautions, such as turning off the weed eater, disconnecting the spark plug, and storing fuel separately. Clean and maintain the gas weed eater regularly, ensuring that the cutting head is free of debris and lubricated properly. Consider using fuel stabilizers to maintain the quality of stored fuel.
When choosing a storage location, opt for a clean, dry, and well-ventilated area. Protect the gas weed eater from environmental elements by using a cover or storing it in a covered space such as a garage or shed. Detach and store attachments separately to keep everything organized and in good condition.
For long-term storage, prepare the gas weed eater by adding oil and performing additional maintenance steps. Establish and follow a regular maintenance schedule for your equipment to catch any potential issues early on. When it’s time to use the gas weed eater again, perform a thorough inspection and maintenance check.
By following these guidelines, you can store your gas weed eater with confidence, knowing that it will be in excellent condition and ready for use when you need it. Proper storage and maintenance are crucial to ensure the longevity and optimal performance of your equipment, making your weed trimming tasks a breeze season after season.
Now that you've mastered storing your gas weed eater, why not enhance your indoor gardening game? Our latest guide on essential garden tools offers a deep dive into the must-have gadgets that will redefine your planting experience in 2024. Perfect for green thumbs looking to boost their indoor oasis, this article is packed with insights that promise to make gardening more enjoyable and fruitful.
Frequently Asked Questions about How To Store A Gas Weed Eater
Was this page helpful?
At Storables.com, we guarantee accurate and reliable information. Our content, validated by Expert Board Contributors, is crafted following stringent Editorial Policies. We're committed to providing you with well-researched, expert-backed insights for all your informational needs.


0 thoughts on “How To Store A Gas Weed Eater”