
Articles
How To Store Weed Wacker In Garage
Modified: August 16, 2024
Looking for articles on how to store your weed wacker in the garage? Discover practical tips and tricks to keep your equipment organized and protected.
(Many of the links in this article redirect to a specific reviewed product. Your purchase of these products through affiliate links helps to generate commission for Storables.com, at no extra cost. Learn more)
Introduction
Storing your weed wacker properly in the garage is essential for maintaining its longevity and ensuring it’s ready to use whenever you need it. Improper storage can lead to damage, rust, or even fuel leaks, resulting in costly repairs or the need for a replacement. With a few simple steps, you can store your weed wacker safely in your garage, keeping it in optimal condition for years to come.
In this article, we will guide you through the process of properly storing your weed wacker in the garage. From cleaning and preparing the equipment to finding the right storage rack or hanger, we’ll cover all the necessary steps to ensure a hassle-free storage experience.
So let’s get started and learn how to store your weed wacker in the garage:
Key Takeaways:
- Properly storing your weed wacker in the garage, including cleaning, fuel removal, and secure storage, ensures its longevity and optimal performance for future use.
- Regular maintenance, such as lubrication, battery charging, and periodic start-ups, is essential for keeping your weed wacker in excellent condition during long-term storage.
Read more: How To Fix Ryobi Weed Wacker
Step 1: Clean the Weed Wacker
Before storing your weed wacker in the garage, it’s important to give it a thorough cleaning. This will not only help prevent dirt and debris from causing damage but also ensure that any fuel or oil residue is removed, reducing the risk of leaks and potential fire hazards.
Start by disconnecting the spark plug wire to prevent accidental start-ups while cleaning. Then, using a soft brush or cloth, gently remove any dirt, grass clippings, or debris from the weed wacker’s body. Pay close attention to the air vents, exhaust, and cutting head. Use a toothbrush or a small brush to reach into crevices and remove any stubborn grime.
If there is a buildup of dried grass or grease on the cutting head or blades, carefully remove it using a scraper or a wire brush. Be sure to wear gloves and take caution not to damage the cutting components.
Next, wipe down the entire weed wacker with a damp cloth soaked in a mild soap and water solution. This will help remove any remaining dirt and stains. For stubborn stains, you can use a mixture of baking soda and water as a natural cleaner.
Once you’ve finished cleaning the exterior, inspect the spark plug. If it’s dirty or worn, now is a good time to replace it. Cleaning or replacing the spark plug will ensure easy starting and optimal performance when you use the weed wacker again in the future.
Lastly, if your weed wacker has a fuel filter, consider replacing it. Over time, the filter can become clogged with debris, reducing fuel flow and causing performance issues. Replace it with a new filter to maintain efficient operation.
By cleaning your weed wacker thoroughly before storage, you’re taking the necessary steps to keep it in top condition and prevent any problems that may arise from dirt, debris, or residue buildup.
Step 2: Remove the Fuel
Before storing your weed wacker in the garage, it’s important to remove any fuel from the tank and fuel lines. This is crucial to prevent the fuel from degrading and causing damage to your equipment or creating a potential fire hazard during storage.
Start by running your weed wacker until it runs out of fuel or until the tank is nearly empty. This will help reduce the amount of fuel that needs to be drained. Once the weed wacker is empty, allow it to cool down before proceeding to the next steps.
Next, locate the fuel tank cap and remove it carefully. This will give you access to the fuel inside the tank. Using a siphon or a fuel removal pump, drain the remaining fuel into a suitable container. Be sure to follow local regulations and safety guidelines when handling and disposing of fuel.
After removing the fuel from the tank, it’s important to also drain the fuel lines. To do this, detach the fuel line from the carburetor and point it into a separate container. Gently squeeze the bulb or activate the fuel pump to purge any remaining fuel from the lines. Once the fuel lines are empty, reattach them securely to prevent any leaks.
It’s worth noting that some weed wackers have a fuel shut-off valve. If your weed wacker has one, make sure to close it before starting the fuel removal process. This will prevent any fuel from flowing into the carburetor and fuel lines during storage.
Removing the fuel from your weed wacker before storage is essential for maintaining its integrity and preventing potential damage. By following this step, you can ensure that your weed wacker is ready for use when you need it again, without any issues caused by deteriorating fuel.
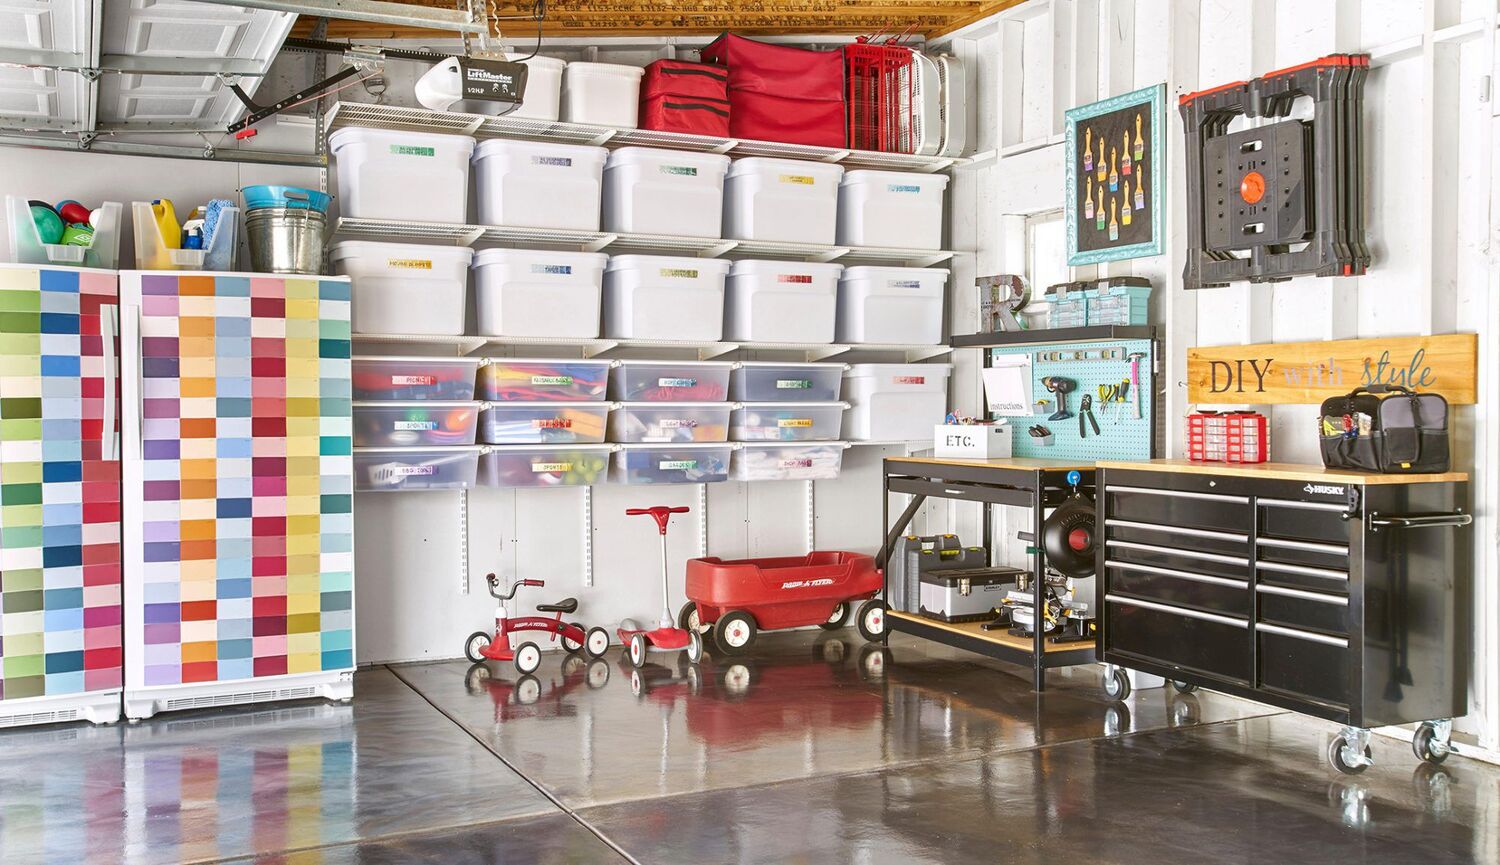
Step 3: Store in a Dry and Cool Area
Once you have cleaned your weed wacker and removed the fuel, it’s time to find the ideal storage location in your garage. Storing your weed wacker in a dry and cool area will help preserve its condition and prevent damage from humidity or extreme temperatures.
Look for a spot in your garage that is away from direct sunlight, as prolonged exposure to UV rays can fade and weaken the plastic components of your weed wacker. Additionally, avoid storing your equipment near any heat sources or areas prone to moisture, such as water heaters or windows.
Moisture can lead to rust or corrosion, which can significantly impact the performance and lifespan of your weed wacker. Consider using a dehumidifier or moisture-absorbing packets in your garage to maintain a dry environment.
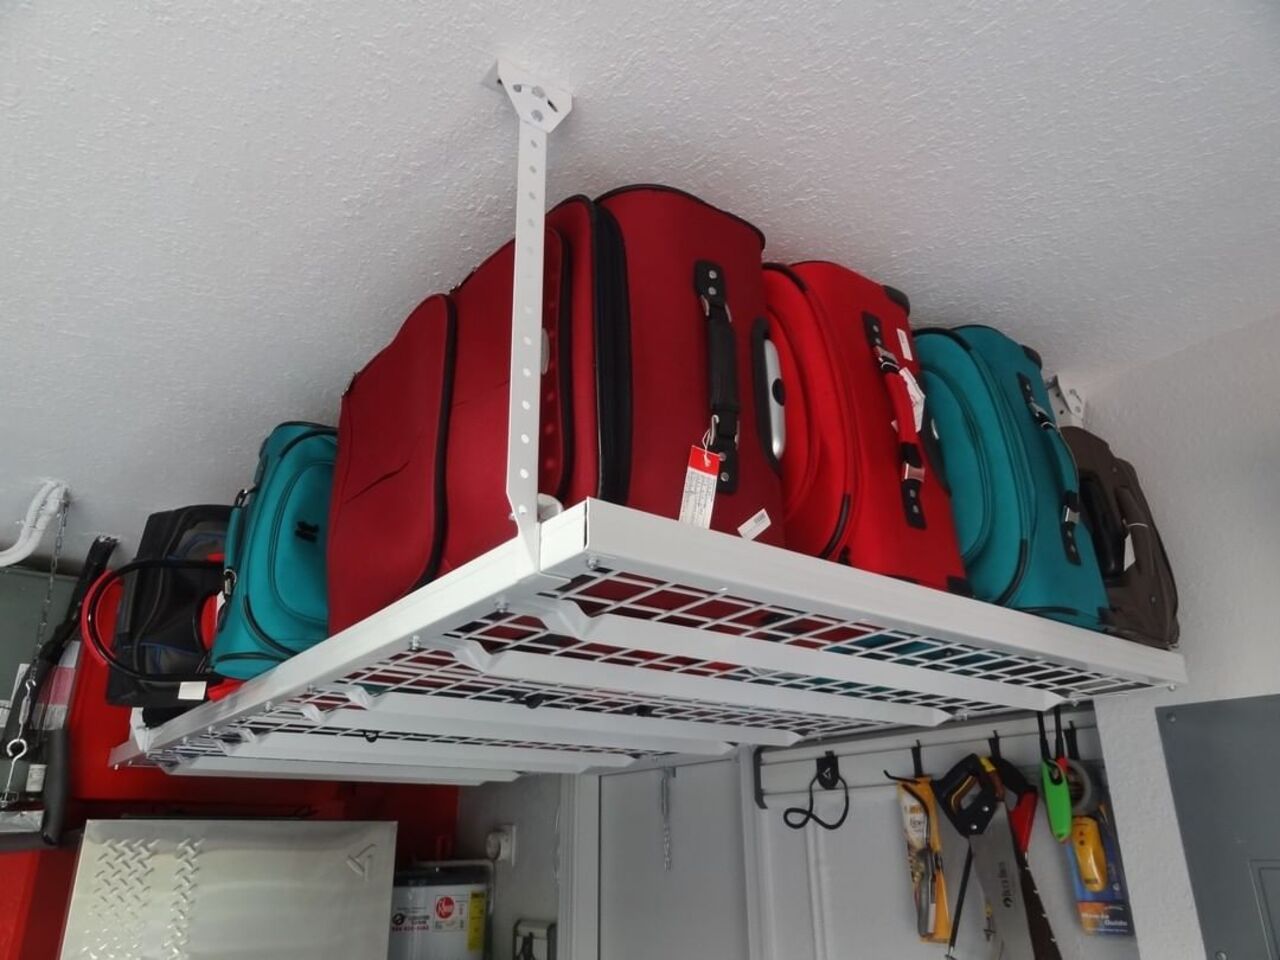
If possible, elevate your weed wacker off the ground to protect it from potential water damage and to improve airflow. You can use a shelf, sturdy hooks, or a specialized weed wacker storage rack for this purpose.
Remember to keep your weed wacker stored away from any chemicals or hazardous materials that could potentially cause damage. Keep it in a separate area to avoid any accidental spills or leaks that might compromise the integrity of your equipment.
By ensuring that your weed wacker is stored in a dry and cool location, you are taking proactive steps to protect it from environmental factors that could lead to rust, corrosion, or damage over time. This will help prolong its lifespan and maintain its performance when you’re ready to use it again.
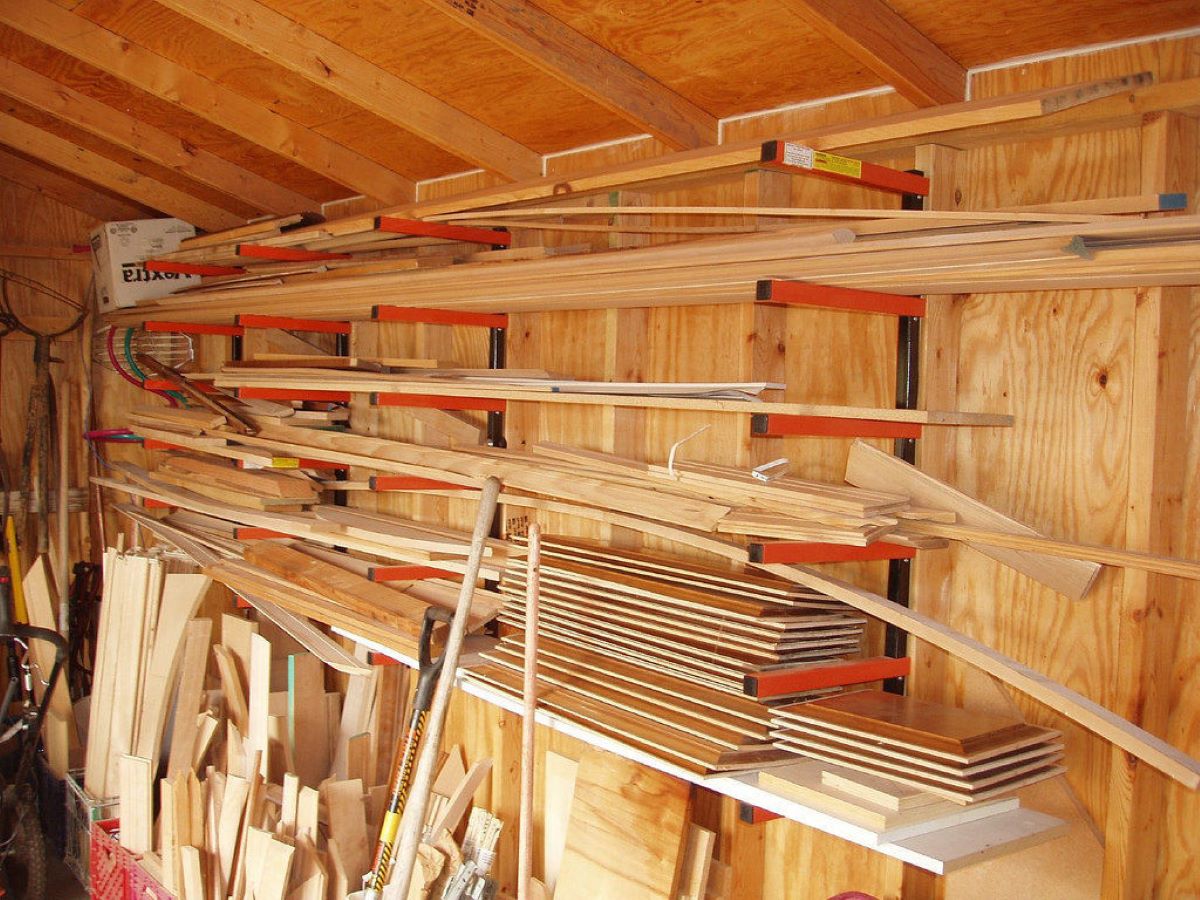
Step 4: Use a Weed Wacker Storage Rack or Hanger
When it comes to storing your weed wacker in the garage, using a storage rack or hanger can help keep it organized, easily accessible, and protected from accidental damage or clutter.
A weed wacker storage rack or hanger provides a designated space for your equipment, keeping it off the ground and preventing it from getting tangled with other tools or equipment. It also helps to maximize your garage space and creates a neat and organized appearance.
There are various types of storage racks and hangers available, so choose one that is specifically designed for weed wackers. Look for a sturdy rack or hanger that can support the weight of your weed wacker and has a secure mounting system.
Before installing the storage rack or hanger, measure the dimensions of your weed wacker to ensure a proper fit. Consider the length, width, and handle design when selecting the appropriate rack or hanger for your equipment.
When mounting the rack or hanger, make sure to follow the manufacturer’s instructions and use appropriate hardware for your garage walls or ceiling. Ensure that it is securely fastened to prevent any accidents or damage caused by the weight of the weed wacker.
Once installed, hang your weed wacker on the rack or hanger, ensuring that it is stable and secure. This will keep your weed wacker in an upright position, preventing any bending or stress on the cutting head or other components.
Using a weed wacker storage rack or hanger will not only keep your equipment organized and protected but also make it easier to access and use when you need it. It’s a simple yet effective solution to ensure the longevity and functionality of your weed wacker.
To store a weed wacker in the garage, make sure to clean it thoroughly to remove any debris, then hang it on a wall-mounted hook or store it in a designated area to prevent damage and keep it out of the way.
Read more: How To Start Ryobi Weed Wacker
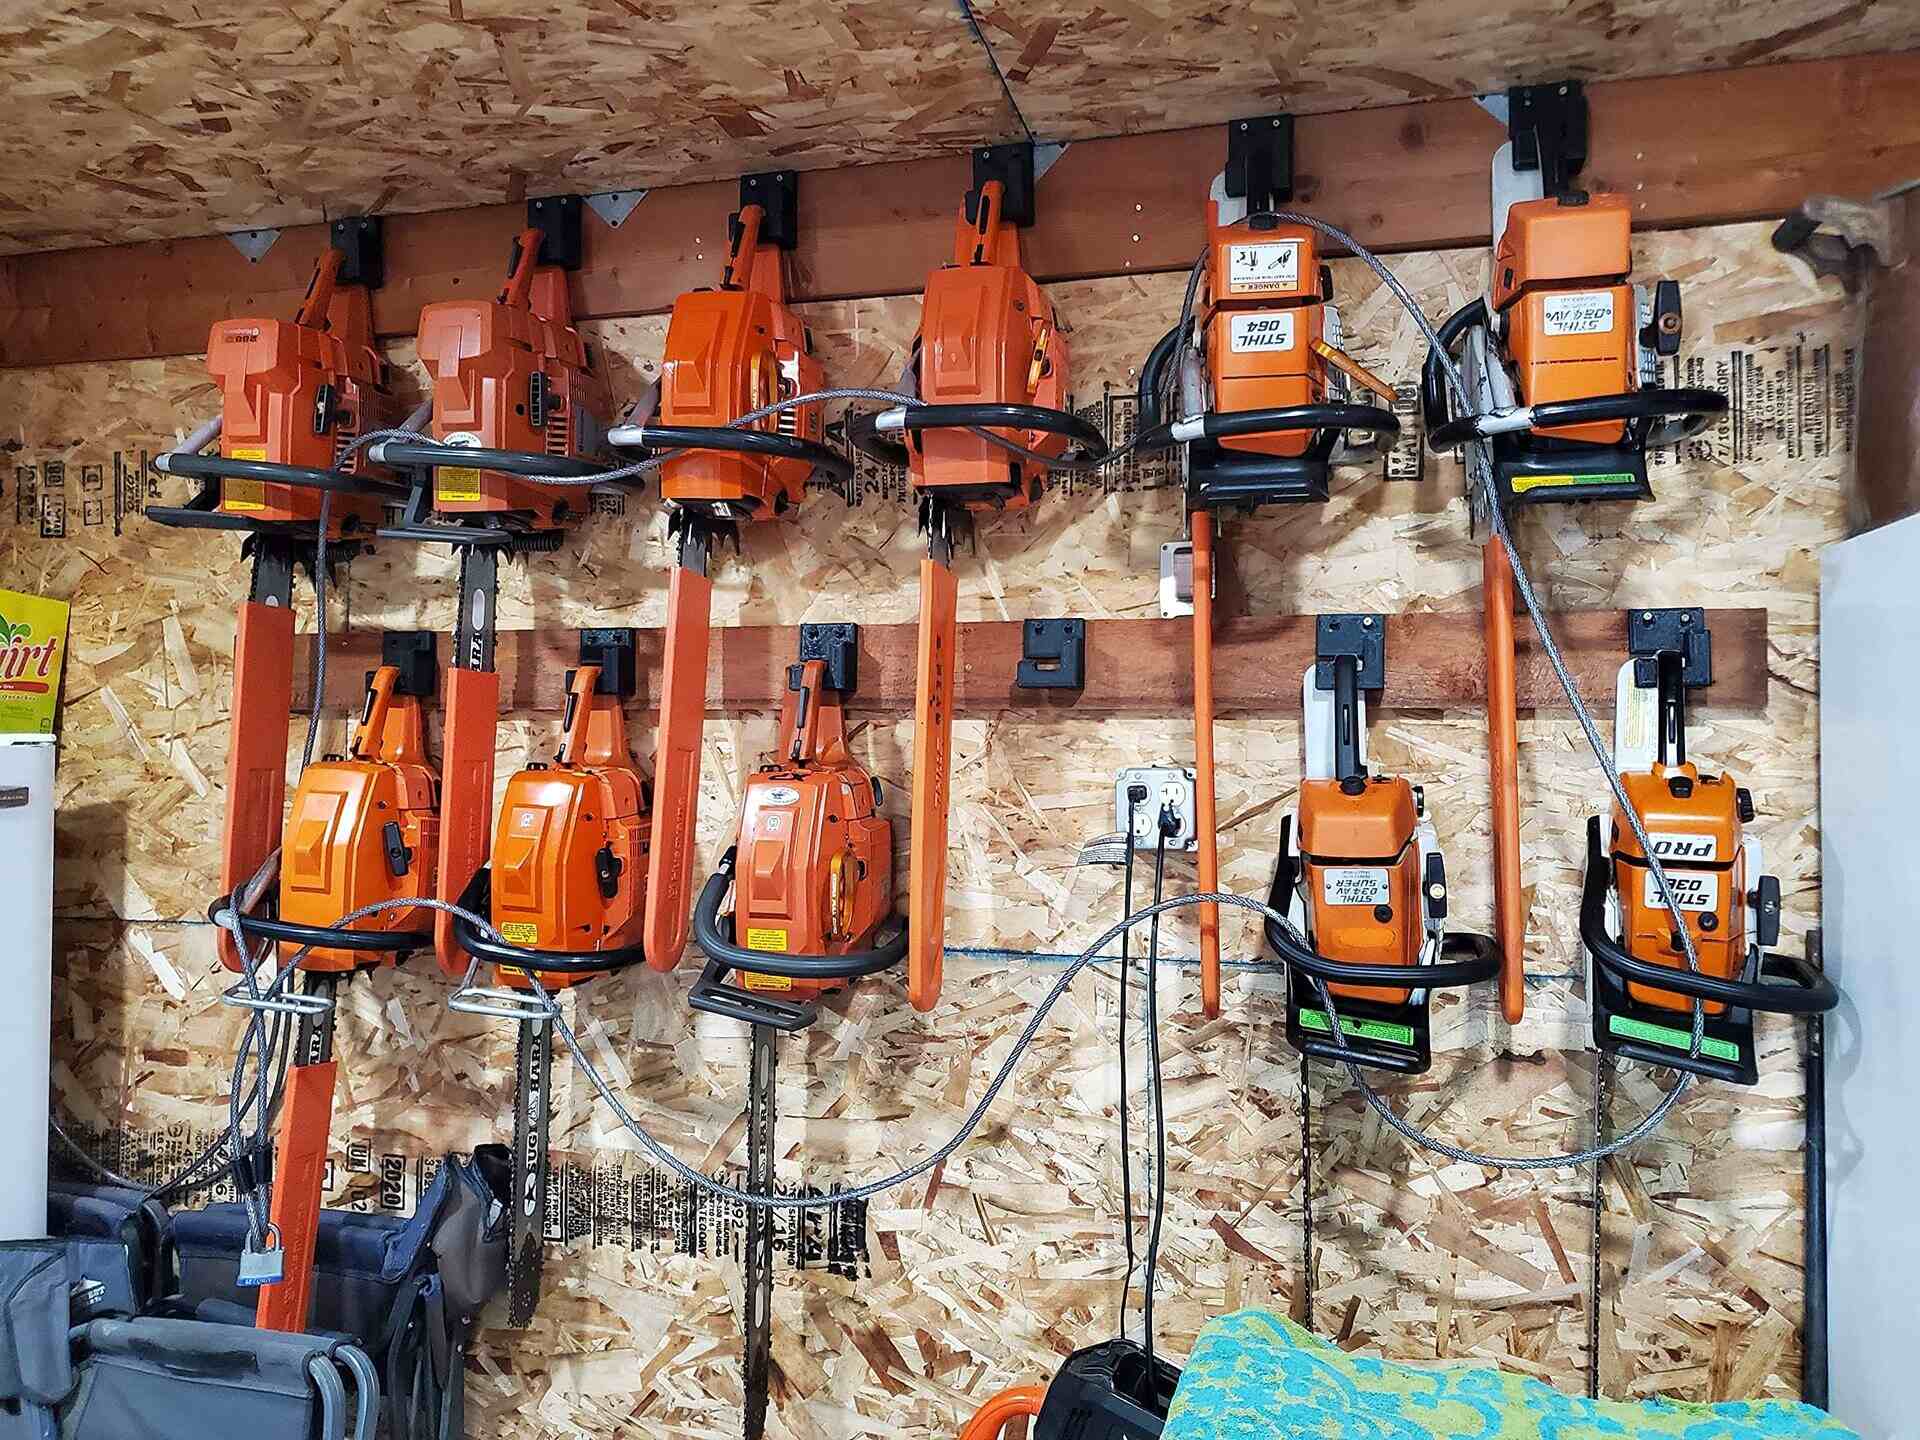
Step 5: Secure the Weed Wacker with a Lock
Ensuring the security of your weed wacker is essential, especially if you store it in a shared garage or in an area accessible to others. One way to protect your equipment from potential theft is by using a lock.
Investing in a high-quality lock will add an extra layer of security to your weed wacker and give you peace of mind knowing that it’s safely stored. Choose a lock that is sturdy, durable, and resistant to tampering.
There are various types of locks available, including padlocks, combination locks, and keyed locks. Select one that suits your preferences and provides the level of security you desire.
To secure your weed wacker with a lock, follow these steps:
- Attach the lock to a secure anchor point, such as a sturdy wall-mount or looped cable.
- Loop the cable or chain of the lock around a secure area of your weed wacker, such as the handle or an anchor point on the body of the equipment.
- Insert the lock’s shackle or locking mechanism through the looped end of the cable or chain.
- Ensure that the lock is securely fastened and cannot be easily tampered with or removed.
By locking your weed wacker, you are deterring potential thieves and making it more difficult for them to take your equipment. It’s a small but effective step to protect your investment and ensure that your weed wacker remains safely stored in your garage.
Step 6: Consider Using a Weed Wacker Cover
Protecting your weed wacker from dust, moisture, and other environmental factors is crucial for maintaining its condition during storage. One way to provide an extra layer of protection is by using a weed wacker cover.
A weed wacker cover is a specially designed fabric or waterproof material that fits over your equipment, shielding it from potential damage. It helps to keep dust, dirt, and debris from settling on the weed wacker and prevents moisture from reaching its components.
When choosing a weed wacker cover, opt for a high-quality cover that is specifically designed for your particular model or a universal fit cover that accommodates different sizes and brands. Ensure that the cover is made from a durable and weather-resistant material that can withstand outdoor elements.
Before covering your weed wacker, make sure it is clean and dry to prevent trapping any moisture or contaminants inside the cover. Gently place the cover over the weed wacker, ensuring that it fully covers the equipment from top to bottom.
If your garage is prone to high humidity or moisture, you may want to consider using a breathable cover that allows air circulation. This will prevent the build-up of condensation, which can lead to rust or mold formation on the weed wacker.
Using a weed wacker cover is an excellent investment for protecting your equipment during storage. It adds an extra layer of defense against dust, moisture, and potential damage, helping to prolong the life of your weed wacker.
Step 7: Regular Maintenance Tips for Long-Term Storage
Even when your weed wacker is in storage, it’s important to perform regular maintenance to ensure its longevity and optimal performance. Follow these tips to keep your equipment in excellent condition during long-term storage:
- Check the air filter: Inspect the air filter and clean or replace it as necessary. A clogged or dirty air filter can reduce engine performance.
- Apply lubrication: Before storing your weed wacker, apply a small amount of lubricating oil to the cutting head and other moving parts to prevent rust and keep them functioning smoothly.
- Inspect the spark plug: Check the spark plug for signs of wear or damage. Consider replacing it if needed to ensure easy starting and efficient operation in the future.
- Keep the battery charged: If your weed wacker has a battery, make sure to charge it regularly during storage to maintain its performance and prevent it from losing power.
- Store with a partially compressed spring: If your weed wacker has a recoil spring, store it with the spring partially compressed. This helps to prevent the spring from losing tension and extends its lifespan.
- Inspect fuel lines and fittings: Regularly check the fuel lines and fittings for any signs of damage or leaks. Replace them if necessary to avoid any fuel-related issues when you start using the weed wacker again.
- Perform periodic start-ups: To keep the internal components lubricated and prevent them from seizing, start your weed wacker periodically during storage. Let it run for a few minutes to circulate the oil and keep the engine in good condition.
By following these maintenance tips, you are taking proactive steps to keep your weed wacker in excellent shape during long-term storage. Proper maintenance will ensure that your equipment is ready to go when you need it, without any hiccups or performance issues.
Conclusion
Storing your weed wacker properly in the garage is vital for maintaining its longevity and ensuring it’s in optimal condition when you need to use it again. By following the steps outlined in this article, you can store your weed wacker safely and protect it from potential damage caused by dirt, moisture, or improper storage practices.
Begin by cleaning the weed wacker thoroughly, removing dirt, debris, and any residue from fuel and oil. This will help prevent clogs, rust, and other issues during storage. Next, ensure that you remove all fuel from the tank and fuel lines to prevent degradation and potential hazards.
Choose a dry and cool area in your garage for storage, away from direct sunlight and moisture. Consider using a weed wacker storage rack or hanger to keep your equipment off the ground and organized. Secure it with a lock to deter theft and provide additional protection.
For added safeguarding, consider using a weed wacker cover to shield your equipment from dust and moisture. And don’t forget to perform regular maintenance, such as checking the air filter, lubricating moving parts, and inspecting the spark plug.
By implementing these steps, your weed wacker will remain in great condition during storage, ready for use whenever you need it. Proper storage and maintenance practices will ultimately save you time and money by preventing the need for costly repairs or replacements.
Remember, taking the time to store your weed wacker correctly in the garage is an investment in its longevity and reliability. Show your equipment the care it deserves, and it will reward you with efficient performance for years to come.
Now that you've mastered storing your weed wacker, why stop there? Elevate your home's upkeep with our comprehensive guide on home maintenance, ensuring every nook and cranny is in top shape. Need more space for tools? Don't miss our roundup of the garage storage solutions for 2024, guaranteed to declutter and maximize your garage's potential. For those who crave ultimate organization, immerse yourself in our garage organization ideas that are both clever and easy to implement.
Frequently Asked Questions about How To Store Weed Wacker In Garage
Was this page helpful?
At Storables.com, we guarantee accurate and reliable information. Our content, validated by Expert Board Contributors, is crafted following stringent Editorial Policies. We're committed to providing you with well-researched, expert-backed insights for all your informational needs.


0 thoughts on “How To Store Weed Wacker In Garage”