Articles
How To Store Aloe Vera Gel From Plant
Modified: December 7, 2023
Learn how to properly store aloe vera gel from your plant with these helpful articles. Keep your gel fresh and effective for all your skincare needs.
(Many of the links in this article redirect to a specific reviewed product. Your purchase of these products through affiliate links helps to generate commission for Storables.com, at no extra cost. Learn more)
Introduction
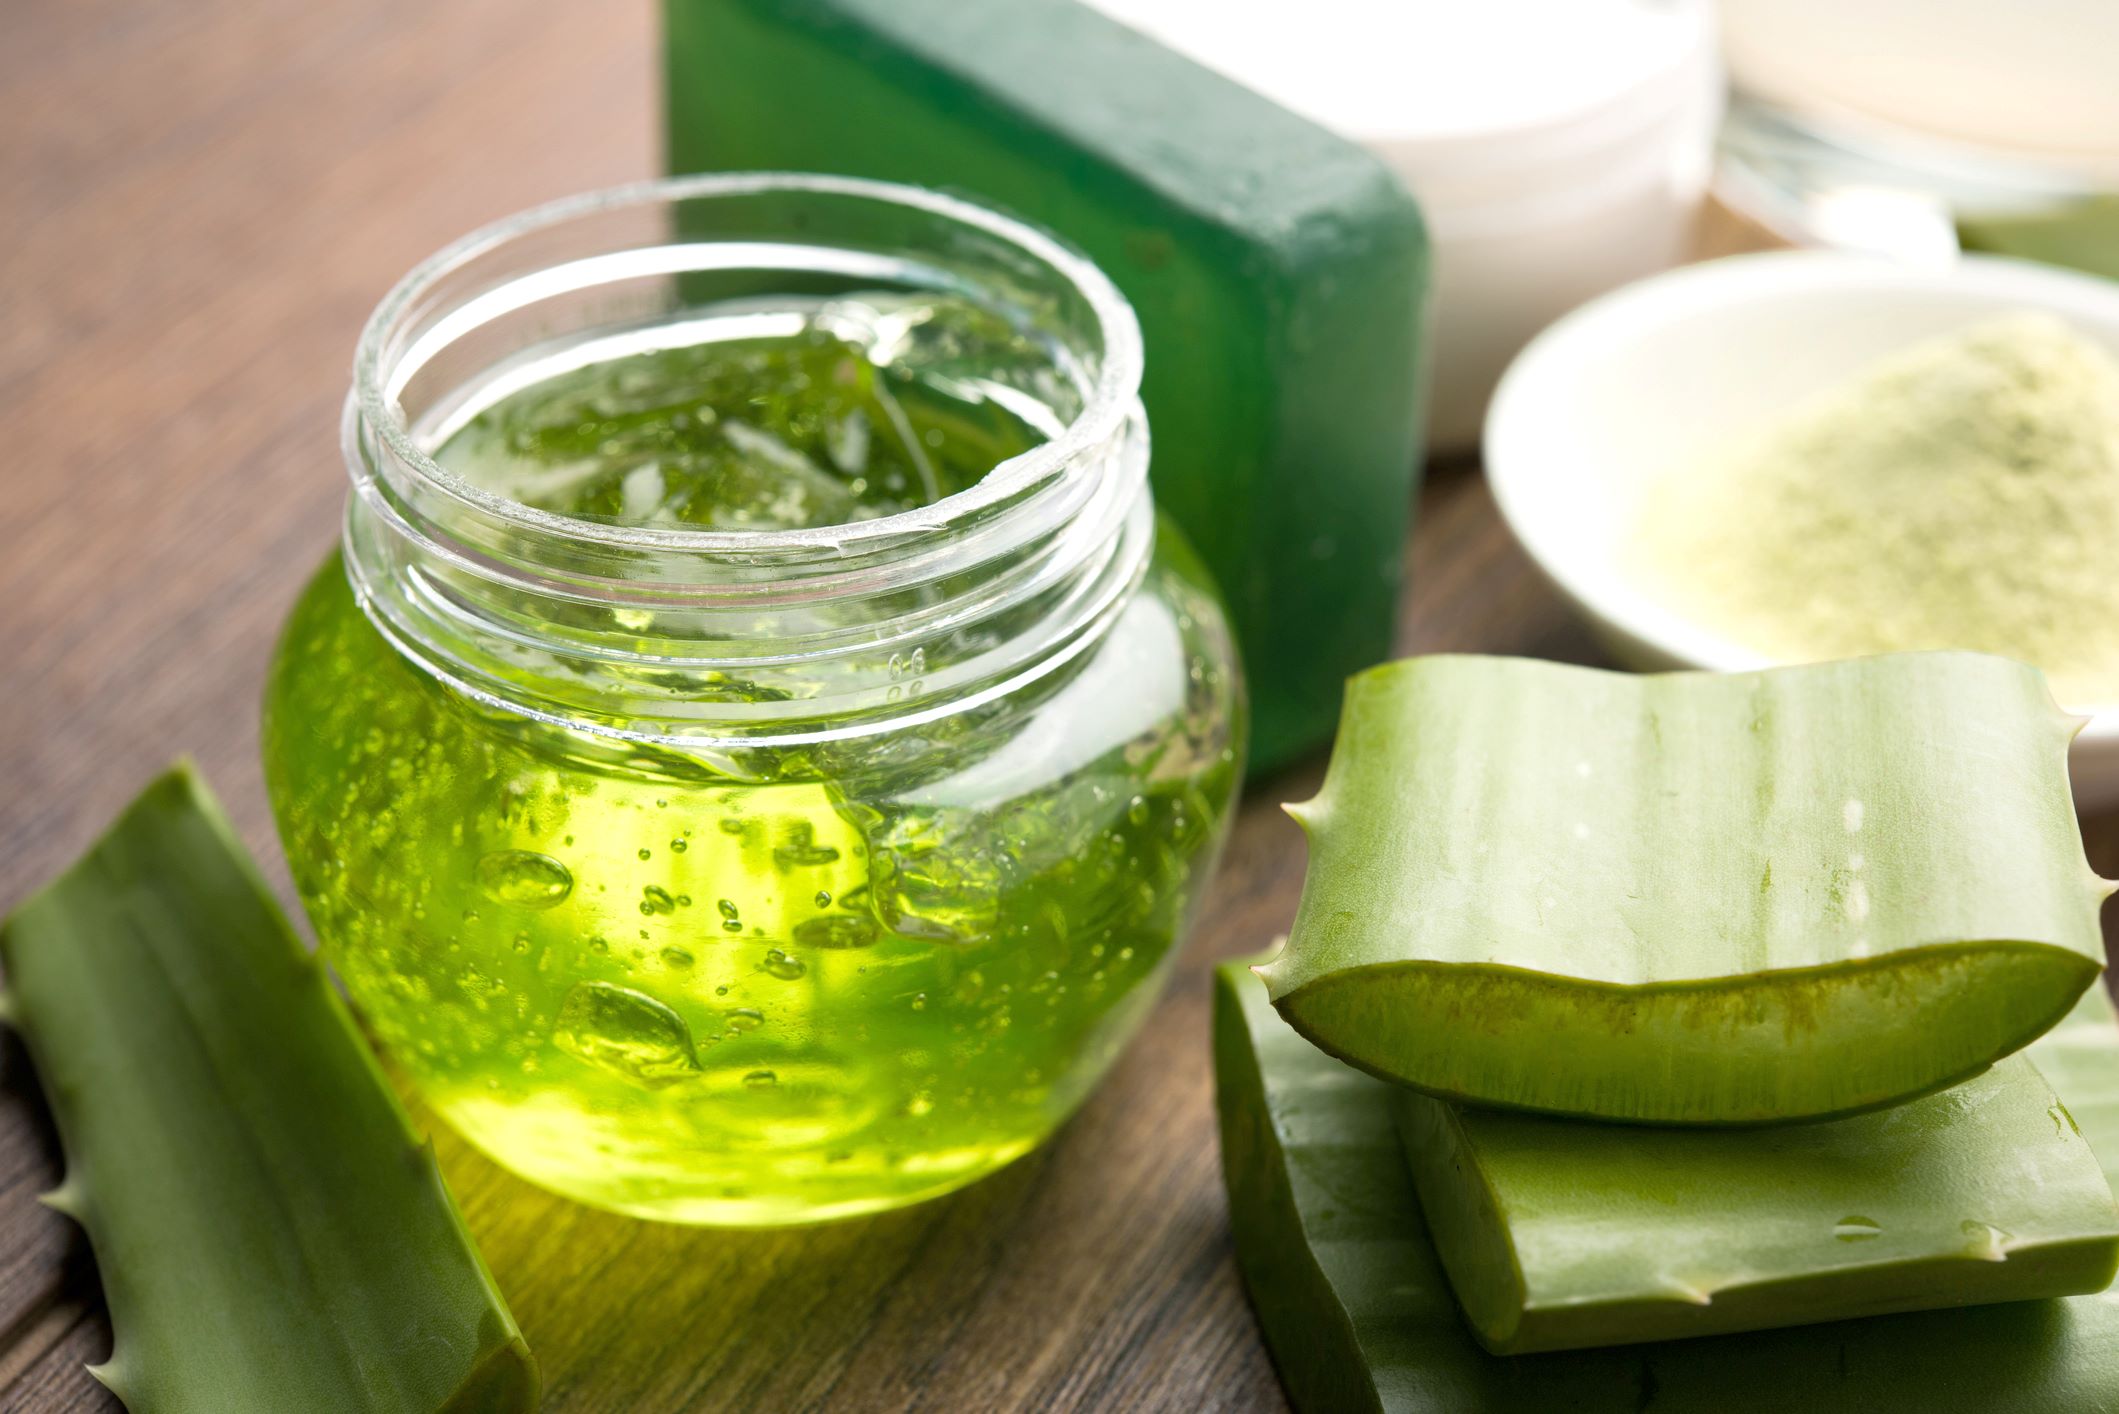
Aloe vera is a versatile and beneficial plant that has been used for centuries for its healing properties. The gel extracted from aloe vera leaves is packed with vitamins, minerals, and antioxidants, making it an excellent natural remedy for various skin issues and digestive ailments.
While aloe vera gel is commonly available in stores, nothing beats the freshness and potency of extracting it directly from the plant. By following a few simple steps, you can harvest and store aloe vera gel from the plant to have it readily available for use whenever needed.
In this article, we will guide you through the process of harvesting aloe vera gel from the plant and storing it properly to maintain its effectiveness. So, let’s get started!
Key Takeaways:
- Harvest aloe vera gel from mature plants, remove aloin, and store in airtight, dark containers for long-lasting freshness and effectiveness. Enjoy its benefits for skincare, sunburn relief, hair care, wound healing, and digestive aid.
- Embrace the natural healing properties of aloe vera gel by following simple steps to extract and store it. Use the stored gel for skincare, sunburn relief, hair care, wound healing, and digestive aid to promote overall well-being.
Read more: How To Store Aloe Vera Plant Gel
Step 1: Harvesting the Aloe Vera Gel
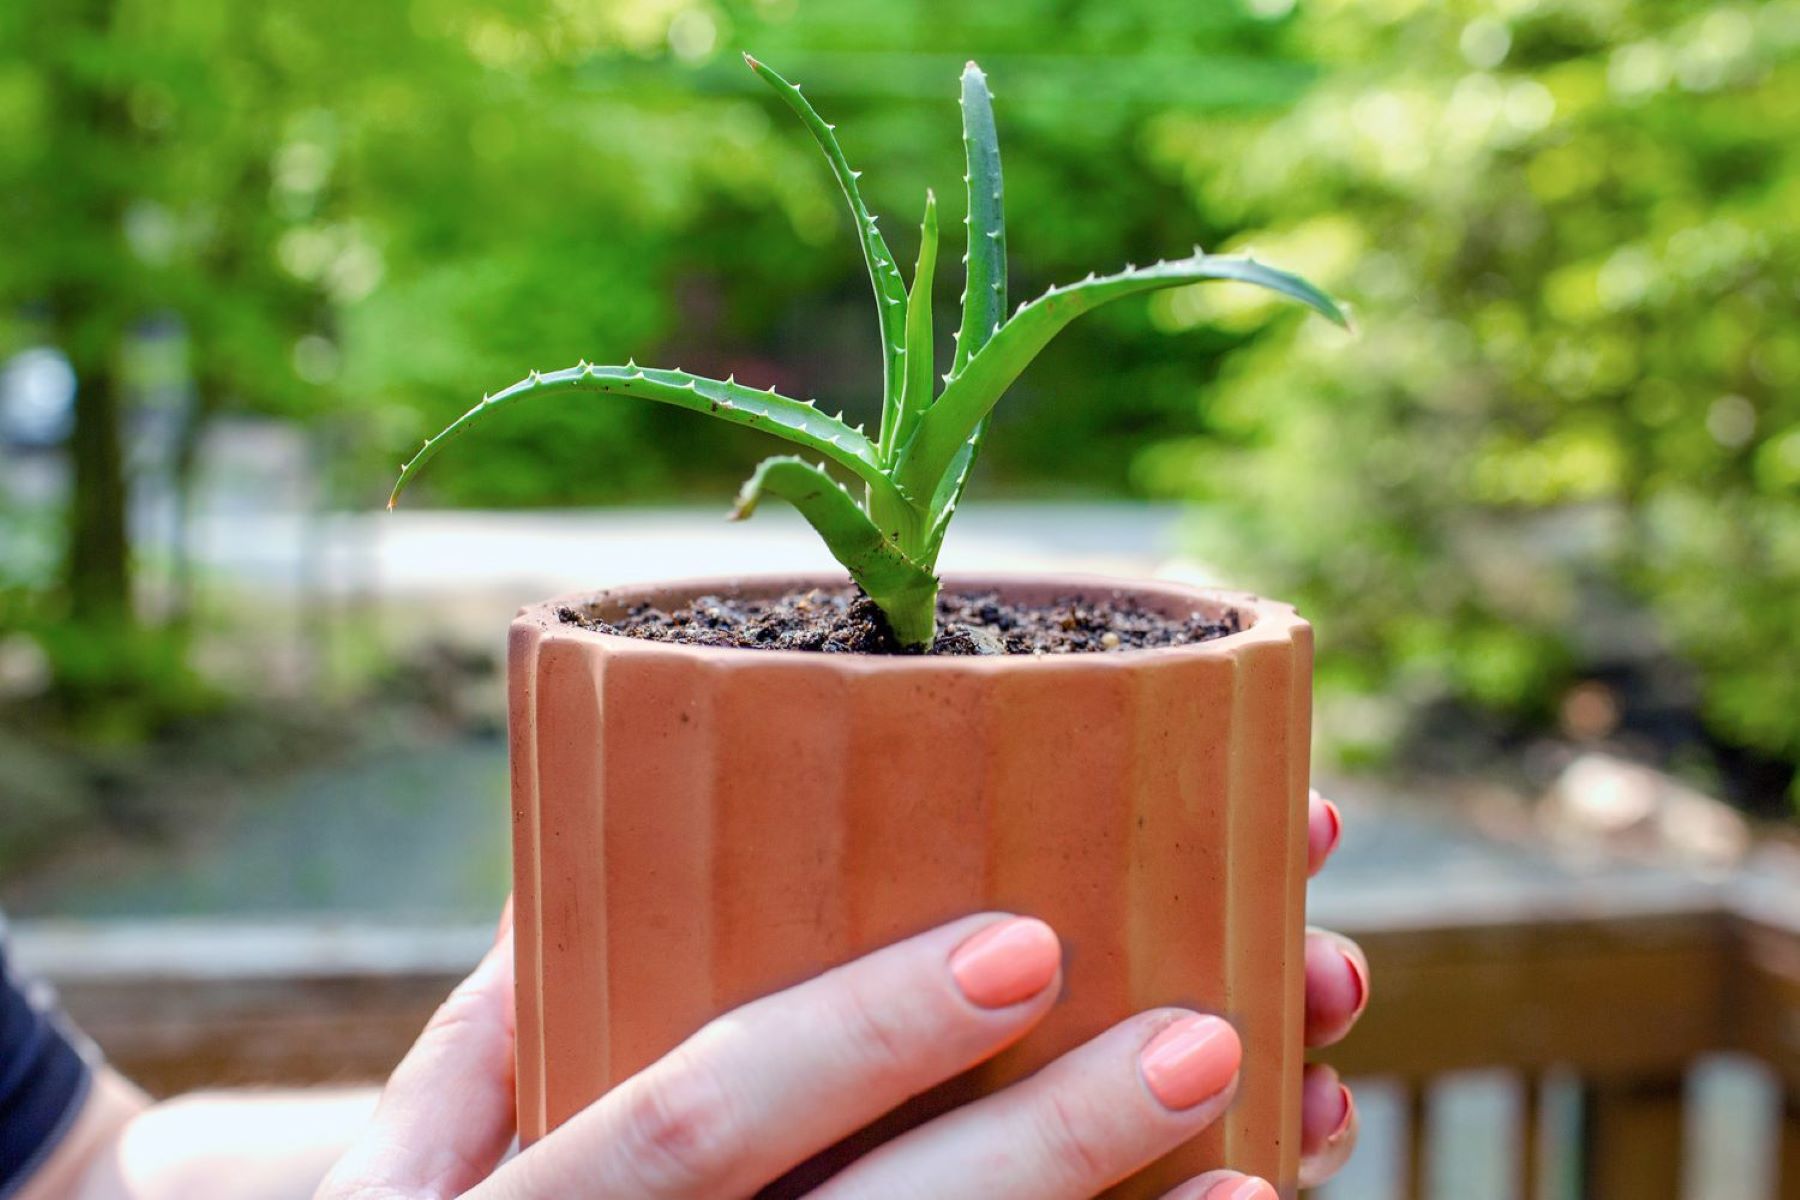
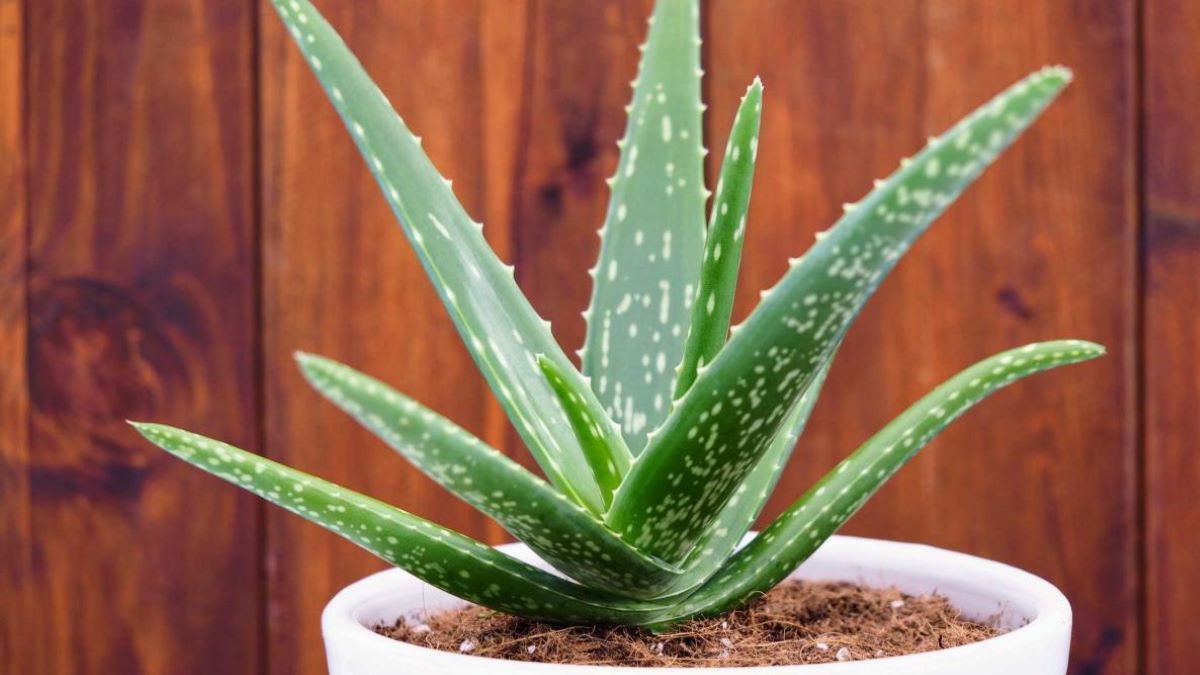
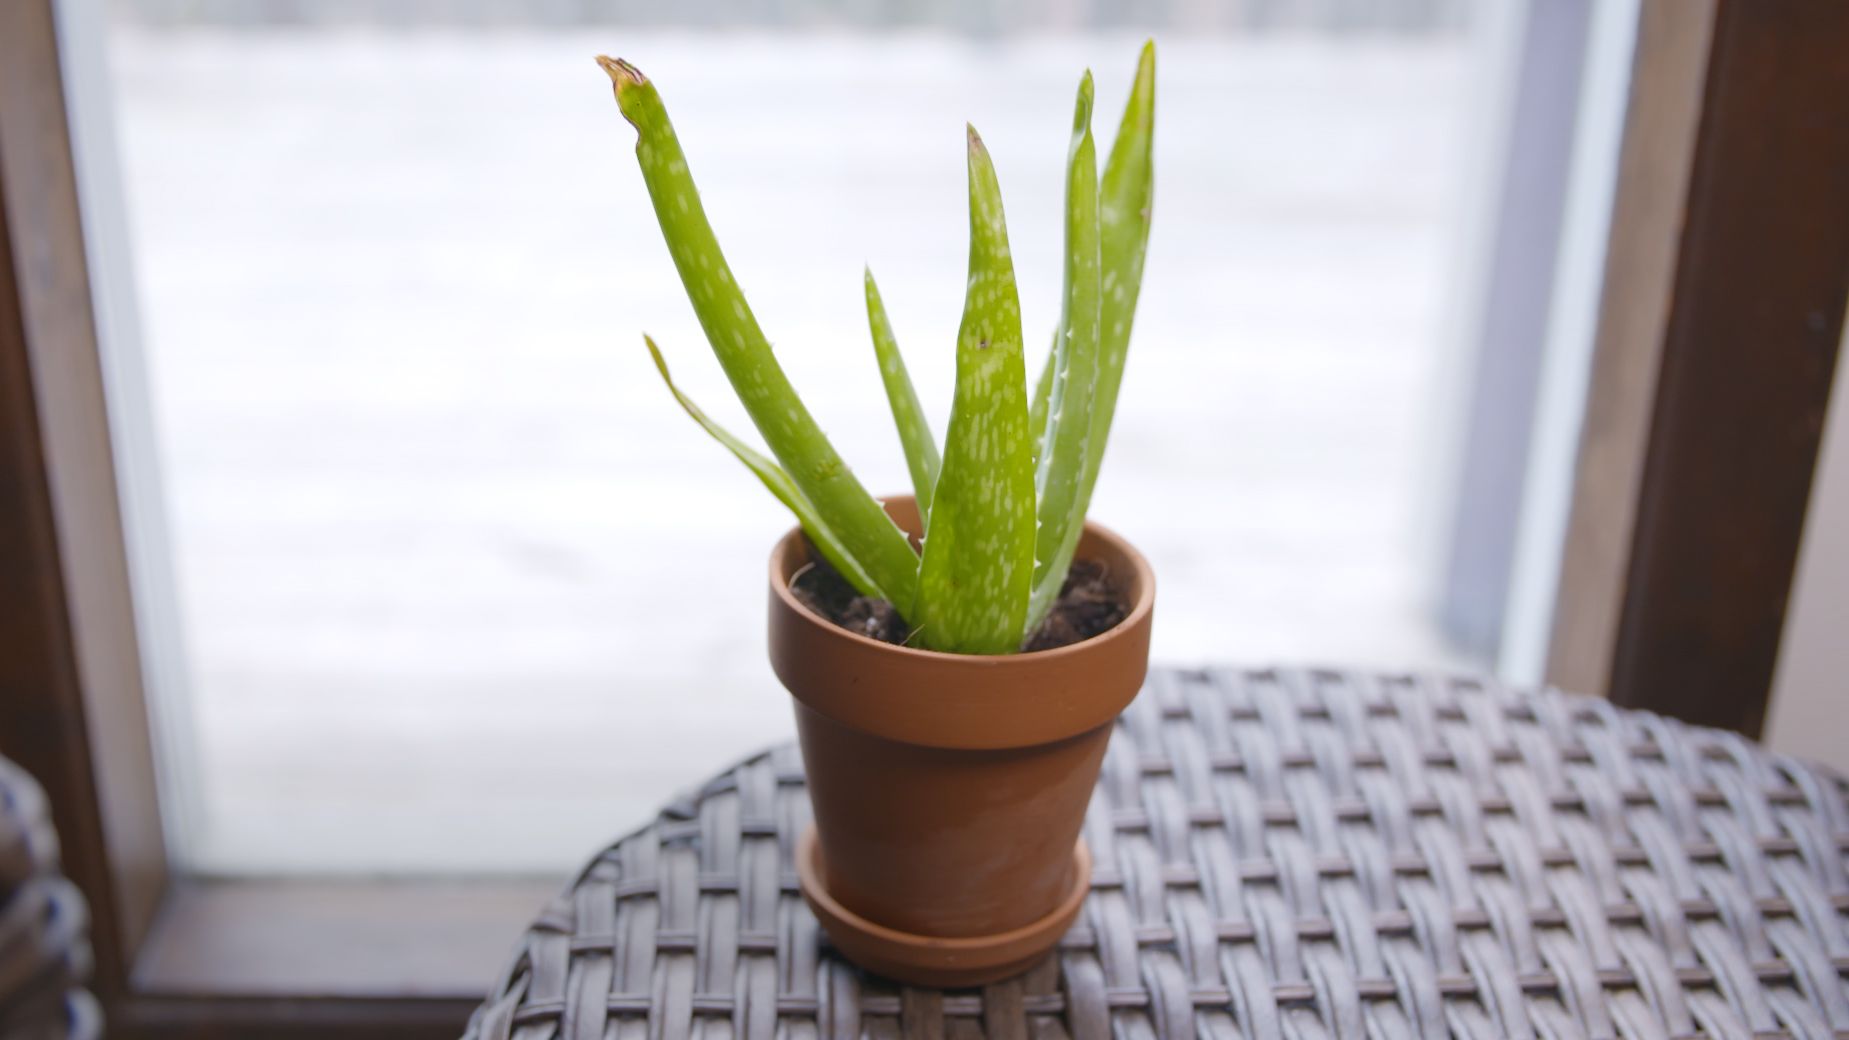
Before you begin harvesting the aloe vera gel, it’s important to ensure that you have a mature plant that is at least three years old. This is because older plants have a higher concentration of beneficial compounds in their gel.
Here’s how you can harvest the aloe vera gel:
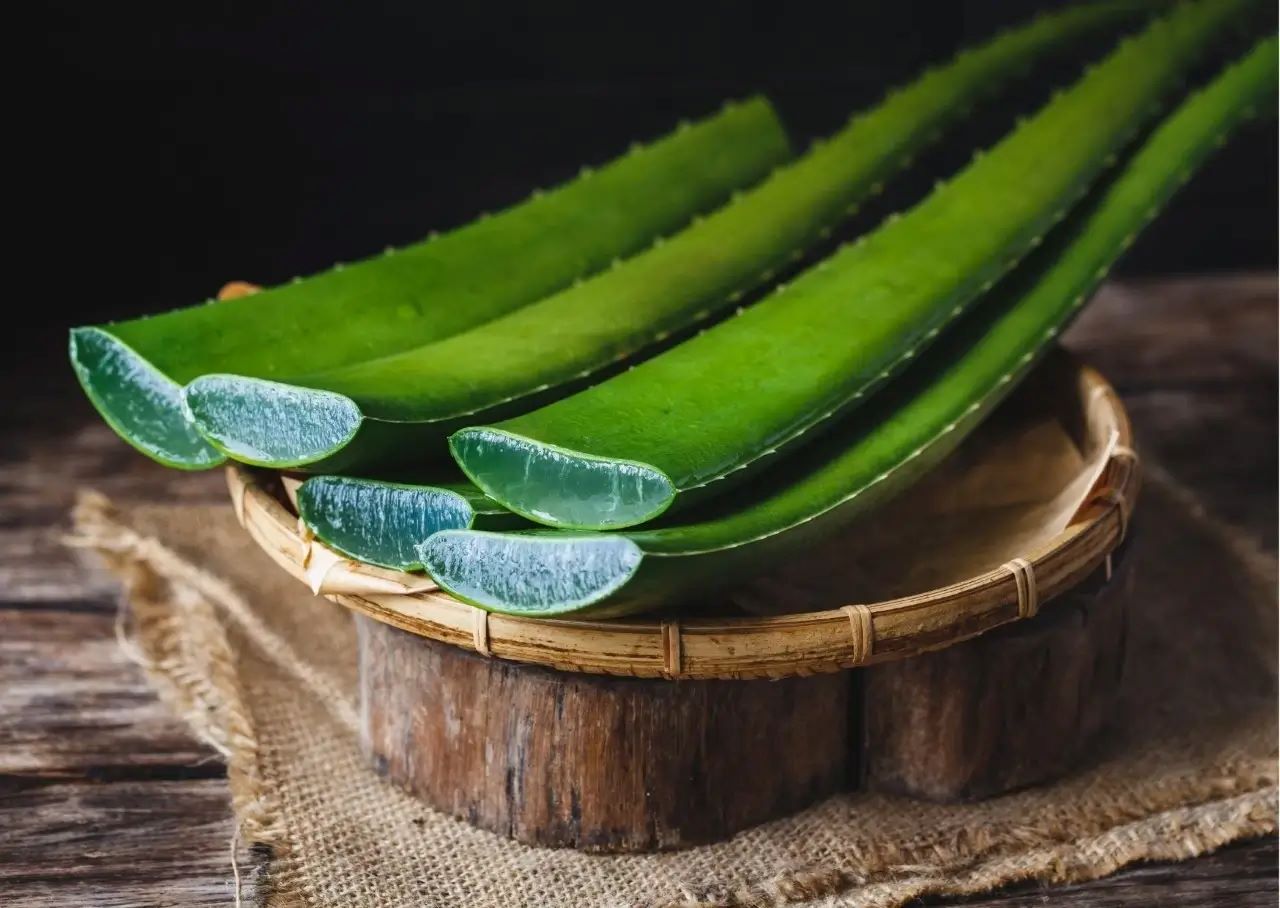
- Start by selecting a healthy and mature leaf from the outermost part of the plant. The outer leaves are typically thicker and contain more gel.
- Use a sharp knife or pair of scissors to cut the leaf as close to the stem as possible. Be careful not to damage other leaves or the plant itself.
- Once you have cut the desired number of leaves, place them upright in a container to allow any yellow sap, known as aloin, to drain out. Aloin can cause skin irritation and should be removed before extracting the gel.
- Leave the leaves in the container for about 15-20 minutes, or until the yellow sap stops dripping. You can gently shake the leaves to facilitate the process.
It is important to note that while a small amount of aloin is not harmful, it is best to remove as much of it as possible to avoid any potential irritation.
Once the yellow sap has stopped dripping, you can proceed to the next step of preparing the aloe vera leaves for gel extraction.
Step 2: Preparing the Aloe Vera Leaves
After harvesting the aloe vera leaves, it’s essential to prepare them properly before extracting the gel. Follow these steps to ensure the leaves are ready for gel extraction:
- Since aloe vera leaves have thorny edges, you need to carefully remove them to make handling easier. Use a sharp knife to cut both sides of the leaf, removing the thorny edges. Be cautious while doing this to avoid any injuries.
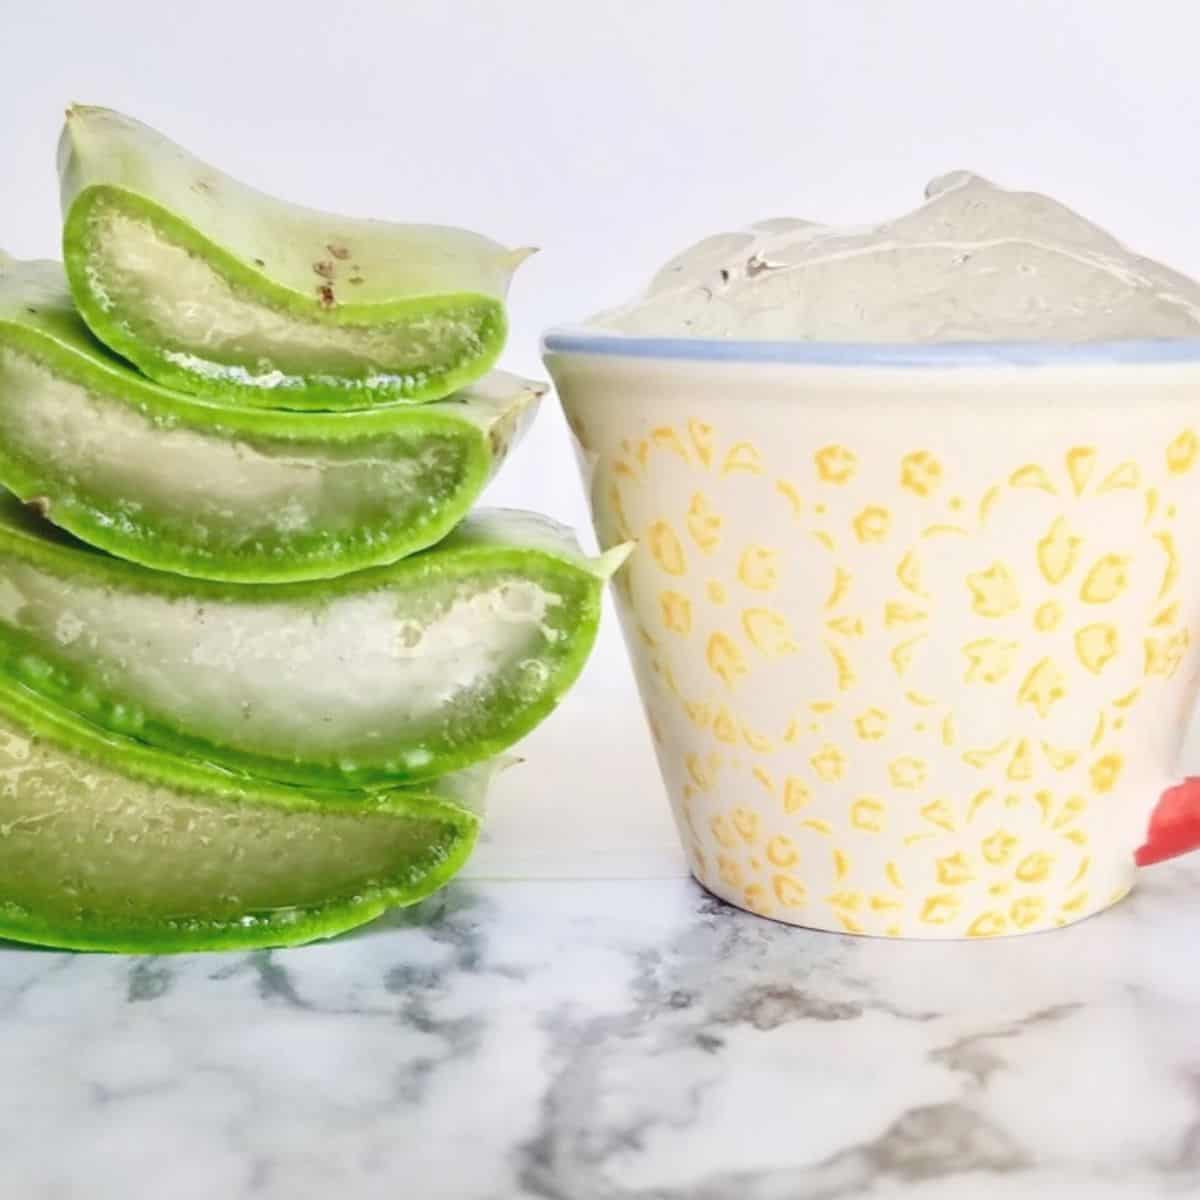
- Next, gently peel off the skin of the leaf to expose the clear gel underneath. You can use a vegetable peeler or simply run a knife along the length of the leaf to remove the outer green layer.
- Once you have removed the skin, you will see the translucent gel. It is important to note that the gel may have a slightly yellowish tint, which is normal. If you notice any brown or discolored parts, cut them off as they might indicate spoilage or contamination.
By removing the thorny edges and outer green layer, you are left with the pure gel that contains all the beneficial properties of aloe vera. Now, you are ready to extract the gel from the prepared leaves.
Step 3: Extracting the Gel from the Leaves
Now that the aloe vera leaves are prepared, it’s time to extract the gel. Follow these steps to ensure a proper extraction:
- Take a prepared aloe vera leaf and hold it firmly with one hand.
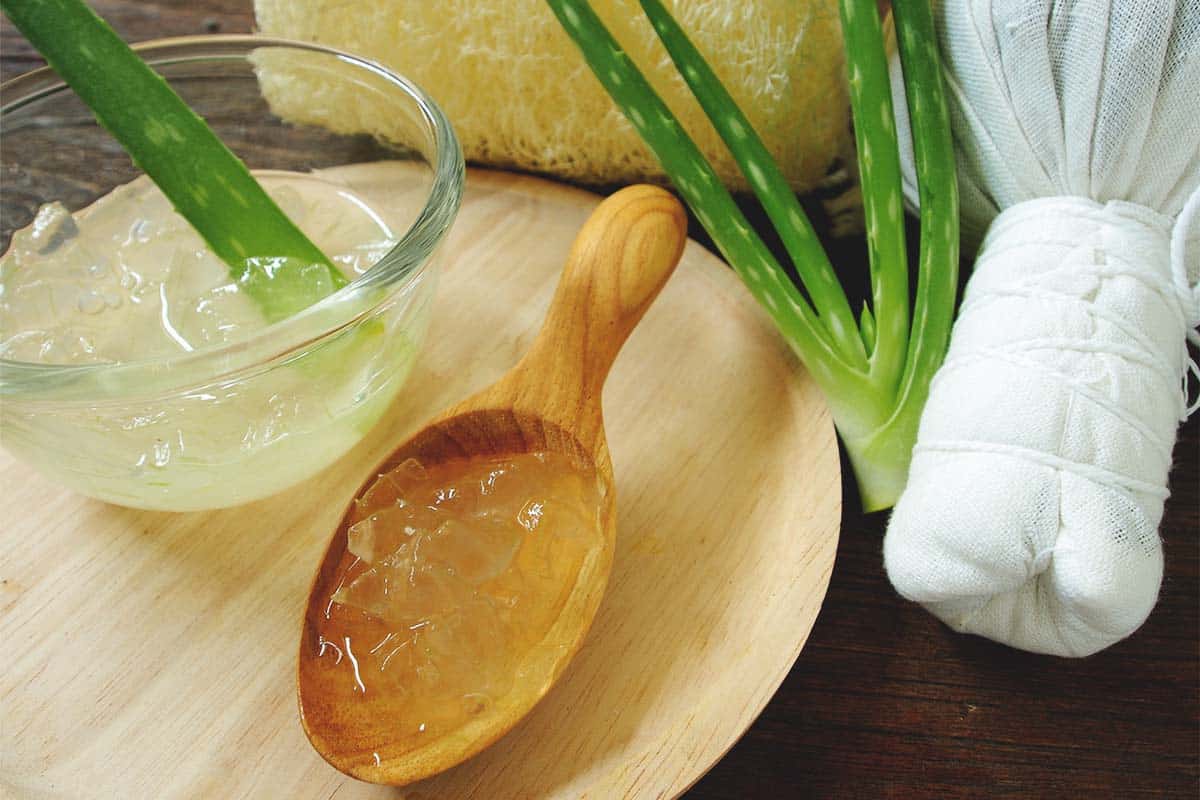
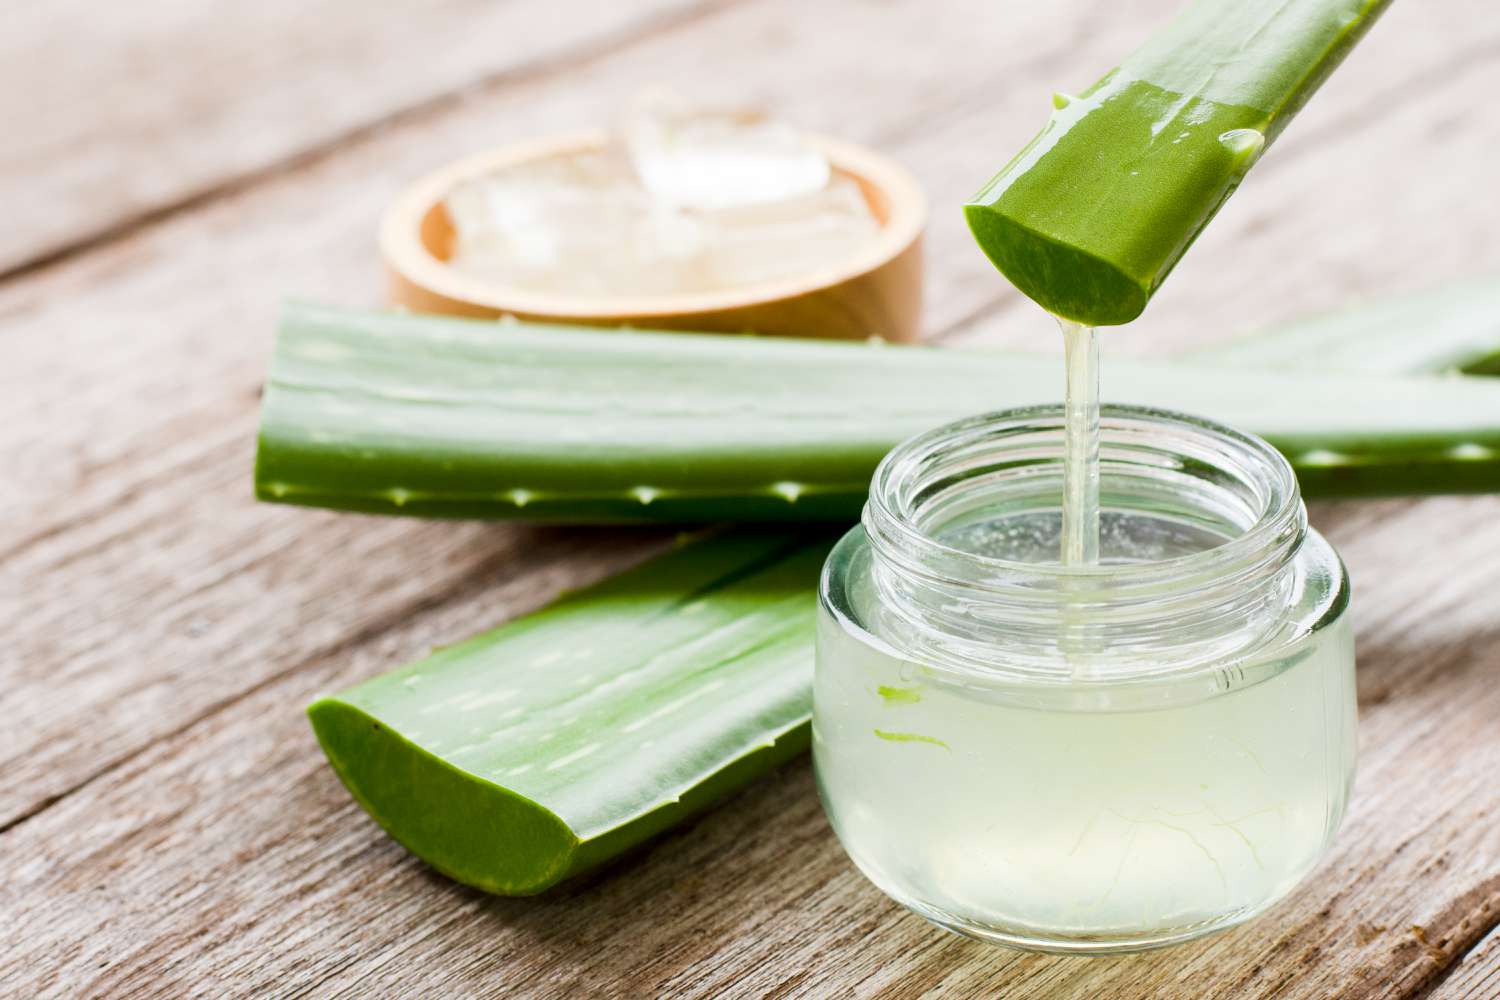
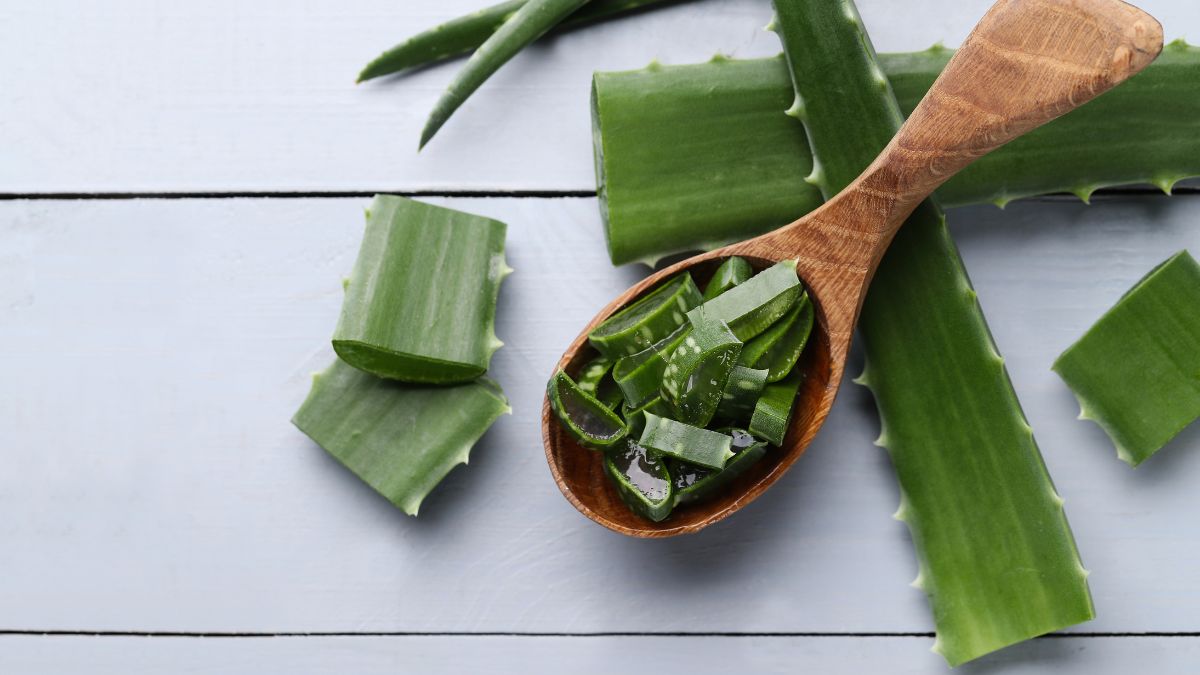
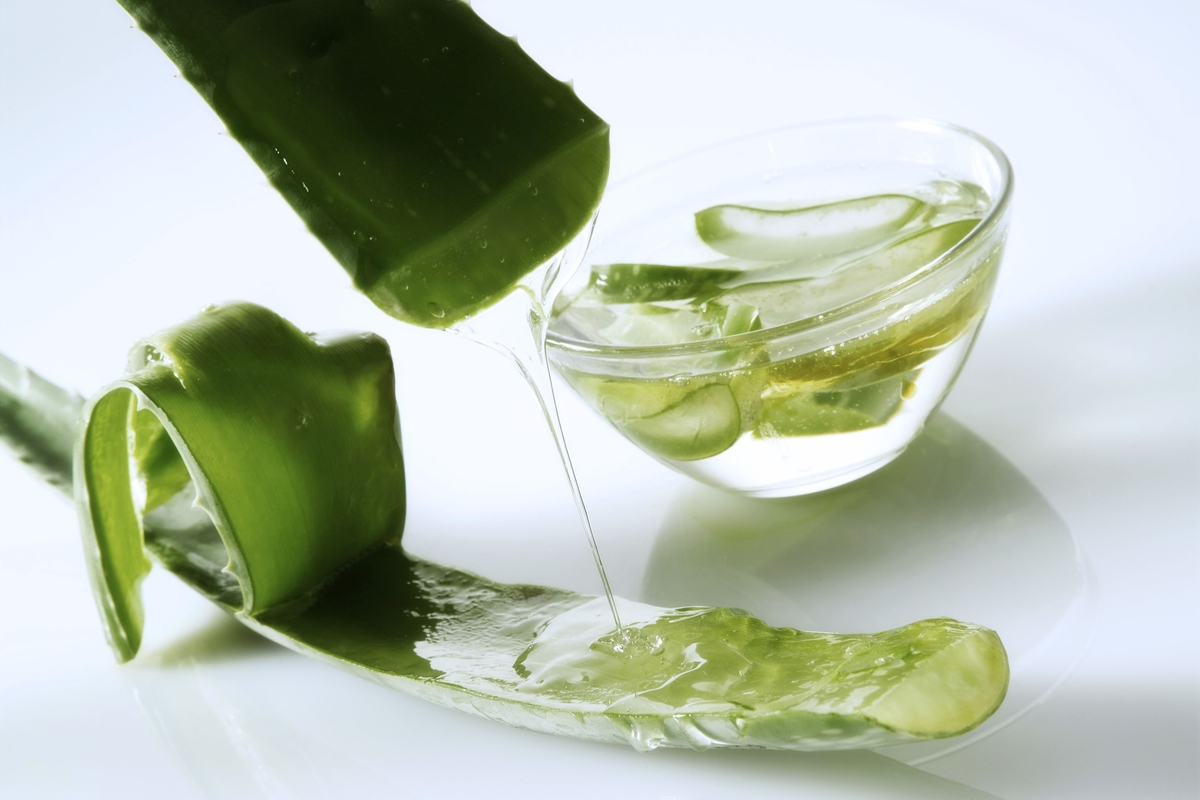
- Using a spoon or a gentle scraping motion with a knife, carefully scrape off the gel from the leaf. Start from the base of the leaf and work your way towards the tip.
- Collect the extracted gel in a clean bowl or a container.
- Repeat the process with the remaining prepared aloe vera leaves until you have extracted the desired amount of gel.
- Once you have extracted all the gel, you can use a blender or food processor to further refine it if you prefer a smoother consistency. This step is optional, as the gel can be used as is.
Remember to handle the gel gently to preserve its integrity and beneficial properties. Avoid exposing the gel to excessive heat or light, as this can degrade its quality.
Now that you have successfully extracted the gel, it’s time to move on to the next step: storing the aloe vera gel to ensure its longevity and effectiveness.
Store aloe vera gel from the plant in an airtight container in the refrigerator to prolong its shelf life. Make sure to use it within a week for best results.
Step 4: Storing the Aloe Vera Gel
Proper storage is crucial to maintain the freshness and effectiveness of the aloe vera gel. Follow these steps to store the gel properly:
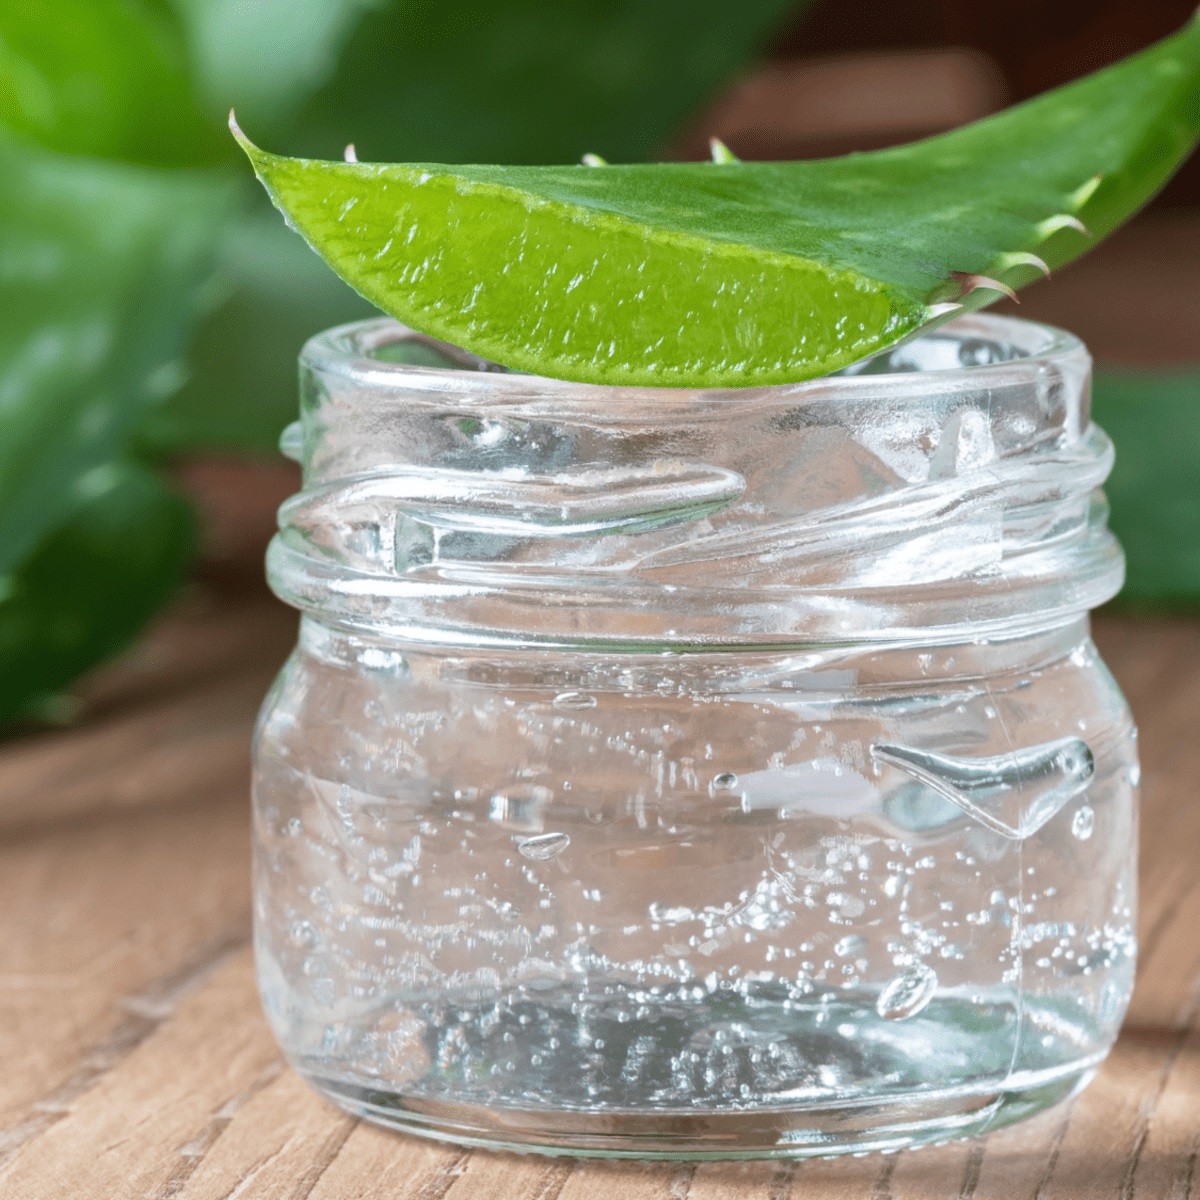
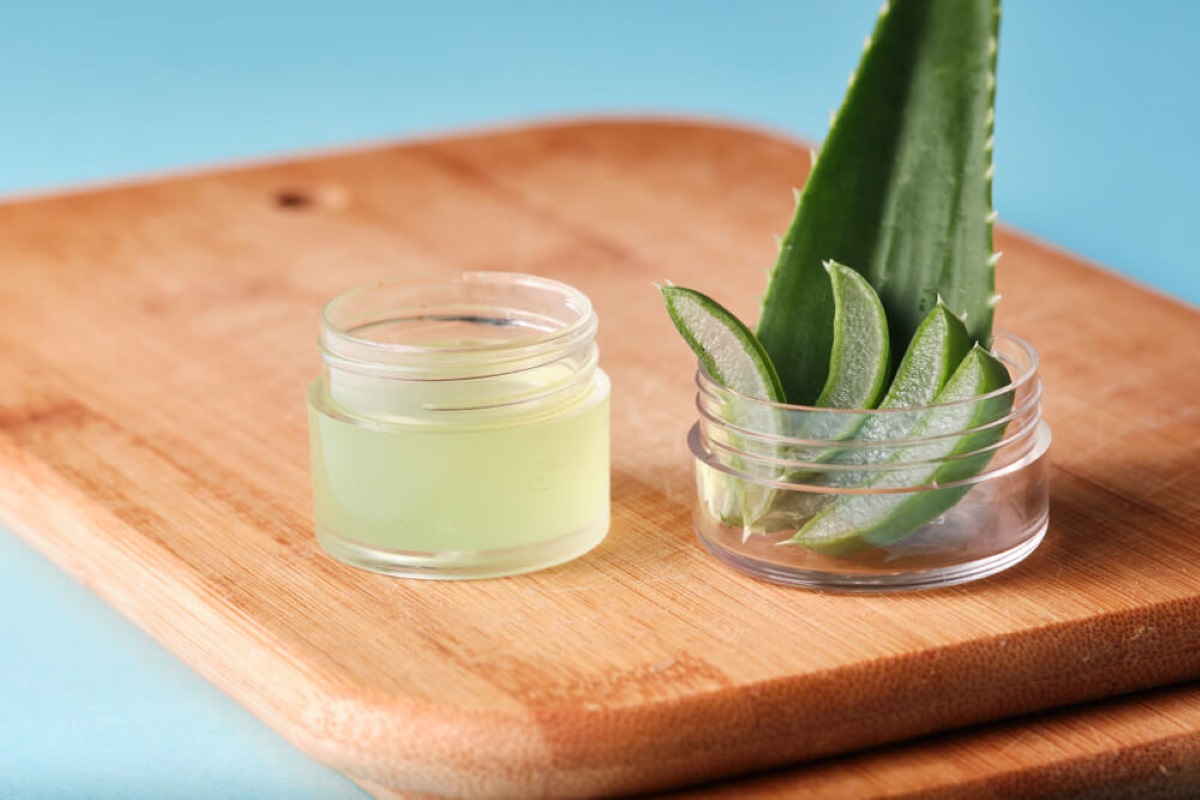
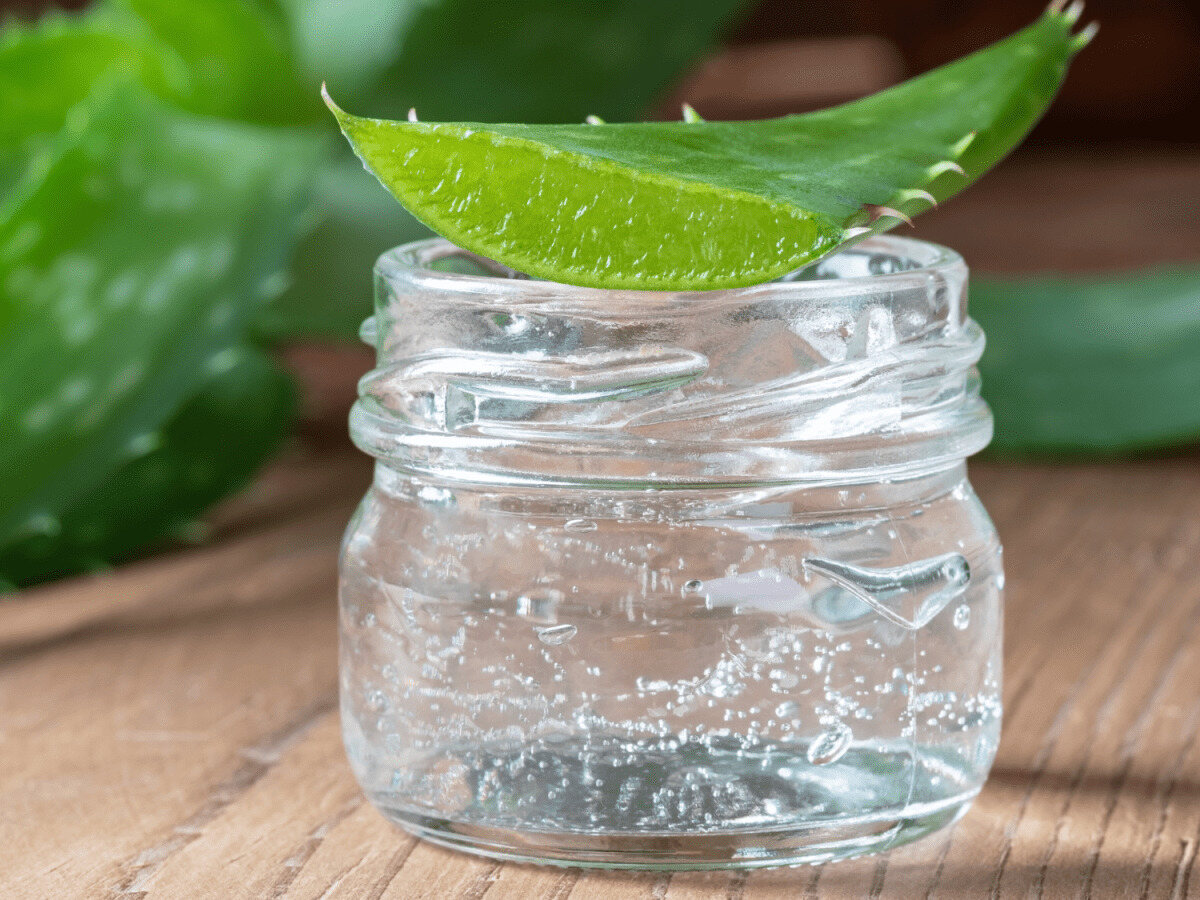
- Transfer the extracted gel into a clean and sterilized glass container. A dark-colored container is preferable to protect the gel from light exposure.
- Ensure that the container has an airtight lid or cover to prevent oxidation and contamination.
- Label the container with the date of extraction to keep track of its freshness.
- Store the container in a cool and dry place, away from direct sunlight. The ideal temperature for storing aloe vera gel is between 35°F to 50°F (2°C to 10°C).
By following these storage guidelines, you can extend the shelf life of the aloe vera gel up to several months.
It’s important to note that over time, the gel may change color and consistency. This is a natural process and does not necessarily indicate spoilage. However, if you notice any unusual odor, discoloration, or mold growth, discard the gel immediately, as it may be contaminated.
Now that you have successfully stored the aloe vera gel, you can enjoy its numerous benefits whenever you need them. Let’s move on to the final step: using the stored aloe vera gel.
Read more: How To Store Aloe Vera Gel In Fridge
Step 5: Using Stored Aloe Vera Gel
Now that you have properly stored the aloe vera gel, it’s time to put it to use for various purposes. Here are some ways you can use the stored aloe vera gel:
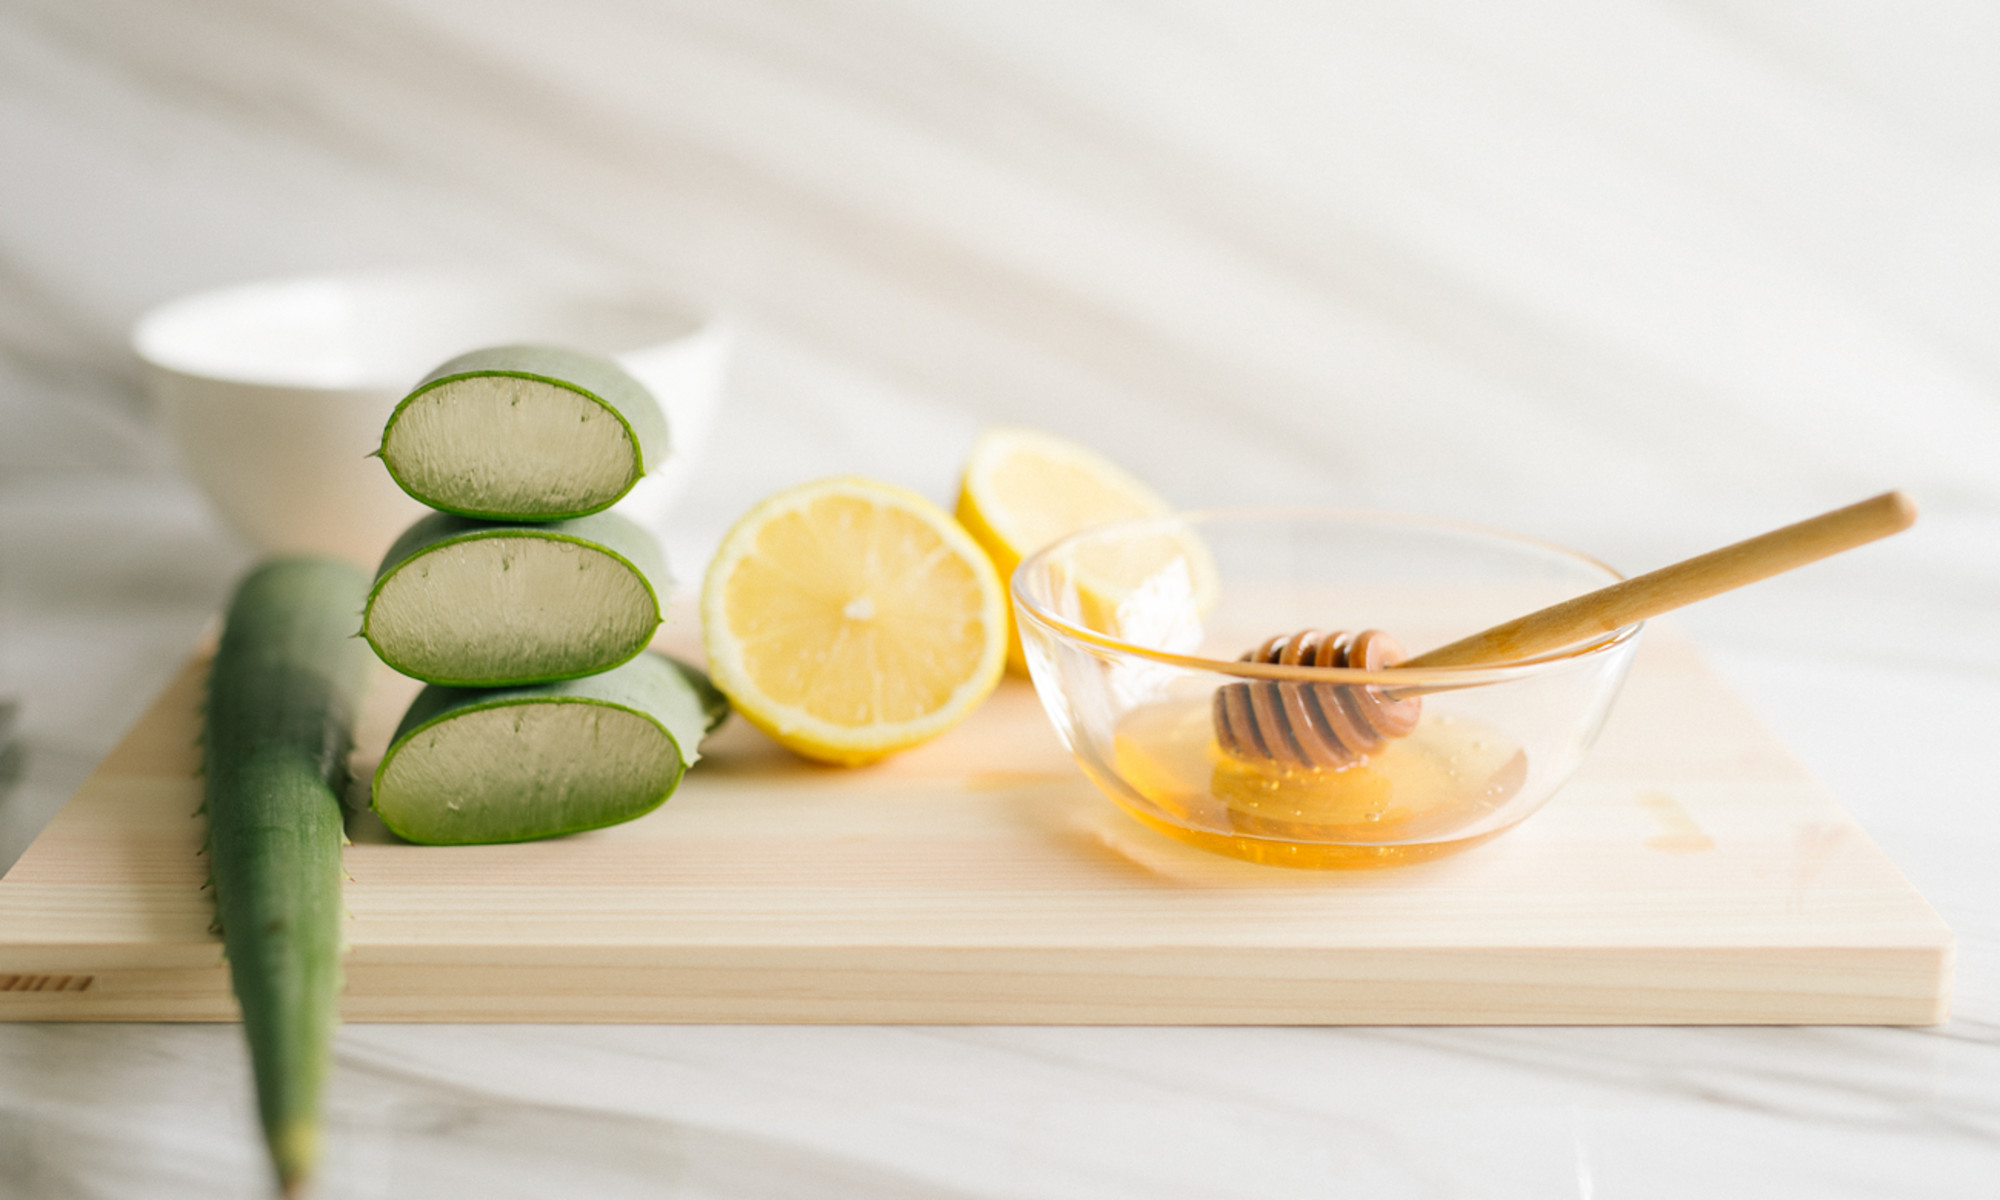
- Skincare: Aloe vera gel is well-known for its moisturizing and soothing properties. Apply a small amount of gel to your face and body as a natural moisturizer. It can help hydrate the skin, reduce inflammation, and promote a healthy complexion.
- Sunburn Relief: If you have a sunburn, aloe vera gel can provide instant relief. Apply a generous amount of gel to the affected areas to soothe the sunburn and promote healing.
- Hair Care: Aloe vera gel can be used as a hair conditioner to nourish and strengthen your hair. Simply apply the gel to your hair, leave it on for a few minutes, and then rinse thoroughly.
- Minor Wounds and Burns: Aloe vera gel has healing properties that can help speed up the healing process of minor cuts, burns, and abrasions. Apply a thin layer of gel to the affected area to promote healing and reduce the risk of infection.
- Digestive Aid: Aloe vera gel can be consumed orally to aid digestion and soothe digestive issues. It is known to have a gentle laxative effect and can help relieve constipation when consumed in moderation.
Remember to perform a patch test before applying aloe vera gel to your skin or consuming it to ensure you don’t have any adverse reactions or allergies.
By following these steps and utilizing the stored aloe vera gel, you can enjoy its numerous benefits and promote overall well-being.
Conclusion
Harvesting and storing aloe vera gel from the plant is a simple and rewarding process that allows you to harness the natural healing properties of this remarkable plant. By following the steps outlined in this article, you can ensure that the aloe vera gel is fresh, potent, and ready for use whenever needed.
Aloe vera gel, with its rich composition of vitamins, minerals, and antioxidants, offers a wide range of benefits for skincare, hair care, wound healing, and digestive health. By having your own stored aloe vera gel, you can conveniently incorporate it into your daily routine and enjoy its therapeutic effects.
Remember to handle the aloe vera leaves with care, extract the gel gently, and store it properly in a clean and airtight container. It’s important to store the gel in a cool, dark place to maintain its effectiveness and longevity.
Whether you use the aloe vera gel for skincare, sunburn relief, hair care, or digestive aid, you can reap the rewards of this natural wonder plant. Experiment with different applications and find what works best for you.
By harnessing the power of aloe vera gel from your own plant, you can embrace the benefits of this versatile plant and take a step towards a healthier, more sustainable lifestyle.
So, why wait? Start growing your own aloe vera plant today and experience the endless possibilities of aloe vera gel!
Frequently Asked Questions about How To Store Aloe Vera Gel From Plant
Was this page helpful?
At Storables.com, we guarantee accurate and reliable information. Our content, validated by Expert Board Contributors, is crafted following stringent Editorial Policies. We're committed to providing you with well-researched, expert-backed insights for all your informational needs.

0 thoughts on “How To Store Aloe Vera Gel From Plant”