
Articles
How To Store Fresh Aloe Vera
Modified: December 7, 2023
Discover the best ways to store fresh aloe vera in this informative article. Keep your aloe vera plant fresh and preserved for longer with these helpful tips.
(Many of the links in this article redirect to a specific reviewed product. Your purchase of these products through affiliate links helps to generate commission for Storables.com, at no extra cost. Learn more)
Introduction
Welcome to this comprehensive guide on how to store fresh aloe vera. Aloe vera is a versatile plant that has been used for centuries for its numerous therapeutic and medicinal benefits. Whether you have a thriving aloe vera plant at home or have just purchased a fresh aloe vera leaf, learning how to properly store it is essential to extend its potency and usability.
In this article, we will explore the benefits of fresh aloe vera, provide guidance on choosing and harvesting the plant, discuss the proper cleaning and preparation techniques, and delve into the correct storage methods. Additionally, we will offer tips on how to use the stored aloe vera effectively and the precautions to ensure its optimal use.
By understanding how to store fresh aloe vera, you can have a readily available source of this miraculous plant on hand, ready to harness its healing properties whenever needed. So, let’s dive in and discover the best practices for storing fresh aloe vera!
Key Takeaways:
- Harness the healing power of fresh aloe vera by storing it correctly in airtight containers in the refrigerator. Enjoy its versatile benefits for skincare, haircare, and even internal consumption with caution and care.
- Select mature aloe vera plants, clean and prepare the gel properly, and store it in the refrigerator for up to two weeks. Use the stored gel for skincare, haircare, face masks, and more, while following essential tips and precautions for safe and effective use.
Read more: How To Store Aloe Vera Leaves
Benefits of Fresh Aloe Vera
Fresh aloe vera is packed with a plethora of benefits for both external and internal use. This succulent plant contains a gel-like substance within its leaves that is rich in essential vitamins, minerals, enzymes, and antioxidants. Let’s explore some of the key benefits of using fresh aloe vera:
- Skin Care: Aloe vera is renowned for its skin-soothing and rejuvenating properties. The gel can help moisturize and hydrate the skin, promoting a healthy and youthful complexion. It can also aid in reducing inflammation, treating acne, and healing wounds and burns.
- Hair Care: The enzymes present in aloe vera gel can promote healthy hair growth and reduce dandruff. Regular use of aloe vera as a hair conditioner can lead to shiny, lustrous locks.
- Digestive Health: Aloe vera has a soothing effect on the digestive system, helping to alleviate symptoms of indigestion, acid reflux, and irritable bowel syndrome (IBS). It can also aid in detoxifying the body by promoting regular bowel movements.
- Immune Boosting: The antioxidants in aloe vera gel help boost the immune system, protecting the body against various infections and diseases.
- Anti-inflammatory Properties: Aloe vera gel contains compounds that can reduce inflammation in the body, making it beneficial for conditions such as arthritis and inflammatory skin conditions like psoriasis.
- Healing Properties: Aloe vera is widely used for its healing properties. It can expedite the healing process of wounds, cuts, and burns by reducing pain, inflammation, and promoting tissue regeneration.
These are just a few of the many benefits that fresh aloe vera offers. Its natural and versatile properties make it a valuable addition to your skincare, haircare, and overall health and wellness routine.
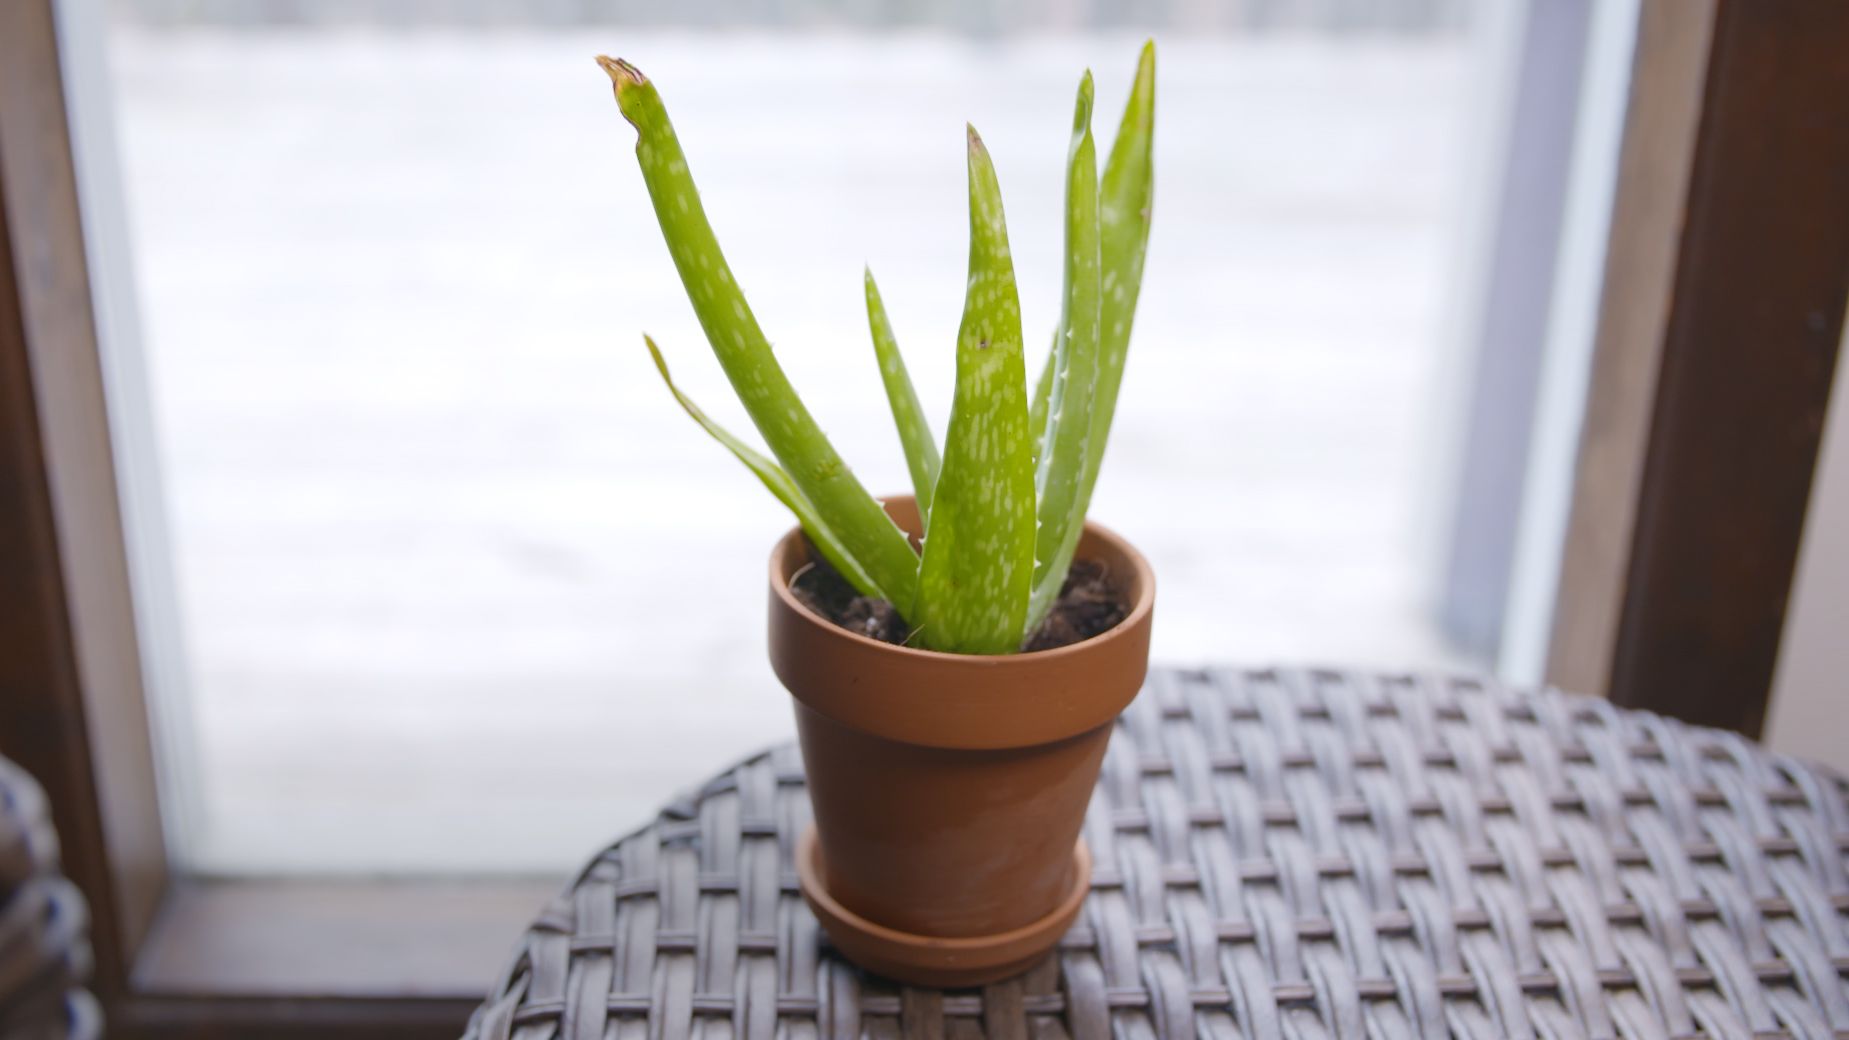
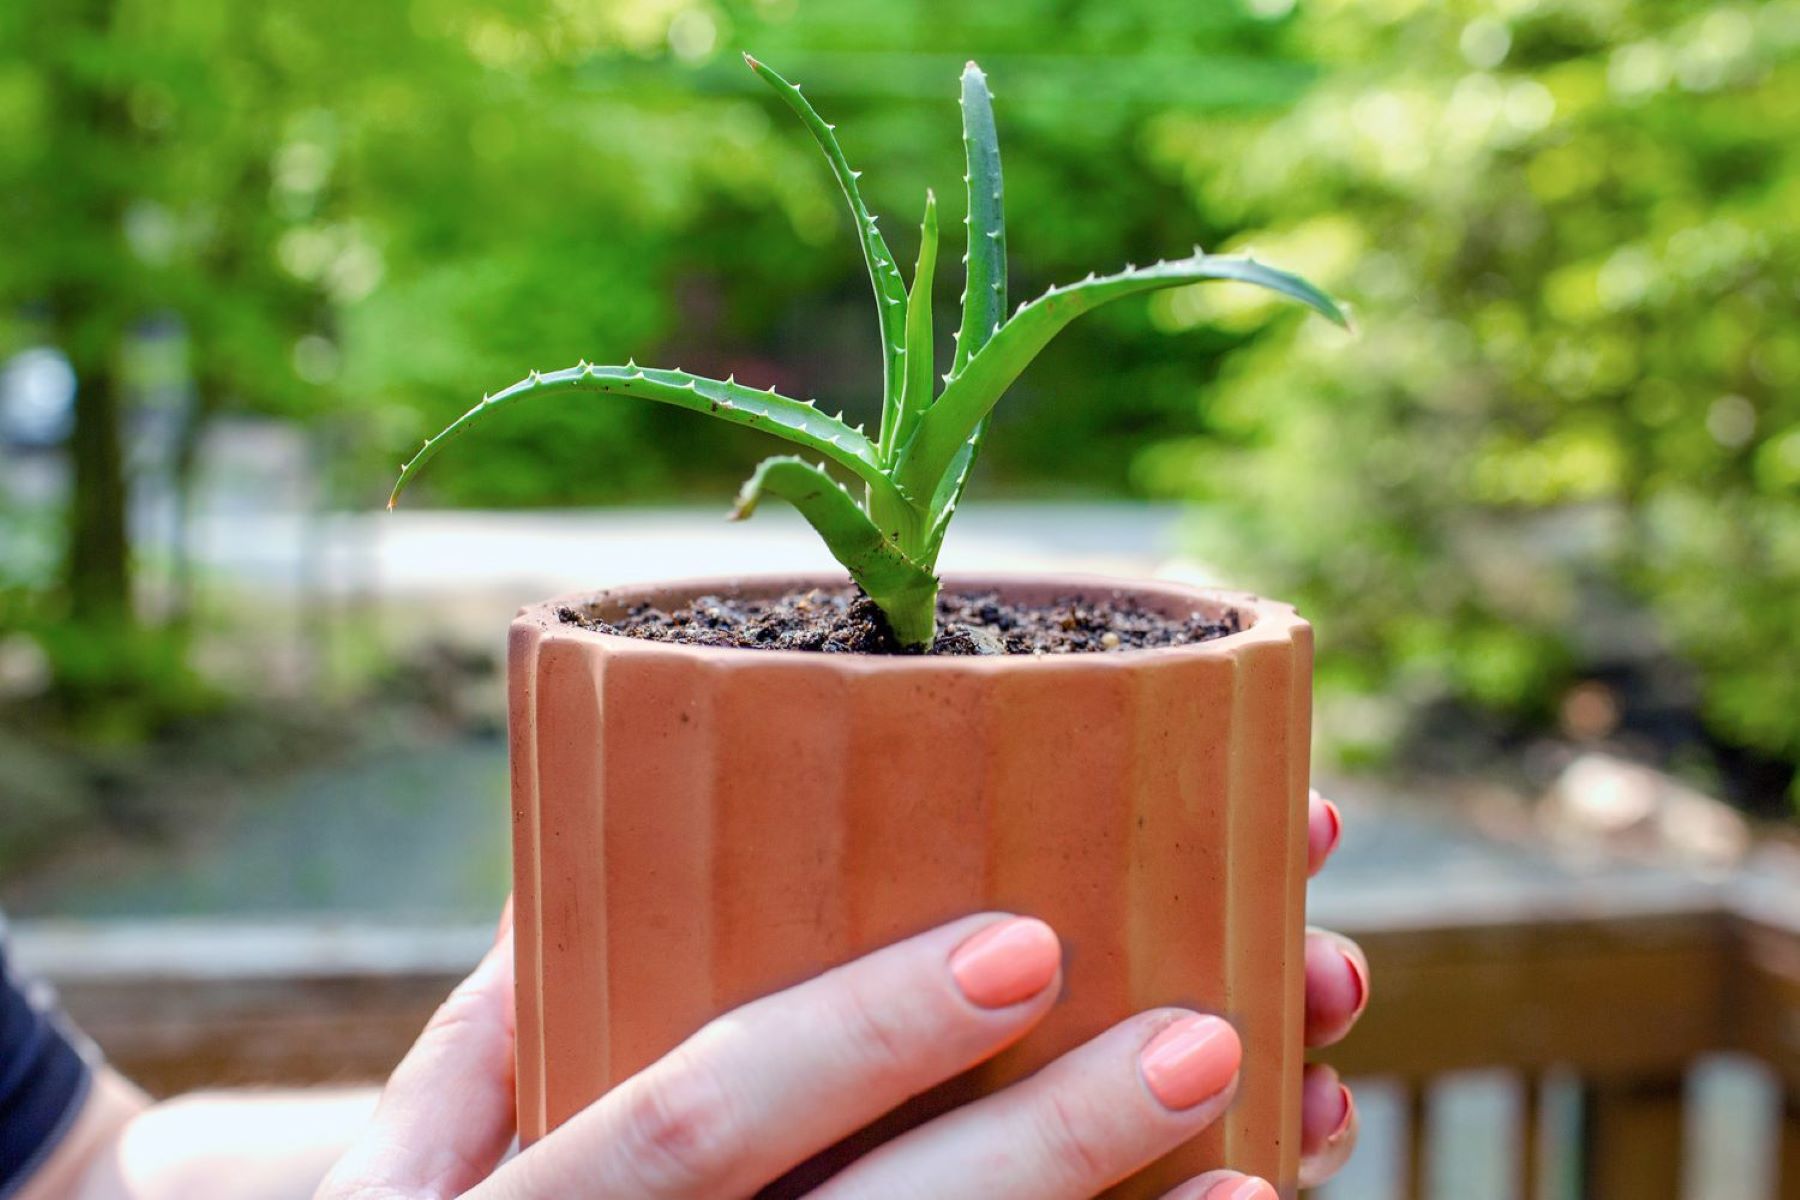
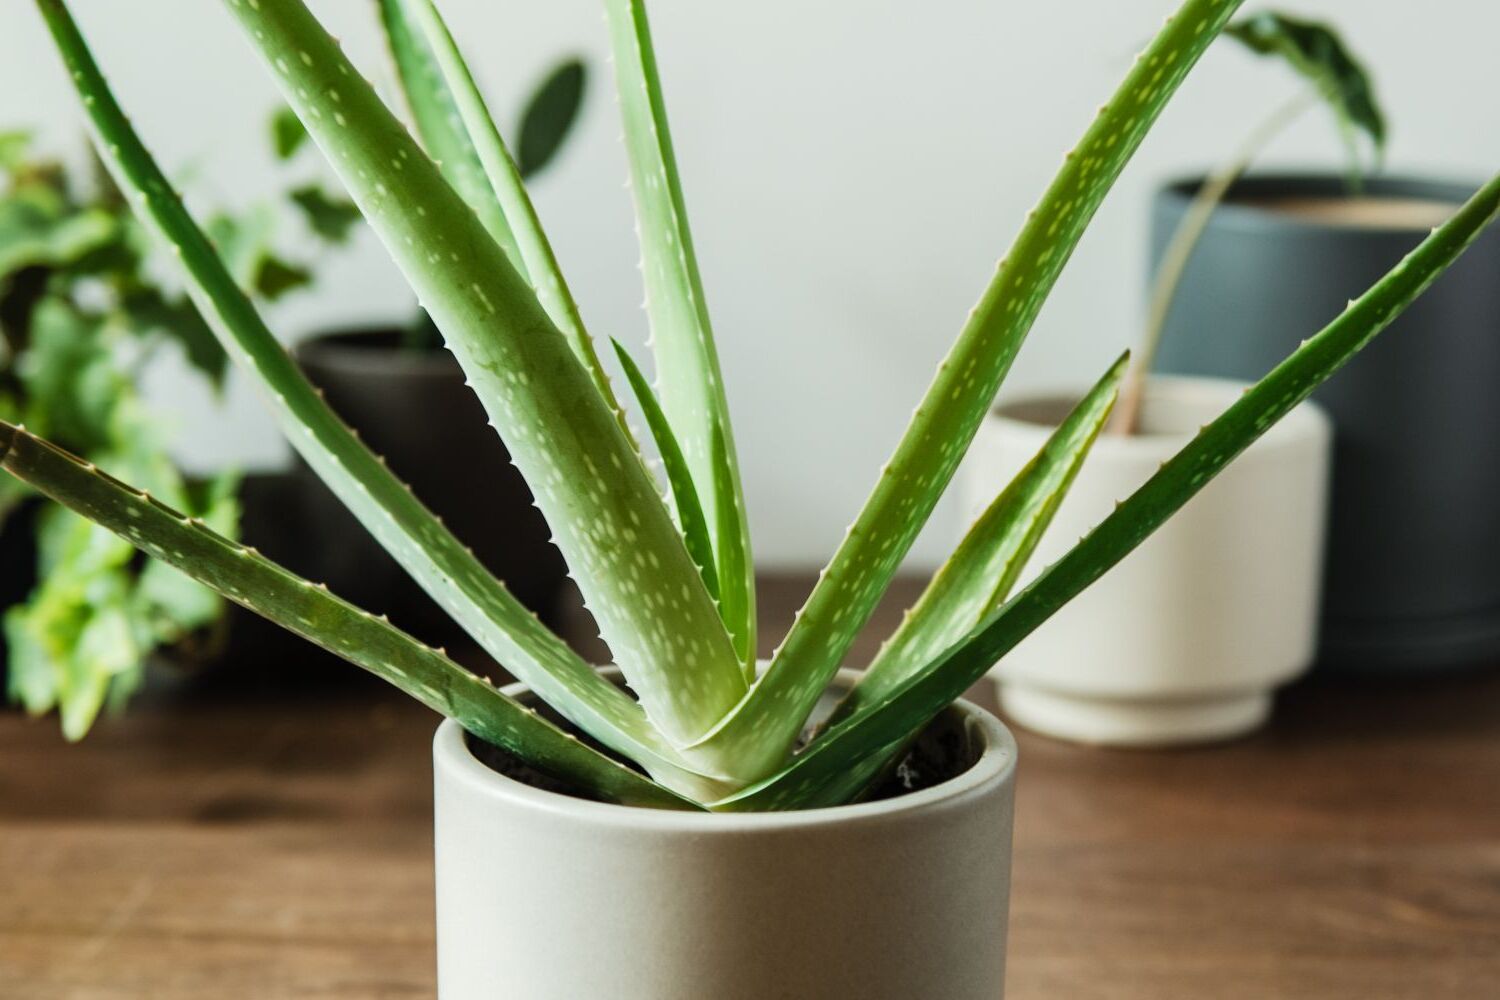
Choosing and Harvesting Aloe Vera
When it comes to selecting aloe vera for harvesting, it’s important to choose a mature and healthy plant. Here are some tips to help you choose and harvest aloe vera effectively:
- Size and Age: Look for aloe vera plants that are at least three to four years old. Mature plants tend to have larger leaves, which contain a higher concentration of gel.
- Leaf Health: Examine the leaves for any signs of damage, discoloration, or pests. Choose a plant with vibrant green leaves that are plump and firm to the touch.
- Avoid Chemical-treated Plants: If possible, opt for organic and chemical-free aloe vera plants. This ensures that you are harvesting and storing aloe vera in its purest form.
- Harvesting: To harvest aloe vera, carefully remove one of the outer leaves from the base of the plant. Choose the largest and healthiest leaf for maximum gel yield. Use a sharp knife or scissors to cut the leaf as close to the base as possible.
- Quantity: Harvest only the amount of aloe vera you need. Leaving several mature leaves on the plant allows for continued growth and sustains the health of the plant.
Once you have chosen and harvested the aloe vera leaf, it’s time to move on to the next step: cleaning and preparing the leaf for storage.
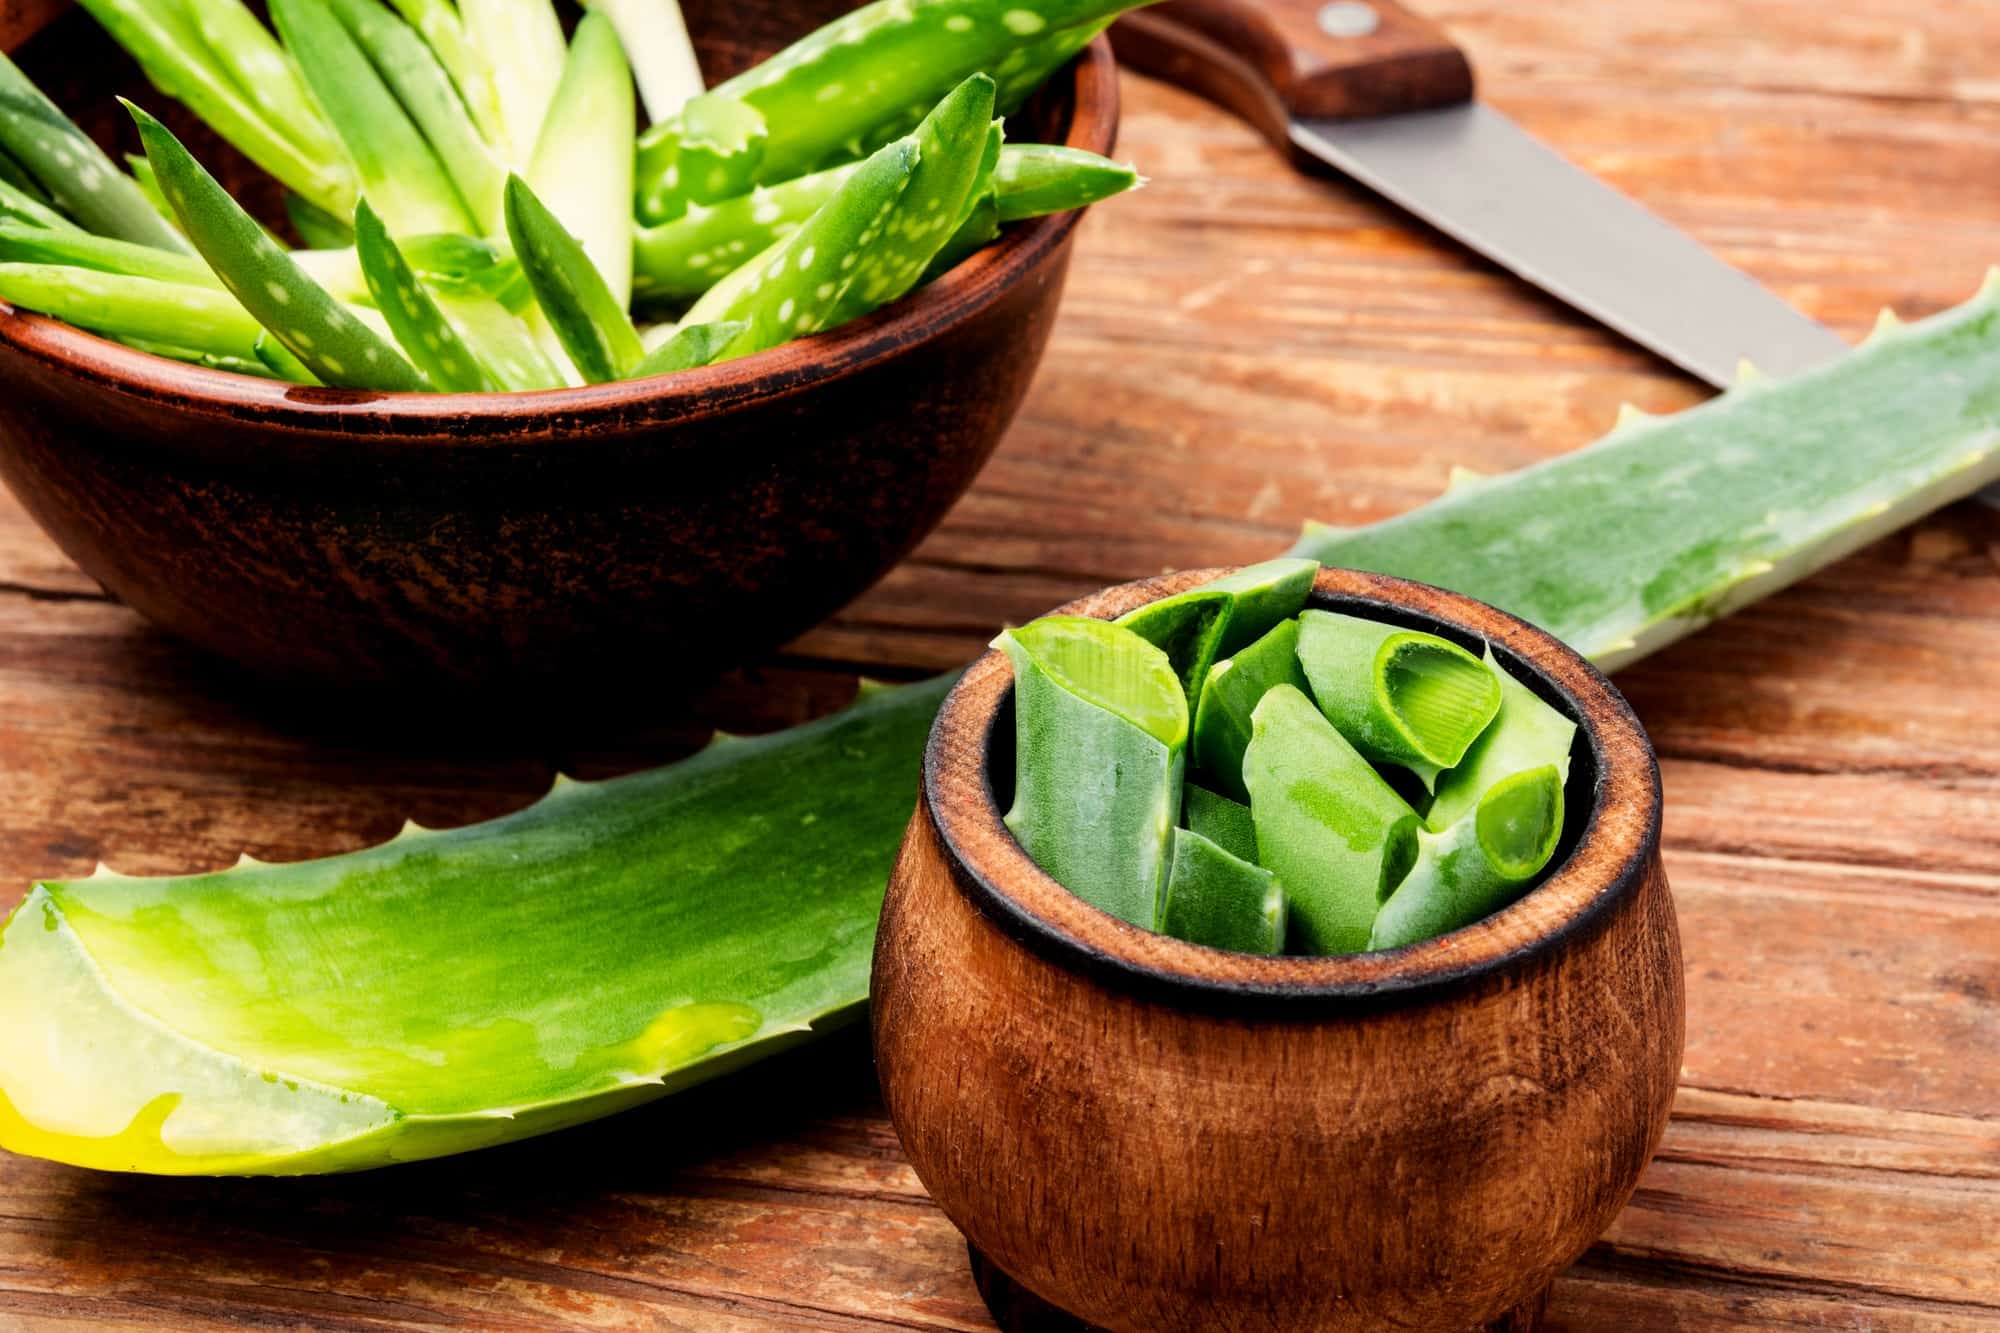
Proper Cleaning and Preparation
Before storing fresh aloe vera, it’s crucial to clean and prepare the harvested leaves to ensure their longevity and effectiveness. Follow these steps to properly clean and prepare aloe vera:
- Rinse the Leaf: Start by rinsing the aloe vera leaf under cool running water to remove any dirt or debris. Gently rub the leaf to ensure all surfaces are clean.
- Trim the Thorny Edges: Using a sharp knife, carefully trim the thorny edges of the leaf. This step is optional but can make handling the leaf easier and safer.
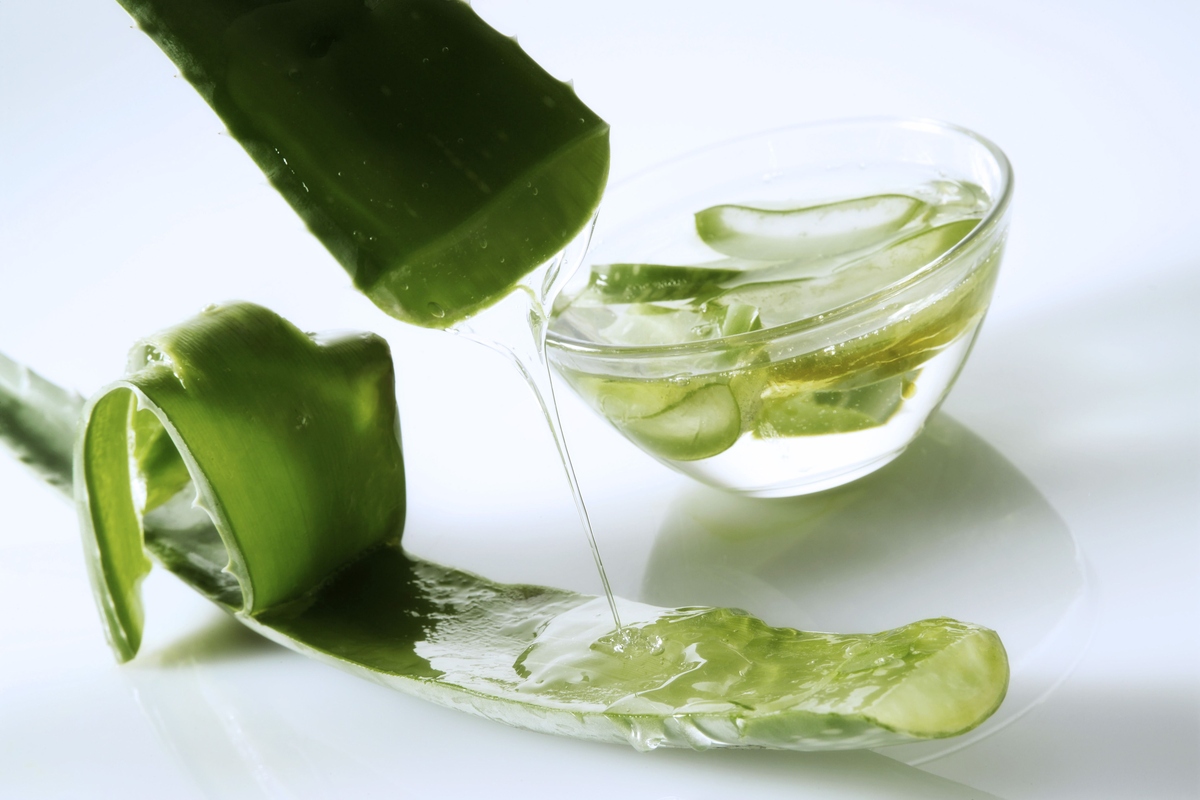
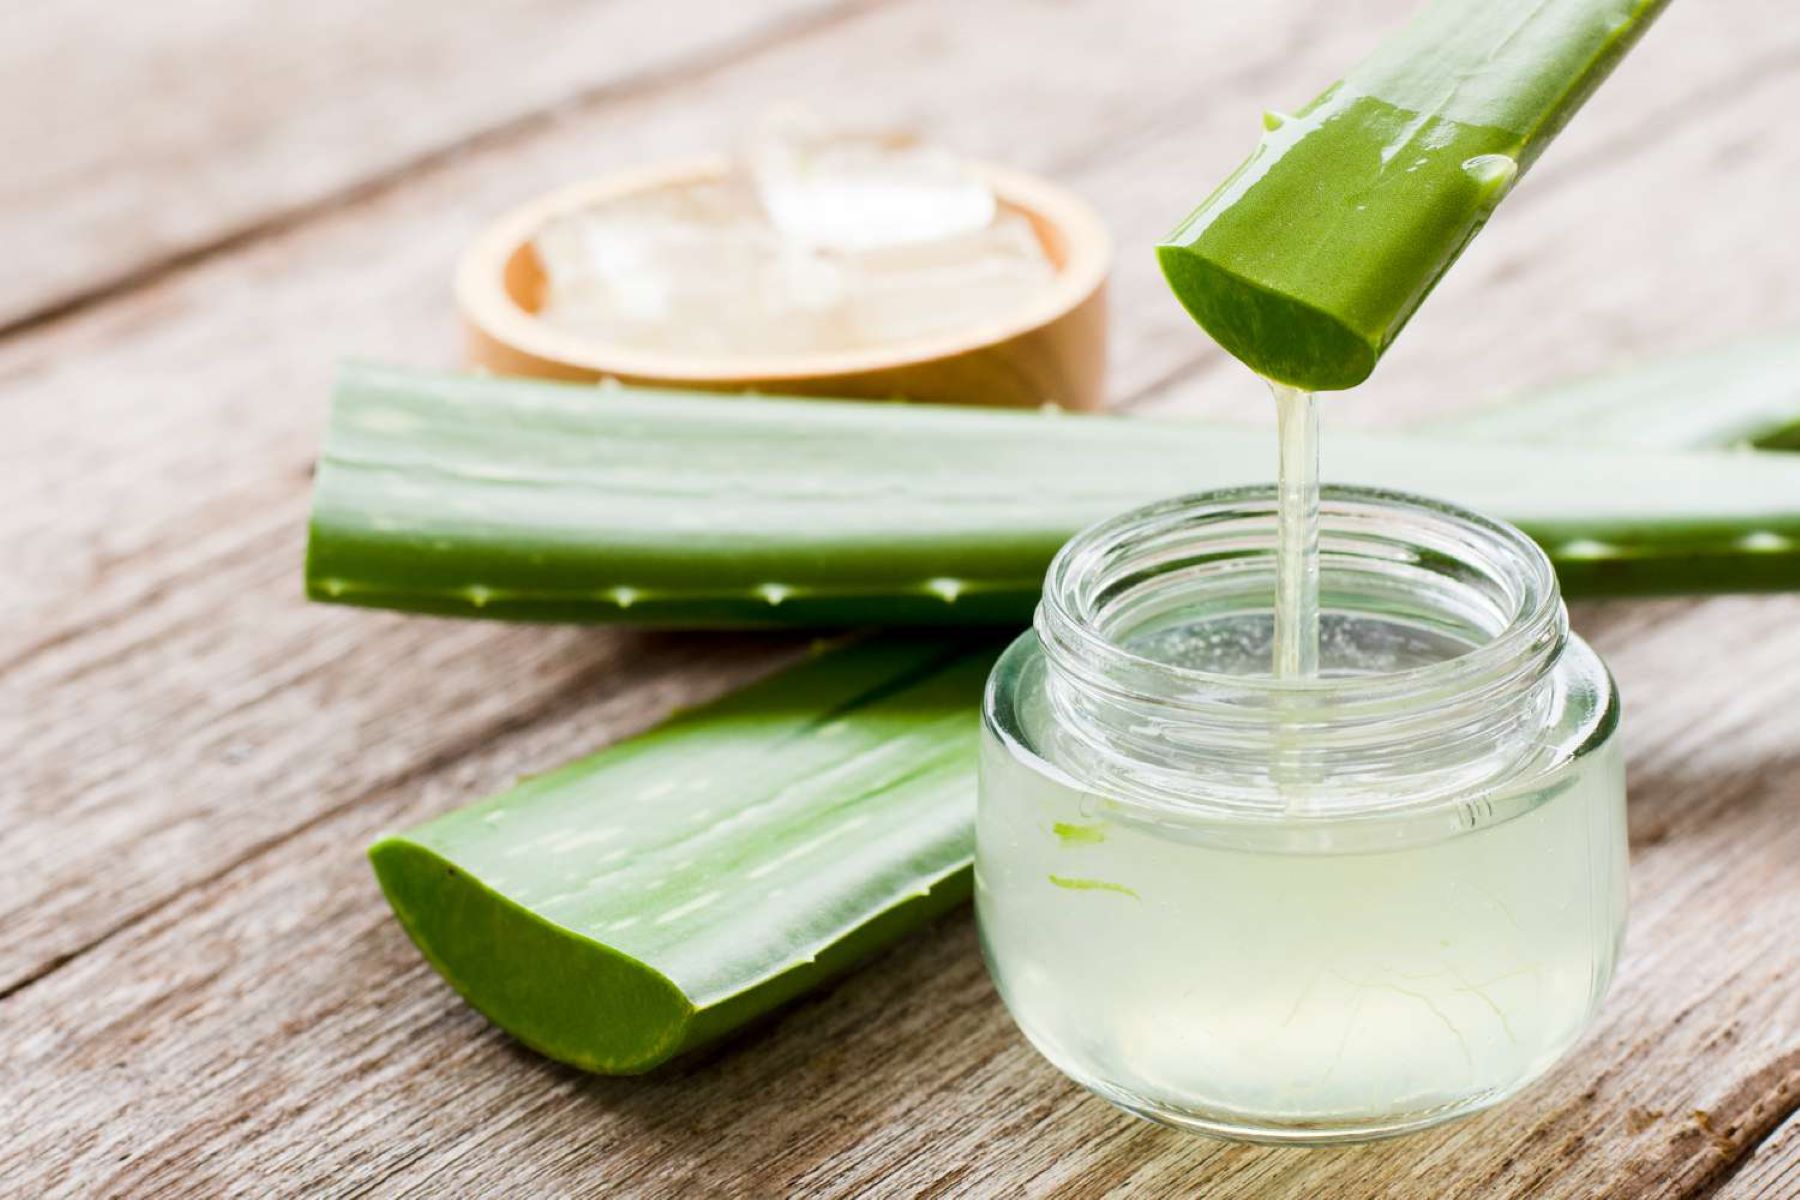
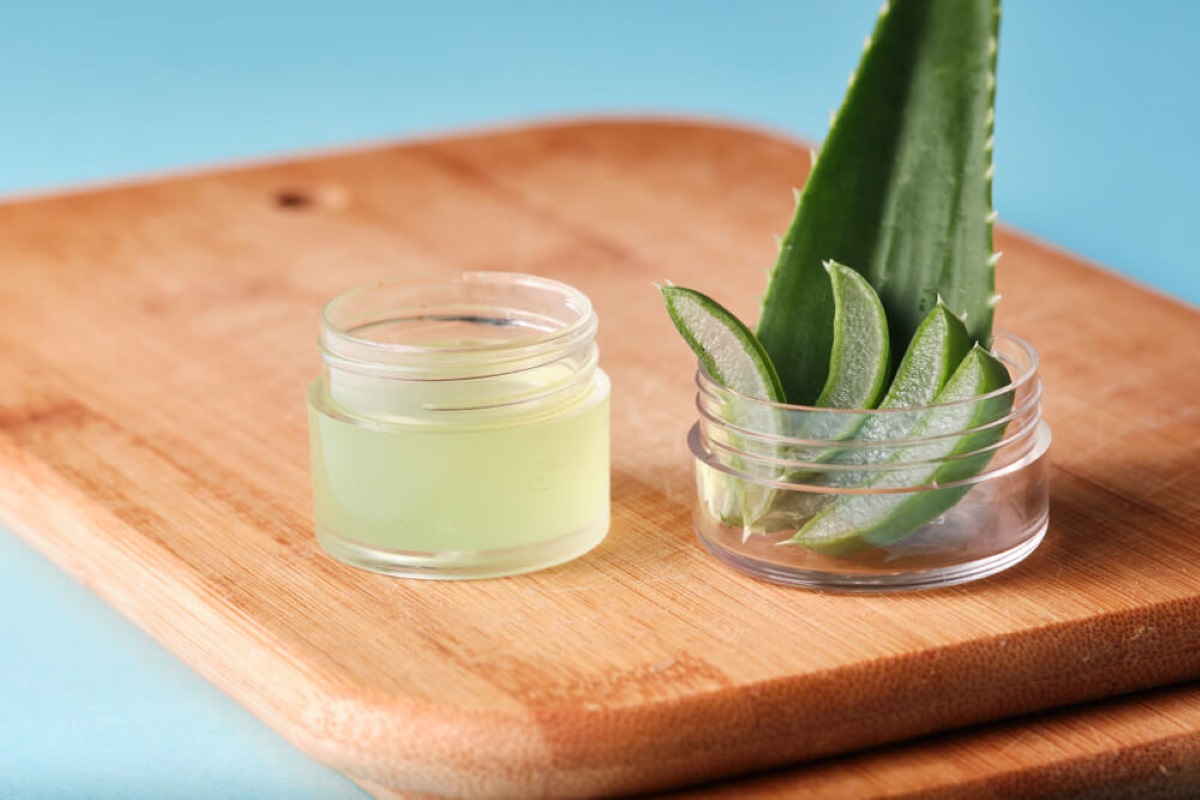
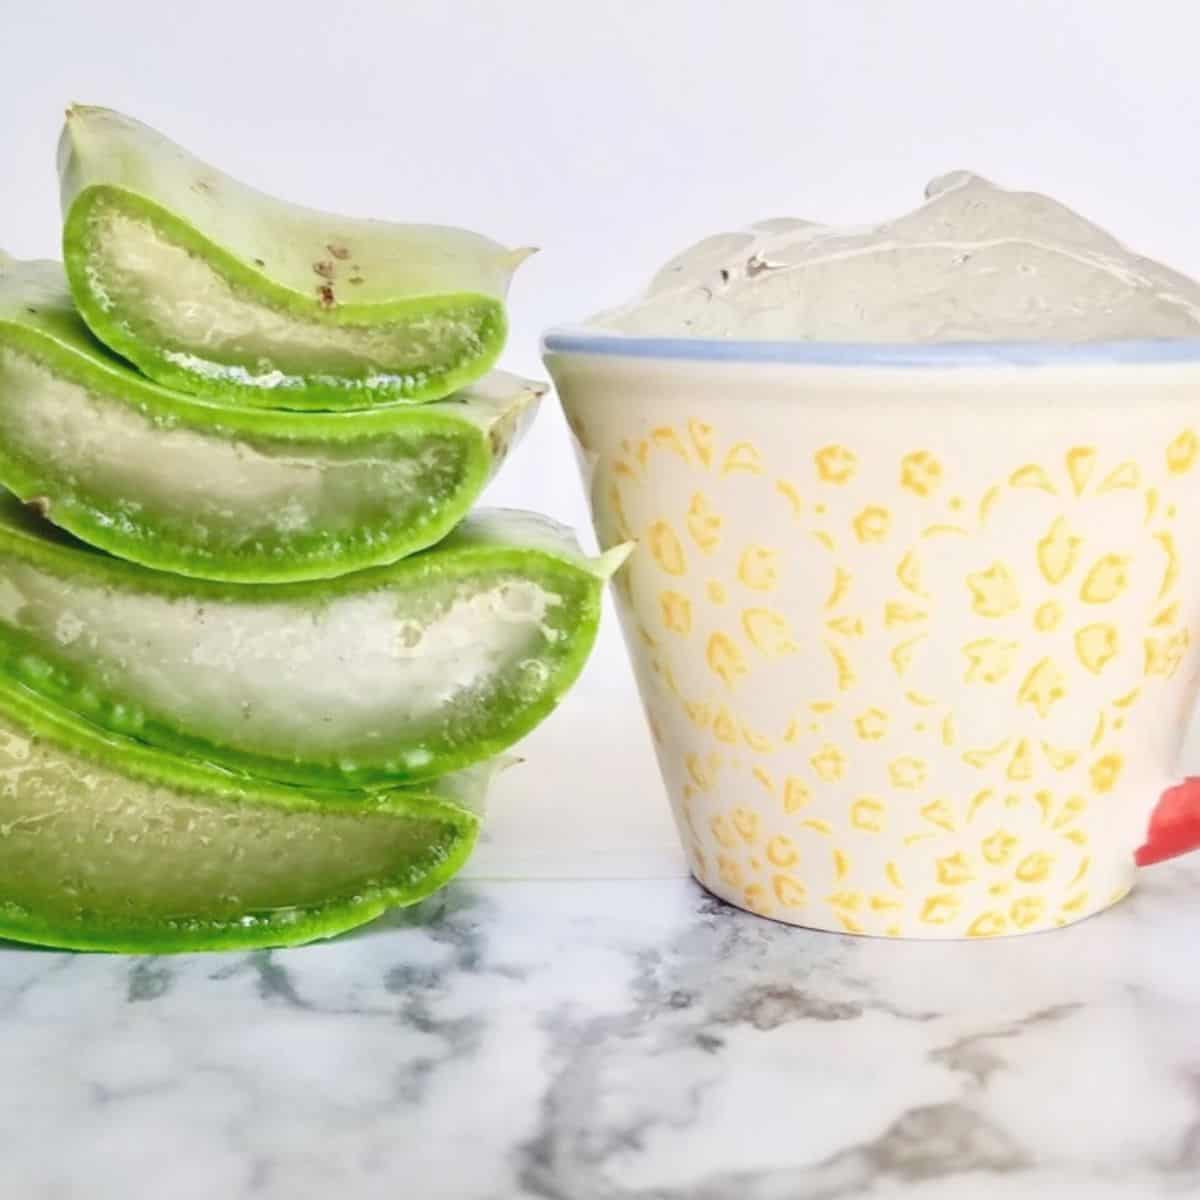
- Remove the Outer Skin: Place the leaf flat on a cutting board and slice off the top and bottom portions. Make a slit along one side of the leaf, being careful not to cut too deep. Using your fingers or a spoon, peel off the outer skin to expose the gel inside.
- Discard the Yellow Residue: After peeling off the skin, you may notice a yellow residue on the gel. This residue, known as the aloin, has a bitter taste and can cause stomach discomfort. Rinse the gel under running water to remove the aloin.
- Cut into Storage-Friendly Pieces: Cut the aloe vera gel into smaller pieces that are suitable for storage. You can choose to dice them or cut them into strips.
Once the aloe vera has been cleaned and prepared, it’s time to focus on storing it correctly to preserve its freshness and potency. Let’s explore the best storage methods for fresh aloe vera in the next section.
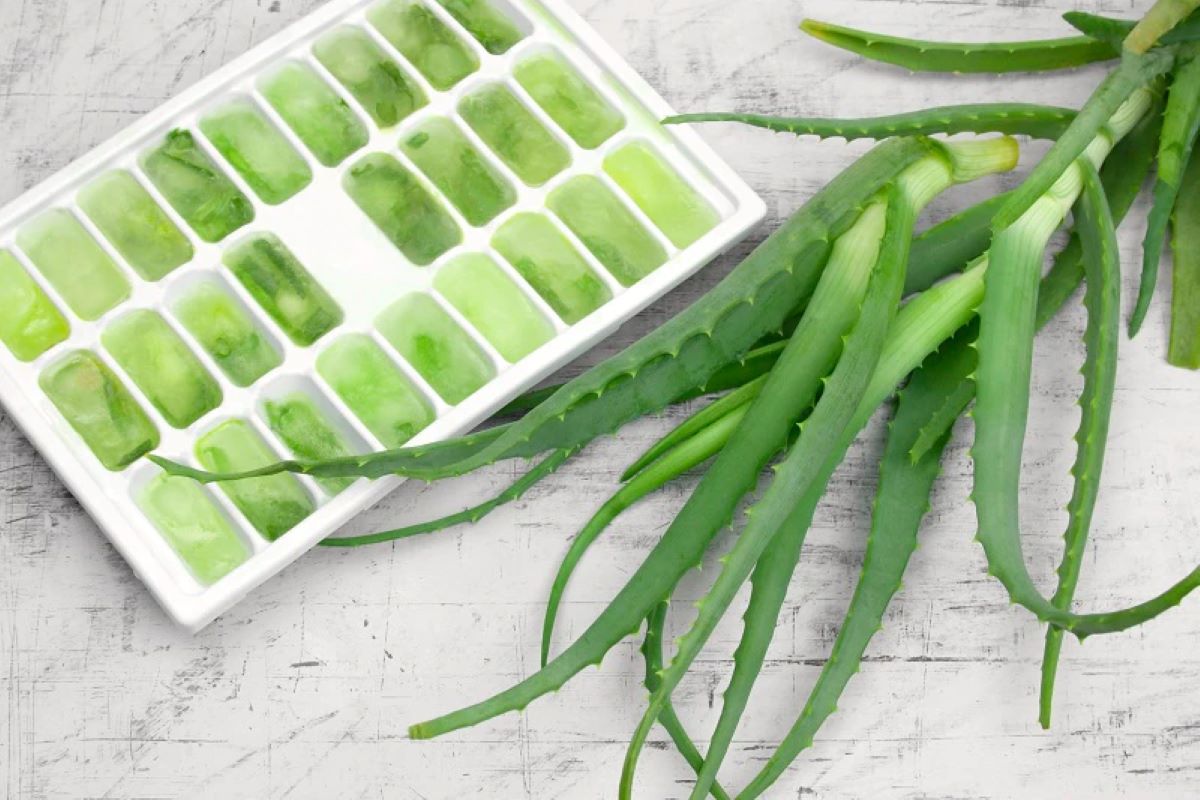
Store fresh aloe vera in a cool, dry place away from direct sunlight. You can also refrigerate it for longer shelf life. Keep it in a breathable container to prevent moisture buildup.
Storing Fresh Aloe Vera Correctly
Proper storage is essential to keep your fresh aloe vera gel fresh and maintain its potent properties. Follow these guidelines to store fresh aloe vera correctly:
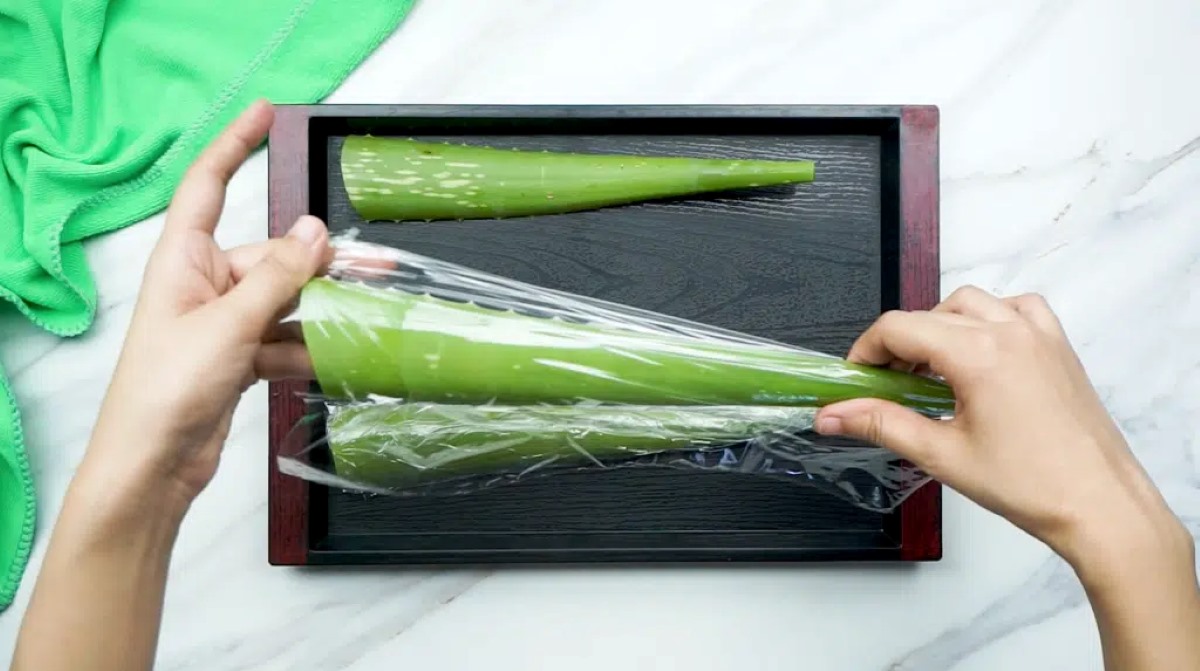
- Airtight Container: Transfer the cut aloe vera pieces into an airtight container. Glass containers with lids or resealable plastic bags are ideal for this purpose. Ensure that the container is clean and dry before placing the aloe vera inside.
- Refrigeration: Store the aloe vera container in the refrigerator. The low temperature will help slow down bacterial growth and extend the shelf life of the gel. Aim for a temperature of around 35-40°F (2-4°C).
- Avoid Freezing: While refrigeration is beneficial, freezing aloe vera is not recommended. Freezing can alter the consistency and texture of the gel, diminishing its quality and effectiveness.
- Label and Date: It’s a good practice to label the container with the date of storage. This will help you keep track of the freshness of the aloe vera and ensure timely use.
- Storage Duration: Freshly stored aloe vera can retain its potency for up to one to two weeks in the refrigerator. However, it’s best to use it within the first week for maximum benefits.
By following these storage guidelines, you can ensure that your fresh aloe vera gel remains potent and ready to use whenever needed. Now, let’s explore the various ways you can use the stored aloe vera gel.
Read more: How To Store Aloe Vera Juice
Using Stored Aloe Vera
Stored aloe vera gel can be used in a variety of ways to enjoy its therapeutic benefits. Here are some popular ways to utilize the gel:
- Skincare: Apply the gel directly to your skin as a moisturizer or soothing treatment. It can help hydrate dry skin, calm irritation, and promote healing for minor cuts, burns, or insect bites.
- Haircare: Incorporate aloe vera gel into your haircare routine by mixing it with your favorite conditioner or as a leave-in treatment. It can help nourish and strengthen the hair, soothe the scalp, and add shine.
- Face Masks: Combine aloe vera gel with other natural ingredients like honey, yogurt, or turmeric to create homemade face masks. These masks can address specific skin concerns such as acne, dullness, or aging.
- Internal Consumption: Consume aloe vera gel by adding it to smoothies or juices. Ensure that you are using fresh and high-quality gel. However, consult with a healthcare professional before consuming aloe vera internally, as it may interact with certain medications or have laxative effects.
- DIY Remedies: Aloe vera gel can be used to create homemade remedies for various ailments, such as sunburn relief, scalp treatments, or soothing digestive issues. There are numerous recipes available online that you can experiment with.
Remember to perform a patch test before applying aloe vera gel to your skin or hair, especially if you have sensitive skin or known allergies. If any adverse reactions occur, discontinue use immediately.
Now that you’re aware of the various ways to use stored aloe vera gel, let’s explore some essential tips and precautions to keep in mind.
Tips and Precautions
When it comes to storing and using fresh aloe vera, here are some important tips and precautions to keep in mind:
- Choose Organic and Chemical-free: Whenever possible, opt for organic and chemical-free aloe vera plants to ensure that you are storing and using the purest form of the gel.
- Handle with Care: Aloe vera leaves have thorny edges that can be sharp. Exercise caution when handling the leaves to avoid any injuries.
- Store the Gel Separately: If you prefer to separate the gel from the leaf right before use, ensure that you store the gel in a separate airtight container. This will help maintain its freshness and prevent cross-contamination.
- Check for Freshness: Before using the stored aloe vera gel, ensure that it is still fresh and hasn’t developed any strange odor or discolouration. If it looks or smells off, it’s best to discard it and use fresh gel.
- Use Clean Tools: When extracting the gel from the stored container, use clean utensils or your fingers. This will prevent introducing any contaminants into the gel.
- Perform Patch Test: Before applying aloe vera gel to your skin or hair, perform a patch test on a small area. This will help determine if you have any adverse reactions or allergies to the gel.
- Consult a Professional: If you have any underlying medical conditions, are pregnant, or are taking medications, it’s advisable to consult with a healthcare professional before using aloe vera internally or externally.
By following these tips and precautions, you can ensure safe and effective use of stored aloe vera gel. Now, let’s summarize what we have learned so far.
Conclusion
Learning how to store fresh aloe vera is essential for maximizing its benefits and longevity. Aloe vera is a versatile plant known for its numerous therapeutic properties, including skincare, haircare, digestive health, and immune-boosting benefits.
When choosing and harvesting aloe vera, ensure that you select mature and healthy plants to obtain the highest quality gel. Proper cleaning and preparation involve removing the outer skin and yellow residue, leaving you with the pure gel ready for storage.
Storing fresh aloe vera correctly involves using airtight containers and refrigerating them to extend the shelf life. Avoid freezing aloe vera, and remember to label and date the containers for easy tracking.
Once stored, you can utilize the gel for various purposes, such as skincare, haircare, face masks, and even internal consumption, with caution. Remember to perform patch tests and consult with a healthcare professional if necessary.
By following these tips and precautions, you can enjoy the benefits of fresh aloe vera while ensuring safe and effective use. Now, you have the knowledge and guidance to store, use, and reap the rewards of this incredible plant in your daily life.
We hope this comprehensive guide has provided you with the necessary insights and information to confidently store and utilize fresh aloe vera. Start incorporating this natural wonder into your self-care routine, and experience the amazing benefits it has to offer!
Frequently Asked Questions about How To Store Fresh Aloe Vera
Was this page helpful?
At Storables.com, we guarantee accurate and reliable information. Our content, validated by Expert Board Contributors, is crafted following stringent Editorial Policies. We're committed to providing you with well-researched, expert-backed insights for all your informational needs.


0 thoughts on “How To Store Fresh Aloe Vera”