Articles
How To Store Banana Nut Bread
Modified: December 7, 2023
Learn the best techniques for storing your delicious homemade banana nut bread. Find helpful articles and tips to keep your bread fresh for longer.
(Many of the links in this article redirect to a specific reviewed product. Your purchase of these products through affiliate links helps to generate commission for Storables.com, at no extra cost. Learn more)
Introduction
Welcome to the delicious world of homemade banana nut bread! Whether you are a seasoned baker or a novice in the kitchen, this classic treat is sure to leave everyone craving for more. The combination of ripe bananas and crunchy nuts creates a moist and flavorful bread that is perfect for breakfast, as a snack, or even as a thoughtful gift for friends and family.
While it’s always tempting to grab a loaf from the local bakery, there’s something special about making banana nut bread from scratch. Not only do you have full control over the ingredients, but the process itself is an experience that brings joy and satisfaction. From mashing the ripe bananas to savoring the aroma of the bread baking in the oven, every step is filled with anticipation.
In this article, we will take you through the journey of creating this mouthwatering delight. We’ll cover everything from the key ingredients to the best baking techniques, and provide tips on how to store your freshly baked banana nut bread to maintain its taste and texture. So, tie up your apron, dust off your mixing bowls, and let’s get started!
Key Takeaways:
- The key to storing banana nut bread lies in proper wrapping and storage. From room temperature to refrigeration and freezing, follow these tips to maintain the bread’s freshness and flavor for days or even months.
- Elevate your banana nut bread game with creative variations and helpful tips. From adding chocolate chips to experimenting with different types of nuts and flours, the possibilities for customizing this classic treat are endless!
Read more: How To Store Baked Banana Bread
Ingredients
To prepare a delicious loaf of banana nut bread, you will need the following ingredients:
- 2-3 ripe bananas
- 1/2 cup unsalted butter, softened
- 1 cup granulated sugar
- 2 large eggs
- 1 teaspoon vanilla extract
- 2 cups all-purpose flour
- 1 teaspoon baking soda
- 1/2 teaspoon salt
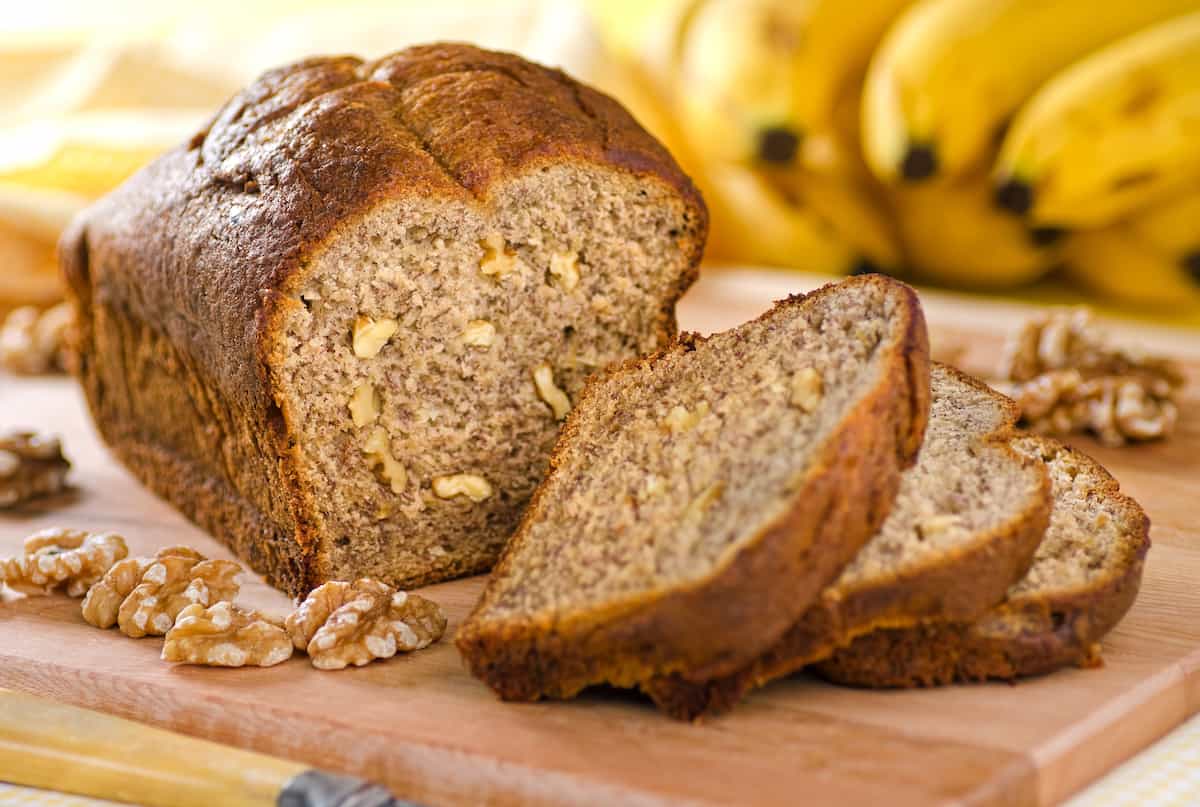
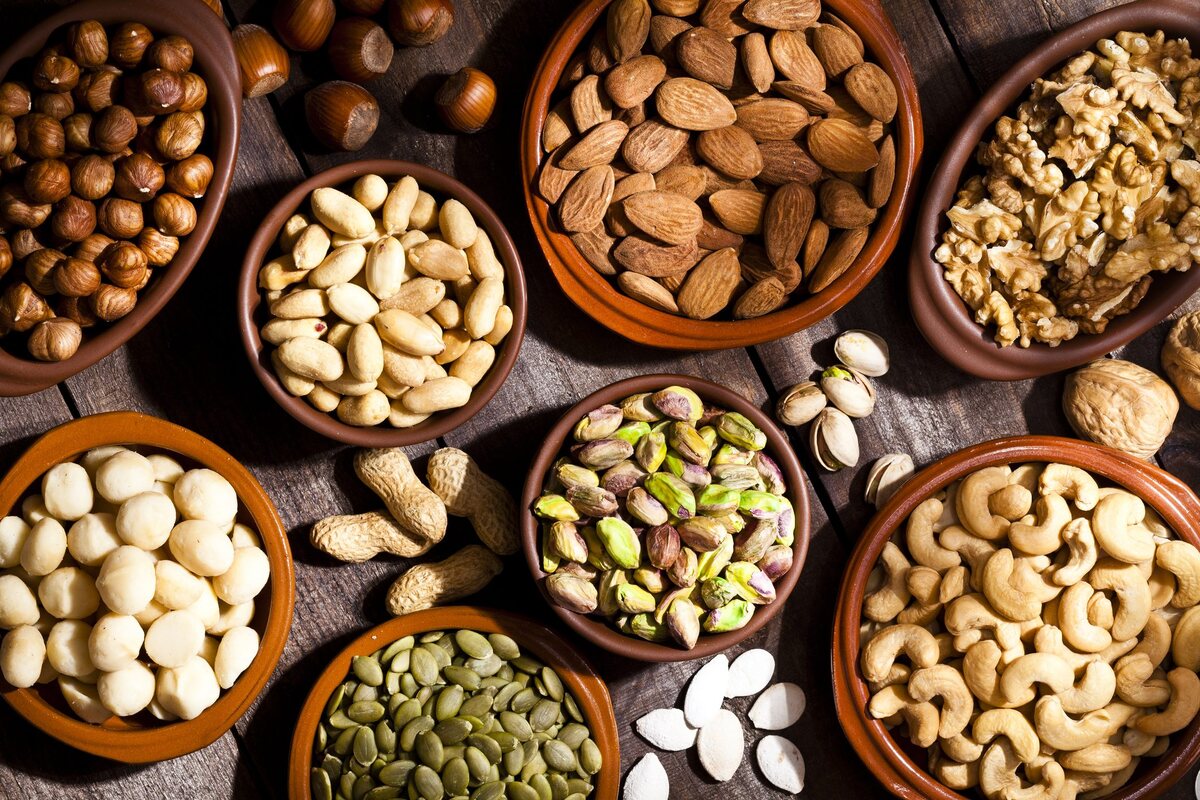
- 1/2 cup chopped nuts (such as walnuts or pecans)
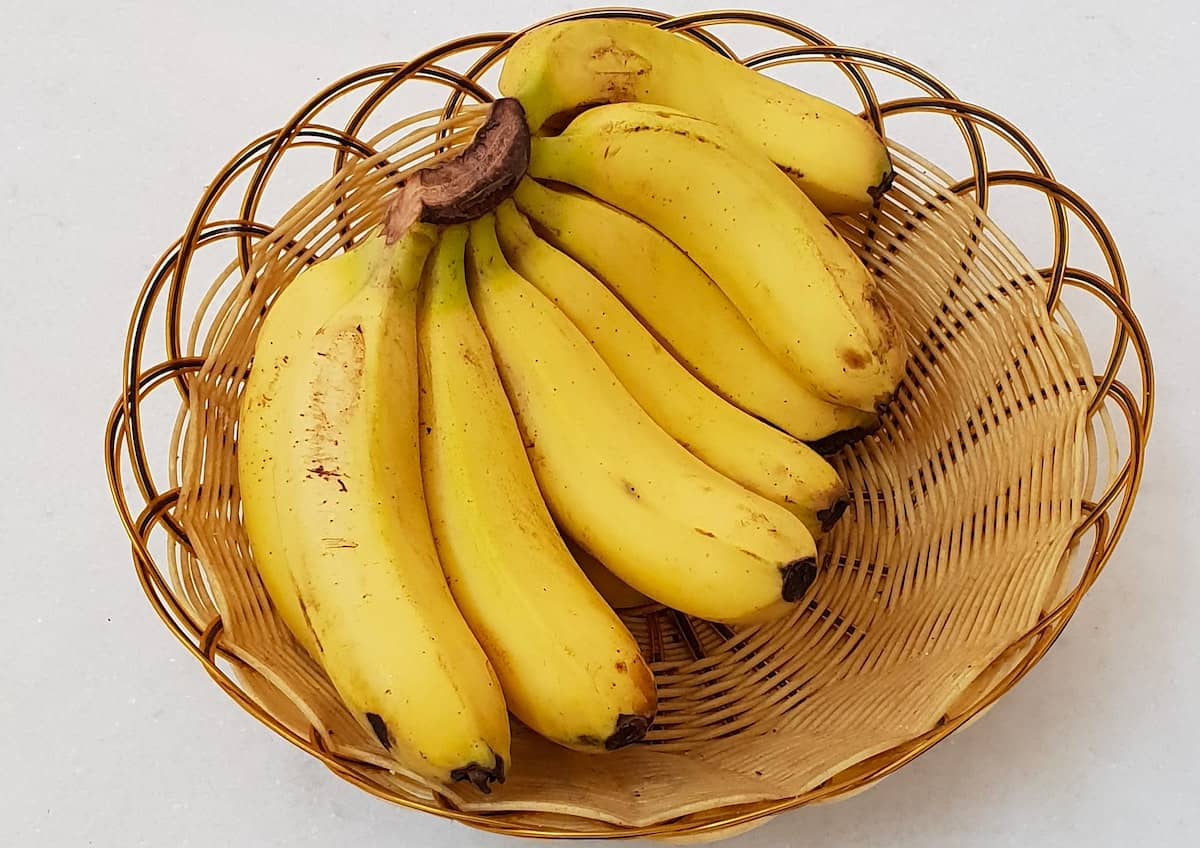
The star of the show, of course, is the ripe bananas. The riper they are, the sweeter and more flavorful your bread will be. Look for bananas with a few brown spots on the skin, as this indicates that they are at their perfect level of ripeness.
Butter adds richness and moisture to the bread, while sugar provides sweetness. The eggs help to bind the ingredients together, and vanilla extract adds a hint of aromatic flavor.
For the perfect texture, all-purpose flour is used. It provides structure to the bread without making it too dense or chewy. Baking soda acts as a leavening agent, helping the bread to rise and become light and airy. Salt enhances the flavor of the other ingredients.
And finally, the nuts! Adding chopped nuts to your banana bread not only provides a delightful crunch but also adds a nutty flavor that complements the sweetness of the bananas. Walnuts and pecans are popular choices, but feel free to use your favorite nuts or even skip them if you prefer a nut-free version.
Now that we have our ingredients ready, let’s move on to the next step: mixing the batter!
Mixing the Batter
Mixing the batter for your banana nut bread is a straightforward process that involves combining the ingredients to create a smooth and well-incorporated mixture. Here’s how to do it:
- Preheat your oven to 350°F (175°C) and grease a loaf pan with butter or cooking spray. This will prevent the bread from sticking to the pan.
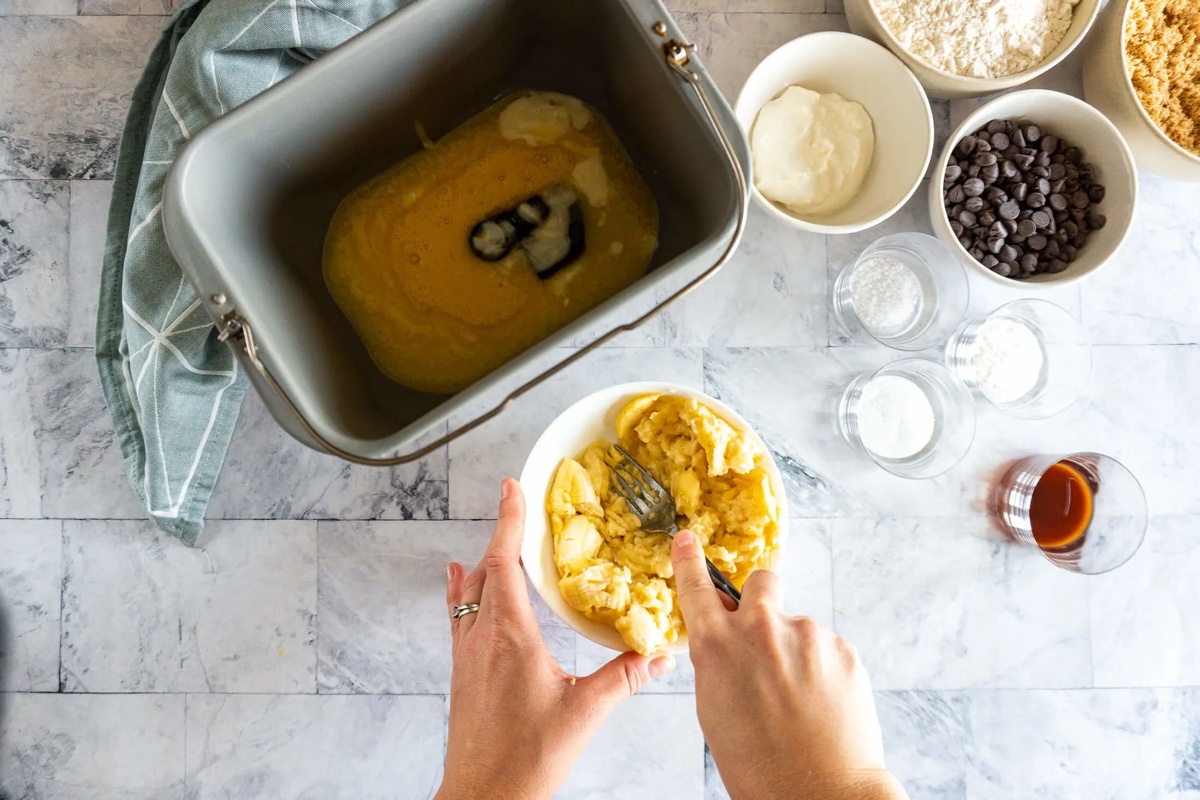
- In a large mixing bowl, mash the ripe bananas using a fork or a potato masher until they are smooth and creamy.
- Add the softened butter to the mashed bananas and mix well using a whisk or an electric mixer until it becomes light and fluffy.
- Next, add the granulated sugar and continue mixing until it is fully incorporated into the banana-butter mixture.
- Beat in the eggs, one at a time, ensuring each egg is fully mixed in before adding the next.
- Stir in the vanilla extract, which will add a delightful aroma to the bread.
- In a separate bowl, whisk together the all-purpose flour, baking soda, and salt. This helps to evenly distribute the dry ingredients.
- Add the dry ingredient mixture to the wet ingredients in the large mixing bowl. Stir the mixture gently until just combined. Avoid overmixing, as this can result in a dense and tough bread.
- Gently fold in the chopped nuts until they are evenly distributed throughout the batter.
And there you have it! Your banana nut bread batter is now ready to be transferred to the prepared loaf pan and baked to perfection. Let’s move on to the next step: baking the bread!
Baking the Bread
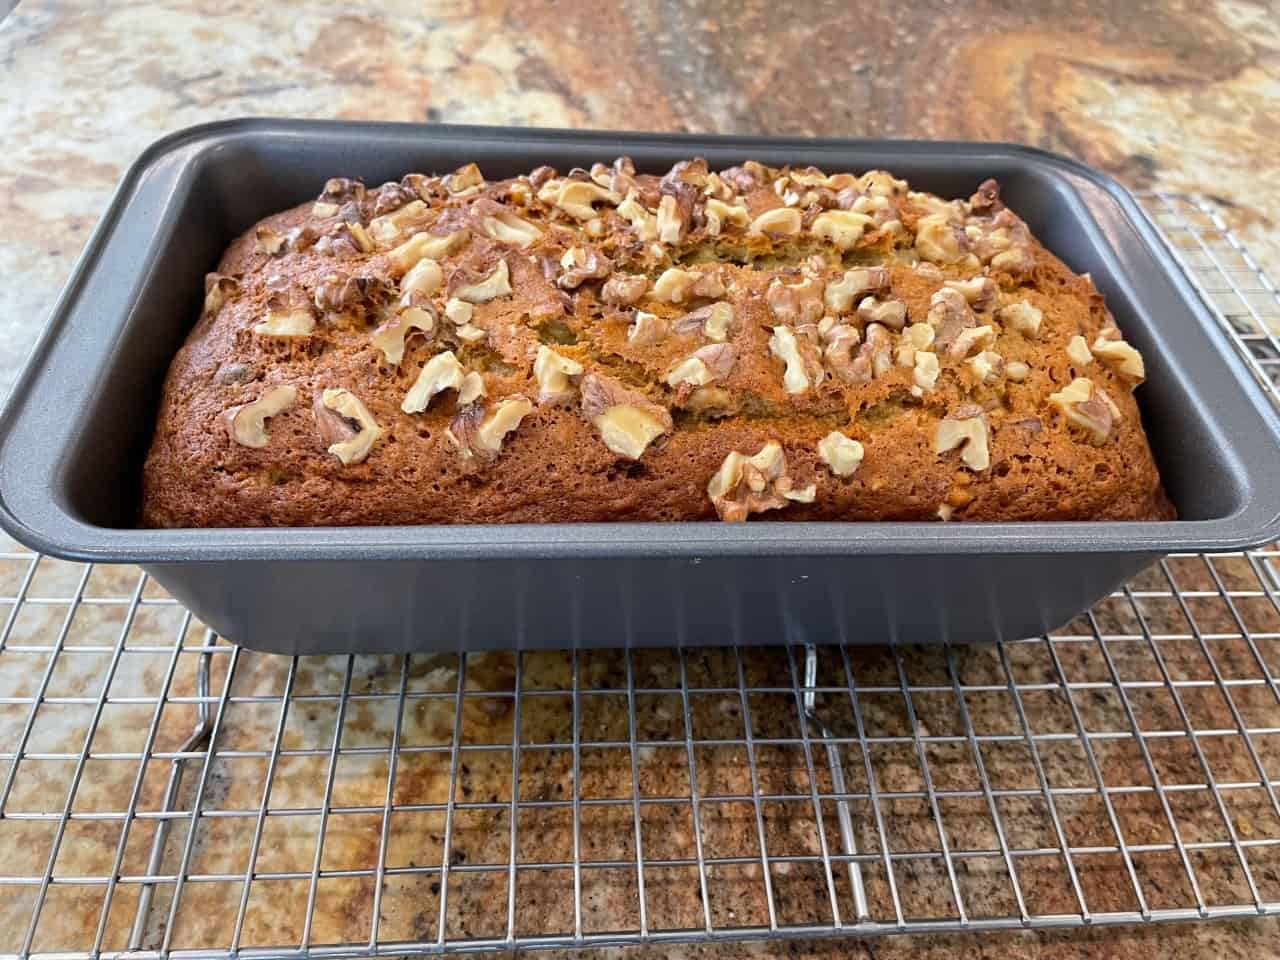
Now that your banana nut bread batter is mixed and ready, it’s time to bake it to golden perfection. Follow these steps to ensure a perfectly baked bread:
- Pour the batter into the greased loaf pan, spreading it evenly to ensure even baking.
- Place the loaf pan in the preheated oven and bake for about 55-60 minutes, or until a toothpick inserted into the center comes out clean or with just a few moist crumbs.
- During the baking process, you may notice that the top of the bread is browning too quickly. To prevent excessive browning, tent the loaf pan loosely with aluminum foil after about 30 minutes of baking.
- While baking, avoid opening the oven door too frequently, as this can cause the bread to sink or not bake evenly.
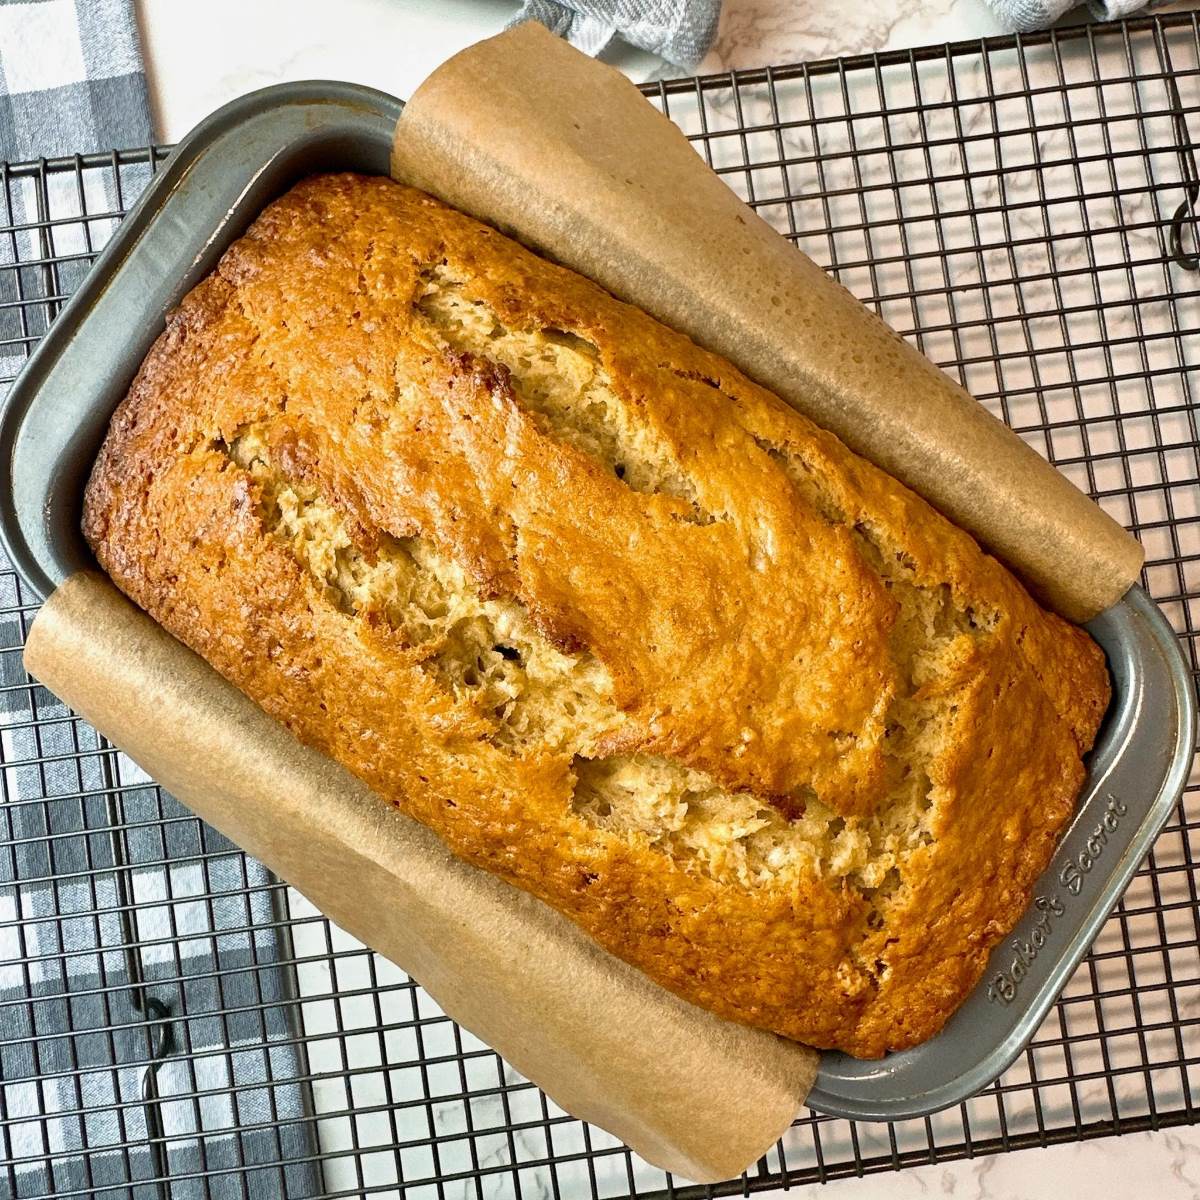
- Once the bread is fully baked, remove it from the oven and let it cool in the loaf pan for about 10 minutes.
- Carefully transfer the bread from the pan to a wire rack to cool completely. This will prevent the bread from becoming too moist as it cools.
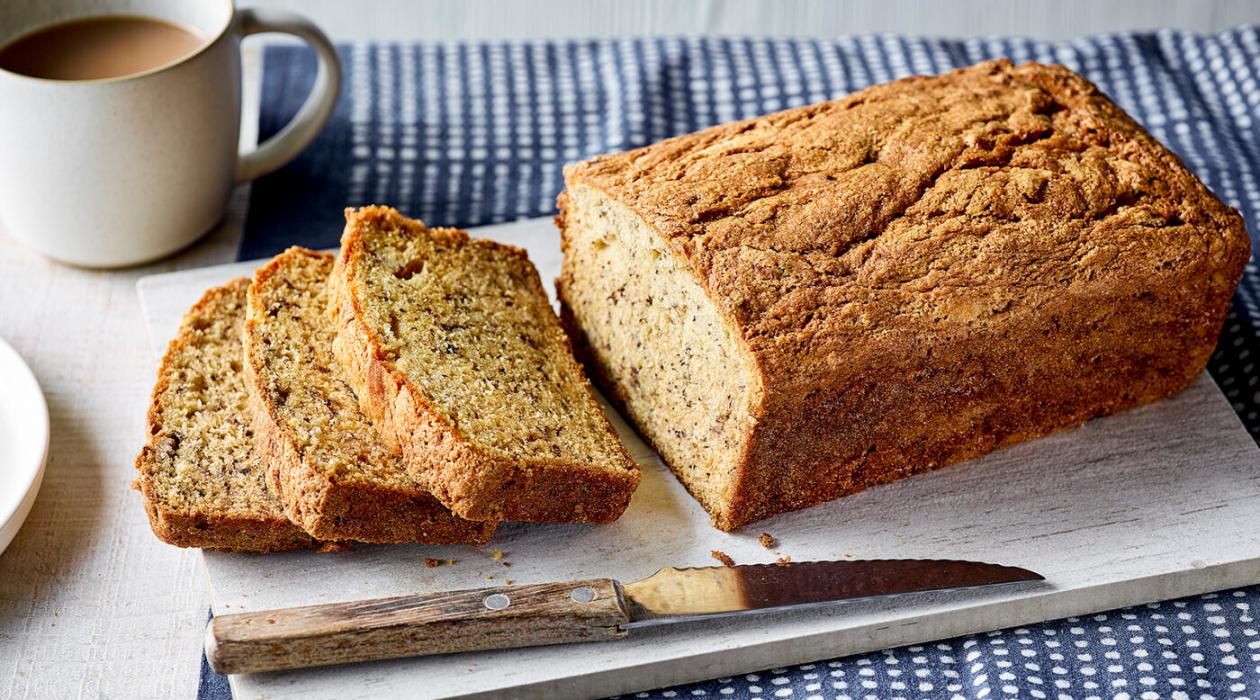
As the bread cools, you’ll notice the enticing aroma wafting through your kitchen. The crust will become slightly crisp while the interior remains deliciously moist.
Now that your banana nut bread is baked and cooled, it’s time to move on to the final step: storing it to ensure maximum freshness and flavor. Let’s dive into that next!
To store banana nut bread, wrap it tightly in plastic wrap or aluminum foil and store it at room temperature for up to 2 days. For longer storage, place it in an airtight container and store it in the refrigerator for up to 1 week.
Cooling and Storing
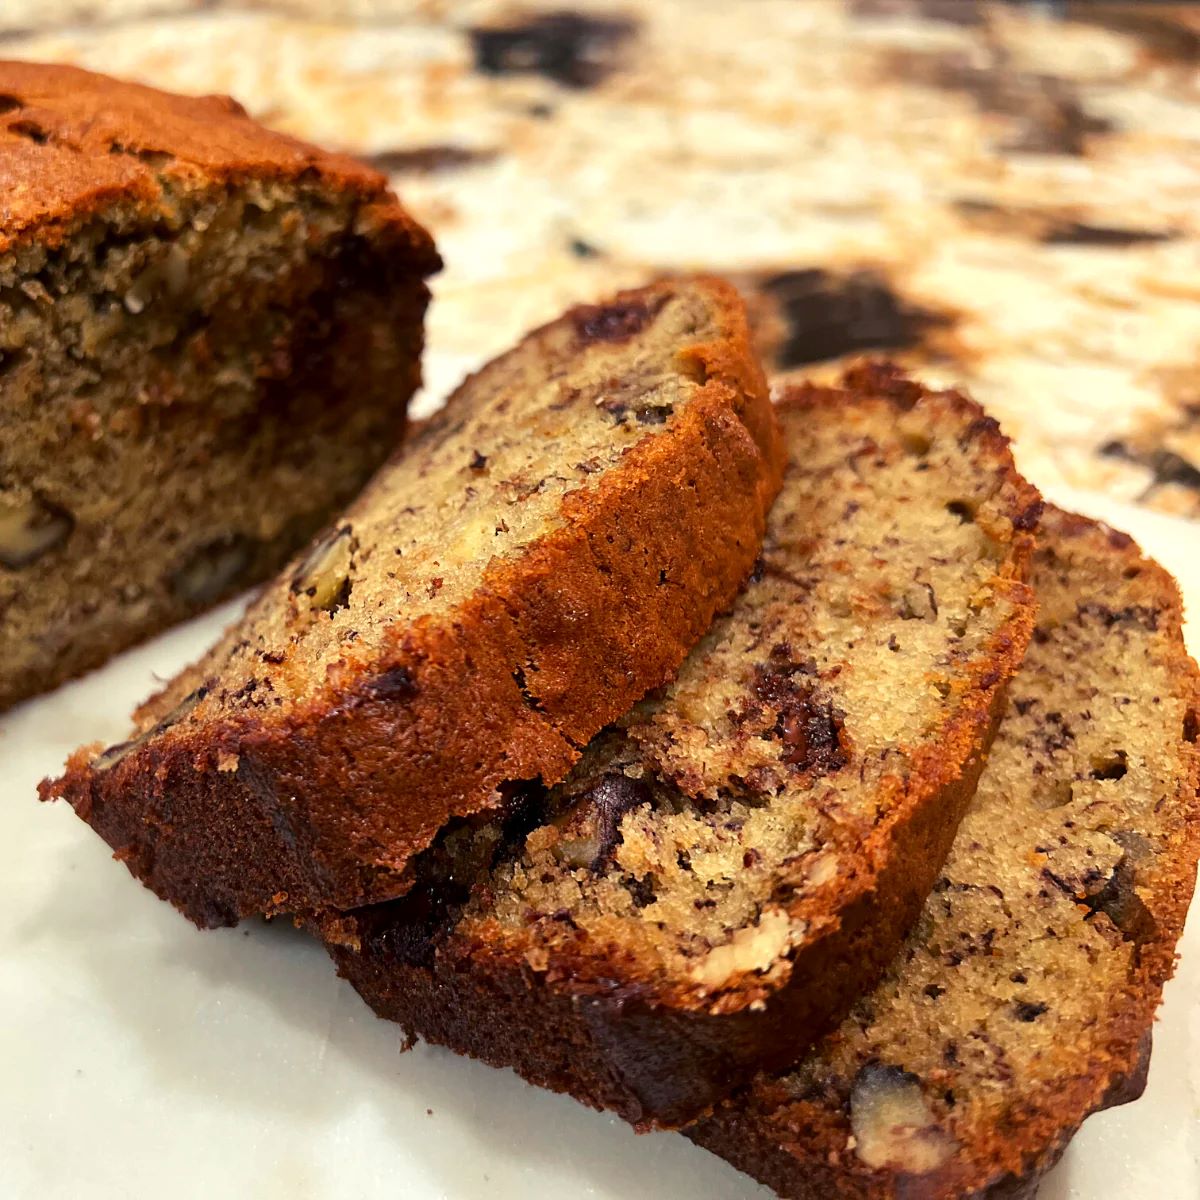
Once your homemade banana nut bread has cooled completely, it’s important to store it properly to maintain its freshness and flavor. Here are some tips to ensure your bread stays moist and delicious:
- After transferring the cooled bread to a wire rack, let it cool completely. This can take anywhere from one to two hours.
- Once cooled, wrap the bread tightly in plastic wrap or aluminum foil. This will help to seal in the moisture and prevent it from drying out.
- If you prefer individual slices, you can also wrap each slice individually before storing them in an airtight container or freezer bags.
- Store the wrapped bread at room temperature for up to three days. It’s best to store it in a cool and dry place, away from direct sunlight or heat sources.
- If you want to extend the shelf life, you can refrigerate the bread. However, keep in mind that refrigeration can slightly alter the texture of the bread, making it denser. Wrap the bread tightly and store it in the refrigerator for up to one week.
- For long-term storage, banana nut bread can also be frozen. Wrap it tightly in plastic wrap and place it in a freezer-safe bag or container. It can be stored in the freezer for up to three months.
- To thaw frozen bread, simply transfer it to the refrigerator overnight or let it sit at room temperature for a few hours. Avoid microwaving the bread to defrost it, as it can make it soggy.
- Before serving, you can warm the bread in the oven at a low temperature (around 300°F or 150°C) for a few minutes to enhance its flavor and texture.
Remember, the quality of the bread may deteriorate slightly over time, but it will still be enjoyable to eat even after a few days. Maintaining proper storage conditions will help preserve its taste and texture for as long as possible.
Now that you know how to cool and store your banana nut bread, let’s explore some tips and variations to take your baking skills to the next level!
Read more: How To Store Banana Bread In Fridge
Tips and Variations
Now that you’ve mastered the basics of making banana nut bread, let’s explore some helpful tips and creative variations to elevate your baking game:
Tips:
- For extra flavor, you can add a teaspoon of cinnamon or a pinch of nutmeg to the batter. These warm spices will enhance the taste of the bread.
- If you want to add a touch of indulgence, try adding chocolate chips to the batter. The combination of chocolate and bananas is simply irresistible!
- To ensure your bread rises evenly, make sure your baking soda is fresh. If it’s past its expiration date, it may not be as effective.
- If you prefer a sweeter bread, you can increase the amount of sugar or use brown sugar instead of granulated sugar.
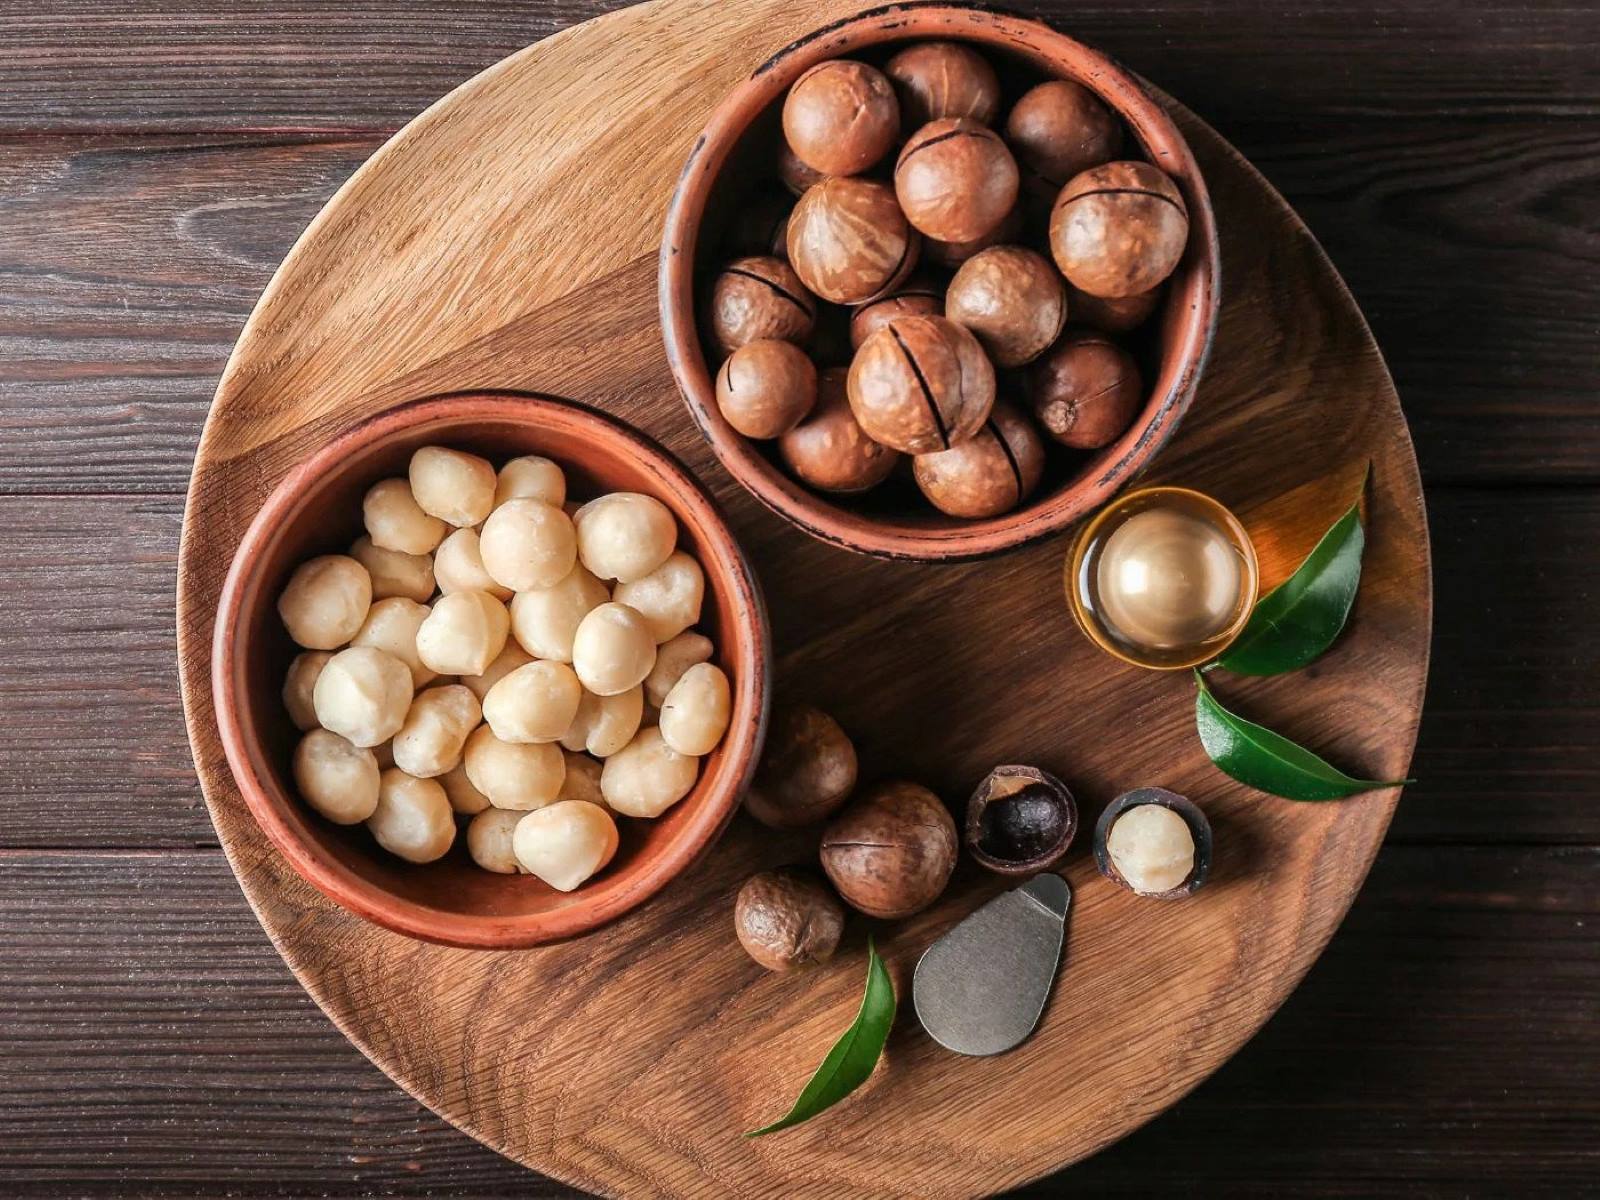
- Experiment with different types of nuts for added variety. Almonds, macadamia nuts, or even a mixture of nuts can add a unique twist to your bread.
Variations:
- Instead of using regular all-purpose flour, you can experiment with whole wheat flour or almond flour for a healthier twist.
- Add a handful of dried fruits, such as raisins or cranberries, to the batter for an extra burst of sweetness and chewiness.
- For a tropical twist, incorporate shredded coconut into the batter. It will add a delightful texture and flavor to your bread.
- If you’re a fan of spices, try adding a pinch of ginger or cardamom to the batter. These spices will give your bread a unique and aromatic taste.
- For a gluten-free option, you can use gluten-free flour or a combination of gluten-free flours, such as almond flour and tapioca flour.
Feel free to get creative and experiment with these tips and variations to customize your banana nut bread to your liking. Whether you stick with the classic recipe or try something new, your homemade bread is bound to be a hit!
So, go ahead and enjoy the process of baking, savor the delightful aroma, and indulge in a slice of freshly baked banana nut bread. Happy baking!
Frequently Asked Questions about How To Store Banana Nut Bread
Was this page helpful?
At Storables.com, we guarantee accurate and reliable information. Our content, validated by Expert Board Contributors, is crafted following stringent Editorial Policies. We're committed to providing you with well-researched, expert-backed insights for all your informational needs.


0 thoughts on “How To Store Banana Nut Bread”