
Articles
How To Store Homemade Nut Butter
Modified: December 7, 2023
Learn the best methods for storing your homemade nut butter to keep it fresh and flavorful. Read our articles for expert tips and tricks.
(Many of the links in this article redirect to a specific reviewed product. Your purchase of these products through affiliate links helps to generate commission for Storables.com, at no extra cost. Learn more)
Introduction
Welcome to the wonderful world of homemade nut butter! If you’re a nut lover like me, you know that there’s nothing quite like the rich, creamy goodness of a freshly made nut butter. Whether you prefer almond butter, peanut butter, or even cashew butter, making it at home allows you to customize the flavor, control the quality of ingredients, and enjoy the satisfaction of creating something delicious from scratch.
In this article, we will explore the benefits of homemade nut butter and guide you through the process of making, storing, and maintaining its freshness. So let’s dive in and discover the secrets to storing your homemade nut butter to ensure optimal taste and quality!
Key Takeaways:
- Homemade nut butter offers control over ingredients, customizable flavors, and cost-effectiveness. Proper storage in airtight containers, refrigeration, and thorough blending can ensure extended freshness and quality.
- Experiment with flavor variations, choose the right storage containers, and consider refrigeration for longer shelf life. Prevent separation and spoilage by following best practices for maintaining homemade nut butter.
Read more: How To Store Homemade Butter
Benefits of Homemade Nut Butter
When it comes to nut butter, making it homemade offers several advantages over store-bought options. Here are some key benefits:
- Control over ingredients: When you make your own nut butter, you have complete control over the ingredients that go into it. You can choose high-quality nuts, organic options, and avoid any additives or preservatives that are commonly found in commercial brands.
- Customizable flavors: Homemade nut butter allows you to experiment with different flavors and combinations. You can add a pinch of sea salt for a hint of savory, mix in some honey or maple syrup for sweetness, or even incorporate spices like cinnamon or cocoa powder for an extra kick.
- Freshness and taste: Store-bought nut butters can sometimes lack the freshness and vibrant flavors that homemade versions offer. By making it yourself, you can ensure that the nut butter is prepared and consumed at the peak of its freshness, resulting in a more intense and enjoyable taste.
- Cost-effective: While some specialty nut butters can be quite expensive at the store, making your own can save you money in the long run. Buying nuts in bulk and making large batches of nut butter can be a cost-effective way to enjoy this nutritious spread.
- Nutritional benefits: Nut butter is packed with essential nutrients, healthy fats, and protein. Making it at home allows you to enjoy the full nutritional benefits of the nuts without any added sugars, oils, or preservatives.
With these advantages in mind, it’s no wonder that homemade nut butter has gained popularity among health-conscious individuals and food enthusiasts alike. So let’s now explore the process of making homemade nut butter and discover how to store it properly for long-lasting freshness!
Choosing the Right Nuts
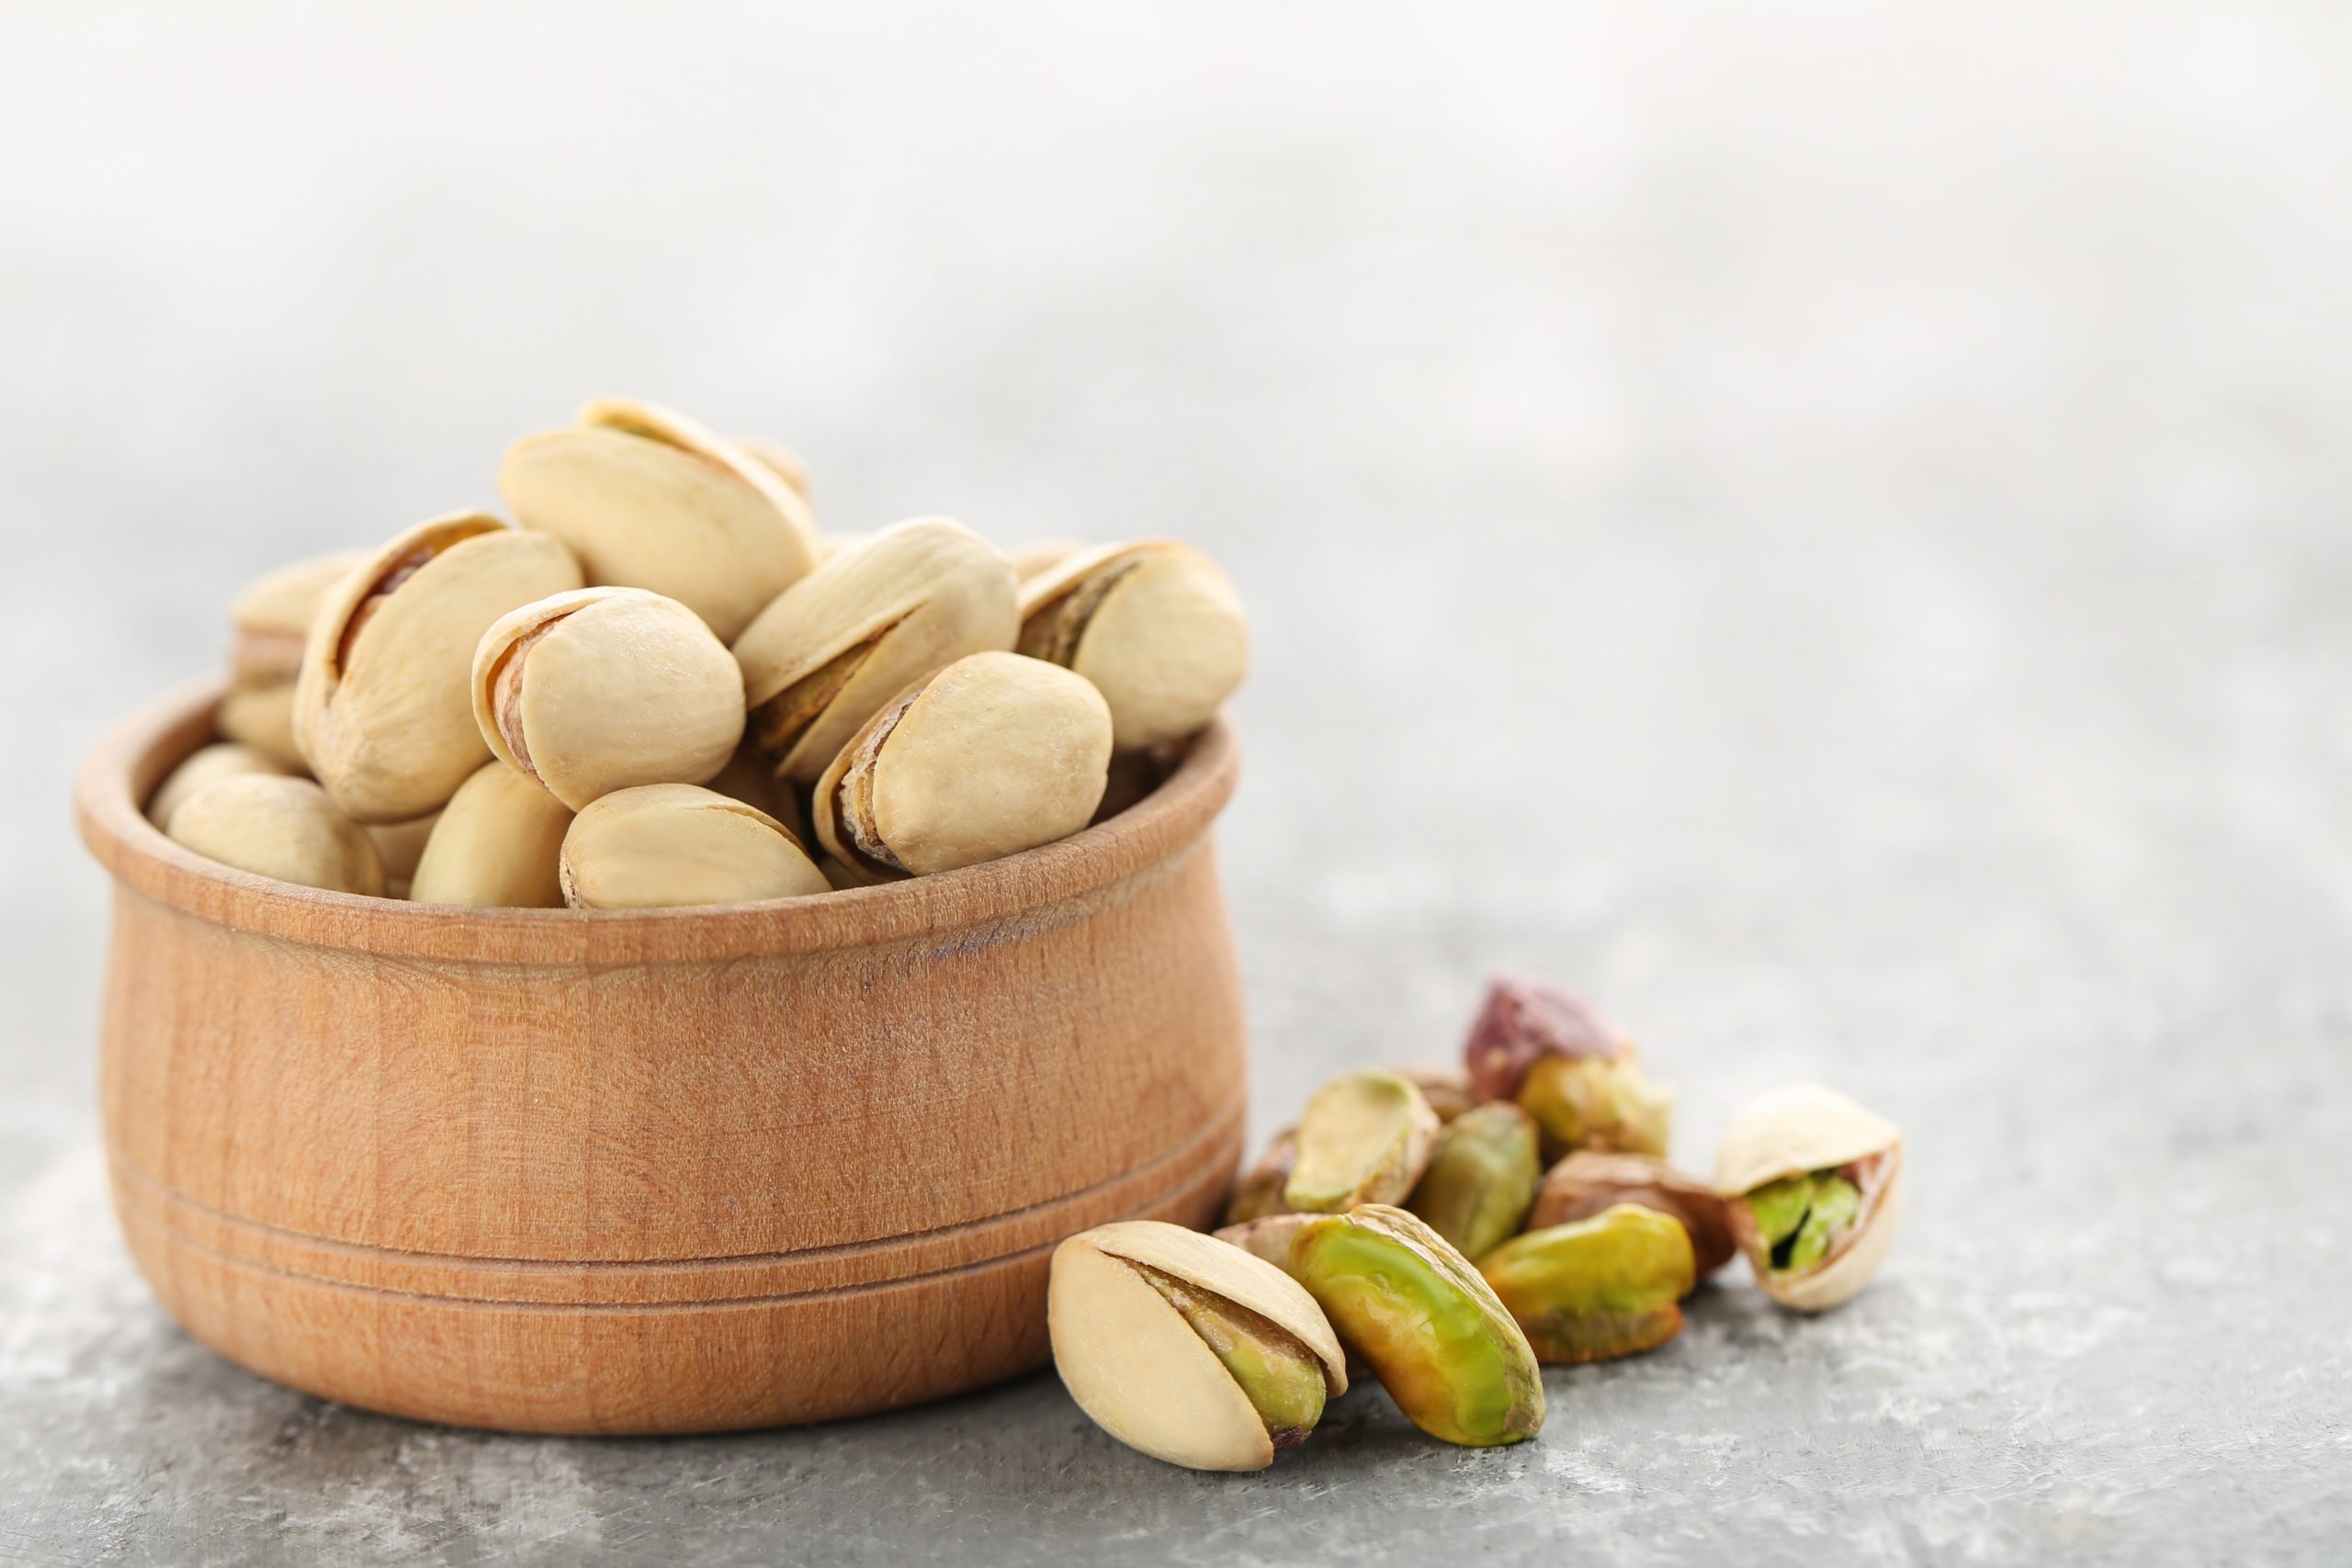
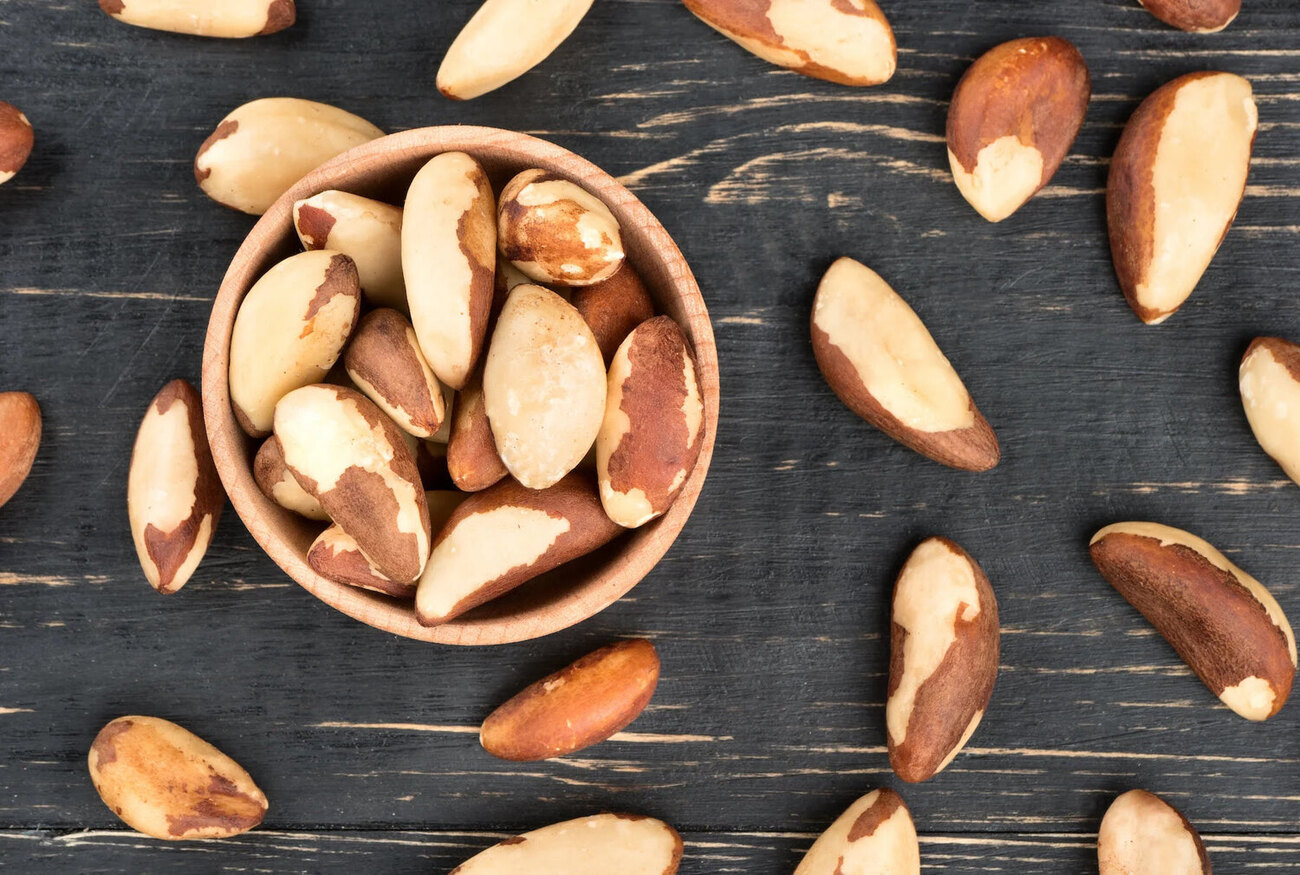
When it comes to making homemade nut butter, the first step is choosing the right nuts. Different nuts have distinct flavors, textures, and nutritional profiles, so it’s important to select the ones that best align with your taste preferences and dietary needs. Here are some popular options:
- Almonds: Almonds are a classic choice for homemade nut butter. They have a slightly sweet and buttery flavor and produce a smooth and creamy texture when blended.
- Peanuts: Peanuts are a staple in the world of nut butter. They have a rich and distinct flavor, resulting in a creamy and slightly chunky texture. Peanut butter enthusiasts often enjoy the balance of sweetness and saltiness in this variety.
- Cashews: Cashews are known for their mild and creamy taste. They produce a velvety smooth nut butter with a subtle sweetness. Cashew butter is an excellent choice for those who prefer a lighter and less overpowering flavor.
- Walnuts: Walnuts have a distinct nutty flavor and a slightly bitter undertone. They create a nut butter with a gritty texture, which can be a delightful contrast for those who enjoy a bit of crunch in their spreads.
- Pecans: Pecans have a rich, buttery flavor with a hint of sweetness. They produce a smooth and creamy nut butter that pairs well with desserts, breakfast options, or simply enjoyed on its own.
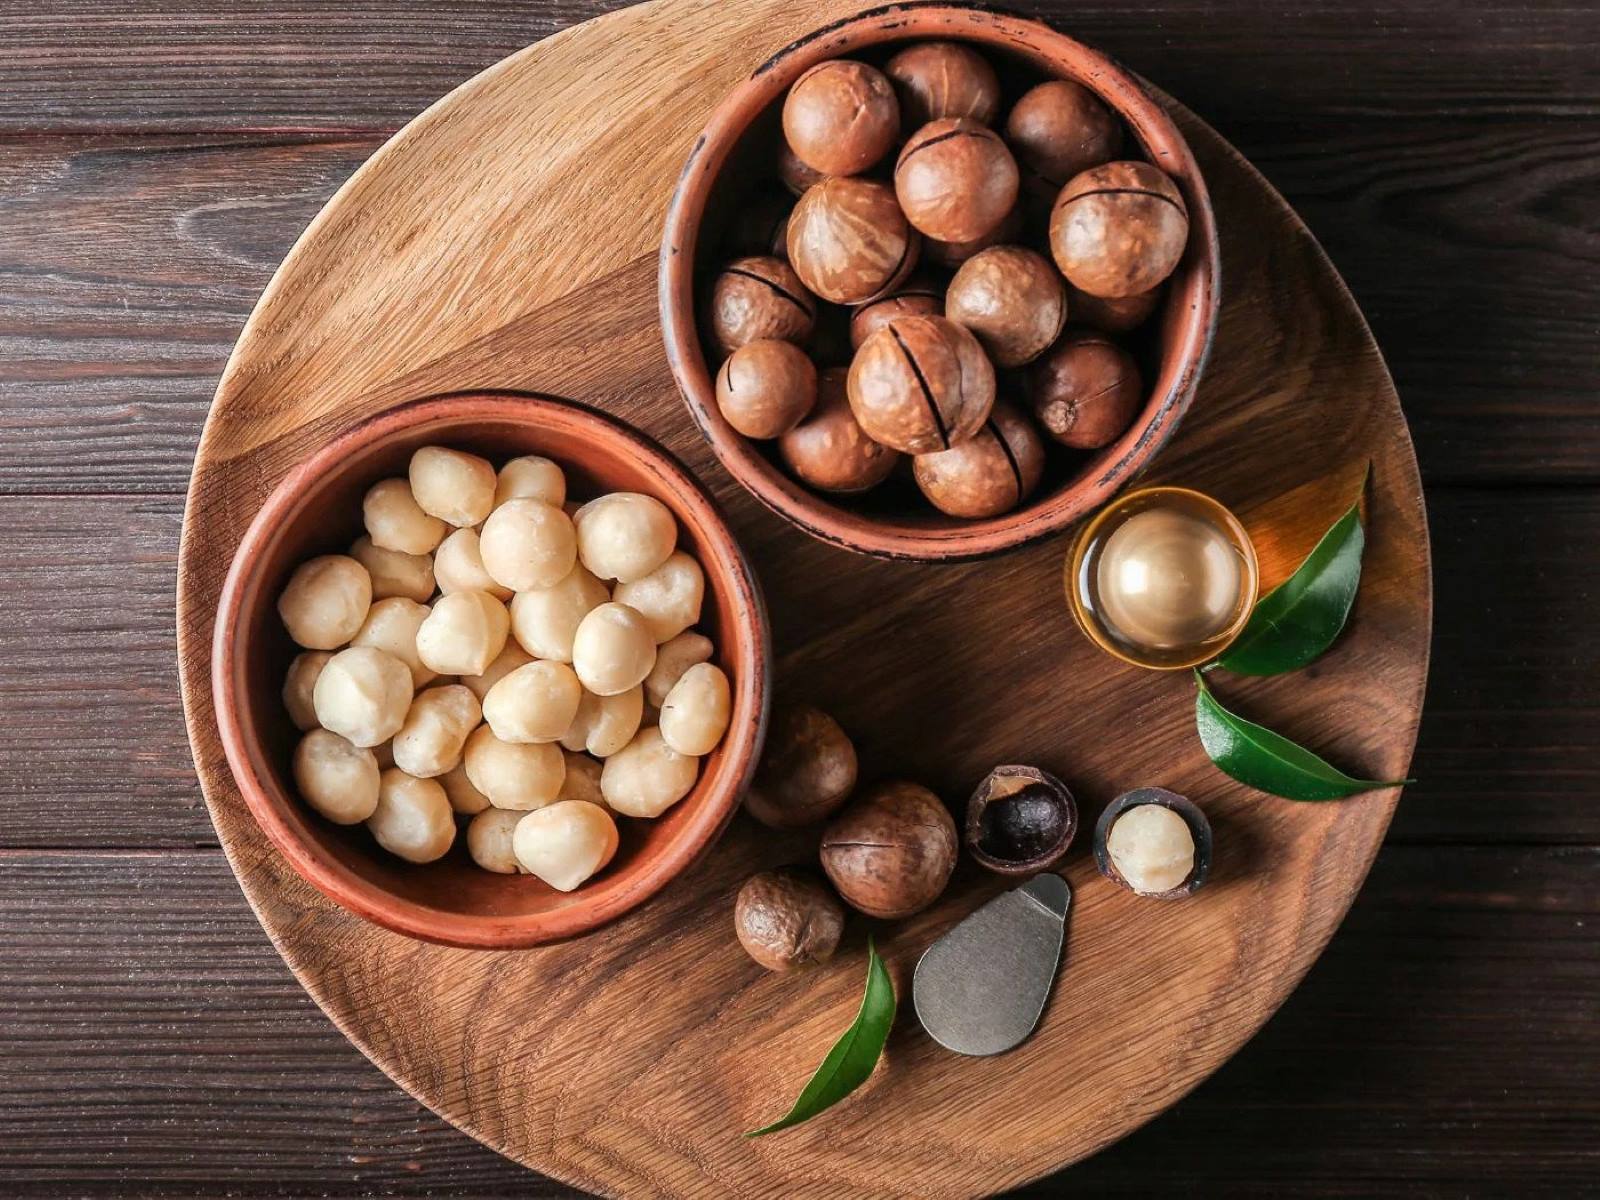
Feel free to experiment with different combinations of nuts or even single-source nut butters. Some creative options include blending almond and cashew, mixing walnut and peanut, or going for a single nut butter like hazelnut or macadamia. The choice is yours, so have fun and get creative with your nut selections!
Once you’ve chosen the nuts, it’s time to move on to the next step: roasting them to enhance their flavors. Let’s explore this process in the next section.
Roasting the Nuts
Roasting the nuts is an essential step in the process of making homemade nut butter. It not only enhances the flavor but also helps in achieving a smoother texture. Here’s how you can roast the nuts:
- Preheat the oven: Start by preheating your oven to 350°F (175°C) to ensure it’s hot and ready when you’re finished preparing the nuts.
- Spread the nuts: Spread the nuts evenly on a baking sheet lined with parchment paper. This will prevent them from sticking and make the clean-up process easier.
- Roast the nuts: Place the baking sheet with the nuts in the preheated oven and let them roast for about 10-15 minutes. Keep a close eye on them to prevent burning. You’ll know they’re done when they turn golden brown and emit a fragrant aroma.
- Cool the nuts: Once roasted, remove the nuts from the oven and let them cool completely. This step is important as it allows the nuts to firm up and makes them easier to blend into a smooth butter.
- Optional: Remove the skins: Some nuts, like almonds, have skin that can add a slightly bitter taste to the nut butter. If you prefer a milder flavor, you can rub the roasted nuts with a clean kitchen towel to remove the skins. This step is optional, and you can choose to keep the skins intact if you enjoy the added texture and taste.
Roasting the nuts not only brings out their natural oils and flavors but also helps in the blending process. The heat loosens the oils, making it easier to achieve a smoother and creamier consistency when blending.
Now that we’ve roasted the nuts, it’s time to move on to the next step—blending them into a delicious nut butter. Let’s find out how in the next section.
Blending the Nuts
Once you have roasted your nuts to perfection, it’s time to transform them into creamy, homemade nut butter. Here’s how you can blend the nuts:
- Use a high-speed blender or food processor: To achieve a smooth and creamy consistency, it’s best to use a high-speed blender or food processor. These appliances are designed to blend nuts into butter-like textures.
- Add the roasted nuts: Transfer the cooled nuts into the blender or food processor. If you have a large batch, you may need to blend them in batches to ensure even blending and prevent overloading the machine.
- Start blending: Begin by pulsing the nuts a few times to break them down. Then, gradually increase the speed to high and continue blending. You may need to stop and scrape down the sides of the blender or food processor occasionally to ensure even blending.
- Be patient: Blending nuts into a creamy butter takes time, so be patient. The duration can vary depending on the power of your blender or food processor and the desired consistency. It usually takes around 5-10 minutes of continuous blending to achieve a smooth and creamy texture.
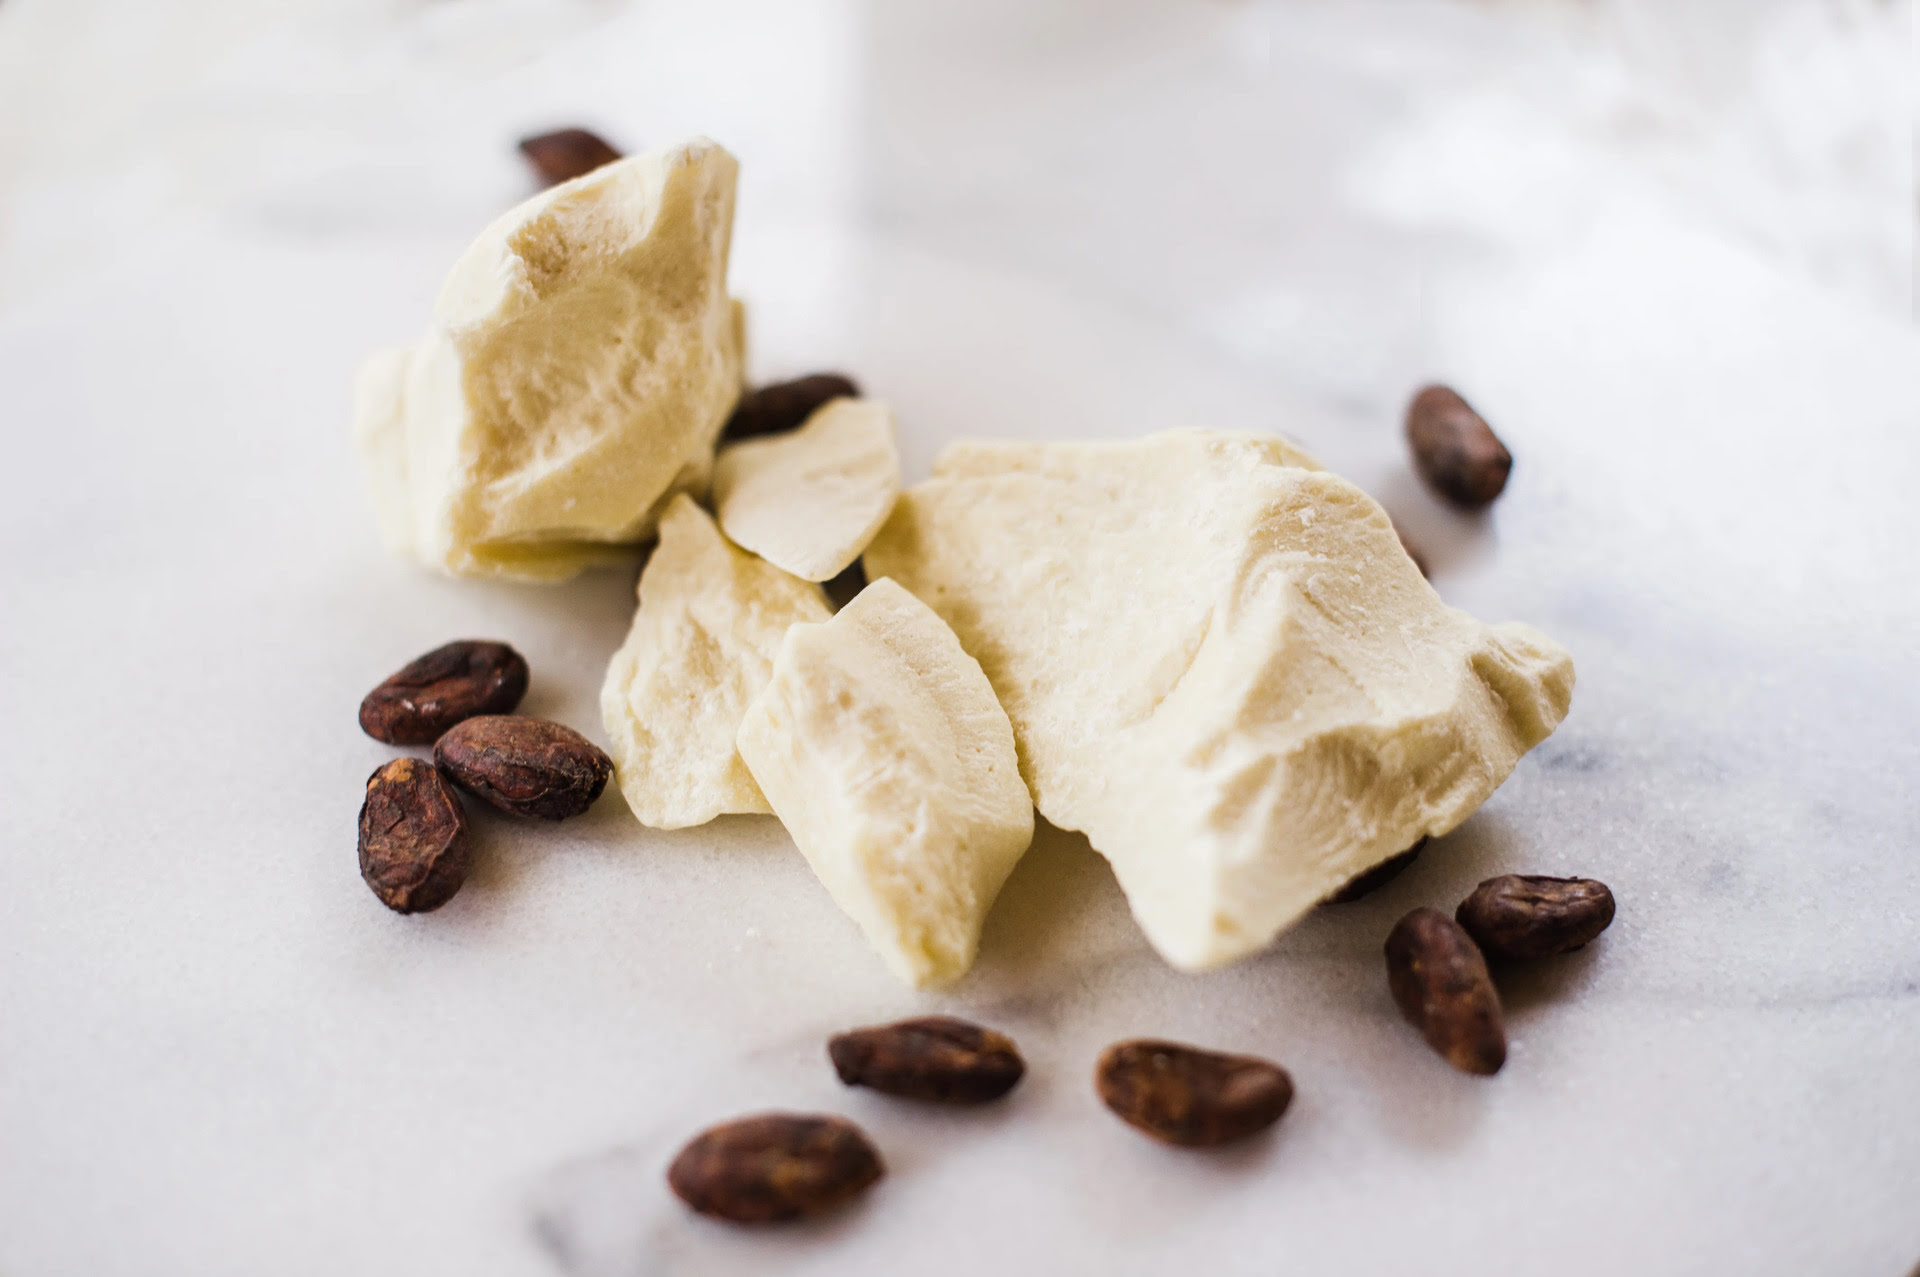
- Optional: Add oil (if needed): Some nuts, like almonds, may require a little extra oil to facilitate the blending process and achieve a smooth texture. If your nut butter seems too thick or crumbly, you can add a tablespoon of neutral oil like coconut oil or avocado oil and continue blending until desired consistency is reached.
- Adjust the flavor: Taste your nut butter and adjust the flavor as desired. You can add a pinch of salt, a drizzle of honey or maple syrup, or any other flavorings of your choice. Blend again briefly to incorporate the additional ingredients.
Remember that the blending time may vary depending on the type of nut and the desired consistency. You can adjust the blending duration to achieve a texture that suits your preferences—whether you prefer a chunky, slightly textured nut butter or a silky smooth one.
Now that you have successfully blended the nuts into a luscious nut butter, it’s time to explore the exciting world of flavor variations. Let’s learn how to add some creative twists in the next section.
Read more: How To Make Nut Butter In A Blender
Adding Flavor Variations
One of the joys of making homemade nut butter is the ability to customize the flavors according to your taste preferences. Adding flavor variations can elevate your nut butter and create exciting combinations. Here are some ideas to get you started:
- Sweet and savory: Mix in a pinch of sea salt for a delightful balance of sweet and savory flavors. This works well with any nut butter variety and adds a subtle savory note to your spread.
- Honey or maple syrup: For a touch of natural sweetness, add a drizzle of honey or maple syrup to your nut butter. This enhances the flavor and makes it perfect for spreading on toast or adding to smoothies.
- Spices and herbs: Get creative with spices and herbs to add depth and complexity to your nut butter. Try cinnamon, nutmeg, ginger, or even a sprinkle of chili powder for a spicy kick. Fresh herbs like rosemary or basil can also lend a unique flavor profile.
- Cocoa powder: For chocolate lovers, add a tablespoon or two of unsweetened cocoa powder to your nut butter. This creates a delectable chocolate-infused spread that pairs perfectly with fruits, baked goods, or simply enjoyed straight from the jar.
- Nut and seed blends: Combine different nuts and seeds to create a medley of flavors and textures. Mix almonds with sesame seeds or blend cashews with sunflower seeds for a unique spin on your nut butter.
- Extracts and essences: Experiment with extracts like vanilla, almond, or coconut to add a burst of aromatic flavor to your nut butter. A little goes a long way, so start with a small amount and adjust to taste.
Feel free to get creative and explore various flavor combinations. Remember, making homemade nut butter is all about personalization, so don’t be afraid to try new things and discover your own signature flavor profile.
Now that your nut butter is perfectly flavored, it’s time to learn how to store it properly to ensure its freshness and longevity. Let’s explore the best storage containers and methods in the next section.
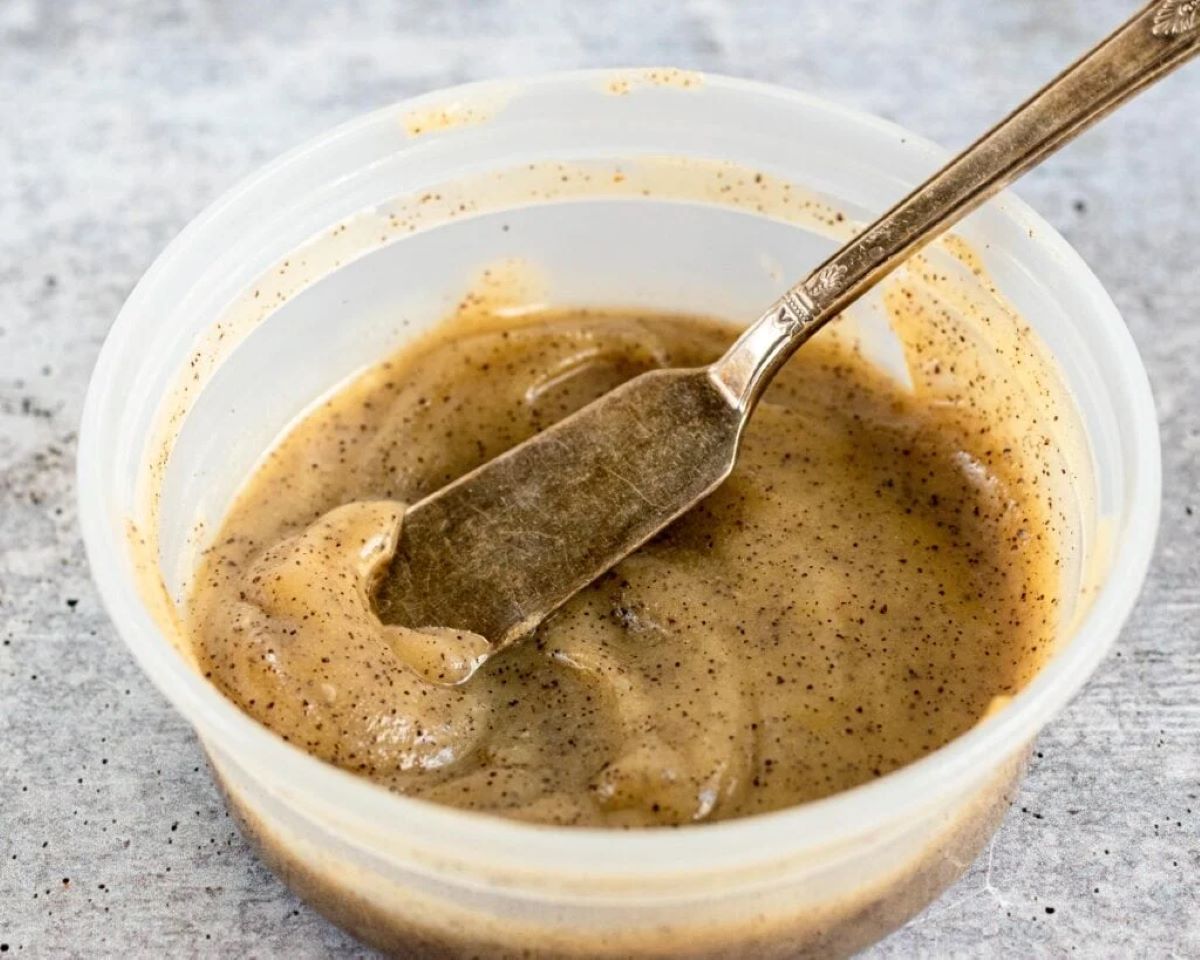
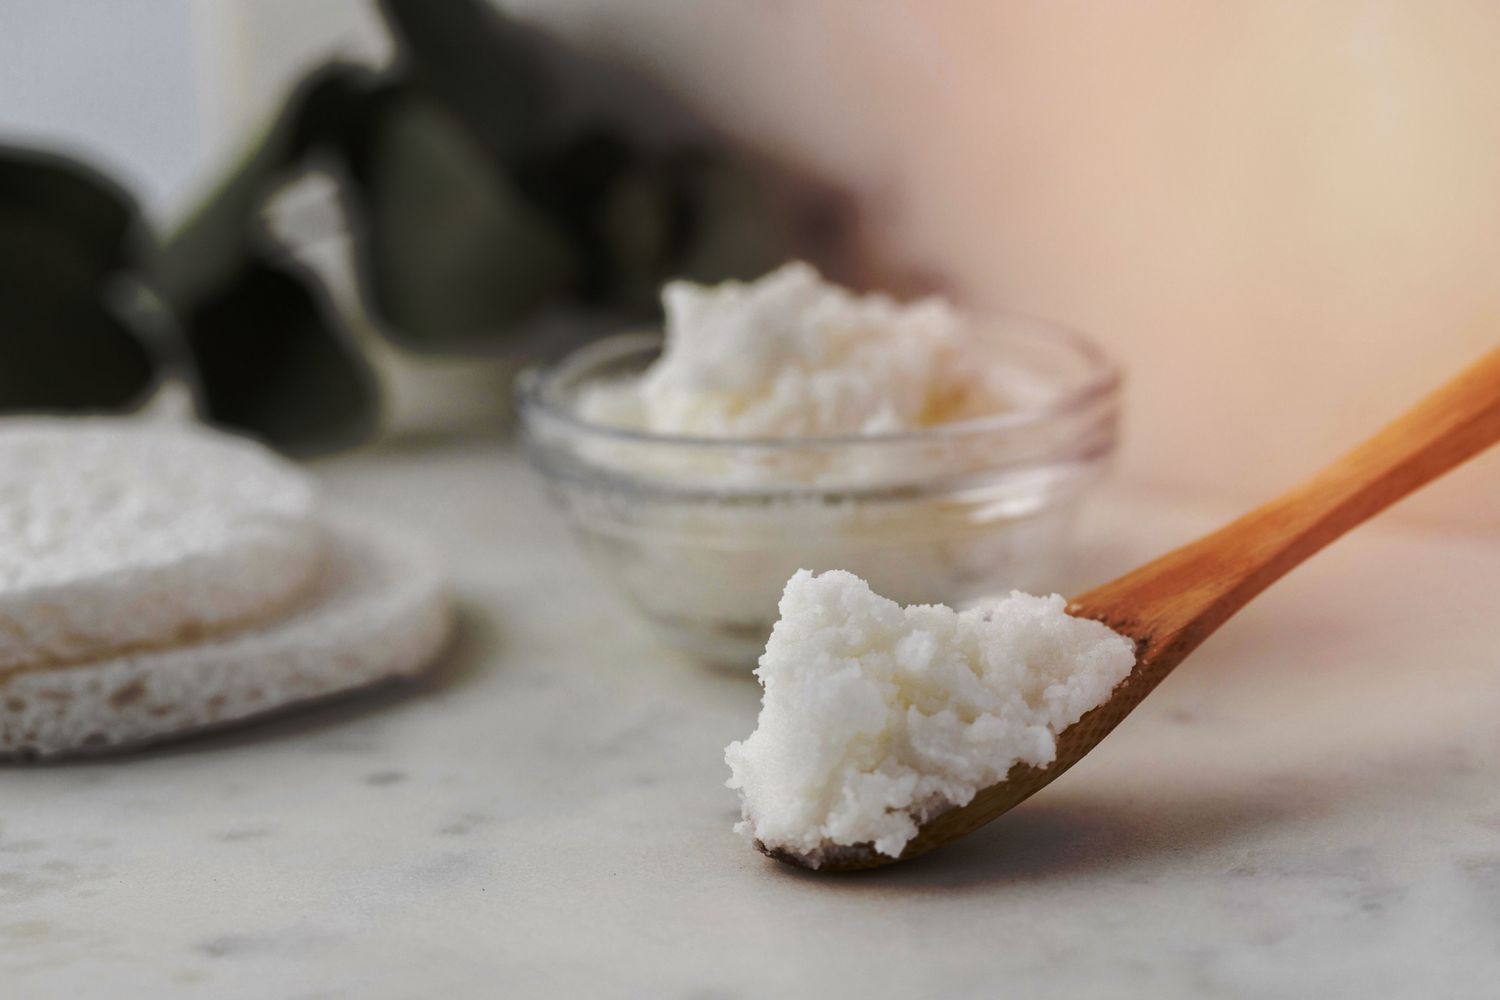
Store homemade nut butter in an airtight container in the refrigerator to keep it fresh. This will help prevent the natural oils in the nut butter from going rancid.
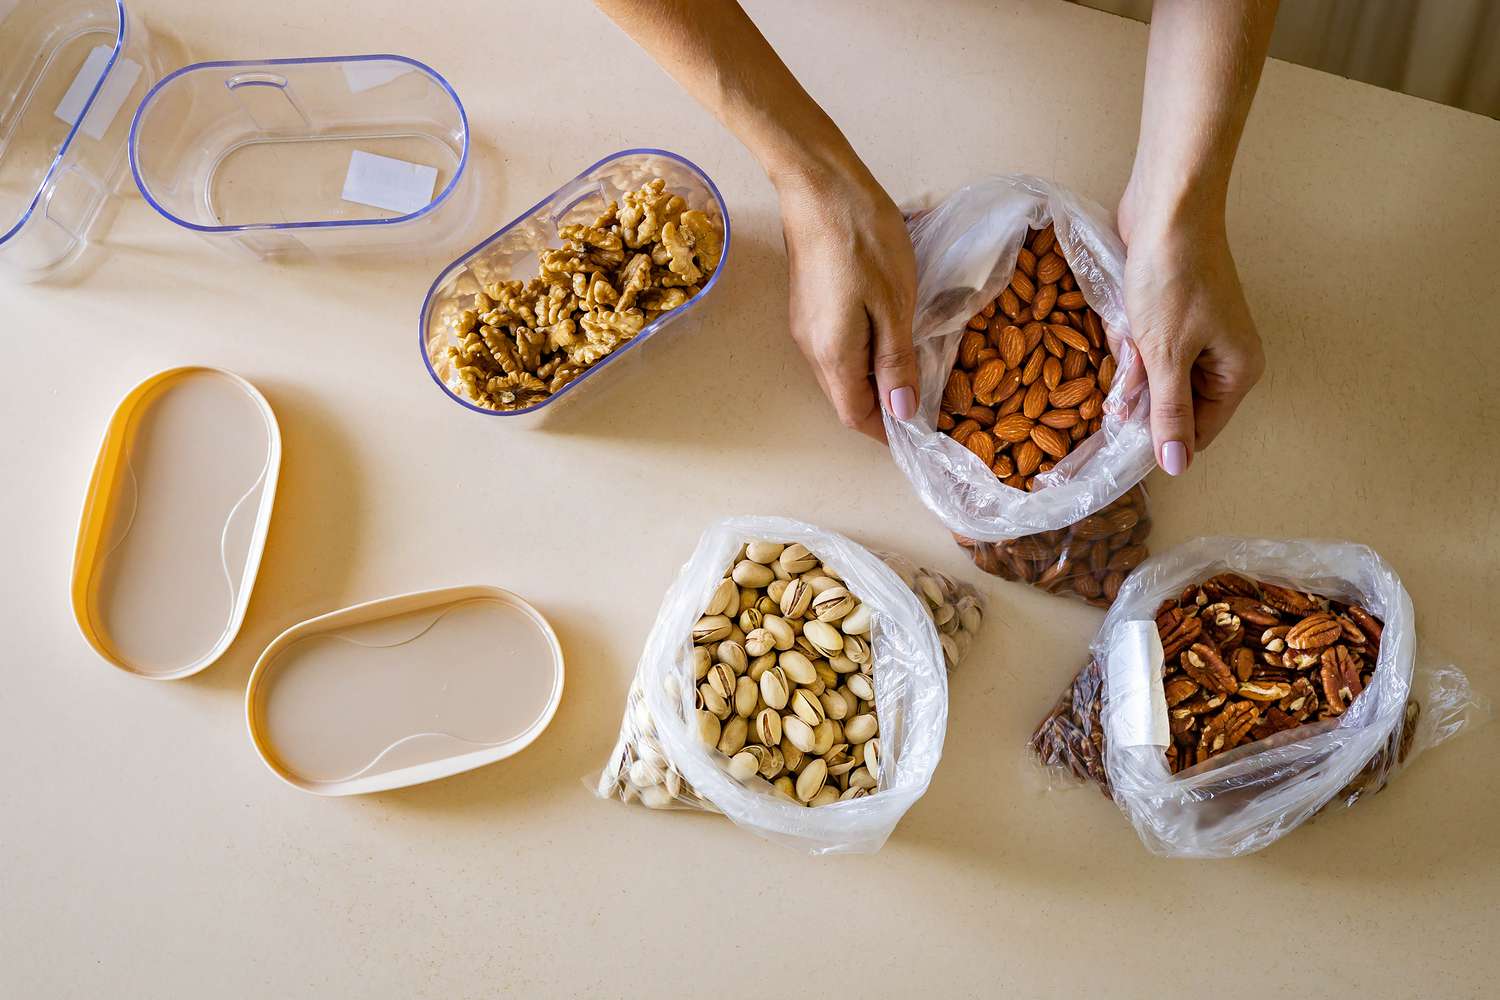
Proper Storage Containers
Choosing the right storage container for your homemade nut butter is crucial to maintain its freshness and quality. Here are some considerations when selecting a proper storage container:
- Glass jars: Glass jars are an excellent option for storing nut butter. They are non-reactive, airtight, and do not absorb flavors or odors. Use jars with tight-fitting lids to prevent air and moisture from entering.
- Plastic containers: Look for BPA-free, food-grade plastic containers if you prefer a lightweight and portable option. Ensure that the containers have tight-sealing lids to maintain freshness.
- Resealable bags: If you prefer a space-saving option, resealable bags can be a convenient choice. Opt for high-quality, airtight bags specifically designed for food storage to prevent the nut butter from coming into contact with air and moisture.
- Mason jars: Mason jars are a classic and popular choice for homemade nut butter. They are sturdy, come with airtight lids, and keep your nut butter well-protected. Make sure to use jars that are specifically designed for canning and have a vacuum seal to maintain the freshness of the nut butter.
When selecting your storage container, consider the quantity of nut butter you plan to make and the shelf space available. It’s also helpful to choose containers that are easy to clean and maintain to ensure hygiene and longevity of your nut butter.
Now that you have your storage container ready, let’s explore the best storage methods for maintaining the freshness and quality of your homemade nut butter.
Refrigeration vs. Room Temperature Storage
When it comes to storing homemade nut butter, there are two main options to consider: refrigeration and room temperature storage. Each method has its benefits and considerations, so let’s examine both:
Refrigeration:
Refrigerating your homemade nut butter can help extend its shelf life and maintain its freshness. Here are some key points to keep in mind:
- Longer shelf life: Storing nut butter in the refrigerator can significantly extend its shelf life. The cool temperature helps slow down the oxidation process, preventing the nut butter from going rancid.
- Consistency: Refrigeration causes the natural oils in the nut butter to solidify, resulting in a firmer texture. If you prefer your nut butter to be spreadable, simply remove it from the refrigerator a few minutes before use to allow it to soften.
- Protection against separation: Nut butter can separate over time, with the oil rising to the top. Refrigeration helps minimize this separation, keeping the butter well-mixed and easier to use.
- Consideration for space: Keep in mind that storing nut butter in the refrigerator requires dedicated space. Ensure you have enough room to accommodate your storage containers.
Room Temperature Storage:
Storing your nut butter at room temperature is a convenient option that maintains a creamy and spreadable consistency. Consider the following factors when choosing this method:
- Convenience: Keeping nut butter at room temperature allows for immediate use, as it remains soft and easily spreadable. This is particularly beneficial if you consume nut butter frequently.
- Faster accessibility: If you prefer using your nut butter in recipes or as a topping for warm foods, such as oatmeal or toast, room temperature storage ensures quick accessibility without the need for wait time.
- Potential shorter shelf life: Compared to refrigeration, storing nut butter at room temperature may reduce its overall shelf life. The exposure to air, light, and warmer temperatures can contribute to quicker spoilage and potential rancidity.
- Separation concerns: Nut butter stored at room temperature may be more prone to separation, as warmer temperatures can cause the oil to separate from the solids. Vigorous stirring or mixing before each use can help alleviate this issue.
Ultimately, the choice between refrigeration and room temperature storage depends on your personal preference and consumption rate. If you anticipate using the nut butter within a few weeks, room temperature storage should be suitable. However, if you make larger quantities or want to prolong the shelf life, refrigeration is a wise choice.
Now that you’re aware of the different storage methods, let’s discuss how to prevent separation in your homemade nut butter.
Preventing Separation
One common challenge when it comes to storing homemade nut butter is the potential separation of oil from the solids. This can result in an uneven texture and make it less enjoyable to use. Fortunately, there are a few methods you can employ to prevent separation and keep your nut butter well mixed:
- Thoroughly blend the nut butter: After blending the nuts into butter, ensure that you blend it for an adequate amount of time. This will help in incorporating the natural oils with the solids, resulting in a homogenous mixture that is less prone to separation.
- Stir the nut butter before each use: If you notice any separation in your stored nut butter, simply give it a good stir before each use. This will help redistribute the oils and solids, ensuring a smooth and consistent texture every time.
- Store the nut butter upside down: Another effective method to prevent separation is to store the nut butter jar upside down. This allows the oil to rise to the bottom, making it easier to remix and blend when you flip the jar back upright before use.
- Refrigerate the nut butter after opening: If you choose to store your nut butter at room temperature, it can be beneficial to refrigerate it once opened. The cooler temperature helps to stabilize the oils and minimize separation.
- Avoid adding too much oil: When making homemade nut butter, be mindful of the amount of oil you add. While some nuts naturally contain oil, additional oil may cause the nut butter to separate more easily. Use caution when adding extra oil, if necessary.
By employing these prevention methods, you can minimize separation and ensure your homemade nut butter remains well blended and pleasant to use. Now, let’s explore techniques to extend the shelf life of your nut butter.
Read more: How To Store Candied Nuts
Extending Shelf Life
To enjoy your homemade nut butter for as long as possible, it’s important to take steps to extend its shelf life. Here are some effective ways to prolong the freshness and quality of your nut butter:
- Proper storage: Store your nut butter in an airtight container to protect it from air and moisture. This helps minimize the risk of spoilage and rancidity. Ensure the lid is tightly sealed after each use.
- Refrigeration: If you want to maximize the shelf life of your nut butter, refrigerate it. The cool temperature helps to preserve the freshness and slow down the oxidation process. It’s recommended to consume refrigerated nut butter within a few months.
- Avoid introducing moisture: Moisture can accelerate spoilage and lead to the growth of mold or bacteria. To prevent this, make sure your hands and utensils are clean and dry when scooping nut butter from the jar. Avoid adding any wet ingredients to the jar.
- Prevent cross-contamination: To avoid introducing spoilage-causing bacteria or contaminants, use clean and dry utensils when serving nut butter. Don’t allow crumbs or other food particles to come into contact with the jar.
- Keep it away from direct sunlight: Exposure to direct sunlight can cause the oils in nut butter to go rancid more quickly. Store your nut butter in a cool, dark place to protect it from light, which can degrade its quality.
- Regularly check for signs of spoilage: Before using your nut butter, inspect it for any signs of spoilage, such as an off smell, unusual texture, or mold growth. If you notice any of these signs, discard the nut butter immediately.
While homemade nut butter generally has a shorter shelf life than commercially processed versions due to the absence of preservatives, following these best practices can help you enjoy your nut butter for an extended period without compromising its quality.
Remember that optimal freshness and taste are always the best indicators of when to consume your nut butter. Trust your senses and use your judgment to determine its suitability for consumption.
Now that you have learned how to extend the shelf life of your nut butter, let’s wrap up our discussion.
Conclusion
Congratulations! You are now equipped with the knowledge and tips to store your homemade nut butter properly and enjoy its freshness and flavor for an extended period. By following the guidelines outlined in this article, you can ensure that your nut butter remains delicious and free from spoilage. Let’s recap what we’ve covered:
We started by exploring the benefits of homemade nut butter, including ingredient control, customizable flavors, freshness, cost-effectiveness, and nutritional value. We then discussed the importance of selecting the right nuts and roasting them to enhance their flavors. Next, we delved into the blending process and learned how to achieve a smooth and creamy consistency.
To take your nut butter to the next level, we provided various flavor variations, enabling you to get creative and personalize your spreads. We then discussed the importance of choosing the right storage containers, whether it’s glass jars, plastic containers, or resealable bags. We explored the pros and cons of refrigeration versus room temperature storage, highlighting convenience, consistency, and shelf life considerations.
To prevent separation, we discussed the importance of thorough blending, stirring before each use, and storing the jar upside down. And to ensure a longer shelf life, we emphasized the significance of proper storage, refrigeration, moisture prevention, and avoiding direct sunlight.
By implementing these tips and practices, you can enjoy your homemade nut butter with peace of mind, knowing that it will remain fresh, flavorful, and nutritious for an extended period.
So go ahead, embark on your nut butter-making adventure, and savor the satisfaction of creating a delicious and wholesome spread from scratch. Whether you prefer almond butter, peanut butter, or any other nut butter variety, make it your own by adding your favorite flavor twists.
Enjoy your homemade nut butter and savor every creamy, flavorful bite!
Frequently Asked Questions about How To Store Homemade Nut Butter
Was this page helpful?
At Storables.com, we guarantee accurate and reliable information. Our content, validated by Expert Board Contributors, is crafted following stringent Editorial Policies. We're committed to providing you with well-researched, expert-backed insights for all your informational needs.
0 thoughts on “How To Store Homemade Nut Butter”