Articles
How To Store Homemade Banana Bread
Modified: August 28, 2024
Learn the best techniques and tips for storing homemade banana bread in this comprehensive article. Keep your bread fresh and delicious for longer with our expert advice.
(Many of the links in this article redirect to a specific reviewed product. Your purchase of these products through affiliate links helps to generate commission for Storables.com, at no extra cost. Learn more)
Introduction
Welcome to the wonderful world of homemade banana bread! Once you’ve baked a delicious batch of this moist and flavorful treat, you’ll want to make sure you can enjoy it for as long as possible. Storing homemade banana bread is essential to keep it fresh and prevent it from drying out. In this article, we will guide you through the step-by-step process of storing your homemade banana bread to ensure its longevity and taste.
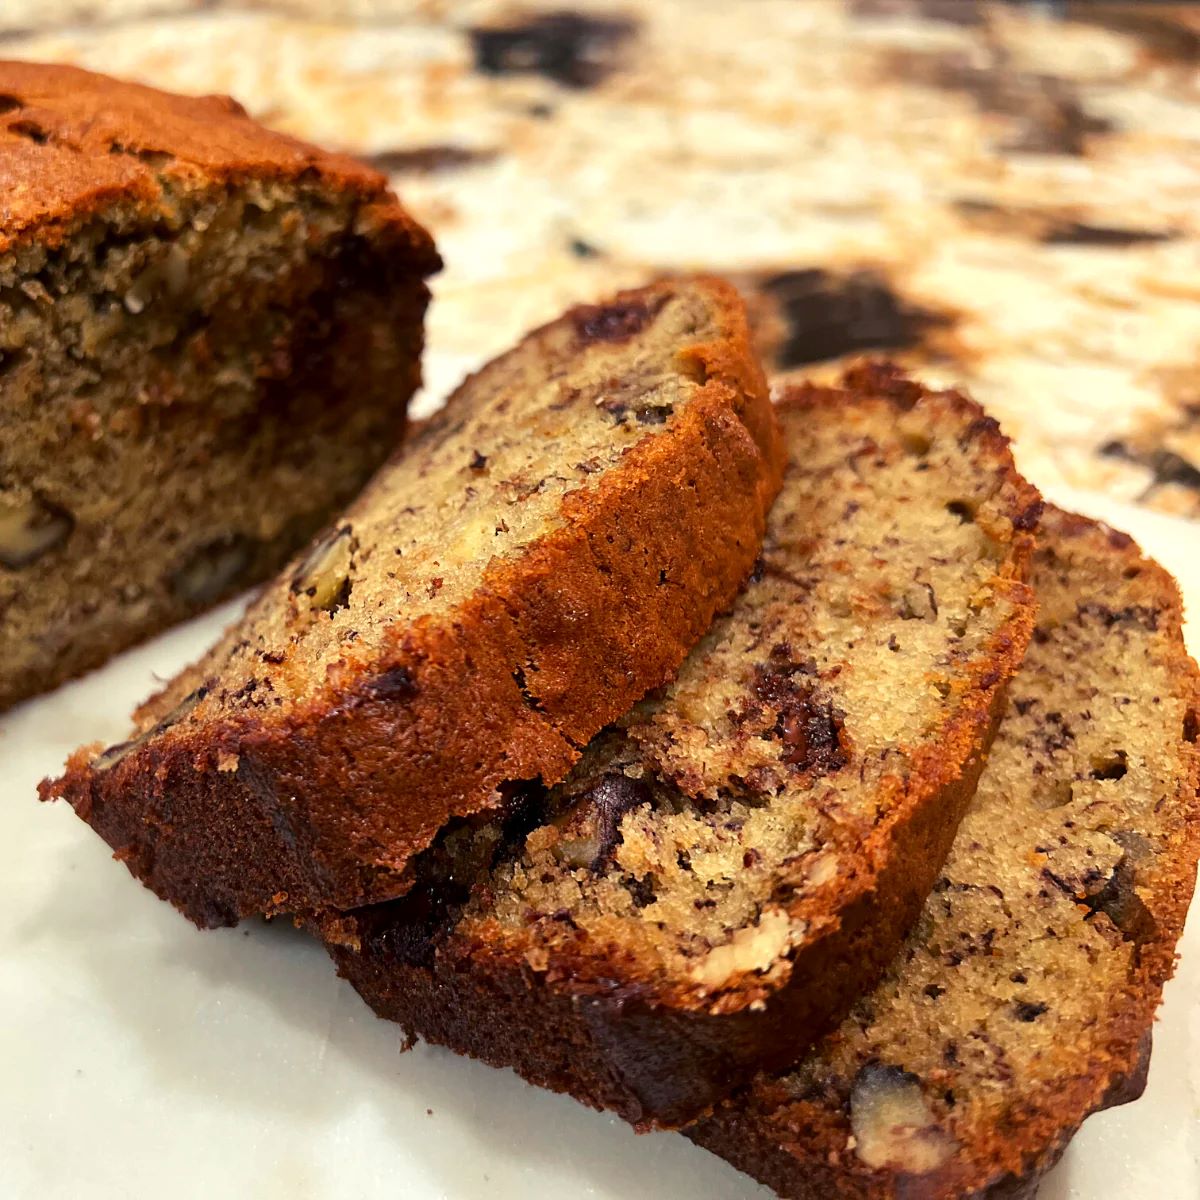
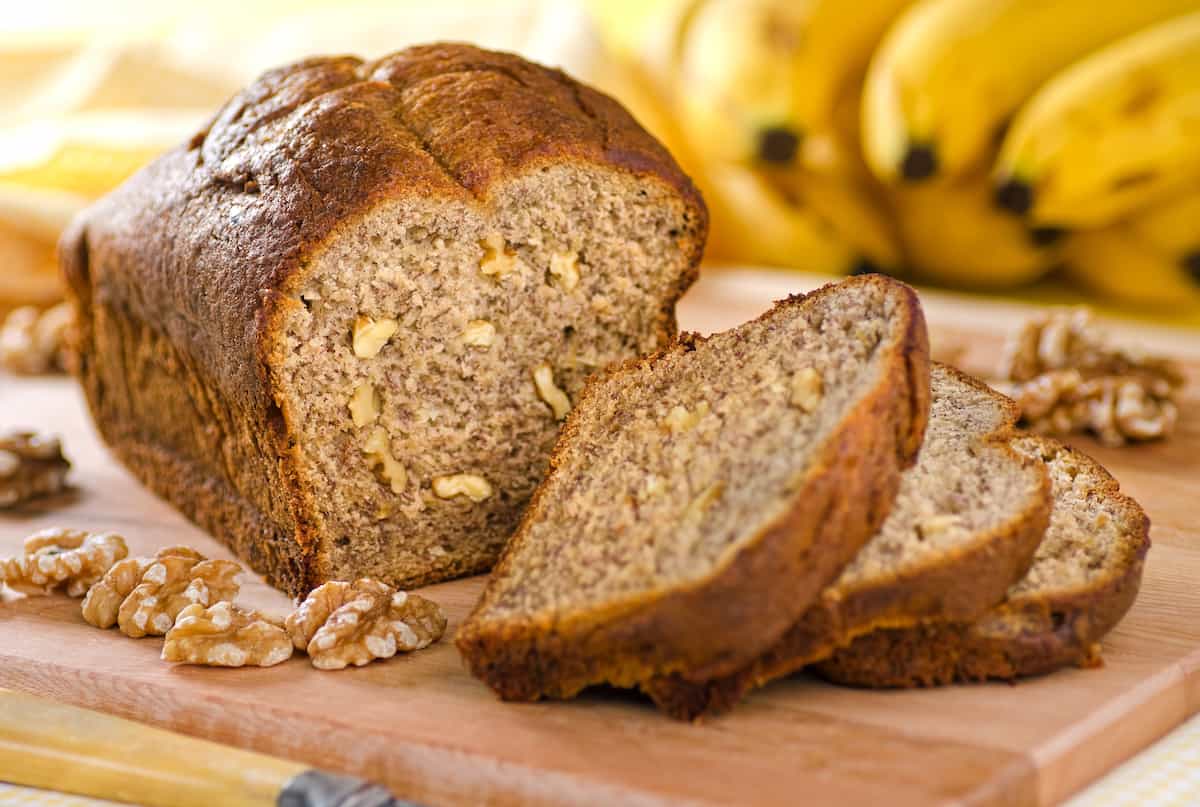
Homemade banana bread is a popular treat that is loved by people of all ages. It’s a classic recipe that combines the sweetness of ripe bananas with a hint of cinnamon and a moist texture. Whether you make a large loaf or individual muffins, you’ll want to know the best way to store your homemade creation.
Properly storing your banana bread is essential to maintain its freshness and prevent it from becoming dry or stale. Following the right storage techniques will help preserve the taste, texture, and aroma of your homemade treat, making it just as enjoyable days after it has been baked.
In this article, we will cover everything you need to know about storing homemade banana bread. From the necessary equipment to step-by-step instructions, we’ll guide you through the entire process. So, let’s get started and ensure that your homemade banana bread stays fresh and delicious for as long as possible!
Key Takeaways:
- Keep your homemade banana bread fresh by storing it in an airtight container or tightly wrapped in plastic wrap or aluminum foil. Choose a cool, dry storage location and label the container with the date for optimal freshness.
- When reheating your stored banana bread, use the oven, microwave, or toaster to revive its flavors and textures. Enjoy every warm and delicious bite, and savor the delightful goodness of your homemade treat.
Read more: How To Store Banana Bread In Fridge
Ingredients
Before we dive into the storage process, let’s take a quick look at the basic ingredients you’ll need for making homemade banana bread:
- 3 ripe bananas
- 2 cups all-purpose flour
- 1 teaspoon baking soda
- 1/2 teaspoon salt
- 1/2 cup unsalted butter, melted
- 1 cup granulated sugar
- 2 large eggs
- 1 teaspoon vanilla extract
- 1/2 cup milk
- A pinch of ground cinnamon (optional)
These ingredients may vary slightly depending on your preferred recipe or any additional flavors you want to include. Make sure to have these ingredients ready before you start baking your banana bread.
Having ripe bananas is important as they add natural sweetness and moisture to the bread. Look for bananas with brown spots on the peel, as they will have a stronger flavor and sweetness. The more ripe the bananas, the better the taste of your banana bread will be.
You may also choose to add optional ingredients such as chocolate chips, nuts, or raisins to enhance the flavor and texture of your banana bread. These ingredients can add a delightful twist to your recipe and make your bread even more enjoyable.
Remember to gather all the necessary ingredients before you begin the baking process. This will ensure a smooth and hassle-free experience, allowing you to focus on making the perfect homemade banana bread.
Equipment
Now that you have gathered all the ingredients, let’s take a look at the necessary equipment you’ll need to store your homemade banana bread:
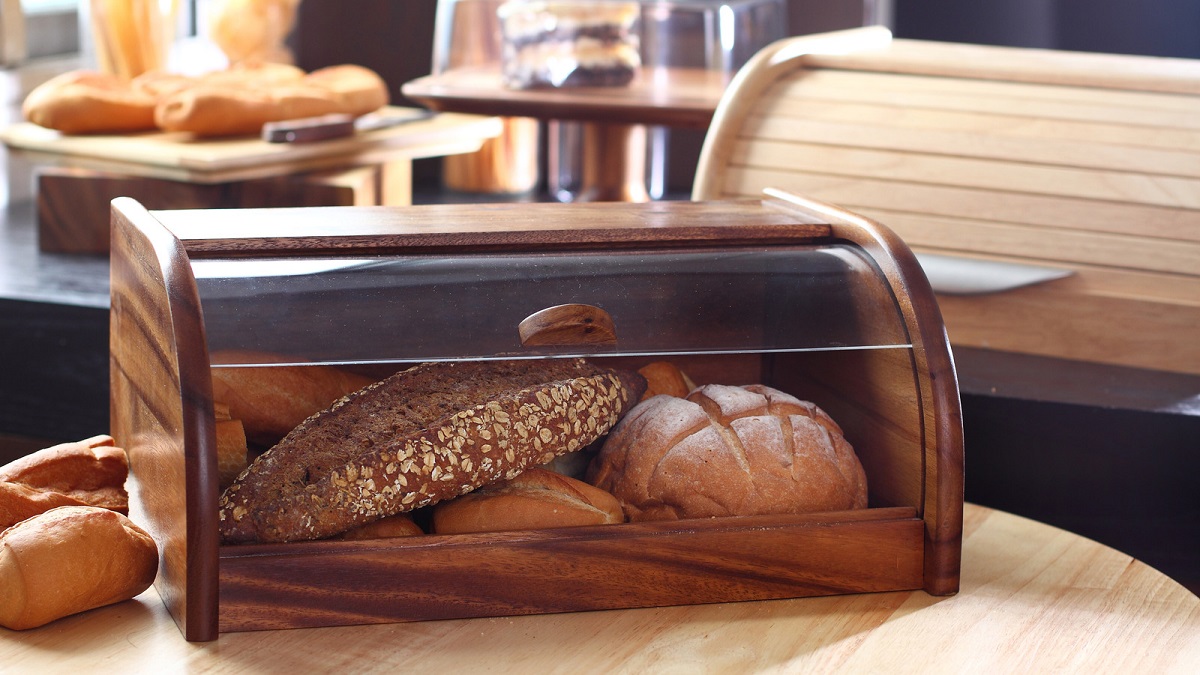
- Airtight container or plastic wrap
- Plastic zipper bag or aluminum foil
- Cooling rack
- Knife or bread slicer
An airtight container or plastic wrap is essential for storing your banana bread. It helps to keep the bread fresh and prevents it from drying out. If you don’t have an airtight container, you can use plastic wrap to tightly wrap the bread and seal in the moisture.
A plastic zipper bag or aluminum foil can also be used as an alternative to an airtight container. Simply wrap the banana bread securely in either the bag or foil, ensuring that there are no openings for air to enter. This will help maintain the freshness of the bread.
A cooling rack is necessary to allow your banana bread to cool properly before storing. Placing the bread on a cooling rack allows air to circulate around it, preventing the bottom from becoming soggy. Make sure to place the cooling rack on a stable surface and leave enough space around it for proper airflow.
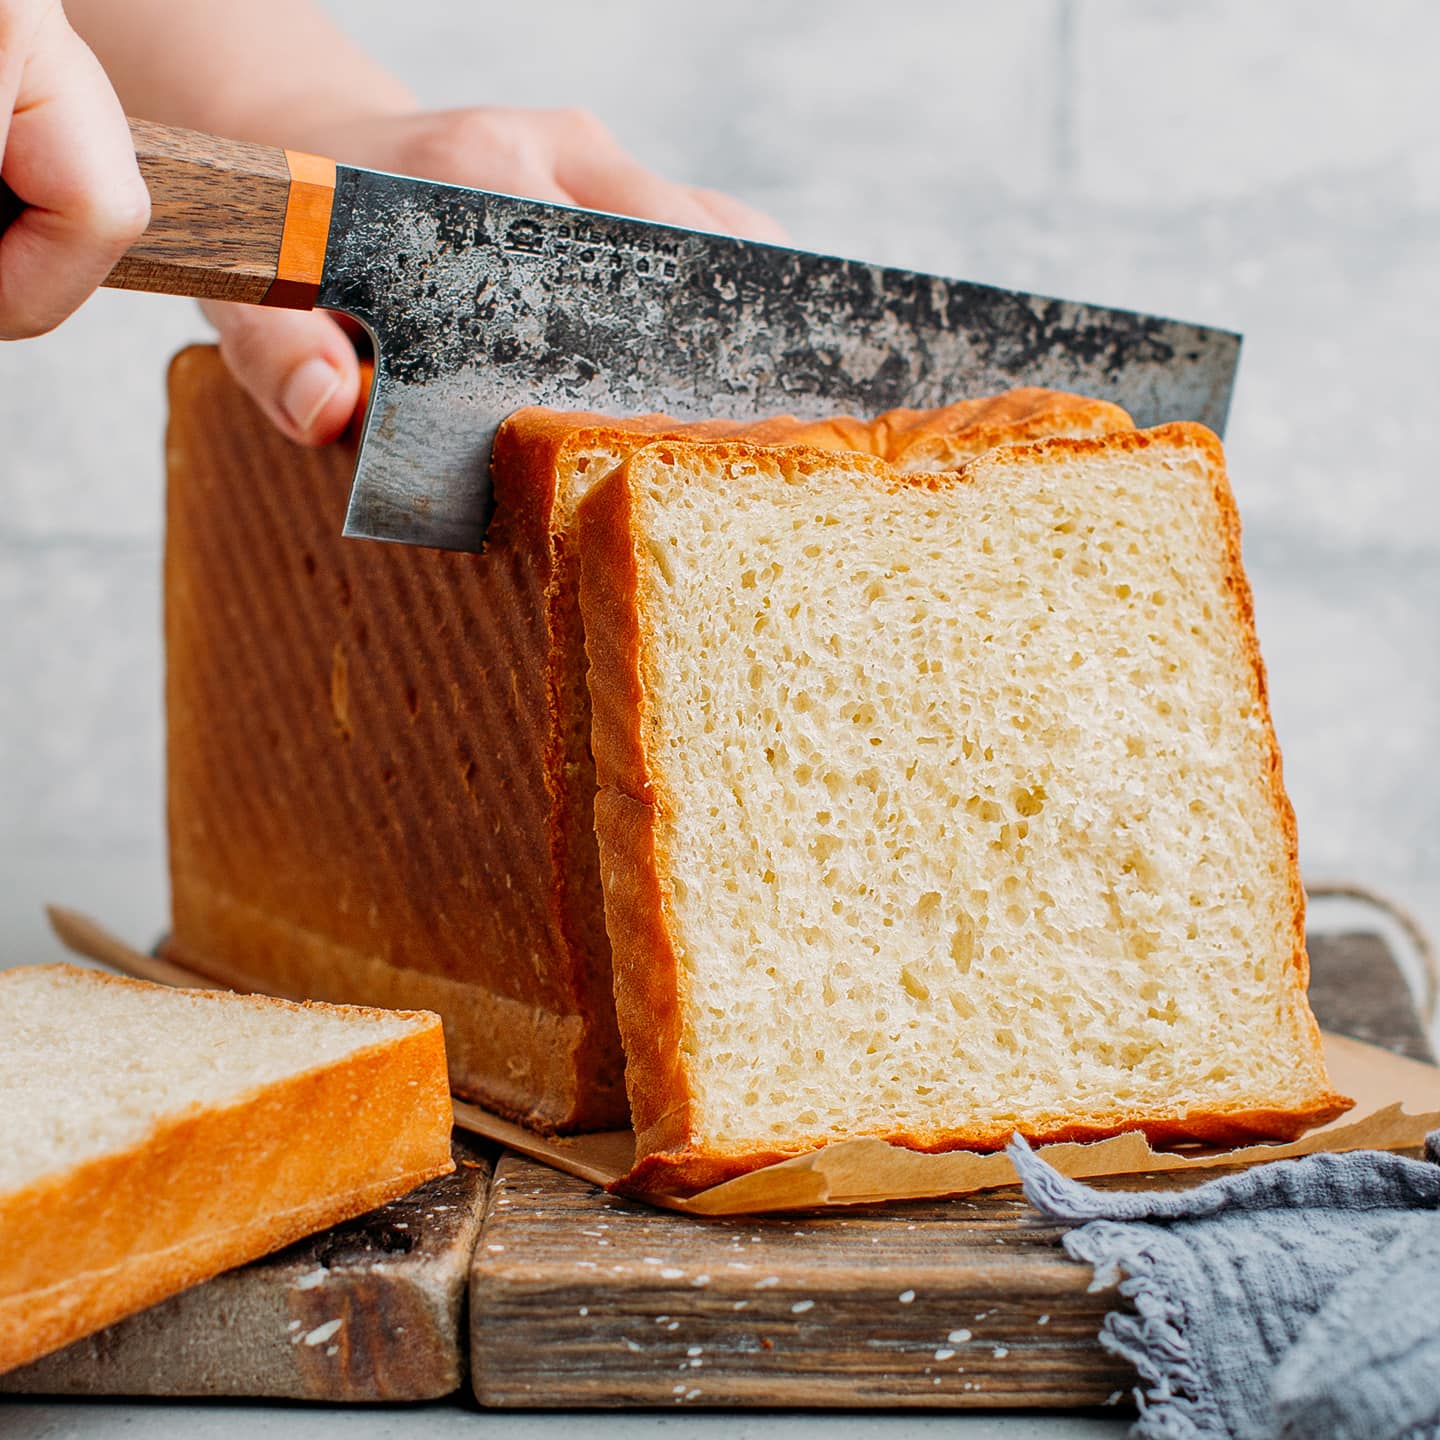
A knife or bread slicer will come in handy when it’s time to cut the banana bread. It is recommended to slice the bread into individual portions before storing, as this makes it easier to grab a piece whenever you want. Slicing the bread also helps it to retain its moisture and prevents it from drying out.
Having these essential equipment items ready will make the storing process much more convenient and ensure that your homemade banana bread stays fresh and delicious.
Step 1: Baking the Banana Bread
Before we can dive into the storage process, it’s important to have a freshly baked batch of banana bread. Follow these steps to bake your delicious homemade banana bread:
- Preheat your oven to 350°F (175°C). This temperature ensures even baking and a perfectly golden crust.
- In a large mixing bowl, mash the ripe bananas using a fork or a potato masher. Ensure that they are well mashed and no large lumps remain.
- Add in the melted butter, sugar, eggs, and vanilla extract to the mashed bananas. Mix well until all the ingredients are fully incorporated.
- In a separate bowl, whisk together the all-purpose flour, baking soda, salt, and ground cinnamon (if using). This ensures that the dry ingredients are evenly distributed in the batter.
- Add the dry ingredients to the wet ingredients gradually, mixing until just combined. Be careful not to overmix, as this can lead to a dense and dry banana bread.
- If you choose to include any additional ingredients such as chocolate chips or nuts, fold them into the batter gently.
- Grease a loaf pan with butter or cooking spray to prevent the banana bread from sticking to the pan.
- Pour the batter into the greased loaf pan, spreading it evenly with a spatula.
- Place the loaf pan in the preheated oven and bake for about 50-60 minutes, or until a toothpick inserted into the center comes out clean.
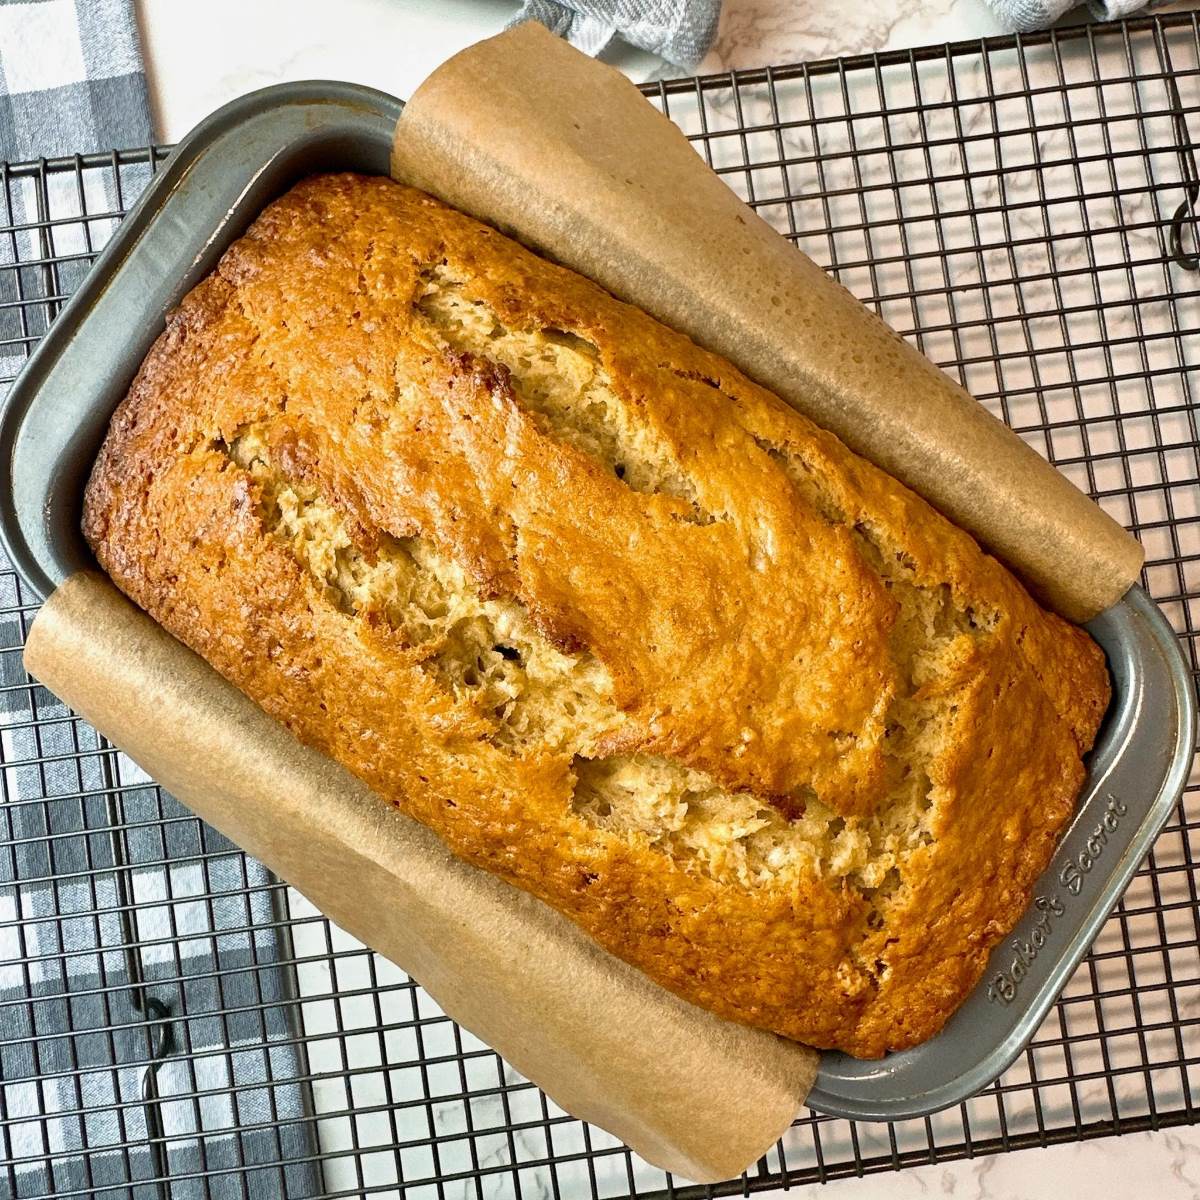
- Once the banana bread is baked, remove it from the oven and let it cool in the pan for 10-15 minutes.
Following these steps will result in a moist and flavorful banana bread that is ready to be stored and enjoyed. Now that your banana bread is baked and cooling, let’s move on to the next step: cooling the bread.
Step 2: Cooling the Banana Bread
After baking your delicious homemade banana bread, it’s crucial to allow it to cool properly before moving on to the storage process. Follow these steps to ensure that your banana bread cools down evenly:
- Remove the banana bread from the loaf pan by gently flipping it upside down and tapping the bottom of the pan. If it doesn’t come out easily, you can use a butter knife to loosen the edges.
- Place the loaf of banana bread on a cooling rack. This allows air to circulate around the bread, preventing the bottom from becoming soggy.
- Leave the banana bread to cool completely at room temperature. This typically takes about 1-2 hours, depending on the size of the bread. Avoid cutting into the bread while it’s still warm, as this can cause it to become crumbly.
- During the cooling process, the flavors of the banana bread continue to develop and the texture sets, resulting in a better overall taste.
- Once the banana bread has cooled completely, it’s ready to be stored. But before we move on to the storage process, let’s learn how to properly wrap the bread to maintain its freshness.
Cooling the banana bread adequately is crucial as it allows the bread to set and prevents condensation from forming inside the storage container. This step ensures that your banana bread stays moist and delicious during storage. Now that your bread has cooled down, it’s time to proceed to the next step: wrapping the banana bread for storage.
Store homemade banana bread in an airtight container at room temperature for up to 2 days, or in the refrigerator for up to a week. For longer storage, wrap it tightly in plastic wrap and then foil, and freeze for up to 3 months.
Read more: How To Store Homemade Bread
Step 3: Wrapping the Banana Bread
Properly wrapping your banana bread is essential to maintain its freshness and prevent it from drying out during storage. Follow these steps to wrap your banana bread effectively:
- Start by ensuring that your banana bread is completely cooled. If it’s still warm, the moisture inside the bread can create condensation, resulting in a soggy texture.
- If you have an airtight container, simply place the banana bread inside and seal the container tightly. Make sure there is no air inside the container to prevent moisture from entering and causing the bread to become dry.
- If you don’t have an airtight container, you can use plastic wrap as an alternative. Place the banana bread on a piece of plastic wrap and wrap it tightly, covering the entire bread. Make sure there are no gaps or openings where air can enter.
- If you prefer using aluminum foil, wrap the banana bread securely, ensuring that it is tightly sealed. This will protect the bread from drying out and maintain its freshness.
- Another option is to use a plastic zipper bag. Place the wrapped bread inside the bag and seal it, removing as much air as possible. This method provides an extra layer of protection against air and moisture.
By wrapping your banana bread properly, you create a barrier that helps retain moisture and prevents the bread from becoming stale. It also helps to preserve the flavor and texture of the bread over an extended period.
Now that your banana bread is securely wrapped, it’s time to move on to the next step: storing the banana bread to keep it fresh and delicious.
Step 4: Storing the Banana Bread
Now that your homemade banana bread is wrapped and ready, it’s time to store it properly to ensure its freshness and taste. Follow these steps to store your banana bread effectively:
- Choose a cool and dry place for storage. Avoid areas with direct sunlight or high humidity, as these conditions can cause the bread to spoil more quickly.
- If you have an airtight container, place the wrapped banana bread inside and seal it tightly. This container will help maintain the bread’s moisture and keep it fresh for a longer time.
- If you don’t have an airtight container, you can store the wrapped banana bread in a cool pantry or cupboard. Make sure the area is dry and away from any heat sources.
- If you live in a particularly humid climate, you may want to consider placing a desiccant packet or a small bowl of uncooked rice in the storage container. This will help absorb excess moisture and prevent the bread from becoming soggy.
- Alternatively, if you’re using a plastic zipper bag or aluminum foil, store the wrapped banana bread in a cool place, such as a pantry or refrigerator. Keep in mind that refrigeration may cause the bread to become slightly denser, so it’s best to consume it at room temperature.
- Remember to label the storage container or bag with the date to help you keep track of its freshness. Homemade banana bread typically stays fresh for about 3-4 days at room temperature and up to a week when refrigerated.
- As the days pass, make sure to check the bread for any signs of spoilage, such as mold or an unpleasant odor. If you notice any of these signs, it’s best to discard the bread to avoid any potential health risks.
Following these steps will help you store your banana bread properly, extending its shelf life and ensuring that it remains moist and delicious. Now that your banana bread is safely stored, let’s move on to the final step: reheating the bread to enjoy it just like it was freshly baked.
Step 5: Reheating the Banana Bread
When you’re ready to enjoy your stored banana bread again, you may want to warm it up for an added touch of freshness. Follow these steps to reheat your banana bread:
- Remove the wrapped banana bread from its storage container or bag.
- If you prefer a softer texture, preheat your oven to 350°F (175°C). Place the unwrapped bread on a baking sheet and heat it in the oven for about 10-15 minutes. Keep an eye on it to prevent it from becoming too dry.
- If you’re looking for a quicker option, you can use a microwave. Slice the banana bread into individual portions and place them on a microwave-safe plate. Heat the slices for about 10-15 seconds on medium power, checking for the desired warmth. Be cautious not to overheat as it can dry out the bread.
- Another option is to lightly toast the slices in a toaster or toaster oven. This method adds a delightful crispness to the bread while still keeping it moist inside. Toast the slices for 1-2 minutes or until they are warmed to your liking.
Once your banana bread slices are warm and ready, you can enjoy them with a spread of butter or cream cheese. The reheating process helps revive the bread’s flavors and textures, making it just as delightful as when it was freshly baked.
Remember to let the bread cool slightly after reheating to avoid burning your mouth. You can also enjoy it at room temperature if you prefer a softer texture without toasting or reheating.
Congratulations! You have successfully stored and reheated your homemade banana bread. Now it’s time to savor and enjoy every delicious bite.
With these storage and reheating techniques, you can prolong the freshness of your banana bread and continue to indulge in its delightful flavors long after it’s baked. As always, remember to discard any leftover banana bread that shows signs of spoilage to ensure your health and safety.
Enjoy your homemade banana bread whenever you desire, and make those moments even more special with a slice of warm and delicious goodness!
Conclusion
Congratulations! You’ve now learned the step-by-step process of storing homemade banana bread to keep it fresh and delicious. By following these guidelines, you can ensure that your banana bread maintains its moistness, flavor, and texture for an extended period.
From baking the perfect loaf to cooling and wrapping it properly, every step is essential in preserving the quality of your homemade treat. Storing banana bread in an airtight container, plastic wrap, or aluminum foil helps maintain its moisture and prevent it from becoming dry or stale.
Choosing a cool and dry storage location, labeling the container with the date, and checking for any signs of spoilage are vital aspects of ensuring the bread’s freshness. And when you’re ready to enjoy it again, reheating options like microwaving or toasting add an extra touch of warmth and revitalization.
Whether you bake banana bread to enjoy during breakfast, as a snack, or as a homemade gift, knowing how to store it properly is key to prolonging its enjoyment. With proper storage techniques, you can savor your homemade banana bread for days or even weeks after baking.
So, go ahead and whip up a batch of homemade banana bread, knowing that you now have the knowledge and tools to preserve its freshness. Share it with loved ones, enjoy it as a treat for yourself, or bring it to special occasions knowing that it will stay moist and delicious throughout the experience.
Thank you for taking the time to learn about storing homemade banana bread. Happy baking and storing! May every slice of your banana bread bring you joy and satisfaction.
Frequently Asked Questions about How To Store Homemade Banana Bread
Was this page helpful?
At Storables.com, we guarantee accurate and reliable information. Our content, validated by Expert Board Contributors, is crafted following stringent Editorial Policies. We're committed to providing you with well-researched, expert-backed insights for all your informational needs.


0 thoughts on “How To Store Homemade Banana Bread”