
Articles
How To Store Bread Flour Long Term
Modified: August 28, 2024
Learn how to store bread flour long term with these helpful articles.
(Many of the links in this article redirect to a specific reviewed product. Your purchase of these products through affiliate links helps to generate commission for Storables.com, at no extra cost. Learn more)
Introduction
Welcome to the comprehensive guide on how to store bread flour long term. Whether you are an avid baker or someone who enjoys occasional baking, having a stock of bread flour on hand is a great idea. Bread flour is a type of flour that is high in protein content, which gives bread its structure and texture. However, to ensure that your bread flour remains fresh and usable for an extended period, proper storage is key.
In this article, we will explore the importance of storing bread flour correctly and the factors that can affect its shelf life. We will also discuss different methods and containers that can help preserve the freshness of your bread flour for an extended period. By following these guidelines, you can ensure that your bread flour is always in prime condition, allowing you to bake delicious bread whenever the craving strikes.
Understanding how to store bread flour long term is crucial because improper storage can lead to spoilage and a decrease in quality. When exposed to moisture, heat, or air, bread flour can lose its protein content and become prone to contamination by microorganisms. Storing your bread flour properly will help maintain its nutritional value and ensure that your baked goods turn out just right.
Now, let’s dive into the details of proper bread flour storage and explore the best practices to keep your flour fresh and ready for all your baking adventures.
Key Takeaways:
- Proper storage of bread flour is crucial for maintaining its freshness, quality, and usability. Airtight containers, moisture prevention, and freezing are key methods to ensure long-term preservation.
- Labeling, date tracking, and regular freshness checks are essential for managing stored bread flour effectively. By following these practices, you can enjoy consistent baking results and delicious homemade bread.
Read more: How To Store Self Rising Flour Long Term
Understanding Bread Flour
Bread flour is a type of flour specifically designed for baking bread. What sets it apart from other types of flour, such as all-purpose flour, is its high protein content. The protein in bread flour, primarily in the form of gluten, is essential for creating the structure and texture of bread. It gives bread its chewy and elastic texture, allowing it to rise and hold its shape during the baking process.
The high protein content in bread flour is typically around 12-14%, making it ideal for recipes that require strong gluten formation. This protein is derived from hard wheat varieties, which have a higher protein content compared to soft wheat varieties used in all-purpose flour. The higher protein content enhances the gluten development, resulting in a well-risen and fluffy loaf of bread.
Because of its unique properties, bread flour is the preferred choice for many bakers when it comes to making homemade bread. It produces a more substantial and chewier bread compared to other flours, which is especially desirable for hearty bread varieties like baguettes, ciabatta, and sourdough.
However, due to its high protein content and gluten-forming properties, bread flour has a limited shelf life. It is prone to deterioration if not stored correctly, leading to a decrease in its overall quality and affecting the end result of your baked goods.
By understanding the characteristics of bread flour and how it differs from other flours, you can make informed decisions when storing it long term. Let’s explore in the following sections how to preserve the freshness and quality of your bread flour for extended periods, ensuring that you always have the perfect ingredient for your homemade bread.
Importance of Proper Storage
Proper storage of bread flour is essential to maintain its freshness, quality, and usability over time. The following are some key reasons why it is crucial to store your bread flour correctly:
1. Preservation of Nutritional Value: Bread flour contains essential nutrients like protein and carbohydrates that provide the building blocks for your bread. Proper storage helps preserve these nutrients, ensuring that your bread retains its nutritional value even after a long time.
2. Maintaining Gluten Formation: The protein content in bread flour, primarily gluten, is responsible for the structure and texture of your bread. Improper storage can weaken the gluten formation, leading to flat, dense, or crumbly loaves.
3. Preventing Moisture Absorption: Bread flour is susceptible to moisture absorption, which can lead to clumping and the growth of mold or bacteria. Proper storage prevents exposure to moisture, ensuring that your flour remains dry and safe to use.
4. Avoiding Contamination: Storing bread flour in airtight containers helps prevent contamination from pests, insects, or airborne particles. It safeguards the flour from any external factors that can compromise its quality.
5. Cost-Effective Baking: Properly stored bread flour can be used for an extended period, reducing the need to replace it frequently. This helps you save money in the long run, especially if you buy flour in bulk.
6. Consistent Baking Results: Fresh, properly stored bread flour ensures consistent baking results. It allows you to achieve the desired texture, rise, and flavor in your bread, producing delicious and satisfying baked goods every time.
By understanding the importance of proper storage, you can make sure that your bread flour remains in optimal condition, maintaining its quality and performance. In the next sections, we will explore the factors that can affect the shelf life of bread flour and the best practices for long-term storage.
Factors Affecting Bread Flour Shelf Life
Several factors can affect the shelf life of bread flour. Understanding these factors will help you make informed decisions when storing your flour for the long term. Here are the key factors to consider:
1. Exposure to Air: Oxygen in the air can lead to the oxidation of the oils present in the flour, causing it to go rancid. In addition, exposure to air can also result in moisture absorption, leading to clumping and the growth of mold or bacteria.
2. Moisture: Bread flour should be kept dry at all times. Moisture can cause the flour to become lumpy, affecting its texture and performance. It also creates an environment suitable for the growth of mold and bacteria, rendering the flour unusable.
3. Temperature: High temperatures can cause the proteins in bread flour to break down, leading to a decrease in gluten formation. This can result in bread that is dense, flat, or lacks structure. Extreme temperature fluctuations can also impact the quality of the flour.
4. Light: Exposure to light, specifically sunlight, can accelerate the oxidation process of the flour. It can cause the flour to develop off-flavors and odors, compromising its overall quality.
5. Contamination: Bread flour is prone to contamination by pests, insects, and other airborne particles if not stored properly. Contaminated flour can lead to health risks and affect the taste and texture of your final baked goods.
6. Storage Container: The type of container used for storing bread flour can significantly affect its shelf life. Airtight containers help seal out air and moisture, preserving the flour’s quality. Containers made of food-grade materials also prevent contamination.
By understanding the factors that can affect the shelf life of bread flour, you can take the necessary precautions to extend its freshness and usability. In the following sections, we will explore the best methods and containers for storing bread flour long term, ensuring that it remains in prime condition for your baking endeavors.
Choosing the Right Container for Storage
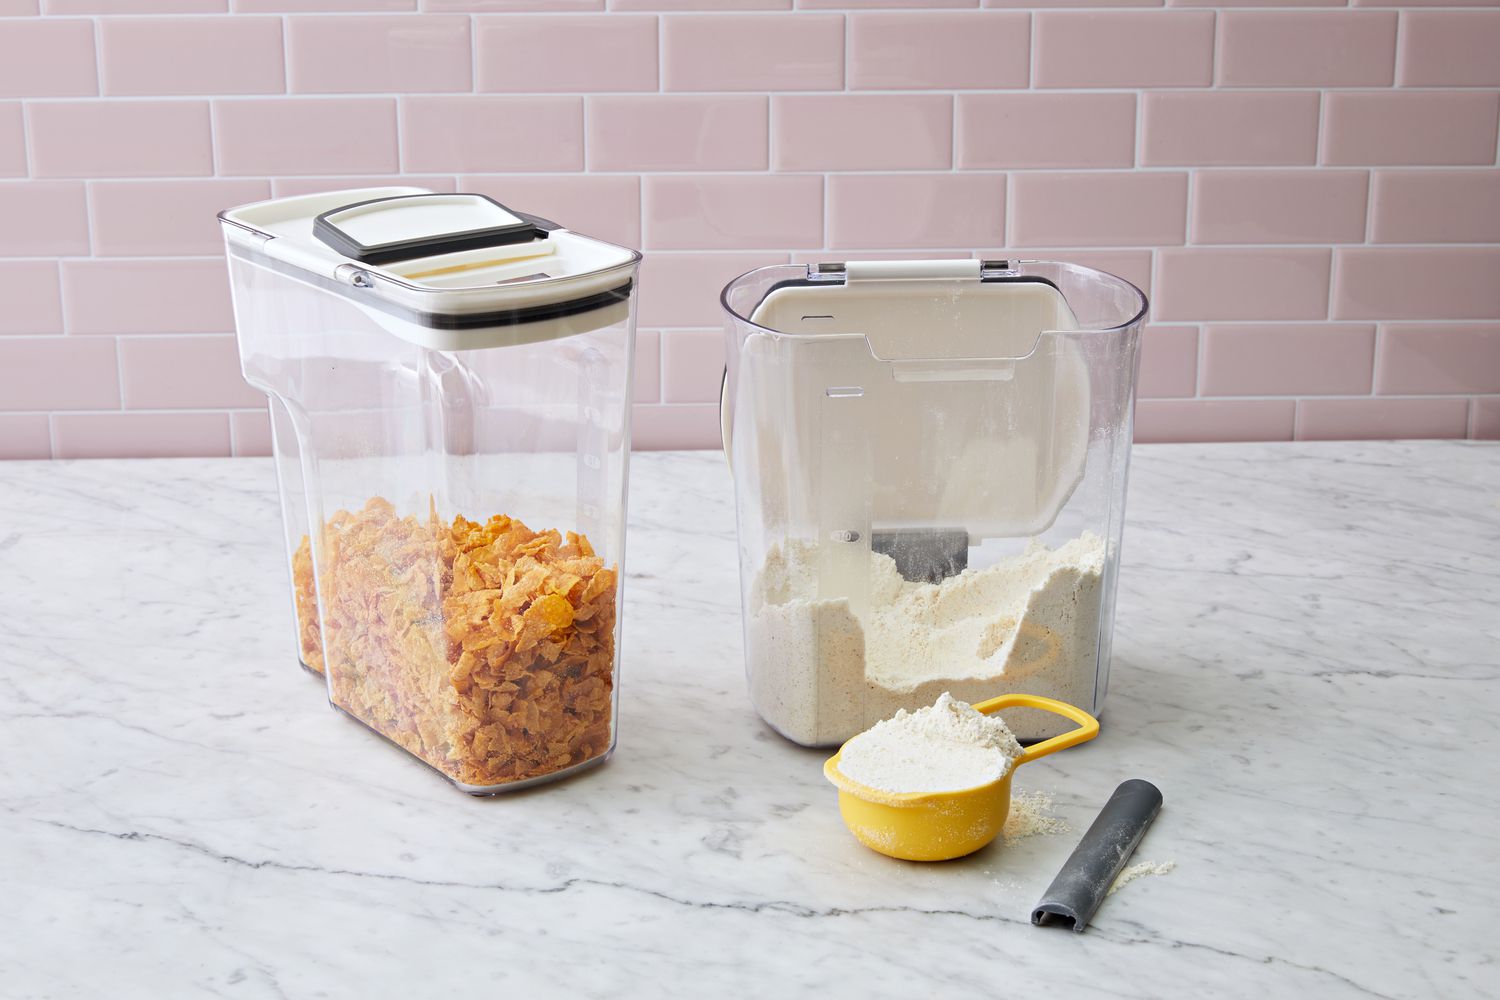
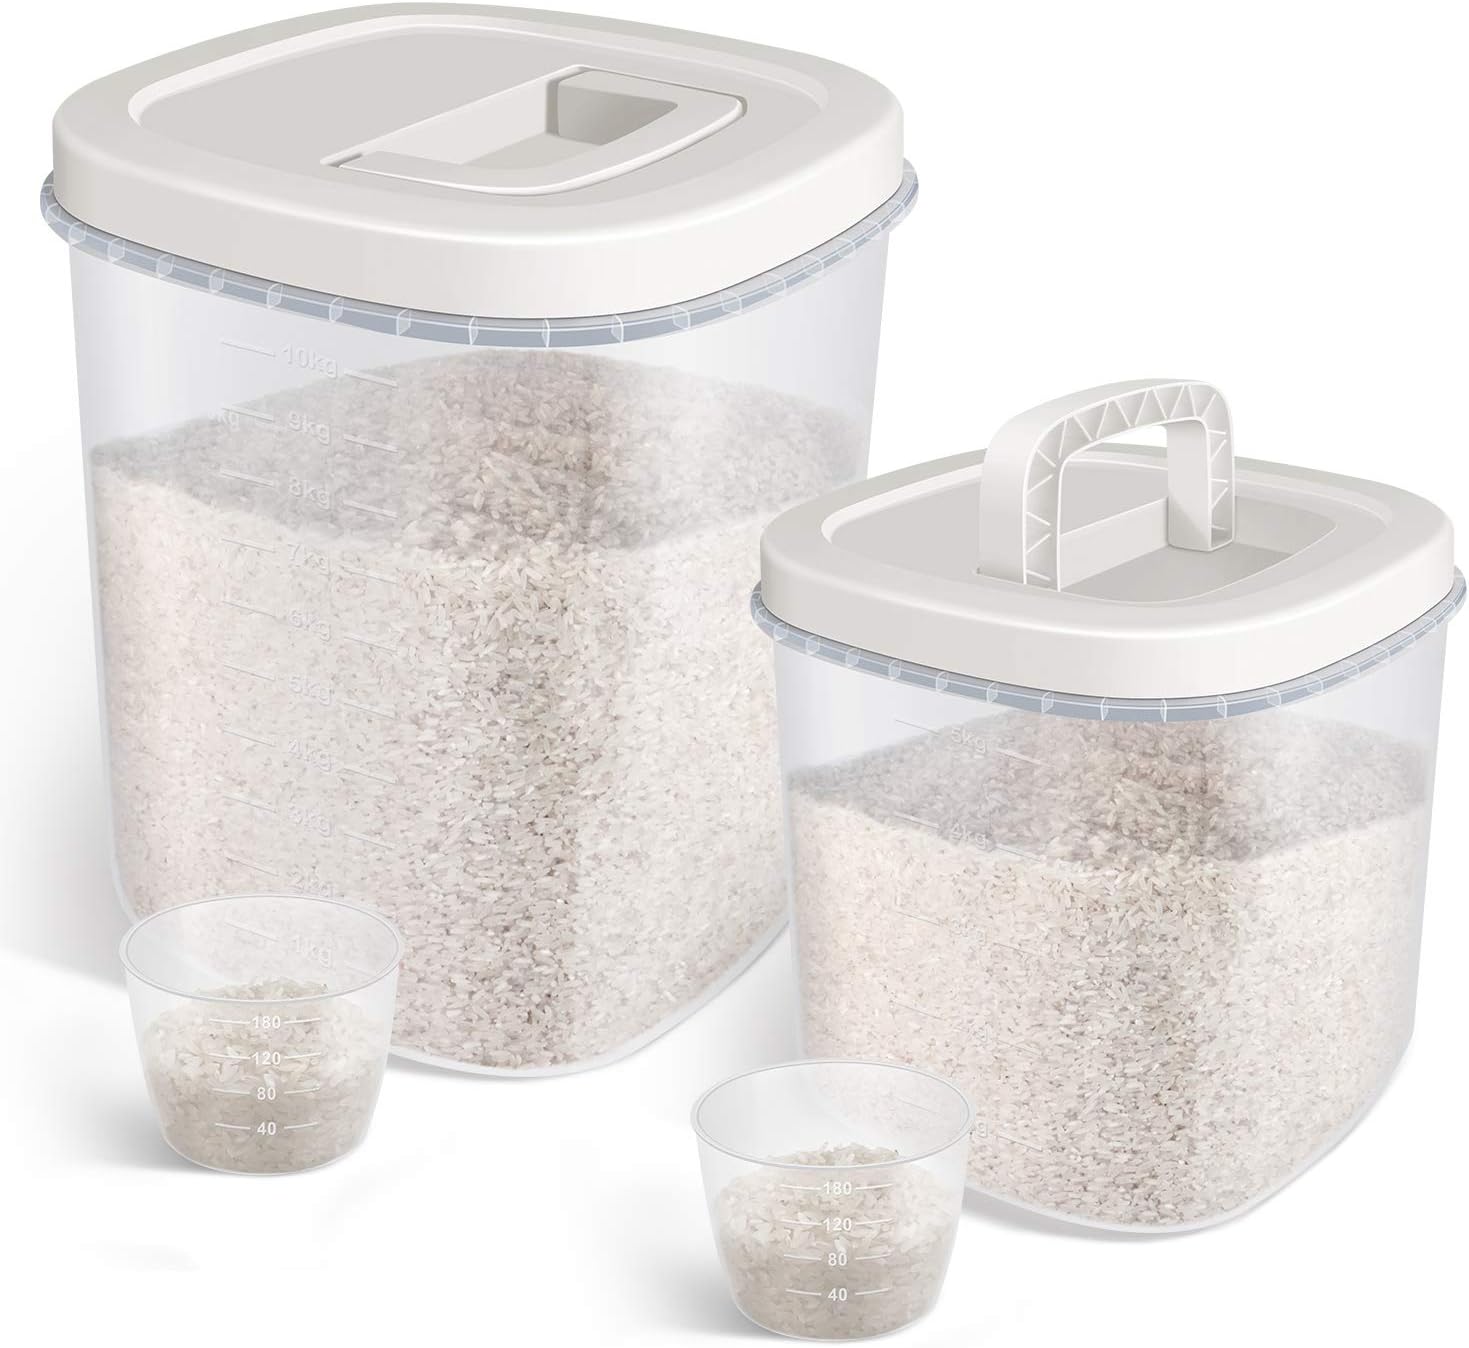
When it comes to storing bread flour, choosing the right container is crucial for maintaining its freshness and quality. The ideal container should protect the flour from air, moisture, and contaminants. Here are some factors to consider when selecting a container for bread flour storage:
Airtight Seal: Look for containers with airtight seals or lids that fit tightly. This will prevent air from entering the container and oxidizing the flour, ensuring its long-term freshness.
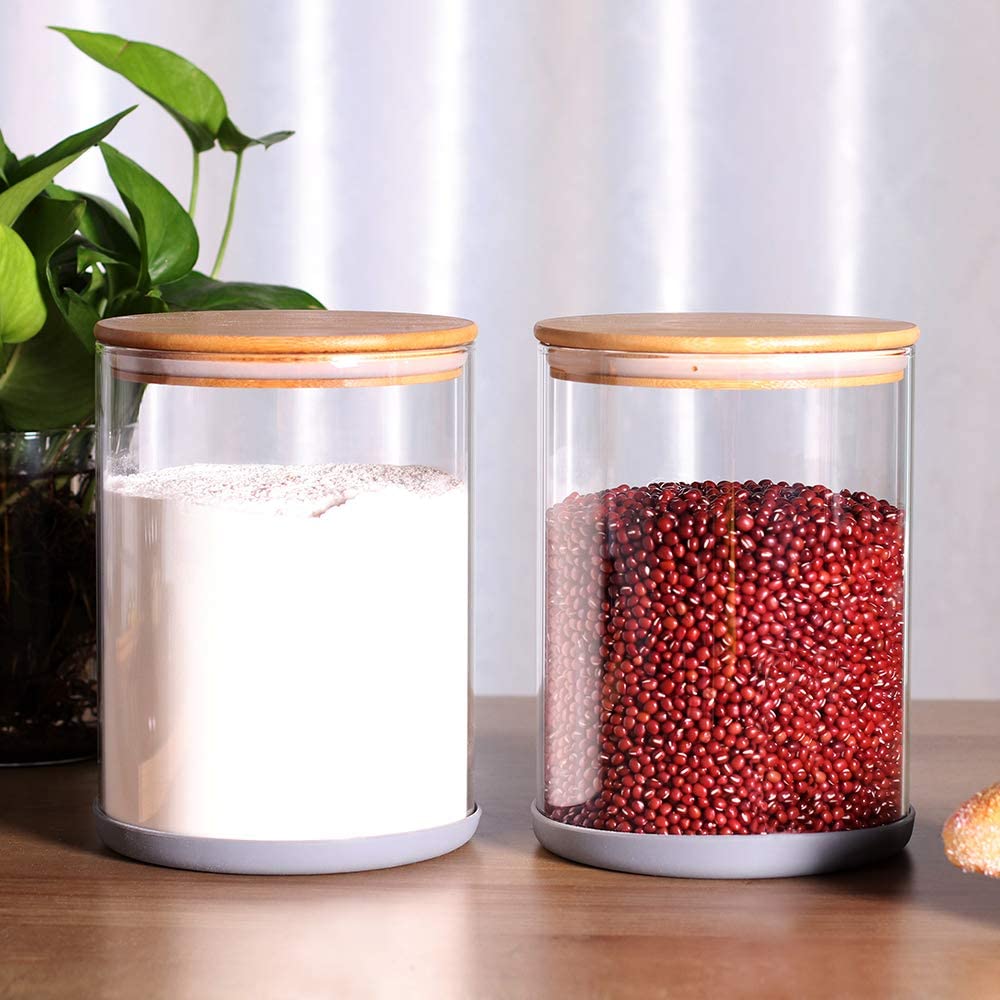
Material: Opt for containers made of food-grade materials like plastic, glass, or metal. These materials are non-reactive and will not impact the flavor or quality of the flour.
Transparency: Choosing a transparent or translucent container allows you to easily see the contents and monitor the flour’s condition without opening the container.
Size: Consider the size of your container based on the amount of bread flour you usually use. It’s better to have a slightly larger container than needed to allow for extra space for proper sealing and easy access to the flour.
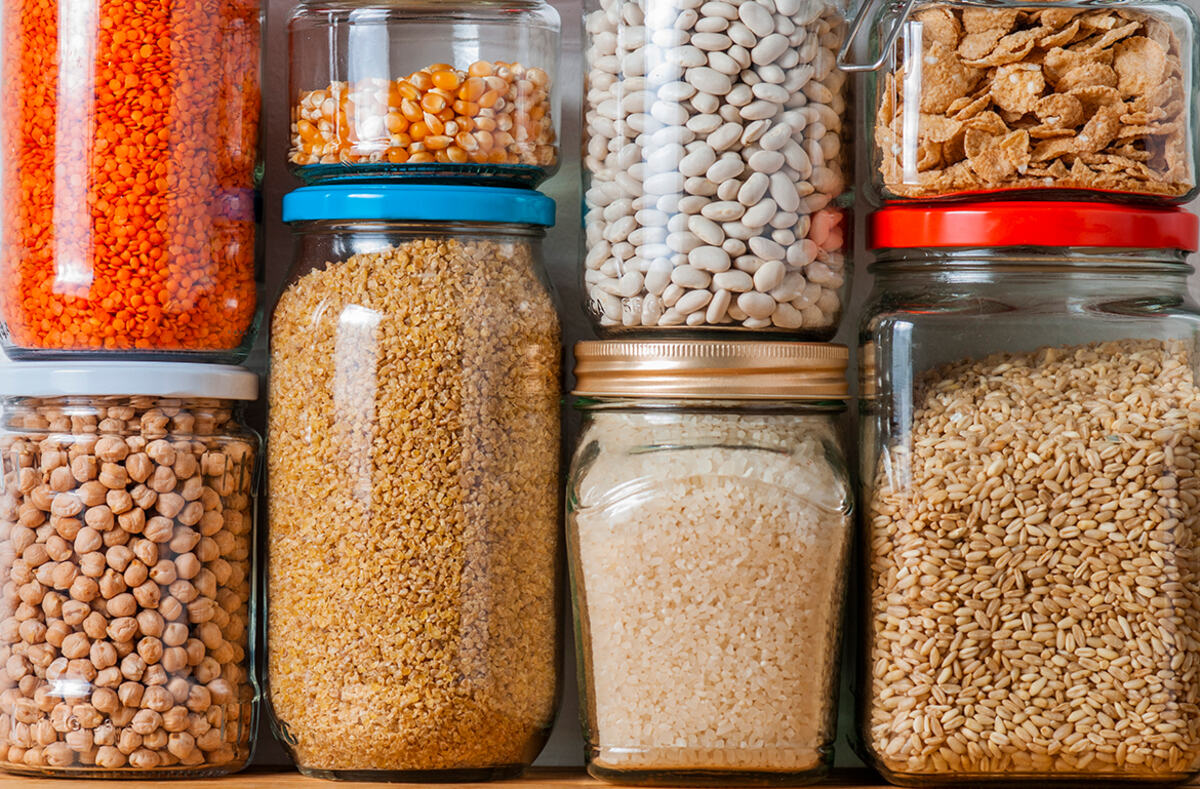
Stackability: If you have limited storage space, consider containers that are stackable. This will help maximize the use of vertical space and keep your pantry or cupboard organized.
Easy to Clean: Ensure that the container is easy to clean and maintain. It’s essential to keep the container free from any residue or contaminants that can affect the freshness of the flour.
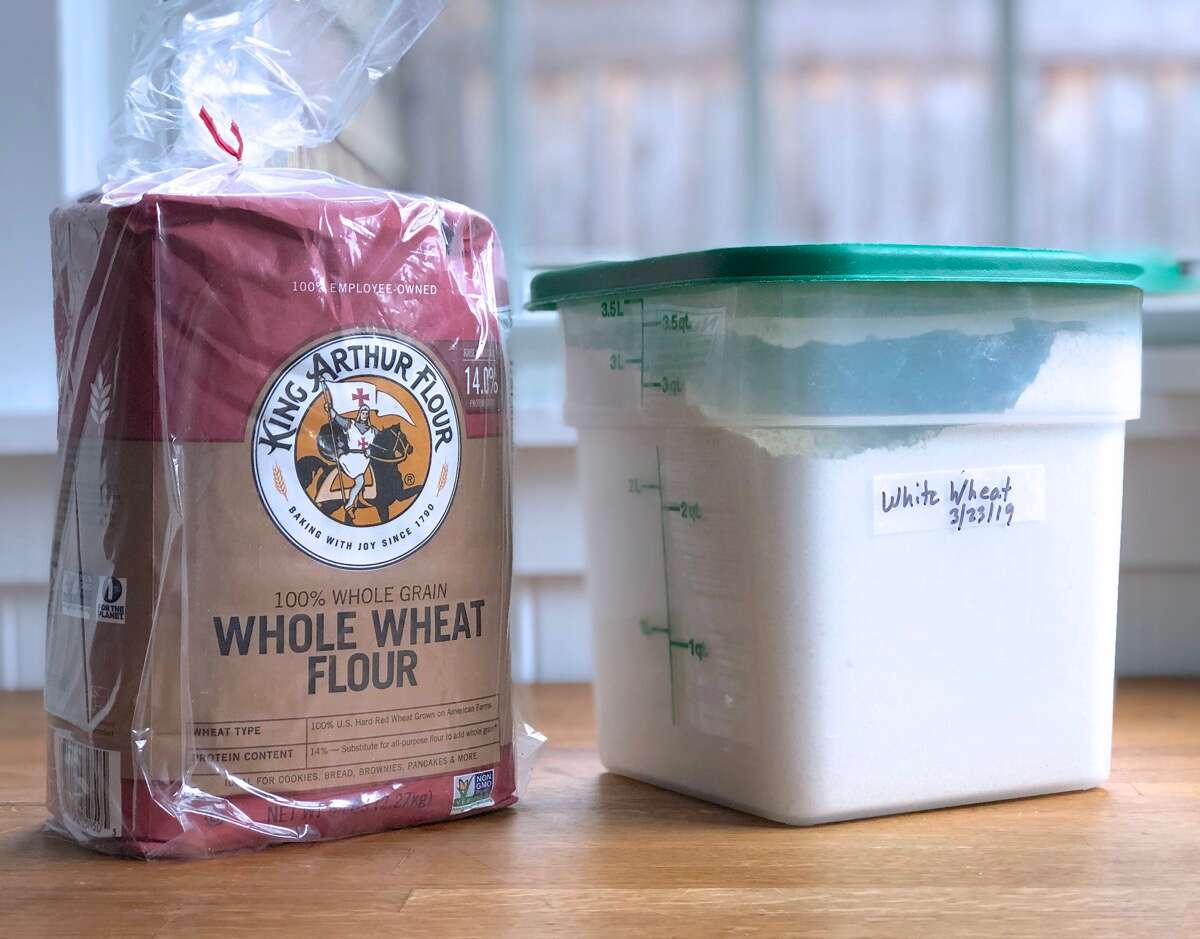
Labeling: Choose containers that have a surface suitable for labeling. Labeling the container with the type of flour and the date of storage will help you keep track of the flour’s freshness and usage.
Remember, the container plays a vital role in preserving the quality of your bread flour. Selecting a container that meets these criteria will go a long way in maintaining the flour’s freshness, flavor, and usability.
In the next sections, we will delve into the best practices for storing bread flour in a cool and dry place, using airtight containers for preservation, and avoiding exposure to moisture.
Read more: How To Store Flour Long Term In Buckets
Storing Bread Flour in a Cool and Dry Place
One of the essential factors in storing bread flour long term is ensuring that it is kept in a cool and dry place. Here are some guidelines to follow when selecting the storage location:
Avoid Heat and Sunlight: Heat can accelerate the degradation of bread flour, leading to a decrease in protein content and potential spoilage. Avoid storing flour near heat sources such as ovens, stoves, or direct sunlight. Choose a location that maintains a consistently cool temperature.
Choose a Dark Space: Sunlight can cause the flour to undergo oxidation, resulting in off-flavors and odors. Opt for a dark storage area, such as a pantry or cupboard, to protect the flour from exposure to light.
Keep Away from Moisture: Moisture can lead to clumping, the growth of mold or bacteria, and the deterioration of the flour. Avoid storing bread flour in areas with high humidity, such as near sinks or in the refrigerator. Ensure the storage space is dry and adequately ventilated.
Avoid Strong Odors: Bread flour has a tendency to absorb odors from its surroundings, which can affect the flavor of your baked goods. Keep the flour away from strong-smelling substances such as spices, cleaning products, or pungent foods.
Consider Temperature Fluctuations: Extreme temperature fluctuations can impact the quality of the flour. Avoid storing bread flour in areas subjected to frequent temperature changes, such as near vents or in garages. A stable temperature will help maintain the flour’s freshness and performance.
Use Sealed Containers: Store your bread flour in airtight containers to provide an additional layer of protection against air, moisture, and contaminants. This will help maintain the flour’s quality and prolong its shelf life.
By following these guidelines and selecting a suitable storage location, you can ensure that your bread flour remains in optimal condition. In the next section, we will discuss the use of airtight containers for bread flour preservation, providing an extra level of protection against spoilage and maintaining the flour’s freshness.
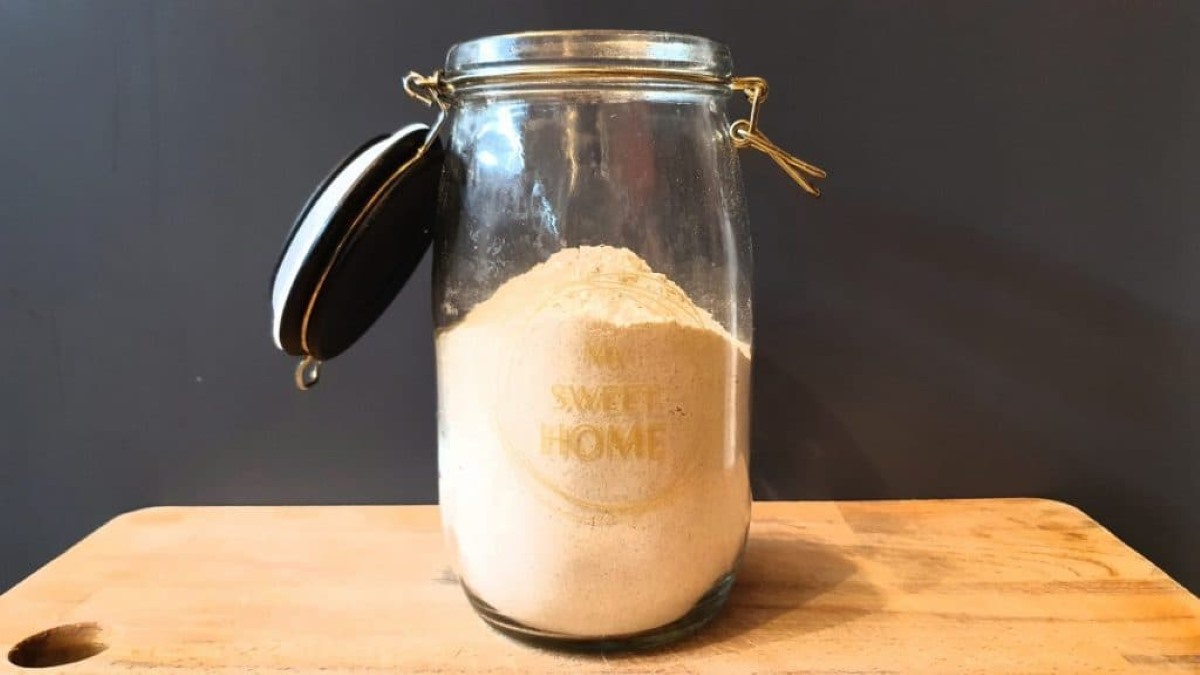
Store bread flour long term in an airtight container in a cool, dark place, such as a pantry or cupboard. Keep it away from heat and moisture to maintain its freshness.
Using Airtight Containers for Bread Flour Preservation
When it comes to storing bread flour long term, using airtight containers is highly recommended. Airtight containers provide an additional layer of protection against air, moisture, and contaminants, preserving the freshness and quality of the flour. Here are some key benefits of using airtight containers for bread flour preservation:
Sealing out Air: Airtight containers create a barrier against air, preventing oxygen from reaching the flour. This is crucial because exposure to air can lead to the oxidation of the oils present in the flour, causing it to go rancid and negatively impacting its flavor and quality.
Preventing Moisture Absorption: Airtight containers minimize the risk of moisture absorption, as they create a sealed environment. Moisture can lead to clumping of the flour, the growth of mold or bacteria, and a decrease in its overall quality. Storing bread flour in airtight containers ensures that it remains dry and safe for use.
Protecting against Contaminants: Airtight containers help safeguard bread flour from pests, insects, and other airborne particles that can contaminate the flour. Keeping the flour in a sealed container ensures that it stays free from any external factors that could compromise its freshness and usability.
Preserving Aroma and Flavor: Airtight containers help trap the natural aroma and flavor of the bread flour, preventing it from dissipating over time. This ensures that your baked goods are infused with the delightful essence that high-quality bread flour provides.
Easy Monitoring: Transparent or translucent airtight containers allow you to monitor the condition of the flour without opening the container. This eliminates the need for unnecessary exposure to air and helps you keep track of the amount and freshness of the flour.
Stackability and Space Efficiency: Airtight containers are often designed to be stackable, maximizing the use of vertical space in your storage area. This helps keep your pantry or cupboard organized and makes it easier to access and retrieve the flour when needed.
When selecting an airtight container, ensure that it is made of food-grade materials such as plastic, glass, or metal. These materials are safe for storing food and will not impact the quality or flavor of the flour. Additionally, choose a container size that allows for proper sealing and leaves some extra space for easy access and handling.
Using airtight containers for bread flour preservation will significantly extend its shelf life, maintaining its freshness and usability over time. In the next section, we will explore ways to avoid the exposure of bread flour to moisture, which is another critical aspect of long-term storage.
Avoiding Exposure to Moisture
Moisture is one of the biggest enemies when it comes to storing bread flour long term. Exposure to moisture can lead to clumping, the growth of mold or bacteria, and a decrease in the overall quality of the flour. Here are some essential tips to help you avoid exposure to moisture and keep your bread flour fresh and dry:
Choose a Dry Storage Location: Select a cool and dry storage area for your bread flour. Avoid storing it near sources of moisture such as sinks, dishwashers, or humid areas of the kitchen. A dry environment is crucial to prevent the absorption of moisture by the flour.
Keep Containers Sealed: Ensure that your airtight containers are properly sealed to prevent any entry of moisture. Check the seals regularly to make sure they are intact and functioning effectively. Replace any damaged or faulty seals to maintain the moisture barrier.
Use Desiccant Packs: Adding desiccant packs to your storage containers can help absorb any moisture that may be present. These packs are often used in food packaging to maintain dryness, and they can be purchased online or in stores that sell baking supplies.
Avoid Condensation: Condensation can occur when there are temperature fluctuations or when cold and warm air meet. For example, if you take the flour out of the freezer and place it directly in a warm and humid kitchen, condensation can form on the container. To avoid this, allow the flour to come to room temperature gradually before opening the container.
Refrigeration or Freezing: While it is generally not recommended to refrigerate or freeze bread flour, if you live in a hot and humid environment, you may consider doing so to prolong its shelf life. However, ensure that the flour is properly sealed in a moisture-proof container before refrigerating or freezing it.
Avoid Scooping from the Bag: When using bread flour, avoid scooping directly from the original bag back into the bag. This can introduce moisture and contaminants into the remaining flour. Instead, use a clean and dry measuring cup or scoop and transfer the flour to a separate container.
Regularly Check for Signs of Moisture: Periodically inspect your bread flour for any signs of moisture, such as clumps or unusual odors. If you suspect that moisture has entered the container, transfer the flour to a new, dry container and discard any flour that appears compromised.
By following these guidelines and being vigilant about moisture prevention, you can ensure that your bread flour remains dry and usable for an extended period. In the next section, we will delve into the best practices for freezing bread flour, which can be a viable option for long-term storage.
Best Practices for Freezing Bread Flour
Freezing bread flour can be a useful option for long-term storage, particularly if you want to extend its shelf life and maintain its freshness. However, there are some best practices to follow to ensure that the flour is properly frozen and retains its quality. Here are the steps to effectively freeze bread flour:
1. Use a Freezer-Safe Container: Transfer the bread flour to a freezer-safe, airtight container or resealable plastic bag. Make sure the container is designed for freezer use to prevent any moisture or air from entering.
2. Remove Excess Air: Squeeze out as much air as possible from the container or plastic bag before sealing it. This will help prevent freezer burn and maintain the quality of the flour.
3. Label and Date: Clearly label the container with the type of flour and the date of freezing. This will help you keep track of the flour’s freshness and usage, ensuring that you use the oldest frozen flour first.
4. Store in the Freezer: Place the container of bread flour in the freezer, preferably in the coldest part. Maintain a constant freezing temperature (0°F or -18°C) to preserve the flour’s freshness and prevent any potential spoilage.
5. Thawing the Frozen Flour: When you’re ready to use the frozen bread flour, remove it from the freezer and allow it to thaw gradually at room temperature. This will help prevent condensation from forming on the flour, which can lead to clumping and loss of quality.
6. Mixing and Sifting: After thawing, gently mix and sift the flour to ensure that it is evenly distributed and free of any clumps. This will help maintain its texture and ensure accurate measurement in your recipes.
7. Use within a Reasonable Timeframe: While properly stored frozen bread flour can last for a long time, it is recommended to use it within a reasonable timeframe. Aim to use the frozen flour within 1 to 2 years for optimal quality and performance.
It’s important to note that freezing bread flour may cause a slight change in texture compared to fresh flour. However, the impact on baking results is usually minimal, especially for yeast-based bread recipes that require gluten development.
By following these best practices, you can effectively freeze bread flour and extend its shelf life, providing you with a readily available supply of flour for your baking needs. In the next section, we will discuss the importance of labeling and date tracking to keep track of the freshness of your stored bread flour.
Read more: How To Store Flour And Sugar Long Term
Labeling and Date Tracking for Long-Term Storage
Labeling and date tracking are essential practices when it comes to long-term storage of bread flour. They help you keep track of the freshness of the flour and ensure that you use the oldest stock first. Here’s why labeling and date tracking are important:
Organization: Labeling your containers with the type of bread flour and the date of storage helps you stay organized in your pantry or storage area. This makes it easier to locate and access the specific flour you need, especially if you have multiple varieties of bread flour.
Quality Control: By noting the date of storage, you can accurately track how long the bread flour has been stored. This information enables you to use the oldest flour first, reducing the chances of it becoming stale or losing its quality over time.
Freshness Assessment: Labeling the containers with the flour type and date allows you to quickly assess the freshness of your bread flour. It helps you determine its shelf life and decide whether it is still suitable for use in your baking recipes.
Rotation: Practicing proper rotation ensures that you use your stored bread flour before purchasing or using new flour. By using the oldest flour first, you prevent the risk of stockpiling and wasting unused flour that may expire before being used.
Inventory Control: Labeling and date tracking provide a means of inventory control for your bread flour stock. You can easily assess how much flour you have left, plan for replenishment, and avoid running out of flour when you need it for baking.
To effectively label and track your bread flour, consider the following tips:
Clear and Legible: Use a permanent marker or labels that can withstand moisture or contact with the flour. Ensure that the labels are clear and legible, making it easy to identify the flour type and the date of storage.
Consistent Location: Choose a consistent location on your container or bag to place the label. This will ensure that the information is easily visible and accessible when you need it.
Regular Check and Update: As you use the bread flour, regularly check and update the labels to reflect the amount of flour remaining and the new date of storage. This helps maintain accurate records and ensures that you stay on top of your inventory.
By implementing proper labeling and date tracking practices, you can effectively manage and utilize your stored bread flour, maintaining its freshness and quality over time. In the next section, we will discuss the importance of checking your bread flour for freshness before using it in your baking recipes.
Checking Bread Flour for Freshness before Use
Before using your stored bread flour in baking recipes, it’s important to check its freshness to ensure optimal results. Here are some easy methods to determine if your bread flour is still fresh:
Visual Inspection: Start by visually inspecting the flour for any signs of spoilage. Look for discoloration, unusual spots, or the presence of insects or pests. If you notice any of these signs, discard the flour as it may be contaminated or past its prime.
Aroma: Take a whiff of the flour. Fresh bread flour should have a mild, slightly sweet aroma. If you detect any off-smells such as rancidity or a musty odor, it’s an indication that the flour has gone bad and should not be used.
Texture and Consistency: Feel the flour between your fingers. Fresh bread flour should have a soft, powdery texture without clumps. If you notice hard lumps or a grainy consistency, the flour may have absorbed moisture or become stale, resulting in poor baking performance.
Taste Test (optional): You can perform a small taste test to gauge the freshness of the bread flour. While the flavor of plain flour may not be pleasant, it should not have any bitter or unpleasant taste. However, keep in mind that raw flour may contain harmful bacteria, so it’s best to avoid tasting it unless you are using a heat-treated or pasteurized flour product.
It’s essential to note that bread flour, like any other food product, has a limited shelf life. Over time, the protein content in bread flour can decrease, leading to changes in its baking properties and resulting in subpar bread. If you find that your stored bread flour is past its freshness or exhibits spoilage signs, it’s best to discard it and replace it with a fresh supply.
If your bread flour passes the freshness assessment, it is ready to be used in your favorite bread recipes. Just measure out the required amount, ensuring that you level off the measuring cup or spoon to achieve accurate proportions.
By regularly checking the freshness of your bread flour, you can guarantee the best possible baking outcomes and enjoy delicious homemade bread every time. In the concluding section, we will summarize the main points discussed in this guide on storing bread flour long term.
Conclusion
Proper storage of bread flour is essential to maintain its freshness, quality, and usability over time. By following the guidelines outlined in this comprehensive guide, you can ensure that your bread flour remains in optimal condition for all your baking adventures.
We started by understanding the unique properties of bread flour, its high protein content, and its importance in achieving the desired texture and structure of bread. We then explored the factors that can affect the shelf life of bread flour, such as exposure to air, moisture, and temperature fluctuations.
Choosing the right container for storage is crucial, and we discussed the benefits of using airtight containers made of food-grade materials. These containers create a barrier against air, moisture, and contaminants, preserving the flour’s freshness and quality. We also emphasized the importance of avoiding exposure to moisture and provided tips to keep bread flour dry and safe from clumping or spoilage.
If you need to store bread flour for an extended period, freezing can be an effective method. We discussed the best practices for freezing bread flour, including using freezer-safe containers, labeling, and proper thawing techniques.
We also covered the significance of labeling and date tracking to ensure proper inventory management and rotation of your bread flour stock. By following a first-in, first-out approach, you can use the oldest flour first, reducing waste and ensuring its freshness.
Lastly, we highlighted the importance of checking bread flour for freshness before using it in your baking recipes. Visual inspection, aroma, texture, and, optionally, a taste test can help determine if the flour is still suitable for use.
Incorporating these practices into your bread flour storage routine will help you achieve consistent baking results and enjoy the full potential of your homemade bread. Remember to store bread flour in a cool, dry place, use airtight containers, avoid exposure to moisture, and label and date your storage containers.
With these guidelines, you can confidently store your bread flour long term and indulge in the joy of baking fresh, delicious bread whenever you desire. So, stock up on your favorite bread flour, follow these tips, and unleash your baking creativity with confidence!
Frequently Asked Questions about How To Store Bread Flour Long Term
Was this page helpful?
At Storables.com, we guarantee accurate and reliable information. Our content, validated by Expert Board Contributors, is crafted following stringent Editorial Policies. We're committed to providing you with well-researched, expert-backed insights for all your informational needs.


0 thoughts on “How To Store Bread Flour Long Term”