Tableware
How To Make Charger Plates
Modified: August 17, 2024
Learn how to make charger plates with this easy step-by-step guide. Discover creative ideas and techniques to elevate your tableware game.
(Many of the links in this article redirect to a specific reviewed product. Your purchase of these products through affiliate links helps to generate commission for Storables.com, at no extra cost. Learn more)
Introduction
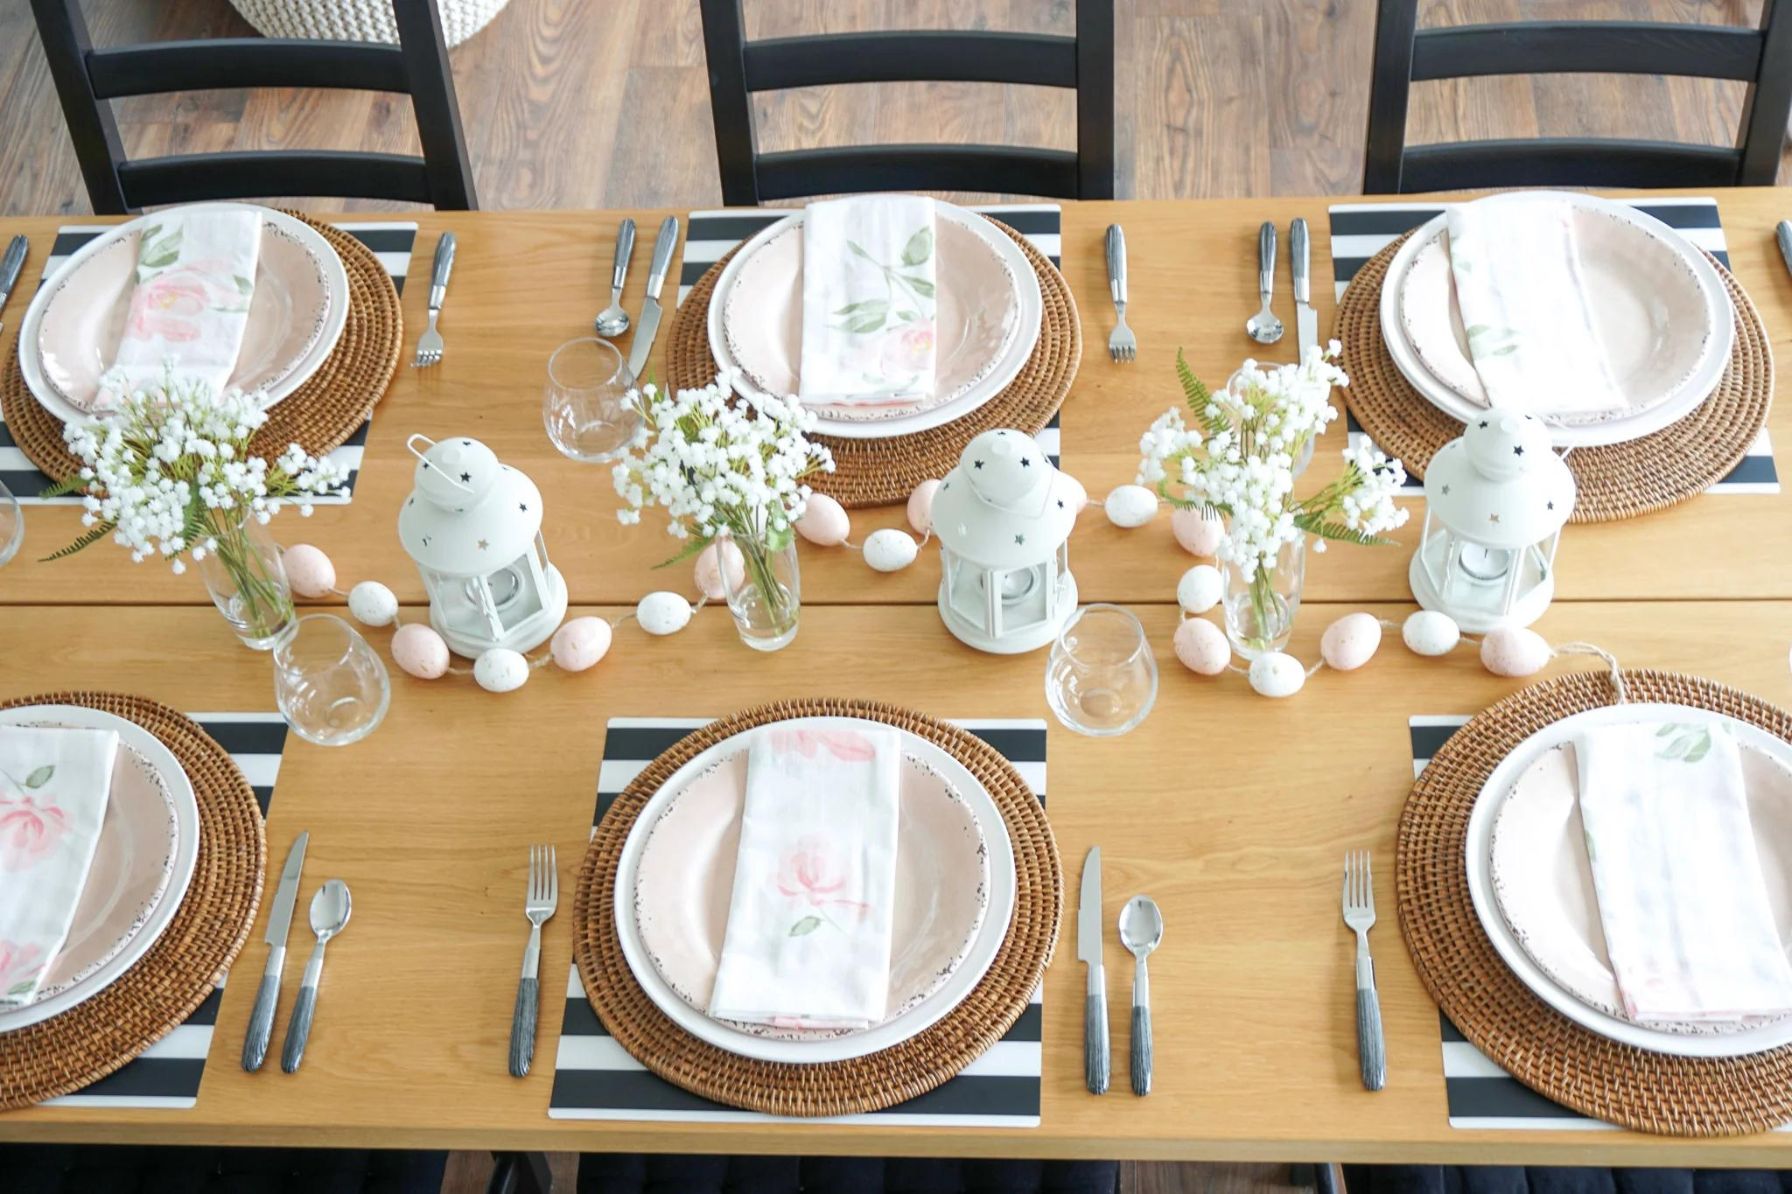
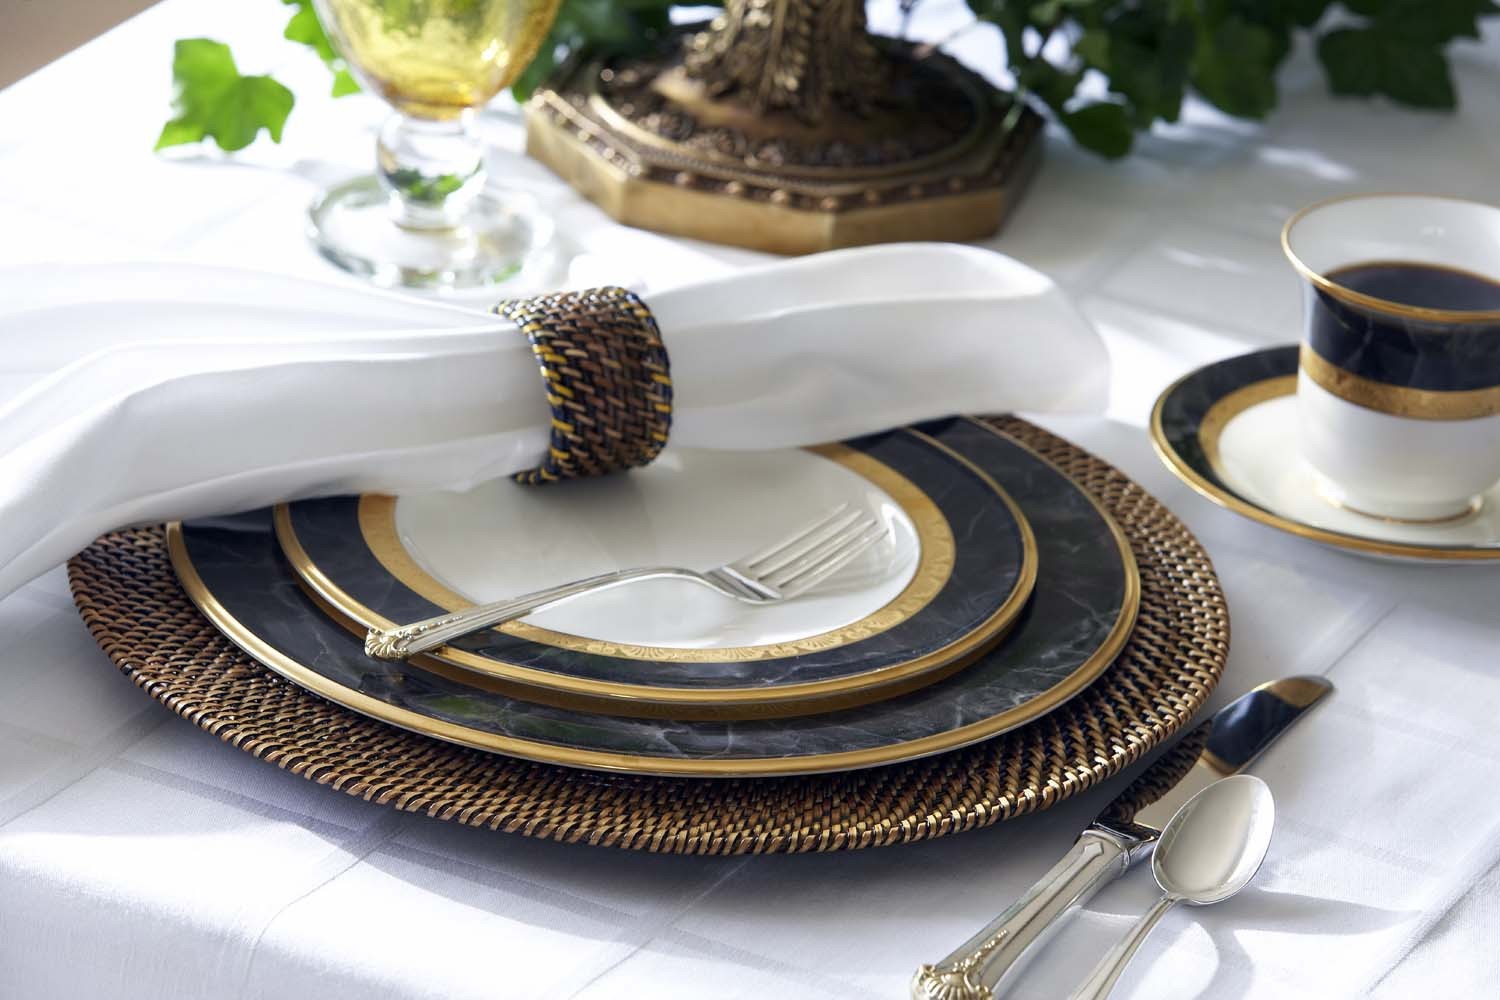
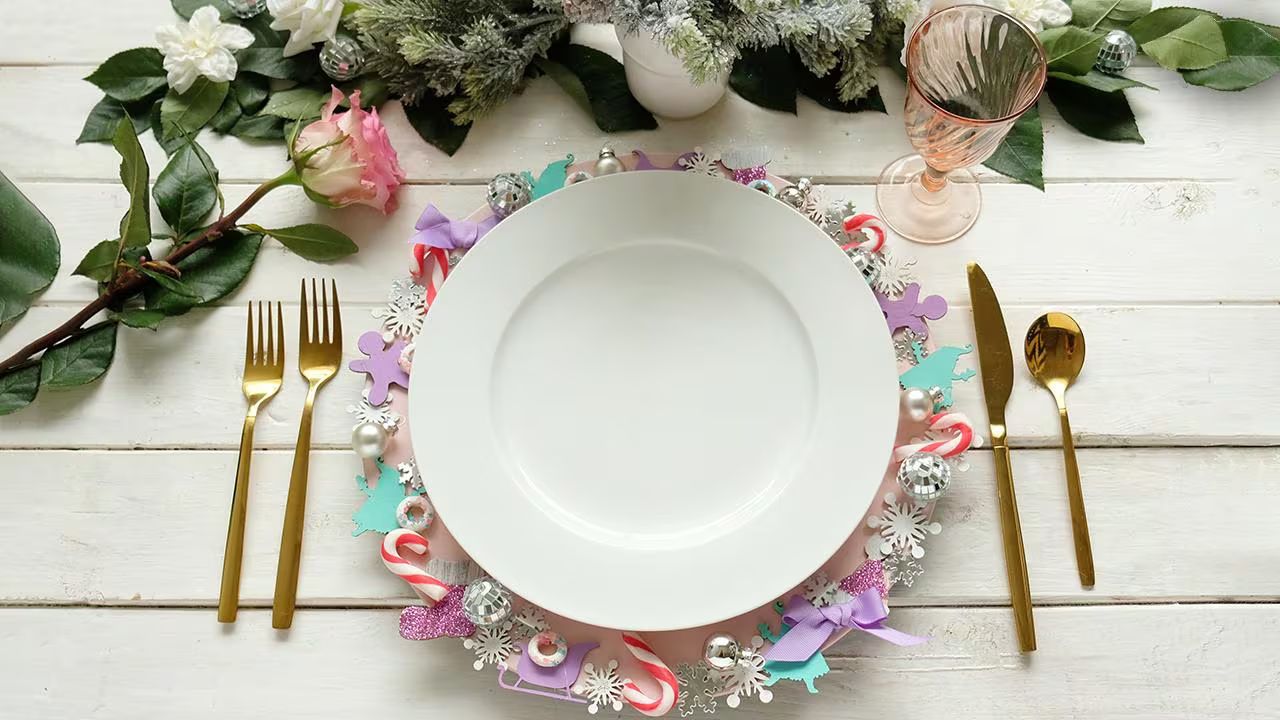
Welcome to the world of charger plates, where elegance meets functionality. Charger plates, also known as service plates or dinner plates, are larger decorative plates that are placed beneath the main dinnerware during a formal gathering or special occasion. They serve both practical and aesthetic purposes, adding a touch of sophistication to the table setting while also protecting the tablecloth or table surface from spills and stains.
Charger plates come in a wide variety of materials, designs, and sizes, allowing you to unleash your creativity and personalize your table setting. Whether you’re hosting a formal dinner party, a wedding reception, or simply want to elevate your everyday dining experience, making your own charger plates can be a rewarding and cost-effective project.
In this article, we will guide you through the process of making charger plates step-by-step. From selecting the right materials to adding decorative elements and applying finishing touches, you’ll learn all the tips and tricks to create stunning charger plates that perfectly complement your table decor.
So, roll up your sleeves and let’s dive into the art of charger plate making!
Key Takeaways:
- Elevate your table setting with DIY charger plates that combine functionality and elegance. Unleash your creativity, personalize your decor, and craft stunning charger plates for any occasion.
- Transform plain base plates into visually appealing decorative pieces. Experiment with designs, textures, and embellishments to create unique charger plates that reflect your personal style and add a special touch to your dining experiences.
Read more: How To Store Charger Plates
Materials Needed
Before we begin, let’s gather all the materials you’ll need to make your own charger plates. Here’s a list of essential supplies:
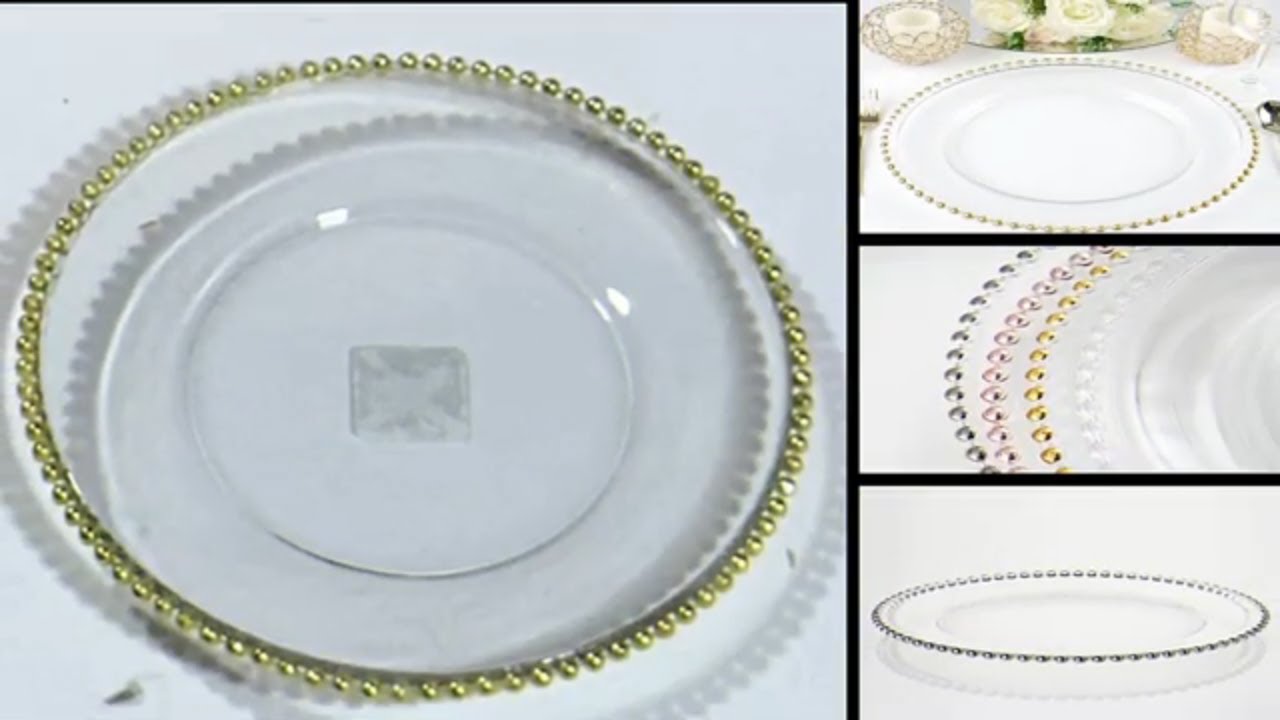
- Base Plates: Start by selecting the base plates for your charger plates. These can be plain ceramic or glass plates, preferably in a larger size than your regular dinnerware.
- Decorative Paper or Fabric: Choose a decorative paper or fabric that matches your desired theme or style. This will be used to cover the base plates and add a pop of color or pattern to your charger plates.
- Mod Podge or Craft Glue: You’ll need a strong adhesive to attach the decorative paper or fabric to the base plates. Mod Podge is a popular choice, as it works well on various surfaces and provides a durable finish.
- Scissors: A pair of sharp scissors will come in handy for cutting the decorative paper or fabric to the appropriate size and shape.
- Brushes: Have a set of brushes ready, including a foam brush for applying the adhesive and a small detail brush for touch-ups.
- Sealer or Varnish: To ensure longevity and protect your charger plates, consider using a sealer or varnish. This will add a glossy finish and guard against minor spills or scratches.
- Optional: If you want to take your charger plates to the next level, consider embellishments such as ribbons, beads, or faux flowers. These can be attached to the rim of the charger plates for an extra touch of elegance.
Now that you have all the necessary materials, let’s move on to the step-by-step process of making your own charger plates!
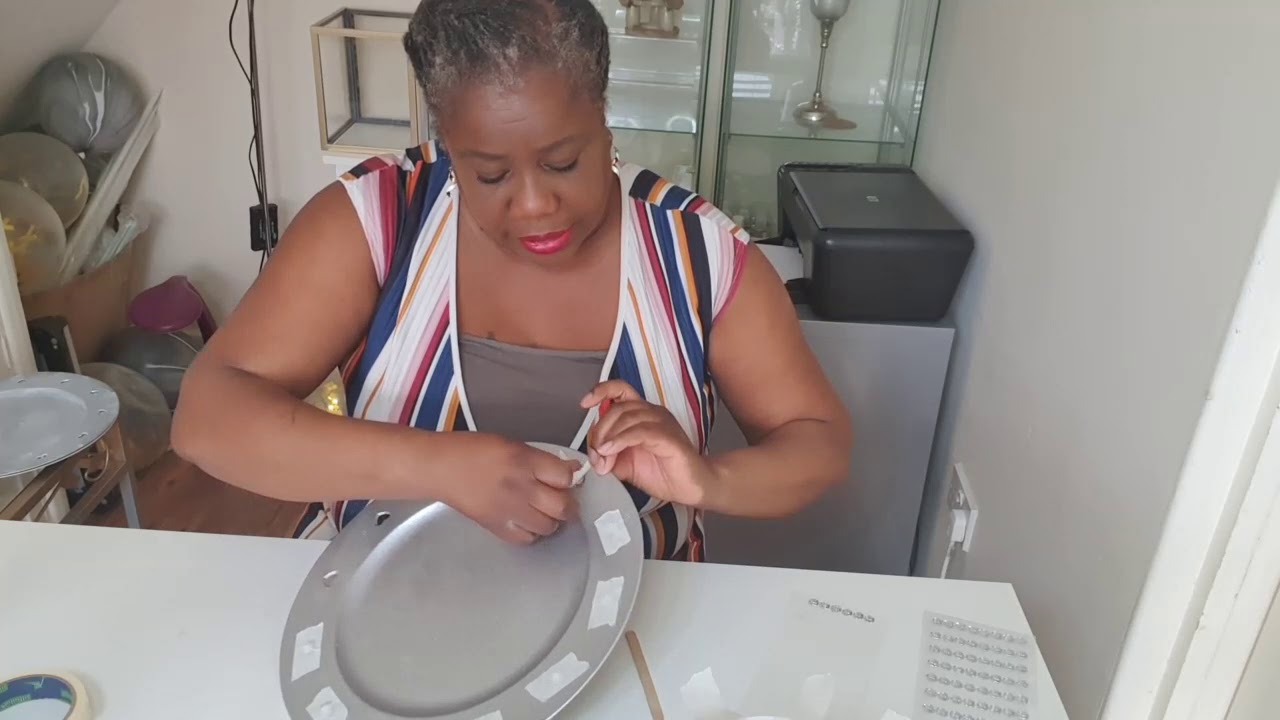
Step 1: Preparing the Base
The first step in making charger plates is to prepare the base plates. Follow these instructions to ensure a smooth and professional-looking base:
- Clean the Plates: Start by thoroughly cleaning the base plates. Remove any dust, grease, or residue by washing them with warm soapy water and drying them completely.
- Measure and Cut: Take the decorative paper or fabric and measure it to fit the surface of the base plates. Use a ruler and a pencil to mark the dimensions, leaving a slight overlap for a secure attachment. Carefully cut the paper or fabric along the marked lines.
- Apply Adhesive: Using a foam brush, apply a thin, even layer of Mod Podge or craft glue to the underside of the decorative paper or fabric. Ensure complete coverage but avoid applying excessive adhesive that might cause bubbling or wrinkling.
- Attach the Paper or Fabric: Carefully place the adhesive-coated side of the paper or fabric onto the center of the base plate. Smooth it out gently from the center towards the edges to remove any air bubbles or wrinkles. Press firmly to ensure a secure attachment.
- Trim the Excess: If there is any excess paper or fabric hanging over the edges of the base plate, use scissors to trim it off. Take your time and make precise cuts to achieve clean and neat edges.
- Repeat for Remaining Plates: Repeat the above steps for each base plate you intend to turn into a charger plate. Take your time and maintain consistency in applying the adhesive and attaching the decorative material.
Once you have prepared the base plates, you’re ready to move on to the next step: adding decorative elements to make your charger plates truly eye-catching!
When making charger plates, consider using materials such as acrylic, glass, or metal for a durable and elegant finish. Be sure to measure and cut the materials accurately to ensure a perfect fit for your dinnerware.
Step 2: Adding Decorative Elements
Now that you have prepared the base plates, it’s time to unleash your creativity and add decorative elements to make your charger plates truly stand out. Follow these steps to add a personal touch:
- Choose Your Design: Decide on the design and aesthetic you want for your charger plates. You can opt for a single pattern or mix and match different designs for a more eclectic look.
- Embellishments: If you want to add embellishments like ribbons, beads, or faux flowers, now is the time to do so. Attach them to the rim of the charger plates using craft glue or a hot glue gun. Be mindful of the placement and spacing to achieve a balanced and visually appealing result.
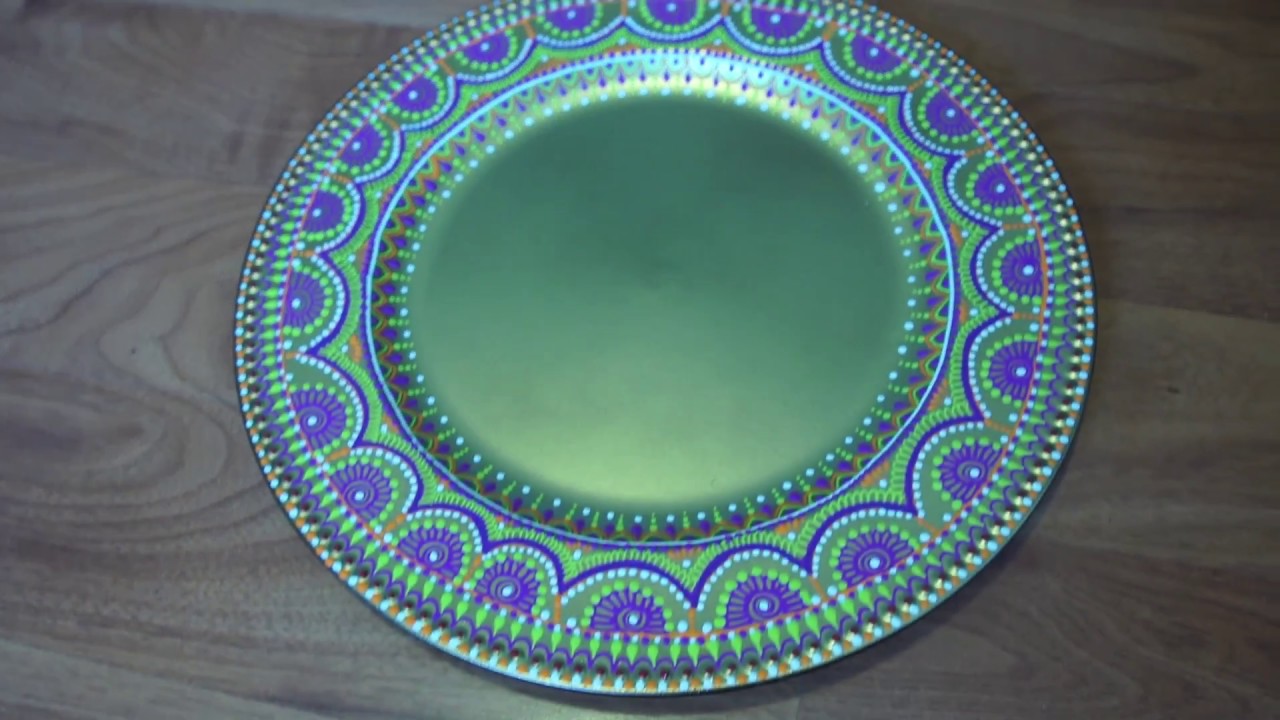
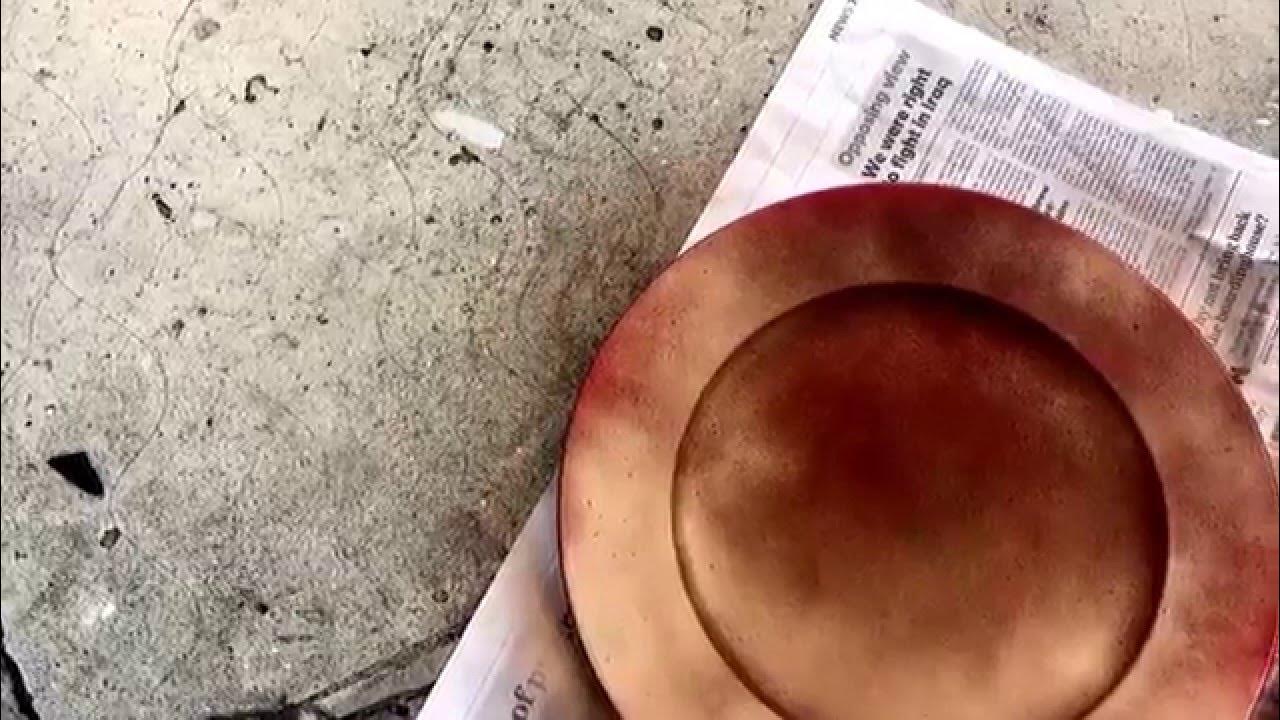
- Paint or Stencil: If you’re feeling artistic, consider using acrylic paints or stencils to add unique designs or patterns to the charger plates. This can be a fun way to incorporate your personal style and make each plate one-of-a-kind.
- Layering and Texture: Experiment with different textures and layering techniques. You can use textured paper, fabric, or even decoupage with images or motifs to create a visually interesting and tactile surface on the charger plates.
- Color Coordination: Keep in mind the color scheme of your table setting and choose decorative elements that complement or contrast with it. This will help create a cohesive and visually appealing dining experience.
Remember, this is where you can let your creativity shine. Don’t be afraid to try new techniques or incorporate elements that reflect your personal style and the occasion you’re preparing for.
Once you’re satisfied with the decorative elements on your charger plates, it’s time to move on to the final step: applying finishing touches to ensure durability and longevity.
Step 3: Applying Finishing Touches
After adding decorative elements to your charger plates, it’s important to apply finishing touches to enhance their durability and longevity. Follow these steps to ensure your charger plates are ready for use:
- Sealant or Varnish: To protect the decorative elements and provide a glossy finish, apply a thin coat of sealant or varnish to the entire surface of the charger plates. This will help prevent any damage from spills or scratches and ensure they can be easily wiped clean after use.
- Drying Time: Allow the sealant or varnish to dry according to the manufacturer’s instructions. This step is crucial to ensure the durability and effectiveness of the protective layer.
- Inspect for Imperfections: Once the sealant or varnish has dried, carefully inspect the charger plates for any imperfections or areas that may need touch-ups. Use a small detail brush and matching paint or adhesive to fix any flaws and create a polished final look.
- Curing Period: Some sealants or varnishes may require a curing period to reach their full effectiveness. Follow the instructions provided with the product to ensure your charger plates are fully cured before use.
By applying finishing touches, you are not only adding a layer of protection but also ensuring that your charger plates maintain their beauty for years to come.
Once the finishing touches are complete, your DIY charger plates are ready to take center stage on your table, adding elegance and sophistication to any occasion.
Remember to handle your charger plates with care when using and storing them, as they are precious creations that deserve special attention.
With these simple steps, you can now enjoy the pride and satisfaction of creating your very own charger plates that perfectly complement your table decor and add an extra touch of elegance to your dining experiences. So, gather your materials, unleash your creativity, and start crafting your beautiful charger plates today!
Happy crafting!
Read more: How To Wash Charger Plates
Conclusion
Congratulations! By following the step-by-step process outlined in this article, you have successfully learned how to make charger plates that will set your table with a touch of elegance and sophistication. You have transformed plain base plates into stunning decorative pieces that are both functional and visually appealing, ready to enhance any table setting.
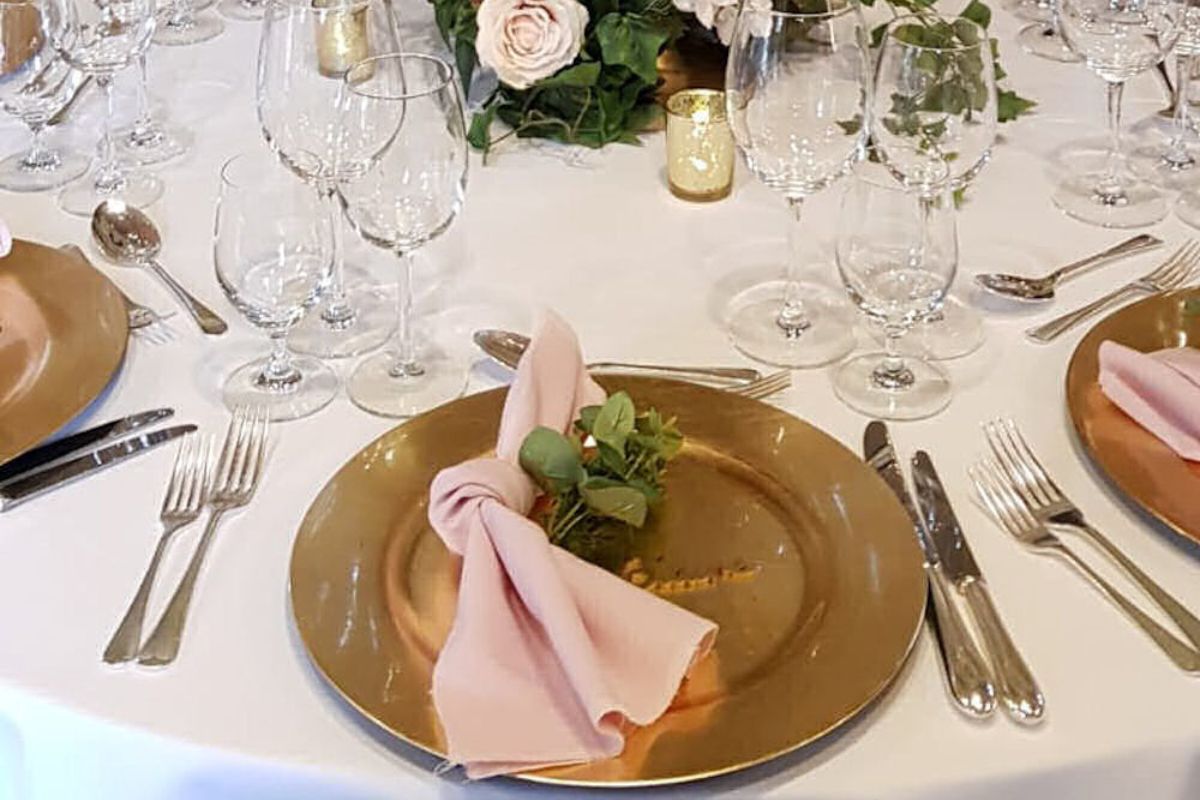
Making your own charger plates allows you to unleash your creativity and personalize your table decor to suit any occasion. Whether it’s a formal dinner, a wedding reception, or a special gathering with loved ones, your DIY charger plates will effortlessly elevate the ambiance and create a memorable dining experience.
Remember, the materials and design choices are entirely up to you. Feel free to experiment with different patterns, textures, and embellishments to create charger plates that reflect your unique style and personality. Don’t be afraid to think outside the box and try new techniques, as this is an opportunity to express your creativity and make each plate truly special.
After completing the decorative elements, don’t forget to apply a protective sealant or varnish, ensuring durability and easy maintenance. This final step will guarantee that your charger plates can withstand everyday use and remain in pristine condition for years to come.
Now, it’s time to showcase your craftsmanship and enjoy the fruits of your labor. Set the table with your beautiful charger plates and gather your friends and family for a memorable dining experience. Bask in the compliments you’ll receive for your attention to detail and unique table decor.
Remember, charger plates are not just a functional addition to the table. They serve as a reflection of your style and taste, setting the mood for the entire meal and creating a sense of occasion. So, take pride in your DIY charger plates and enjoy the special touch they bring to your dining experiences.
Thank you for joining us on this creative journey. We hope this article has inspired you to explore the art of charger plate making and unleash your inner artist. Now, go forth and craft your own stunning charger plates that will leave your guests in awe!
Frequently Asked Questions about How To Make Charger Plates
Was this page helpful?
At Storables.com, we guarantee accurate and reliable information. Our content, validated by Expert Board Contributors, is crafted following stringent Editorial Policies. We're committed to providing you with well-researched, expert-backed insights for all your informational needs.


0 thoughts on “How To Make Charger Plates”