Articles
How To Store Breast Pump Parts
Modified: January 7, 2024
Learn the best practices for storing breast pump parts in this informative article. Keep your pump parts clean and germ-free to ensure the safety of your baby.
(Many of the links in this article redirect to a specific reviewed product. Your purchase of these products through affiliate links helps to generate commission for Storables.com, at no extra cost. Learn more)
Introduction
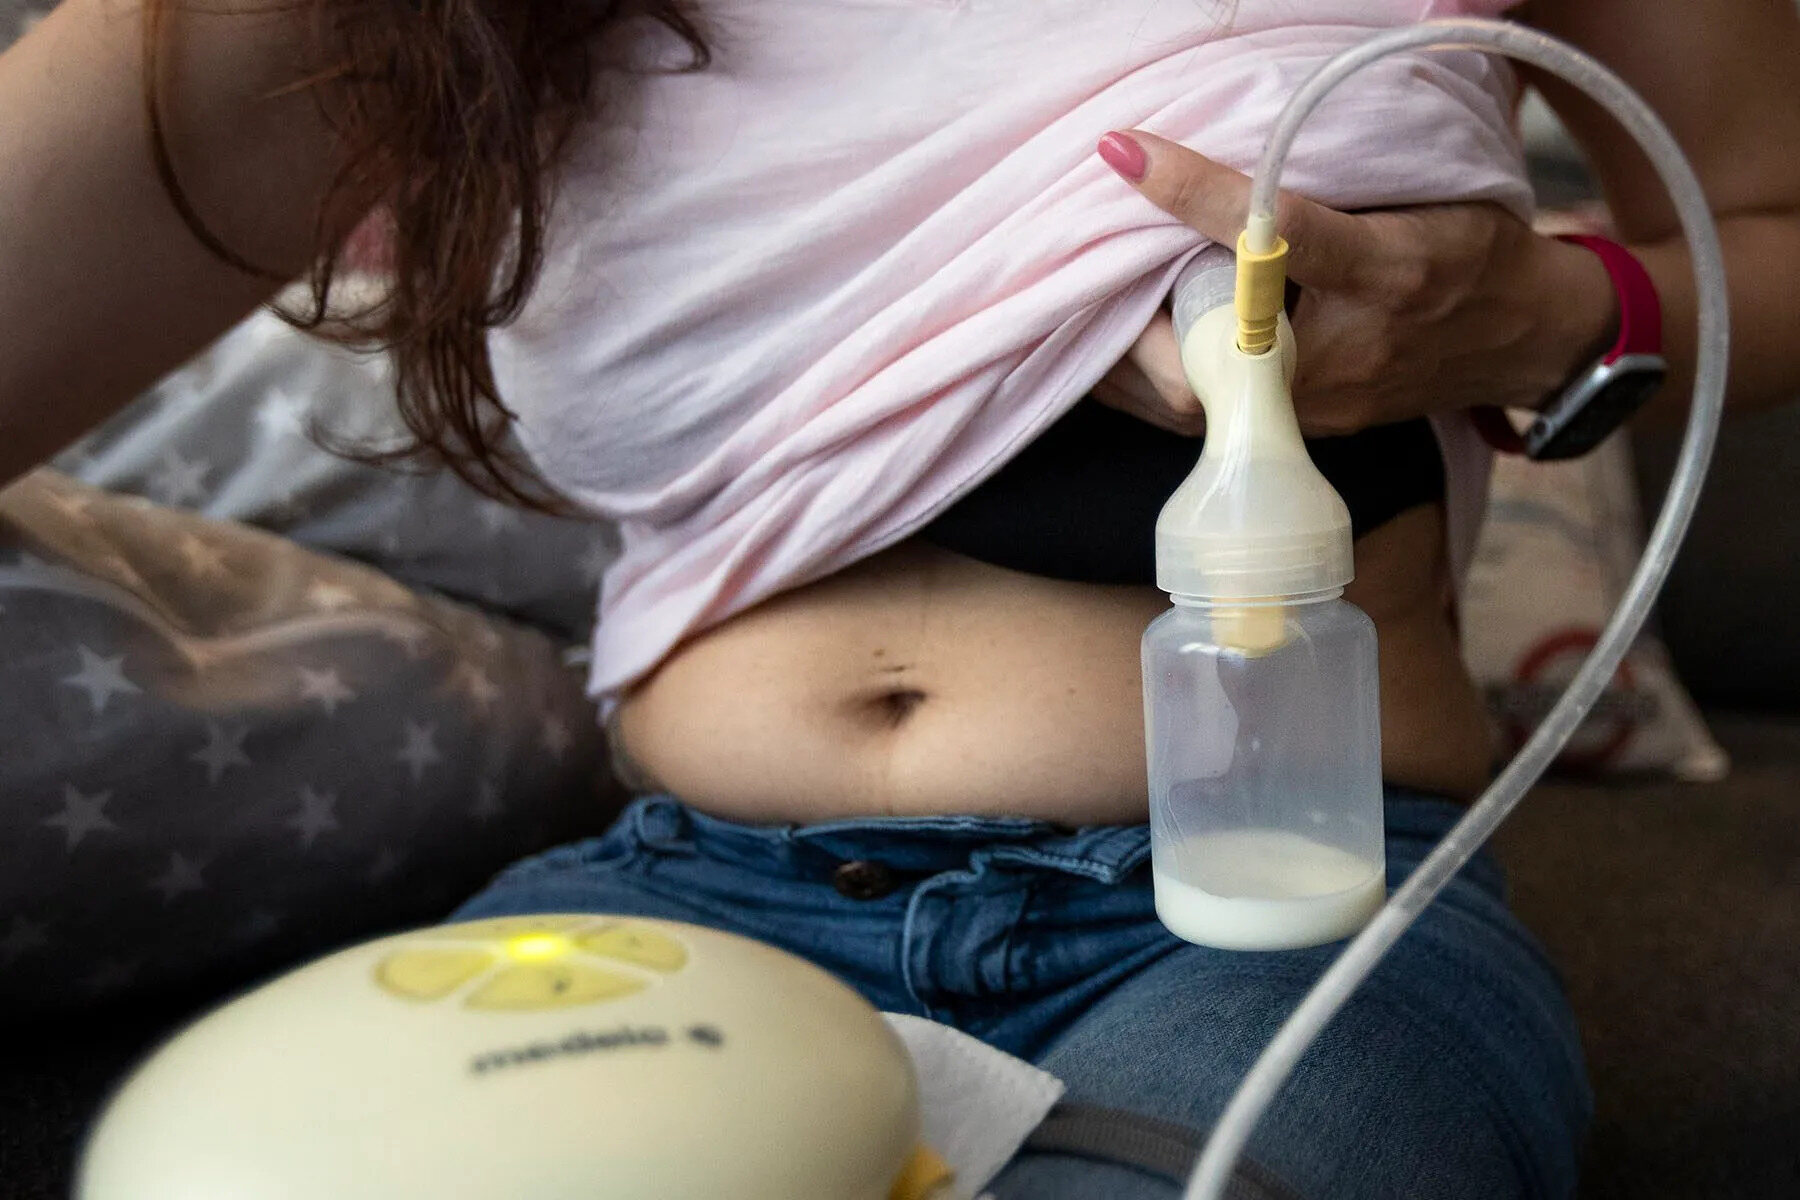
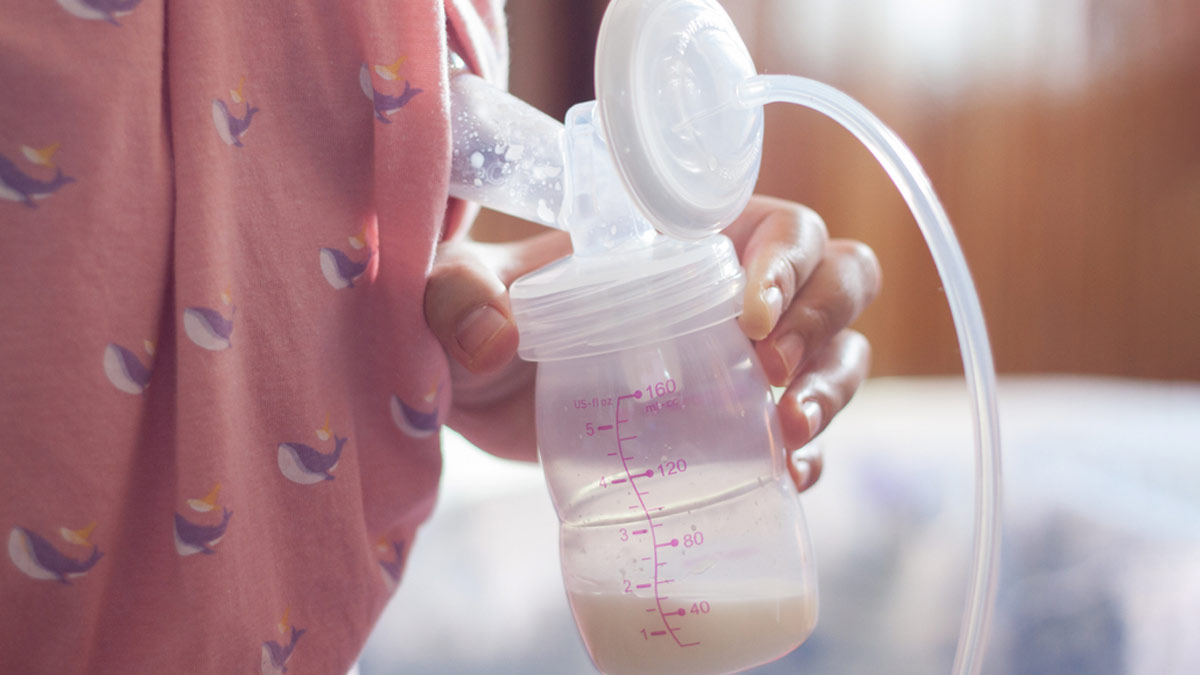
As a breastfeeding mother, using a breast pump can be a lifesaver. It allows you to express milk and maintain your milk supply, whether you’re returning to work, giving your baby a bottle, or simply relieving discomfort. However, it’s essential to understand that proper storage of breast pump parts is crucial to ensure the safety and quality of your breast milk.
In this article, we will guide you on how to store breast pump parts correctly. We will cover everything from cleaning and sterilizing your breast pump parts to choosing the right storage containers, storing in the refrigerator, using breast milk storage bags, freezing, thawing, warming, and even organizing and labeling your breast pump parts for easy access.
By following these guidelines, you can ensure that your breast milk remains safe to feed your baby, even when stored for an extended period.
Key Takeaways:
- Proper storage of breast pump parts is crucial to maintain the safety, quality, and freshness of your breast milk. Follow cleaning, sterilizing, and labeling guidelines to ensure safe and nutritious breast milk for your baby.
- Organizing and labeling your breast pump parts streamlines your pumping routine and ensures a well-organized system for storing and using your breast milk. Prioritize proper storage techniques for your baby’s optimal nourishment.
Understanding the Importance of Proper Storage
Proper storage of breast pump parts is essential to maintain the safety, quality, and freshness of your breast milk. When breast milk is expressed and stored correctly, it retains its valuable nutrients and protects your baby from harmful bacteria.
Bacteria can multiply rapidly in breast milk if it is not stored properly, leading to potential health risks for your baby. Therefore, it is crucial to follow the recommended guidelines for storing breast pump parts to ensure the highest level of safety.
In addition to safety concerns, improper storage can also affect the quality and taste of your breast milk. When breast milk is exposed to air and fluctuating temperatures, its composition can change. This may result in a loss of essential nutrients and enzymes that are beneficial for your baby’s growth and development. Proper storage helps maintain the nutritional value and taste of your breast milk.
Furthermore, implementing proper storage practices allows you to maximize the shelf life of your breast milk. Whether you need to stockpile milk for future use or store it for a short period, knowing how to store breast pump parts correctly will help preserve the freshness and longevity of your breast milk supply.
By prioritizing proper storage techniques, you can provide your baby with safe, high-quality breast milk that supports their optimal health and well-being.
Cleaning and Sterilizing Breast Pump Parts
Proper cleaning and sterilization of breast pump parts are crucial to remove any bacteria or contaminants that may have come into contact with them during use. It is essential to establish a regular cleaning routine to maintain optimal hygiene and ensure the safety of your breast milk. Here are the steps to follow:
- Disassemble: Start by disassembling all the parts of your breast pump, including the breast shields, valves, flanges, and any other removable components. Consult the manufacturer’s instructions to ensure proper disassembly.
- Rinse: Rinse all the breast pump parts under cool running water to remove any milk residue. This step helps prevent the buildup of bacteria and other contaminants.
- Clean: Use a mild soap or dish detergent specifically formulated for cleaning breast pump parts. Gently wash each part, including the connectors and valves, using a brush or your hands. Pay special attention to any crevices or hard-to-reach areas where milk residue may linger.
- Rinse Again: Thoroughly rinse all the parts with clean water to remove any soap residue.
- Sterilize: To ensure optimal sterilization, you have a few options: boiling, steam sterilization, or using a sterilizer. If you choose to boil, place the parts in a clean pot and cover them with water. Boil for at least 5 minutes, making sure all the parts are fully submerged. For steam sterilization, follow the manufacturer’s instructions on the duration and process. If you have a sterilizer, place the disassembled parts inside and select the appropriate setting.
- Dry: After sterilizing, allow the breast pump parts to air dry on a clean paper towel or drying rack. Avoid using cloth towels that may introduce additional bacteria.
It’s important to note that it’s not necessary to sterilize breast pump parts after each use. You can choose to sterilize them once a day or every few uses, depending on your preference and specific circumstances. However, regular cleaning after each use is essential.
By following these cleaning and sterilization steps, you can ensure that your breast pump parts are free from harmful bacteria and ready to use for your next pumping session.
Drying Breast Pump Parts
Properly drying your breast pump parts after cleaning and sterilizing is an integral part of maintaining their cleanliness and preventing the growth of bacteria. Here are some important guidelines to follow for drying your breast pump parts:
- Air Drying: The most effective way to dry your breast pump parts is by allowing them to air dry. After cleaning and sterilizing, place the disassembled parts on a clean, dry surface like a paper towel or drying rack. Ensure that all parts are spread out to allow maximum airflow. Avoid using cloth towels as they can introduce germs or lint.
- Ensure Thorough Drying: Make sure that all parts of your breast pump, including connectors, valves, flanges, and collection bottles, are completely dry before reassembling or storing them. Any remaining moisture can create a breeding ground for bacteria.
- Patience: It’s important to have patience and allow the breast pump parts to air dry completely before storing or using them again. This may take some time, depending on the humidity level in your environment. Rushing the drying process may lead to moisture buildup and the risk of bacterial contamination.
- Avoid Wiping: While it may be tempting to speed up the drying process by wiping the parts with a cloth or paper towel, it is best to avoid this practice. Wiping can introduce new germs or leave residue behind, compromising the cleanliness of your breast pump parts.
Remember, thorough drying is essential to prevent the growth of bacteria and ensure the safety of your breast milk. By following these guidelines, you can ensure that your breast pump parts are clean, dry, and ready for your next pumping session.
Choosing the Right Storage Container
When it comes to storing breast pump parts, selecting the appropriate storage container is crucial to maintain the quality, freshness, and safety of your breast milk. Here are some factors to consider when choosing the right storage container:
- BPA-Free Containers: Ensure that the storage containers you choose are made of BPA-free materials. Bisphenol A (BPA) is a chemical commonly found in plastic containers and can leach into breast milk, potentially harming your baby’s health. Look for containers labeled as BPA-free to ensure your breast milk remains safe and free from chemical contaminants.
- Quality and Durability: Opt for high-quality storage containers that are durable and leak-proof. They should be able to withstand repeated use and can be easily cleaned and sterilized. Look for containers that are specifically designed for breast milk storage.
- Appropriate Size: Choose storage containers of a suitable size to accommodate your pumping needs. If you plan to store smaller quantities, consider using smaller containers to minimize waste. However, if you need to store larger quantities, opt for containers with larger capacities to accommodate your needs.
- Airtight Seal: Look for containers with airtight seals to prevent air exposure and minimize the risk of oxidation and contamination. A tight seal ensures that your breast milk remains fresh and safe for your baby to consume.
- Ease of Use: Consider containers that offer convenience and ease of use. Look for those with easy-to-read volume markings, wide openings for easy pouring and cleaning, and compatibility with breast pump parts for direct expression into the container.
- Freezer-Safe: If you plan to freeze your breast milk, ensure that the storage containers are freezer-safe. Freezer-safe containers can withstand low temperatures and prevent freezer burn, preserving the quality and integrity of your breast milk.
Remember, using the right storage container is crucial to maintain the quality and safety of your breast milk. By considering these factors when selecting a storage container, you can ensure that your breast milk remains fresh, uncontaminated, and safe for your baby to consume.
Read more: How To Store Breast Pump Parts Between Uses
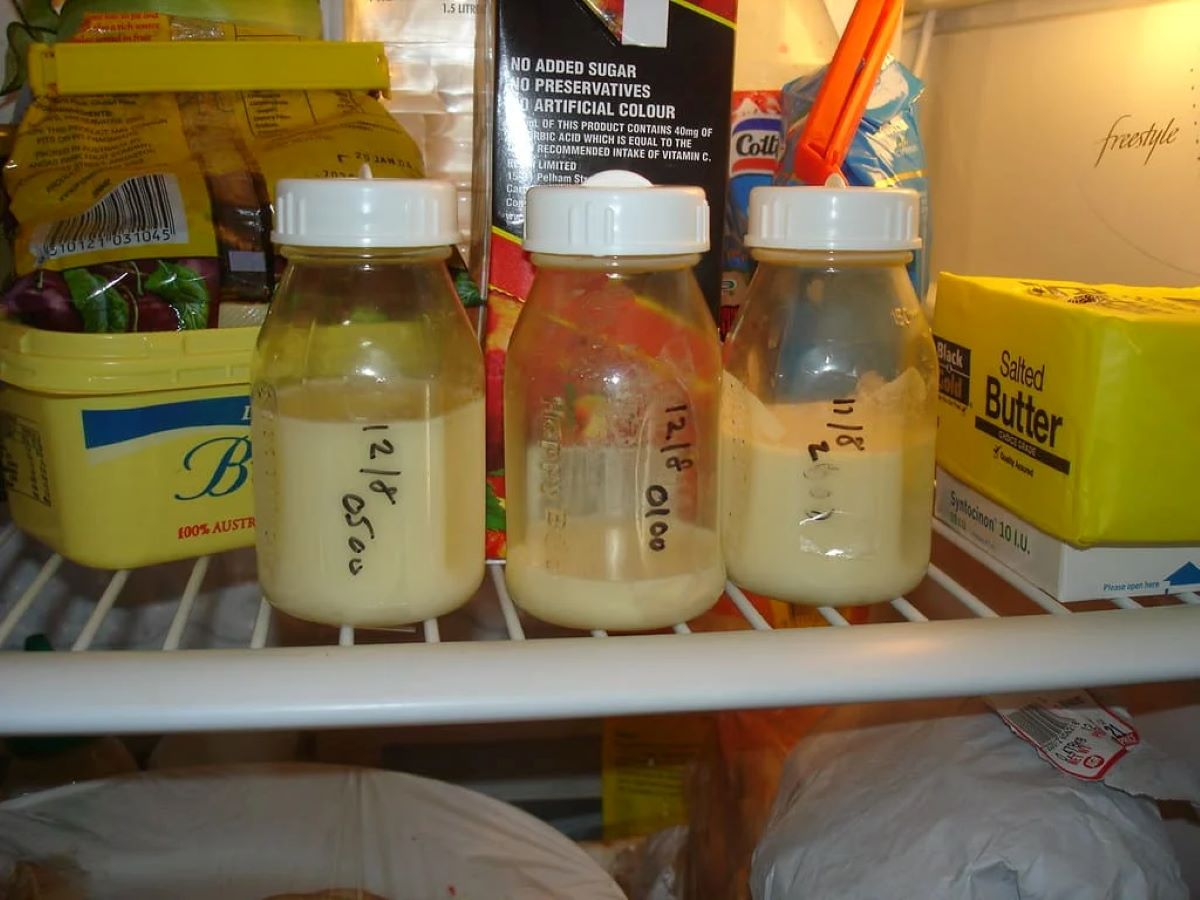
Storing Breast Pump Parts in the Refrigerator
Storing breast pump parts in the refrigerator is a common method to keep them clean and ready for your next pumping session. Here are some important guidelines to follow when storing breast pump parts in the refrigerator:
- Properly Cleaned and Sterilized: Before storing your breast pump parts in the refrigerator, ensure they have been thoroughly cleaned and sterilized. Follow the cleaning and sterilization steps mentioned earlier to maintain optimal hygiene and safety.
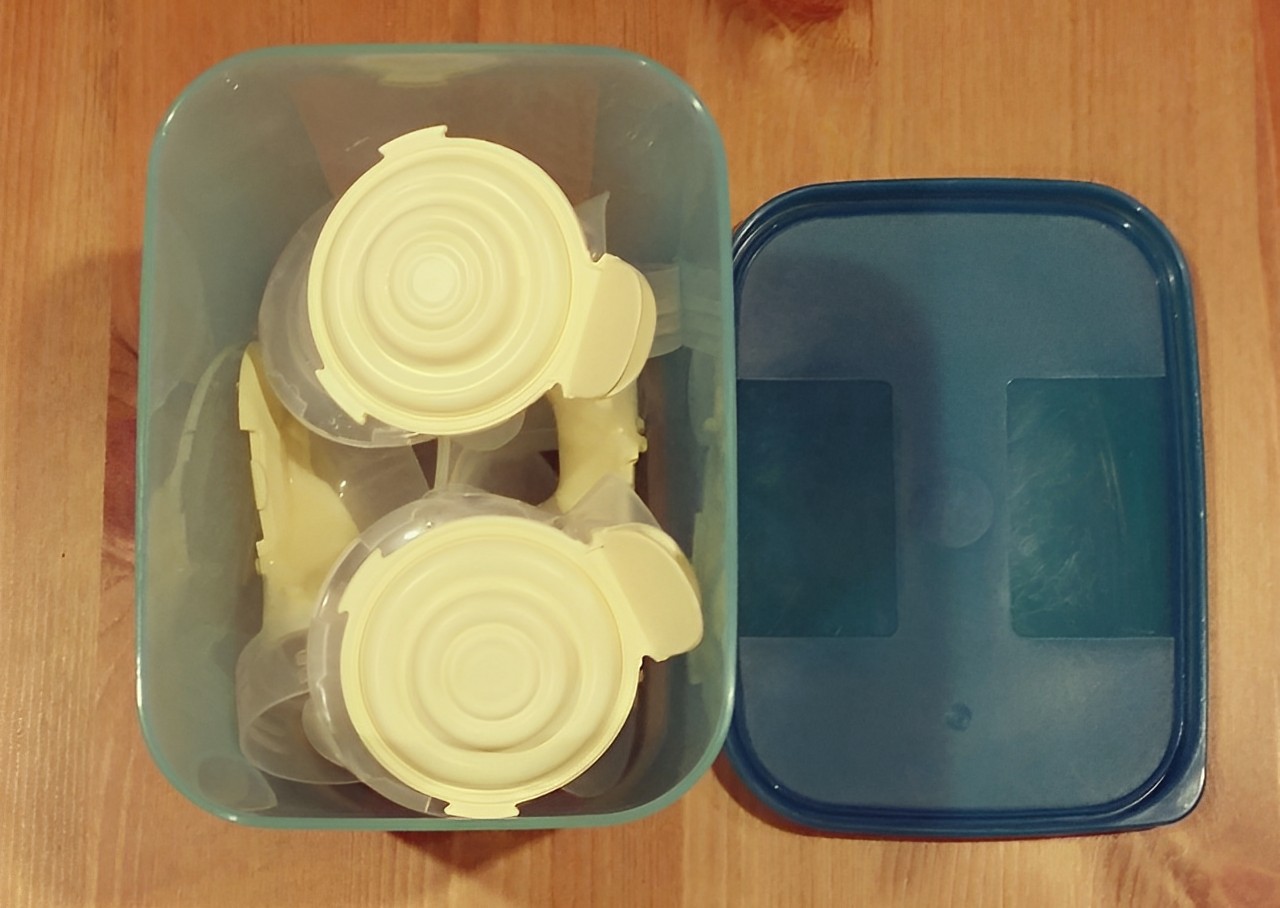
- Place in a Clean Container: After cleaning and drying, place the breast pump parts in a clean container. This can be a glass or BPA-free plastic container with a lid. Use a container that is large enough to hold all the parts without overcrowding.
- Label and Date: To keep track of the freshness of your breast milk, label the container with the date and time the parts were stored. This will help you easily identify which parts should be used first if you have multiple containers in the refrigerator.
- Position in the Refrigerator: Store the container with the breast pump parts in the refrigerator where the temperature is consistent. Avoid placing it near the door, as temperature fluctuations can occur each time the door is opened and closed.
- Separate from Food: Store the breast pump parts separately from other food items in the refrigerator. This prevents any potential cross-contamination and ensures the cleanliness and safety of your breast milk.
- Use Within 24 Hours: Breast pump parts stored in the refrigerator should be used within 24 hours. After this time, it is recommended to discard any unused breast milk and thoroughly clean the parts before using them again.
Storing breast pump parts in the refrigerator allows you to conveniently access them for your next pumping session. By following these guidelines, you can keep your breast pump parts clean, safe, and ready to use whenever you need them.
After each use, rinse breast pump parts in cool water, then store in a clean, dry place. Consider using a designated container or bag to keep parts together and prevent contamination.
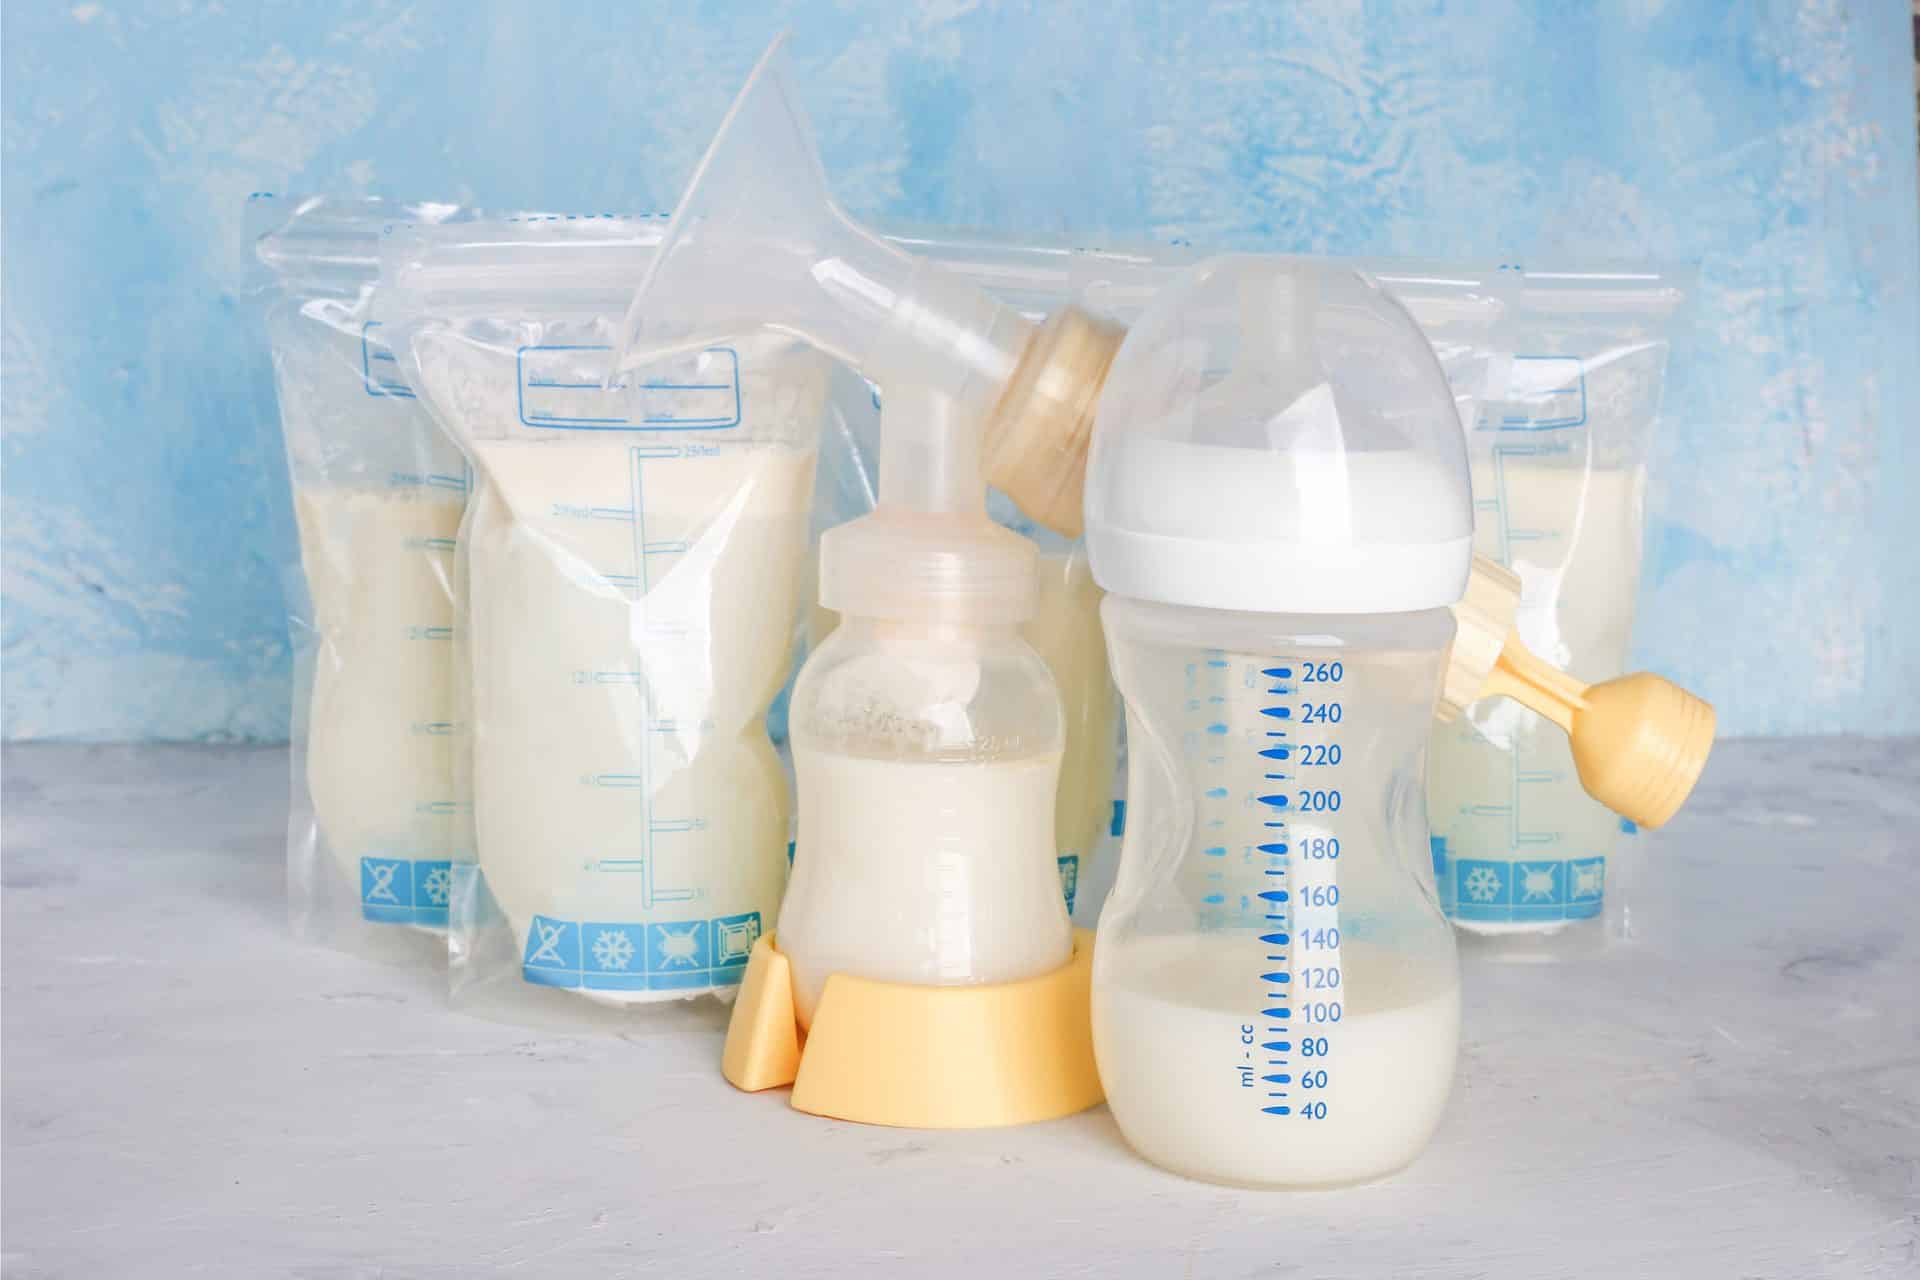
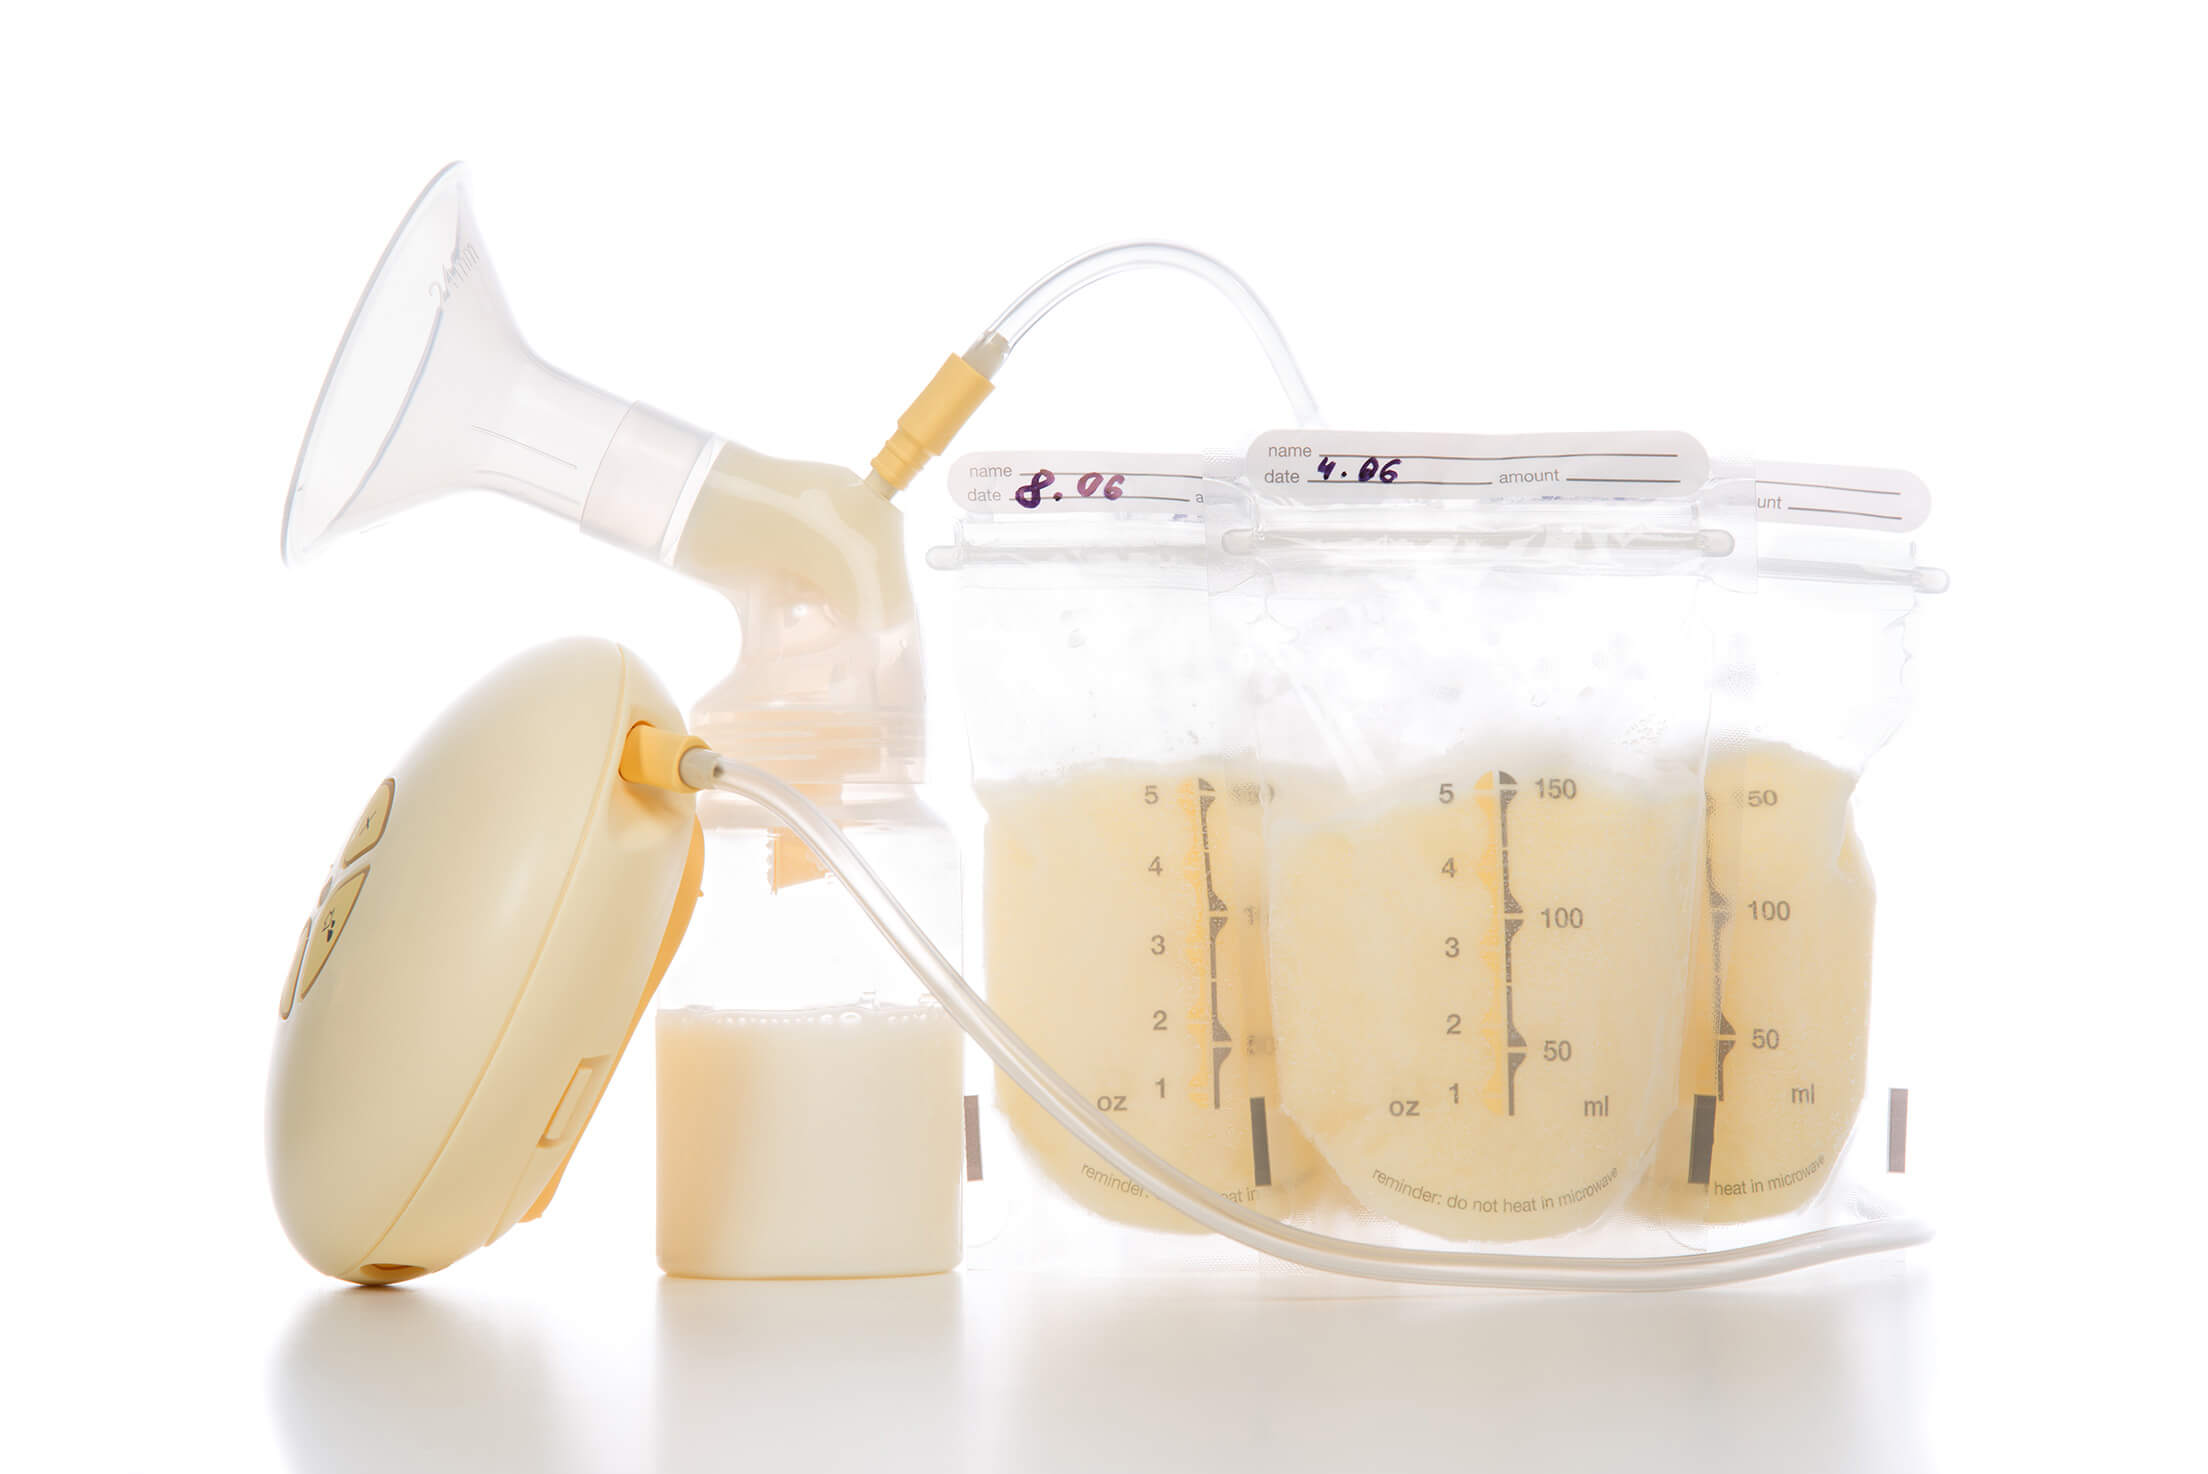
Using Breast Milk Storage Bags
Breast milk storage bags are a popular and convenient option for storing expressed breast milk. They offer flexibility, easy storage, and the ability to freeze and thaw breast milk as needed. Here are some important tips for using breast milk storage bags:
- Choose High-Quality Bags: Opt for high-quality breast milk storage bags that are specifically designed for this purpose. Look for bags that are BPA-free, leak-proof, and have a strong seal to prevent any spills or leaks.
- Clean and Sterilize: Before using a storage bag, make sure your hands are clean and the bag is sterile. Wash your hands thoroughly and sterilize the bag according to the manufacturer’s instructions.
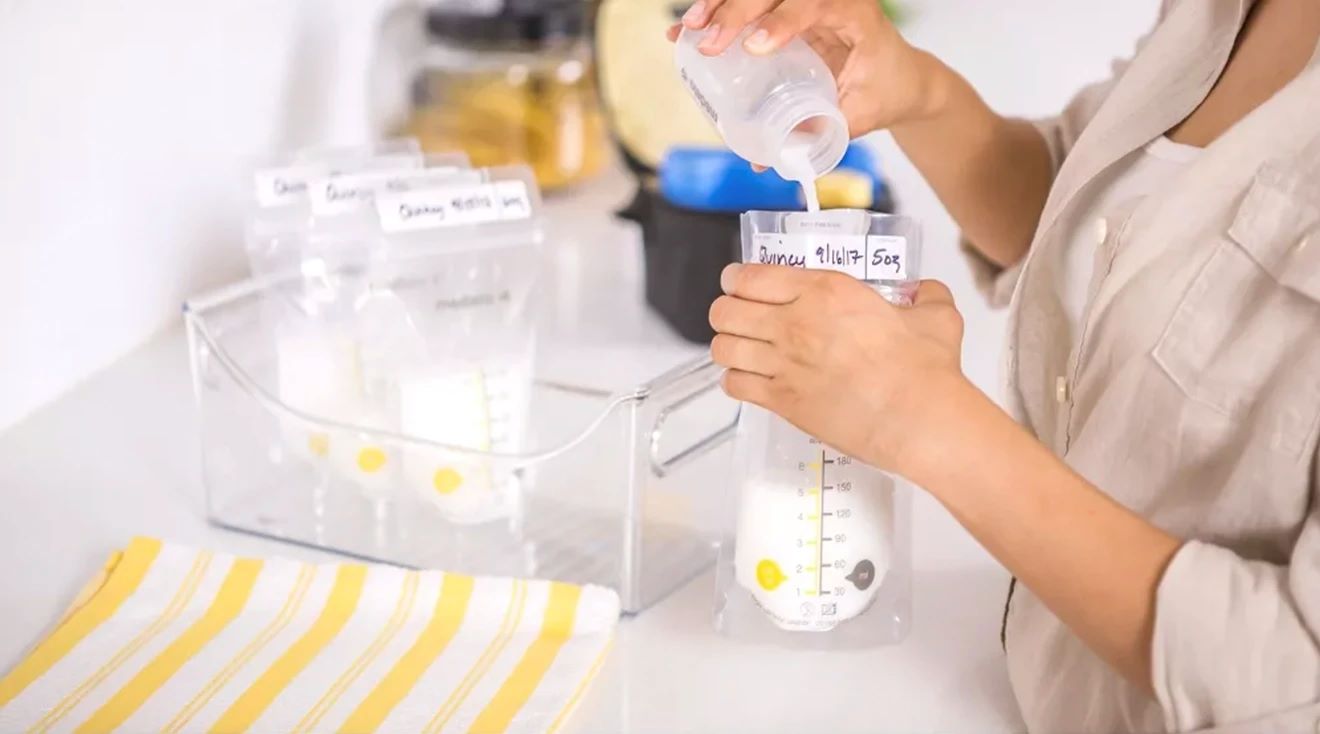
- Fill in Small Quantities: To avoid wasting breast milk, it’s best to fill the storage bags in smaller quantities. This allows you to thaw only the amount needed for each feeding session, reducing potential waste.
- Leave Space for Expansion: When filling the storage bags, make sure to leave some space at the top for expansion as breast milk expands when frozen. Overfilling the bags can cause them to burst or leak when frozen.
- Seal Properly: After filling the bag with breast milk, squeeze out any excess air and ensure a tight seal. Double-check for any leaks or gaps to prevent contamination or loss of breast milk.
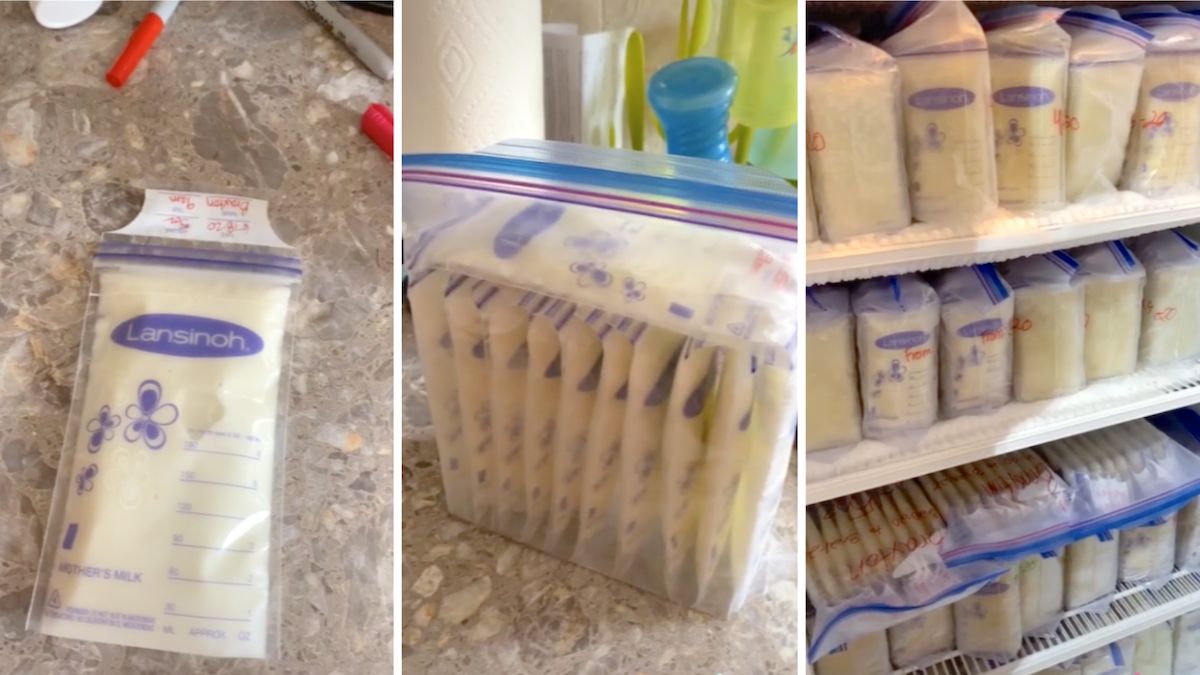
- Label and Date: It’s important to label each storage bag with the date and time the milk was expressed. This helps you keep track of the freshness of the milk and ensures that you use the oldest milk first.
- Store Flat: To optimize storage space in the freezer, place the filled and sealed storage bags flat on a tray or shelf. Once frozen, you can stack and organize the bags more efficiently.
- Thawing and Using: When it’s time to use the stored breast milk, thaw it by placing the bag in the refrigerator overnight or holding it under warm running water. Avoid using a microwave as it can create hot spots in the milk and destroy valuable nutrients.
- Single-Use Only: It’s important to note that breast milk storage bags are designed for single-use only. Once a bag has been opened and used, discard it and do not reuse it.
Breast milk storage bags provide a convenient and space-saving option for storing your expressed breast milk. By following these tips, you can ensure the safety, quality, and freshness of your stored breast milk for your baby’s nourishment.
Freezing Breast Pump Parts
Freezing breast pump parts is a common method to store expressed breast milk for an extended period. By freezing your breast pump parts, you can preserve the quality and nutritional value of your breast milk. Here are the steps to freeze breast pump parts:
- Clean and Sterilize: Before freezing breast pump parts, ensure that they are thoroughly cleaned and sterilized. Follow the cleaning and sterilization guidelines mentioned earlier to maintain optimal hygiene and safety.
- Assemble and Label: Once your breast pump parts are clean and dry, assemble them if necessary. Label each part with the date of expression to keep track of the freshness of your breast milk.
- Place in a Freezer Bag: To protect your breast pump parts during freezing, place them in a clean and durable freezer bag. This helps to keep them organized and prevents any potential damage or loss in the freezer.
- Remove Excess Air: Squeeze out as much excess air as possible from the freezer bag before sealing it. This helps to minimize the risk of freezer burn and maintain the quality of your breast milk.
- Seal Tightly: Ensure that the freezer bag is tightly sealed to prevent any air or moisture from entering. Airtight sealing helps to preserve the freshness and integrity of your breast milk.
- Label and Date: Using a permanent marker, label the freezer bag with the date of expression. This allows you to prioritize the use of older breast milk first and maintain a well-organized storage system.
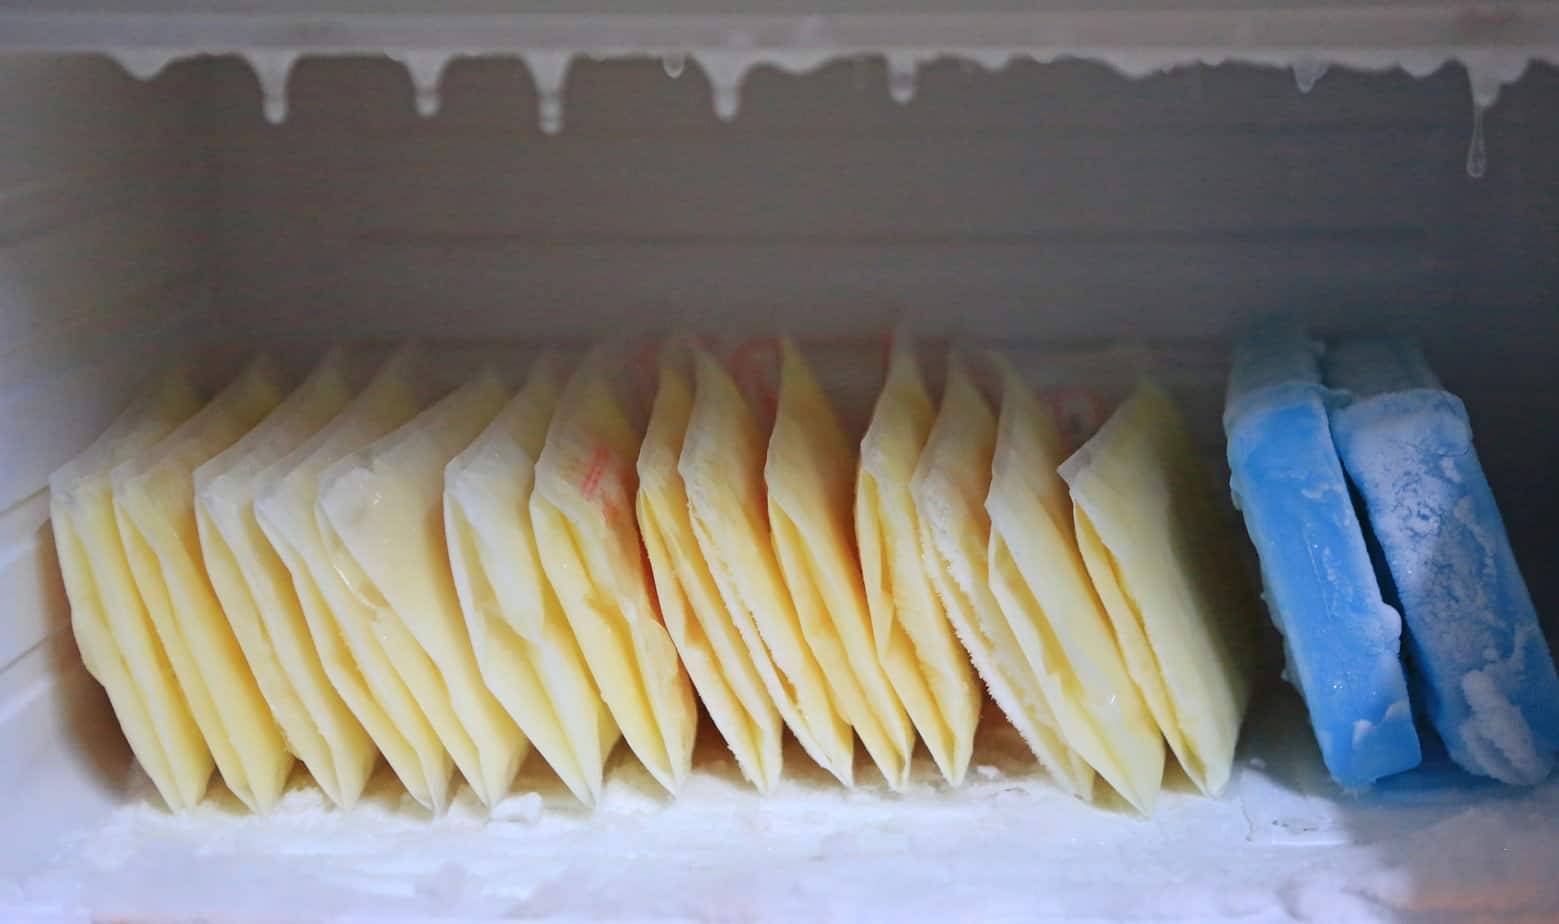
- Place in the Freezer: Lay the sealed freezer bag flat in the freezer. This allows for even freezing and optimizes space utilization. Once frozen, you can stack and organize the bags as needed.
- Thawing and Using: When you are ready to use the frozen breast milk, thaw it by placing the freezer bag in the refrigerator overnight or by placing it in a bowl of warm water. Avoid using a microwave, as it can create hot spots and destroy valuable nutrients in the milk.
Freezing breast pump parts is a convenient method to store your breast milk for future use. By following these steps, you can ensure the quality, safety, and longevity of your frozen breast milk.
Thawing and Warming Breast Pump Parts
Thawing and warming breast pump parts is a crucial step in preparing the frozen breast milk for feeding your baby. It’s essential to do so safely to maintain the nutritional quality and safety of the milk. Here are the steps to thaw and warm breast pump parts:
- Plan Ahead: When you anticipate needing thawed breast milk, it’s a good idea to plan ahead by transferring the frozen breast pump parts from the freezer to the refrigerator. Allow the parts to thaw slowly in the refrigerator overnight.
- Thawing in Warm Water: If you need to thaw breast pump parts quickly, you can use warm water. Fill a bowl or basin with warm water, approximately 100°F (37°C). Immerse the sealed bag or container with the frozen breast pump parts in the water. Gently swish the water around to aid in the thawing process. Be cautious not to use hot water as it can damage the nutrients in the breast milk.
- Avoid Thawing at Room Temperature: It’s important to avoid thawing breast pump parts at room temperature as it can lead to uneven thawing and the growth of harmful bacteria. Never leave breast milk or breast pump parts out at room temperature.
- Warming Breast Milk: Once the breast pump parts are fully thawed, it’s time to warm the breast milk for feeding. Fill a container or bowl with warm water, approximately 98°F (37°C). Place the breast milk container or bag in the warm water and let it sit for a few minutes until it reaches the desired temperature. Swirl the container gently to ensure even warming. Avoid using a microwave, as it can create hot spots and destroy valuable nutrients in the breast milk.
- Testing Temperature: Before feeding the warmed breast milk to your baby, always test the temperature by putting a few drops on the inside of your wrist. The milk should feel lukewarm, not too hot or too cold.
- Do Not Refreeze: Once you have thawed and warmed breast pump parts or breast milk, do not refreeze them. It is best to use them immediately or discard any unused milk.
By following these guidelines for thawing and warming breast pump parts, you can ensure that your baby receives safe, fresh, and nutritionally intact breast milk for their feeding needs.
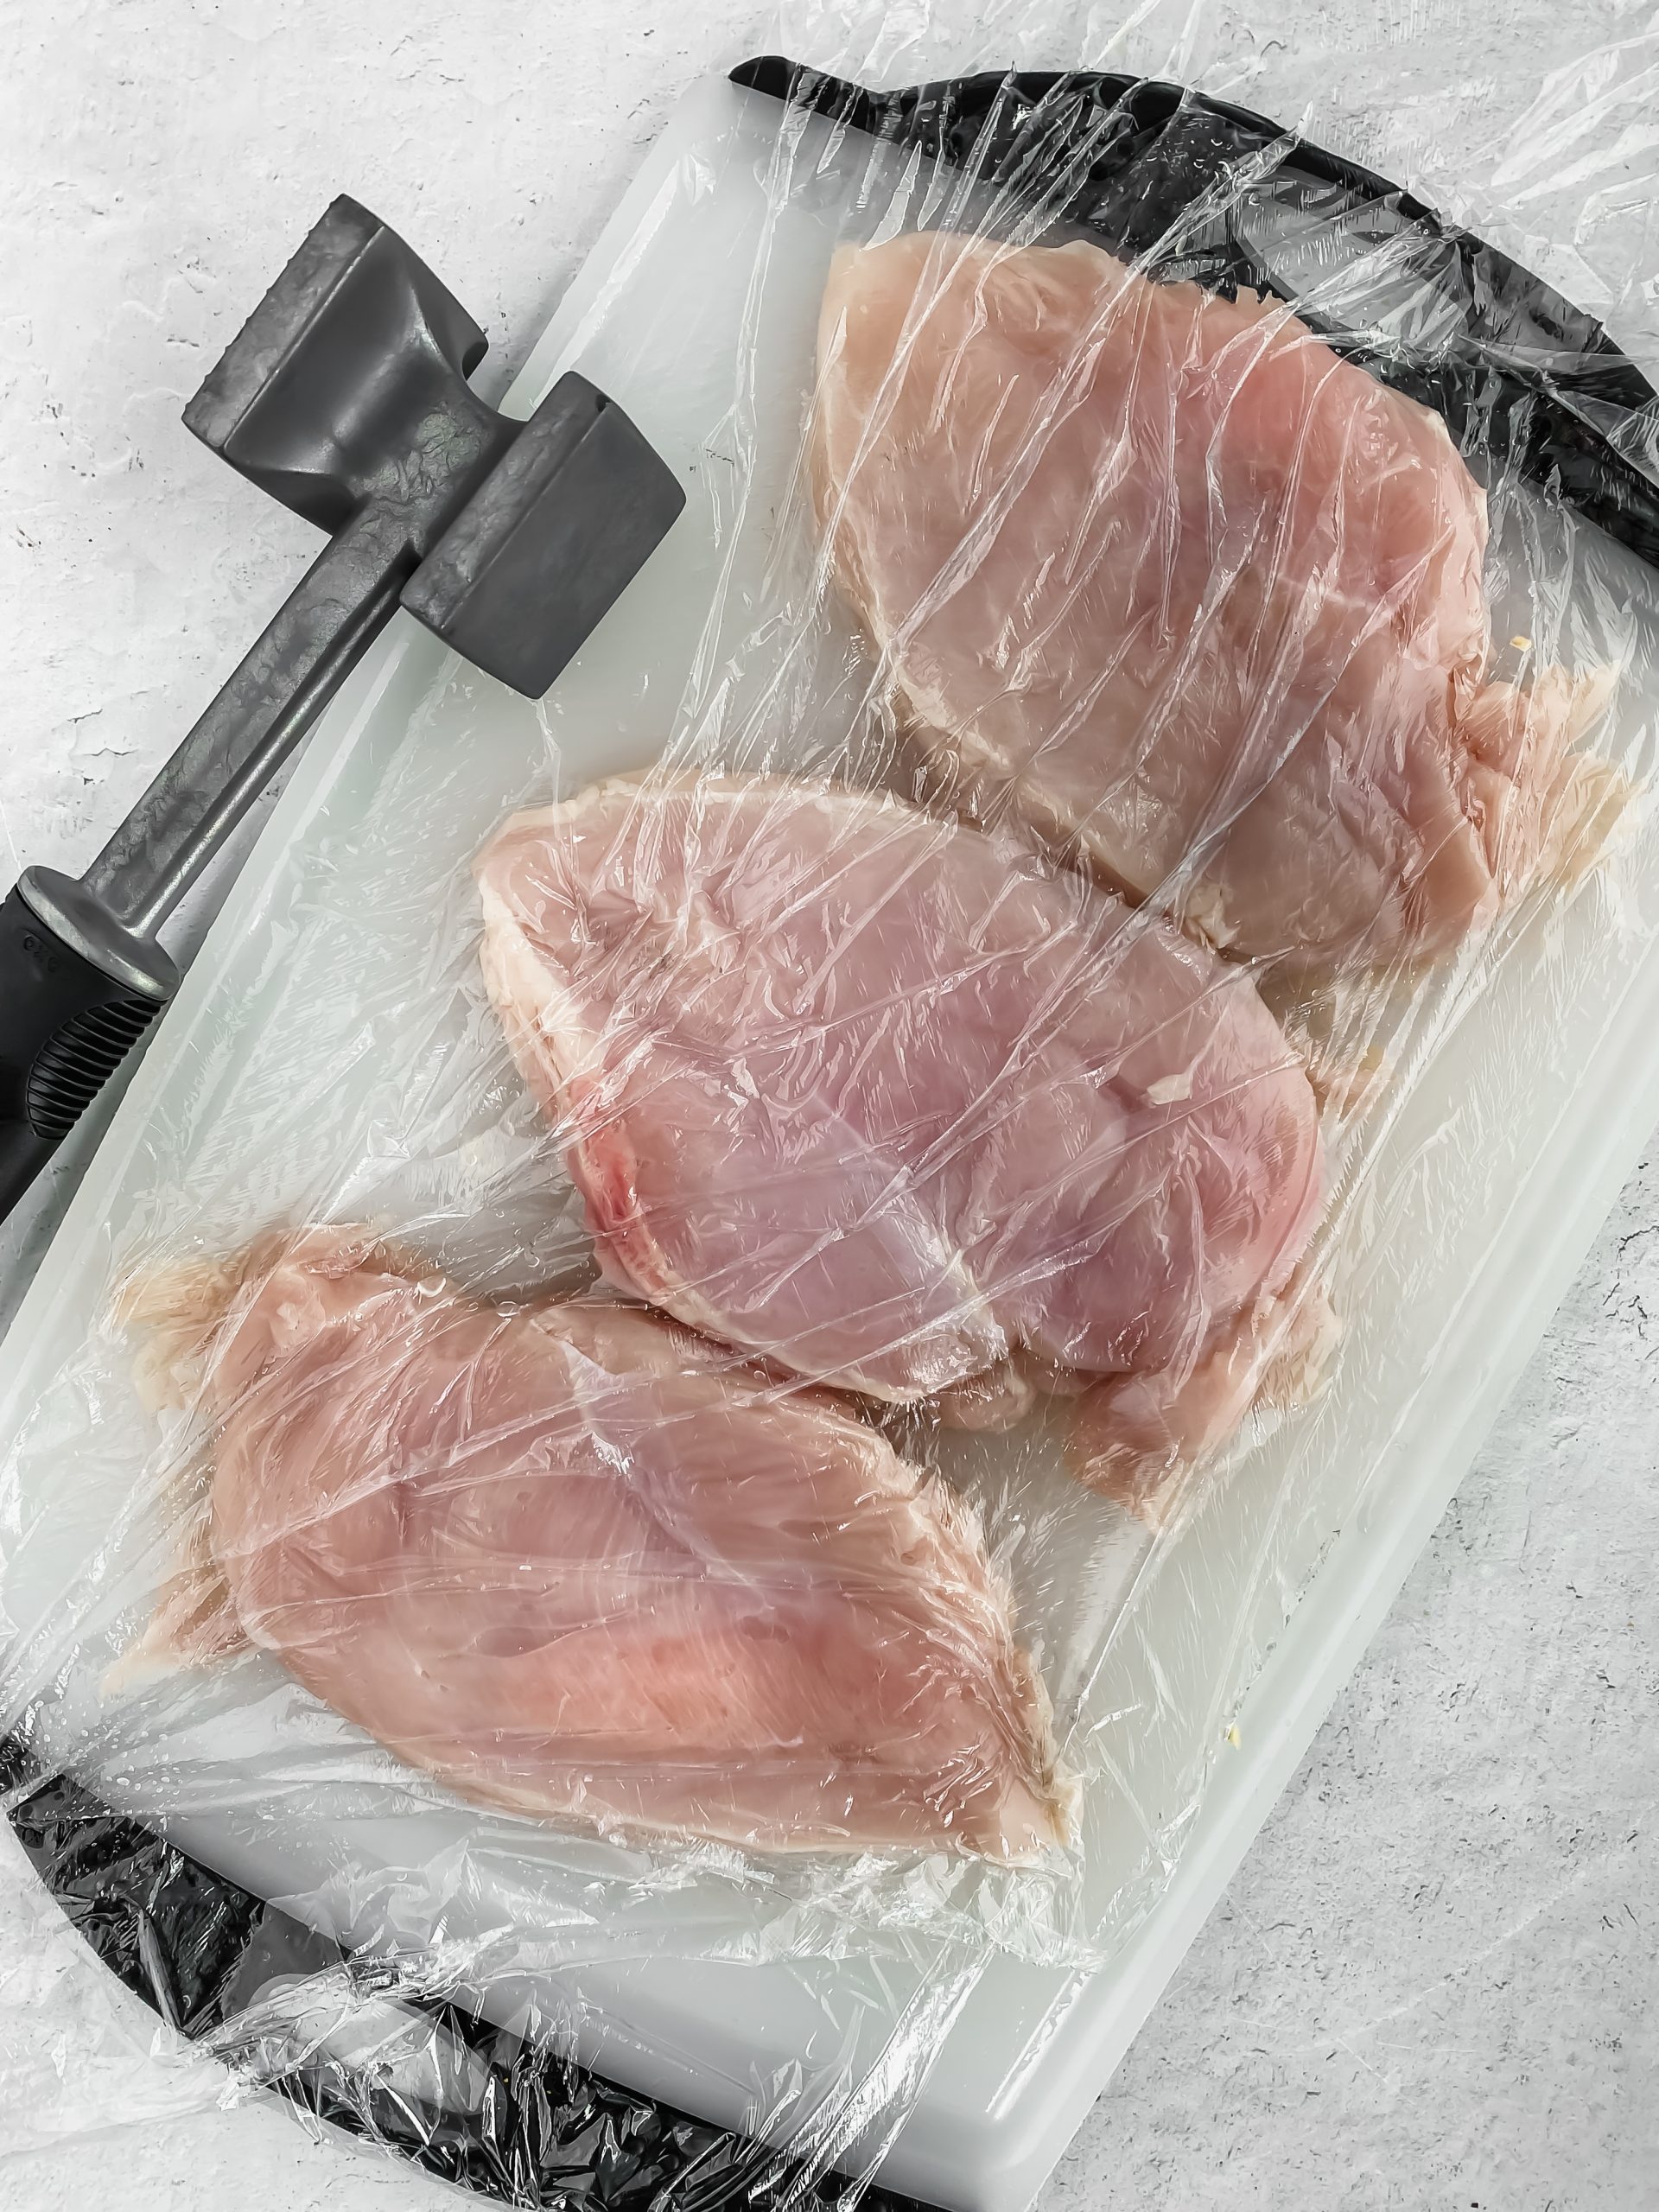
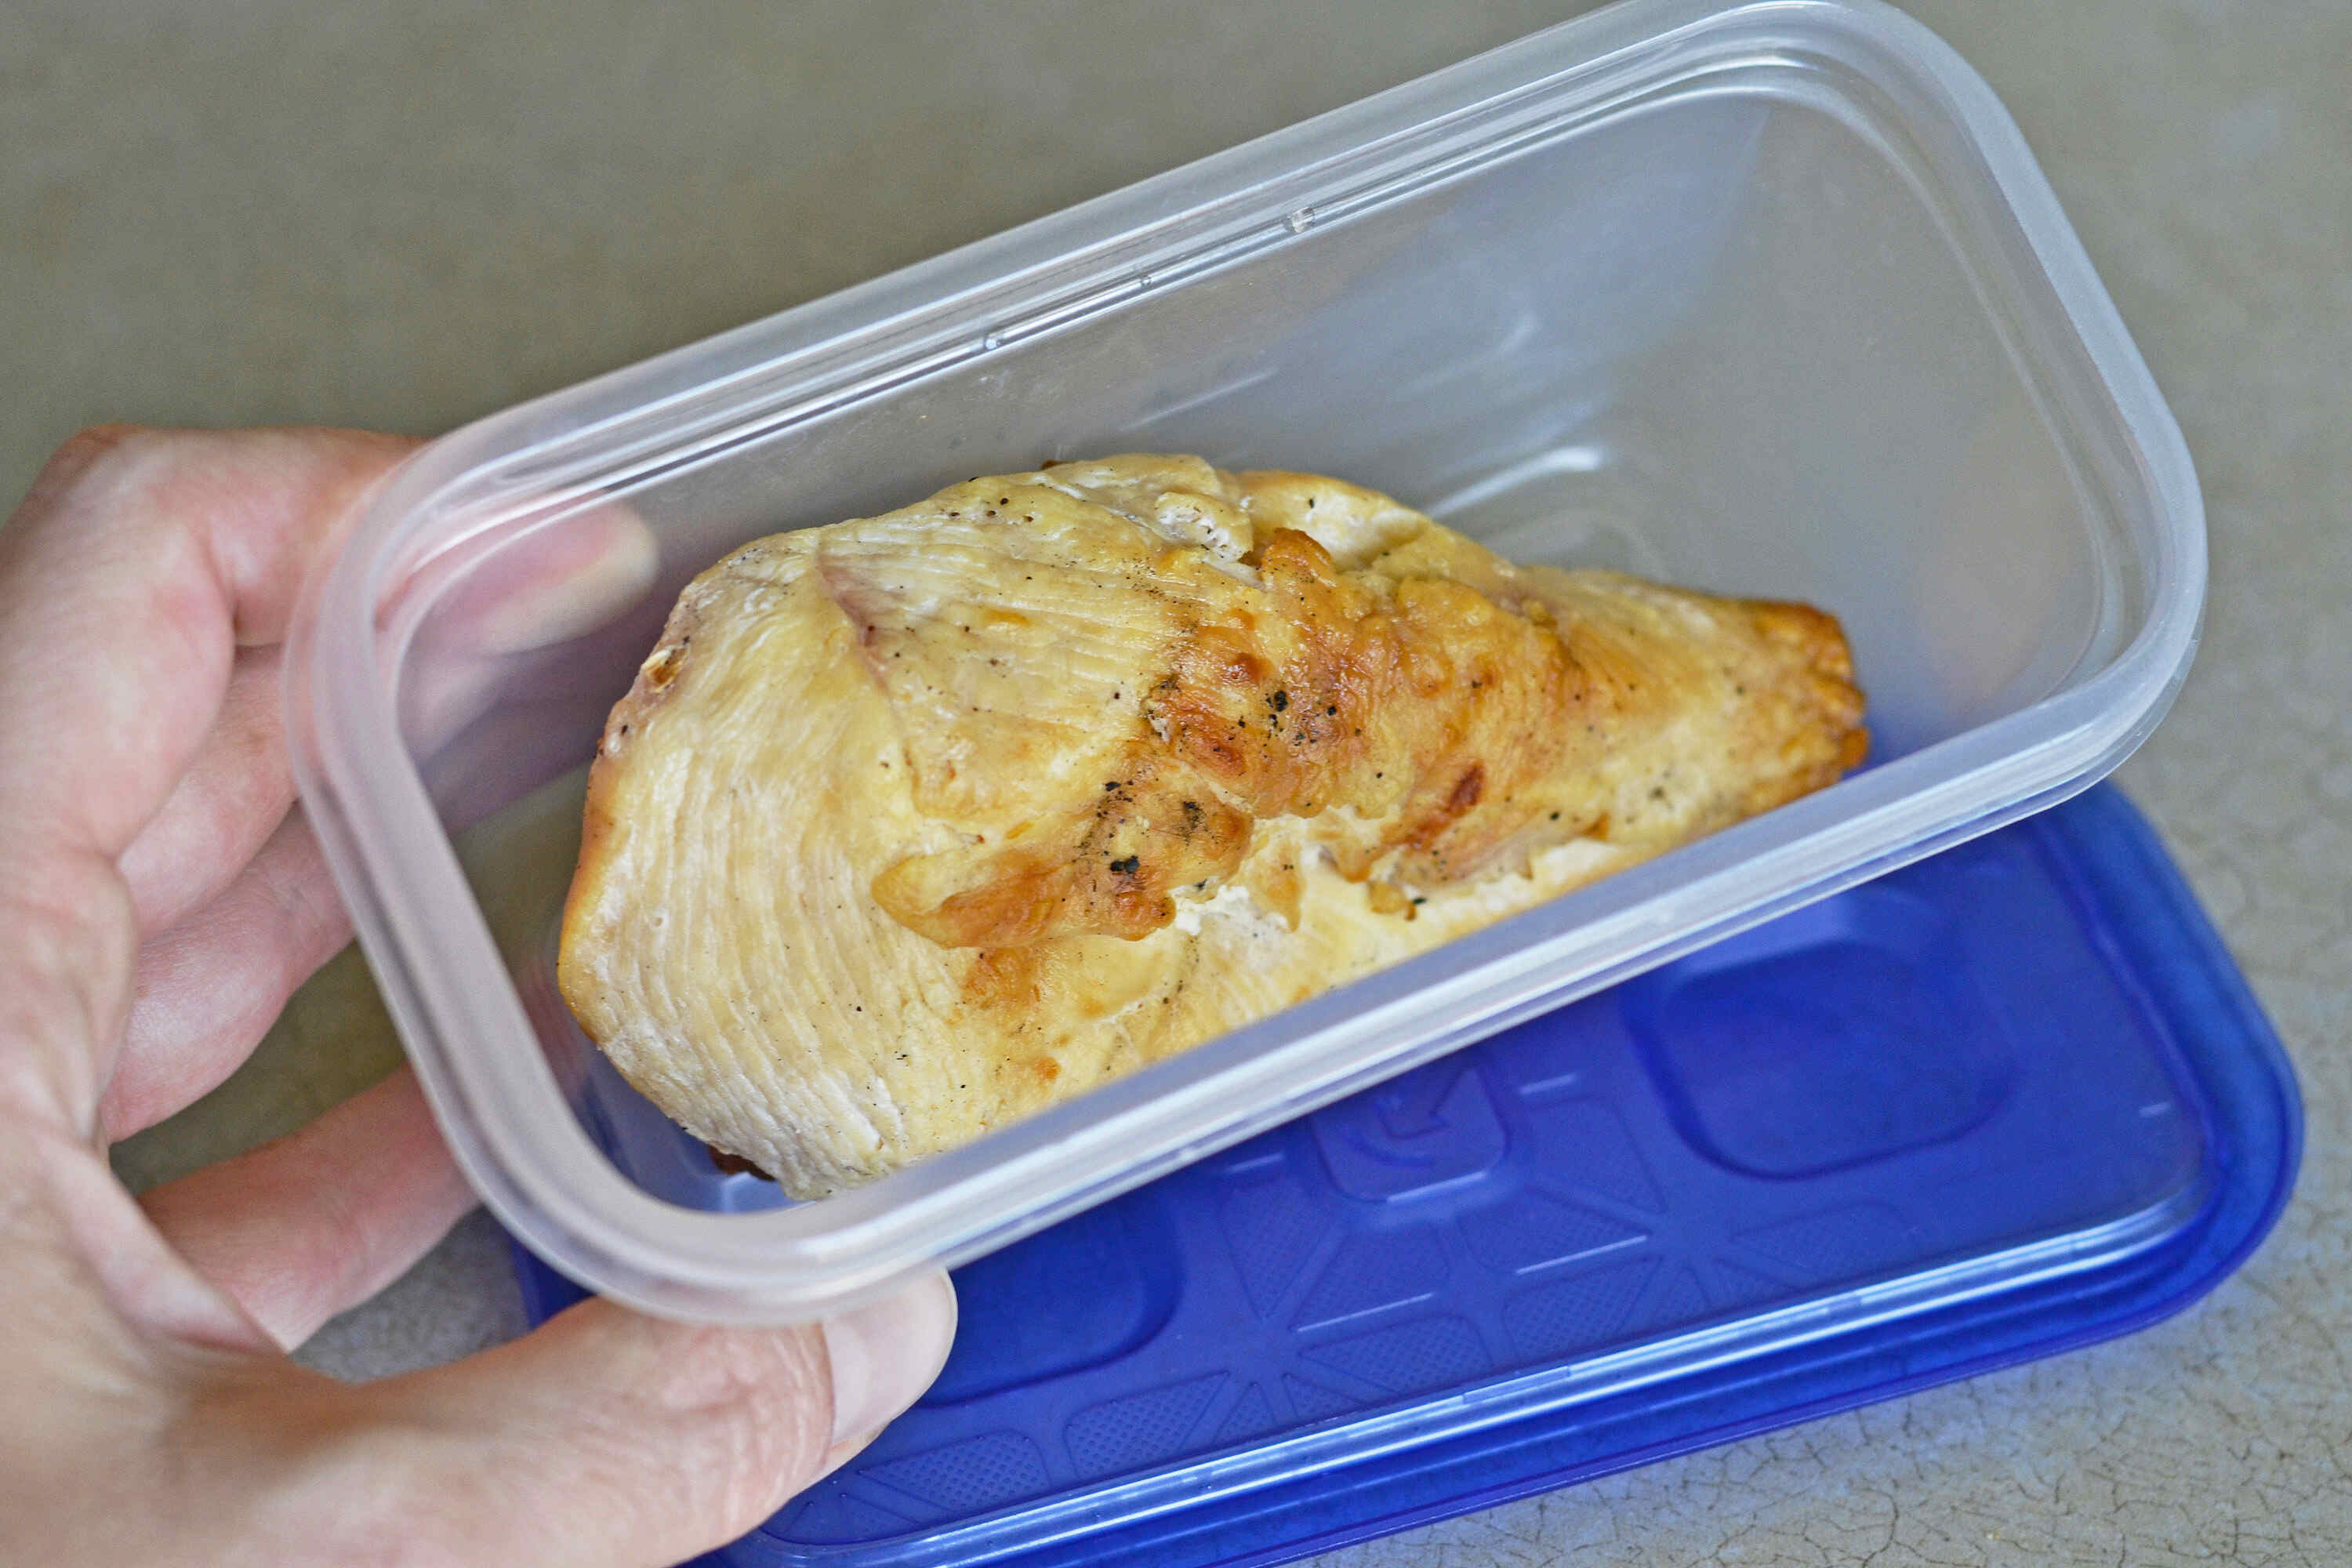
Read more: How To Store Chicken Breast
Tips for Organizing and Labeling Breast Pump Parts
Organizing and labeling your breast pump parts is essential for efficient and stress-free pumping sessions. It helps you stay organized, keep track of the freshness of your breast milk, and ensures that you’re using the correct parts. Here are some helpful tips for organizing and labeling your breast pump parts:
- Create a Dedicated Storage Area: Designate a specific area in your home for organizing and storing your breast pump parts. This can be a shelf, drawer, or a storage container specifically for your pumping essentials. Having a dedicated space helps to keep everything in one place and easily accessible.
- Use Clear, Stackable Containers: Invest in clear plastic containers or storage bins as they allow you to see and access your breast pump parts easily. Opt for stackable containers to maximize storage space and keep everything organized.
- Separate Clean and Used Parts: It’s helpful to have separate containers or compartments for clean and used breast pump parts. This prevents cross-contamination and makes it easier to distinguish which parts need to be cleaned before the next use.
- Label Your Containers: Use adhesive labels or dry erase markers to label your storage containers. Labeling can help you identify each part and keep track of the freshness of your breast milk. Consider labeling with date and time of expression or use a color-coding system to easily recognize different parts.
- Label Breast Milk Storage Bags: When using breast milk storage bags, label each bag with the date of expression and the quantity of milk. This helps you prioritize using the oldest milk first and prevents waste.
- Keep Spare Parts Handy: Keep a supply of spare breast pump parts within easy reach. This ensures that you have backups available if any parts need to be replaced or become damaged unexpectedly.
- Clean and Sterilize Regularly: Establish a regular cleaning and sterilization routine for your breast pump parts. Follow the manufacturer’s guidelines for cleaning and sterilizing to maintain optimal hygiene and safety.
- Follow a Pumping Schedule: Establish a pumping schedule that works for you and stick to it. This helps maintain a routine and ensures that you have enough breast milk stored to meet your baby’s needs.
- Keep a Pumping Log: Consider keeping a pumping log to track your pumping sessions, including the duration, volume expressed, and any observations or notes. This can be helpful for monitoring your milk supply and troubleshooting any issues.
- Seek Help and Support: Reach out to lactation consultants, breastfeeding support groups, and fellow breastfeeding mothers for tips, advice, and support. They can provide valuable insights and share their experiences in organizing and labeling breast pump parts.
By implementing these tips for organizing and labeling breast pump parts, you can streamline your pumping routine and ensure that you have a well-organized system in place for storing and using your breast milk.
Conclusion
Proper storage of breast pump parts is essential for maintaining the safety, quality, and freshness of your breast milk. By following the guidelines outlined in this article, you can ensure that your breast pump parts are clean, sterilized, and stored correctly, allowing you to provide your baby with safe and nutritious breast milk.
Understanding the importance of proper storage and implementing the necessary steps, such as cleaning and sterilizing breast pump parts, drying them thoroughly, choosing the right storage containers, and storing in the refrigerator or using breast milk storage bags, is essential for maintaining the integrity of your breast milk.
Furthermore, freezing breast pump parts and thawing them properly ensures that you can safely store breast milk for longer periods and use it when needed without compromising its nutritional value. Organizing and labeling your breast pump parts also simplifies your pumping routine and helps you keep track of the freshness of your breast milk.
Remember to follow the recommended guidelines, consult the manufacturer’s instructions, and seek support from lactation consultants and breastfeeding communities for any specific concerns or questions you may have.
By prioritizing proper storage techniques, you can provide your baby with the best possible nourishment, while also ensuring your peace of mind as a breastfeeding mother. Your dedication to proper breast pump part storage will contribute to the overall well-being and development of your little one.
Frequently Asked Questions about How To Store Breast Pump Parts
Was this page helpful?
At Storables.com, we guarantee accurate and reliable information. Our content, validated by Expert Board Contributors, is crafted following stringent Editorial Policies. We're committed to providing you with well-researched, expert-backed insights for all your informational needs.


0 thoughts on “How To Store Breast Pump Parts”