Home>Articles>How To Store Breast Pump Parts After Sterilizing
Articles
How To Store Breast Pump Parts After Sterilizing
Modified: December 7, 2023
Learn the best ways to store breast pump parts after sterilizing in this informative article. Keep your equipment clean and organized for the next use.
(Many of the links in this article redirect to a specific reviewed product. Your purchase of these products through affiliate links helps to generate commission for Storables.com, at no extra cost. Learn more)
Introduction
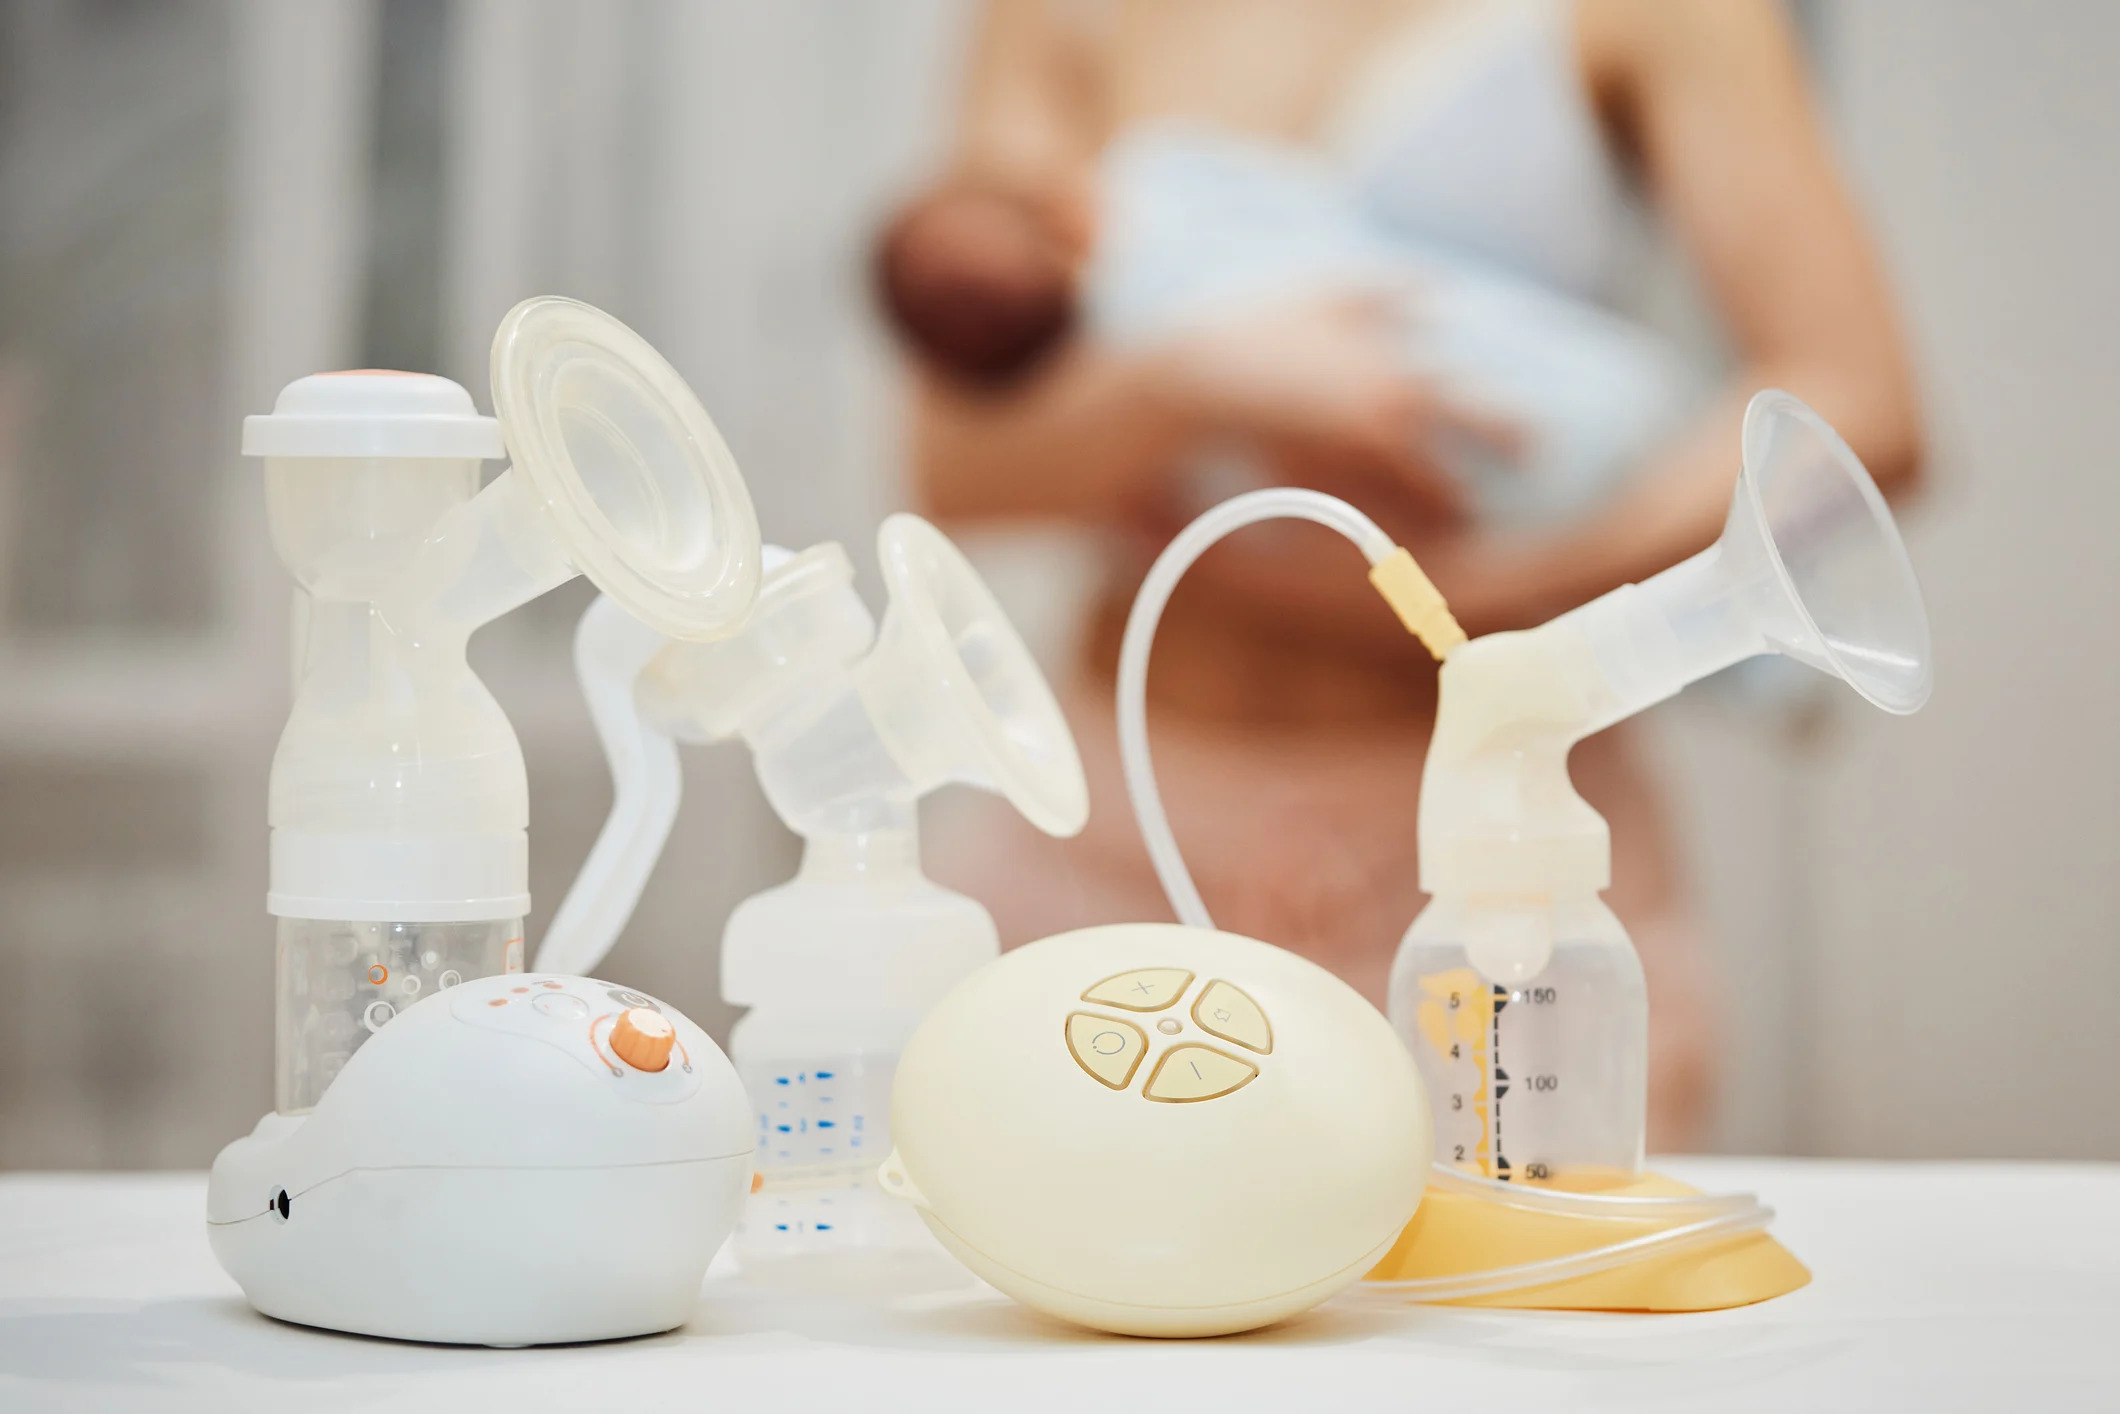
Storing breast pump parts may not seem like a big deal, but it is actually a crucial step in maintaining the cleanliness and functionality of your breast pump. After sterilizing the parts, proper storage is essential to prevent contamination and damage.
In this article, we will guide you through the steps of storing breast pump parts after sterilizing to ensure their longevity and effectiveness. By following these guidelines, you can maintain the hygiene of your breast pump and protect the health of both you and your baby.
Let’s dive into the details of how to store breast pump parts effectively.
Key Takeaways:
- Properly storing breast pump parts after sterilizing is crucial for maintaining hygiene, preventing damage, and ensuring the safety of your baby. Follow the steps outlined to maintain cleanliness and functionality.
- Regularly cleaning and sterilizing breast pump parts is essential for eliminating bacteria, preserving the integrity of the parts, and ensuring the safety of your breast milk. Prioritize hygiene and cleanliness for optimal results.
Read more: How To Store Bottles After Sterilizing
Why is Proper Storage Important?
Proper storage of breast pump parts is crucial for several reasons. Here are a few key reasons why it is important to store your breast pump parts correctly:
- Maintaining Hygiene: Storing your breast pump parts correctly helps ensure that they remain clean and free from bacteria. Improper storage can introduce contaminants and compromise the cleanliness of the parts, potentially leading to infections or other health issues.
- Preventing Damage: Proper storage protects your breast pump parts from damage. Leaving them lying around or improperly stored can result in wear and tear, reducing their effectiveness and potentially requiring costly replacements.
- Preserving Pump Performance: Storing your breast pump parts properly helps maintain the pump’s performance over time. Properly storing the parts can prevent damage or misalignment, which may affect the suction power and efficiency of the pump.
- Ensuring Baby’s Safety: Storing breast pump parts correctly helps protect your baby’s health. Contaminated parts could transfer harmful bacteria or substances into the breast milk, which can pose risks to your baby’s well-being.
Now that you understand the importance of proper storage, let’s move on to the steps involved in storing breast pump parts after sterilizing.
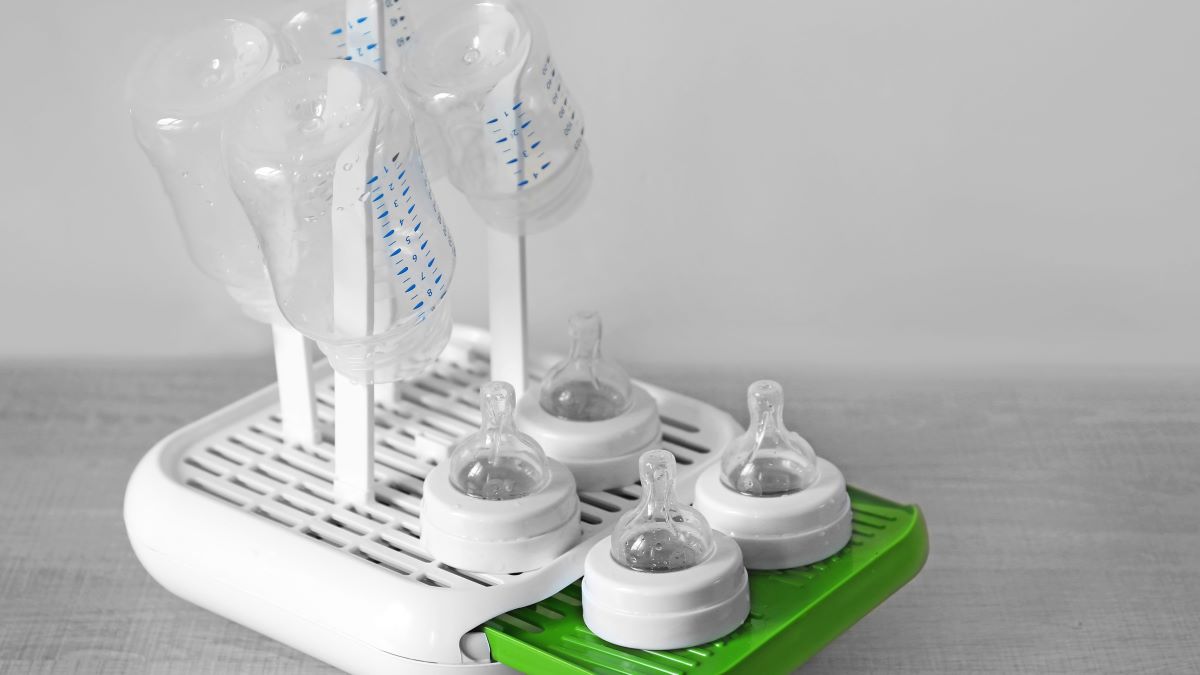
Step 1: Allow Parts to Fully Dry
After sterilizing your breast pump parts, it is essential to allow them to fully dry before storing them. Damp parts can harbor bacteria and encourage the growth of mold or mildew. Follow these guidelines to ensure your parts are dry before proceeding with the storage:
- Separate the Parts: Take apart all components of your breast pump, including the bottles, flanges, valves, membranes, and connectors. This will allow each part to dry thoroughly.
- Pat Dry with a Clean Cloth: Use a clean, lint-free cloth to pat dry the parts. Make sure to remove any excess water or moisture from all surfaces.
- Air Dry: Place the breast pump parts on a clean, dry towel or surface and let them air dry completely. It is important to give them enough time to dry thoroughly, as storing even slightly damp parts can lead to the growth of bacteria or mold.
- Avoid Using Paper Towels or Tissues: While it may be tempting to reach for a paper towel or tissue for drying, it is best to avoid them as they may leave residue or fibers on the parts. Stick to using a clean cloth or air drying for optimal results.
By allowing your breast pump parts to fully dry, you are taking an important step in maintaining their cleanliness and preventing the risk of contamination during storage. Once the parts are completely dry, you can proceed to the next step of storing them properly.
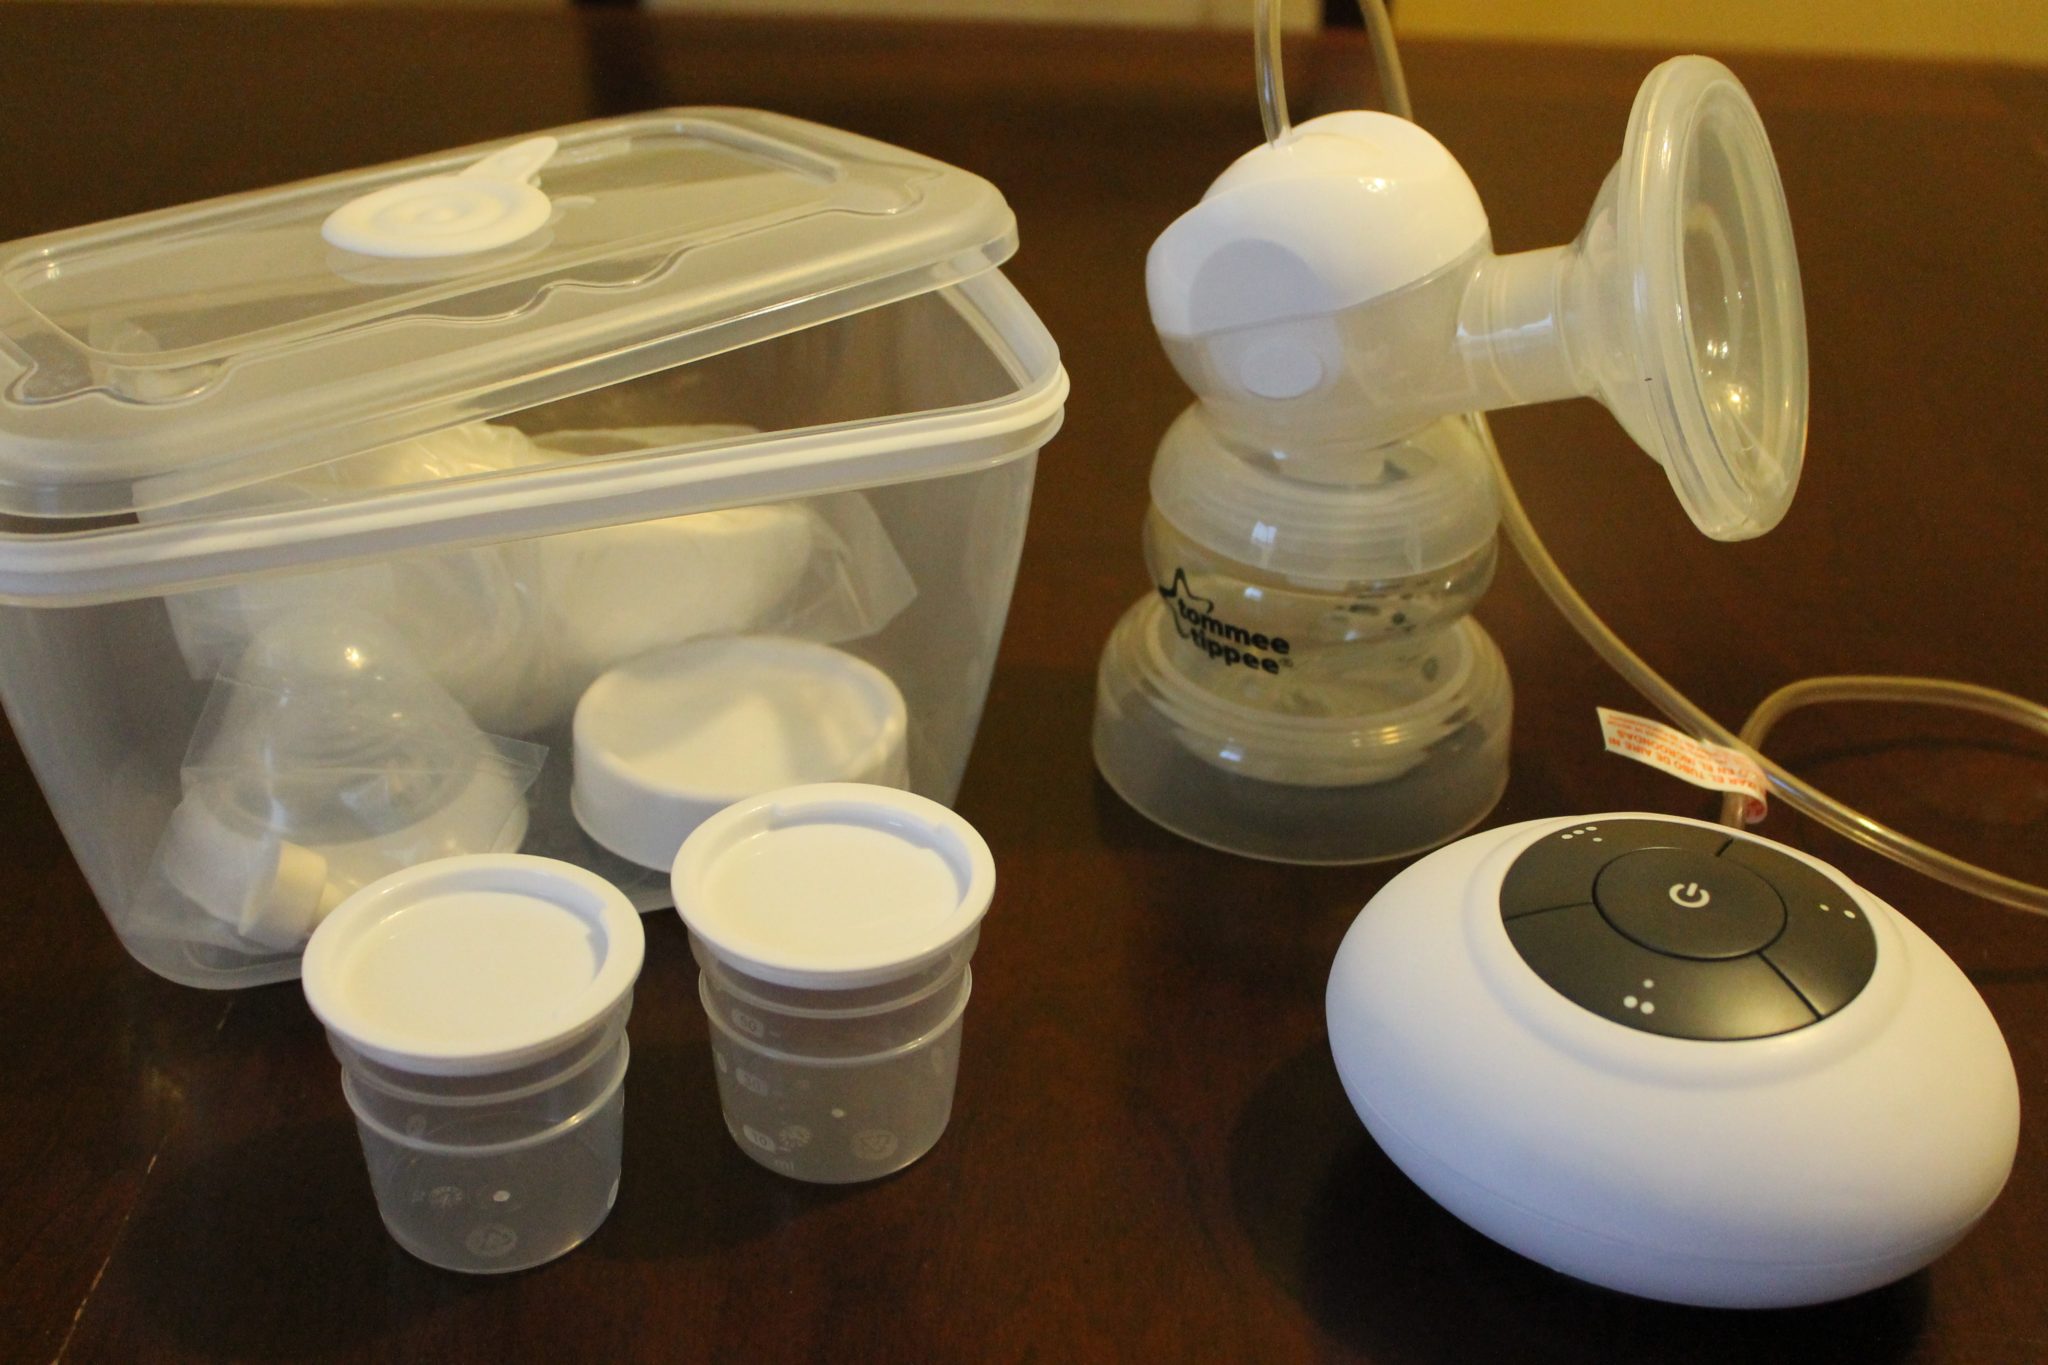
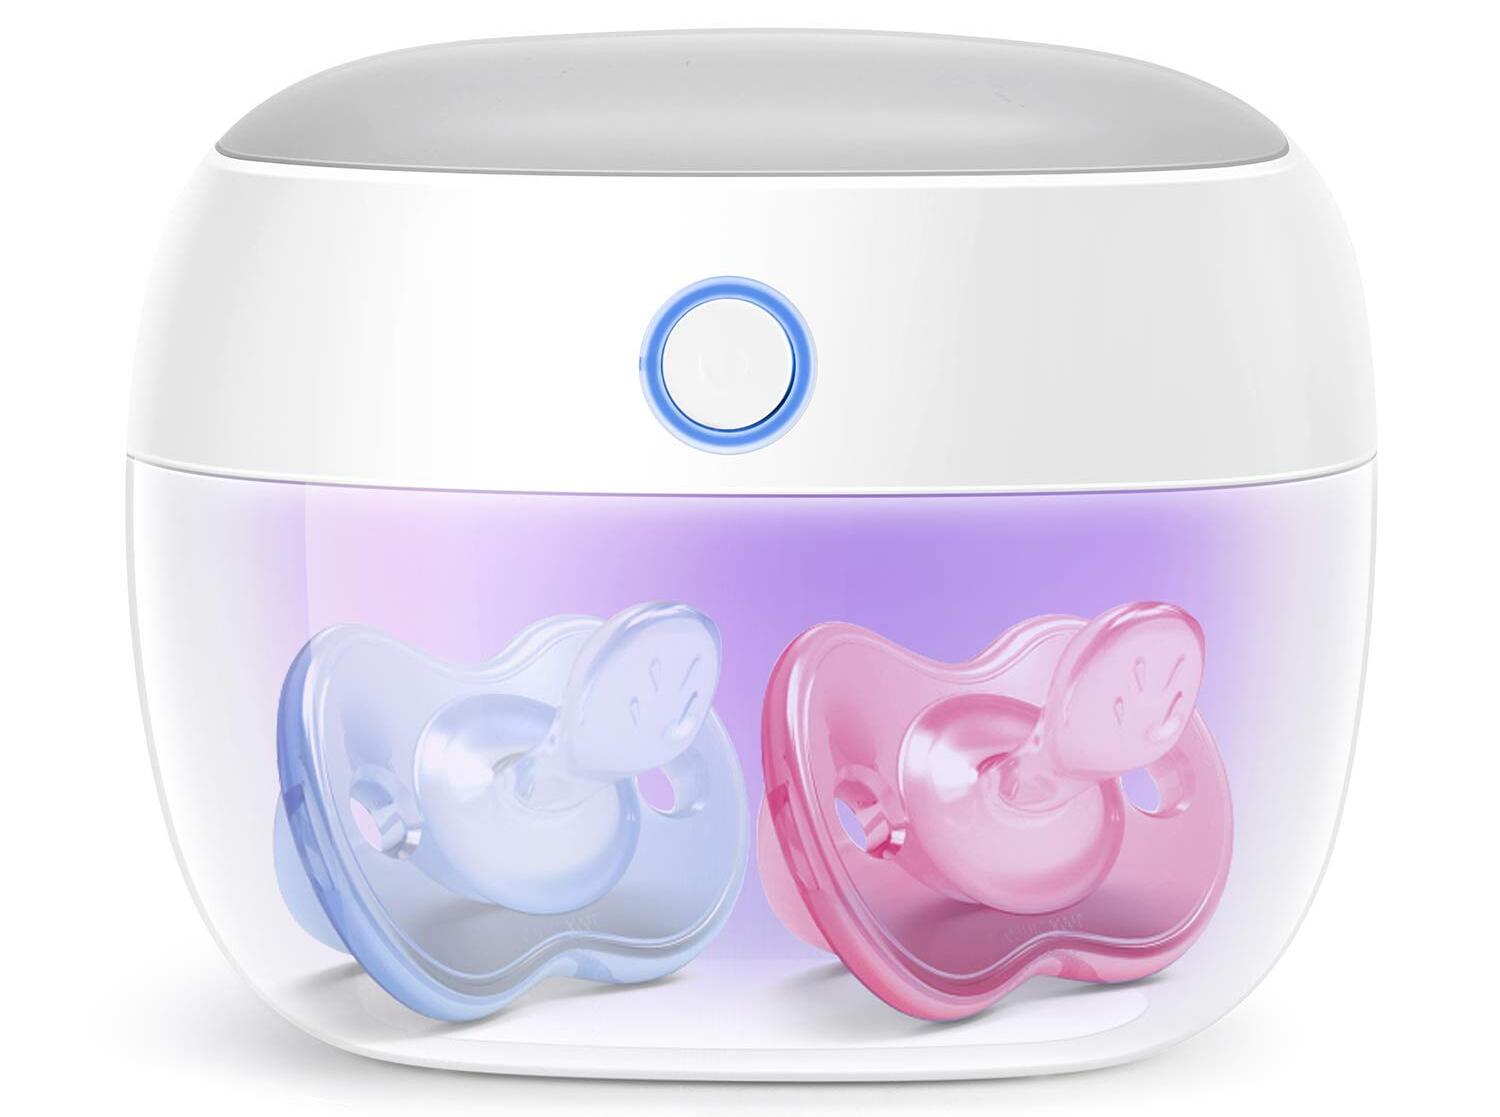
Step 2: Use a Clean Container or Bag
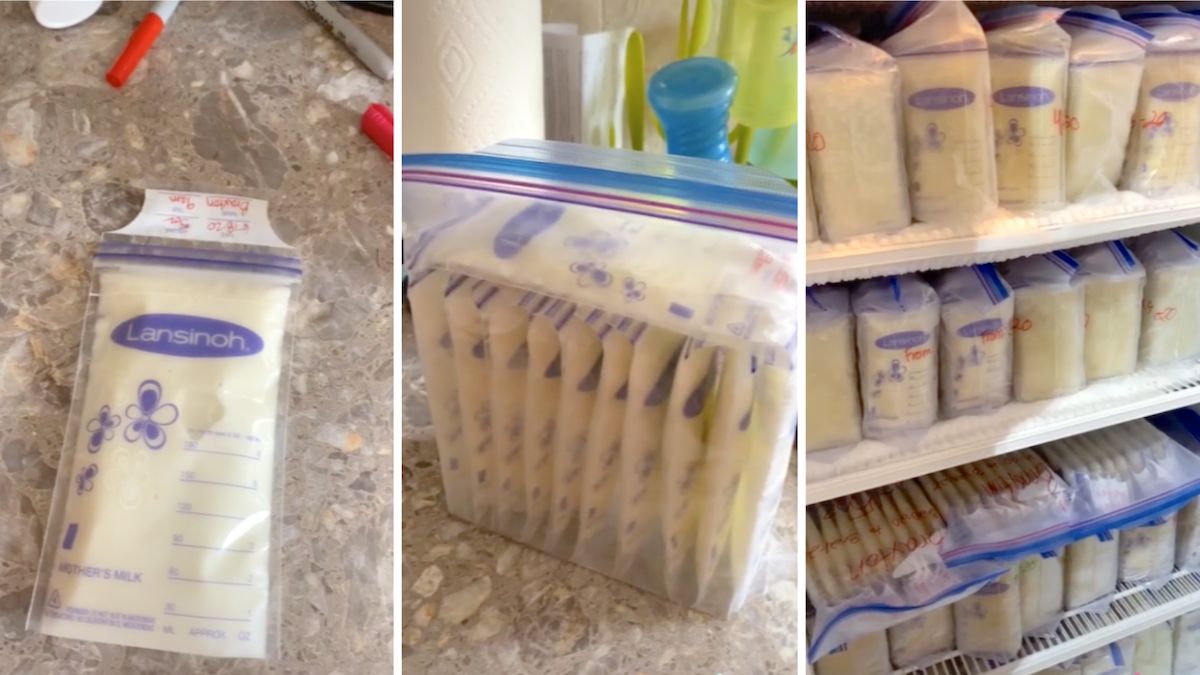
Once your breast pump parts are fully dry, it’s important to store them in a clean container or bag to prevent any potential contamination. Here are some guidelines to follow when selecting a container or bag for storing your breast pump parts:
- Choose a BPA-Free Container: Select a container or bag that is made of BPA-free material. This ensures that no harmful chemicals will leach into your breast milk or affect the integrity of the parts.
- Use a Sealable Container: Opt for a container with a tight-fitting lid or a bag with a secure zipper closure. This will help to keep out dust, dirt, and other contaminants that could compromise the cleanliness of the parts.
- Ensure Cleanliness: Before storing your breast pump parts, wash the chosen container or bag with warm, soapy water and rinse it thoroughly. This will remove any dirt or residue that may have accumulated on its surface.
- Dedicate a Container/Bag for Breast Pump Parts Only: Keeping a separate container or bag exclusively for storing breast pump parts helps maintain hygiene. Avoid using a container that is also used for storing other items to minimize the risk of cross-contamination.
- Avoid Plastic Bags: While it may be convenient to use plastic bags, they can easily tear or become damaged over time. Opt for a more durable and long-lasting container or bag that can withstand regular use.
- Consider Transparent Containers: Transparent containers or bags allow you to easily see the contents and check for any signs of damage or contamination. This can help you quickly identify any issues and take appropriate action.
By using a clean container or bag, you can ensure that your breast pump parts are stored in a safe and hygienic environment. This step helps to maintain the cleanliness of the parts and reduce the risk of contamination when using them in the future.
Step 3: Keep Parts in a Cool, Dry Place
Proper temperature and humidity conditions are crucial for maintaining the integrity of your breast pump parts. Storing them in a cool, dry place helps to prevent the growth of bacteria and mold. Here are some guidelines to follow when choosing a storage location:
- Avoid Direct Sunlight: Keep your breast pump parts away from direct sunlight. Prolonged exposure to sunlight can cause discoloration or degrade the materials, affecting their performance and hygiene.
- Avoid Moisture and Humidity: Moisture and high humidity create an environment favorable for the growth of bacteria and mold. Avoid storing your parts in areas like the bathroom or near a sink where they might be exposed to excessive moisture.
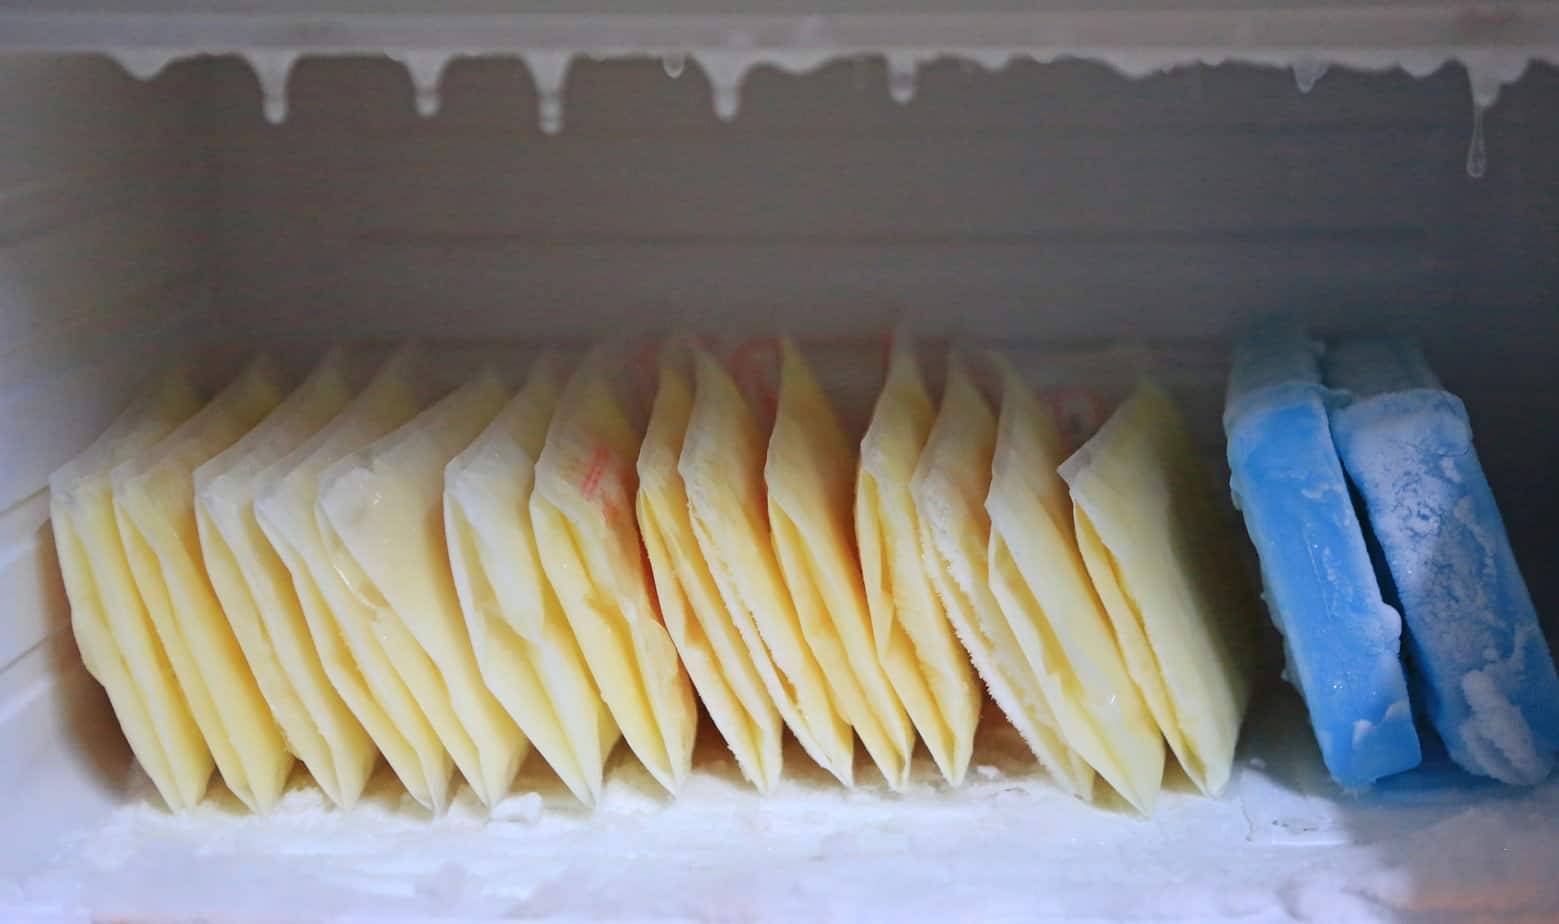
- Avoid Extreme Temperatures: Extreme temperatures can damage the integrity of your breast pump parts. Avoid storing them in places that are too hot or too cold, such as near heaters, radiators, or in the freezer.
- Choose a Clean and Dust-Free Area: Select a location that is clean, dust-free, and free from potential contaminants. This helps to keep your breast pump parts clean and ready for use when needed.
- Consider Using a Storage Bag: If you are storing your breast pump parts in a drawer or cupboard, using a storage bag can provide an extra layer of protection against dust, dirt, and potential contaminants.
- Keep Away from Pets and Children: Ensure that the storage location is out of reach of pets and children. This helps to prevent accidental damage or contamination of the breast pump parts.
- Regularly Inspect the Storage Area: Periodically check the storage area for any signs of mold, pests, or other issues. If you notice any problems, clean and sanitize the area before continuing to store your breast pump parts.
By keeping your breast pump parts in a cool, dry place, you are creating a suitable environment for their storage. This step helps to maintain the cleanliness and functionality of the parts, ensuring they are ready for use whenever you need them.
After sterilizing breast pump parts, allow them to air dry on a clean, dry surface. Once dry, store them in a clean, covered container or resealable bag to protect them from dust and germs until their next use.
Read more: How To Store Sterilized Pump Parts
Step 4: Consider Using a Dedicated Storage Area
Having a dedicated storage area for your breast pump parts can help you keep them organized and easily accessible whenever you need them. Here are some reasons why using a dedicated storage area is beneficial:
- Convenience: Having a designated storage area allows you to quickly locate and retrieve your breast pump parts without having to search through various locations. This saves time and makes the pumping process more efficient.
- Organization: A dedicated storage area helps you keep your breast pump parts organized and separate from other items. This reduces the chances of misplacing or mixing them up with other household items.
- Cleanliness: Storing breast pump parts in a dedicated area minimizes the risk of contamination from other items. It ensures that the parts remain clean and free from potential sources of bacteria or dirt.
- Sanitization: Having a designated storage area makes it easier to clean and sanitize the surrounding space regularly. This helps maintain a hygienic environment for storing your breast pump parts.
- Prolonged Longevity: By keeping your breast pump parts in a dedicated storage area, you reduce the likelihood of accidentally damaging or misplacing them. This can extend the lifespan of the parts, saving you from additional expenses of replacement.
- Privacy: If you prefer to keep your breast pump parts private and separate from other household items, a dedicated storage area provides the privacy you need.
Consider designating a specific drawer, shelf, or cabinet in your kitchen or nursery as the designated storage area for your breast pump parts. Make sure the area is clean, easily accessible, and meets the temperature and humidity requirements mentioned in the previous step.
Having a dedicated storage area for your breast pump parts not only helps keep them organized but also contributes to their longevity and ensures they remain in a clean and hygienic condition.
Step 5: Properly Label and Date the Parts
Labeling and dating your breast pump parts is a crucial step in maintaining hygiene and organization. It helps you keep track of when each part was sterilized and how long it has been in storage. Here’s how to properly label and date your breast pump parts:
- Use Waterproof Labels: Choose waterproof labels or markers that won’t smudge or fade when exposed to moisture. This ensures that the labels remain legible even after cleaning or sterilizing the parts.
- Label Each Part Individually: Label each breast pump part individually to avoid confusion later on. This includes bottles, flanges, valves, membranes, and any other removable components.
- Date the Parts: Write the date of sterilization on the label or directly on the part itself. This will help you keep track of how long the parts have been in storage and determine when it’s time to replace or re-sterilize them.
- Include Additional Information: If desired, you can also include additional information on the label, such as the name or initials of the user, to avoid any mix-ups in case you are sharing the breast pump or parts with others.
- Re-label after Sterilization: Whenever you sterilize your breast pump parts, make sure to re-label them with the new date to ensure accuracy. This allows you to maintain a clear record of when each part was last cleaned and sterilized.
- Regularly Check and Update: Regularly check the labels on your breast pump parts to ensure they are still legible and up to date. If a label becomes smudged or unreadable, replace it with a new one to maintain accurate information.
Properly labeling and dating your breast pump parts helps you keep track of their cleanliness and expiration dates. It ensures that you are using the parts within the appropriate time frame and helps prevent any potential health risks associated with using expired or improperly stored parts.
Take a few moments to label and date your breast pump parts after each sterilization session to maintain a clear and organized system for storage.
Step 6: Avoid Stacking or Overcrowding the Parts
Proper organization and spacing of your breast pump parts during storage is important to prevent damage and ensure efficient cleaning and sterilization. Avoid stacking or overcrowding the parts to maintain their integrity and hygiene. Here are some tips to follow:
- Give Each Part Its Own Space: Allocate enough space for each individual breast pump part. This helps prevent any physical contact or rubbing between the parts, which can lead to scratches or damage.
- Keep Flanges Separated: Flanges, which are the cone-shaped cups that fit over the breasts, should be stored separately to maintain their shape and prevent deformation. Consider using a dedicated container or hook to keep them upright and protected.
- Store Small Parts Together: Keep valves, membranes, and other small parts together in a clean container or bag specifically designated for accessories. This makes it easier to locate them when needed without having to search through different storage areas.
- Avoid Nesting Bottles: If you are storing multiple bottles, avoid nesting them inside one another. This can lead to trapping moisture or residues, making it harder to clean and increasing the risk of contamination.
- Provide Adequate Space: Ensure that there is enough space between each part to allow air circulation and prevent them from touching. Sufficient spacing also minimizes the risk of microorganisms transferring between parts and promotes faster drying.
- Consider Using Dividers or Separators: Utilize dividers or separators within your storage container or drawer to create individual compartments for each breast pump part. This helps maintain organization and prevents parts from shifting or colliding with one another.
- Regularly Rearrange and Inspect: Periodically rearrange and inspect the storage area to ensure that the parts are still properly spaced and protected. This allows you to identify any potential issues and make necessary adjustments to maintain the quality of the parts.
By avoiding stacking or overcrowding your breast pump parts, you can protect them from damage, maintain their cleanliness, and ensure that they are ready for use whenever you need them.
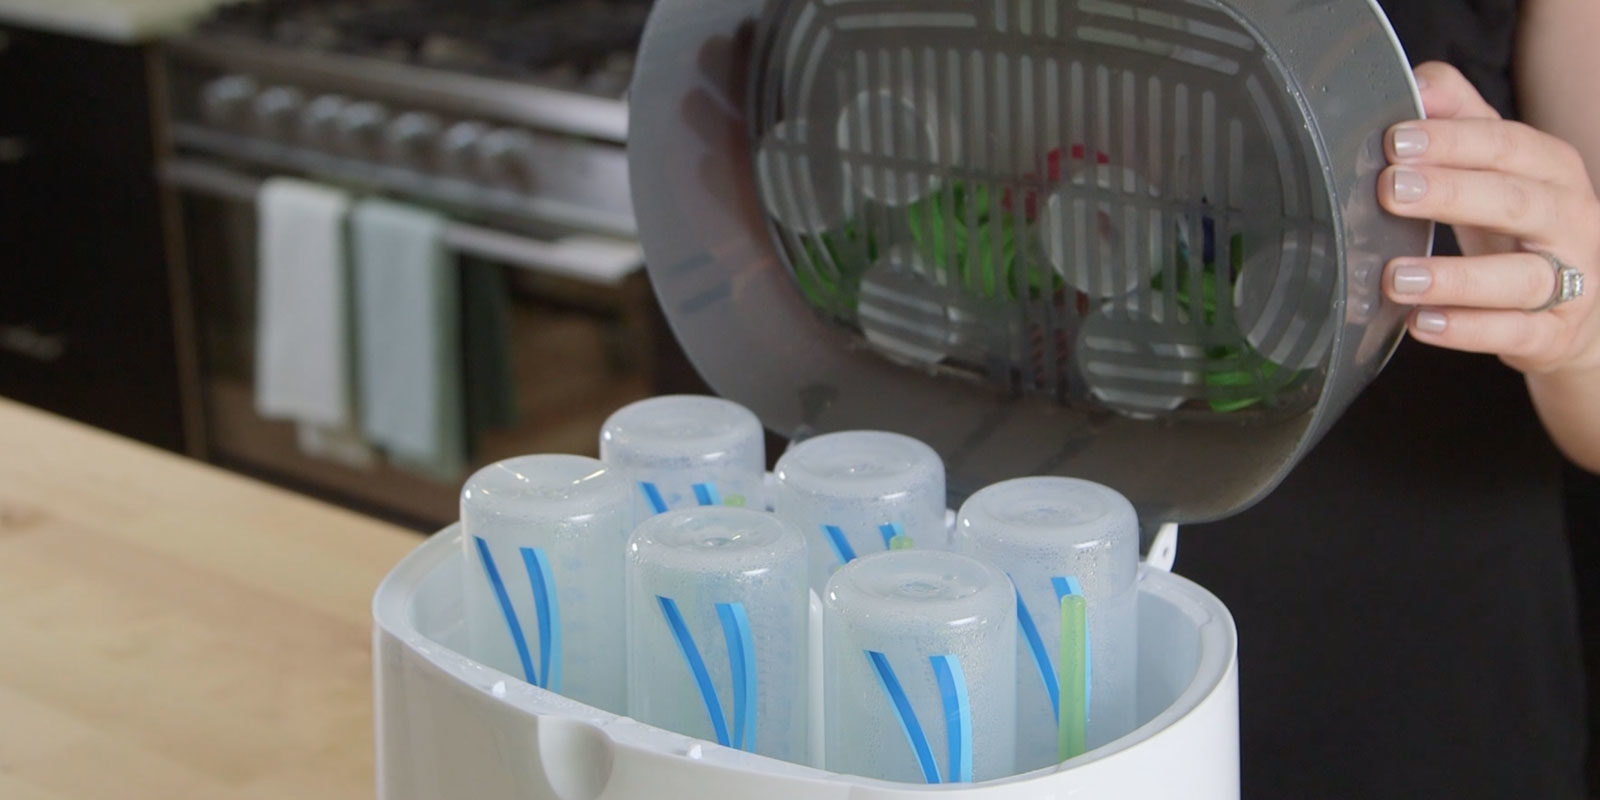
Step 7: Clean and Sterilize Regularly
Regular cleaning and sterilization are essential for maintaining the hygiene and functionality of your breast pump parts. Follow these guidelines to ensure proper cleaning and sterilization:
- Disassemble and Rinse: After each use, disassemble your breast pump parts and rinse them with cool water to remove any milk residue. This prevents the buildup of bacteria and ensures a clean starting point for further cleaning.
- Hand-wash or Use a Dishwasher: Depending on the manufacturer’s instructions, you can either hand-wash the parts using warm, soapy water or place them in a dishwasher. If using a dishwasher, use the top rack and select a gentle cycle to prevent damage to the parts.
- Thoroughly Clean All Components: Pay attention to all components, such as bottles, flanges, valves, membranes, and connectors. Use a bottle brush, nipple brush, or small cleaning brush to clean hard-to-reach areas, such as valve crevices. Rinse all parts thoroughly after cleaning.
- Sterilize According to Manufacturer’s Instructions: Sterilize your breast pump parts using the appropriate method recommended by the manufacturer. This typically involves boiling the parts in water for a specified period of time, using a steam sterilizer, or using microwave steam bags.
- Avoid Harsh Chemicals or Abrasive Materials: When cleaning breast pump parts, avoid using harsh chemicals, bleach, or abrasive materials that may damage the parts. Stick to mild, fragrance-free dish soap or specifically formulated cleaning products recommended for breast pump accessory cleaning.
- Dry Thoroughly: After cleaning and sterilizing, allow your breast pump parts to air dry completely. Place them on a clean drying rack or a dry, lint-free cloth to ensure that all moisture has evaporated before storing.
- Follow a Cleaning Schedule: Establish a regular cleaning schedule for your breast pump parts based on your usage frequency. This may range from cleaning and sterilizing after every use to a daily or weekly routine. Consistency is key to maintaining proper hygiene.
Regularly cleaning and sterilizing your breast pump parts helps eliminate bacteria and ensures the safety of your breast milk. It also prevents the growth of mold or mildew and helps maintain the efficiency and longevity of the pump.
By following these cleaning and sterilization guidelines, you can confidently use your breast pump parts knowing they are thoroughly cleaned and ready for safe and effective use.
Read more: How To Store Breast Pump Parts
Conclusion
Properly storing your breast pump parts after sterilizing is essential for maintaining cleanliness, hygiene, and the overall functionality of your breast pump. By following the steps outlined in this article, you can ensure that your breast pump parts remain in optimal condition and are safe for both you and your baby.
Allowing the parts to fully dry, using a clean container or bag, and keeping them in a cool, dry place are fundamental practices to prevent contamination and damage. Labeling and dating the parts help you keep track of their sterilization history and ensure that they are used within the appropriate time frame.
Avoiding stacking or overcrowding the parts helps maintain their integrity, prevents damage, and promotes efficient cleaning and sterilization. Additionally, considering a dedicated storage area for your breast pump parts enhances organization, cleanliness, and convenience.
Last but not least, cleaning and sterilizing your breast pump parts regularly is crucial for maintaining hygiene, eliminating bacteria, and ensuring the safety of your breast milk. Follow the manufacturer’s instructions and establish a cleaning schedule that aligns with your usage frequency.
By implementing these guidelines, you can enhance the longevity, effectiveness, and safety of your breast pump parts. Remember to always prioritize hygiene, cleanliness, and proper storage to provide your baby with the highest level of care and protection.
Frequently Asked Questions about How To Store Breast Pump Parts After Sterilizing
Was this page helpful?
At Storables.com, we guarantee accurate and reliable information. Our content, validated by Expert Board Contributors, is crafted following stringent Editorial Policies. We're committed to providing you with well-researched, expert-backed insights for all your informational needs.


0 thoughts on “How To Store Breast Pump Parts After Sterilizing”