Articles
How To Store Canned Goods In Cabinet
Modified: February 26, 2024
Learn how to store canned goods in your cabinet with these helpful articles. Keep your pantry organized and your food fresh.
(Many of the links in this article redirect to a specific reviewed product. Your purchase of these products through affiliate links helps to generate commission for Storables.com, at no extra cost. Learn more)
Introduction
Welcome to the ultimate guide on how to store canned goods in a cabinet! Properly storing your canned goods is essential for maintaining their quality and ensuring their long shelf life. Whether you are an avid cook, a prepper, or just someone who enjoys having a well-stocked pantry, organizing your canned goods in a thoughtful manner will not only save you time but also make your kitchen more functional.
In this article, we will cover the step-by-step process of storing canned goods in a cabinet. We will discuss how to clear and clean the cabinet, sort and organize the cans, utilize storage containers or bins, label and rotate the goods, consider temperature and humidity, make use of adjustable shelves or organizers, avoid overstocking, and regularly update the inventory. By following these tips, you can ensure that your canned goods are easily accessible when you need them and remain in optimal condition.
So, let’s dive into the details of each step and learn how to efficiently store your canned goods!
Key Takeaways:
- Efficiently store canned goods by clearing, cleaning, sorting, and organizing your cabinet. Utilize storage containers, label and rotate goods, and consider temperature and humidity for optimal preservation and accessibility.
- Avoid overstocking, regularly update inventory, and make use of adjustable shelves to maintain a well-organized and functional canned goods cabinet. Prioritize cleanliness, airflow, and accessibility for a well-stocked pantry.
Read more: How To Store Canned Goods
Step 1: Clear and Clean the Cabinet
The first step in storing your canned goods in a cabinet is to clear out the space and give it a thorough cleaning. Remove all items, including non-food items, from the cabinet to create an empty space for your canned goods.
Once the cabinet is empty, wipe down the shelves and walls with a damp cloth or a mild cleaning solution. This will help remove any dust, debris, or residue that may have accumulated over time. Make sure to dry the cabinet thoroughly before proceeding to the next step.
Clearing and cleaning the cabinet is important as it helps create a clean and sanitary environment for storing your canned goods. It also allows you to assess the condition of the cabinet and make any necessary repairs or improvements.
After cleaning, take a moment to consider the location of the cabinet. It should be in a cool, dry, and well-ventilated area of your kitchen. Avoid placing it near heat sources such as the stove or dishwasher, as excessive heat can reduce the shelf life of your canned goods.
By starting with a clean and well-maintained cabinet, you set the foundation for organizing and storing your canned goods effectively.
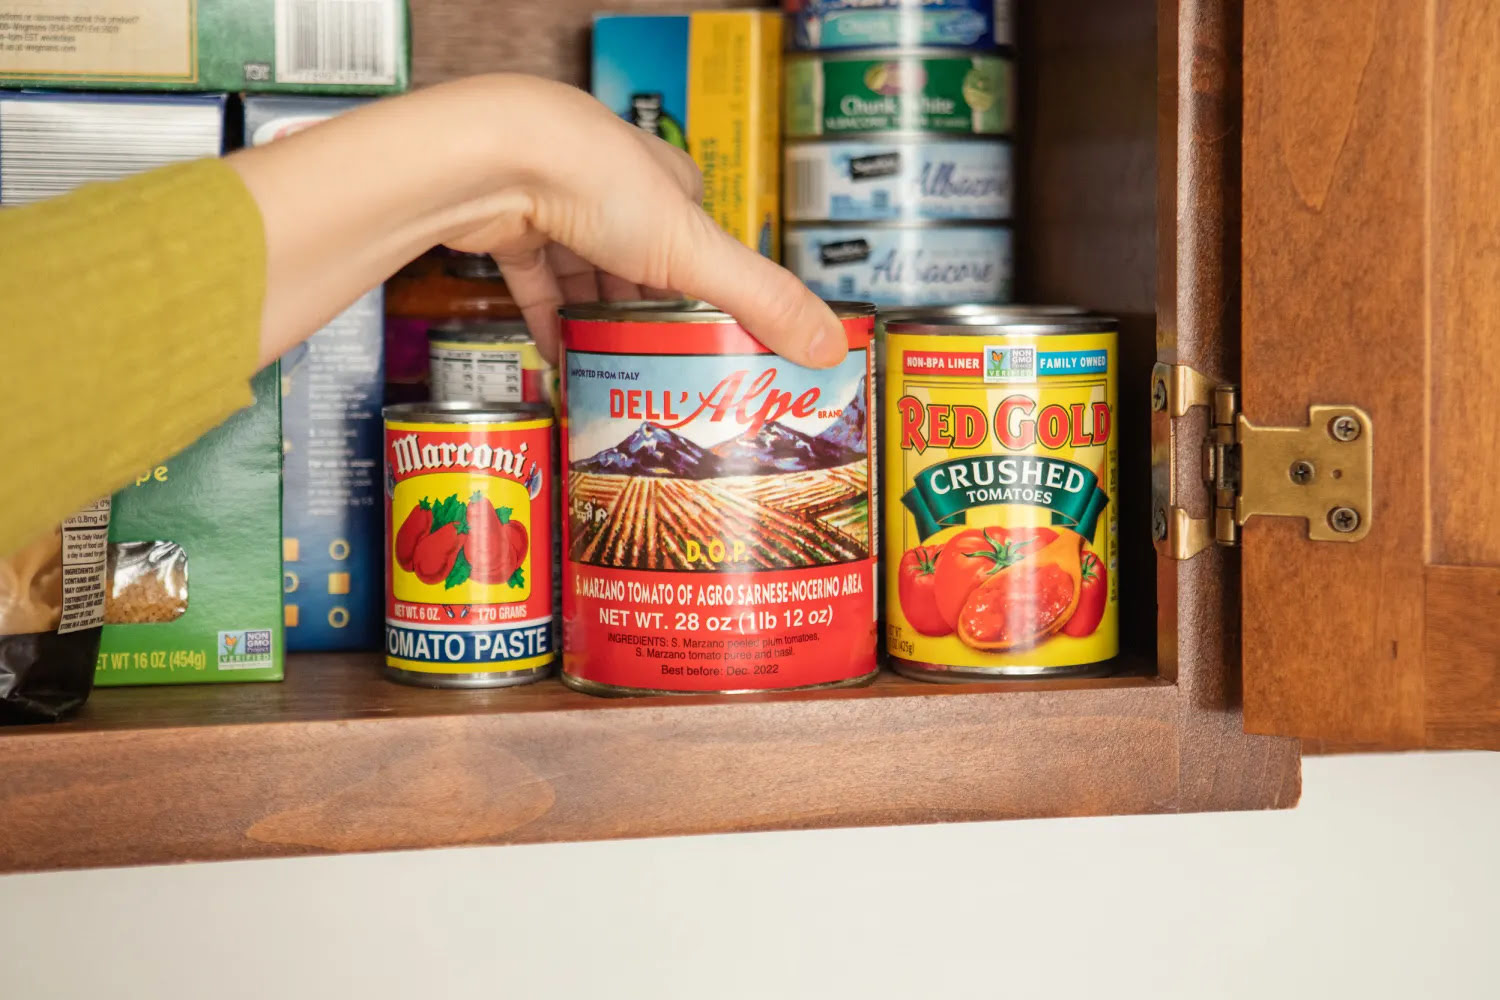
Step 2: Sort and Organize the Canned Goods
Once you have prepared the cabinet, it’s time to sort and organize your canned goods. This step is crucial to ensure easy access to the items and to prevent any spoilage or waste.
Start by taking inventory of your canned goods. Check the expiration dates and inspect the cans for any signs of damage, such as dents or bulges. It’s important to discard any cans that are past their expiration date or show signs of spoilage or damage.
Next, categorize your canned goods based on their type. Group similar items together, such as vegetables, fruits, soups, sauces, and so on. This will make it easier to locate specific items when you need them.
Within each category, consider organizing the cans based on their size or brand. You can choose to stack them vertically or horizontally, depending on the space available and your personal preference. Remember to place the newly purchased or older cans towards the front of the cabinet to ensure proper rotation.
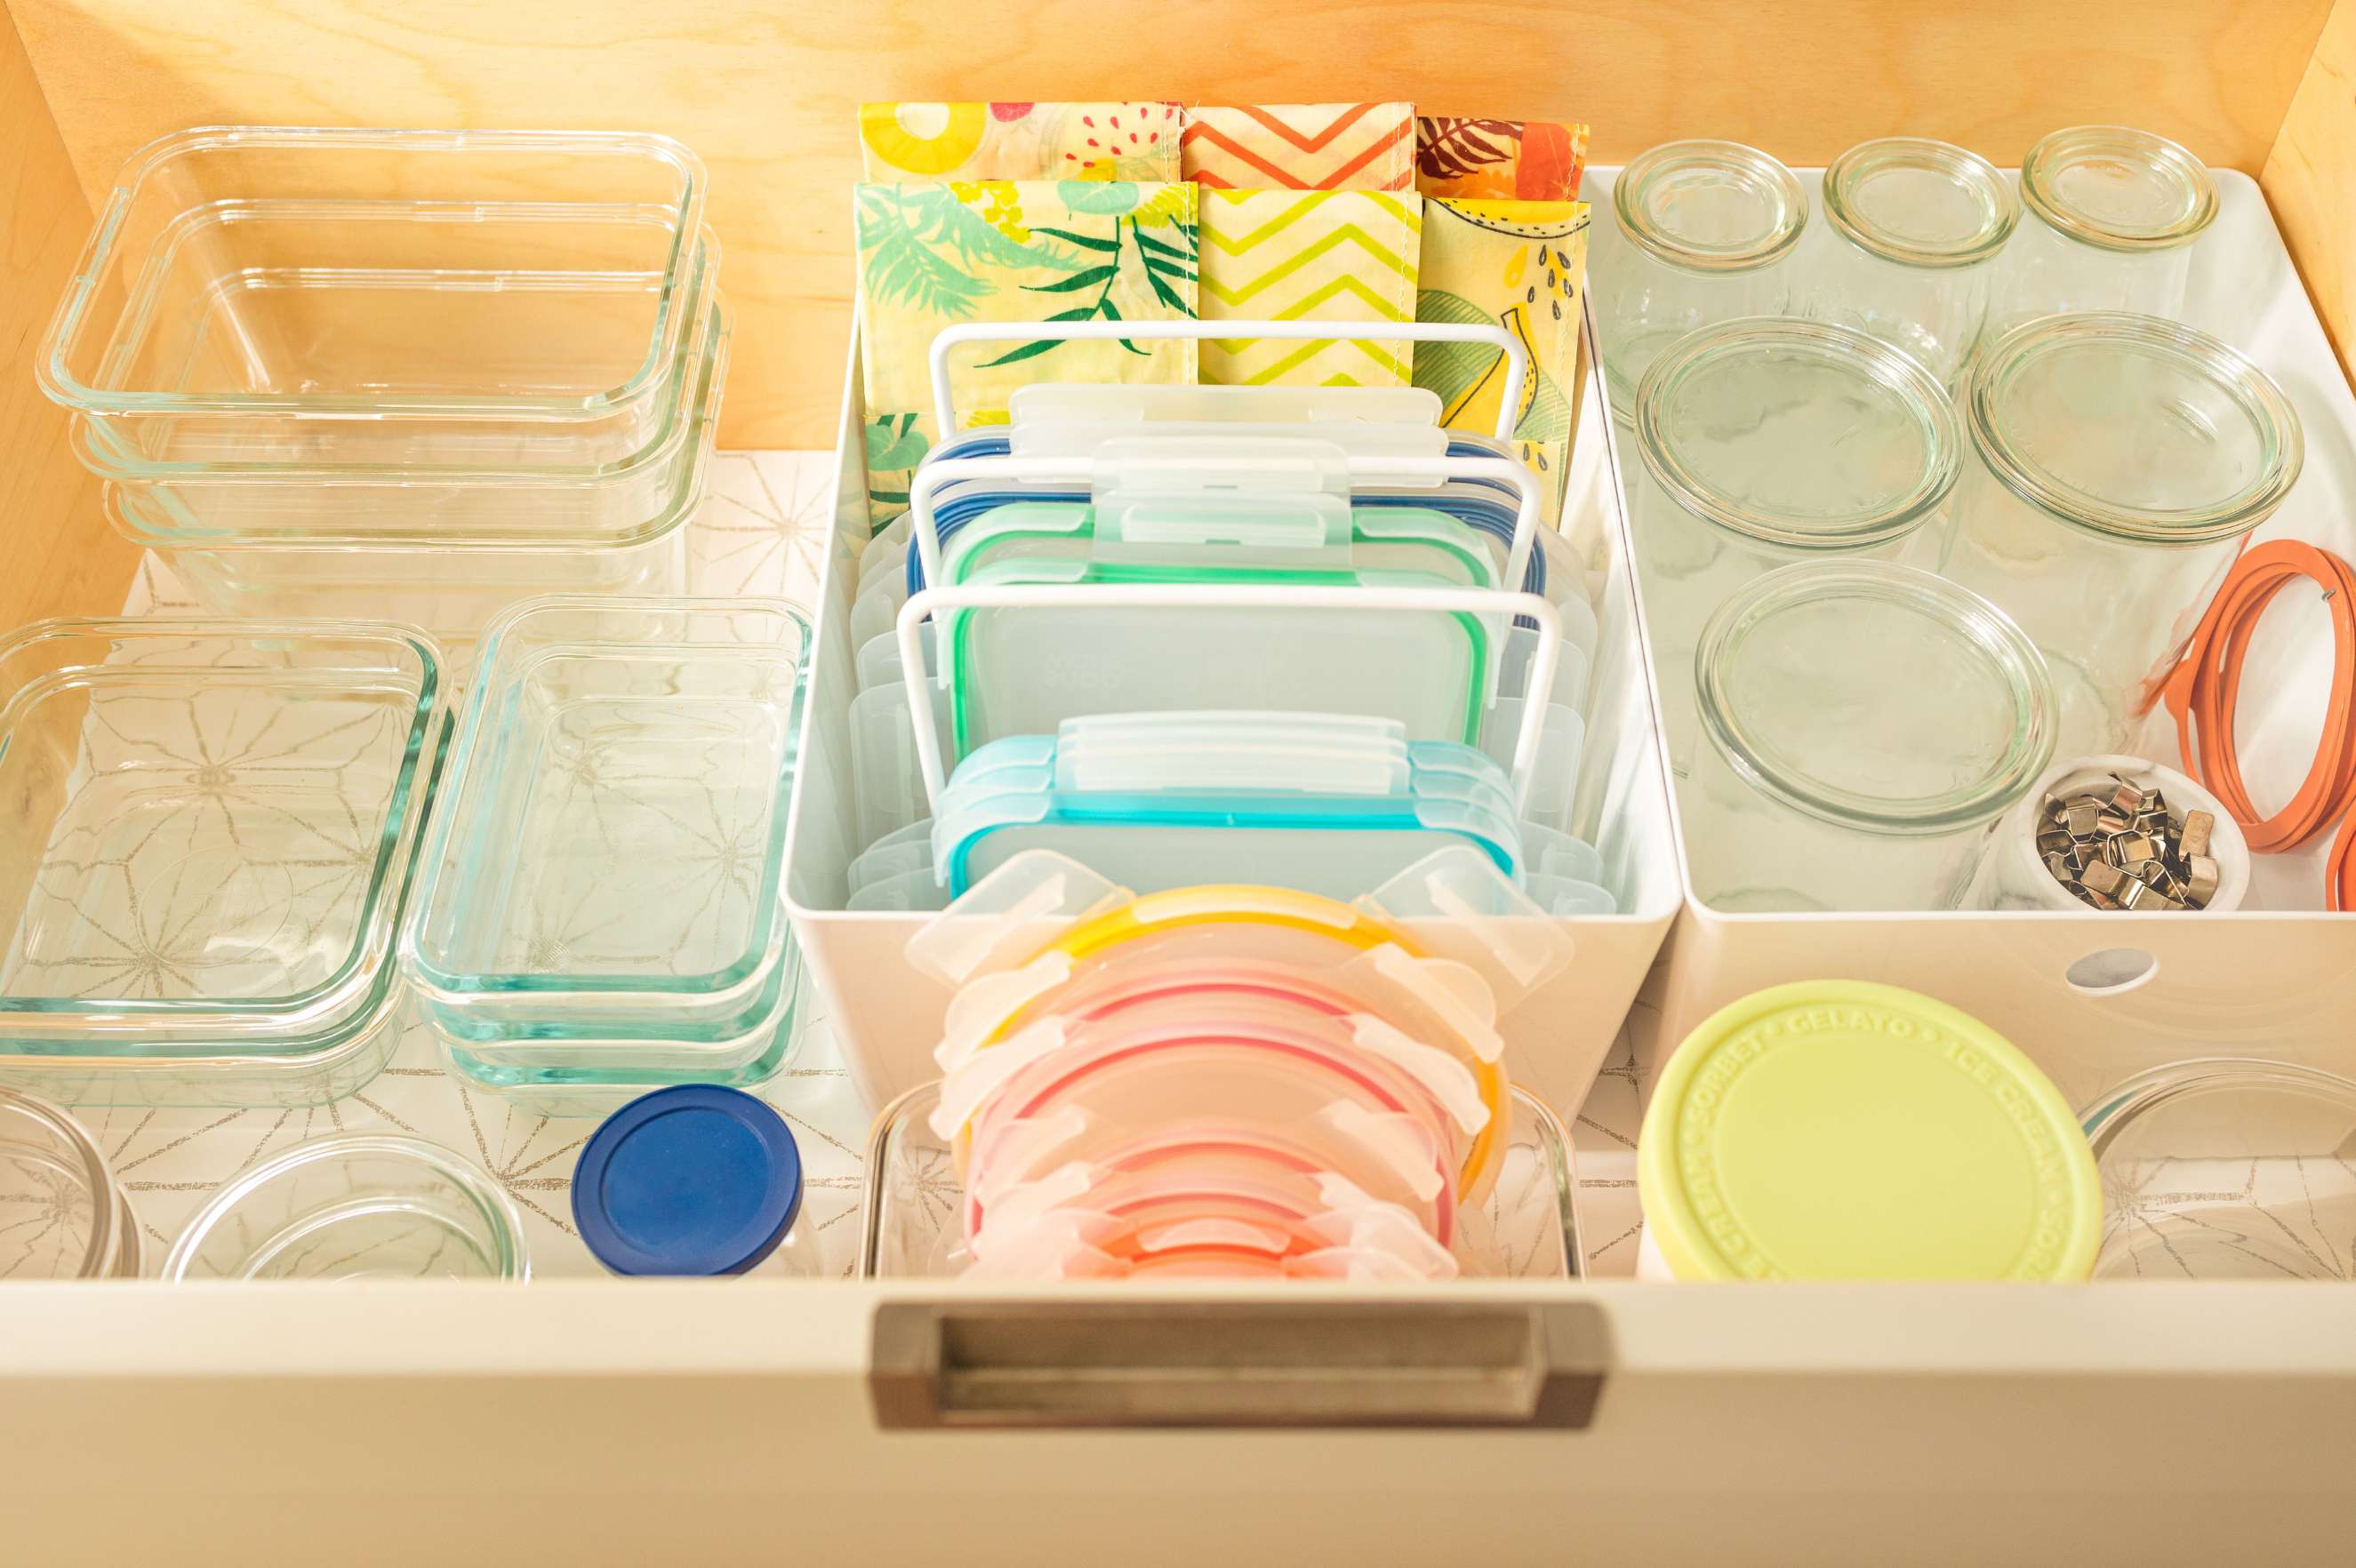
Consider using storage containers or bins to further organize your canned goods. Clear plastic containers or wire baskets can help keep similar items together and prevent them from rolling around or getting lost in the back of the cabinet.
By sorting and organizing your canned goods, you not only create a visually appealing pantry but also optimize the use of space and make it easier to find what you’re looking for. This step helps you maintain an inventory of your canned goods and reduces the chances of accidentally purchasing duplicate items.
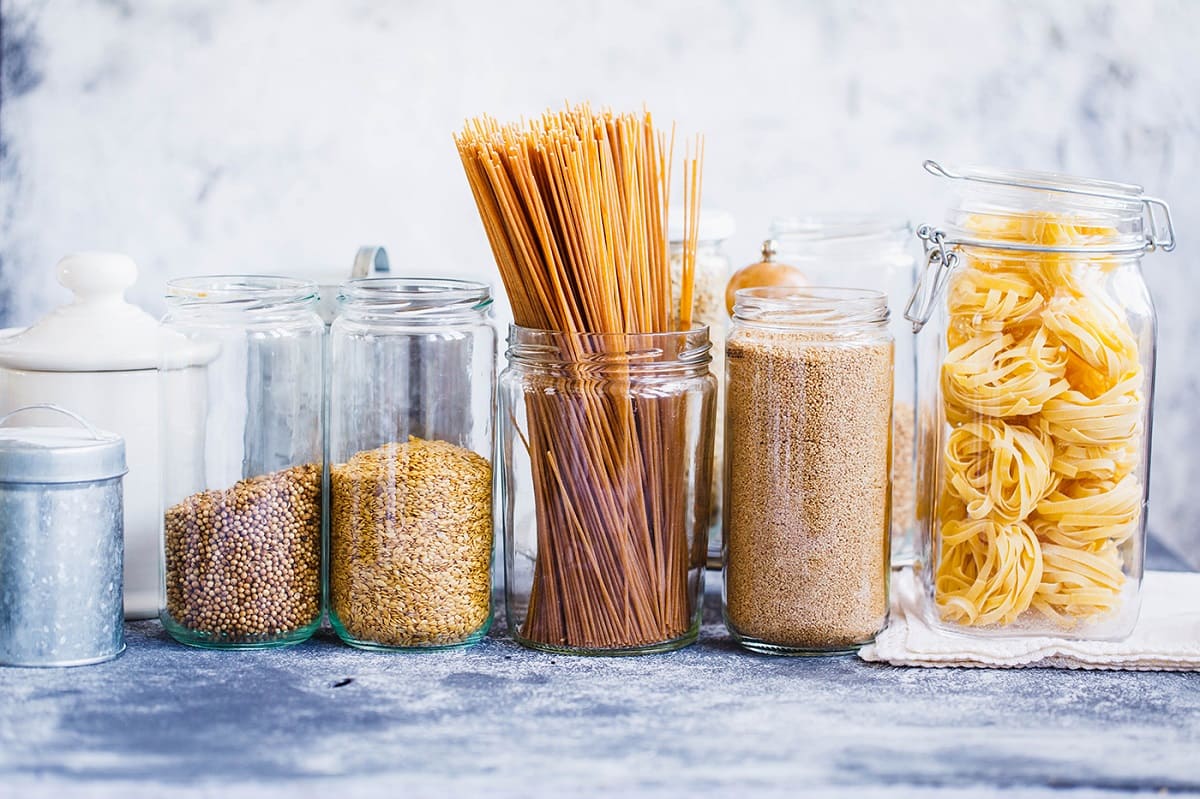
Step 3: Utilize Storage Containers or Bins
Storage containers or bins are a fantastic way to maximize the organization and efficiency of your canned goods cabinet. By utilizing these containers, you can further categorize and protect your canned goods, making them easier to access and reducing the risk of spoilage.
When selecting storage containers or bins, opt for clear plastic ones. The transparency allows you to easily see the contents, eliminating the need to dig through stacks of cans to find what you need. Additionally, plastic containers are lightweight and easy to clean, making them a practical choice for storing your canned goods.
Label each storage container or bin with the category of canned goods it contains. You can use label makers, adhesive labels, or even a simple marker to clearly identify each container. This labeling system not only enhances the organization but also makes it easier for you and other family members to locate specific items without any hassle.
Place the labeled containers or bins in the cabinet, arranging them in a way that maximizes the available space. Stack them vertically or line them up horizontally, depending on the dimensions of your cabinet and the number of canned goods you have.
Furthermore, you can consider using collapsible storage containers or bins to optimize space utilization. These containers can be folded and stored when not in use, allowing for more flexibility in organizing your cabinet.
By utilizing storage containers or bins, you create designated spaces for each category of canned goods, keeping everything neat, organized, and easily accessible. This method also helps to protect the cans from getting damaged and extends their shelf life.
Step 4: Label and Rotate the Canned Goods
Labeling and rotating your canned goods is essential for maintaining freshness and ensuring that nothing goes to waste. This step helps you keep track of expiration dates and ensures that older cans are used before newer ones.
Start by labeling each can with the purchase or expiration date. You can use a permanent marker to write the date on the top or bottom of the can. If you prefer a more organized approach, create small adhesive labels with the date and stick them onto the cans.
When arranging the cans in the cabinet, place the older ones towards the front, making them more visible and easily accessible. This positioning allows you to use them before they reach their expiration date and prevents them from being forgotten at the back of the cabinet.
As you purchase new canned goods, add them to the back of the designated category and adjust your inventory accordingly. Remember to rotate the cans by moving the older ones to the front and placing the new ones towards the back.
Regularly check the expiration dates of your canned goods to ensure they are still within their safe consumption period. Discard any cans that have expired or show signs of spoilage, such as leaks, bulges, or off-smells.
By labeling and rotating your canned goods, you maintain a well-organized cabinet and ensure that nothing goes to waste. This practice also helps you keep track of your inventory, preventing any surprises when you need to cook a meal or replenish your supplies.
To store canned goods in a cabinet, arrange them in a single layer to prevent crushing and make sure the oldest items are in the front for easy access.
Read more: How To Store Canned Goods In Pantry
Step 5: Consider Temperature and Humidity
Considering the temperature and humidity of your canned goods storage area is crucial for preserving the quality and longevity of your canned goods. Improper conditions can lead to spoilage, degradation of flavor, and even the growth of harmful bacteria.
Keep in mind that canned goods should be stored in a cool and dry environment. Excessive heat can cause the contents of the cans to expand, leading to spoilage or even bursting. Avoid placing your canned goods cabinet near heat sources such as the stove, oven, or dishwasher.
High humidity can also negatively affect the quality of your canned goods. Moisture in the air can cause rusting of the cans, leading to compromised seals and increased risk of spoilage. It is recommended to store your canned goods in an area with relatively low humidity.
If you live in an area with high humidity or your kitchen tends to get humid, consider using moisture-absorbing products such as silica gel packs or moisture absorbers in your cabinet. These help absorb excess moisture, reducing the risk of rust and spoilage.
Monitor the temperature and humidity of your kitchen periodically to ensure it remains within the appropriate range for storing canned goods. A thermometer and humidity gauge can be useful tools to keep track of these factors.
By considering the temperature and humidity conditions of your storage area, you can ensure the long-term preservation of your canned goods, maintaining their quality and nutritional value for an extended period.
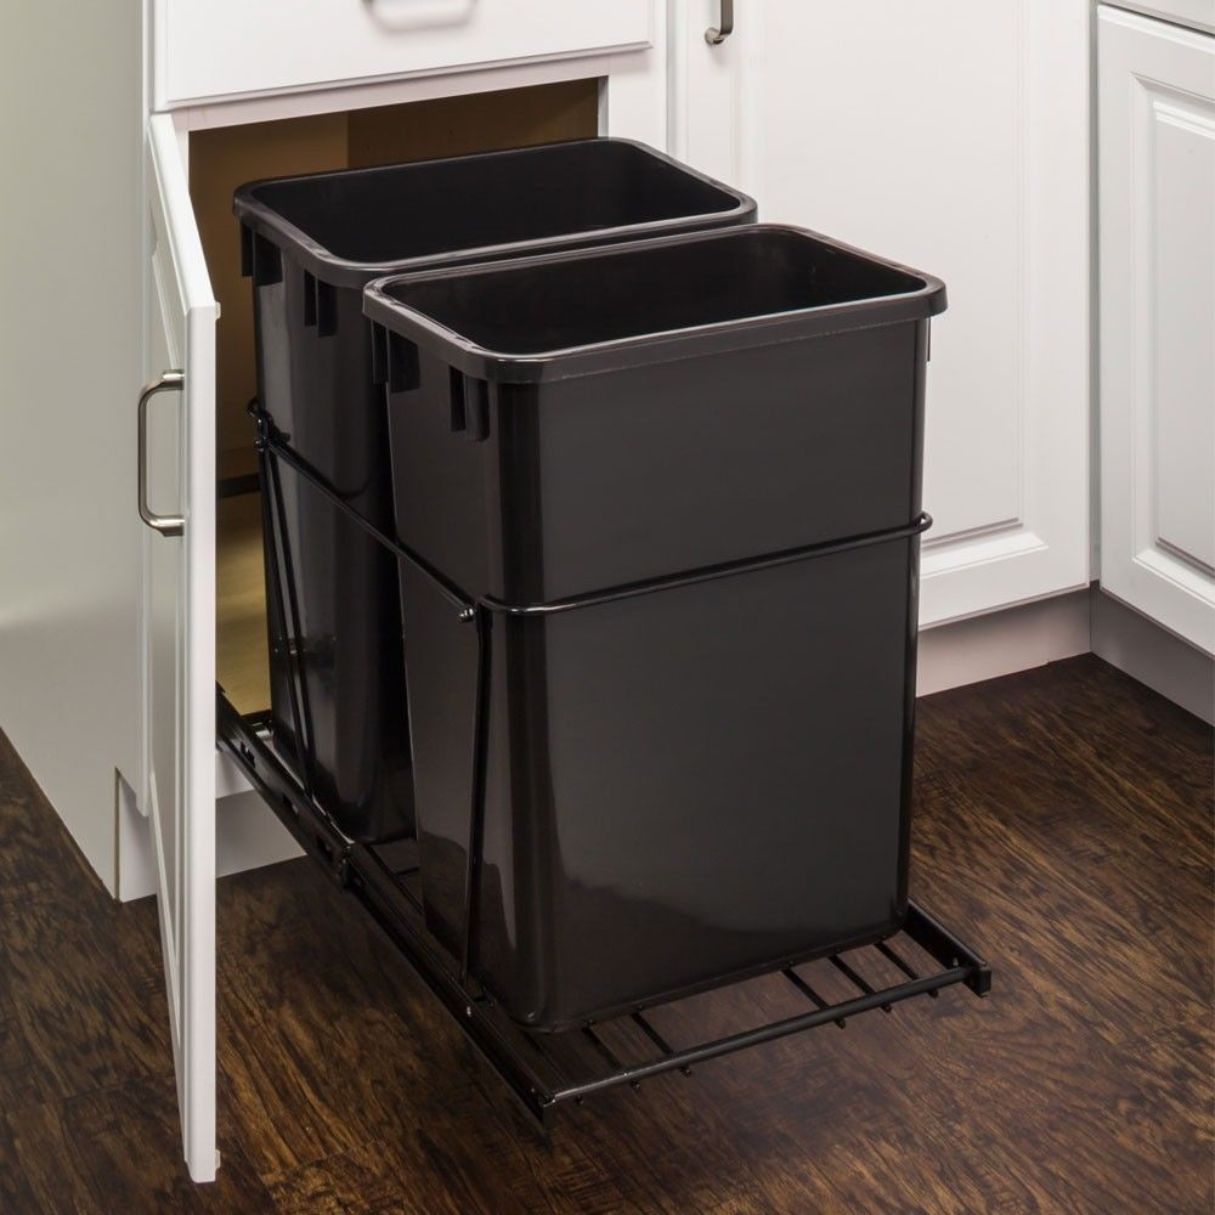
Step 6: Make Use of Adjustable Shelves or Organizers
Making use of adjustable shelves or organizers can greatly enhance the efficiency and functionality of your canned goods cabinet. These tools allow you to maximize vertical space and customize the layout to suit your needs.
If your cabinet doesn’t already have adjustable shelves, consider installing them. Adjustable shelves give you the flexibility to modify the height between shelves, accommodating cans of different sizes and optimizing the use of vertical space.
Organizers such as can racks or tiered shelves are also excellent additions to your cabinet. These organizers help keep the cans upright, making them easily visible and accessible. They also prevent cans from rolling around or getting buried under other items.
Take the time to arrange the adjustable shelves or organizers in a way that optimizes space and facilitates easy access to your canned goods. Place taller items towards the back and shorter ones towards the front to ensure visibility and prevent items from being hidden and forgotten.
Adjustable shelves or organizers can also be utilized to create separate sections within your cabinet for different categories of canned goods. By assigning specific areas for vegetables, fruits, soups, and other items, you can find what you need with ease and maintain a well-organized cabinet.
Remember to periodically assess and adjust the arrangement of your shelves and organizers as your canned goods inventory changes. This ensures that you are fully utilizing the available space and making the most efficient use of your cabinet.
By incorporating adjustable shelves or organizers, you can create a custom storage solution that maximizes space, enhances accessibility, and adds an extra level of organization to your canned goods cabinet.
Step 7: Avoid Overstocking the Cabinet
While it’s tempting to stock up on canned goods and fill your cabinet to the brim, it’s important to avoid overstocking. Overcrowding the cabinet can lead to difficulty in accessing items, increased risk of damage, and potentially wasted food.
One of the main reasons to avoid overstocking is to ensure proper airflow around the cans. Adequate airflow helps maintain a stable temperature within the cabinet and prevents the accumulation of moisture, which can lead to rust and spoilage.
Overstocking can also result in cans being squished or crushed under the weight of other items. This can compromise the seal of the can, making it more susceptible to spoilage. It’s important to leave some room for cans to breathe and avoid placing heavy items on top of delicate ones.
Another reason to avoid overstocking is to prevent items from getting lost or forgotten at the back of the cabinet. When the cabinet is packed tightly, it can be challenging to see and reach items in the back, resulting in them going unused and potentially expiring.
Keep an eye on your inventory and purchase canned goods in quantities that you can comfortably consume within a reasonable timeframe. This ensures that you always have a fresh and rotating supply, allowing you to make the most of your pantry items.
If you find yourself with excess canned goods, consider donating them to local food banks or charitable organizations. This way, you can help those in need and prevent any food waste.
By avoiding overstocking, you maintain a well-organized and functional cabinet that promotes optimal airflow, prevents damage, and ensures that your canned goods are used before they expire.
Step 8: Regularly Check and Update the Inventory
Regularly checking and updating your inventory is a crucial step in properly managing your canned goods cabinet. This practice helps you stay aware of what you have, reduces the risk of expired items, and ensures that you always have a well-stocked pantry.
Set a schedule to inspect your canned goods cabinet on a regular basis. This can be done weekly, bi-weekly, or monthly, depending on your usage and preference. During this time, thoroughly check each can for its expiration date and overall condition.
Remove any expired or damaged cans from the cabinet immediately. Discard cans that have passed their expiration date or show signs of spoilage, such as bulging, leaking, or off-odors. It’s important to prioritize food safety and consume fresh and safe products.
As you remove expired or damaged cans, take note of the items that need to be replenished. Make a list of the essential items that you need to purchase during your next grocery run to maintain a well-stocked pantry.
This inventory check also allows you to reorganize the cabinet as needed. Rearrange the cans to ensure that the older ones are readily accessible, and the newer ones are placed towards the back. This rotation ensures that you use the oldest cans first, reducing the chances of wastage.
Take this opportunity to update your inventory list. Maintain a record of the canned goods you have, their quantities, and their expiration dates. This can be done through a spreadsheet, a dedicated notebook, or even a pantry management app. Having an updated inventory list helps you plan meals and avoid unnecessary duplicate purchases.
Regularly checking and updating your inventory allows you to maintain a well-organized and stocked cabinet, minimizing the risk of consuming expired or spoiled goods and ensuring that you have what you need for your cooking and meal planning.
Read more: What Countertops Look Good With Oak Cabinets
Conclusion
Properly storing your canned goods in a cabinet is essential for maintaining their quality, maximizing their shelf life, and creating an organized and functional pantry. By following the steps outlined in this guide, you can ensure that your canned goods are easily accessible when you need them and in optimal condition.
Start by clearing and cleaning the cabinet to create a clean and sanitary environment. Sort and organize your canned goods into categories, utilizing storage containers or bins to keep them organized and protected. Label and rotate the cans to ensure they are used before their expiration date. Take into consideration the temperature and humidity of your storage area and make any necessary adjustments to maintain ideal conditions.
Incorporate adjustable shelves or organizers to optimize space utilization and enhance accessibility. Avoid overstocking the cabinet to ensure proper airflow and prevent damage or wasted food. Lastly, regularly check and update your inventory to stay aware of what you have and maintain a well-stocked pantry.
By following these steps and implementing these practices, you can create a well-organized and efficient canned goods cabinet. Not only will this save you time and frustration in the kitchen, but it will also ensure that your pantry items are always fresh, easily accessible, and ready to be incorporated into delicious meals.
Remember, a well-maintained cabinet is the key to a well-stocked pantry!
Frequently Asked Questions about How To Store Canned Goods In Cabinet
Was this page helpful?
At Storables.com, we guarantee accurate and reliable information. Our content, validated by Expert Board Contributors, is crafted following stringent Editorial Policies. We're committed to providing you with well-researched, expert-backed insights for all your informational needs.


0 thoughts on “How To Store Canned Goods In Cabinet”