Articles
How To Store Dry Goods Long Term
Modified: October 20, 2024
Learn the best methods for storing dry goods long term with our informative articles. Ensure your food stays fresh and preserved for extended periods.
(Many of the links in this article redirect to a specific reviewed product. Your purchase of these products through affiliate links helps to generate commission for Storables.com, at no extra cost. Learn more)
Introduction
Dry goods are a staple in every pantry, offering convenience and versatility in meal preparation. From rice and pasta to beans and flour, these essential ingredients form the foundation of many recipes. However, ensuring that your dry goods remain fresh and usable for an extended period can be a challenge.
In this article, we will explore how to store dry goods long term, providing you with the knowledge and guidelines to preserve the quality and shelf life of your pantry essentials. Whether you are stocking up for emergency preparedness or simply looking to maintain a well-stocked pantry, these tips and techniques will help you make the most of your dry goods.
By selecting the right containers, sealing them properly, managing temperature and humidity, organizing and rotating your inventory, and stocking up on essential dry goods, you can maintain a well-preserved and accessible supply of dry goods for months or even years to come.
Key Takeaways:
- Choose airtight containers like mason jars or plastic with tight-fitting lids to protect dry goods from moisture and pests, ensuring freshness and usability for extended periods.
- Implement the first-in, first-out method, monitor for spoilage, and stock essential dry goods for emergencies to maintain a well-preserved and accessible pantry supply.
Read more: How To Store Dry Milk Long Term
Choosing the Right Containers for Long-Term Storage
When it comes to storing dry goods for an extended period, selecting the right containers is crucial. The container you use should be airtight and able to protect your dry goods from moisture, pests, and oxygen exposure. Here are a few options to consider:
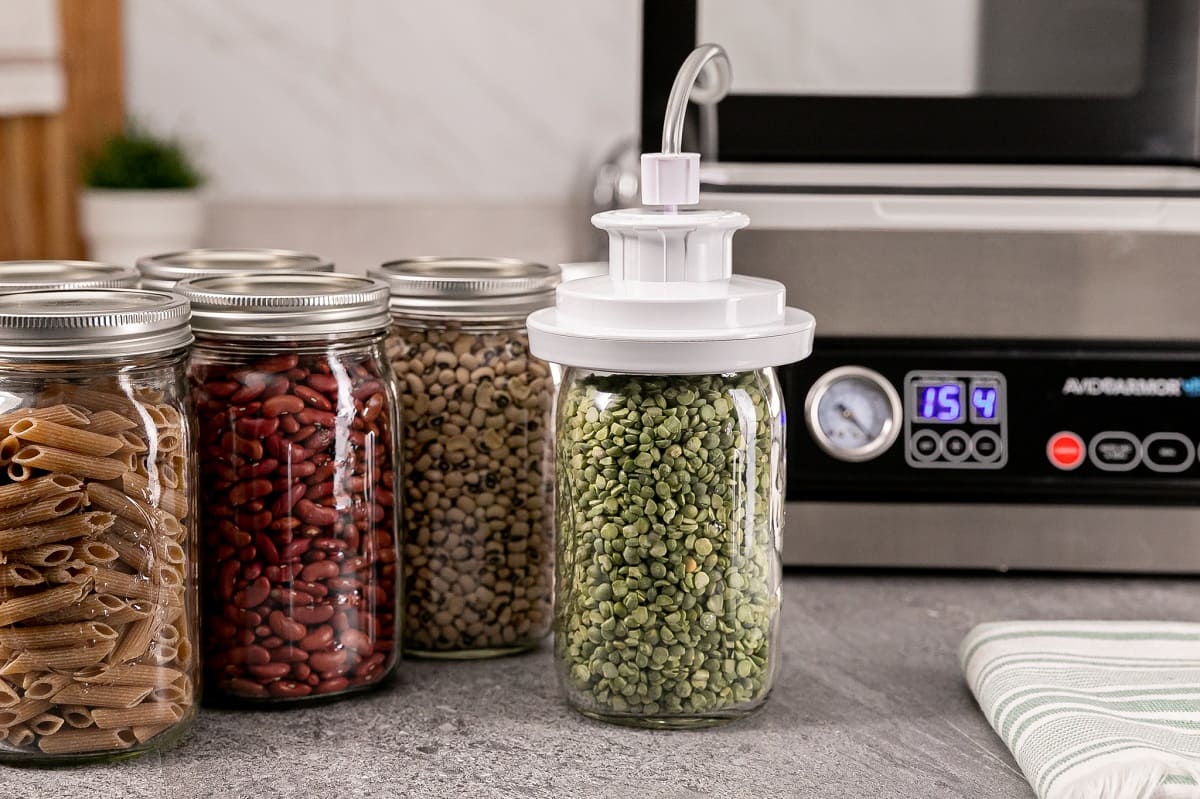
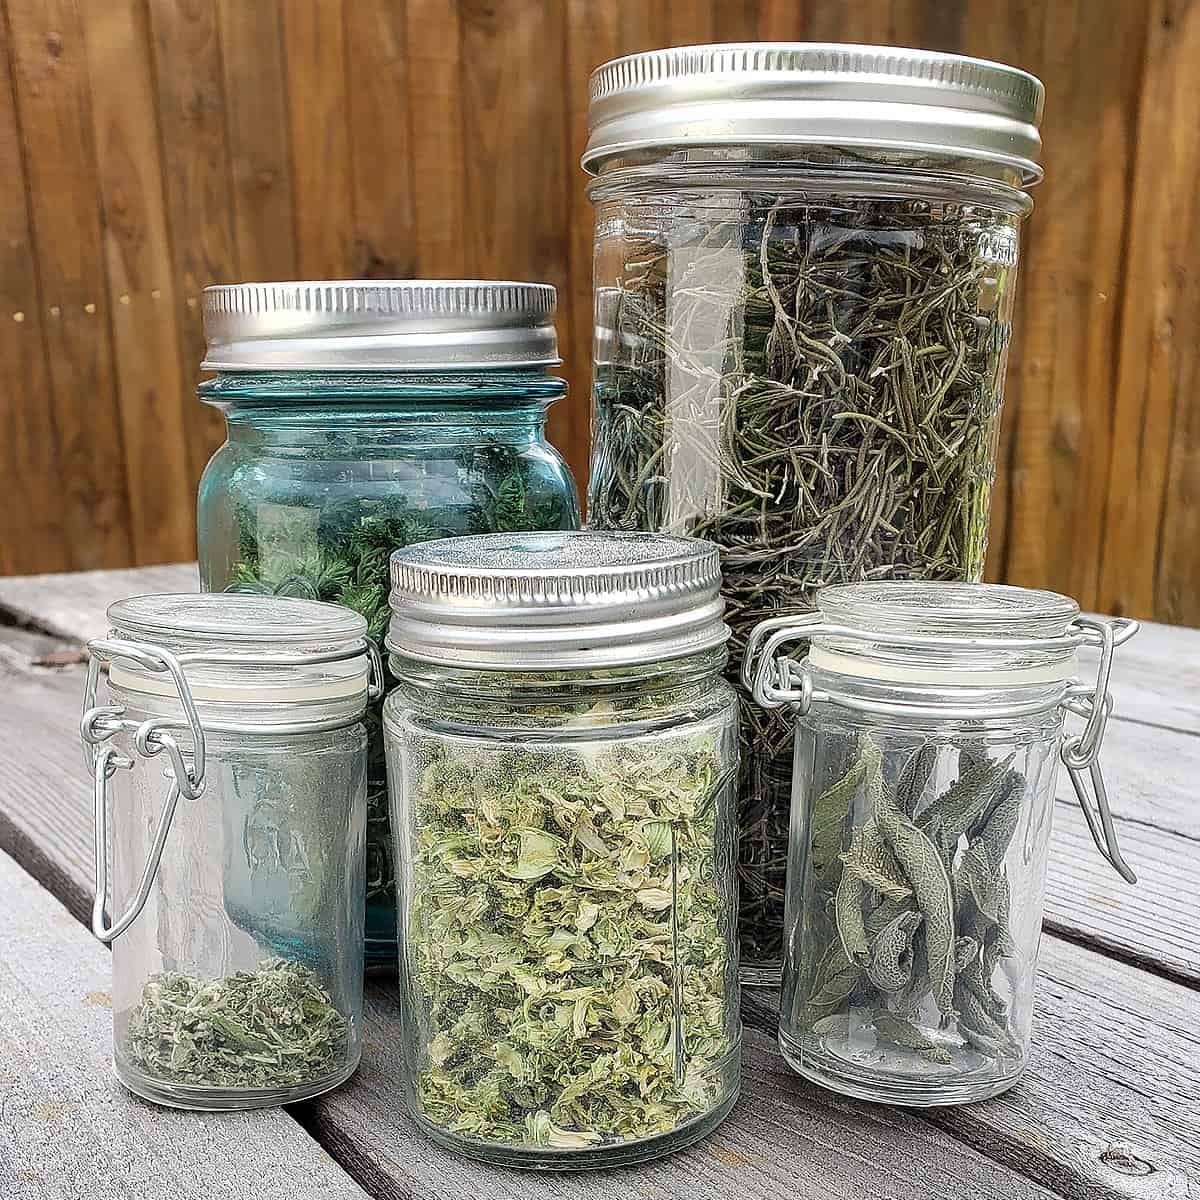
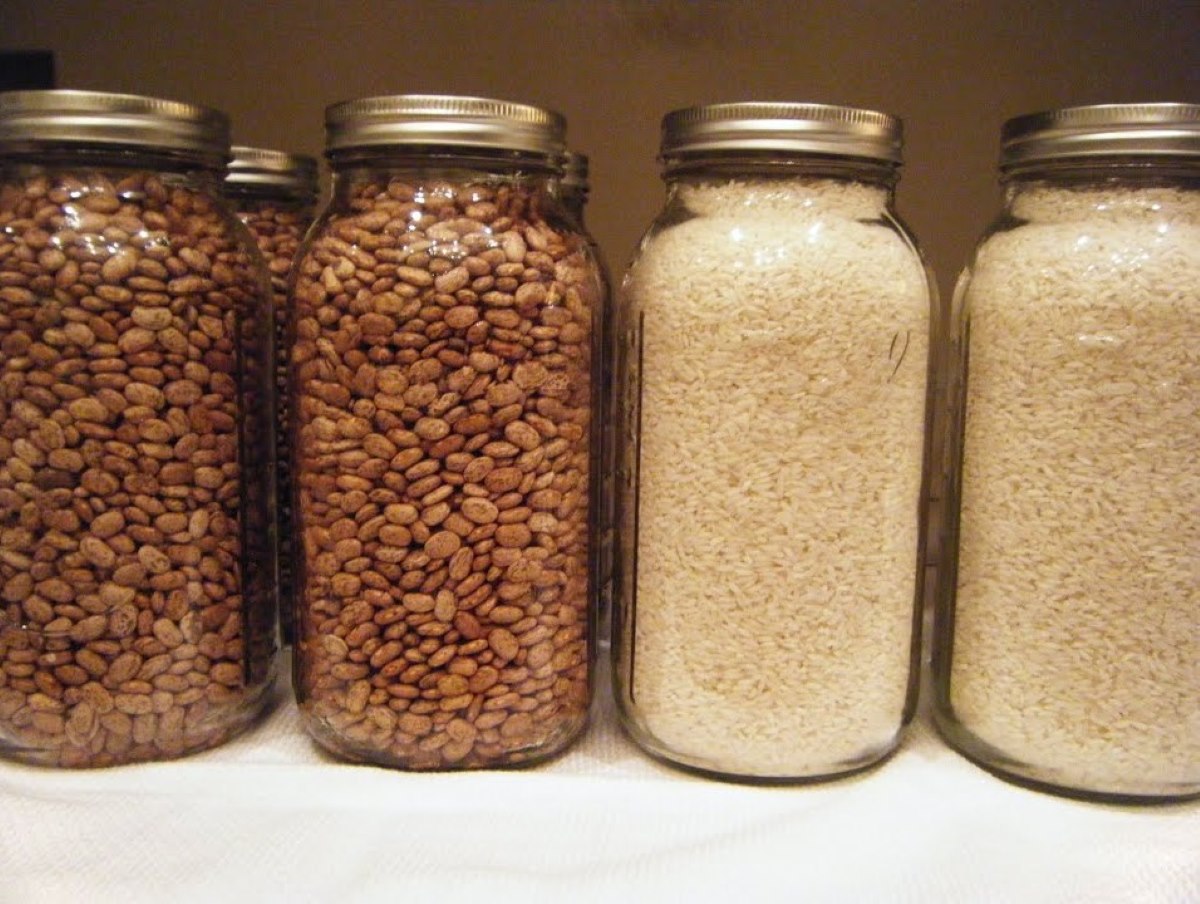
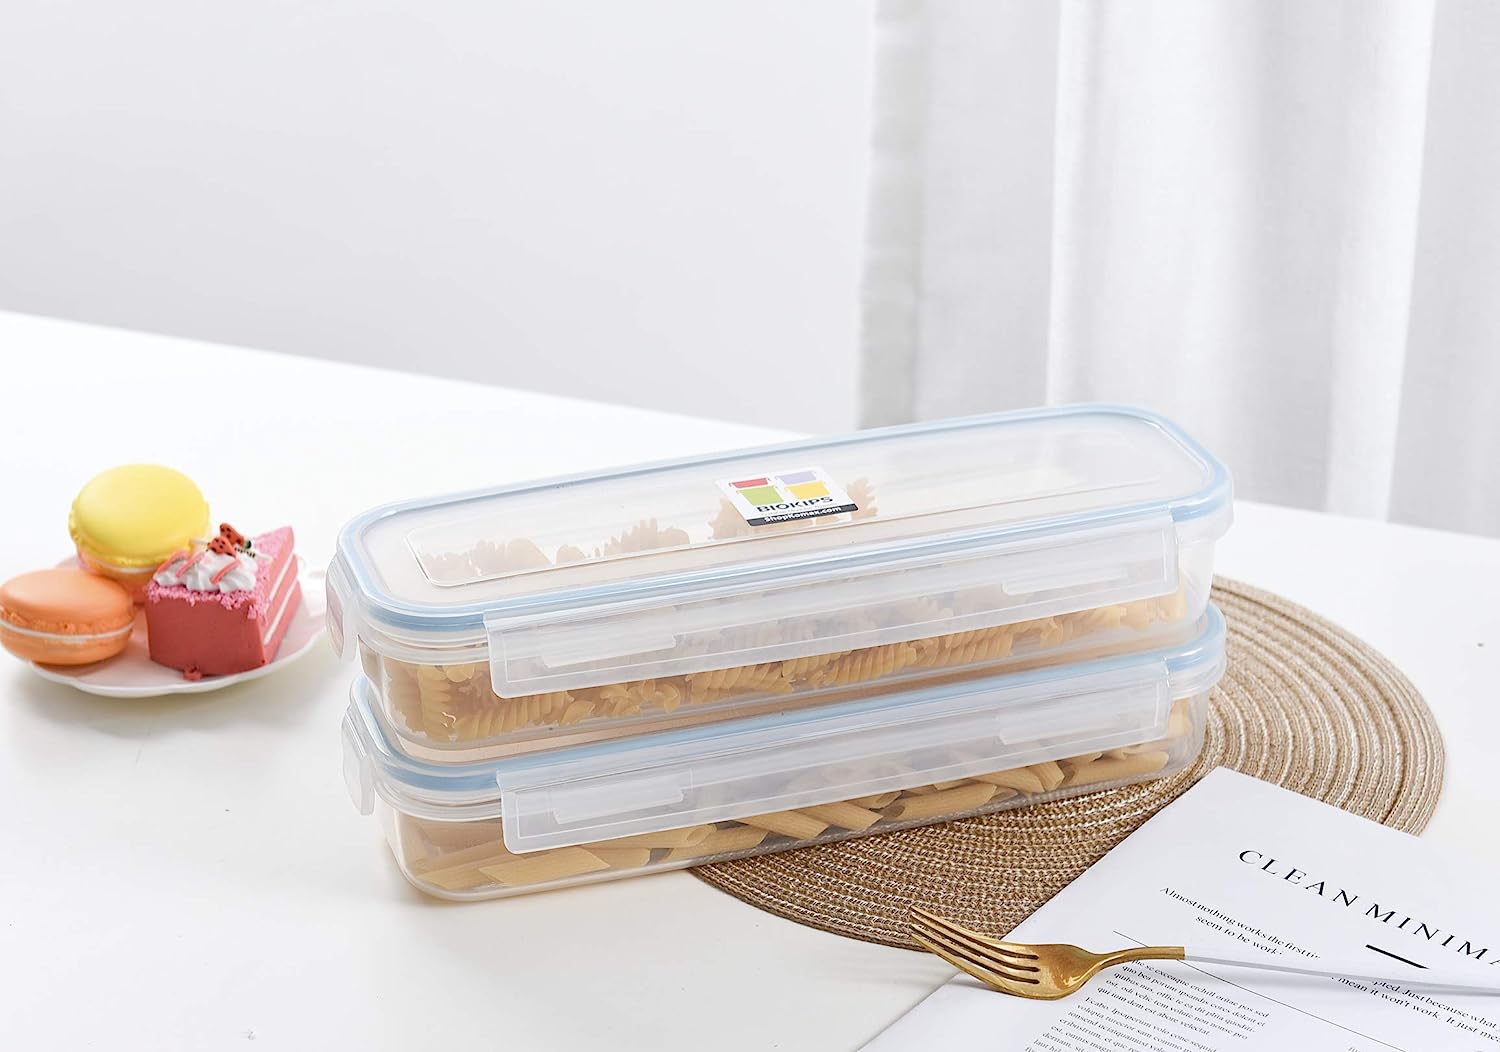
- Mason jars: Mason jars are a popular choice for storing dry goods. They are made of glass, which is non-reactive and allows you to see the contents inside. Mason jars are also easy to clean and can be reused multiple times. To ensure a tight seal, use new or properly sterilized lids and rings.
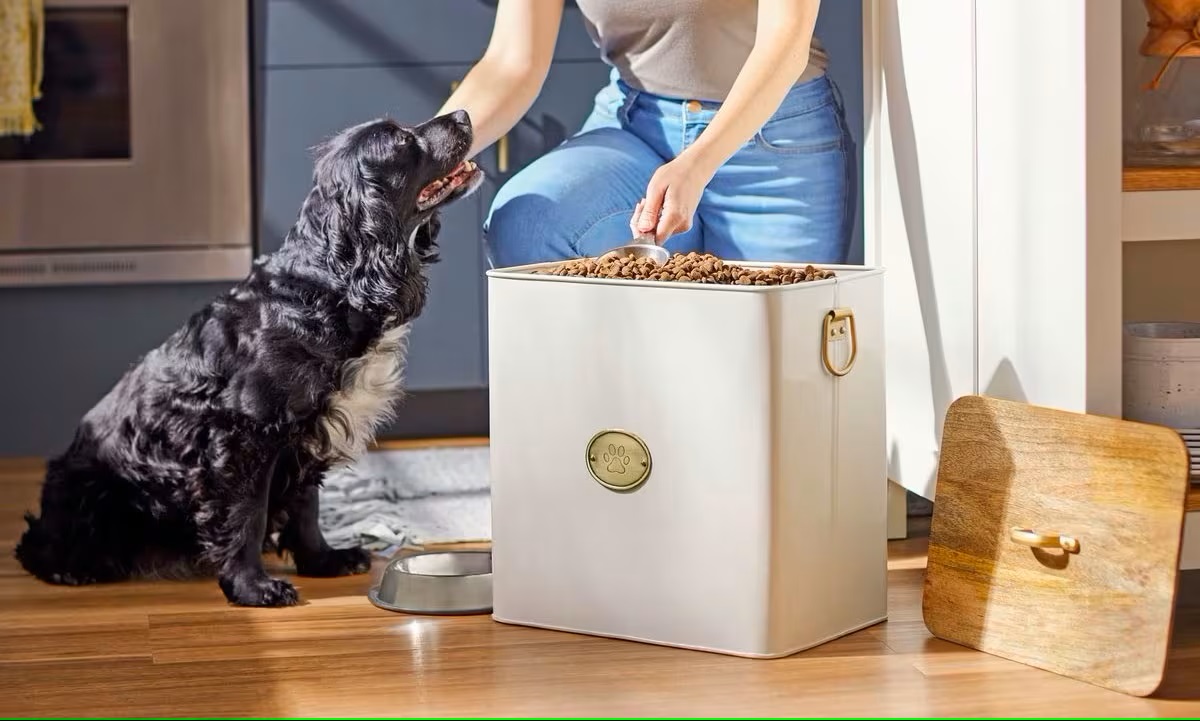
- Plastic containers with tight-fitting lids: Look for food-grade, BPA-free plastic containers with airtight lids. These containers are lightweight, durable, and transparent, allowing you to easily identify the contents. They are also stackable, making it easy to maximize your storage space.
- Vacuum-sealed bags: Vacuum-sealing is an effective method of preserving dry goods. By removing the air from the bag, you prevent oxidation and keep your food fresher for longer. Use a vacuum sealer machine or hand pump to create a tight seal. Vacuum-sealed bags are ideal for items like rice, beans, and nuts.
- Metal tins or cans: Metal tins or cans provide excellent protection against moisture, insects, and rodents. They are especially useful for storing baking ingredients, such as flour and sugar. Look for containers with a tight-fitting lid and a food-safe lining to prevent any metallic taste or contamination.
Whichever container you choose, ensure that it is clean and dry before storing your dry goods. Remove any lingering odors by washing with hot soapy water and allowing them to air dry completely.
Remember, the key is to choose containers that are airtight and made from food-safe materials. This will help to maintain the freshness and quality of your dry goods for an extended period.
Properly Sealing Dry Goods for Extended Shelf Life
One of the most important steps in storing dry goods long term is properly sealing them to ensure an extended shelf life. Here are some methods to help you achieve optimal sealing:
- Use airtight containers: As mentioned earlier, choosing airtight containers is crucial. Make sure the lids or closures on your containers create a snug seal to keep out air and moisture. This will help prevent spoilage and maintain the quality of your dry goods.
- Consider using oxygen absorbers: Oxygen absorbers are small packets that contain iron powder and are specifically designed to remove oxygen from a sealed environment. They can be placed inside your containers to extend the shelf life of your dry goods. Oxygen is known to promote the growth of bacteria, mold, and insects, so removing it can significantly improve the longevity of your stored items.
- Label your containers: Proper labeling is essential for easy identification and tracking of your dry goods. Use a permanent marker or label maker to clearly mark the contents, date of storage, and expiration date if applicable. This will help you rotate your stock and use the oldest items first, ensuring that nothing goes to waste.
- Store in a cool, dark place: Heat, light, and humidity can accelerate the degradation of dry goods. To maintain their quality, store your sealed containers in a cool, dark place such as a pantry or cellar. Avoid areas that are prone to temperature fluctuations, such as near the stove or refrigerator, as this can impact the shelf life of your stored items.
By following these sealing guidelines, you can effectively prolong the shelf life of your dry goods and ensure that they are ready to use whenever you need them. Remember to periodically check your containers for any signs of damage or compromised seals and replace them if necessary to maintain optimal storage conditions.
Managing Temperature and Humidity for Ideal Storage Conditions
Temperature and humidity play a crucial role in preserving the quality and shelf life of your stored dry goods. Here are some tips to help you manage these factors for ideal storage conditions:
- Keep it cool: High temperatures can accelerate the deterioration of dry goods and compromise their quality. Aim to store your dry goods in a cool environment, ideally below 70°F (21°C). Avoid exposing them to direct sunlight or placing them near heat sources, such as ovens or radiators.
- Control humidity levels: Excessive moisture can lead to spoilage and mold growth in your stored dry goods. Aim for a humidity level of 50% or below. If you live in a humid climate, consider using a dehumidifier in your storage area to help maintain optimal conditions.
- Avoid fluctuations: Frequent changes in temperature and humidity can negatively impact the shelf life of your dry goods. It’s best to choose a storage area with stable conditions and minimal fluctuations. Avoid storing dry goods in areas like garages or attics, as these spaces are prone to temperature variations.
- Consider using moisture absorbers: To help combat humidity, you can use desiccants or moisture absorbers in your storage containers. Silica gel packets or food-grade calcium chloride can be placed inside the containers to absorb excess moisture and maintain a dry environment. Just make sure they are kept away from direct contact with the dry goods.
By managing temperature and humidity levels, you can significantly extend the shelf life of your stored dry goods. Creating an environment that is cool and dry will help preserve their quality, flavor, and nutritional value, ensuring that they remain fresh and usable for a longer period.
Store dry goods long term in airtight containers to prevent moisture and pests from getting in. Use oxygen absorbers or vacuum sealing for extra protection.
Organizing and Labeling Your Stored Dry Goods
Proper organization and labeling are key to efficiently managing your stored dry goods. Not only do they help you quickly locate the items you need, but they also aid in rotation and inventory management. Here are some tips for organizing and labeling your stored dry goods:
- Categorize your items: Group similar items together to create categories. For example, you can have separate categories for grains, legumes, baking ingredients, and spices. This will make it easier to find specific items when you need them.
- Utilize storage containers: Use storage containers that are uniform in size and shape. Clear containers are ideal as they allow you to see the contents without needing to open them. Stackable containers can help maximize the use of your storage space, especially for smaller pantries.
- Label your containers: Clearly label each container with the name of the item and its expiration date if applicable. You can use a label maker or simply write directly on the containers using a permanent marker. Make sure the labels are visible and easy to read.
- Consider using shelf dividers or bins: Shelf dividers or storage bins can help keep your pantry shelves neat and organized. They can separate different categories of dry goods, preventing them from mixing together and making it easier to access specific items.
- Create a system for rotation: To ensure your dry goods are used before they expire, practice a first-in, first-out (FIFO) system. This means using the oldest items first and placing new purchases at the back of the storage area or shelf. This helps prevent items from going bad and reduces food waste.
- Regularly check and declutter: Periodically go through your stored dry goods to check for any expired or spoiled items. Remove anything that is no longer usable and reorganize your shelves accordingly. This will help maintain a clean and clutter-free storage space.
By organizing and labeling your stored dry goods, you will have a well-maintained pantry that allows you to easily find what you need, manage your inventory effectively, and minimize waste.
Read more: How To Store Dry Ice Long Term
Rotating and Monitoring Your Long-Term Stored Dry Goods
Rotating and monitoring your long-term stored dry goods is essential to ensure food safety and maintain optimal freshness. Here are some important steps to follow:
- Practice the first-in, first-out (FIFO) method: As mentioned earlier, make it a habit to use the oldest items first. When you purchase or receive new dry goods, place them behind the existing ones in your storage area. This way, you will always be using the oldest items before they reach their expiration date.
- Regularly check for signs of spoilage: Periodically inspect your stored dry goods for any signs of spoilage, such as strange odors, discoloration, or the presence of insects or mold. If you notice any of these signs, discard the affected items immediately to prevent contamination of other items.
- Monitor expiration dates: Keep track of the expiration dates of your dry goods. Make sure your stored items are used or replaced before they expire. Consider creating a system, such as a spreadsheet or inventory app, to help you stay organized and remind you of upcoming expiration dates.
- Check for pest infestations: Insects, rodents, and other pests can find their way into your storage area and contaminate your dry goods. Regularly inspect your storage containers and shelves for any signs of pest activity, such as chew marks or droppings. Use pest-proof containers and consider placing deterrents, such as bay leaves or cedar balls, in your storage area to discourage pests.
- Be mindful of environmental changes: Keep an eye on the temperature and humidity levels in your storage area. Fluctuations in these factors can impact the quality and shelf life of your dry goods. Adjust storage conditions if necessary and take action to address any issues that may arise.
By regularly rotating and monitoring your long-term stored dry goods, you can ensure that they remain safe for consumption and maintain their freshness. Implementing these practices will help you to avoid waste and maximize the usability of your stored items.
Tips for Stocking Essential Dry Goods for Emergency Preparedness
Preparing for emergencies requires having a well-stocked supply of essential dry goods that can sustain you and your family during challenging times. Here are some tips to help you stock up effectively:
- Create a list of essential dry goods: Make a comprehensive list of dry goods that are essential for your family’s needs. This may include items such as rice, beans, pasta, oats, canned goods, powdered milk, dried fruits, nuts, and granola bars. Consider the dietary restrictions and preferences of your family members when planning your stockpile.
- Determine the quantity and storage duration: Calculate the quantity of each item you need based on the number of people in your household and the estimated duration you want to be prepared for. Plan for at least a two-week supply, although having a larger stockpile is advisable.
- Choose long-lasting and versatile options: Opt for dry goods with a long shelf life and versatile usage. For example, whole grains like rice or quinoa can be used in various dishes, and canned goods can provide a quick source of nutrition. Select items that can be easily incorporated into meals and provide essential nutrients.
- Consider special dietary needs: If you or someone in your family has specific dietary needs or allergies, ensure that your stockpile includes appropriate alternatives. Look for gluten-free, dairy-free, or nut-free options to accommodate these requirements.
- Rotate your stock: Just like any other long-term storage, it’s important to rotate your emergency preparedness stockpile. Use the FIFO method by consuming the oldest items first and replenishing them with new purchases. This way, you can ensure that your supply remains fresh and doesn’t go to waste.
- Include essential cooking supplies: Alongside your dry goods, consider including essential cooking supplies such as portable stoves, fuel, cooking utensils, and water purification tablets. These items will enable you to prepare meals even during a loss of power or access to traditional cooking methods.
- Don’t forget about water: While dry goods are important, don’t overlook the need for clean drinking water during an emergency. Aim for at least one gallon (3.8 liters) of water per person per day. Store water in clean, food-grade containers and regularly check and rotate your supply to ensure its freshness.
- Stay organized and track expiration dates: Keep your emergency stockpile organized using the organization and labeling techniques mentioned earlier. Track the expiration dates of your items and regularly check and replace them as needed. Ensure that your emergency supplies are easily accessible during times of need.
By following these tips, you can build a well-rounded stockpile of essential dry goods that will help you and your family be better prepared for unexpected emergencies.
Conclusion
Storing dry goods long term is an important aspect of maintaining a well-stocked pantry and being prepared for emergencies. By choosing the right containers, properly sealing your dry goods, managing temperature and humidity, organizing and labeling your stored items, and regularly monitoring and rotating your stock, you can ensure the longevity and usability of your pantry staples.
Investing in airtight containers, such as mason jars or plastic containers with tight-fitting lids, is crucial to protect your dry goods from moisture, pests, and oxygen exposure. Properly sealing your containers with the use of oxygen absorbers can further extend the shelf life of your stored items. Keeping your dry goods in a cool, dark place and controlling humidity levels will preserve their quality and flavor.
Organizing and labeling your stored dry goods will help you easily locate and track your inventory. Utilizing the first-in, first-out (FIFO) method and regularly checking for spoilage or pest infestations will ensure that your items are used before they expire and remain safe for consumption.
In times of emergencies, stocking up on essential dry goods is crucial. Creating a list of essential items, considering special dietary needs, and planning for an adequate supply will help you and your family be better prepared. Additionally, including cooking supplies, such as portable stoves and water purification tablets, and ensuring access to clean drinking water are important aspects of emergency preparedness.
In conclusion, by implementing these tips and techniques, you can store dry goods long term with confidence, knowing that you have a well-preserved and accessible supply of pantry essentials. Whether it’s for everyday use, emergencies, or long-term preparedness, proper storage techniques will ensure that your dry goods remain fresh, usable, and ready to enhance your culinary creations.
Frequently Asked Questions about How To Store Dry Goods Long Term
Was this page helpful?
At Storables.com, we guarantee accurate and reliable information. Our content, validated by Expert Board Contributors, is crafted following stringent Editorial Policies. We're committed to providing you with well-researched, expert-backed insights for all your informational needs.


0 thoughts on “How To Store Dry Goods Long Term”