Home>Maintenance & Safety>Home Maintenance Checklists>How To Make A Cabinet Into A Trash Can

Home Maintenance Checklists
How To Make A Cabinet Into A Trash Can
Modified: September 2, 2024
Transform your cabinet into a convenient trash can with our easy home maintenance checklist. Keep your space organized and clutter-free. Discover the step-by-step process now!
(Many of the links in this article redirect to a specific reviewed product. Your purchase of these products through affiliate links helps to generate commission for Storables.com, at no extra cost. Learn more)
Introduction
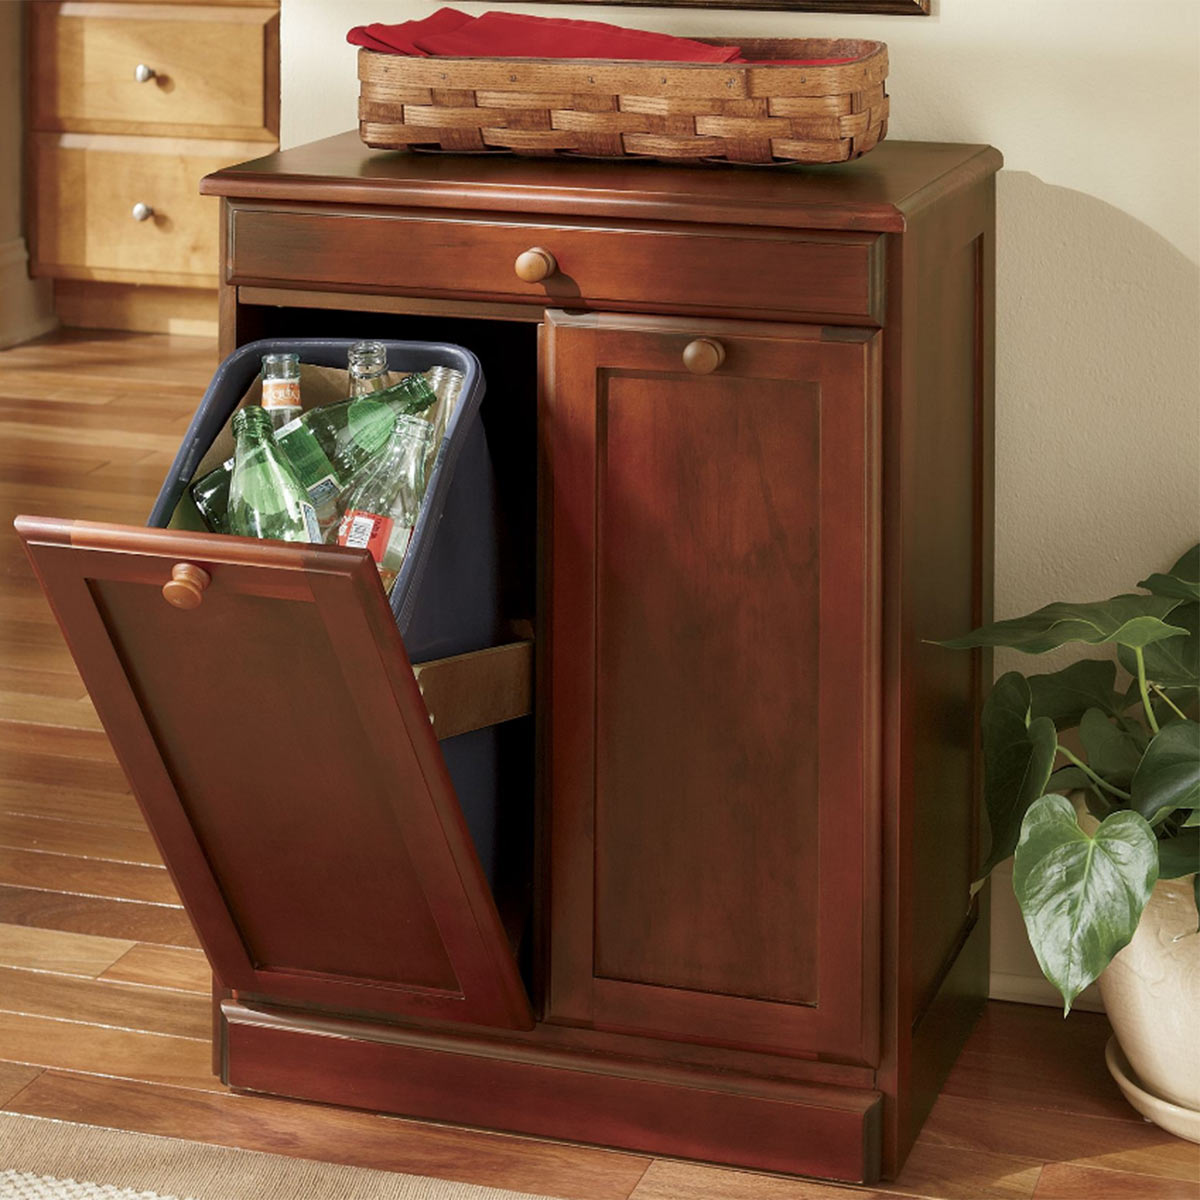
So, you've been eyeing that old cabinet in your kitchen, and it's been begging for a makeover. How about turning it into something both functional and stylish? Yes, we're talking about transforming that cabinet into a sleek trash can that seamlessly blends with your kitchen decor. This DIY project not only maximizes space but also adds a touch of innovation to your culinary haven.
Picture this: no more unsightly trash cans cluttering your kitchen floor. Instead, a discreet and elegant solution that keeps your space organized and visually appealing. With a few simple materials and a touch of creativity, you can easily convert your cabinet into a hidden gem that simplifies your daily routine.
Join us as we delve into the step-by-step process of revamping your cabinet into a cleverly concealed trash can. From gathering the necessary materials to adding those final artistic flourishes, we've got you covered. Let's embark on this transformative journey and elevate your kitchen's functionality and aesthetics simultaneously.
Key Takeaways:
- Transform your old cabinet into a sleek trash can for a clutter-free kitchen. With simple materials and creativity, elevate functionality and style seamlessly.
- Add personalized touches and organizational elements to your converted cabinet for a practical and visually appealing trash can storage solution. Embrace DIY creativity!
Read more: How To Make A Trash Can
Materials Needed
Before embarking on this exciting project, gather the following materials:
- A sturdy cabinet: Select a cabinet that is spacious enough to accommodate a trash can while allowing easy access for disposal.
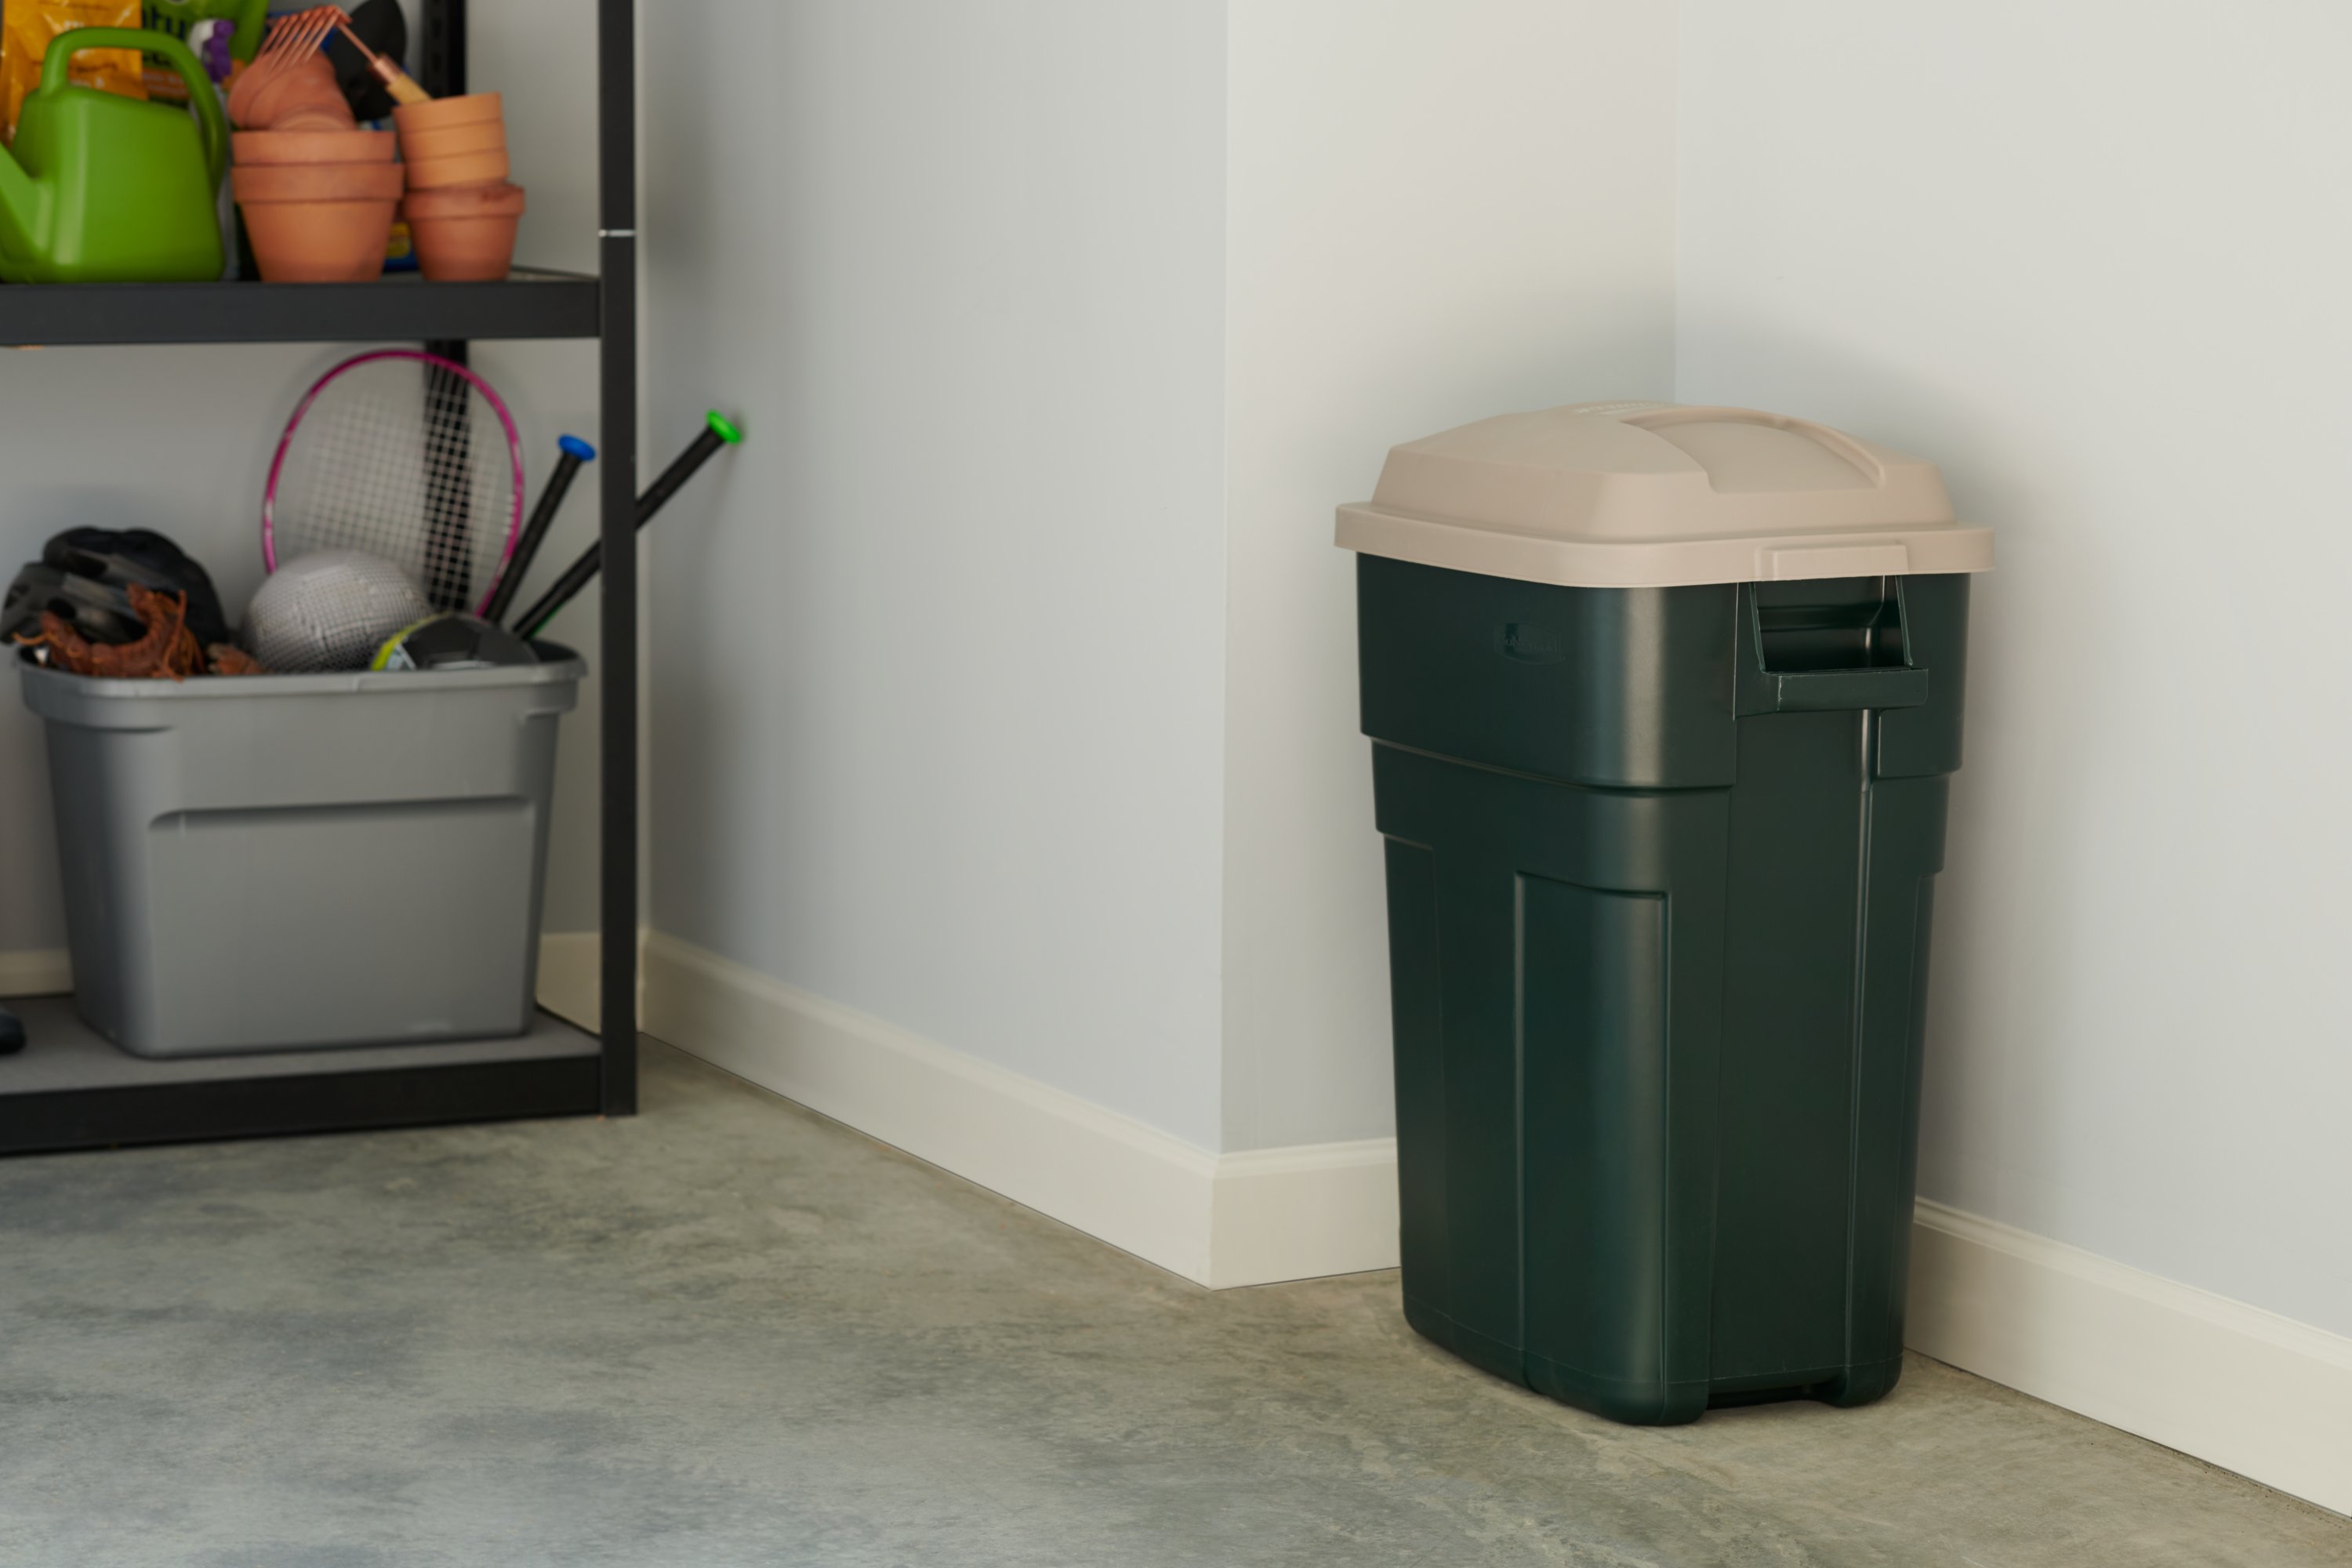
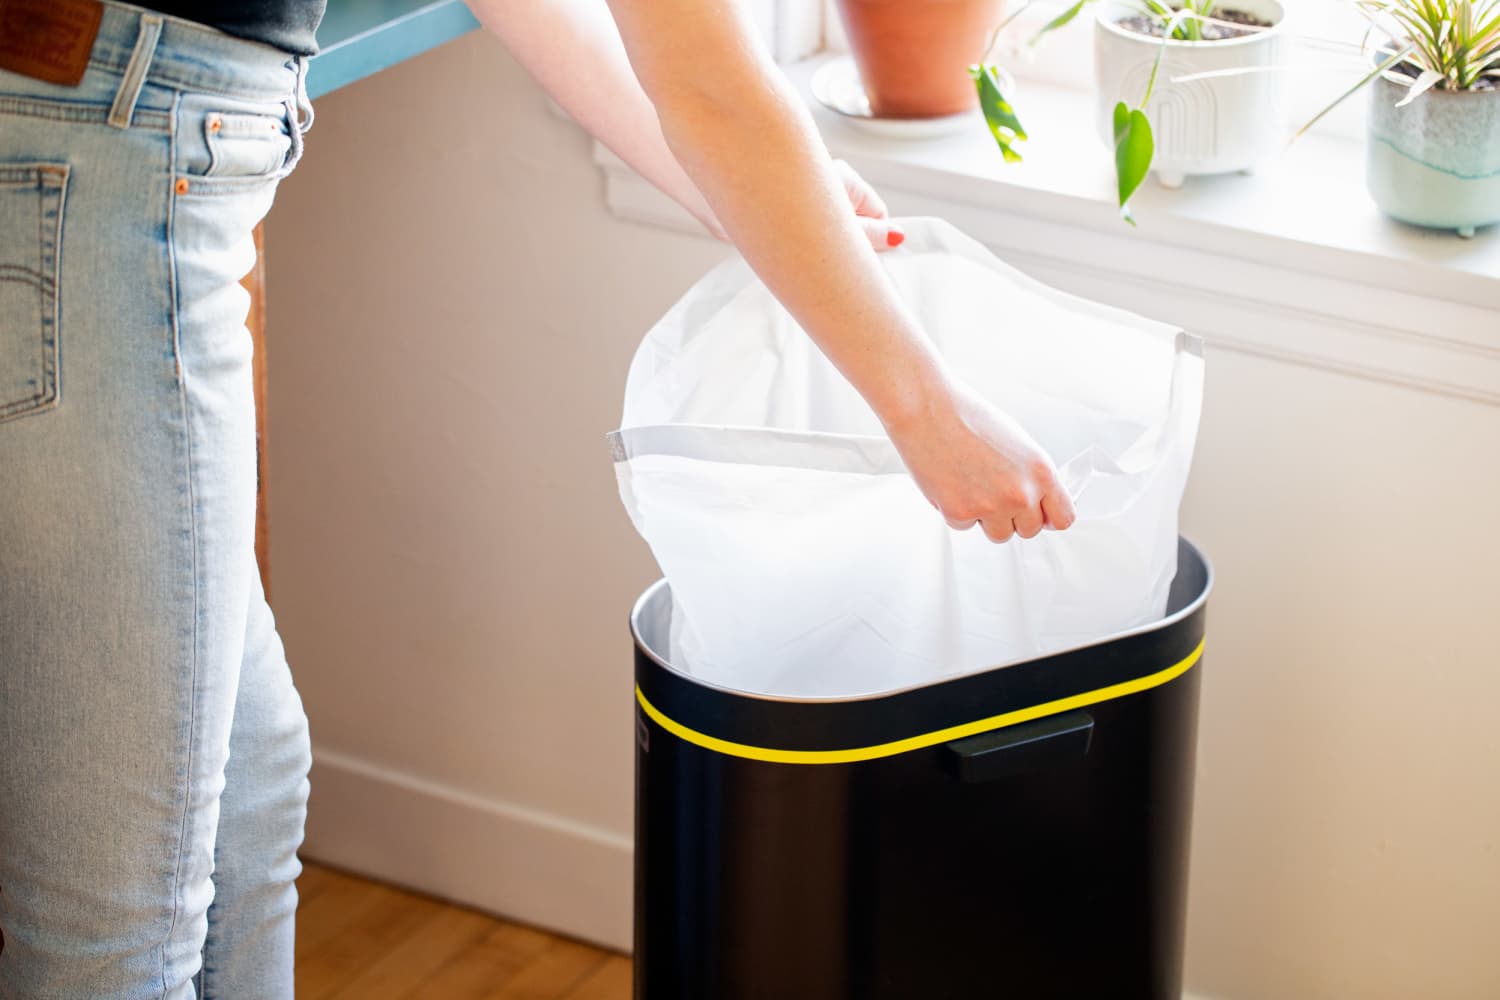
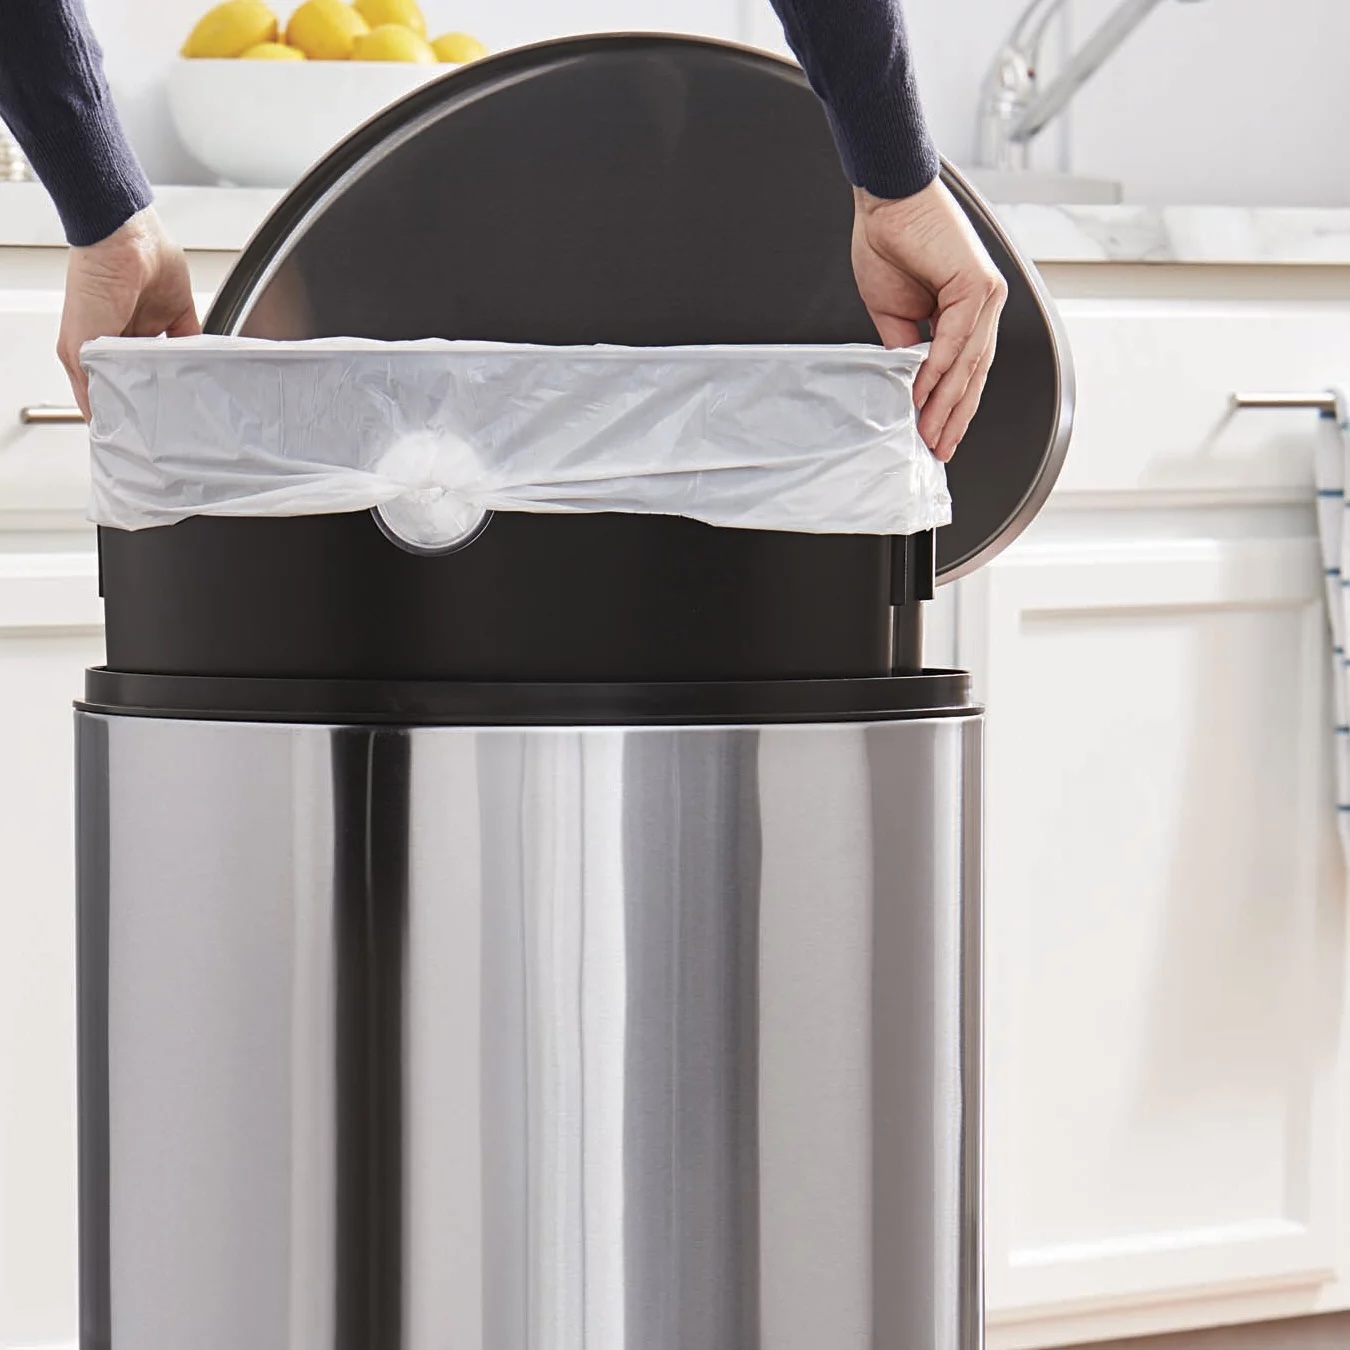
- Trash can: Opt for a durable and appropriately sized trash can that fits snugly within the cabinet space.
- Hinges: Ensure you have sturdy hinges that can support the weight of the cabinet door and the integrated trash can.
- Drawer slides: These will facilitate the smooth sliding motion of the trash can in and out of the cabinet.
- Measuring tape and pencil: Precision is key, so these tools are essential for accurate measurements and markings.
- Screwdriver and drill: For attaching hinges, drawer slides, and making necessary adjustments to the cabinet.
- Sandpaper and paint: To refinish the cabinet, giving it a fresh and cohesive look with your kitchen decor.
- Safety equipment: Gloves, goggles, and a mask for protection during sanding and painting.
- Cleaner and cloth: To thoroughly clean the cabinet before refinishing and ensure a smooth paint application.
- Optional: Decorative knobs or handles to add a personalized touch to the cabinet.
With these materials at your disposal, you’re well-equipped to commence the transformation of your cabinet into a functional and aesthetically pleasing trash can storage solution.
Steps to Convert the Cabinet
Now that you have all the necessary materials, it’s time to roll up your sleeves and embark on the exciting process of converting your cabinet into a concealed trash can. Follow these step-by-step instructions for a seamless transformation:
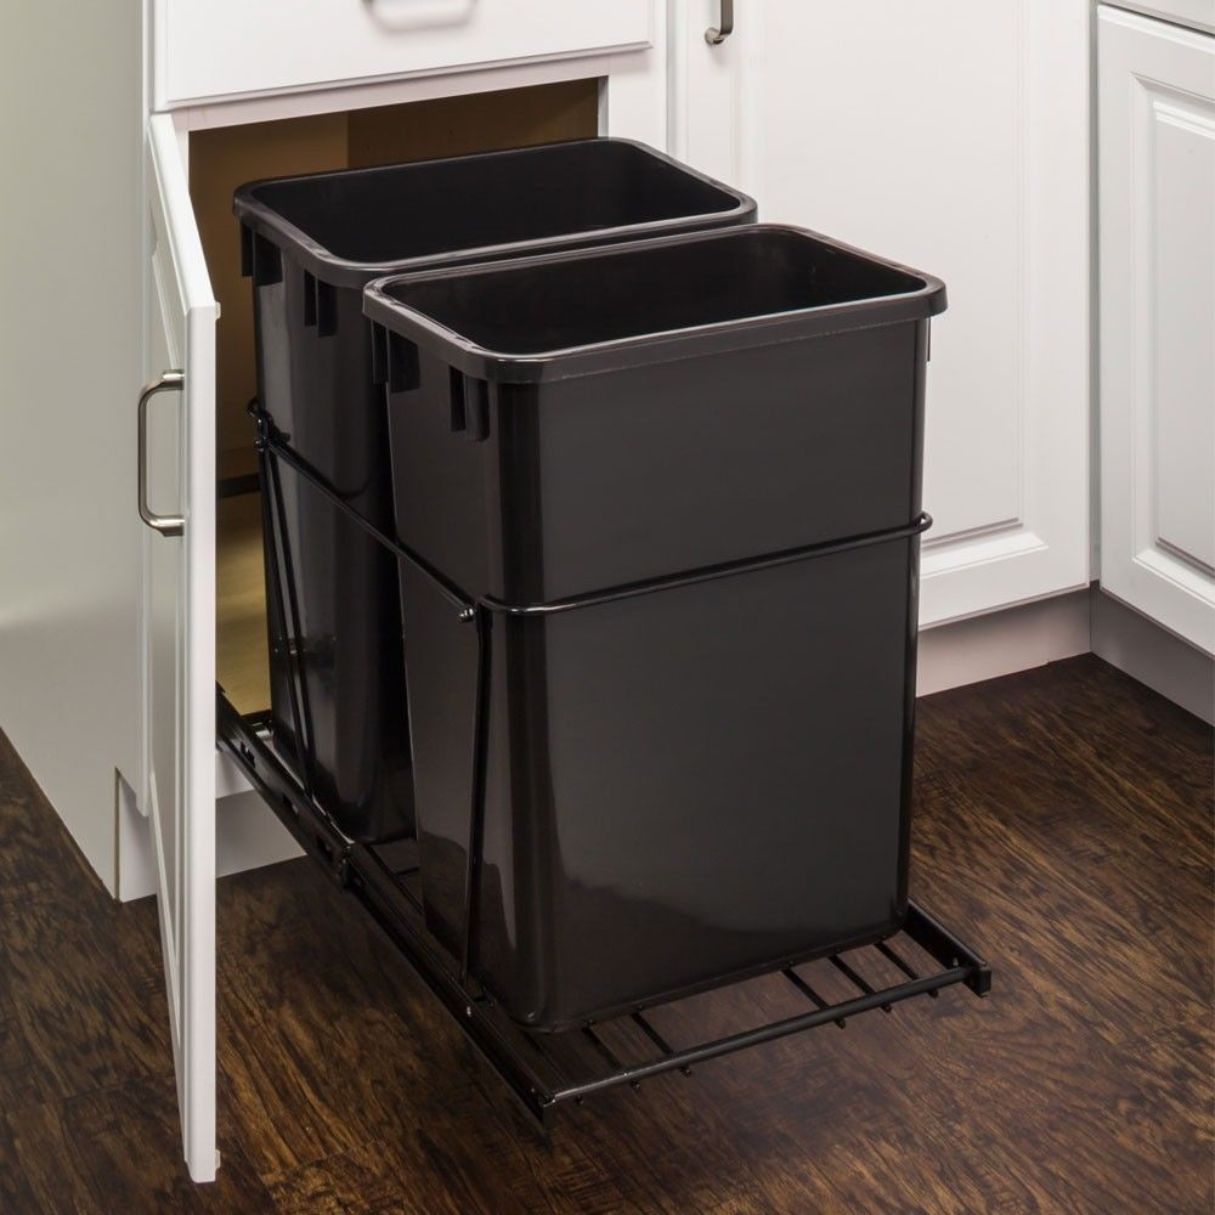
- Measure and Plan: Begin by measuring the interior dimensions of the cabinet to ensure a proper fit for the trash can. Take into account the space needed for the drawer slides and hinges. With these measurements in hand, plan the positioning of the trash can within the cabinet.
- Prepare the Cabinet: Empty the cabinet and remove the door. Thoroughly clean the interior, removing any debris or lingering odors. If the cabinet requires refinishing, use the sandpaper to smooth any rough surfaces and apply a fresh coat of paint to enhance its appearance.
- Install Drawer Slides: Mount the drawer slides inside the cabinet according to the manufacturer’s instructions. These slides will facilitate the smooth in-and-out motion of the trash can, ensuring effortless accessibility.
- Attach Hinges: Secure the hinges to the cabinet door, allowing it to open and close smoothly. Ensure that the hinges are robust enough to support the weight of the door and the integrated trash can.
- Position the Trash Can: Place the trash can on the installed drawer slides within the cabinet. Test the sliding motion to ensure that the trash can moves in and out effortlessly without any obstructions.
- Secure the Trash Can: Once the positioning is finalized, secure the trash can to the drawer slides, ensuring that it is firmly in place and does not wobble during use.
- Reattach the Cabinet Door: Carefully reattach the cabinet door, ensuring that it aligns perfectly with the cabinet frame and opens smoothly to reveal the concealed trash can.
- Add Final Touches: If desired, install decorative knobs or handles on the cabinet door to complement your kitchen’s aesthetic. Take a step back and admire your handiwork as your cabinet has now been transformed into a seamless and stylish trash can storage solution.
By following these meticulous steps, you’ll successfully convert your cabinet into a functional and visually appealing trash can storage unit, elevating the efficiency and aesthetics of your kitchen space.
To make a cabinet into a trash can, measure the cabinet’s dimensions and purchase a trash can that fits inside. Install a pull-out drawer or attach a door-mounted holder for easy access.
Final Touches
As you near the completion of this transformative project, consider adding some final touches to enhance the functionality and visual appeal of your newly converted cabinet. These subtle yet impactful details will elevate the overall aesthetic and ensure a seamless integration with your kitchen decor:
- Adjust and Test: Before finalizing the project, carefully adjust the hinges, drawer slides, and the positioning of the trash can to guarantee smooth functionality. Test the sliding motion and the cabinet door’s closure to ensure everything operates seamlessly.
- Personalized Accents: If you opted for decorative knobs or handles, install them on the cabinet door to add a personalized touch. Choose hardware that complements your kitchen’s style, whether it’s sleek and modern or rustic and charming.
- Concealment and Integration: Consider adding a soft-close feature to the cabinet door, ensuring a quiet and elegant closure. This further enhances the discreet nature of the concealed trash can, seamlessly blending it into your kitchen space.
- Organizational Elements: To optimize the interior space of the cabinet, incorporate organizational elements such as small baskets or dividers. These additions can help separate recyclables, compost, or other categories of waste, promoting an organized and efficient waste management system.
- Functional Labeling: If you’re keen on meticulous organization, consider labeling the trash can compartments or incorporating color-coded bags for different types of waste. This not only streamlines waste disposal but also adds a practical and visually appealing element to the cabinet’s interior.
- Cleaning and Maintenance: Once the project is complete, thoroughly clean the cabinet and the newly integrated trash can. Implement a maintenance routine to keep the area pristine, ensuring that your concealed trash can remains a seamless and hygienic addition to your kitchen.
By attending to these final touches, you’ll infuse your converted cabinet with personalized flair, functional efficiency, and seamless integration within your kitchen space. Embrace the satisfaction of a well-executed DIY project that enhances both the practicality and aesthetics of your home.
Conclusion
Congratulations! You’ve successfully transformed an ordinary cabinet into a multifunctional and visually appealing asset for your kitchen. By converting it into a discreet trash can storage solution, you’ve not only optimized space but also elevated the overall organization and aesthetics of your culinary haven.
Embracing this DIY project has allowed you to exercise creativity, precision, and practicality, resulting in a seamless integration of functionality and style within your kitchen. The concealed trash can not only streamlines waste management but also adds a touch of innovation to your living space.
As you revel in the accomplishment of this project, take a moment to appreciate the personalized accents, efficient organization, and meticulous attention to detail that have culminated in a transformative addition to your home. Your kitchen now boasts a discreet yet impactful upgrade that reflects your ingenuity and enhances your daily routine.
Whether it’s the smooth sliding motion of the trash can, the elegant closure of the cabinet door, or the personalized accents that resonate with your style, this project exemplifies the art of harmonizing practicality with aesthetics.
As you bask in the satisfaction of this successful endeavor, remember that your home is a canvas for creativity and innovation. Each DIY project, no matter how seemingly small, has the potential to infuse your living space with functionality, personality, and a touch of ingenuity.
So, here’s to the art of transformation, the joy of creativity, and the seamless integration of practical solutions within the comforts of home. Your converted cabinet stands as a testament to your resourcefulness and your commitment to enhancing your living space.
Now, go forth and revel in the seamless fusion of style and function that defines your home, one DIY project at a time.
Frequently Asked Questions about How To Make A Cabinet Into A Trash Can
Was this page helpful?
At Storables.com, we guarantee accurate and reliable information. Our content, validated by Expert Board Contributors, is crafted following stringent Editorial Policies. We're committed to providing you with well-researched, expert-backed insights for all your informational needs.


0 thoughts on “How To Make A Cabinet Into A Trash Can”