Articles
How To Store Chicken Stock In Freezer
Modified: February 24, 2024
Learn how to store chicken stock in the freezer with our informative articles. Keep your homemade stock fresh and ready to use whenever you need it.
(Many of the links in this article redirect to a specific reviewed product. Your purchase of these products through affiliate links helps to generate commission for Storables.com, at no extra cost. Learn more)
Introduction
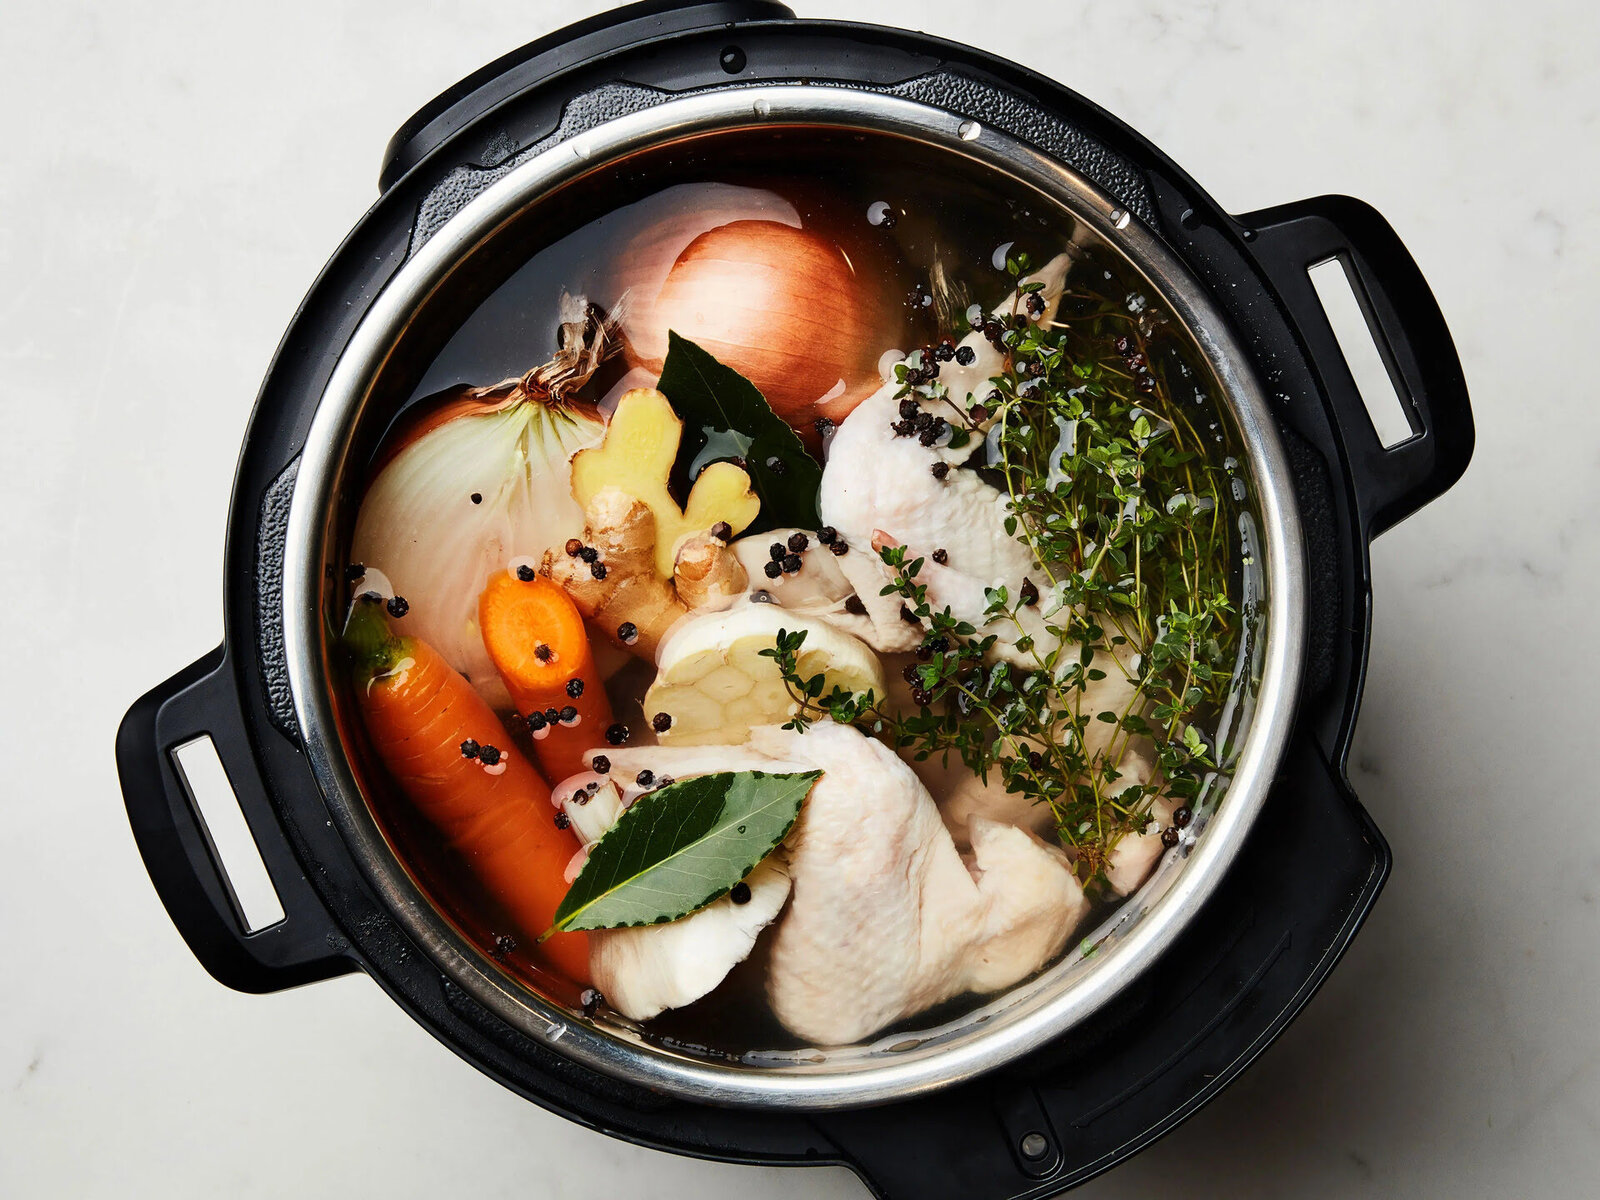
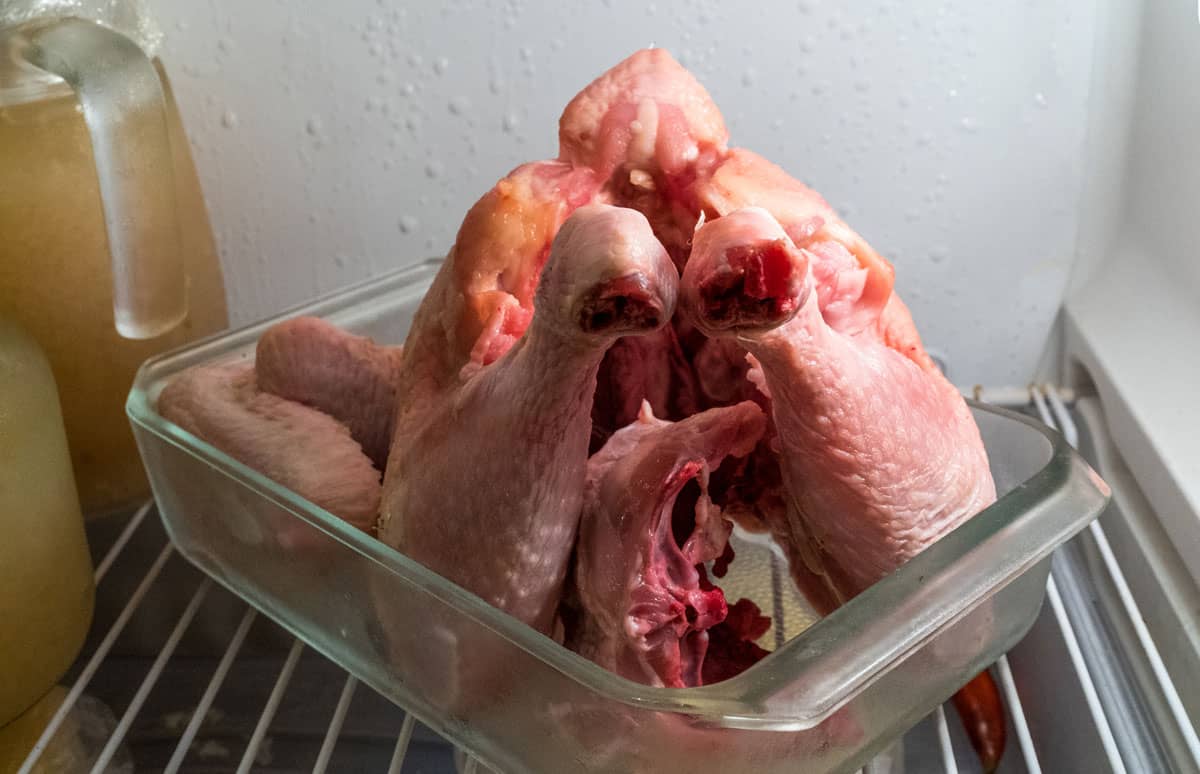
Welcome to the wonderful world of homemade chicken stock! Whether you’ve spent hours crafting a flavorful batch or you’ve decided to make use of leftover chicken bones and vegetable scraps, you’ll want to store your delicious stock properly to keep it fresh and ready for your next culinary adventure.
In this article, we will guide you through the step-by-step process of storing chicken stock in the freezer. With just a few simple supplies and a little bit of organization, you can ensure your stock remains tasty and accessible whenever you need it. So, let’s dive in!
Before we get started, it’s important to note that chicken stock can be a versatile ingredient in various recipes, such as soups, stews, sauces, and risottos. By making a large batch and freezing it, you can save time and effort in future meal preparations.
Are you ready to become a stock storage pro? Let’s gather the supplies needed and get started!
Key Takeaways:
- Properly storing chicken stock in the freezer ensures it remains fresh and accessible for future culinary adventures. From cooling to labeling, follow these steps to preserve the rich flavors of homemade stock.
- Thawing frozen chicken stock safely and using it in various recipes adds convenience and depth of flavor to your dishes. Whether you opt for refrigerator thawing or a water bath, enjoy the rich taste of your homemade stock in every spoonful.
Read more: How To Store Chicken Stock
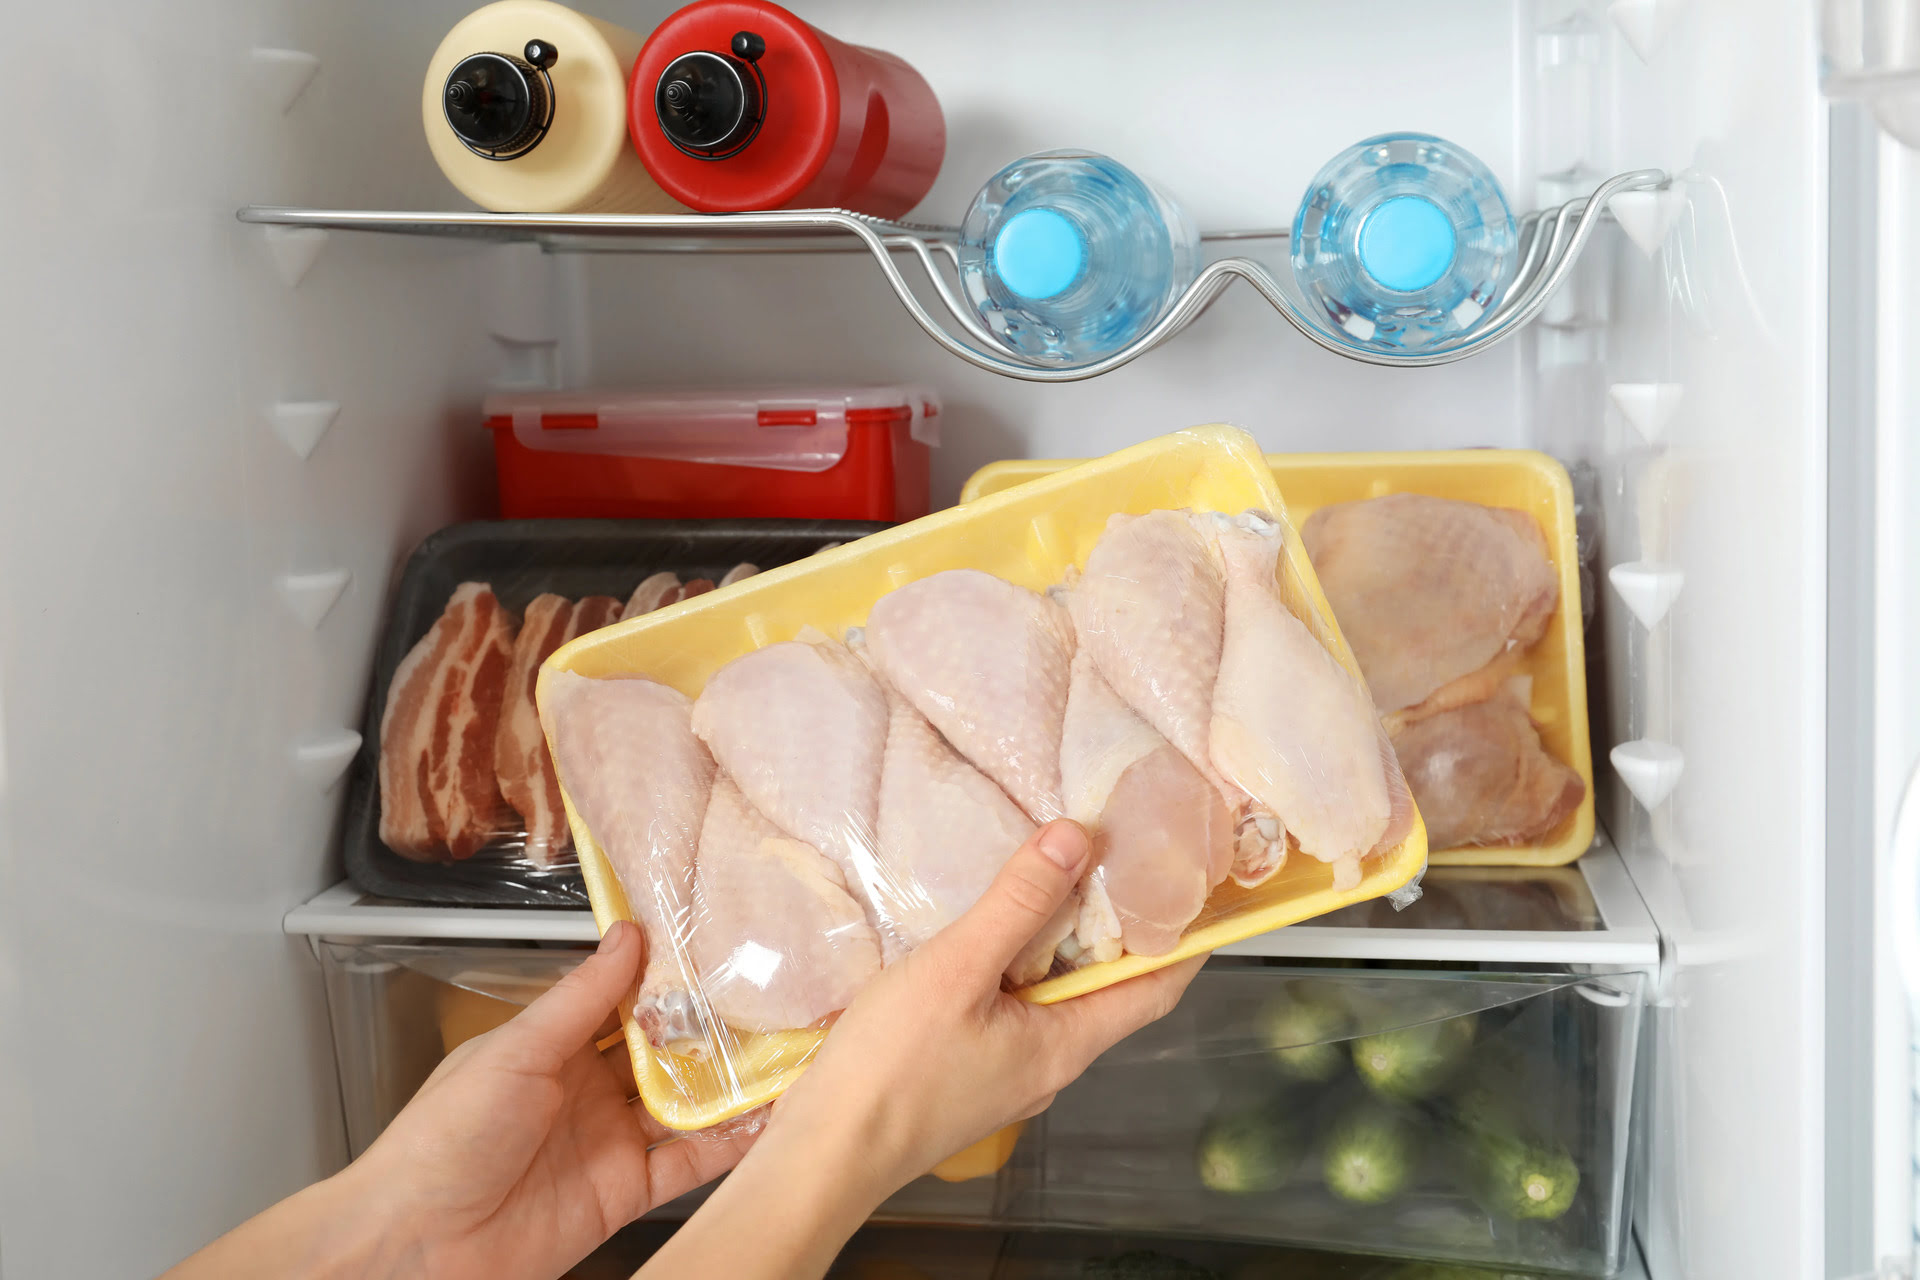
Supplies Needed
Before you begin storing your chicken stock in the freezer, make sure you have the following supplies on hand:
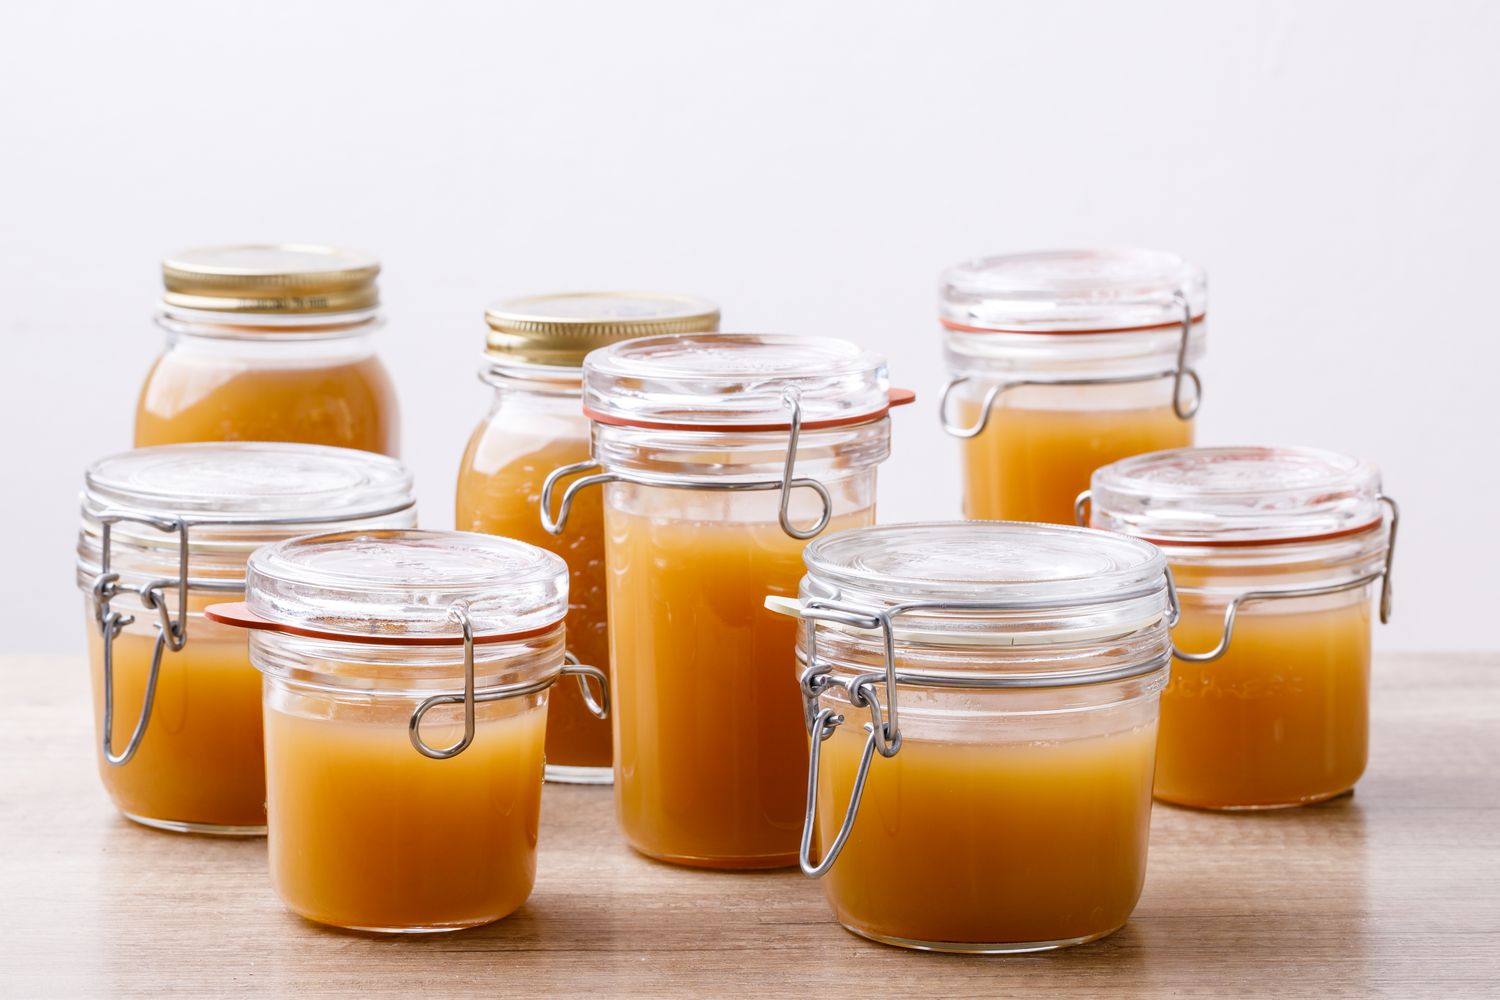
- Storage containers: Choose containers that are specifically designed for freezer storage. These can be plastic containers, glass jars, or freezer-safe bags. Make sure they have a tight-fitting lid or seal to prevent any leaks or freezer burn.
- Large ladle or spoon: This will come in handy for transferring the stock from your pot to the storage containers.
- Labels and markers: It’s essential to label each container with the date of preparation. This will help you keep track of how long the stock has been in the freezer and ensure you use it before it becomes too old.
- Freezer space: Ensure that you have enough room in your freezer to accommodate the containers. Clear out any unnecessary items to make space for your stock.
Once you have all the necessary supplies, you’re ready to store your chicken stock! Let’s proceed to the next step.
Step 1: Let the Chicken Stock Cool Down
After you’ve finished simmering your chicken stock and it is rich in flavor, it’s essential to let it cool down before transferring it to storage containers. This step is crucial to prevent any steam from building up inside the containers, which can lead to condensation and freezer burn.
Here’s how to let your chicken stock cool down properly:
- Remove the stock pot from the heat source.
- Allow the stock to sit at room temperature for about 30 minutes to an hour. This will help it cool down naturally.
- If you’re in a rush, you can speed up the cooling process by placing the pot in a shallow ice bath. Fill a larger container with ice and cold water, then place the stock pot in it. Stir the stock occasionally to help it cool evenly.
- Avoid transferring hot chicken stock directly to the freezer, as it can raise the temperature inside and affect the quality of other frozen items.
Once your stock has cooled down, it’s time to move on to the next step – transferring it to storage containers.
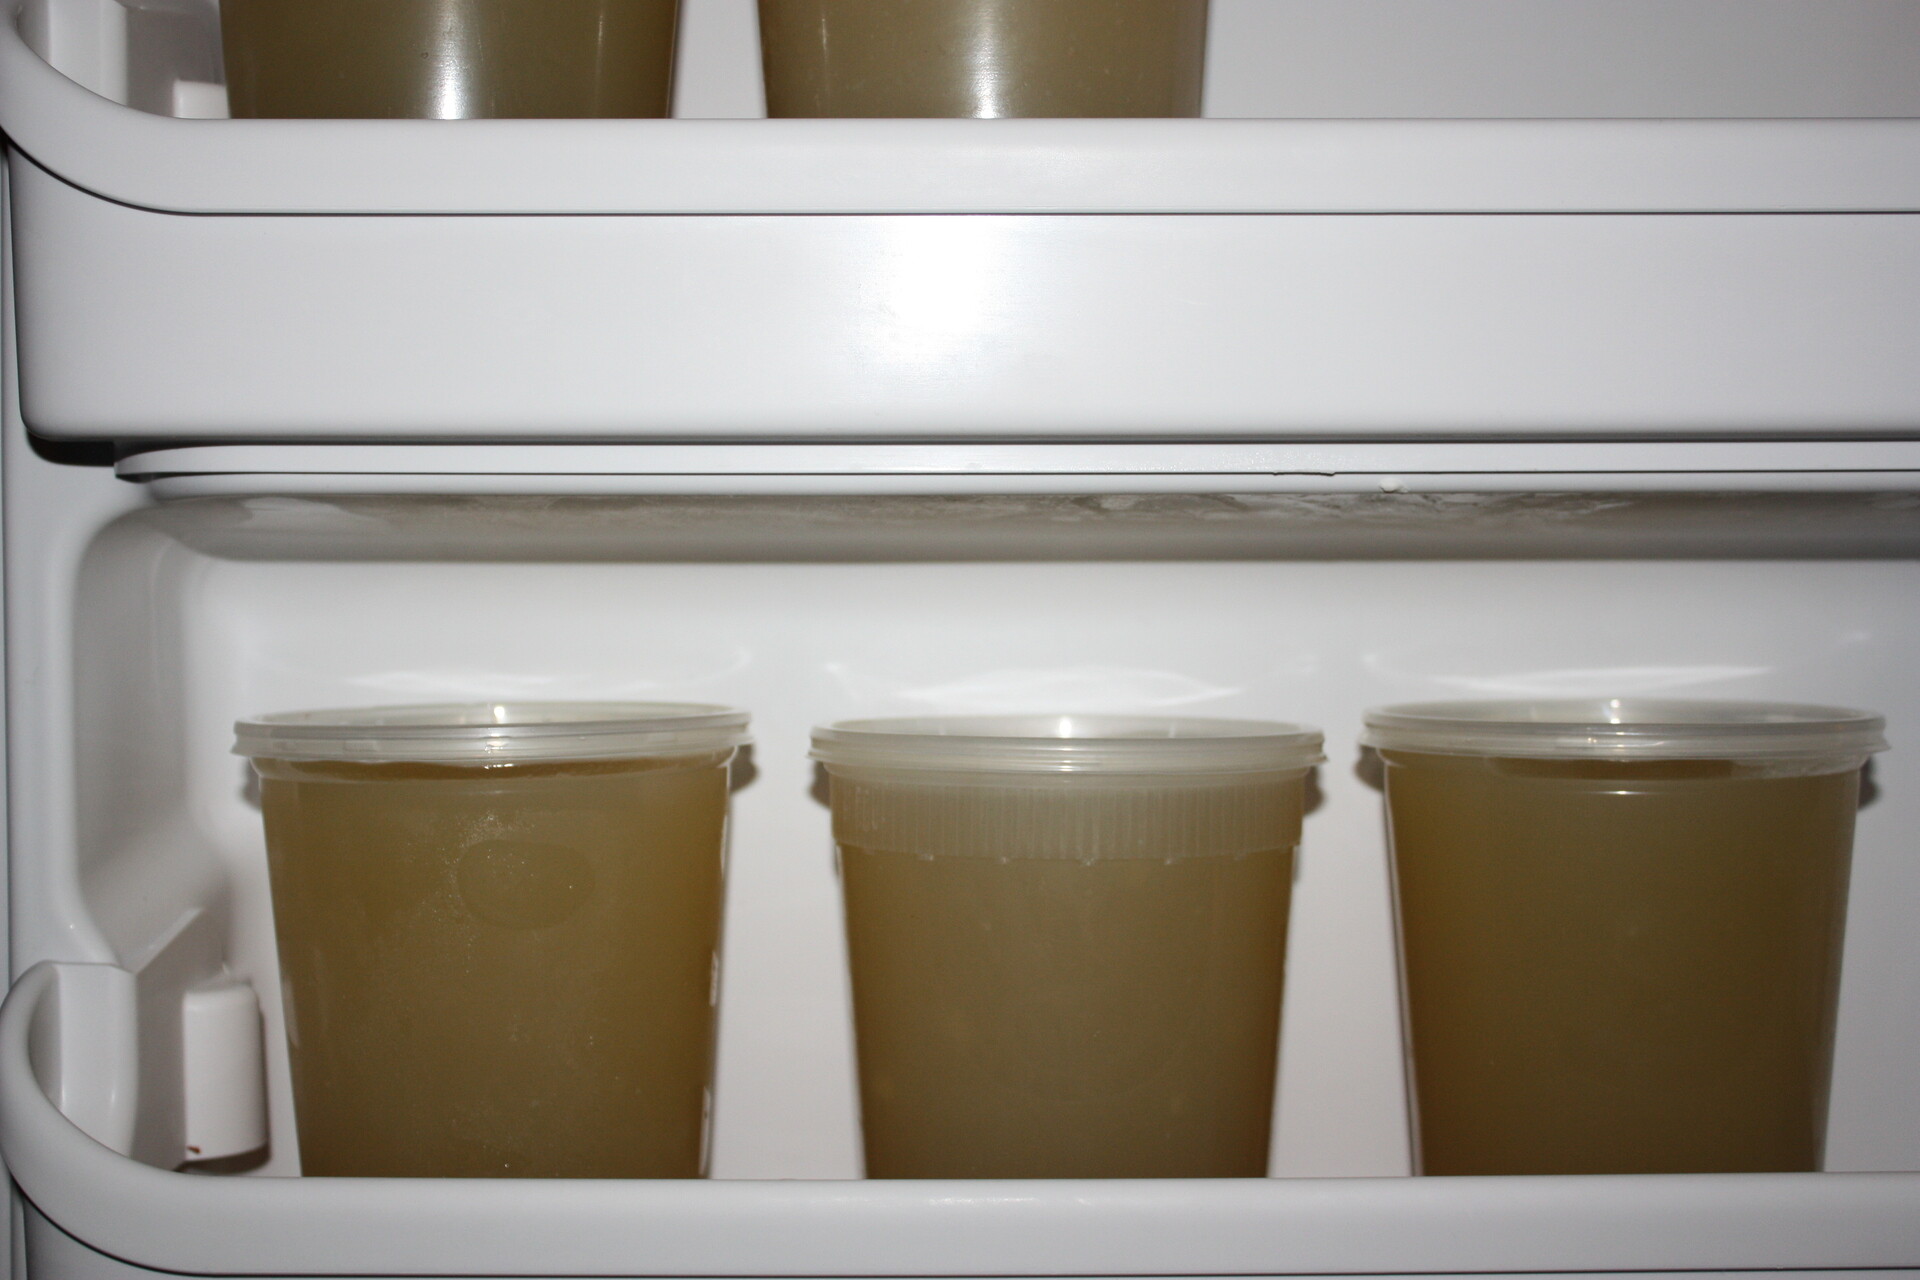
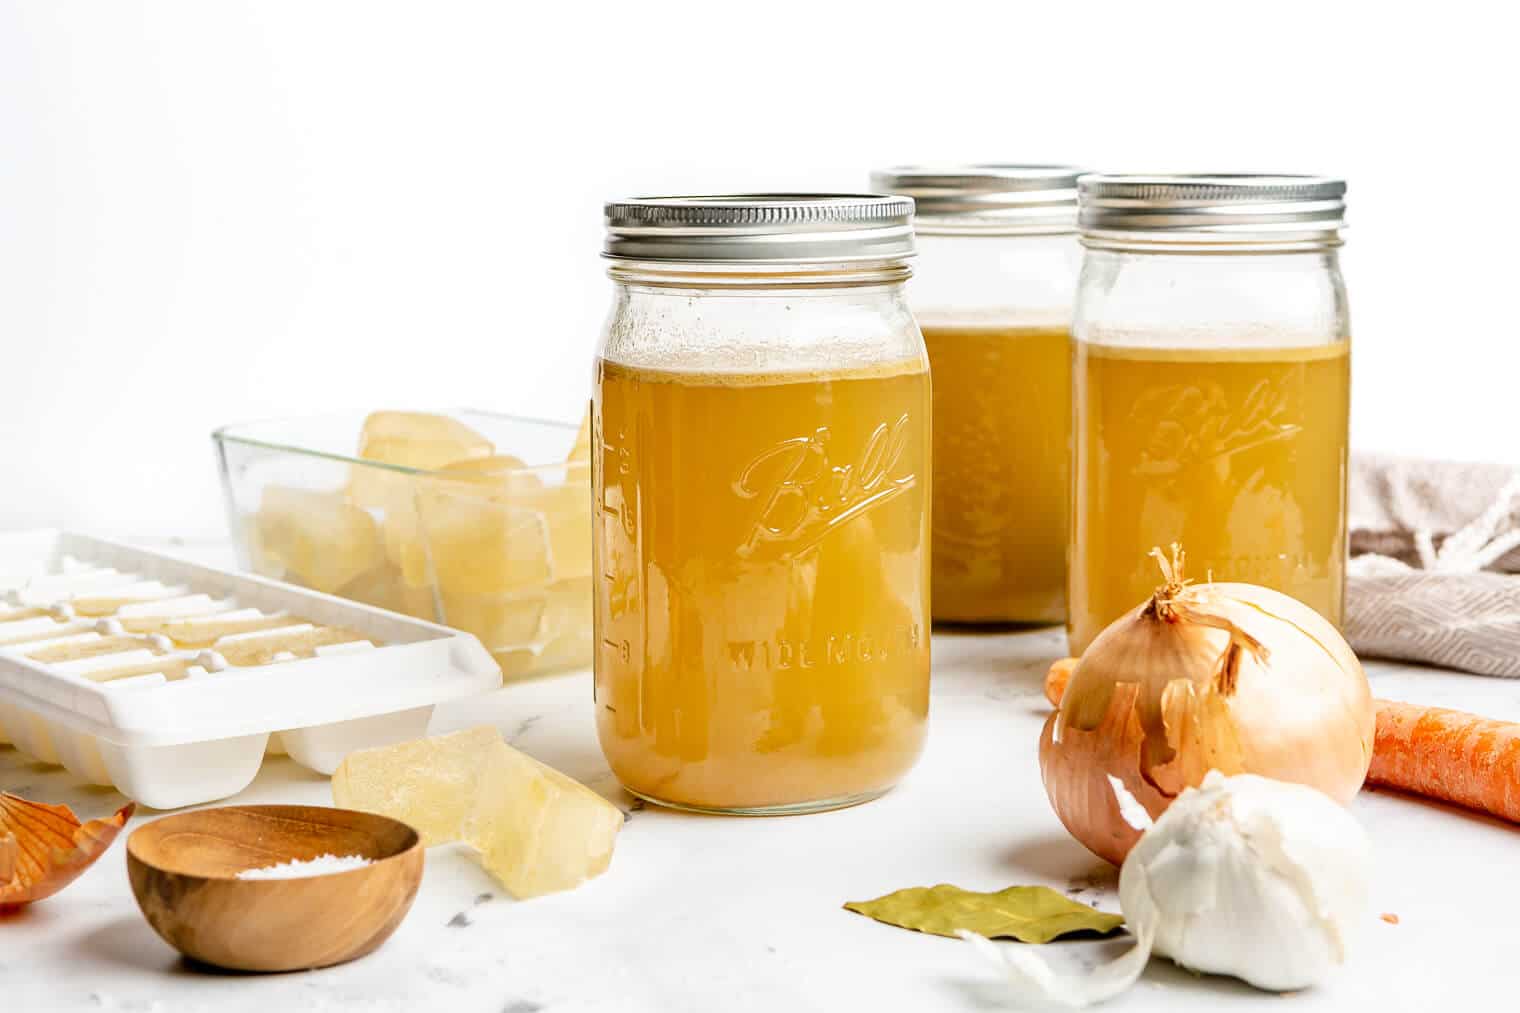
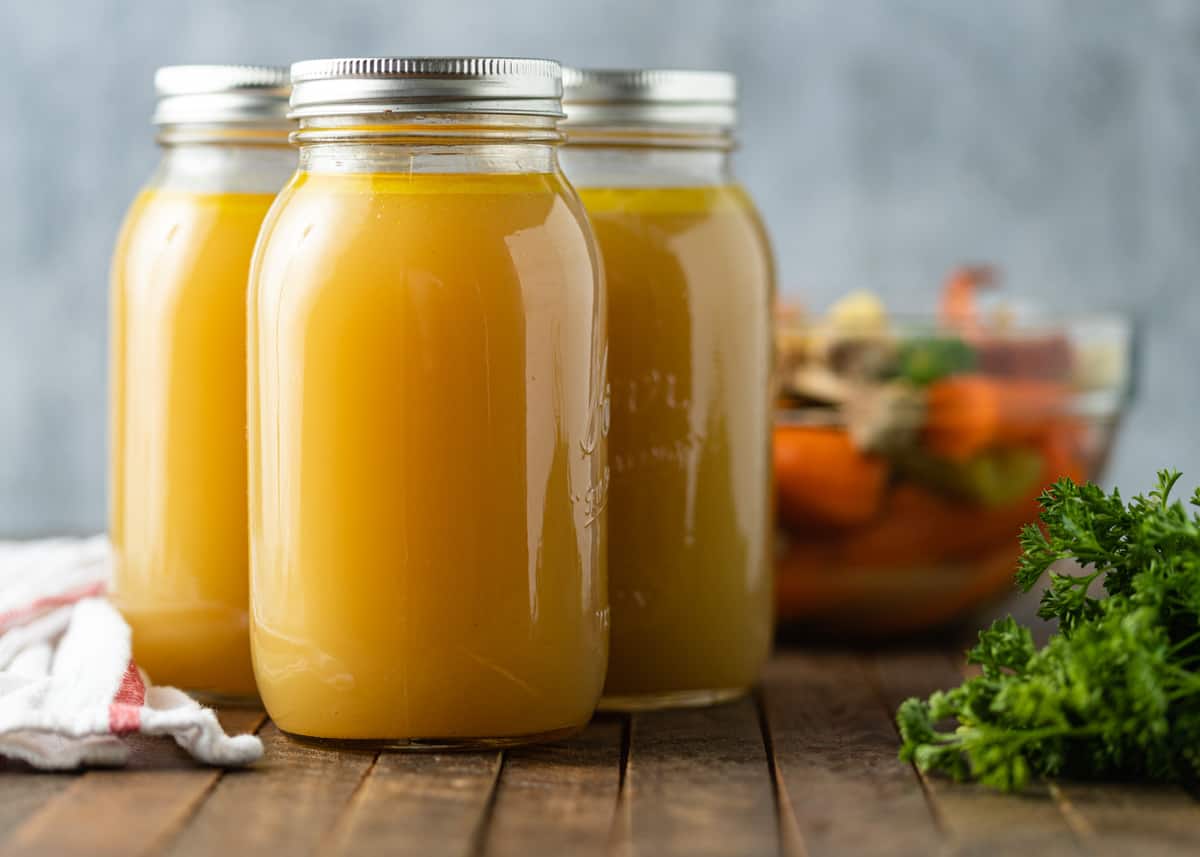
Step 2: Transfer the Stock to Storage Containers
Now that your chicken stock has cooled down, it’s time to transfer it to storage containers for freezer storage. This step ensures that your stock remains well-preserved and easily accessible for future use.
Follow these steps to transfer your stock to storage containers:
- Prepare your chosen storage containers by cleaning them thoroughly and ensuring they are freezer-safe.
- Using a large ladle or spoon, carefully scoop the chicken stock from the pot into the containers. Leave some space at the top, as liquids tend to expand when frozen.
- If you’re using plastic containers or glass jars with screw-top lids, make sure to leave about an inch of headspace to allow for expansion. For freezer-safe bags, squeeze out any excess air before sealing.
- Be cautious while transferring the stock to the containers to avoid spillage. Use a funnel if needed for better control.
- Once you have filled the containers, seal them tightly with their respective lids or zippers.
By transferring your chicken stock to freezer-safe containers, you are creating a suitable environment for long-term storage. Now, let’s move on to the next step – labeling and dating the containers.
After allowing the chicken stock to cool, pour it into ice cube trays and freeze. Once frozen, transfer the cubes to a resealable plastic bag for easy portioning and storage in the freezer.
Step 3: Label and Date the Containers
After transferring your chicken stock to storage containers, it’s crucial to label and date each container. This step may seem simple, but it plays a significant role in keeping your stock organized and ensuring you use it before it becomes too old. By labeling and dating, you can easily identify the stock and its freshness.
Follow these guidelines to label and date your chicken stock containers:
- Using a permanent marker or label stickers, write the contents of each container. Include “Chicken Stock” or a similar descriptive label to distinguish it from other frozen items.
- Write the date of preparation on each container. This will help you keep track of how long the stock has been stored in the freezer.
- If you’re using freezer bags, write the information directly on the bag. For containers or glass jars with lids, you can affix adhesive labels or write directly on the lid or container. Make sure the labeling is clear and won’t smudge or fade over time.
- Consider using color-coded labels or markers to make it even easier to identify different batches or types of stock.
- Place the containers back in the freezer in an organized manner, making sure the labels are easily visible for quick reference.
Labeling and dating your chicken stock containers may take a few extra moments, but it will save you from any confusion in the future. Now that your stock is labeled, secure, and ready for long-term storage, let’s move on to the next step – placing the containers in the freezer.
Read more: How To Store Homemade Chicken Stock
Step 4: Place the Containers in the Freezer
Now that your chicken stock is properly labeled and dated, it’s time to find a suitable spot in your freezer to store them. Proper placement is essential for maintaining the quality and longevity of your stock.
Follow these steps to place your chicken stock containers in the freezer:
- Clear out a space in your freezer that is large enough to accommodate the containers without them touching each other or other items. This will allow for better airflow and more even freezing.
- Arrange the containers in a single layer if possible. If you need to stack them, make sure there is a barrier, such as a cardboard or plastic divider, between the layers to prevent any containers from crushing or leaking onto others.
- Avoid placing the containers near the front of the freezer where they can be subject to temperature fluctuations when the freezer door is opened frequently.
- Try to keep similar items together in your freezer for better organization. For example, group all your chicken stock containers in one section, separate from other frozen foods.
- Close the freezer door gently to ensure a tight seal and consistent temperature inside.
- Remember to keep an inventory or log of the stock containers in your freezer, noting the quantity and date of each. This will help you keep track of what you have available and ensure you use the oldest stock first.
By following these steps and properly placing your chicken stock containers in the freezer, you can ensure that they remain well-preserved and ready to add depth and flavor to your future culinary creations. Now, let’s move on to the final step – thawing and using the frozen chicken stock.
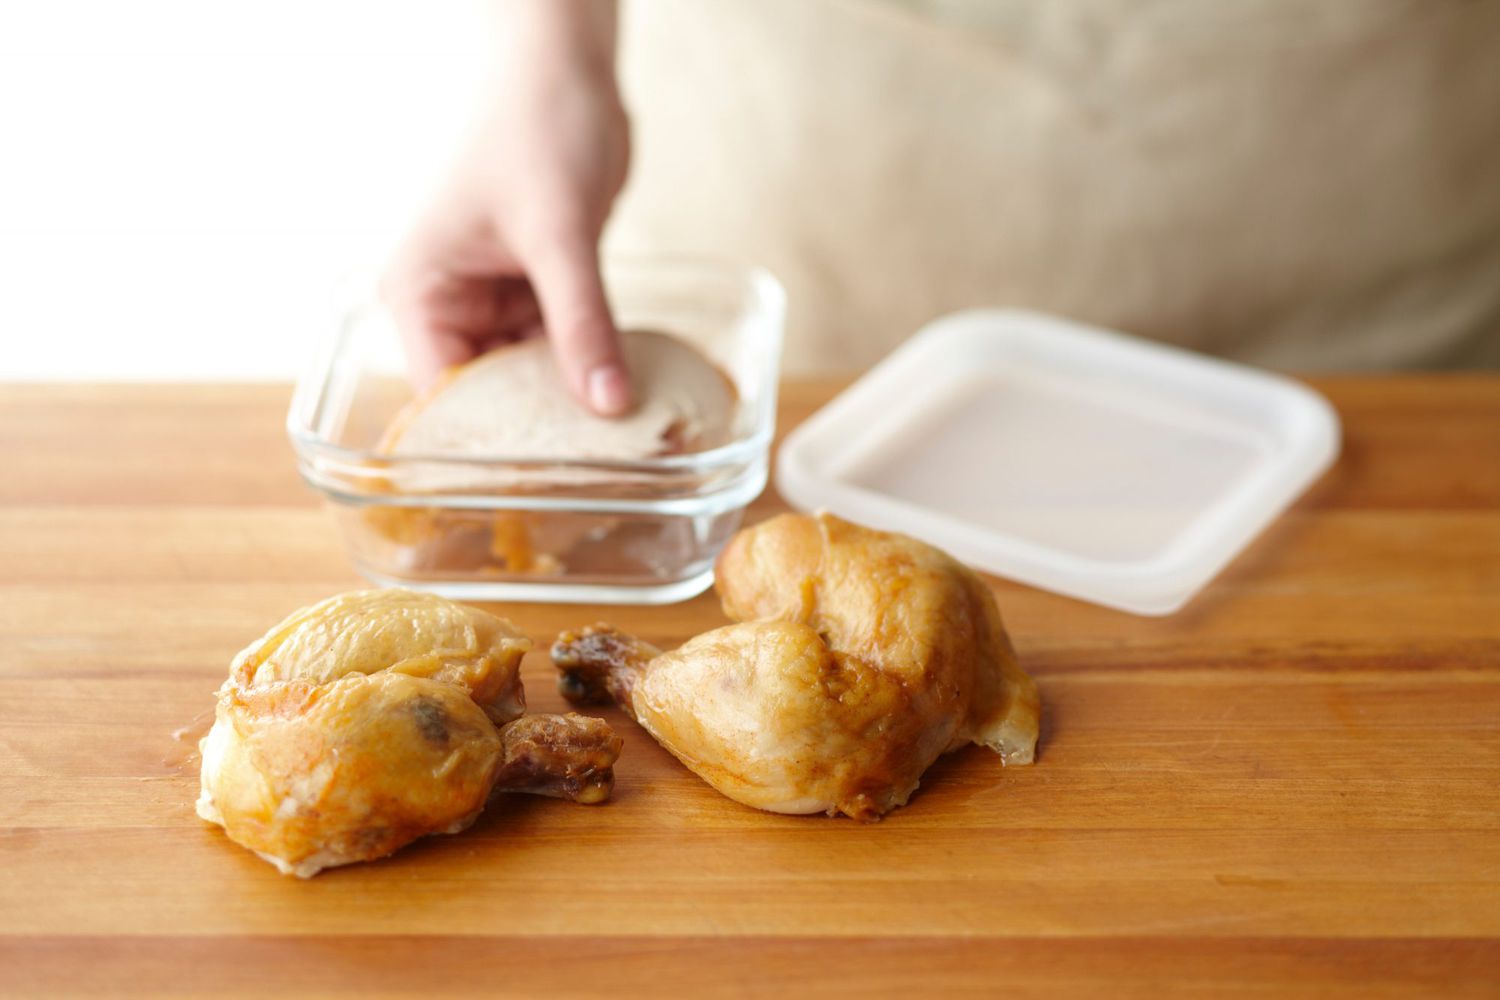
Step 5: Thawing and Using the Frozen Chicken Stock
When it comes time to use your frozen chicken stock, proper thawing techniques ensure that it retains its flavor and quality. There are a few safe and convenient methods for thawing your stock, depending on your time constraints and preferences.
Follow these steps to thaw and use your frozen chicken stock:
- Refrigerator thawing: The safest method for thawing chicken stock is to transfer it from the freezer to the refrigerator. Place the container in a designated section of your refrigerator at least 24 hours before you plan to use the stock. This slow thawing process allows the stock to defrost evenly while staying at a safe temperature.
- Water bath thawing: For a quicker thawing method, you can use a water bath. Fill a large bowl or sink with cold water and place the tightly sealed container of frozen stock into the water. Make sure the container is fully submerged in the water, and change the water every 30 minutes to maintain a safe and consistent temperature. This method can thaw the stock in a couple of hours.
- Microwave thawing: If you’re short on time, you can use the microwave to thaw the frozen stock. Transfer the stock to a microwave-safe container and use the defrost setting on your microwave. Follow the manufacturer’s instructions for defrosting liquids, and be sure to stir the stock periodically to ensure even thawing. Take caution to prevent overheating or cooking the stock in the process.
Once your chicken stock is thawed, you can use it in your favorite recipes as you would with freshly made stock. Be sure to check the quality and smell of the stock before using it, and discard any stock that appears off or has an unusual odor.
Remember, when using thawed chicken stock, be sure to follow proper food safety guidelines and heat it to a safe temperature before consuming.
With these thawing methods and safety precautions in mind, you can conveniently incorporate your frozen chicken stock into various dishes and savor the rich flavors it adds to your culinary creations.
Now that you’re familiar with the process of thawing and using the frozen chicken stock, you’re ready to enjoy the convenience and flavor of your homemade stock whenever you need it. Happy cooking!
Conclusion
Congratulations! You’ve now learned the step-by-step process of properly storing chicken stock in the freezer. By following these guidelines, you can ensure that your homemade stock remains fresh, flavorful, and readily available for use in your favorite recipes.
Remember to allow the chicken stock to cool down before transferring it to storage containers, ensuring it doesn’t raise the temperature inside the freezer. Use freezer-safe containers with tight-fitting lids or freezer bags to prevent any leakage or freezer burn.
Label and date each container to keep track of its freshness, and place them in an organized manner in your freezer to make retrieval easy. When it comes time to use the stock, follow safe thawing methods such as refrigerator thawing, water bath thawing, or microwave thawing.
With your frozen chicken stock fully thawed, you can incorporate it into a variety of delicious recipes, from soups and stews to sauces and risottos. Just be sure to heat the stock to a safe temperature before consuming, following proper food safety guidelines.
Now that you have mastered the art of storing chicken stock in the freezer, you can save time and effort in future meal preparations. Enjoy the convenience of having homemade stock readily available, enhancing the flavor of your dishes with every spoonful.
So go ahead, stock up on chicken stock and savor the rich, comforting taste it brings to your culinary creations. Happy cooking!
Frequently Asked Questions about How To Store Chicken Stock In Freezer
Was this page helpful?
At Storables.com, we guarantee accurate and reliable information. Our content, validated by Expert Board Contributors, is crafted following stringent Editorial Policies. We're committed to providing you with well-researched, expert-backed insights for all your informational needs.


0 thoughts on “How To Store Chicken Stock In Freezer”