Articles
How To Store Homemade Chicken Stock
Modified: February 27, 2024
Looking for articles on how to store homemade chicken stock? Discover expert tips and techniques for preserving your flavorful stock for future use.
(Many of the links in this article redirect to a specific reviewed product. Your purchase of these products through affiliate links helps to generate commission for Storables.com, at no extra cost. Learn more)
Introduction
Homemade chicken stock is a versatile and flavorful ingredient that can elevate your dishes to new heights. Whether you’ve made a large batch for a special occasion or simply have leftovers from a roasted chicken, knowing how to store homemade chicken stock properly is essential to prevent waste and ensure its freshness for future use.
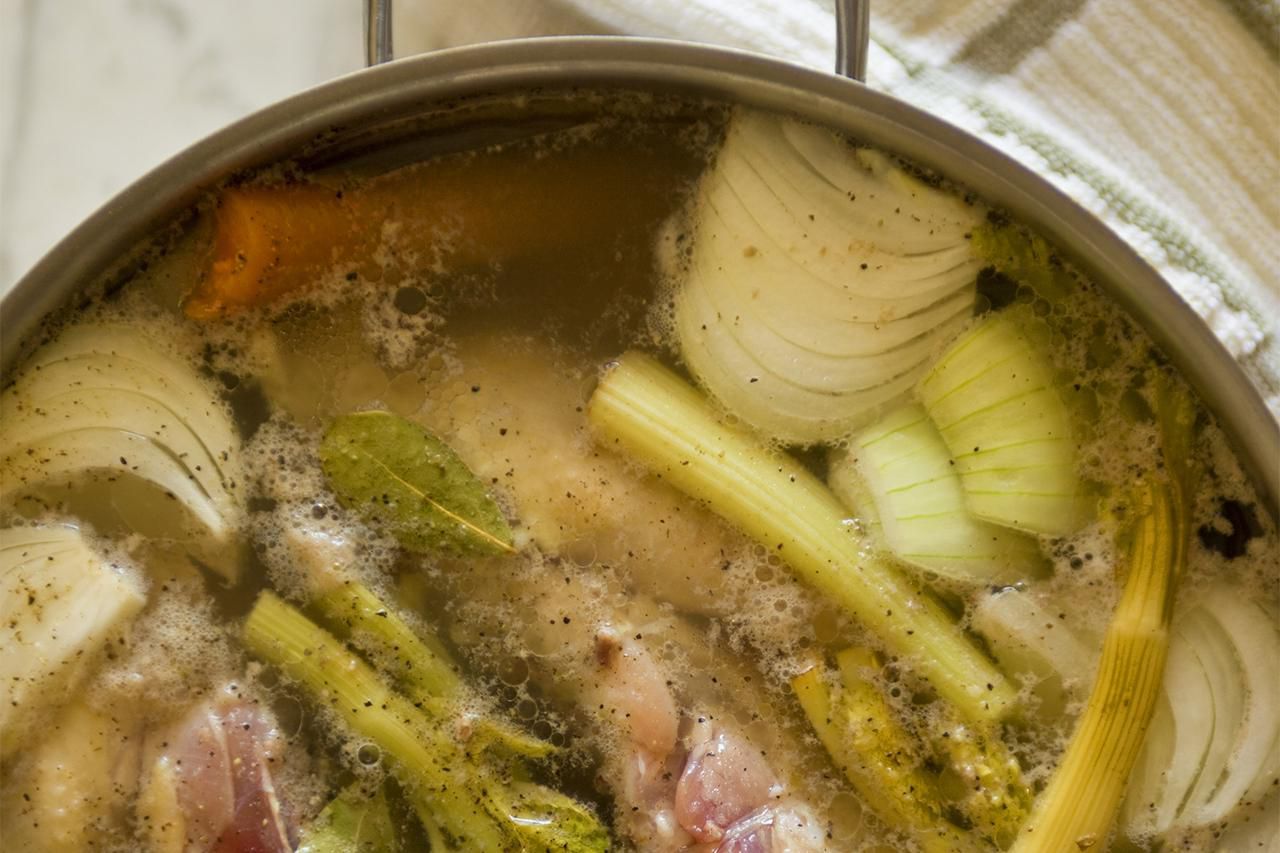
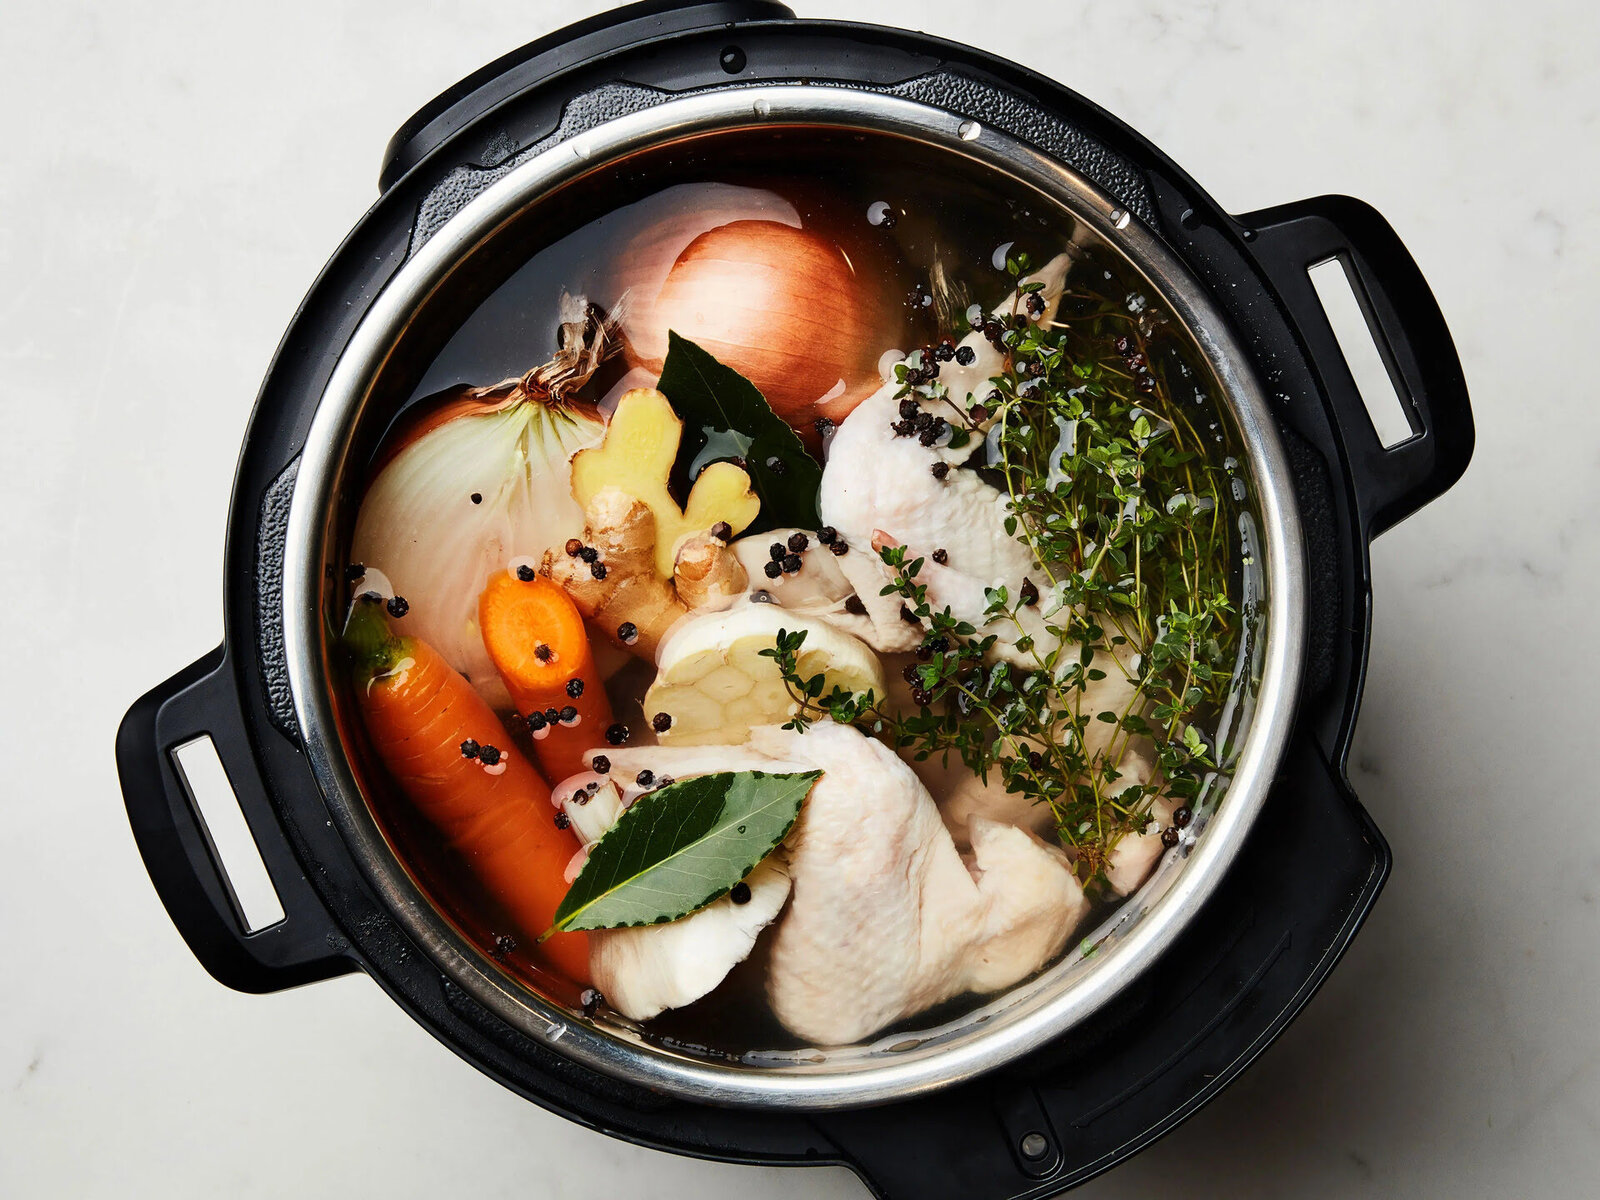
Unlike store-bought chicken stock, homemade versions allow you to control the ingredients and flavor profile, resulting in a richer and more authentic taste. The process of making chicken stock involves simmering chicken bones, vegetables, and seasonings for an extended period, allowing the flavors to meld and create a savory broth. Since it takes time and effort to make homemade stock, it’s essential to store it correctly to preserve its quality and maximize its shelf life.
In this article, we’ll guide you through the steps to properly store homemade chicken stock, ensuring that you can enjoy its deliciousness for an extended period. From cooling and skimming off fat to portioning and labeling, we’ll cover all the necessary information to help you make the most of your homemade stock. So, let’s get started on mastering the art of storing homemade chicken stock!
Key Takeaways:
- Master the art of storing homemade chicken stock to preserve its rich flavor and nutritional benefits. From cooling and skimming off fat to portioning and labeling, follow these steps for maximum freshness and convenience.
- Homemade chicken stock is a cost-effective, customizable, and sustainable ingredient worth storing. Enjoy superior flavor, enhanced nutritional value, and reduced food waste by properly freezing or refrigerating your stock for future culinary creations.
Read more: How To Store Homemade Stock
Why Homemade Chicken Stock is Worth Storing
Homemade chicken stock is more than just a flavorful liquid. It is a foundation for countless recipes and a culinary secret weapon that enhances the taste of soups, stews, sauces, and more. Investing the time and effort required to make homemade chicken stock is well worth it, and here are a few reasons why:
- Superior Flavor: Homemade chicken stock has a depth of flavor that cannot be replicated by store-bought versions. The slow simmering of chicken bones and aromatic vegetables releases rich and complex flavors that lend a savory and satisfying taste to your dishes.
- Enhanced Nutritional Value: Homemade chicken stock is packed with nutrients derived from the chicken bones and vegetables used in the making. It is rich in collagen, which is beneficial for joint health, and it amplifies the nutritional content of your meals.
- Cost-Effective: Making your own chicken stock is a cost-effective option compared to buying pre-packaged stock. By using leftover chicken bones or purchased chicken parts, you can transform them into a valuable ingredient without breaking the bank.
- Reduced Food Waste: Storing homemade chicken stock allows you to utilize leftover parts of the chicken that might otherwise go to waste. It’s a sustainable practice that maximizes the use of ingredients and minimizes environmental impact.
- Customizable Flavor: When you make homemade chicken stock, you have control over the ingredients and flavor profile. You can customize the stock by adding herbs, spices, and vegetables, tailoring it to suit your personal taste and the specific recipes you intend to use it in.
With all these benefits, it’s no wonder that homemade chicken stock is a staple in the kitchens of culinary enthusiasts and professional chefs around the world. Knowing how to properly store your homemade stock ensures that you can retain its exceptional qualities and enjoy its flavor-enhancing properties whenever you need it.
Step 1: Allow the Stock to Cool
After you have made a fresh batch of homemade chicken stock, the first step in storing it is allowing it to cool. This is an essential step to minimize the risk of bacterial growth and ensure the longevity of the stock.
Once the stock has finished simmering and you have achieved the desired flavor profile, remove it from the heat source. It’s important to let it cool down to room temperature before proceeding with the storage process. Cooling the stock slowly helps prevent the growth of bacteria that can thrive in warm, moist environments.
You can leave the stock in the pot or transfer it to a wide, shallow container to speed up the cooling process. Avoid placing a hot pot of stock directly in the refrigerator, as it can raise the temperature inside and affect the quality of other food items.
Allowing the stock to cool naturally might take some time, depending on the quantity and the temperature of your kitchen. To expedite the process, you can place the pot or container in an ice bath or use a fan to promote airflow. However, do not compromise food safety by rushing the cooling process.
After the stock has cooled to room temperature, it is ready for the next step in the storage process: skimming off the fat.
Step 2: Skim Off Fat
Once your homemade chicken stock has cooled to room temperature, it’s time to remove any excess fat that may have risen to the surface. Skimming off the fat not only improves the overall appearance of the stock but also helps prevent the stock from becoming greasy when it is reheated or used in recipes.
There are several methods you can use to skim off the fat. One common approach is to use a large, shallow spoon or ladle to skim the layer of fat from the surface of the stock. Gently glide the spoon or ladle across the surface, collecting the fat as you go. You can either discard the collected fat or reserve it for other culinary purposes.
Another method is to use a fat separator. This kitchen tool is specifically designed to separate the fat from liquids such as stocks and gravies. The fat separator has a spout at the bottom, allowing you to drain the fat while leaving the flavorful stock behind.
It’s important to note that a small amount of fat can add richness and flavor to your dishes. However, if there is excessive fat in the stock, it can affect the texture and taste of your recipes. Skimming off the fat helps maintain a balanced and desirable outcome.
Once you have removed the fat from the stock, you can proceed to the next step: portioning the stock for storage.
Step 3: Portion the Stock
After skimming off the fat, the next step in storing homemade chicken stock is to portion it into convenient sizes for future use. Portioning the stock allows you to easily thaw and use only the amount you need without having to defrost the entire batch.
Consider the typical quantity of stock you use in your recipes. It’s helpful to divide the stock into portion sizes that align with your cooking needs. Common portion sizes for chicken stock range from 1 cup to 2 cups.
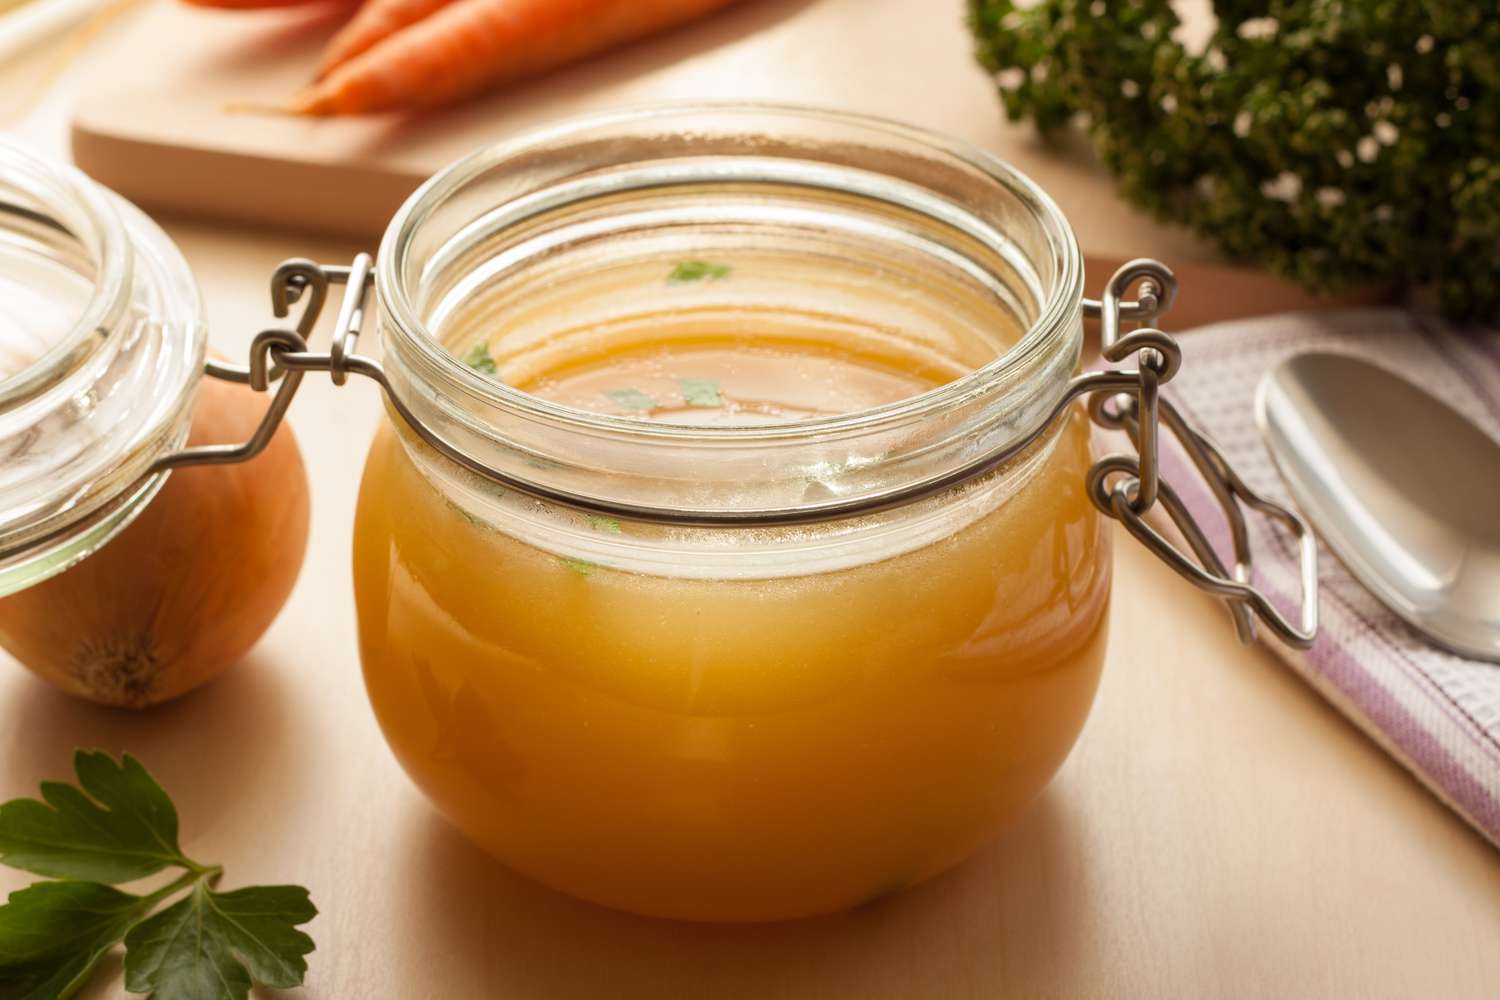
You can use various containers to portion the stock, depending on your preferences and the available storage options. Freezer-safe bags, glass jars, or plastic containers with airtight lids are popular choices.
If you opt for freezer bags, fill each bag with the desired portion of stock, leaving some space at the top to allow for expansion during freezing. Squeeze out any excess air from the bag before sealing it tightly. This will help prevent freezer burn and maintain the quality of the stock.
If using glass jars, make sure they are freezer-safe and leave some headspace to avoid breakage due to expansion. Plastic containers should also have enough room for expansion and should be labeled as freezer-safe.
Labeling the containers or bags with the portion size and the date of storage is essential for easy identification and proper stock rotation. A label also prevents confusion and ensures that you use the oldest stock first.
Once you have portioned and labeled the stock, it is ready for the next step: choosing the appropriate storage method.
After straining the homemade chicken stock, let it cool to room temperature before transferring it to airtight containers. Store in the refrigerator for up to 4 days or freeze for longer storage.
Read more: How To Store Chicken Stock
Step 4: Use Freezer Bags or Containers
When it comes to storing homemade chicken stock, using freezer bags or containers is an efficient and space-saving option. Freezer bags are flexible and take up less space in the freezer compared to rigid containers. Here’s how to use freezer bags or containers for storing your stock:
1. Freezer Bags: Choose high-quality, heavy-duty freezer bags to prevent leakage and freezer burn. Pour the portioned stock into the bags, leaving enough space at the top for expansion during freezing. Squeeze out any excess air to minimize the risk of freezer burn. Seal the bags tightly, ensuring there are no openings or gaps.
2. Containers: If you prefer using containers, make sure they are specifically labeled as freezer-safe. Fill the containers with the portioned stock, leaving some headspace for expansion. Seal the containers tightly with airtight lids to prevent freezer burn and maintain the stock’s freshness.
Regardless of whether you choose freezer bags or containers, it’s recommended to place them on a baking sheet or tray before freezing. This helps stabilize the bags or containers and prevents them from spilling or tilting inside the freezer. Once frozen, you can remove the baking sheet or tray for easier storage.
Remember to arrange the freezer bags or containers in a flat position during freezing. This allows for efficient stacking and optimal use of freezer space. It’s also important to ensure that the bags or containers are properly sealed to prevent any air exposure that could lead to freezer burn.
Now that you have your stock safely stored in freezer bags or containers, proceed to the next step: labeling and dating the stock for easy identification and rotation.
Step 5: Label and Date the Stock
Properly labeling and dating your homemade chicken stock is crucial for easy identification and stock rotation. Whether you’re storing it in freezer bags or containers, clear labeling ensures that you can quickly identify the contents and use the oldest stock first.
Here are some tips for labeling and dating your stock:
- Labeling: Use a permanent marker or labels to clearly indicate that the contents are chicken stock. Include the portion size, especially if you have stored them in bags or containers of various sizes. Writing the portion size helps you easily determine how much to thaw and use for your recipes.
- Dating: Write the current date on the label to track the storage time. This is important for stock rotation, as you want to use the oldest stock first to maintain its freshness. It’s recommended to use a “month/day/year” format for consistency and clarity.
- Additional Information: If desired, you can include any additional information on the label, such as the ingredients used or any seasoning added to the stock. This can be helpful when you’re planning your recipes and want to ensure compatibility.
Place the labels on the freezer bags or containers in a visible and easily readable location. This way, you can quickly locate the stock you need without having to rummage through your freezer.
By labeling and dating your stock, you can maintain an organized freezer and avoid any confusion about the contents and storage time of your homemade chicken stock. Now that your stock is properly labeled and dated, it’s time to move on to the final steps: freezing or refrigerating your stock based on your immediate or long-term needs.
Step 6: Freeze or Refrigerate
After portioning, labeling, and dating your homemade chicken stock, it’s time to decide whether to freeze it for long-term storage or refrigerate it for immediate use.
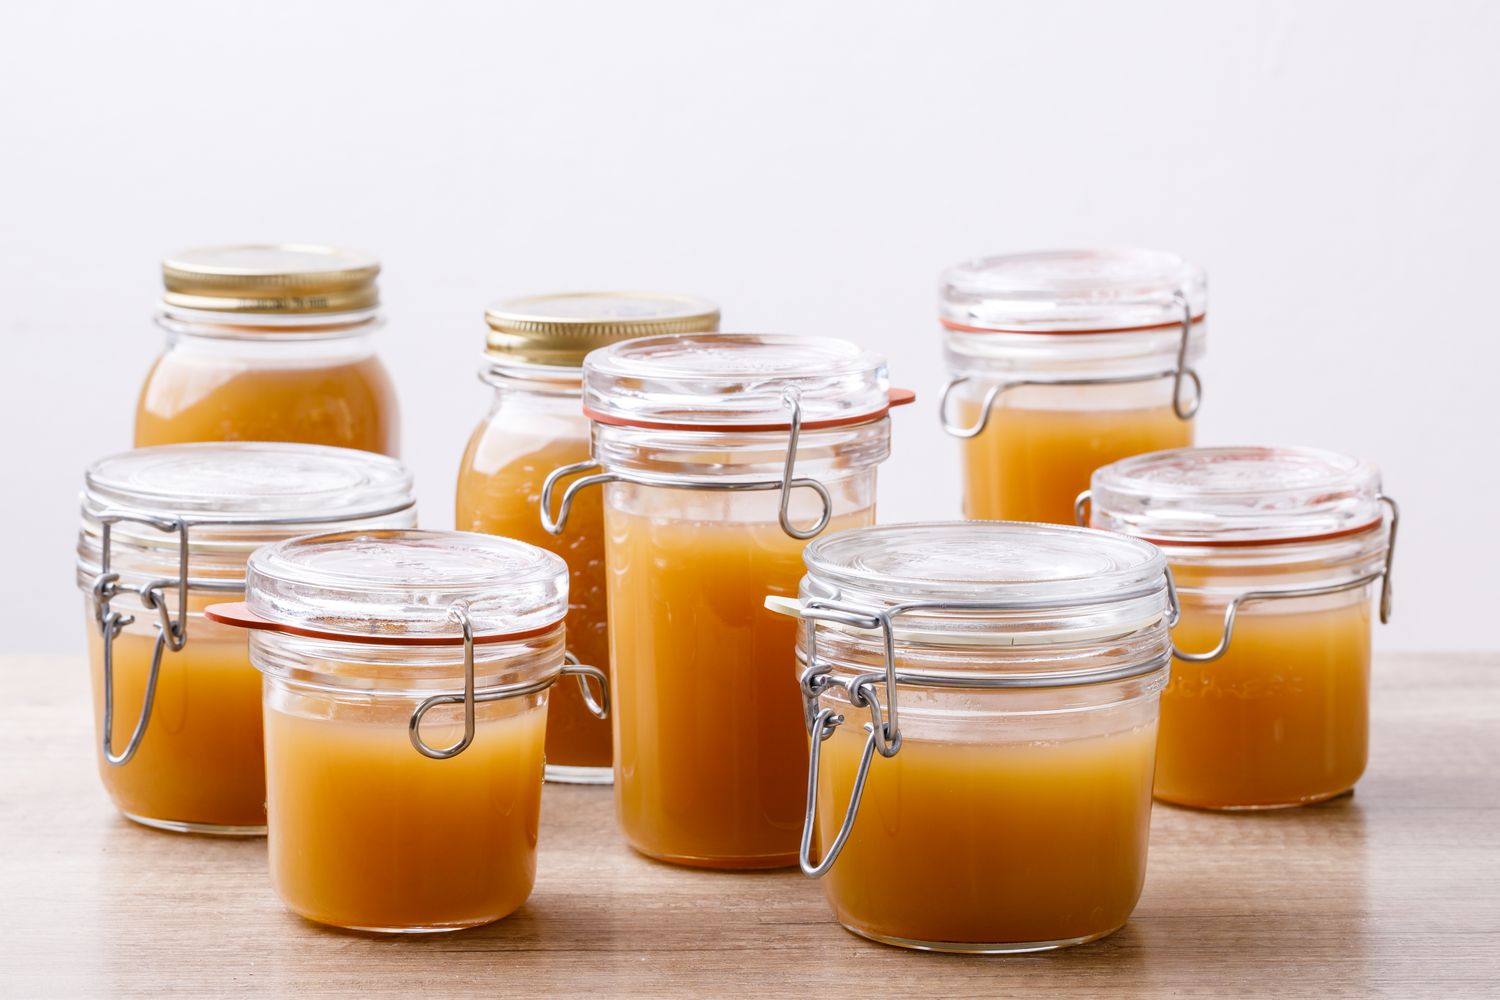
Freezing: Freezing is the preferred method for storing homemade chicken stock if you don’t plan to use it within a few days. Freezing preserves the freshness and quality of the stock for an extended period, allowing you to enjoy it whenever needed. Here’s how to freeze your stock:
- Place the labeled and dated stock in the freezer, making sure the bags or containers are arranged flat and stable.
- Ensure that the freezer temperature is set to 0°F (-18°C) or below to maintain the stock’s quality.
- For optimal taste and texture, homemade chicken stock can be stored in the freezer for up to 3-4 months. However, it’s typically safe to use it for up to 6 months if it has been properly stored.
Refrigerating: If you plan to use the stock within a few days, refrigerating it is a convenient option. Here’s how to refrigerate your stock:
- Place the labeled and dated stock in the refrigerator once it has cooled to room temperature.
- Store the stock in the refrigerator’s coldest section, usually the bottom shelf, to ensure optimal freshness and prevent bacteria growth.
- Refrigerated chicken stock can typically be used within 3-4 days. However, always use your judgment and check for any signs of spoilage such as off smells or unusual textures before using the stock.
Remember to keep track of the storage time and consume the stock before it expires to ensure the best flavor and quality.
Whether you choose to freeze or refrigerate your homemade chicken stock, carefully follow these steps to preserve its taste and maximize its shelf life. Now that your stock is safely stored, it’s time to learn how to thaw and use it in your favorite recipes!
Step 7: Thawing and Using the Stock
When you’re ready to use your homemade chicken stock, it’s important to thaw it properly to maintain its integrity and flavor. Here’s how to thaw and use your stock:
- Thawing: If your stock is frozen, there are a few safe methods for thawing it:
- Refrigerator: The safest method is to thaw the stock in the refrigerator. Simply place the frozen bags or containers in the fridge and allow them to thaw slowly. This method may take several hours or overnight, depending on the size of the portions.
- Cold Water Bath: If you need to thaw the stock more quickly, you can use a cold water bath. Place the frozen bags or containers in a large bowl or sink filled with cold water. Make sure the stock is in a leak-proof bag or container to prevent water from seeping in. Change the water every 30 minutes until the stock is thawed. Avoid using warm water as it can promote bacterial growth.
- Microwave: If you’re in a hurry, you can use the defrost setting on your microwave to thaw the stock. However, be cautious as microwaving can heat the stock unevenly, leading to potential hot spots. If you choose this method, make sure to transfer the stock to a microwave-safe container and follow the microwave’s instructions for defrosting liquid.
- Using the Stock: Once thawed, you can use the stock in a variety of recipes. Here are a few ideas:
- Soups and stews: Homemade chicken stock is a fantastic base for soups and stews. Use it to enhance the flavors and create a rich broth for your favorite recipes.
- Sauces and gravies: Add depth and complexity to your sauces and gravies by incorporating homemade chicken stock. It adds delicious flavor and enhances the overall taste of your dishes.
- Risotto and rice dishes: Substitute water with chicken stock when cooking risotto or other rice dishes. The stock will infuse the rice with a savory taste, making it even more delicious.
- Marinating meats: Use chicken stock as a marinade for meats, such as chicken or beef. It adds moisture and flavor to the meat, resulting in tender and tasty dishes.
Remember to discard any unused portions of thawed stock if it has been left at room temperature for more than 2 hours. It’s essential to practice proper food safety guidelines.
Thawed chicken stock can be stored in the refrigerator for up to 3-4 days. If you have a large batch that you won’t be able to use within that time frame, consider portioning and refreezing the stock for later use.
Now that you know how to thaw and use your homemade chicken stock, you can confidently incorporate it into your culinary creations, knowing that you have a flavorful and versatile ingredient at your disposal!
Read more: How To Store Chicken Stock In Freezer
Conclusion
Storing homemade chicken stock is a worthwhile practice that allows you to have a flavorful and versatile ingredient readily available for your cooking needs. By following these steps, you can ensure that your stock stays fresh, delicious, and safe for future use.
From allowing the stock to cool and skimming off the fat to portioning, labeling, and choosing the right storage method, each step is crucial in maintaining the quality and longevity of your homemade stock. Freezing or refrigerating the stock based on your immediate or long-term needs ensures that you can enjoy its rich flavor whenever you desire.
Making homemade chicken stock is an art, and storing it properly is the final touch that ensures your efforts don’t go to waste. Not only does storing homemade stock save you money, reduce food waste, and enhance the flavor of your dishes, but it also allows you to have control over the ingredients and customize the taste to suit your preferences.
So, the next time you make a batch of homemade chicken stock, take the extra step to store it correctly. Whether you freeze it in convenient portions or refrigerate it for immediate use, you’ll reap the benefits of having a versatile and delicious ingredient at your fingertips.
Now that you have mastered the art of storing homemade chicken stock, get creative and let it elevate your soups, stews, sauces, and more. Enjoy the rich flavors and nutritional benefits that come from your homemade creation. Happy cooking!
Frequently Asked Questions about How To Store Homemade Chicken Stock
Was this page helpful?
At Storables.com, we guarantee accurate and reliable information. Our content, validated by Expert Board Contributors, is crafted following stringent Editorial Policies. We're committed to providing you with well-researched, expert-backed insights for all your informational needs.


0 thoughts on “How To Store Homemade Chicken Stock”