
Articles
How To Store Blink Video Without Subscription
Modified: May 6, 2024
Learn how to store Blink video without a subscription in this informative articles. Save money while ensuring your home is secure with our helpful tips.
(Many of the links in this article redirect to a specific reviewed product. Your purchase of these products through affiliate links helps to generate commission for Storables.com, at no extra cost. Learn more)
Introduction
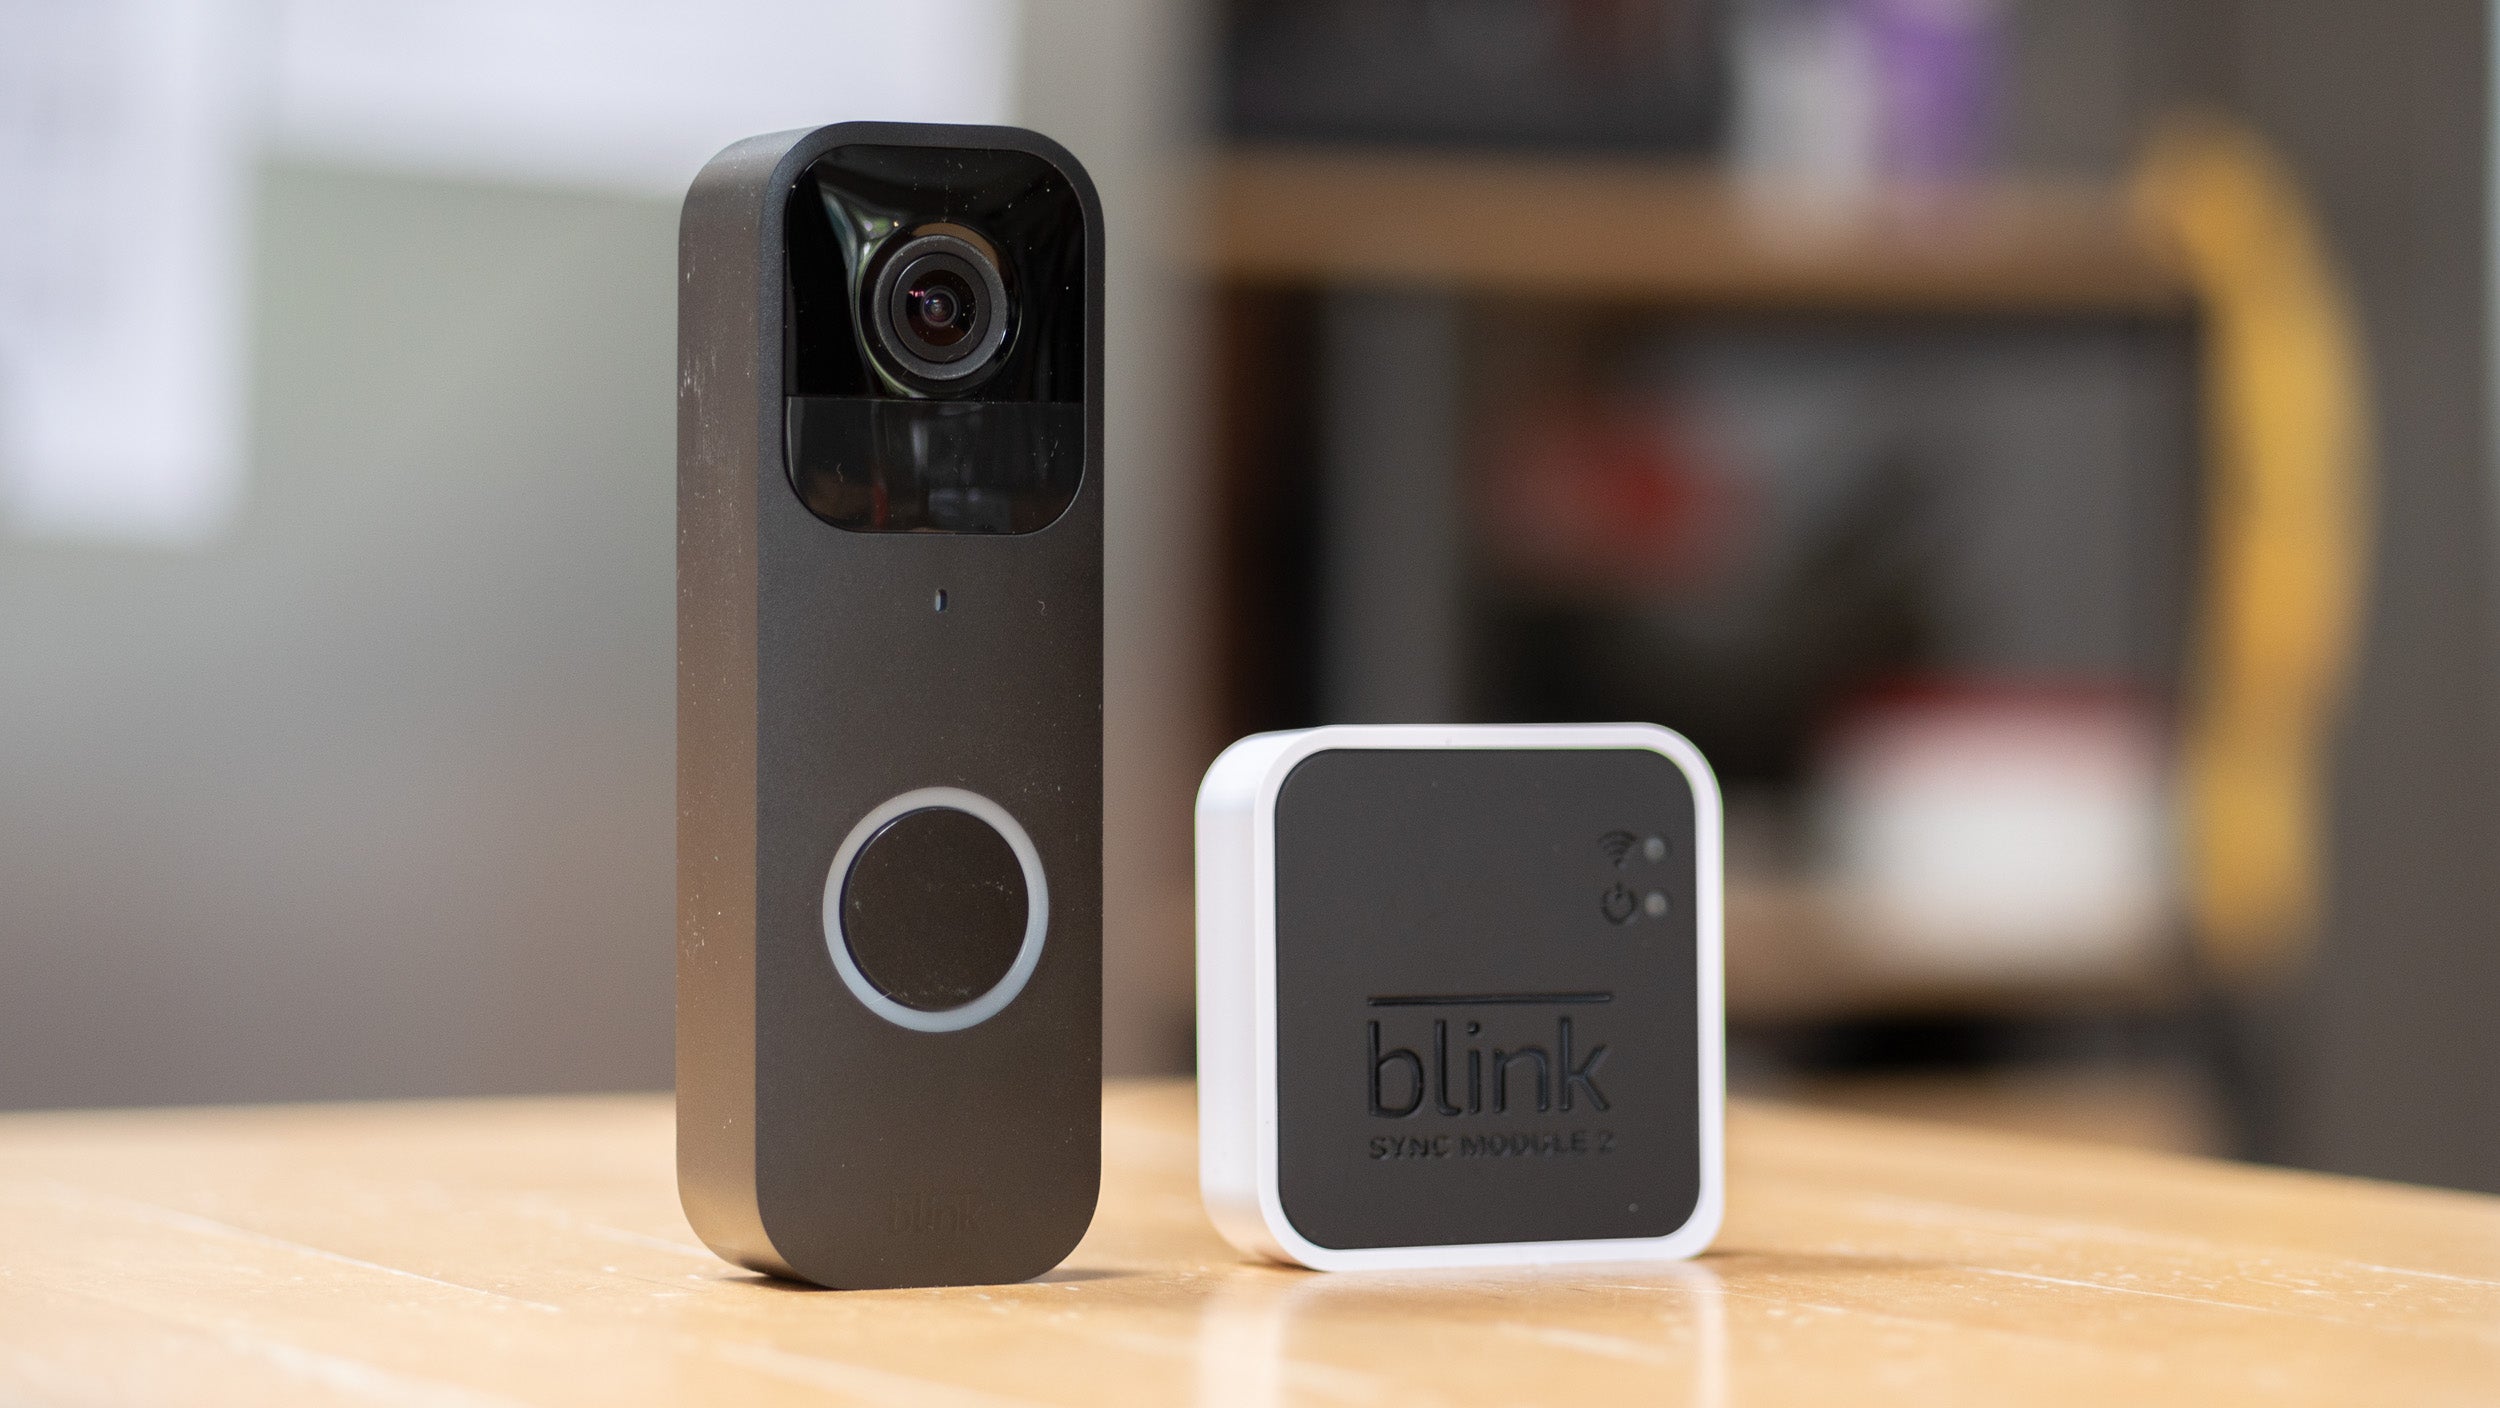
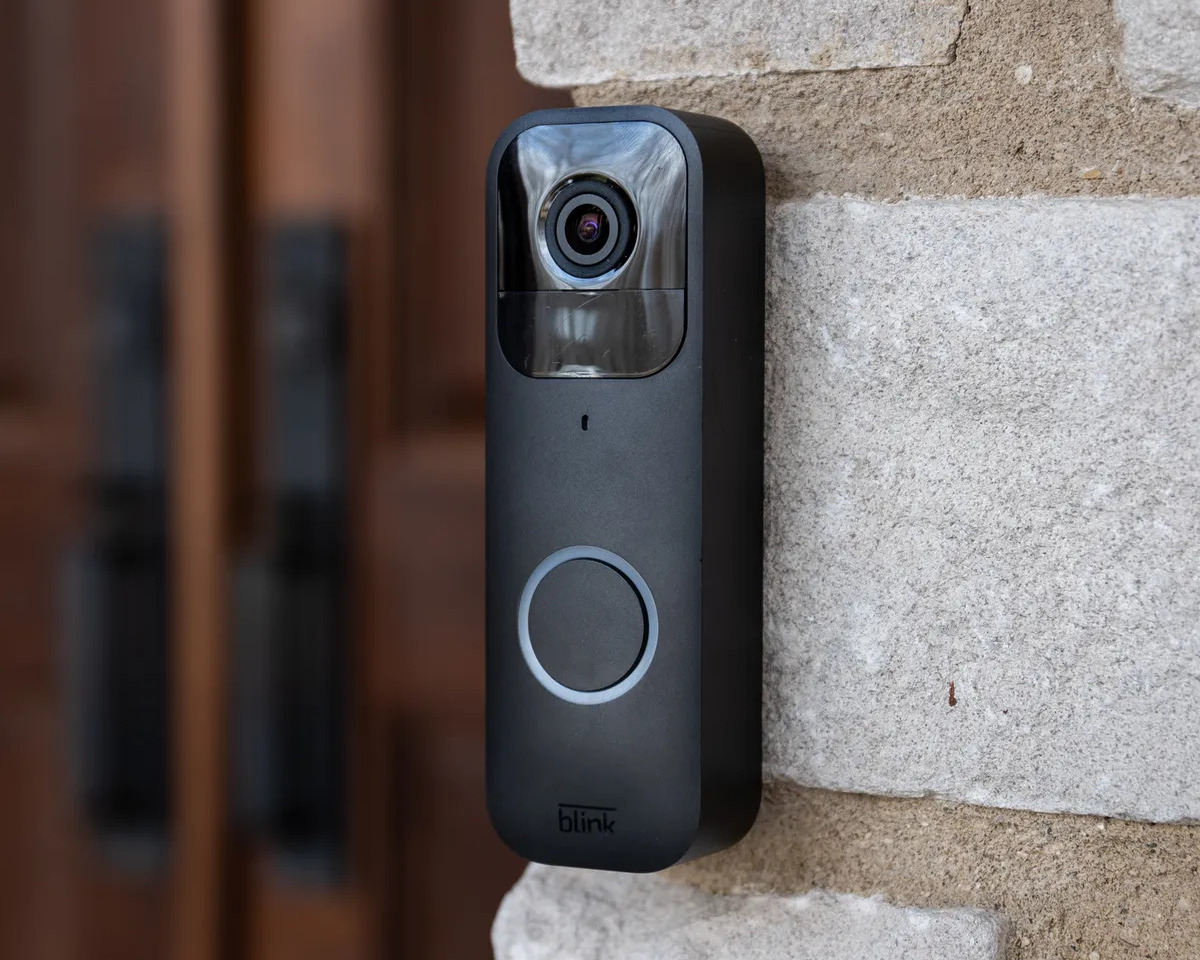
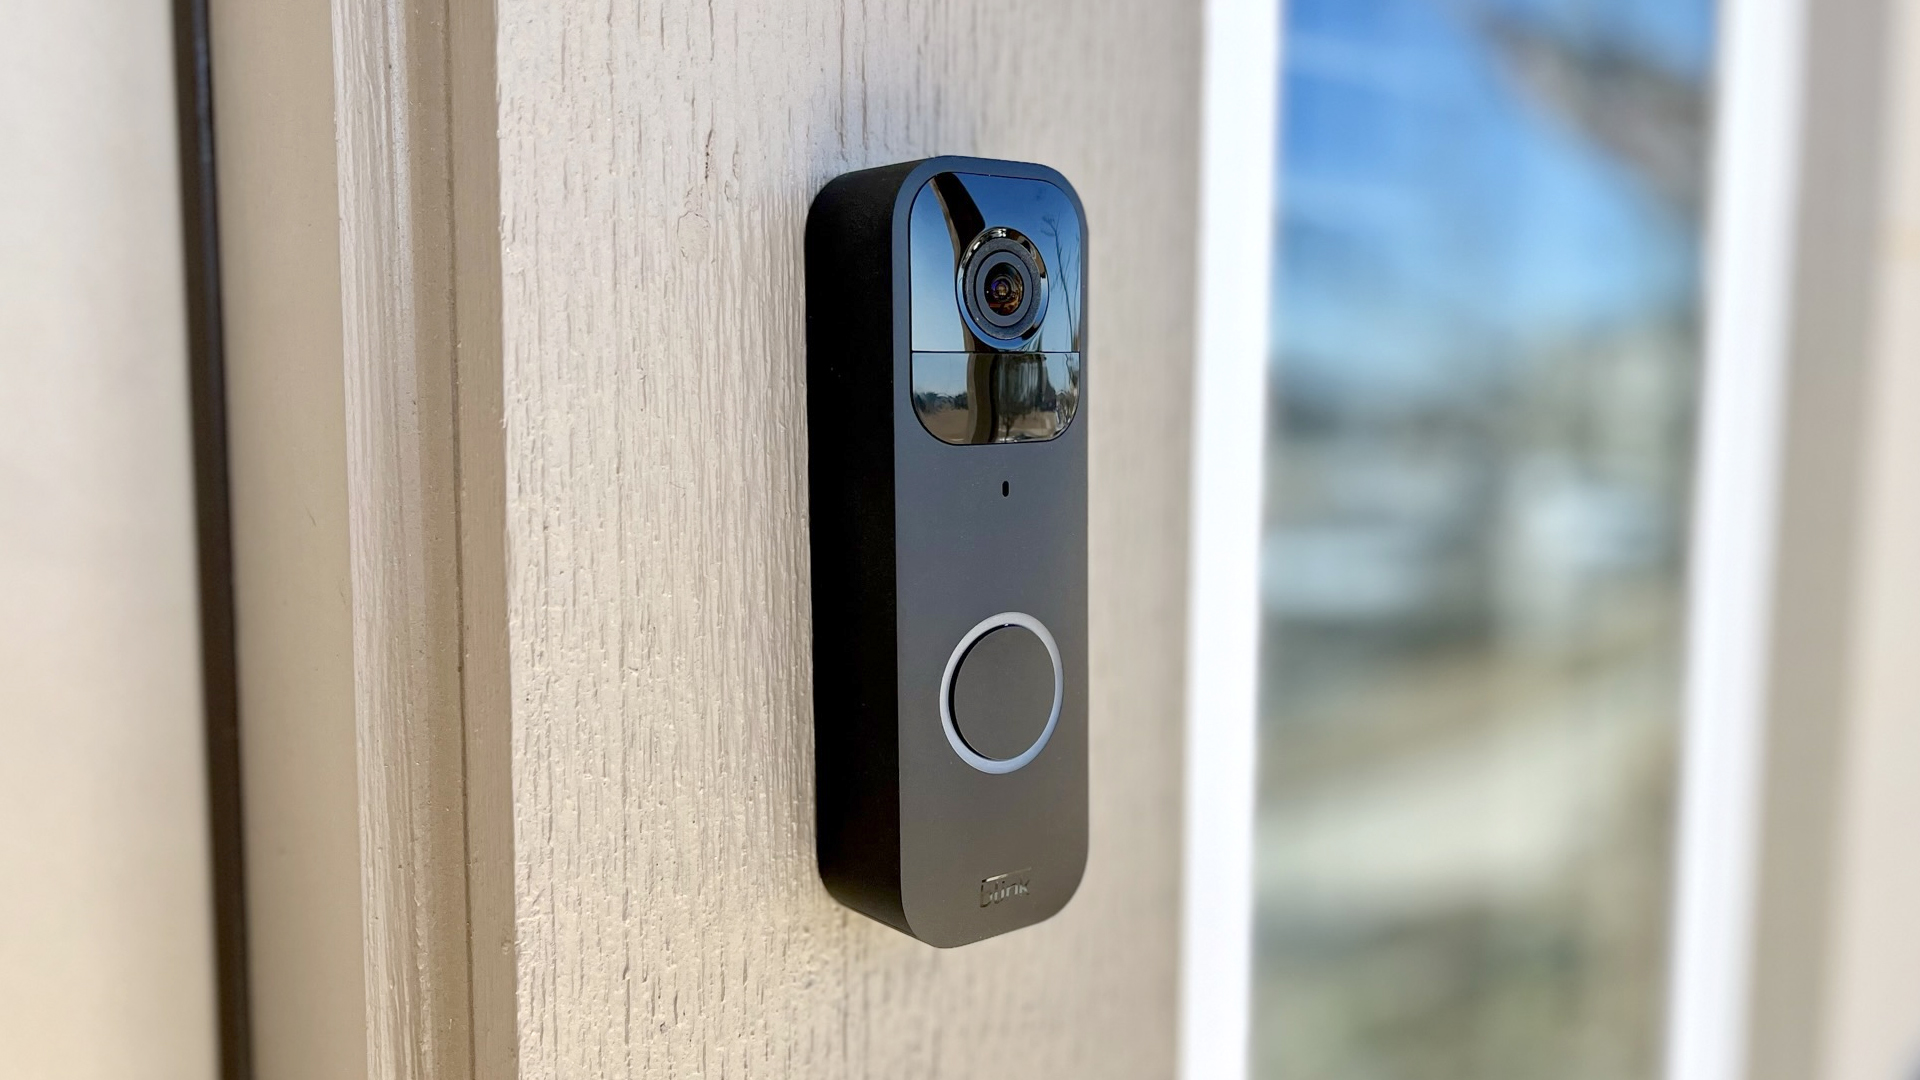
Welcome to the world of Blink Video, a fantastic home security system that allows you to monitor your surroundings with ease. With its motion detection, HD video recording, and convenient wireless setup, Blink Video offers peace of mind to homeowners and renters alike.
However, one aspect that users have questioned is the video storage options available. By default, Blink Video offers free cloud storage for up to two hours of recorded footage. But what if you want to store your videos for a longer duration without having to subscribe to a monthly plan?
In this article, we will explore various methods to store Blink Video without a subscription. We’ll showcase options such as local storage using a USB device, cloud storage through third-party services, and network-attached storage (NAS) devices. By the end, you’ll have a better understanding of how to maximize your video storage capacity while keeping costs at a minimum.
Key Takeaways:
- When storing Blink Video without a subscription, consider local storage using a USB device for cost-effectiveness and quick home access. However, be mindful of limitations such as storage capacity constraints and vulnerability to loss or damage.
- Exploring cloud storage through third-party services offers expanded capacity and remote access, but be aware of ongoing costs and data privacy considerations. Network-attached storage (NAS) devices provide advanced storage options with large capacities and centralized access, but require technical setup and come with higher upfront costs.
Read more: How To Install Blink Doorbell Without Screws
Understanding Blink Video Storage
Before we dive into the different storage options, let’s first understand how Blink Video handles storage and how it impacts your video recordings.
By default, Blink Video offers free cloud storage for up to two hours of recorded footage. This means that any videos captured by your Blink cameras will be stored in the cloud for a maximum of two hours. After that, the videos will be automatically deleted to make room for new recordings.
However, with a subscription plan, you can extend the storage duration and enjoy additional features such as unlimited video storage, advanced video filtering, and more. But if you’re looking to store your Blink videos without a subscription, there are alternative methods available.
Keep in mind that storing videos locally or through third-party services may have limitations, including storage capacity constraints and potential risks of data loss or unauthorized access. It’s essential to weigh the pros and cons of each method before deciding which option suits your needs best.
Now that you understand the basics of how Blink Video handles storage let’s explore the different methods you can use to store your Blink videos without subscribing to a monthly plan.
Options for Storing Blink Video Without a Subscription
If you’re not keen on subscribing to a monthly plan for extended video storage, there are several alternative methods available. Let’s take a closer look at three popular options:
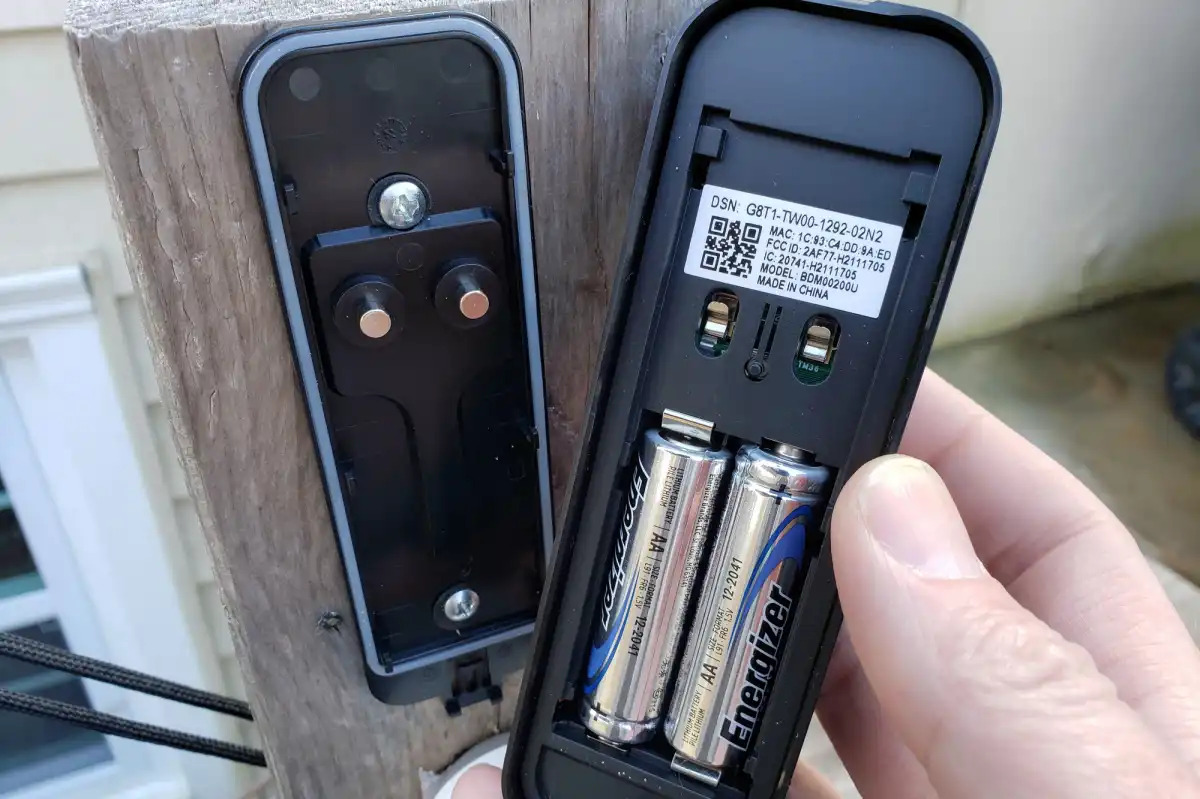
- Method 1: Local storage using a USB device: With this method, you can connect a USB device, such as a flash drive or external hard drive, to your Blink Sync Module. The Blink app allows you to specify the USB device as the storage location for your videos. This way, your Blink cameras will save the recorded footage directly to the USB device instead of the cloud. Keep in mind that the USB device needs to be compatible with the Blink Sync Module and have sufficient storage capacity.
- Method 2: Cloud storage through third-party services: There are third-party cloud storage services available that can integrate with your Blink Video system. These services typically provide more storage options and longer retention periods compared to Blink’s default cloud storage. Examples of popular cloud storage providers include Dropbox, Google Drive, and Amazon S3. By connecting your Blink account to one of these services, you can configure your Blink cameras to upload the video recordings directly to the third-party cloud storage.
- Method 3: Network-attached storage (NAS) devices: If you’re looking for a more advanced storage solution, consider using a network-attached storage (NAS) device. A NAS device is a dedicated storage system that connects to your home network and provides centralized storage for your Blink videos. With a NAS, you can enjoy large storage capacities and the ability to easily access and manage your video recordings. You can configure your Blink cameras to save the videos directly to the NAS instead of the cloud. Popular NAS options include Synology, QNAP, and Western Digital My Cloud.
Each of these methods has its own advantages and considerations, such as cost, storage capacity, ease of use, and data security. It’s important to weigh these factors and choose the option that best fits your needs and preferences.
In the next sections, we will dive into each method in more detail, outlining the steps involved, the pros and cons, and any additional recommendations for optimizing your video storage capacity.
Method 1: Local Storage Using a USB Device
If you prefer keeping your Blink video footage stored locally, using a USB device is a convenient option. Here’s a step-by-step guide on how to set it up:
- Connect the USB device: Start by plugging a compatible USB device, such as a flash drive or external hard drive, into the USB port of your Blink Sync Module. Make sure the device has sufficient storage capacity to accommodate your video recordings.
- Access the Blink app: Launch the Blink app on your smartphone or tablet and navigate to the settings for your Blink camera system.
- Configure storage settings: In the settings menu, look for the “Storage” or “Local Storage” option. Select this option and choose the connected USB device as the storage location for your Blink videos.
- Adjust recording settings: You may also have the option to adjust the recording duration and quality settings within the Blink app. Experiment with different settings to find the right balance between video quality and storage capacity.
- Monitor storage capacity: Keep an eye on the storage capacity of your USB device to ensure you have sufficient space for your recordings. You may need to periodically delete old videos or replace the USB device with one that has larger capacity.
While local storage using a USB device provides a convenient and cost-effective solution, it is important to consider some potential limitations:
- Limited storage capacity: USB devices typically have a finite storage capacity. If your Blink cameras capture a large volume of video recordings, you may need to regularly manage the storage by deleting older videos or using larger USB devices.
- Physical storage location: With local storage, your videos are physically stored on the USB device. This means that if the device is damaged, lost, or stolen, your videos may be permanently lost. Consider keeping a backup of your video recordings in case of any unforeseen incidents.
- No remote access: Unlike cloud storage, which allows you to access your videos from anywhere with an internet connection, local storage limits access to the physical location where the USB device is connected. You will need to physically retrieve the device or connect to your local network to access the stored videos.
Despite these limitations, local storage using a USB device provides a viable option for storing your Blink video footage without relying on a subscription plan. It offers more control over your data and eliminates ongoing subscription costs. Choose this method if you prefer having your videos readily accessible at home and are diligent about managing storage capacity.
Method 2: Cloud Storage through Third-Party Services
If you prefer the convenience and accessibility of cloud storage but want more flexibility than Blink’s default cloud storage offers, consider utilizing third-party services. By integrating your Blink Video system with popular cloud storage providers such as Dropbox, Google Drive, or Amazon S3, you can expand your storage options and retain your Blink video recordings for a longer duration. Here’s how to set it up:
- Create an account: If you don’t already have an account with a cloud storage provider, sign up for one that suits your needs. Popular options include Dropbox, Google Drive, and Amazon S3.
- Establish the integration: Access the Blink app on your smartphone or tablet and navigate to the settings for your Blink camera system.
- Configure the integration: Look for the “Integrations” or “Cloud Storage” option in the settings menu. Select this option and follow the prompts to link your Blink account with your chosen cloud storage provider.
- Select storage location and retention period: Once the integration is established, choose the location within your cloud storage where you want the Blink videos to be saved. You may also have the option to specify the retention period, allowing you to store your videos for a longer duration.
- Monitor storage usage: Keep an eye on your cloud storage usage to ensure you have sufficient space for your Blink video recordings. Depending on your chosen cloud storage provider, you may need to upgrade to a higher storage tier if you reach the storage limit.
Using third-party cloud storage providers offers several advantages:
- Expanded storage capacity: Third-party cloud storage services typically offer larger storage capacities than Blink’s default cloud storage. This allows you to retain your video recordings for a longer duration without worrying about running out of space.
- Remote access and sharing: Cloud storage provides the convenience of remote access to your Blink video recordings from anywhere with an internet connection. You can also easily share specific videos with others, such as family members or law enforcement, if the need arises.
- Added security and redundancy: Well-established cloud storage providers often have robust security measures in place to protect your data. Additionally, they may offer redundancy features that ensure your videos are safely stored and backed up.
However, there are a few considerations to keep in mind when using third-party cloud storage:
- Ongoing costs: While many cloud storage providers offer free storage options up to a certain limit, it’s important to be aware that costs may apply if you exceed that limit or require additional features. Evaluate the pricing plans of your chosen provider to ensure they align with your budget.
- Data privacy: When storing your Blink videos on a third-party cloud storage service, be mindful of the privacy policies and terms of service of the provider. Familiarize yourself with how they handle your data and ensure it aligns with your privacy preferences.
- Reliance on internet connectivity: Cloud storage requires a stable internet connection to upload, access, and manage your Blink video recordings. Take this into consideration if you have limited or unreliable internet connectivity in your area.
Using cloud storage through third-party services is a flexible and accessible option for expanding your Blink video storage capabilities. It offers the convenience of remote access, larger storage capacities, and added security. Choose this method if you value the flexibility of cloud storage and are willing to manage potential ongoing costs.
Method 3: Network-Attached Storage (NAS) Devices
If you’re looking for a more advanced and comprehensive storage solution for your Blink video recordings, utilizing a network-attached storage (NAS) device is an excellent option. NAS devices provide centralized storage that is easily accessible across your home network. Here’s a step-by-step guide on how to set it up:
- Purchase a NAS device: Research and purchase a NAS device that meets your storage needs and fits within your budget. Popular NAS brands include Synology, QNAP, and Western Digital My Cloud.
- Set up the NAS: Follow the manufacturer’s instructions to set up the NAS device and connect it to your home network. This typically involves connecting the NAS device to your router using an Ethernet cable.
- Install necessary software or apps: Depending on the NAS device you choose, you may need to install specific software or apps provided by the manufacturer. These software tools will enable you to configure and manage your NAS device.
- Configure storage settings: Access the software or app for your NAS device and navigate to the storage settings. Configure the storage location to be used for your Blink video recordings.
- Integrate with Blink Video: Open the Blink app on your smartphone or tablet and navigate to the settings for your Blink camera system.
- Link Blink with the NAS: Look for the “Integrations” or “Cloud Storage” option in the Blink app settings. Select this option and follow the prompts to link your Blink account with the NAS device on your network.
Using a NAS device for Blink video storage offers several advantages:
- Large storage capacity: NAS devices typically come with multiple drive bays, allowing for substantial storage capacities. This ensures you have enough space to store your Blink video recordings without worrying about running out of storage.
- Centralized and accessible storage: A NAS device provides centralized storage accessible across your home network. This means you can easily access your Blink videos from any device connected to your network, such as smartphones, tablets, and computers.
- Data redundancy and security: Many NAS devices offer built-in redundancy options, such as RAID configurations, to protect your data from drive failure. Additionally, you have control over the security measures implemented on your NAS device, ensuring the safety of your Blink video recordings.
However, there are a few considerations to keep in mind when using NAS devices:
- Cost: NAS devices can be more expensive upfront compared to other storage options. Consider the cost of the device itself, as well as the additional cost of hard drives required for storage capacity.
- Technical setup: Setting up a NAS device may require advanced technical knowledge. If you are not comfortable with network configuration and software installation, you may need to seek assistance.
- Power consumption and noise: NAS devices are typically always powered on, which can result in higher electricity usage compared to other storage options. Additionally, some NAS devices can generate noise due to the fans used for cooling.
If you are willing to invest in a more comprehensive storage solution and have the technical expertise, utilizing a NAS device for Blink video storage provides unparalleled flexibility and control. It offers large storage capacities, centralized access, and additional redundancy and security measures. Consider this method if you prioritize scalability, accessibility, and data protection.
Consider using a microSD card to store Blink video without a subscription. Simply insert the card into the Blink camera and set it to record to the card in the app settings.
Pros and Cons of Each Storage Method
When it comes to storing Blink video without a subscription, there are different methods to consider. Let’s take a closer look at the pros and cons of each storage method to help you make an informed decision.
Local Storage using a USB device
- Pros:
- Cost-effective: No ongoing subscription fees, as you are utilizing your own USB device.
- Quick access: Videos are readily accessible at home, without relying on an internet connection.
- Physical control: You have direct control over the storage device and can easily manage and back up your videos.
- Cons:
- Limited storage capacity: USB devices have finite storage capacity, potentially requiring regular management or upgrades.
- Vulnerability to loss or damage: If the USB device is lost, damaged, or stolen, your videos may be permanently lost.
- No remote access: You can only access the videos when you are physically near the USB device or connected to your home network.
Cloud Storage through Third-Party Services
- Pros:
- Expanded storage capacity: Third-party cloud storage providers offer larger storage capacities than Blink’s default cloud storage.
- Remote access and sharing: Access your videos from anywhere with an internet connection and easily share them with others.
- Added security and redundancy: Well-established providers have robust security measures and redundancy features to protect your data.
- Cons:
- Ongoing costs: Free storage options may have limitations, and exceeding storage limits could result in additional charges.
- Data privacy: Ensure that the provider’s privacy policies align with your preferences and concerns about data handling.
- Reliance on internet connectivity: Cloud storage requires a stable internet connection for uploading, accessing, and managing your videos.
Read more: How To Store Blink Clips On Usb
Network-Attached Storage (NAS) Devices
- Pros:
- Large storage capacity: NAS devices generally provide substantial storage capacities for your Blink video recordings.
- Centralized and accessible storage: Easily access your videos from any device connected to your home network.
- Data redundancy and security: NAS devices offer built-in redundancy options and allow you to control the security measures implemented on the device.
- Cons:
- Cost: NAS devices can be more expensive upfront, considering the device itself and additional hard drive costs.
- Technical setup: Setting up a NAS device may require advanced technical knowledge.
- Power consumption and noise: NAS devices are typically always powered on and can generate noise due to cooling fans.
Consider your specific requirements, budget, and technical abilities when evaluating these storage options. Weigh the pros and cons to determine which method aligns best with your needs for storing Blink video without a subscription.
Tips for Optimizing Video Storage Capacity
When storing Blink videos without a subscription, it’s important to optimize your video storage capacity to make the most of the available space. Here are some tips to help you efficiently manage your video storage:
- Adjust video recording settings: Within the Blink app, experiment with different video quality and duration settings. Lowering the video quality or reducing the duration of recordings can help conserve storage space. However, be mindful of maintaining video quality that is still useful for your surveillance needs.
- Set up motion detection zones: Use the motion detection zone feature within the Blink app to specify areas where you want the camera to detect motion. By reducing unnecessary motion detection in areas with frequent activity, you can minimize the number of recordings and save storage space.
- Delete unnecessary recordings: Regularly review and delete old or irrelevant video recordings. This will free up storage space and ensure that you have room for new recordings. Consider setting a schedule or reminder to regularly review and delete unnecessary footage.
- Utilize video clip trimming: Use video clip trimming features available in the Blink app or third-party video editing software to remove unnecessary segments from your video recordings. By trimming out non-essential portions, you can reduce the file size and save storage space.
- Consider event-based recording: If your Blink camera offers event-based recording, enable this feature. Event-based recording means that the camera will only record when it detects motion or other predefined events, minimizing the amount of continuous recording and conserving storage space.
- Regularly monitor storage capacity: Keep an eye on your storage capacity to avoid running out of space. Regularly check the storage levels within the Blink app, on the USB device, or in your cloud storage provider’s dashboard. This will allow you to take necessary actions, such as deleting old recordings or expanding storage capacity if needed.
- Consider automation and scheduling: Some NAS devices or third-party software may offer automation and scheduling options. Explore these features to automate tasks such as video deletion or backup to ensure efficient management of your Blink video recordings.
- Backup important recordings: Regardless of the storage method you choose, consider creating backups of important video recordings. This can be done by transferring videos to a separate storage device or utilizing cloud storage for backup purposes. Having duplicates of crucial recordings provides an extra layer of protection against data loss.
By implementing these tips, you can optimize your video storage capacity for your Blink video recordings. Remember to regularly review and manage your storage to ensure that you have enough space for new recordings and maintain the necessary footage for your surveillance needs.
Conclusion
Choosing the right storage method for your Blink Video recordings without a subscription is essential to ensure the safety and accessibility of your valuable footage. By considering the pros and cons of each storage option, you can make an informed decision based on your specific needs and preferences.
If you value cost-effectiveness and quick home access, local storage using a USB device is a practical choice. It eliminates ongoing subscription fees and provides you with physical control over your video recordings. However, keep in mind the limitations associated with storage capacity, vulnerability to loss or damage, and the lack of remote access.
For those seeking the convenience of cloud storage with expanded capacity, third-party cloud storage services offer accessible remote access, larger storage capacities, and added security and redundancy features. However, ongoing costs and data privacy considerations should be taken into account.
If scalability, centralized access, and data protection are your priorities, network-attached storage (NAS) devices offer advanced storage options. They provide large storage capacities, centralized access across your home network, and data redundancy features, giving you peace of mind. However, NAS devices are more expensive than other options and require technical setup.
Regardless of the storage method you choose, optimizing your video storage capacity is crucial. Adjusting video recording settings, utilizing motion detection zones, regularly deleting unnecessary recordings, and considering event-based recording are essential strategies to make the most of your available storage space.
Remember to monitor your storage capacity, automate tasks where possible, and consider backing up important recordings for added data protection. By implementing these tips, you can efficiently manage your Blink Video storage and ensure that your important footage is preserved.
In conclusion, each storage method has its merits and considerations, depending on your individual needs. Evaluate the pros and cons, determine your storage requirements, and select the method that best aligns with your priorities for storing Blink Video without a subscription. With the right storage solution in place, you can enjoy extended storage durations and peace of mind knowing that your valuable video recordings are safely stored.
Excited about making your living space smarter and more intuitive? Our next feature on smart home technology is a must-read. You'll find a detailed guide on the 12 best home automation systems set to transform homes in 2024. Whether you're looking to streamline your daily tasks or enhance security at home, this article has all the insights you need to make informed decisions. Dive into a world where convenience meets modern technology and discover systems that fit perfectly with your lifestyle.
Frequently Asked Questions about How To Store Blink Video Without Subscription
Was this page helpful?
At Storables.com, we guarantee accurate and reliable information. Our content, validated by Expert Board Contributors, is crafted following stringent Editorial Policies. We're committed to providing you with well-researched, expert-backed insights for all your informational needs.


0 thoughts on “How To Store Blink Video Without Subscription”