

Articles
How To Store Chocolate Covered Strawberries
Modified: February 24, 2024
Learn the best way to store your delicious chocolate covered strawberries with our helpful articles. Keep them fresh and tasty for longer!
(Many of the links in this article redirect to a specific reviewed product. Your purchase of these products through affiliate links helps to generate commission for Storables.com, at no extra cost. Learn more)
Introduction
Chocolate covered strawberries are a delicious and indulgent treat that can be enjoyed on special occasions or as a sweet treat any time of the year. These mouthwatering treats combine the natural sweetness of strawberries with the rich and creamy taste of chocolate. Whether you are making them for a romantic date night, a festive gathering, or simply because you have a craving, it’s essential to know how to store chocolate covered strawberries properly to keep them fresh and delicious.
In this article, we will guide you through the process of selecting the right strawberries, preparing them for dipping, melting the chocolate, decorating the strawberries, and finally, storing them to maintain their freshness.
So, whether you’re a seasoned chef or a novice in the kitchen, follow these steps to create perfect chocolate covered strawberries that will impress your friends and family.
Key Takeaways:
- Choose fresh, ripe, and medium-sized strawberries for the best chocolate-covered treats. Properly prepare and store them to maintain their deliciousness and impress your loved ones with your homemade indulgence.
- Create visually appealing and flavorful chocolate-covered strawberries by melting chocolate with care and getting creative with decorations. Store them in the refrigerator and enjoy within 2-3 days for the best taste and texture.
Step 1: Choosing the Right Strawberries
The key to making delicious chocolate covered strawberries starts with selecting the right strawberries. Here are some tips to help you make the best choice:
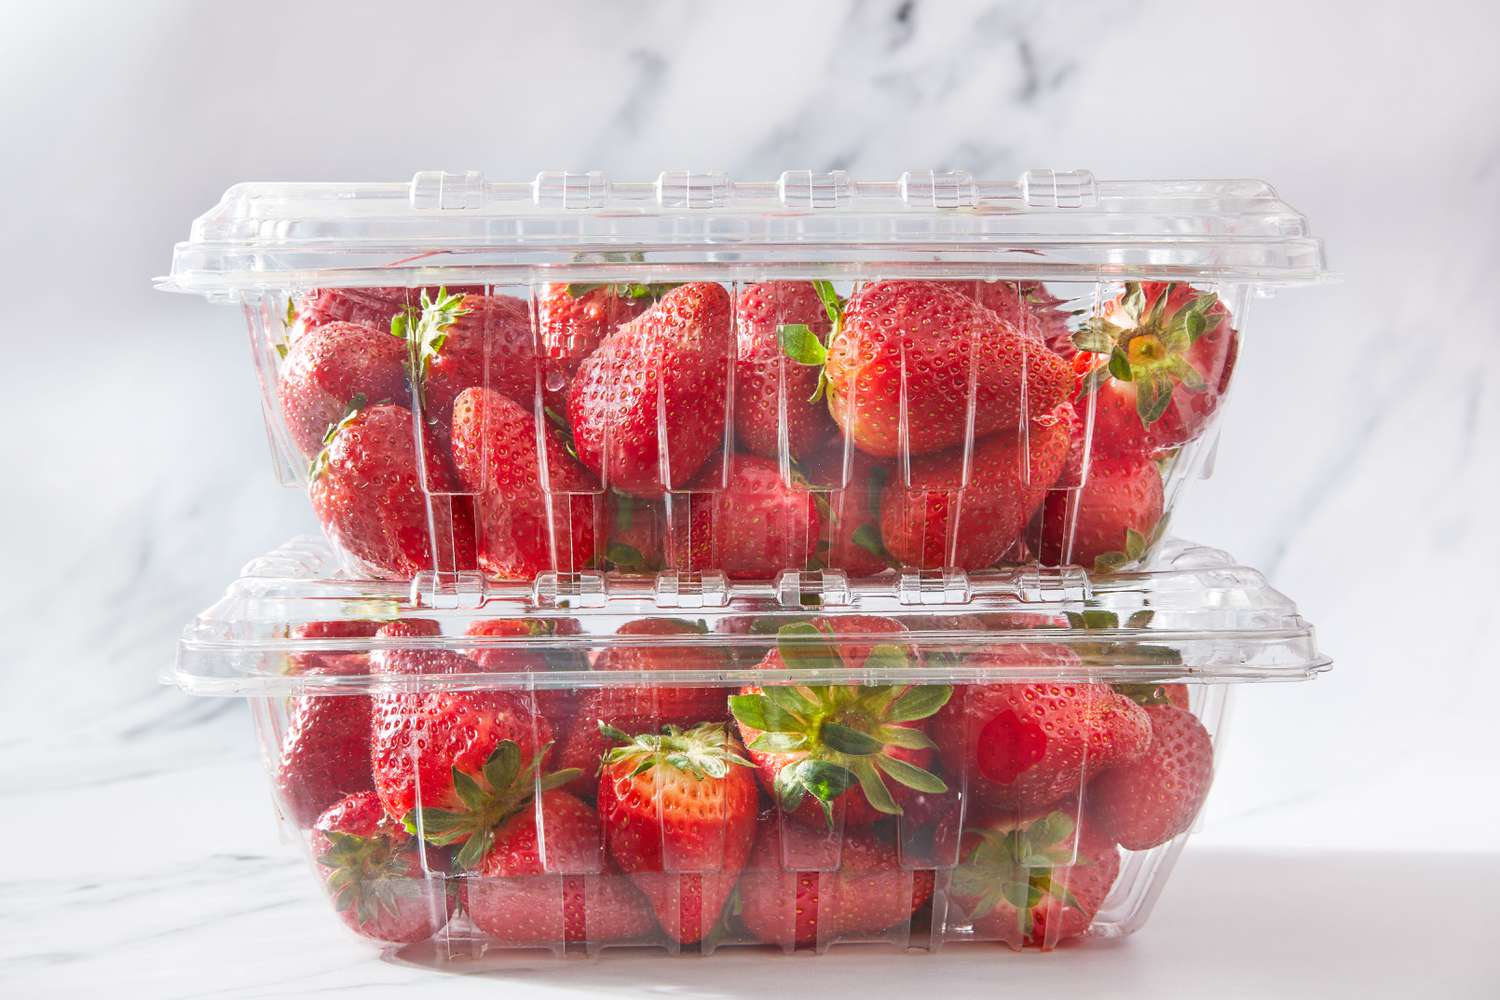
- Opt for Fresh Strawberries: Look for strawberries that are fresh, firm, and plump. Avoid ones that are mushy or have any signs of mold or discoloration.
- Check for Ripeness: Choose strawberries that are fully ripe but not overly mushy. They should be bright red in color and have a sweet aroma.
- Go for Medium-Sized Berries: While you can certainly use larger or smaller strawberries, medium-sized ones work best for chocolate dipping. They provide a good balance of sweetness and chocolate-to-fruit ratio.
- Consider the Shape: Look for strawberries that have a symmetrical shape, without any squished or misshapen areas. This will make them easier to dip and handle.
- Opt for Organic or Locally Grown: If possible, choose organic strawberries or ones that are locally sourced. They tend to have a better flavor and texture compared to commercially grown varieties.
Remember, choosing the right strawberries is crucial, as it sets the foundation for creating the perfect chocolate covered strawberries. Take your time to select the freshest and most flavorful ones available.
Step 2: Preparing the Strawberries
Once you have chosen the right strawberries, it’s time to prepare them for dipping in chocolate. Follow these steps to ensure that your strawberries are clean and ready:
- Wash the Strawberries: Rinse the strawberries under cool running water to remove any dirt or debris. Gently pat them dry with a clean kitchen towel or paper towel.
- Remove the Leaves: Hold each strawberry by the stem and twist off the green leaves. You can also use a small knife or strawberry huller to remove the leaves.
- Make Sure the Strawberries Are Dry: It’s crucial to ensure that the strawberries are completely dry before dipping them in chocolate. Any moisture can cause the chocolate to seize or become grainy. Place the washed strawberries on a clean kitchen towel or paper towel and allow them to air dry for a few minutes.
By properly preparing the strawberries, you’ll create a clean and appealing base for the delicious chocolate coating. Once your strawberries are clean and dry, you’re ready to move on to the next step of the process: melting the chocolate.
Step 3: Melting the Chocolate
Now that your strawberries are prepped and ready, it’s time to melt the chocolate. Follow these steps for perfectly melted chocolate:
- Choose High-Quality Chocolate: Select high-quality chocolate for the best results. You can use either milk chocolate, dark chocolate, or white chocolate, depending on your preference.
- Break the Chocolate Into Pieces: Break the chocolate into small, uniform pieces to ensure even melting. This will help prevent lumps and ensure a smooth consistency.
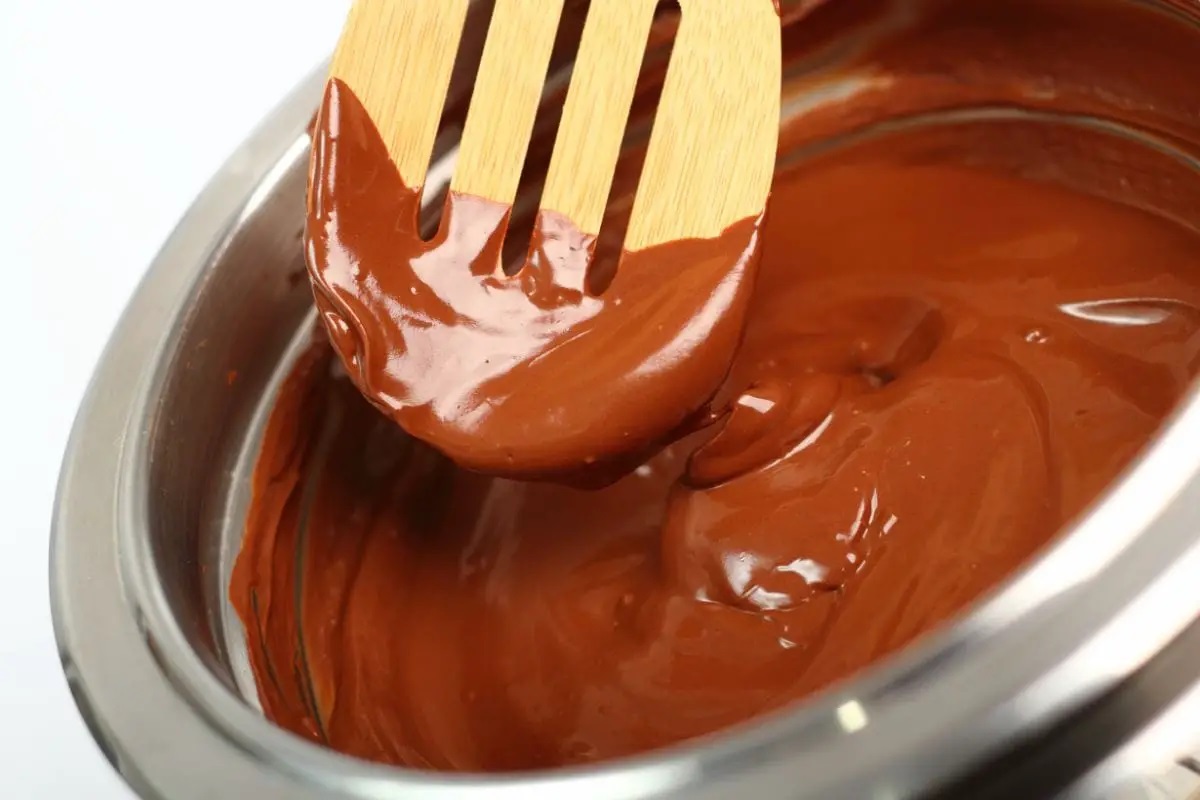
- Use a Double Boiler or Microwave: There are two common methods for melting chocolate. The first is using a double boiler. Fill a saucepan with a few inches of water and place it over low heat. Place a heatproof bowl on top of the saucepan, making sure it does not touch the water. Add the chocolate pieces to the bowl and stir occasionally until melted. Alternatively, you can melt the chocolate in the microwave. Place the chocolate in a microwave-safe bowl and heat it in short bursts of 15-20 seconds, stirring in between each interval, until smooth and melted.
- Be Cautious of Overheating: Chocolate can easily burn or become lumpy if overheated. Avoid using high heat and be patient during the melting process. Stir the chocolate gently to aid in the melting process.
Once your chocolate is melted and smooth, it’s time to move on to the next step: dipping the strawberries into the chocolate.
Store chocolate covered strawberries in the refrigerator on a parchment-lined tray to prevent sticking. Keep them in an airtight container for up to 2 days for the best quality.
Step 4: Dipping the Strawberries
Now that you have perfectly melted chocolate, it’s time to dip the strawberries and coat them in deliciousness. Here’s how:
- Hold the Strawberry by the Stem: Hold each strawberry firmly by the stem, making sure to leave a small portion of the stem intact. This will provide a convenient handle for dipping and give your chocolate-covered strawberries an elegant appearance.
- Dip the Strawberry into the Chocolate: Submerge the strawberry into the melted chocolate, swirling it gently to ensure full coverage. Use a spoon or a skewer to help coat the strawberry evenly, leaving a small portion exposed at the top for an elegant look.
- Allow the Excess Chocolate to Drip Off: Hold the strawberry over the bowl of melted chocolate and gently rotate it to allow any excess chocolate to drip off. This will help prevent clumps and ensure a smooth and even coating.
- Place the Dipped Strawberry on Parchment Paper: Set the dipped strawberry on a baking sheet lined with parchment paper or a silicone baking mat. This will prevent it from sticking and make it easier to remove once the chocolate has hardened.
- Repeat the Process: Continue dipping the remaining strawberries, ensuring that each one is coated in a smooth layer of chocolate.
Remember to work quickly but carefully while dipping the strawberries to prevent the chocolate from hardening. Once all the strawberries are dipped, you can move on to the next step: decorating them!
Step 5: Decorating the Strawberries
Now that your chocolate-covered strawberries are dipped and looking delicious, it’s time to take them to the next level with some decorative touches. Here are some ideas for decorating your strawberries:
- Drizzle with Different Types of Chocolate: Use a different type of melted chocolate, such as white chocolate or dark chocolate, and drizzle it over the dipped strawberries. This will add a visually appealing contrast and an extra layer of flavor.
- Sprinkle with Toppings: Sprinkle your strawberries with various toppings like chopped nuts, shredded coconut, colorful sprinkles, or edible glitter. These toppings will not only enhance the visual appeal but also add different textures and flavors.
- Add a Touch of Color: Use food coloring to tint white chocolate and create vibrant and eye-catching designs on the strawberries. You can create patterns, swirls, or even write messages.
- Pipe Designs with Icing: Use a piping bag or a zip-top bag with a small hole snipped in the corner to pipe designs on the strawberries using melted chocolate or icing. You can create swirls, hearts, or any design that suits the occasion.
- Insert Sticks or Skewers: For an elegant presentation, insert sticks or skewers into the stems of the strawberries. This will make them easier to handle and serve, especially if you plan to display them in a vase or stand.
Get creative with your decorations to make your chocolate-covered strawberries stand out and impress your family and friends. Once you’ve finished decorating, it’s time to store the strawberries properly to maintain their freshness.
Step 6: Storing the Chocolate Covered Strawberries
After you’ve created and decorated your delectable chocolate-covered strawberries, it’s important to store them properly to ensure they stay fresh and maintain their deliciousness. Follow these steps to store your chocolate-covered strawberries:
- Refrigerate Promptly: Place the chocolate-covered strawberries in an airtight container or on a plate covered with plastic wrap. Refrigerate them promptly to prevent the chocolate from melting or becoming soft.
- Avoid Moisture: Moisture can cause the strawberries to become mushy and the chocolate to become grainy. Make sure the container is tightly sealed to prevent condensation from forming inside.
- Keep Separate from Strong Odors: Chocolate easily absorbs odors from other foods. Store your chocolate-covered strawberries away from strong-smelling foods in the refrigerator.
- Enjoy within 2-3 Days: Chocolate-covered strawberries are best enjoyed within 2-3 days of making them. The longer they sit, the more the strawberries may release moisture, causing the chocolate to become soft and lose its texture.
- Bring to Room Temperature before Serving: Before serving, allow the chocolate-covered strawberries to come to room temperature for about 15 minutes. This will enhance their flavor and ensure a creamy texture.
Remember, the quality of the strawberries and the chocolate will affect the shelf life of the chocolate-covered strawberries. It’s best to consume them sooner rather than later for the freshest and most enjoyable experience.
Now that you know how to store your chocolate-covered strawberries properly, you can savor the fruits of your labor whenever you crave a sweet and indulgent treat.
Conclusion
Creating and indulging in chocolate-covered strawberries is a delightful experience that combines the natural sweetness of strawberries with the richness of chocolate. By following the steps outlined in this guide, you can create perfect chocolate-covered strawberries that will impress your loved ones and satisfy your sweet cravings.
Remember to start with fresh and ripe strawberries, carefully prepare them for dipping, and melt your chocolate with patience. The dipping process should be done with precision, and don’t be afraid to get creative with toppings and decoration. Once your strawberries are ready, store them properly in the refrigerator and enjoy them within a few days for the best taste and texture.
Whether you’re making chocolate-covered strawberries for a special occasion, a romantic gesture, or simply to treat yourself, this delicious treat is sure to bring joy and satisfaction. So gather your ingredients, follow the steps in this guide, and savor the experience of creating and enjoying your own homemade chocolate-covered strawberries!
Frequently Asked Questions about How To Store Chocolate Covered Strawberries
Was this page helpful?
At Storables.com, we guarantee accurate and reliable information. Our content, validated by Expert Board Contributors, is crafted following stringent Editorial Policies. We're committed to providing you with well-researched, expert-backed insights for all your informational needs.



0 thoughts on “How To Store Chocolate Covered Strawberries”