Home>Articles>How To Store Chocolate Covered Strawberries Overnight

Articles
How To Store Chocolate Covered Strawberries Overnight
Modified: January 22, 2024
Learn how to store chocolate covered strawberries overnight in our helpful articles. Ensure your delicious treats stay fresh and tasty!
(Many of the links in this article redirect to a specific reviewed product. Your purchase of these products through affiliate links helps to generate commission for Storables.com, at no extra cost. Learn more)
Introduction
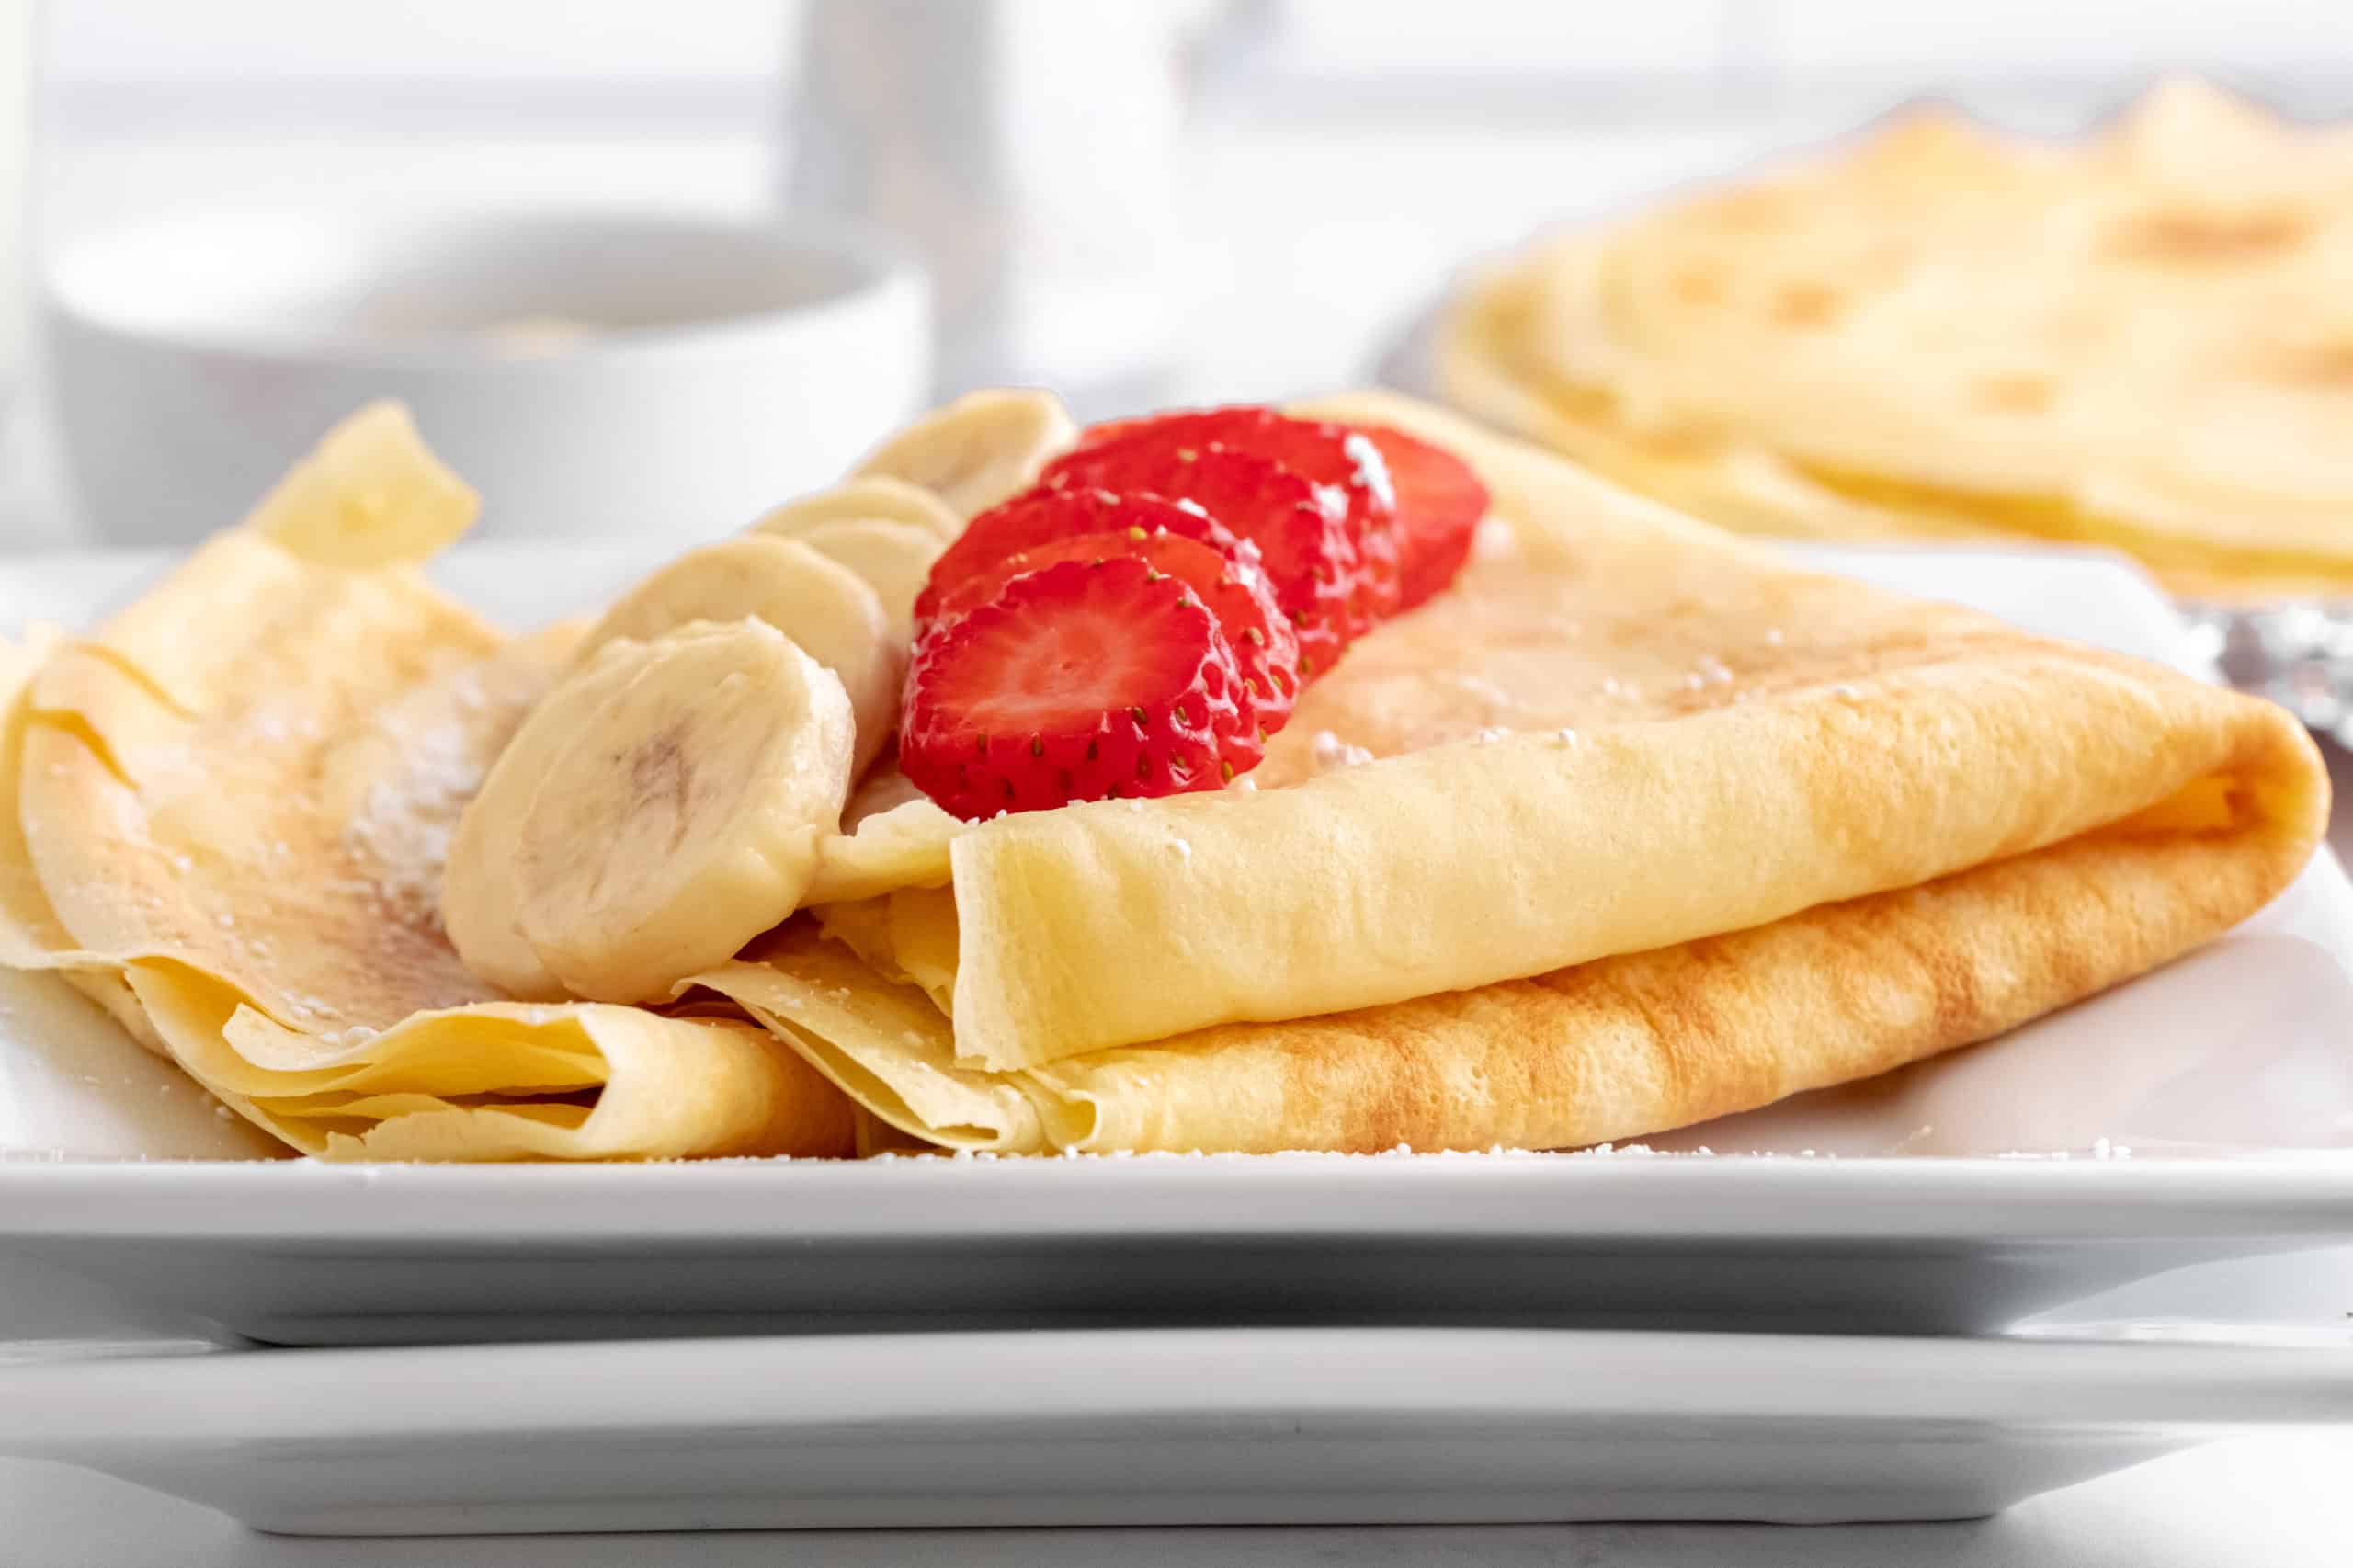
Chocolate covered strawberries are a delicious and elegant treat that can be enjoyed on various occasions, from romantic evenings to festive celebrations. These luscious berries covered in smooth, velvety chocolate are a perfect combination of flavors and textures. They are not only visually appealing but also a delight to the taste buds.
If you’re planning to serve chocolate covered strawberries for a special event or if you simply want to enjoy them over a longer period, it’s important to know how to store them properly. By following a few easy steps, you can keep your chocolate covered strawberries fresh and delicious overnight, ensuring their taste and appearance remain impeccable.
In this article, we will guide you through the process of preparing, dipping, and storing chocolate covered strawberries overnight. With the right techniques and proper storage, you can enjoy the flavors and freshness of these delectable treats for an extended period.
Key Takeaways:
- Enjoy fresh and delicious chocolate covered strawberries by properly preparing, dipping, and storing them overnight. Follow simple steps to ensure a delightful treat for any occasion.
- Keep your chocolate covered strawberries fresh and visually appealing by storing them in an airtight container in the refrigerator. Enjoy within 24-48 hours for the ultimate taste experience.
Read more: How To Store Chocolate Strawberries
Supplies Needed
Before you begin the process of preparing and storing chocolate covered strawberries overnight, it’s essential to ensure that you have all the necessary supplies. Gathering these items in advance will help streamline the process and make it easier to create and store your delicious treats.
Here are the supplies you will need:
- Fresh strawberries: Choose ripe and firm strawberries that are free from blemishes or bruises. Aim for medium-sized berries that will be easy to handle and dip.
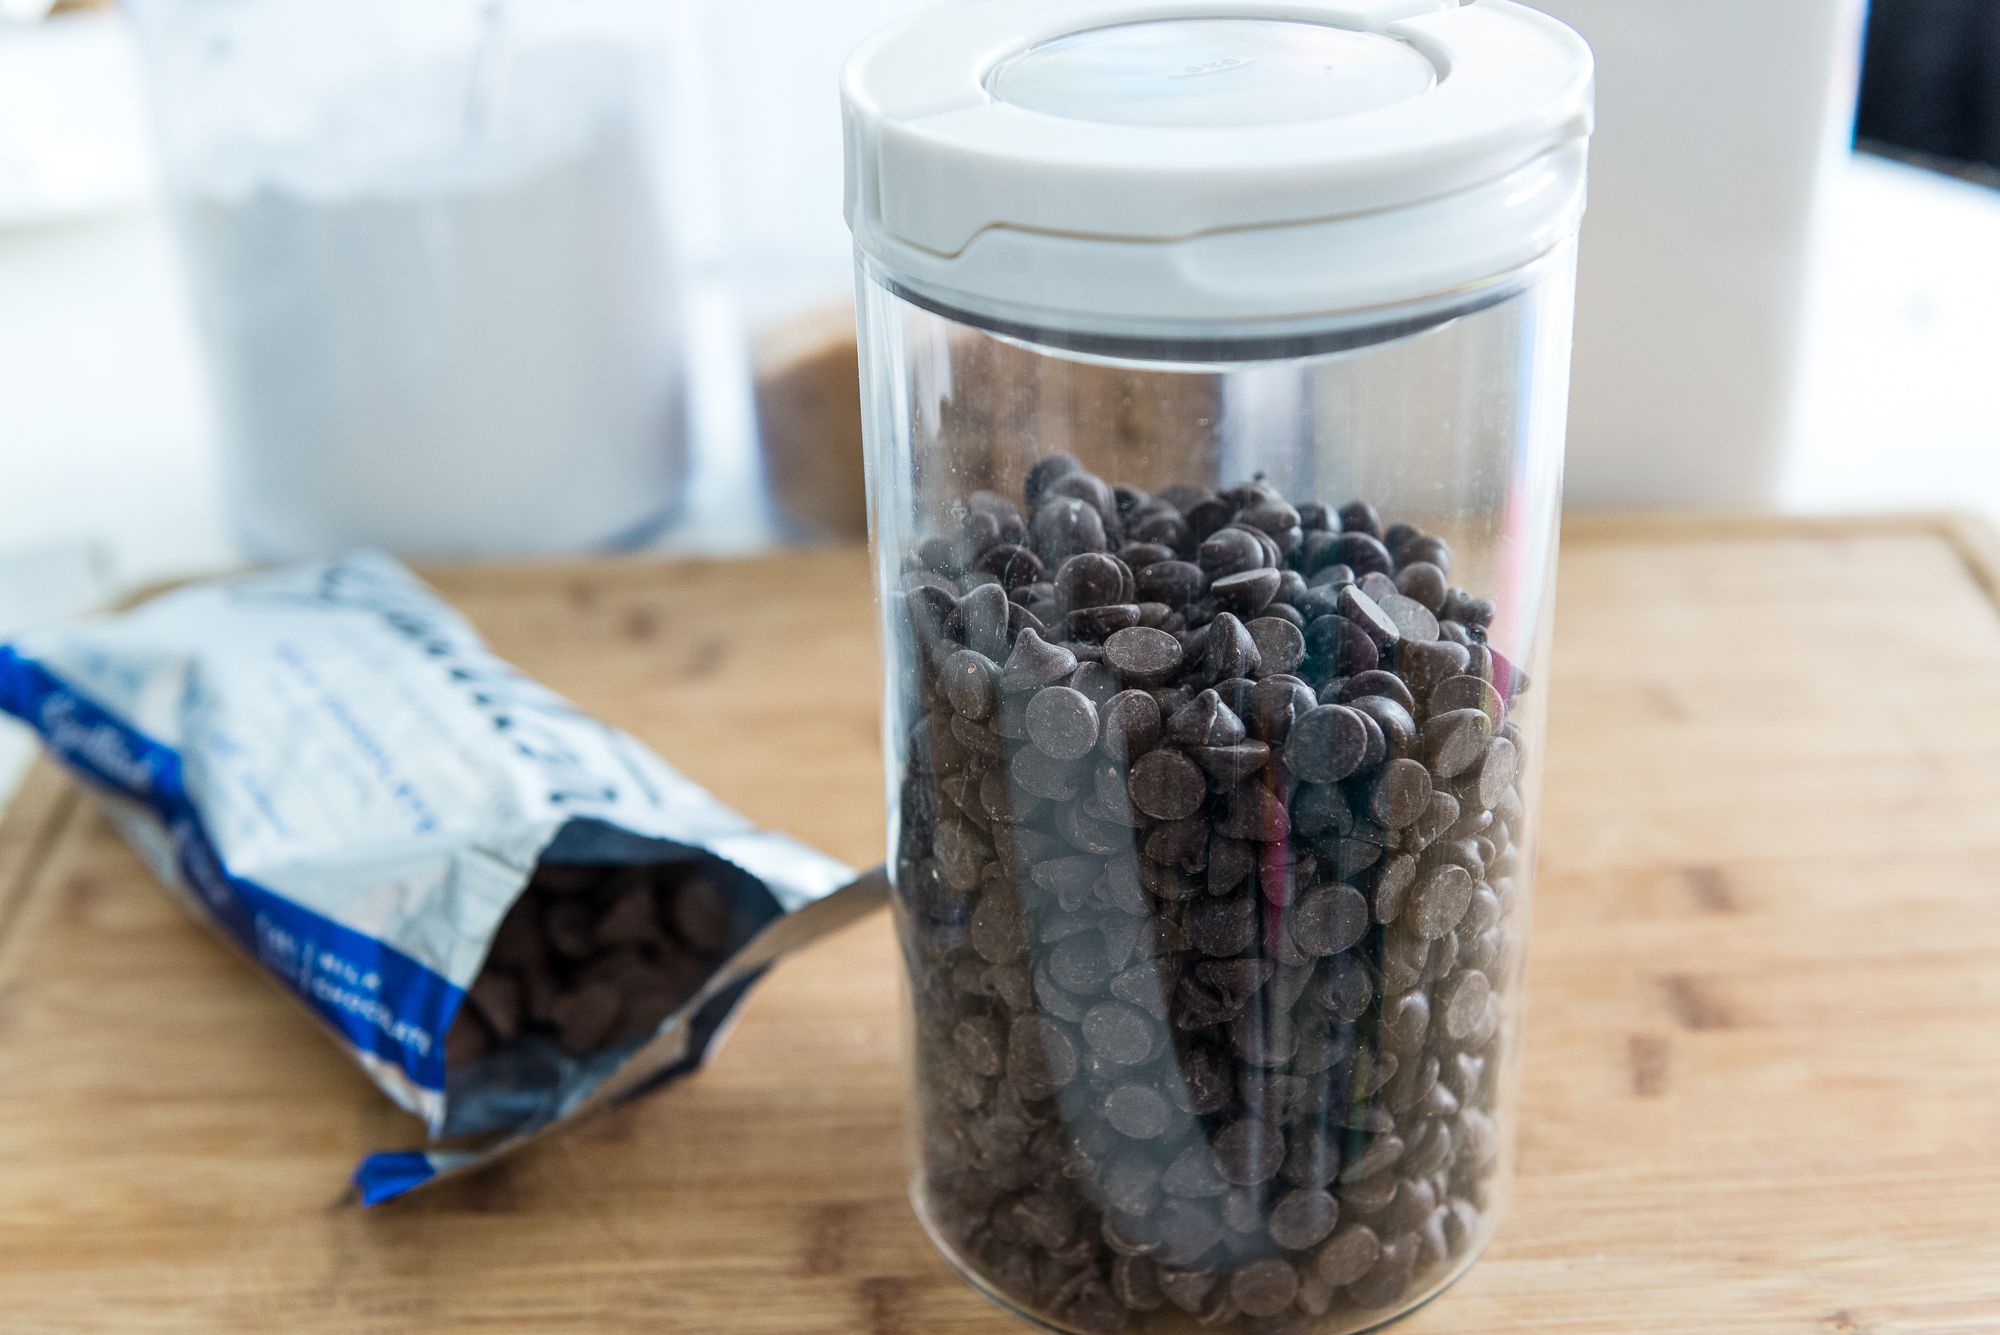
- High-quality chocolate: Opt for good quality chocolate that is specifically formulated for melting and dipping. Dark, milk, or white chocolate can be used based on your preference, but make sure it is of high quality.
- Baking sheet or parchment paper: These will be used to place the chocolate-covered strawberries for setting and storing.
- Microwave or double boiler: You will need a microwave or a double boiler to melt the chocolate. Both methods work well, so choose the one that you are most comfortable with.
- Spatula or tongs: These will be used to handle and dip the strawberries into the melted chocolate.
- Cooling rack (optional): If you have a cooling rack, it can be helpful to place the dipped strawberries on it to allow excess chocolate to drip off.
- Cover or wrap: You will need a cover or wrap, such as plastic wrap or airtight containers, to store the chocolate covered strawberries overnight.
By having these supplies on hand, you will be well-equipped to create and store your chocolate covered strawberries. Now that you have everything ready, let’s move on to the step-by-step process of preparing the strawberries.
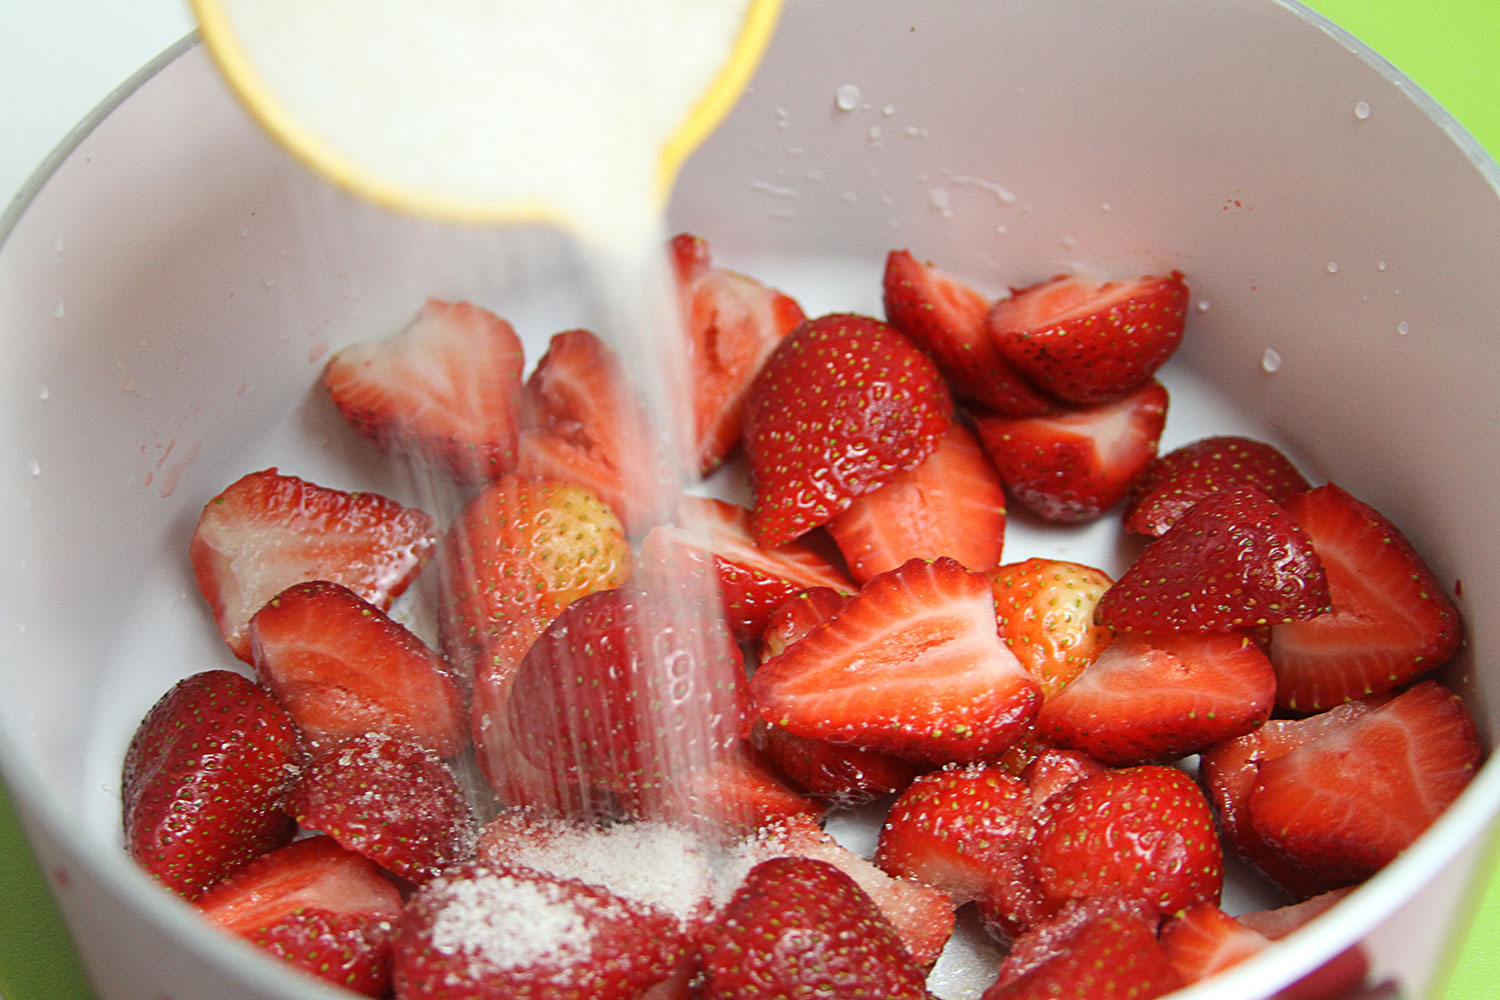
Step 1: Preparing the Strawberries
The first step in creating delicious chocolate covered strawberries is to properly prepare the strawberries themselves. Follow these simple steps to ensure your berries are clean, dry, and ready to be dipped in chocolate:
- Wash the strawberries: Gently rinse the strawberries under cool running water to remove any dirt or debris. Pat them dry with a paper towel or a clean kitchen towel.
- Remove the stems: Hold each strawberry by the stem and delicately twist and pull to remove it. This will create a flat surface for dipping and make the strawberries easier to handle.
- Dry the strawberries: Once the stems are removed, ensure that the strawberries are completely dry. Excess moisture can affect the texture and smoothness of the chocolate coating.
Remember, it’s important to use ripe and firm strawberries that are free from any blemishes or bruises. By following these steps, you will have perfectly prepped strawberries that are ready to be coated in decadent chocolate.
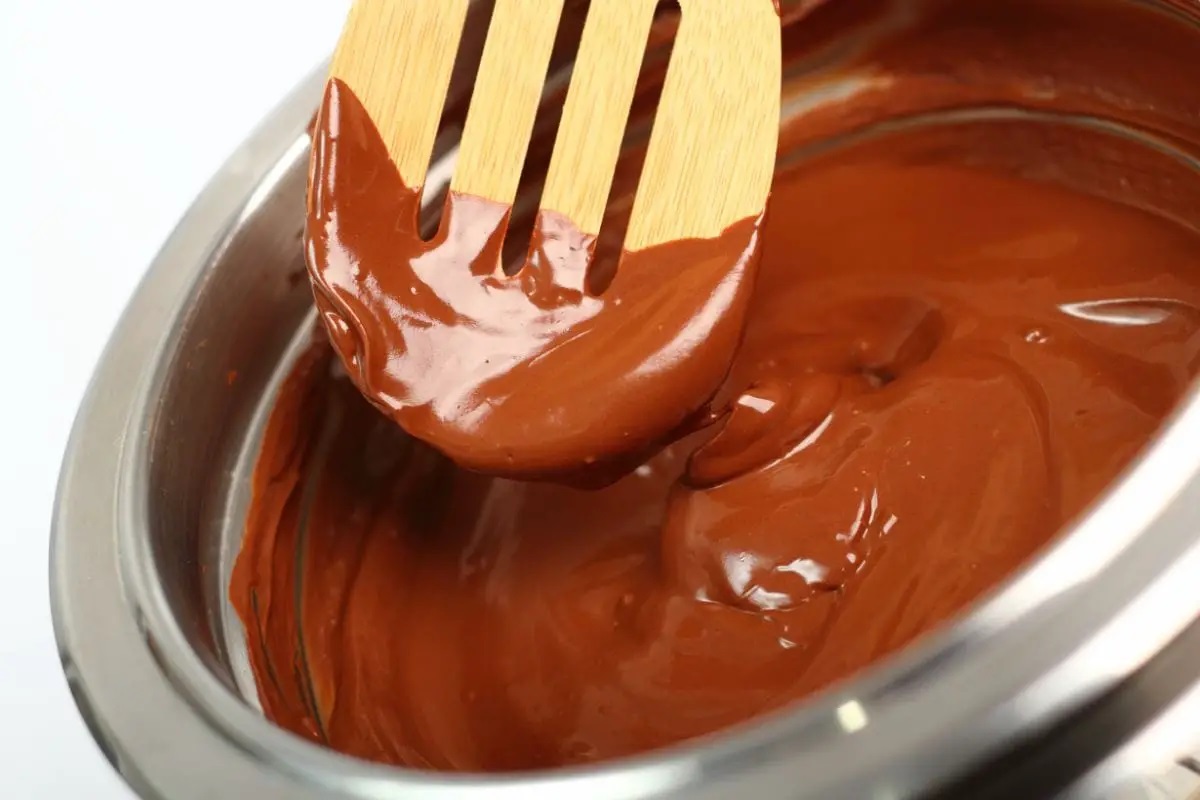
Step 2: Melting the Chocolate
Once the strawberries are prepared, the next step is to melt the chocolate. Properly melted chocolate is key to achieving a smooth and glossy coating on your strawberries. Follow these instructions to melt the chocolate:
- Break the chocolate into small pieces: Use a knife or your hands to break the chocolate into small, uniform pieces. This will ensure even melting.
- Microwave method: Place the chocolate pieces in a microwave-safe bowl. Heat the chocolate in short intervals of 20-30 seconds, stirring well after each interval. Repeat until the chocolate is completely melted and smooth. Be careful not to overheat the chocolate as it can scorch or seize.
- Double boiler method: Fill a small saucepan with water and bring it to a simmer. Place a heatproof bowl on top of the saucepan, ensuring that it doesn’t touch the water. Add the chocolate pieces to the bowl and stir continuously until melted and smooth.
Whether you choose to use the microwave or double boiler method, remember to stir the chocolate well during the melting process to prevent uneven heating. Once the chocolate is melted, you are ready to move on to the next step of dipping the strawberries.
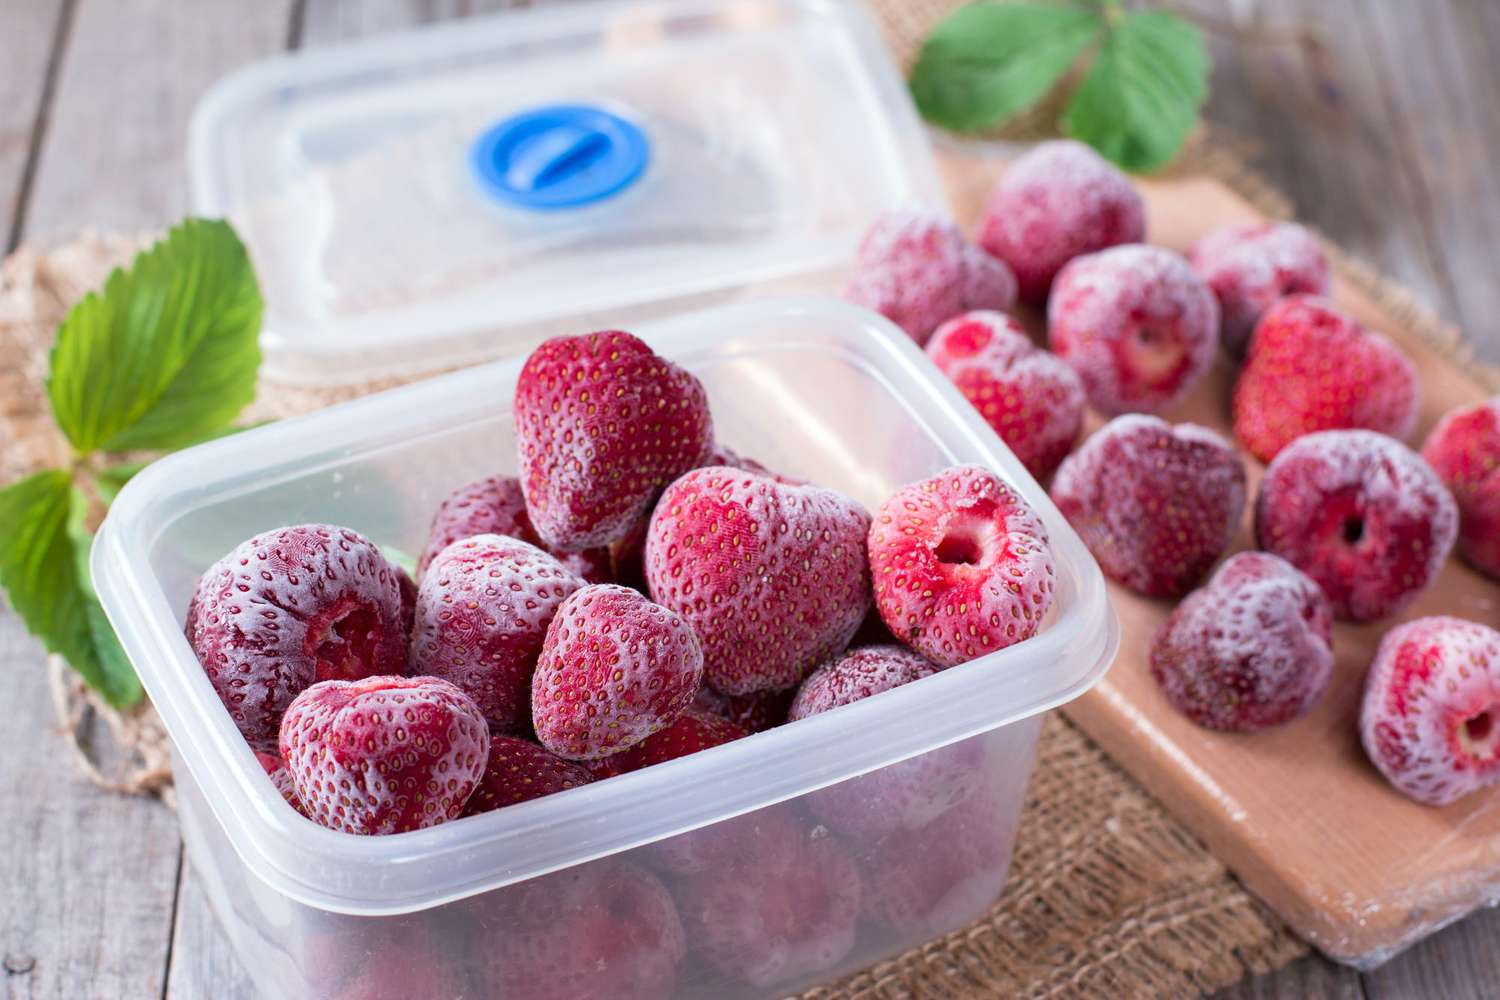
Store chocolate covered strawberries in an airtight container lined with paper towels in the refrigerator. This will help absorb any excess moisture and keep the strawberries fresh overnight.
Step 3: Dipping the Strawberries
Now that your chocolate is perfectly melted, it’s time to dip the prepared strawberries. Dipping the strawberries in the melted chocolate will create a delicious and indulgent coating. Follow these steps to ensure an even and professional-looking finish:
- Hold the strawberry by the stem or use a toothpick: There are two common methods for dipping strawberries. You can either hold the strawberry by the stem, or you can insert a toothpick or skewer into the top of the strawberry for easier dipping and handling.
- Dip the strawberry into the melted chocolate: Gently dip the strawberry into the melted chocolate, ensuring that the entire berry gets coated. Use a swirling motion to evenly distribute the chocolate and allow any excess chocolate to drip off.
- Optional: Use a spatula or spoon to smooth the chocolate: If you’re looking for a neater appearance, you can use a spatula or the back of a spoon to smooth and spread the chocolate evenly over the strawberry.
- Allow excess chocolate to drip off: Before placing the dipped strawberry on a baking sheet or parchment paper, allow any excess chocolate to drip off. This will prevent large pools of chocolate from forming around the strawberry.
Repeat these steps for each strawberry, ensuring that they are evenly coated with a smooth layer of chocolate. Once the strawberries are dipped, it’s time to move on to the next step of allowing the chocolate to set.
Read more: How To Store Cut Strawberries Overnight
Step 4: Allowing the Chocolate to Set
After dipping the strawberries in the melted chocolate, it’s important to allow the chocolate to set before storing them. Allowing the chocolate to properly set will ensure a firm and stable coating on the strawberries. Follow these steps to let the chocolate set:
- Place the dipped strawberries on a baking sheet or parchment paper: Arrange the dipped strawberries on a baking sheet or parchment paper, making sure they are not touching each other. This will prevent them from sticking together as the chocolate sets.
- Optional: Use a cooling rack for excess chocolate to drip off: If you have a cooling rack, you can place the dipped strawberries on it instead of directly on a baking sheet. This will allow any excess chocolate to drip off and promote even drying.
- Place the strawberries in the refrigerator: To speed up the setting process, place the baking sheet or cooling rack with the strawberries in the refrigerator. Leave them for about 30 minutes to 1 hour, or until the chocolate is completely firm and set.
During this time, avoid touching or moving the chocolate covered strawberries to prevent any smudging or damage to the chocolate coating. Once the chocolate is set, you can proceed to the final step of properly storing the chocolate covered strawberries overnight.
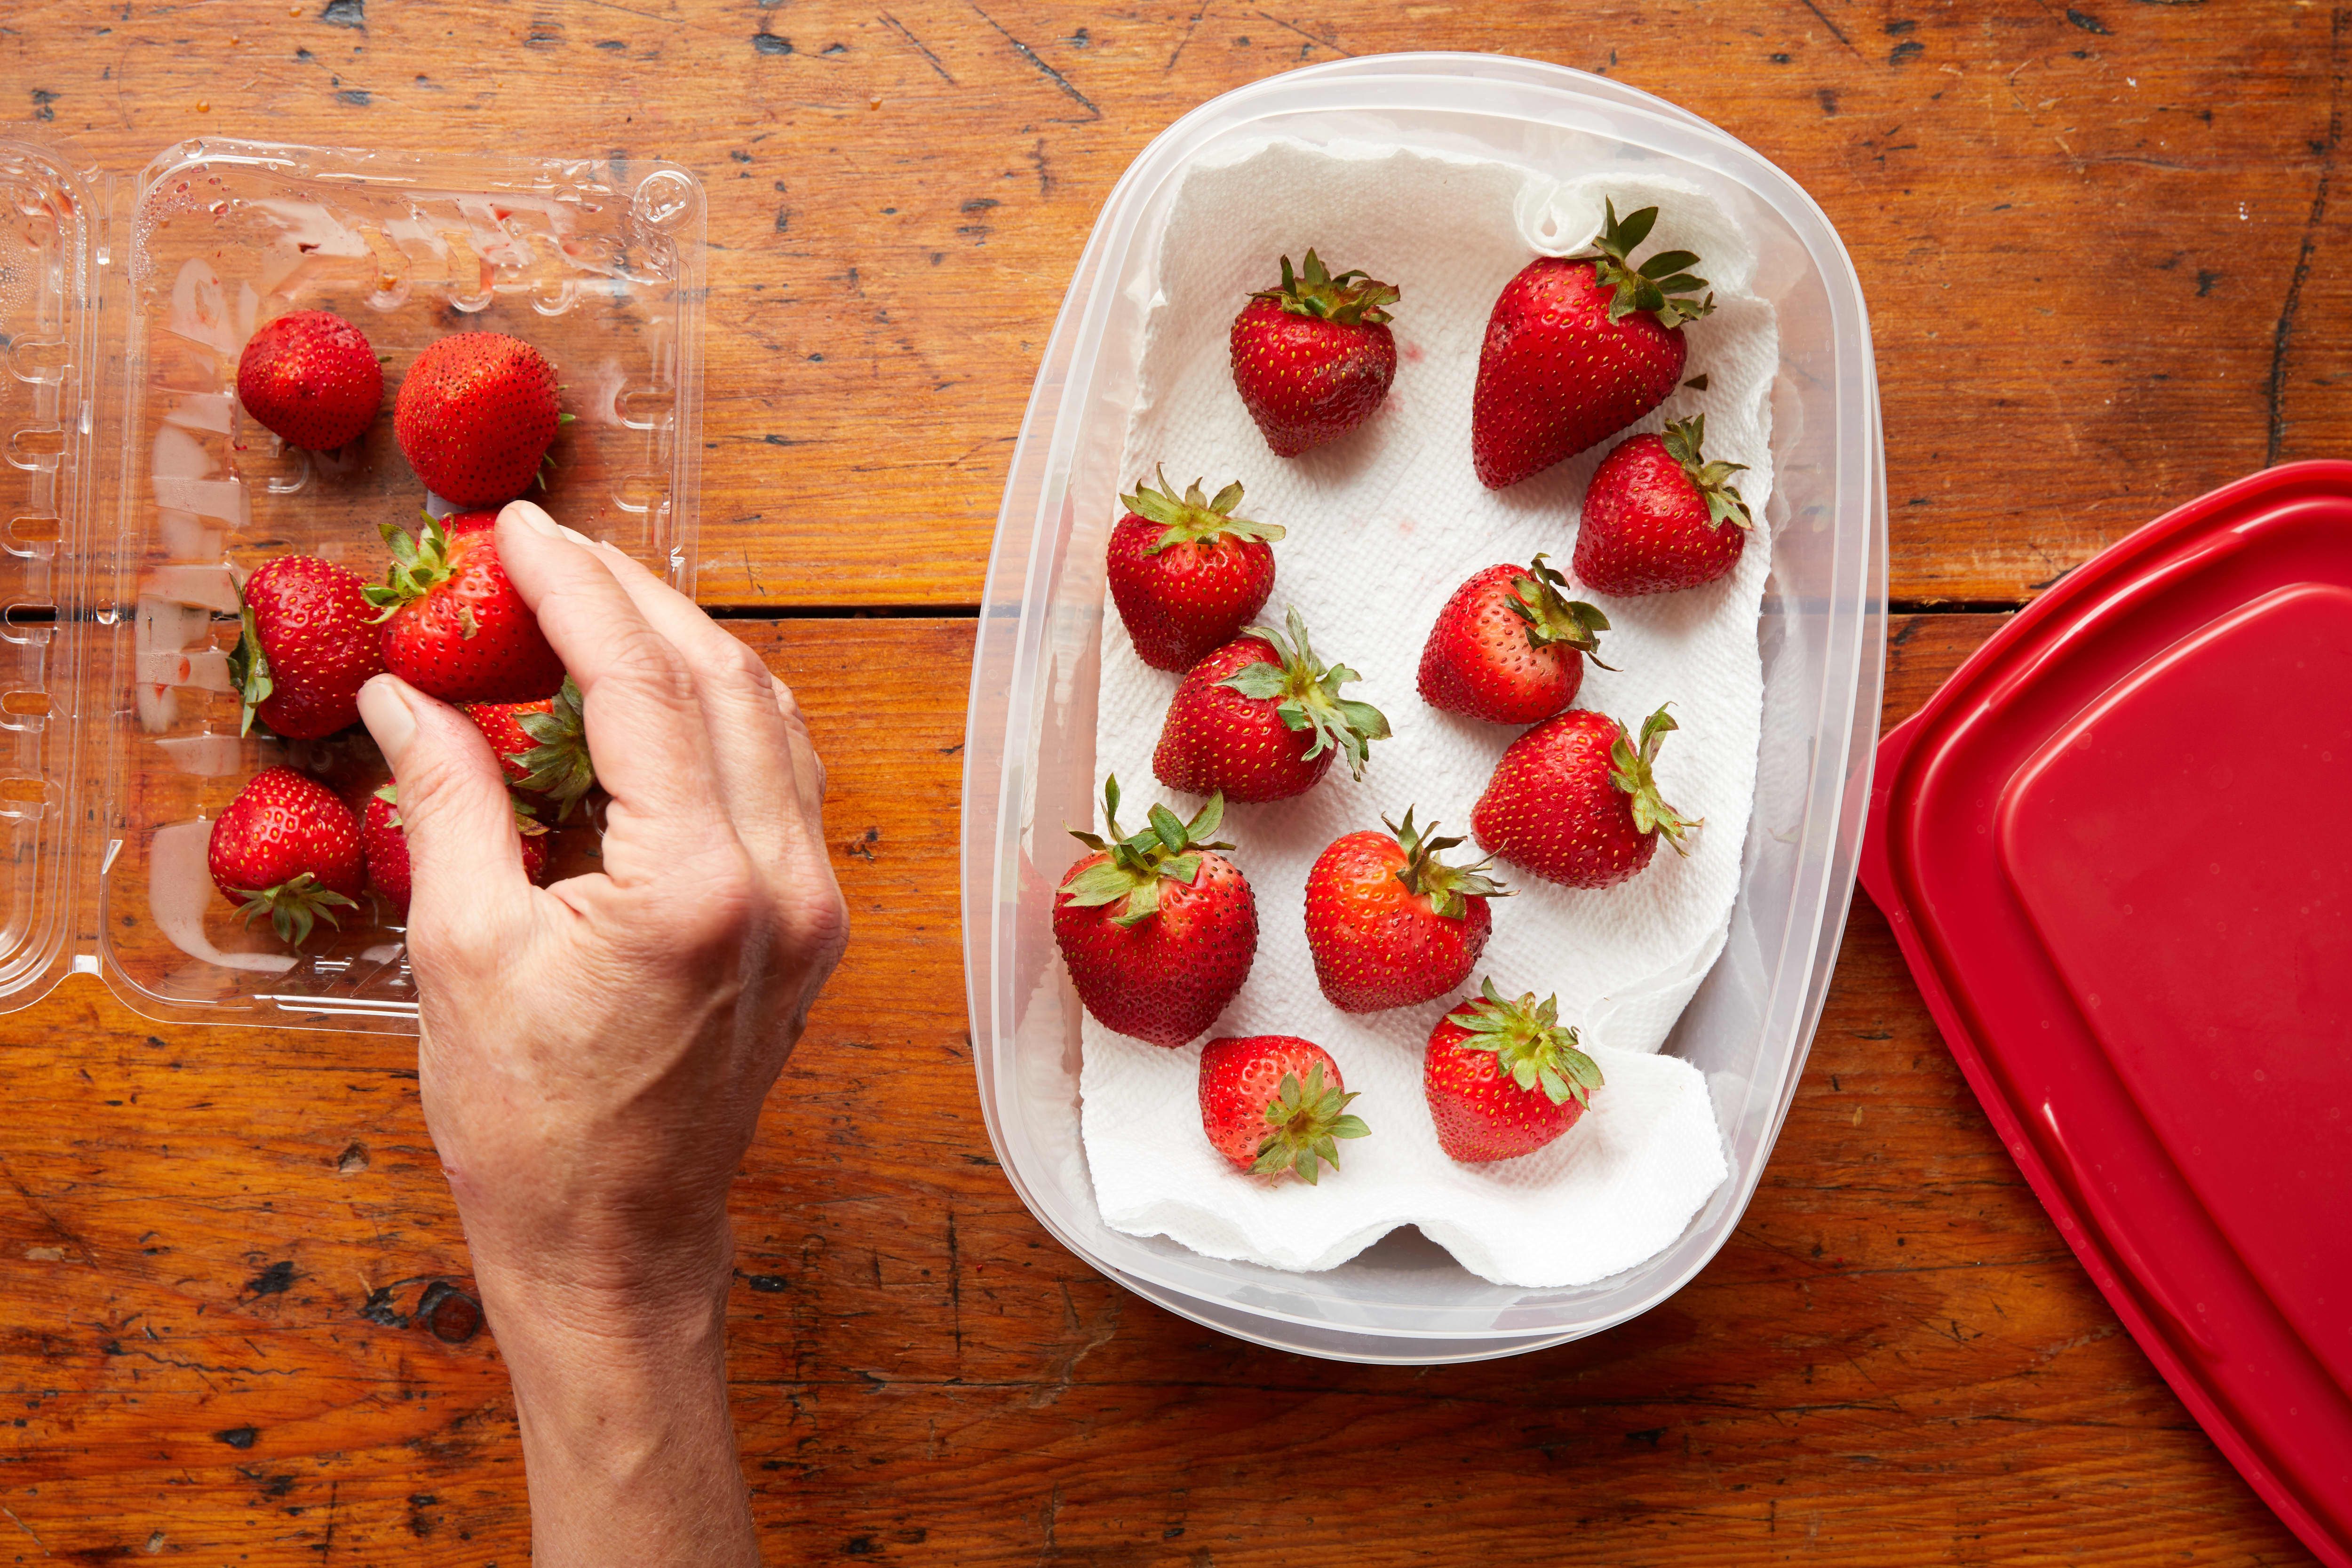
Step 5: Storing the Chocolate Covered Strawberries
Now that your chocolate covered strawberries have been prepared, dipped, and allowed to set, it’s time to store them properly to maintain their freshness and flavor. Follow these steps to store your chocolate covered strawberries overnight:
- Ensure the strawberries are completely dry: Before storing, make sure the strawberries are completely dry. Any moisture can cause the chocolate to become soft and lose its texture.
- Choose an airtight container or cover: Place the chocolate covered strawberries in an airtight container or cover them tightly with plastic wrap. This will help prevent any air exposure and keep the strawberries fresh.
- Refrigerate the strawberries: Store the container of chocolate covered strawberries in the refrigerator. The cool temperature will help maintain the freshness and keep the chocolate from melting or becoming too soft.
- Avoid storing near strong odors: Keep the chocolate covered strawberries away from foods with strong odors, as they can absorb these flavors.
- Enjoy within 24-48 hours: For the best taste and texture, it’s recommended to consume the chocolate covered strawberries within 24-48 hours. The strawberries may start to release moisture and the chocolate may lose its shine after this time period.
Remember, the longer you store the chocolate covered strawberries, the more the quality may deteriorate. It’s always best to enjoy them as soon as possible for the ultimate taste experience.
By following these storage guidelines, you can ensure that your chocolate covered strawberries remain fresh, delicious, and visually appealing overnight. So go ahead and savor the delectable combination of juicy strawberries and rich chocolate whenever you desire!
Conclusion
Creating and storing chocolate covered strawberries overnight doesn’t have to be a daunting task. With a few simple steps, you can enjoy these delightful treats for an extended period without sacrificing their taste or appearance. By following the proper techniques of preparation, dipping, and storage, you can ensure that your chocolate covered strawberries remain fresh, delicious, and tempting.
Starting with ripe and firm strawberries, you can easily prepare them by washing, removing the stems, and drying them thoroughly. Melting the chocolate using either the microwave or double boiler method will provide you with a smooth and velvety coating for your strawberries. Carefully dipping each strawberry and allowing excess chocolate to drip off ensures an even and professional finish.
Once the chocolate is set, it’s crucial to store the chocolate covered strawberries properly. Placing them in an airtight container or covering them with plastic wrap will help maintain their freshness. Storing them in the refrigerator, away from strong odors, will also ensure that the chocolate stays firm and the strawberries retain their juiciness.
Remember that chocolate covered strawberries are best enjoyed within 24-48 hours, as the strawberries may release moisture and the chocolate’s shine may diminish over time. So make sure to savor these delectable treats sooner rather than later.
Whether you’re preparing chocolate covered strawberries for a special occasion or simply indulging in a sweet treat, knowing how to store them overnight can help you enjoy their flavors and presentation to the fullest. So go ahead, dive into the world of chocolate-covered bliss and delight your taste buds with these irresistible treats!
Frequently Asked Questions about How To Store Chocolate Covered Strawberries Overnight
Was this page helpful?
At Storables.com, we guarantee accurate and reliable information. Our content, validated by Expert Board Contributors, is crafted following stringent Editorial Policies. We're committed to providing you with well-researched, expert-backed insights for all your informational needs.


0 thoughts on “How To Store Chocolate Covered Strawberries Overnight”