Articles
How To Store Homemade Chocolate
Modified: December 7, 2023
Learn how to store homemade chocolate properly to keep it fresh and delicious. Follow these simple steps to ensure your chocolate articles stay in perfect condition for longer.
(Many of the links in this article redirect to a specific reviewed product. Your purchase of these products through affiliate links helps to generate commission for Storables.com, at no extra cost. Learn more)
Introduction
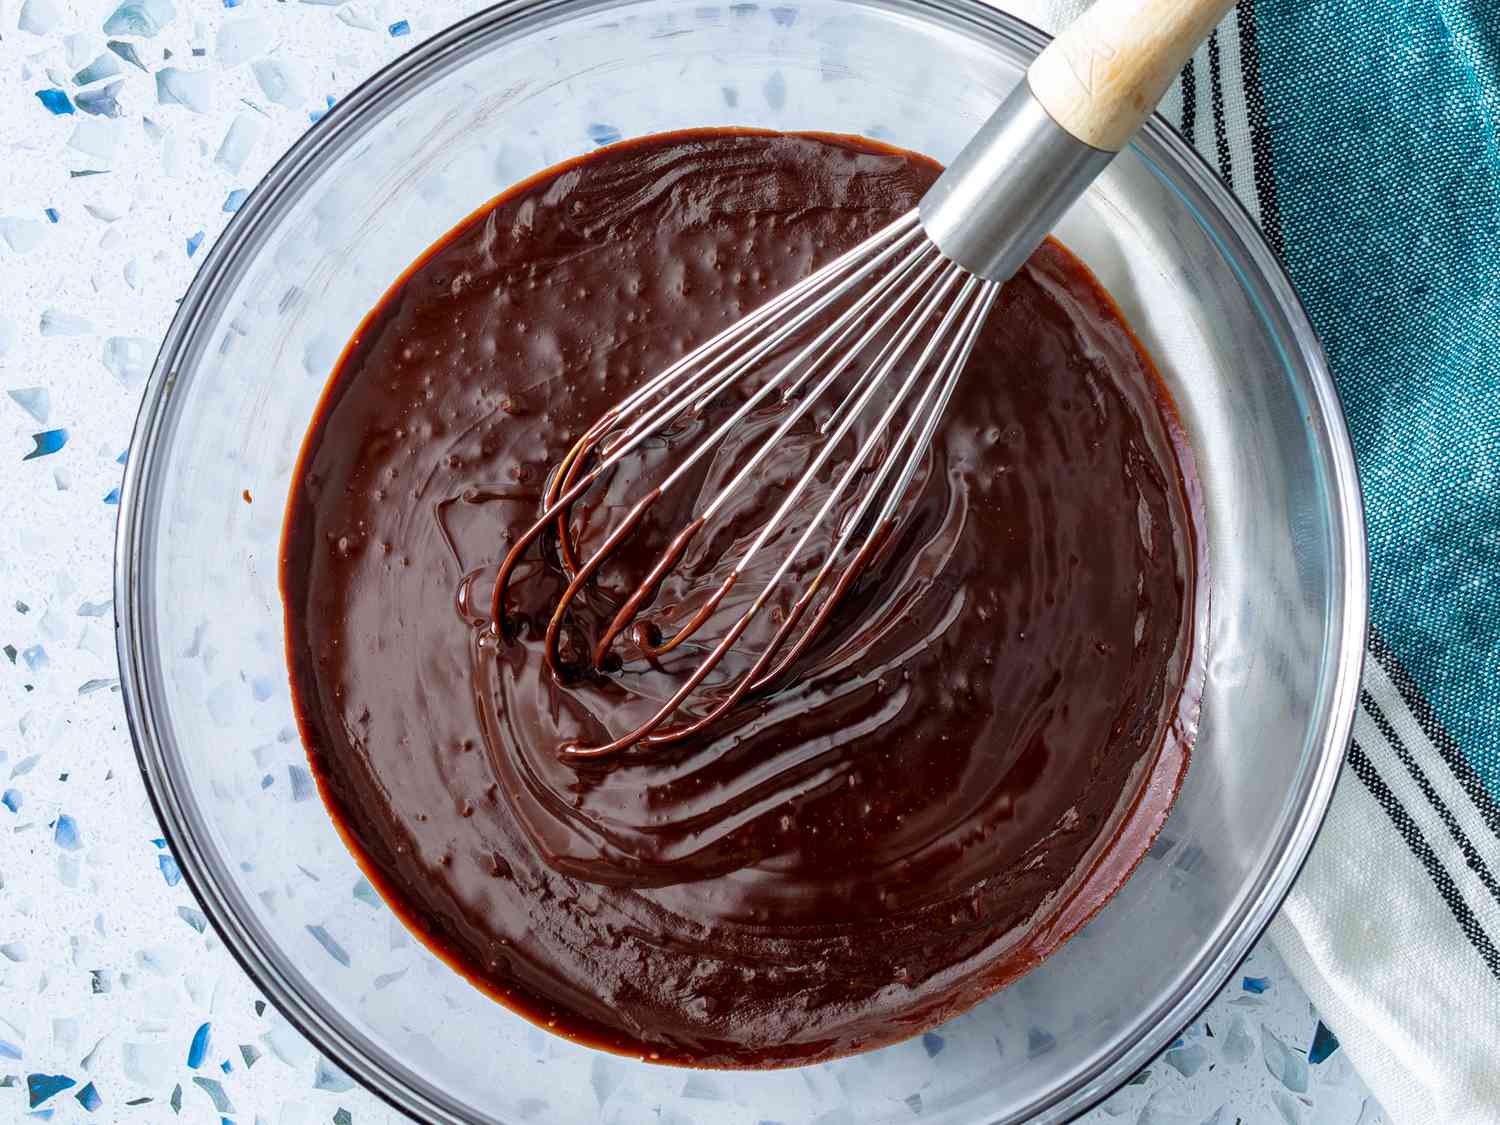
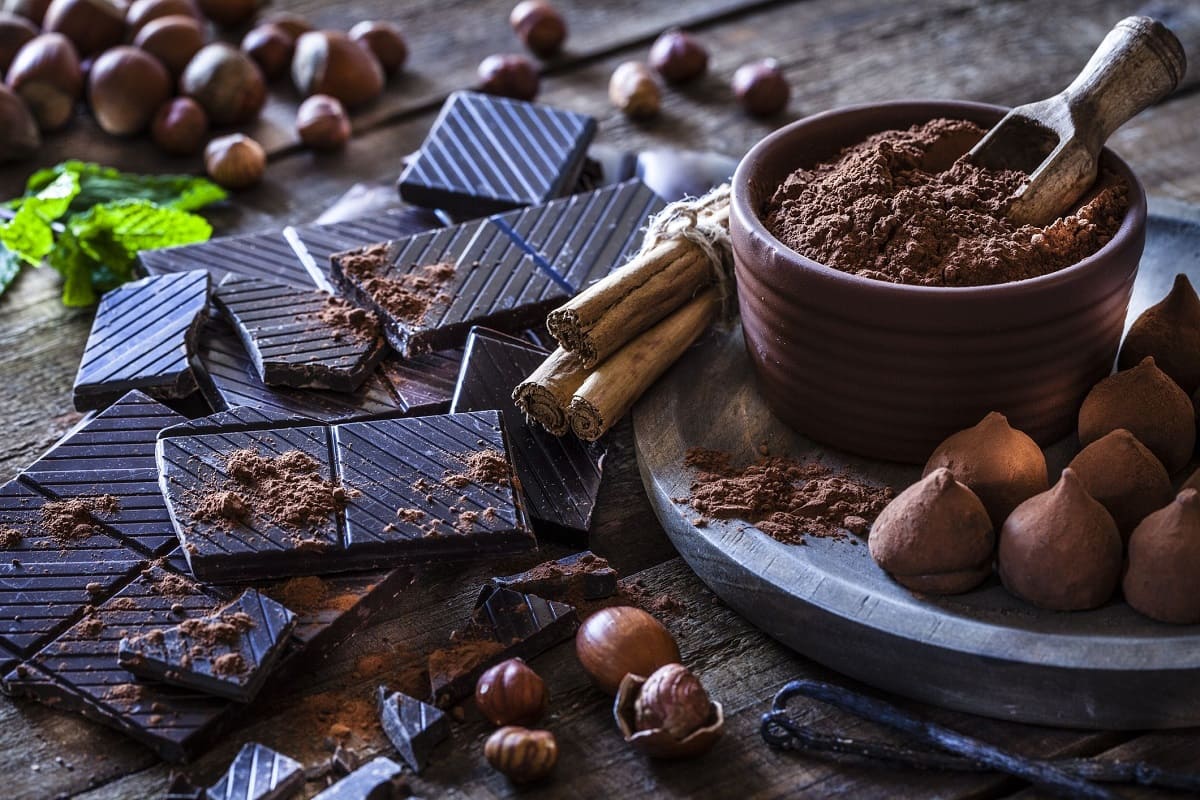
Homemade chocolate is a delightful treat that can be enjoyed on its own or used in various delicious recipes. Whether you’ve made chocolates from scratch or received them as a gift, proper storage is essential to maintain their quality and flavor. In this article, we will guide you through the necessary steps to store homemade chocolate correctly.
When it comes to storing homemade chocolate, several factors should be considered, including choosing the right containers, controlling temperature and humidity, avoiding exposure to light, and employing proper storage techniques. We’ll explore these topics in detail and provide you with helpful tips to ensure your homemade chocolate stays fresh and delicious for as long as possible.
So, let’s dive into the world of chocolate storage and discover how to keep your homemade treats in optimal condition.
Key Takeaways:
- Proper storage of homemade chocolate is crucial for maintaining its quality and flavor. Choose the right containers, control temperature and humidity, avoid light exposure, and employ proper storage techniques to ensure your chocolates stay fresh and delicious.
- Different types of homemade chocolate require specific storage considerations. Whether it’s dark, milk, white, or filled chocolates, follow the appropriate guidelines to preserve their quality and flavors for an extended period.
Read more: How To Store Melted Chocolate
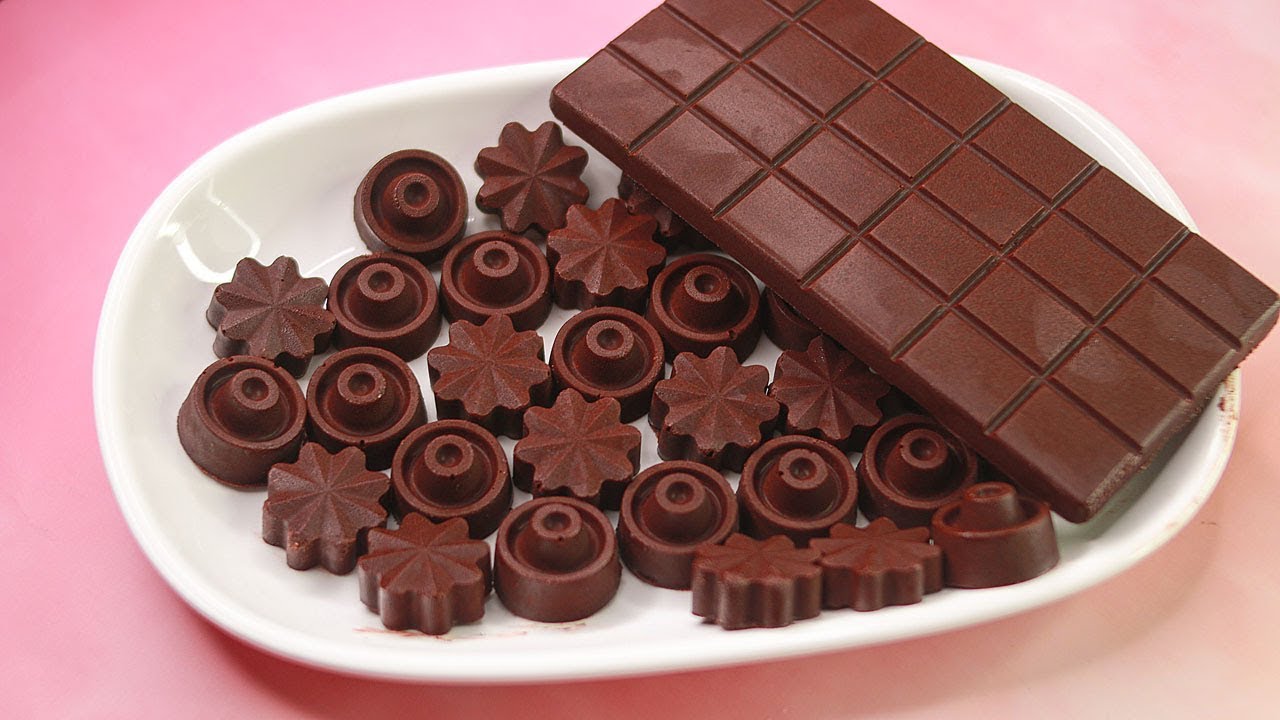
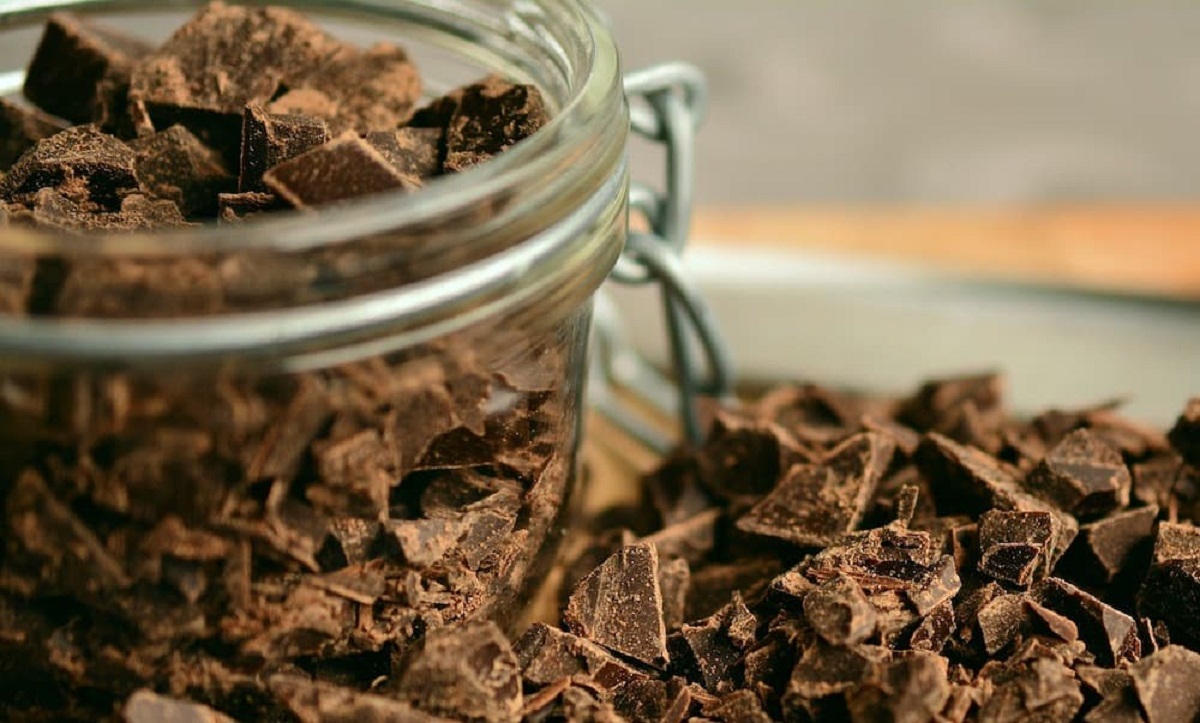
Choosing the Right Containers
Choosing the right containers for storing homemade chocolate is crucial to preserve its taste, texture, and overall quality. Here are some guidelines to help you make the best choice:
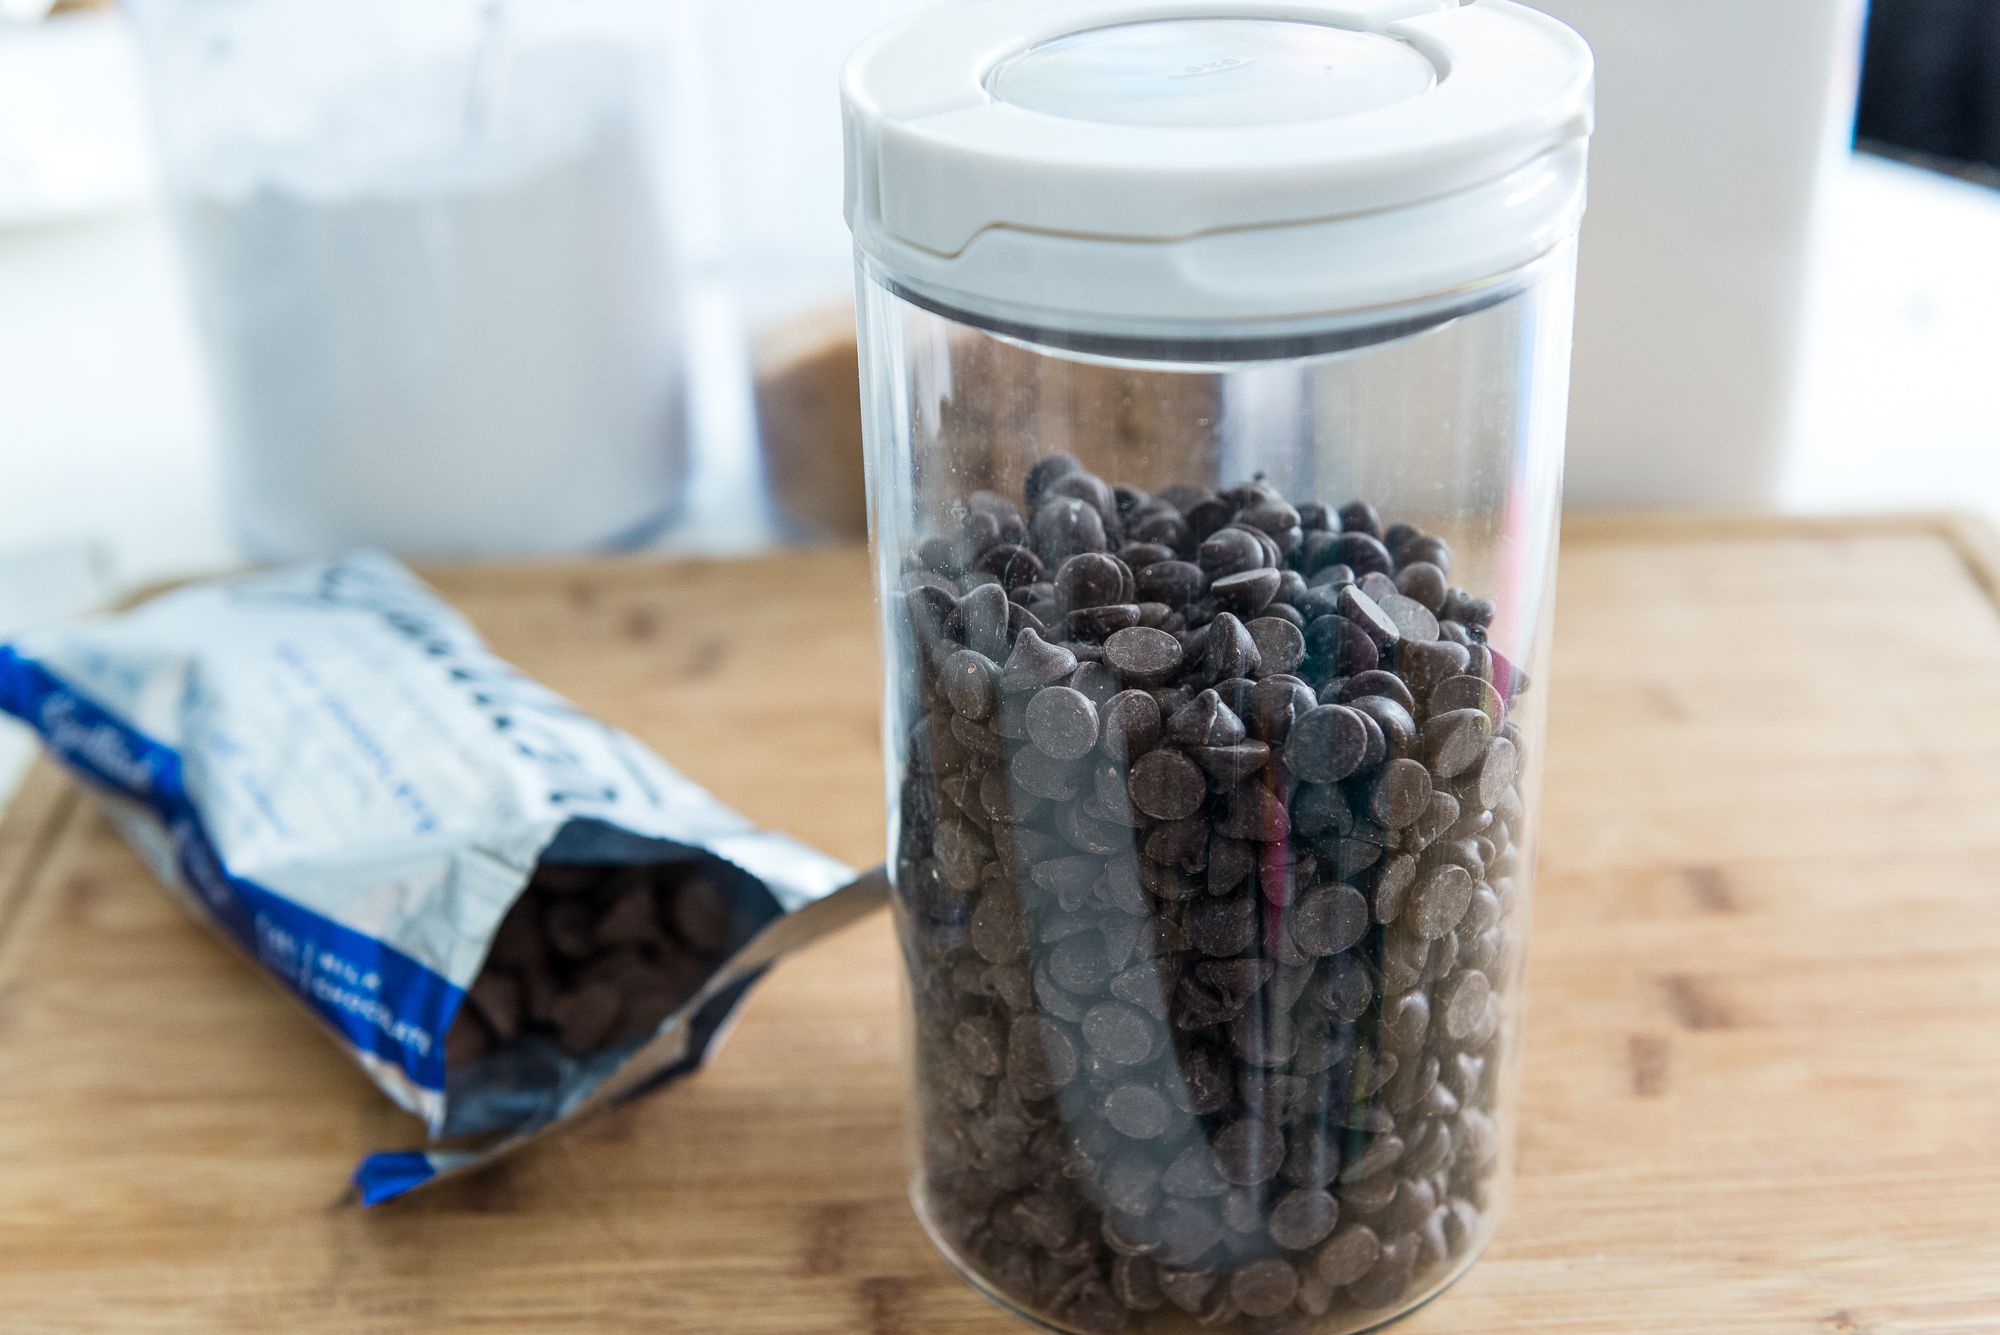
- Airtight and BPA-free: Opt for containers that are airtight to prevent moisture and air from entering. This helps in maintaining the freshness and flavor of the chocolate. Additionally, look for containers that are BPA-free to avoid any potential chemical reactions with the chocolate.
- Plastic or Glass: Plastic and glass containers are both suitable options for storing homemade chocolate. Glass jars or containers with tight-fitting lids are excellent choices as they provide a clear view of the contents and are easy to clean. Plastic containers should be made of food-grade plastic to ensure the safety of the chocolate.
- Separate Compartments: If you plan on storing different types of chocolate or flavored chocolates, consider using containers with separate compartments. This prevents cross-contamination and preserves the distinct flavors of each chocolate.
- Size and Shape: Choose containers that are the appropriate size and shape to accommodate the amount of homemade chocolate you have. This helps in minimizing air exposure and maintaining the original shape of the chocolate.
Remember to clean and dry the containers thoroughly before transferring the homemade chocolate. Residue from other substances can affect the taste and quality of the chocolates.
By choosing the right containers for storing homemade chocolate, you can ensure that they are protected from external elements and remain fresh for an extended period.
Temperature and Humidity Control
Proper temperature and humidity control is essential for storing homemade chocolate and preventing it from melting, developing a dull appearance, or becoming too soft. Here are some tips to help you maintain optimal conditions for your chocolates:
- Temperature: It’s important to store homemade chocolate in a cool and stable temperature environment. The ideal temperature for chocolate storage is around 65°F to 70°F (18°C to 21°C). Avoid exposing the chocolate to extreme temperatures, as it can cause blooming, where the cocoa butter separates and rises to the surface, resulting in a streaky appearance.
- Humidity: High humidity can negatively impact chocolate by causing condensation, which can lead to a loss of texture and flavor. Aim to store homemade chocolate in an environment with humidity levels below 50%. If you live in a particularly humid climate, consider using a dehumidifier in the storage area to ensure proper humidity control.
- Avoid Temperature Fluctuations: Rapid temperature changes can cause the chocolate to bloom or experience “fat bloom” (when the cocoa butter separates). To prevent this, avoid storing homemade chocolate near sources of heat, such as ovens, stovetops, or direct sunlight. Additionally, refrain from placing the chocolates in the refrigerator directly after removing them from a warmer area, as sudden temperature changes can cause condensation.
- Room Ventilation: While it’s important to control temperature and humidity, it’s also essential to provide adequate ventilation in the storage area. Good airflow can help prevent moisture buildup and maintain a stable environment for the chocolates.
By ensuring proper temperature and humidity control, you can preserve the taste, texture, and appearance of homemade chocolate, ensuring that it remains in its best condition for an extended period.
Avoiding Exposure to Light
Exposure to light can have a detrimental effect on homemade chocolate. UV rays from sunlight and artificial light sources can cause the chocolate to melt, discolor, and develop a rancid taste. To protect your homemade chocolates from light damage, follow these guidelines:
- Dark Storage: Store homemade chocolate in a dark and cool area, away from direct sunlight. Ideally, choose a pantry, cupboard, or a dedicated storage space that is shielded from light sources. This includes fluorescent light fixtures and direct exposure to sunlight through windows.
- Opaque Containers: Opt for opaque containers to store your homemade chocolates. These containers block out light and provide an extra layer of protection. Glass containers may be a suitable choice if they are opaque or tinted to prevent light from penetrating.
- Wrapping: Individually wrap or package each piece of homemade chocolate to provide an additional barrier against light exposure. Use food-grade foil, parchment paper, or wax paper to wrap the chocolates, ensuring they are completely covered.
- Avoid Transparent Wrapping Materials: Transparent wrapping materials, such as plastic wrap or cellophane, can allow light to penetrate and affect the quality of the chocolate. Stick to opaque or non-transparent materials for optimal protection.
- Dark Storage Bags: If you plan to store your homemade chocolates for an extended period, consider using dark storage bags specifically designed to block out light. These bags provide an extra layer of protection and are available in various sizes to accommodate different quantities of chocolate.
By avoiding exposure to light and taking the necessary precautions, you can ensure that your homemade chocolates retain their flavor, appearance, and quality over time.
Proper Storage Techniques
Proper storage techniques are crucial to keeping homemade chocolate fresh and delicious. Follow these tips to ensure optimal storage:
- Wrap and Seal: Individual pieces or bars of homemade chocolate should be wrapped tightly in foil, parchment paper, or wax paper to protect them from air exposure. Then, place the wrapped chocolates in an airtight container to provide an additional layer of protection.
- Layer Separation: If you need to stack multiple layers of homemade chocolate, place a piece of parchment paper between each layer to prevent sticking and preserve their shape.
- Avoid Mixing Flavors: When storing different flavors of homemade chocolate, ensure they are stored separately or use containers with separate compartments to prevent flavor transfer.
- Label and Date: Label the containers or packaging with the type and date of the homemade chocolate. This will help you keep track of their freshness and avoid consuming chocolates that are past their prime.
- Refrigerate or Room Temperature: Depending on the type of homemade chocolate, you can choose to store it at room temperature or in the refrigerator. We’ll explore this further in the next section.
By following these storage techniques, you can maintain the quality and taste of your homemade chocolate for a longer duration.
Store homemade chocolate in an airtight container at room temperature, away from direct sunlight and strong odors. If the temperature is too warm, store in the refrigerator, but allow it to come to room temperature before enjoying.
Read more: How To Store Chocolate Candy
Refrigeration vs. Room Temperature Storage
One of the common dilemmas when it comes to storing homemade chocolate is whether to refrigerate or store it at room temperature. The storage method depends on the type of chocolate and the surrounding environment. Here’s a breakdown of when to refrigerate and when to opt for room temperature storage:
Refrigeration:
- Soft Fillings: Homemade chocolates with soft fillings like ganache, caramel, or cream-based fillings are best stored in the refrigerator. The low temperature helps to preserve the filling’s texture and prevents it from becoming too runny.
- Warm Climate: If you live in a warm climate where the room temperature exceeds 70°F (21°C), it’s advisable to refrigerate your homemade chocolates to prevent them from melting.
- Extended Storage: If you plan to store your homemade chocolate for an extended period, refrigeration can help prolong its shelf life and maintain its quality.
Room Temperature Storage:
- Solid Chocolates: Homemade chocolates made with solid chocolate, without any soft or perishable fillings, can be stored at room temperature. Solid chocolates tend to maintain their shape and texture when stored in a cool, dry place away from direct sunlight.
- Moderate Climate: If the room temperature is consistently below 70°F (21°C) and the humidity level is low, storing your homemade chocolates at room temperature should be sufficient to keep them fresh.
- Convenience: Room temperature storage provides convenience, as you can easily access and enjoy your homemade chocolates without the need for pre-cooling.
Remember to wrap your homemade chocolates properly and store them in airtight containers, regardless of whether you choose refrigeration or room temperature storage.
Ultimately, the decision between refrigeration and room temperature storage depends on the specific circumstances and type of homemade chocolate. Assess the factors mentioned above and choose the method that best suits your situation.
Storing Different Types of Homemade Chocolate
Homemade chocolate comes in various forms and types, each requiring specific storage considerations. Let’s explore how to store different types of homemade chocolate:
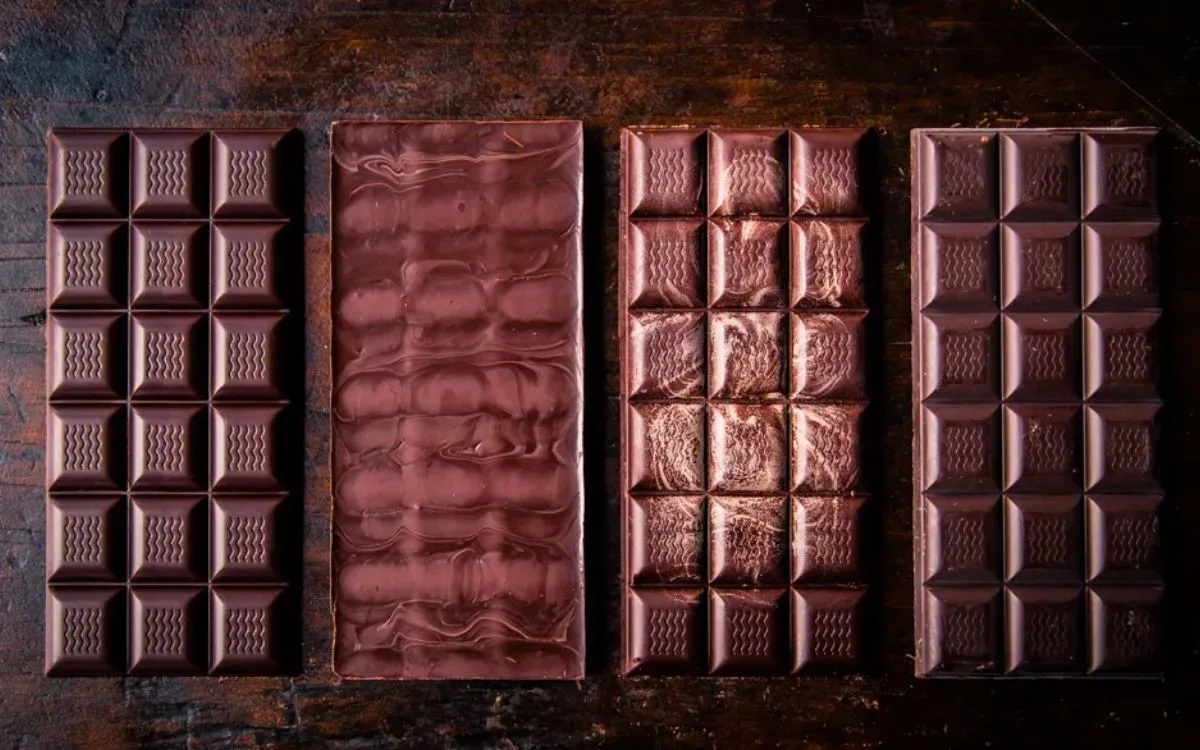
Dark Chocolate:
- Room Temperature: Solid dark chocolate can be stored at room temperature, preferably in a cool, dry place away from direct sunlight and sources of heat.
- Refrigeration: If you live in a warm climate or the room temperature exceeds 70°F (21°C), it’s advisable to refrigerate dark chocolate to prevent melting and maintain its shape.
- Airtight Containers: Whether storing at room temperature or in the refrigerator, ensure dark chocolate is wrapped tightly and placed in an airtight container to prevent absorption of odors and maintain freshness.
Milk Chocolate:
- Room Temperature: Solid milk chocolate can be stored at room temperature, following the same guidelines as for dark chocolate.
- Refrigeration: While refrigeration is not necessary for milk chocolate, it can be refrigerated if the room temperature is consistently above 70°F (21°C) or if you prefer it slightly chilled.
- Wrap and Label: Properly wrap milk chocolate and label it to keep track of its freshness.
White Chocolate:
- Refrigeration: White chocolate has a lower melting point compared to dark and milk chocolate. It is best to refrigerate white chocolate to maintain its shape and prevent melting.
- Airtight Containers: Wrap white chocolate carefully and store it in an airtight container to maintain its flavor and prevent absorption of any odors.
- Separate Storage: Store white chocolate separately from other types of chocolate to avoid flavor transfer.
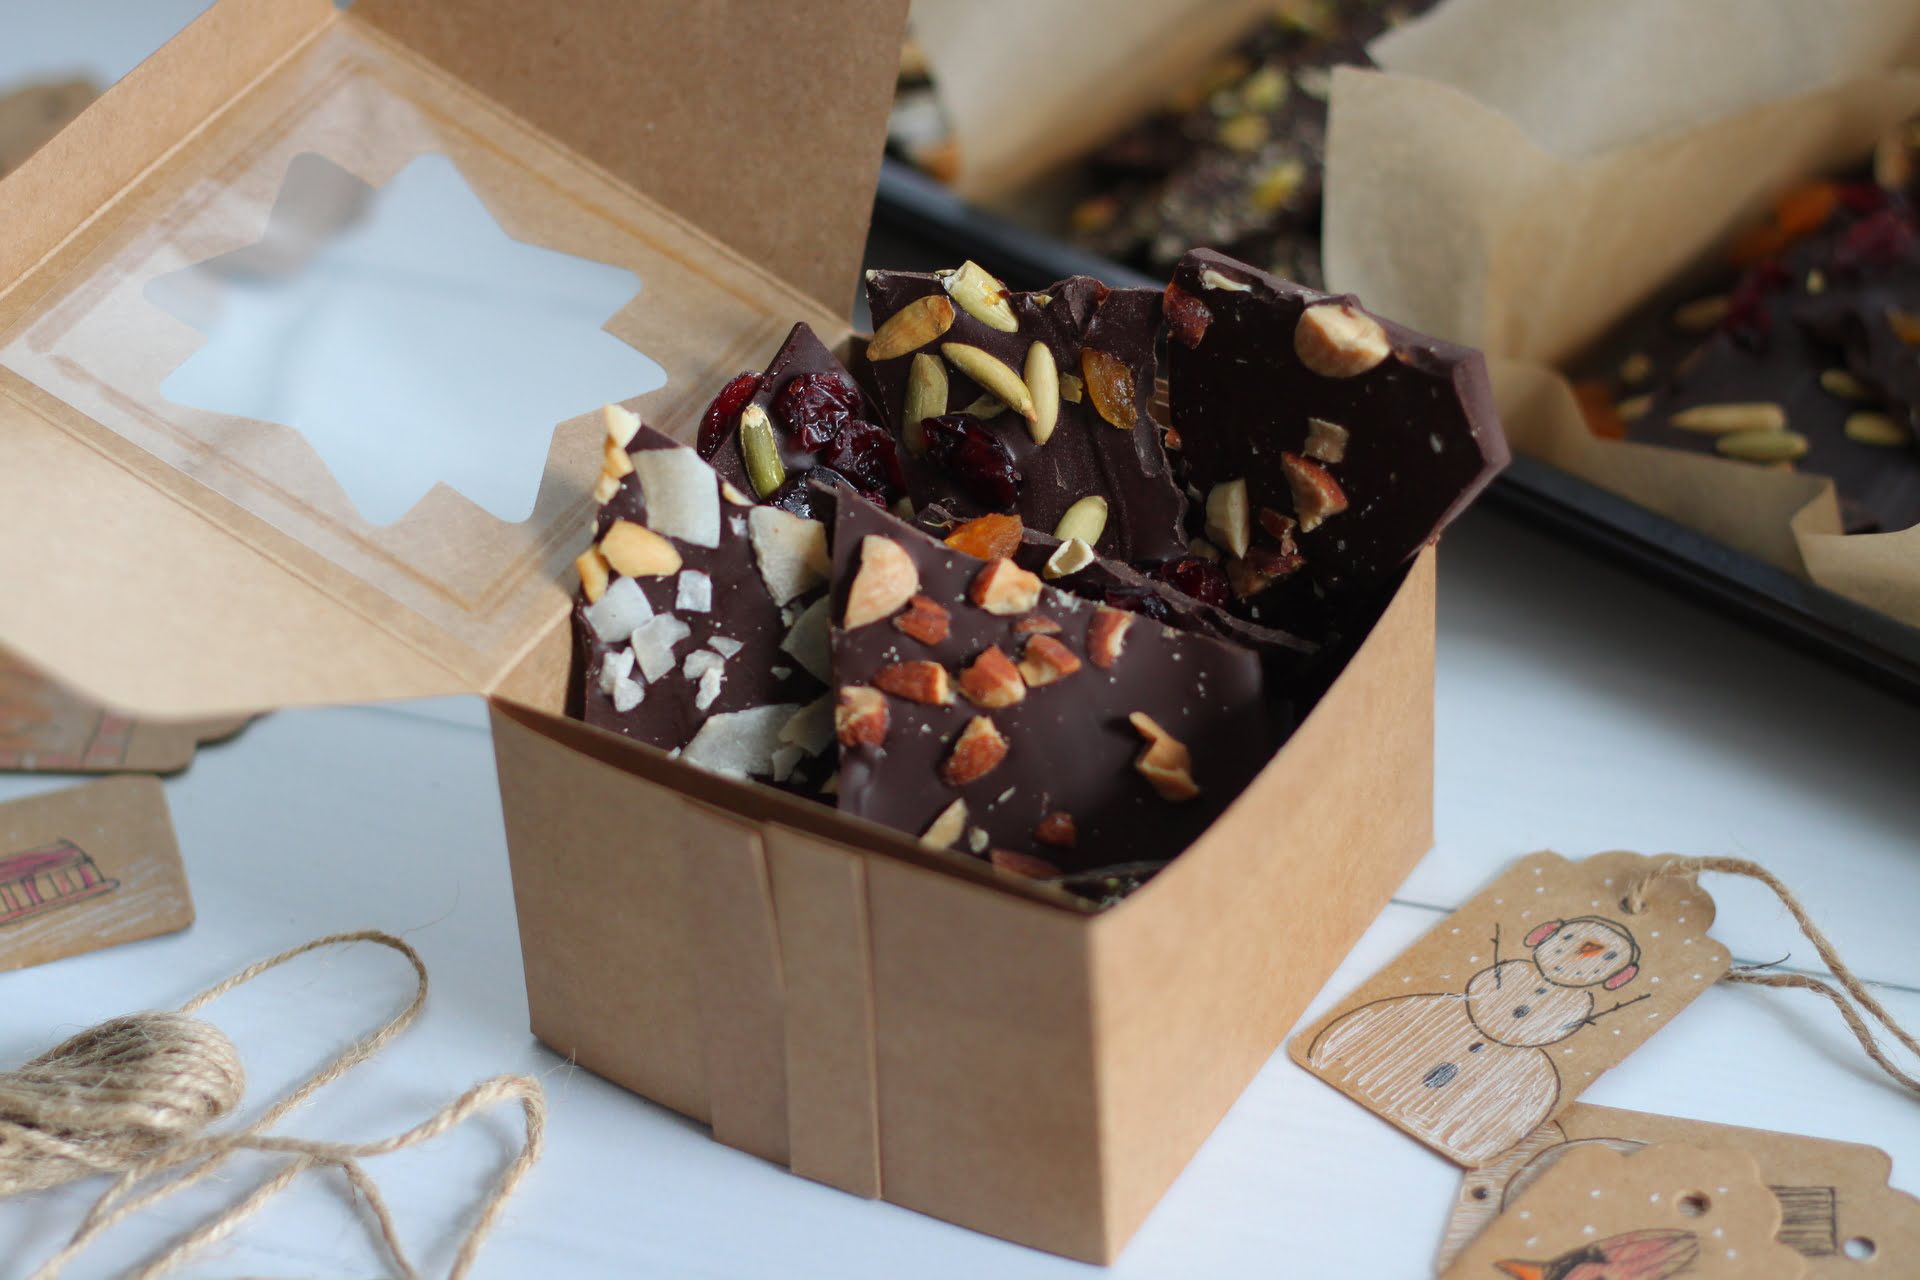
Filled Chocolates:
- Refrigeration: Homemade chocolates with soft or perishable fillings like ganache, caramel, or cream-based fillings should be stored in the refrigerator to prevent the fillings from becoming too soft or spoiling.
- Airtight Containers: Wrap each filled chocolate tightly and place them in an airtight container to preserve the fillings’ texture and prevent any moisture absorption.
- Labeling: Label filled chocolates with the type of filling and the date of preparation to ensure they are consumed within a reasonable time frame.
By following these guidelines, you can store different types of homemade chocolate effectively, preserving their quality and flavors for an extended period.
Keeping Homemade Chocolate Fresh
Keeping homemade chocolate fresh is key to enjoying its deliciousness over time. Here are some valuable tips to help you maintain the freshness of your homemade chocolates:
- Proper Wrapping: Wrap each piece or bar of homemade chocolate individually using foil, parchment paper, or wax paper. This prevents air exposure and helps preserve the chocolate’s flavor and texture.
- Airtight Containers: Store the wrapped homemade chocolates in airtight containers to further protect them from air, moisture, and odors. This helps maintain their freshness and prevents them from absorbing any unwanted flavors.
- Separate from Strong Odors: Homemade chocolate can easily pick up strong odors from other foods. Store the chocolates away from strongly scented items like spices, onions, and garlic to prevent flavor contamination.
- Labeling and Rotation: Label the containers with the type of chocolate and the date of preparation. This allows you to keep track of the freshness and prioritize consuming the older chocolates first.
- Temperature Control: Maintain the recommended temperature for storing chocolate, typically between 65°F to 70°F (18°C to 21°C). Avoid rapid temperature fluctuations, as they can affect the texture and appearance of the chocolates.
- Avoid Moisture: Moisture is an enemy of homemade chocolate. Keep the chocolates away from humid areas, and ensure they are dry before wrapping and storing. If condensation forms on the chocolate, it can lead to a loss of quality.
- Regular Inspection: Check your stored homemade chocolates regularly to ensure there are no signs of mold, discoloration, or flavor deterioration. If you detect any issues, discard the affected chocolates to prevent spoilage of the entire batch.
- Consumption within a Reasonable Timeframe: Homemade chocolates are best enjoyed within a few weeks to a few months, depending on the type and ingredients used. While they can be stored for longer periods, their quality may begin to decline with time.
By following these practices, you can help keep your homemade chocolates fresh and delightful for an extended period, ensuring a delightful chocolate experience every time you indulge!
Conclusion
Storing homemade chocolate properly is essential to maintain its quality, flavor, and texture for as long as possible. By following the right storage techniques, you can ensure that your homemade chocolates stay fresh and delicious. Remember to choose the right containers, control temperature and humidity, avoid exposure to light, and employ proper wrapping and labeling.
When it comes to temperature and humidity control, aim for a cool and stable environment, avoiding extreme temperature fluctuations and high humidity levels. Refrigerate homemade chocolates with soft fillings or in warm climates, while solid chocolates can be stored at room temperature. Make sure to wrap the chocolates tightly and place them in airtight containers to prevent air and moisture exposure.
Protecting your homemade chocolates from light exposure is crucial. Store them in dark, opaque containers, away from direct sunlight and fluorescent light sources. Wrapping the chocolates individually in non-transparent materials adds an extra layer of protection.
Different types of homemade chocolates require specific storage considerations. Dark chocolate and milk chocolate can be stored at room temperature or chilled if desired, while white chocolate benefits from refrigeration. Filled chocolates should be refrigerated to maintain the texture of the fillings.
To keep homemade chocolates fresh, ensure proper wrapping, use airtight containers, separate from strong odors, label and rotate, control temperature, avoid moisture, and regularly inspect for any signs of degradation.
In conclusion, following these storage guidelines will help preserve the quality and taste of your homemade chocolates, allowing you to enjoy their delightful flavors for an extended period. So, take care in storing your homemade chocolates and savor every bite of their delectable goodness!
Frequently Asked Questions about How To Store Homemade Chocolate
Was this page helpful?
At Storables.com, we guarantee accurate and reliable information. Our content, validated by Expert Board Contributors, is crafted following stringent Editorial Policies. We're committed to providing you with well-researched, expert-backed insights for all your informational needs.


0 thoughts on “How To Store Homemade Chocolate”