Articles
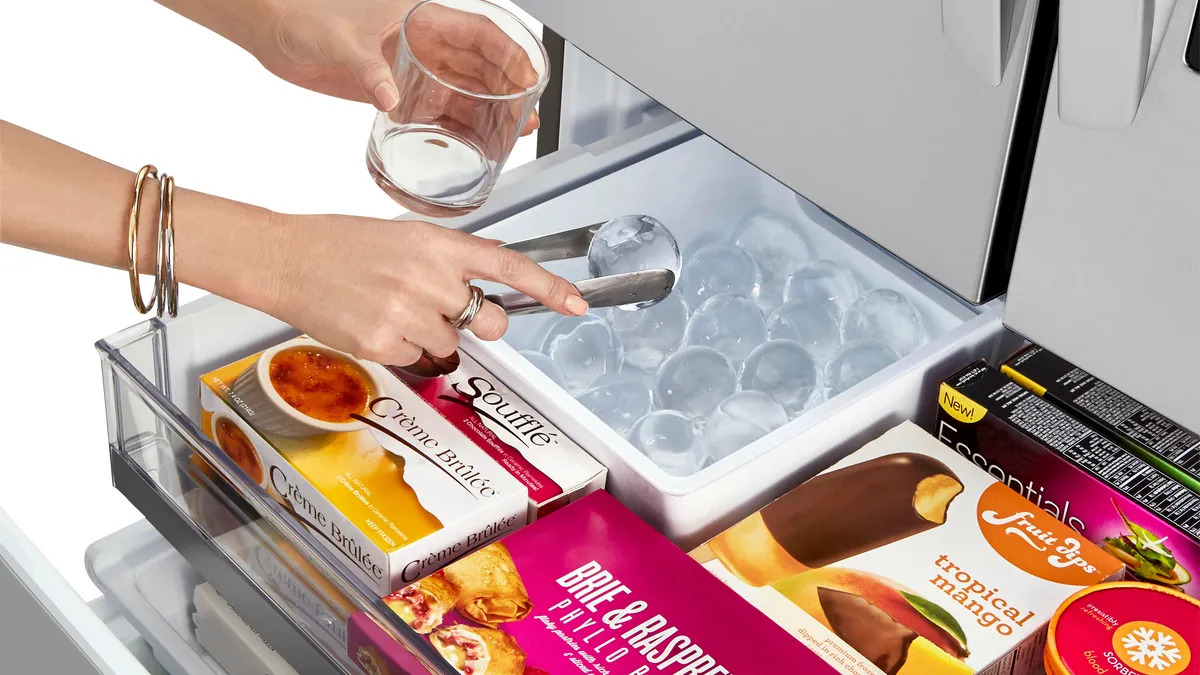
How To Store Clear Ice
Modified: August 28, 2024
Learn the best techniques for storing clear ice in this informative article. Discover how to keep your ice crystal-clear and ready for your next refreshing beverage.
(Many of the links in this article redirect to a specific reviewed product. Your purchase of these products through affiliate links helps to generate commission for Storables.com, at no extra cost. Learn more)
Introduction
Welcome to the world of clear ice! If you’ve ever marveled at the perfectly crystalline ice cubes found in high-end cocktails or premium iced beverages, you’ve likely come across clear ice. But what exactly is clear ice, and why does it look so different from the cloudy ice you typically get from your freezer?
Clear ice is formed through a process that eliminates impurities and trapped air bubbles, resulting in a solid, pristine chunk of ice that is not only visually appealing but also melts slower, making it ideal for those who prefer their drinks undiluted. The clarity of the ice is attributed to its slow freezing process, which allows the water molecules to bond more tightly together, leaving no room for impurities or air to be trapped within the ice.
In this article, we will explore the fascinating world of clear ice and guide you through the process of storing it effectively. Whether you’re a seasoned mixologist looking to enhance your cocktail presentation or simply someone who appreciates the beauty and functionality of clear ice, this article will provide you with the knowledge and techniques to store clear ice like a pro.
Key Takeaways:
- Elevate your drink game with crystal-clear ice cubes by understanding the science behind clear ice and mastering proper storage techniques. Impress your guests and enjoy undiluted, visually stunning beverages.
- Say goodbye to cloudy ice and hello to the art of clear ice storage. From essential tools to common mistakes to avoid, become a clear ice connoisseur and elevate your drink presentation.
Read also: 13 Best Clear Ice Maker for 2025
Understanding Clear Ice
Before diving into the intricacies of storing clear ice, it is essential to understand the science behind it. Clear ice is formed when the water is frozen slowly and uniformly, allowing the impurities to be pushed to the bottom of the freezing container. The slow freezing process prevents the formation of air bubbles, resulting in a crystal-clear appearance.
On the other hand, regular ice cubes obtained from your refrigerator’s ice maker or ice trays typically have a cloudy appearance. This is because the water freezes quickly, causing air bubbles and impurities to get trapped within the ice. While this doesn’t affect the taste of your drink, it can be aesthetically unappealing and may cause the ice to melt faster.
To achieve clear ice, it is crucial to eliminate these factors that contribute to cloudiness. One method to achieve this is by using a specialized ice mold that allows for slow and controlled freezing. These molds are designed to force the impurities and air bubbles towards the bottom, leaving the top portion of the ice pristine and clear.
Another technique to create clear ice is by using the directional freezing method. This involves insulating the container with the help of an ice ball mold, coolers, or even a simple foam container. By insulating the container, the ice freezes slowly from top to bottom, pushing the impurities downward and yielding a clear ice block.
Understanding the science behind clear ice sets the foundation for effective storage techniques. With the right tools and techniques, you can maintain the clarity and quality of your clear ice for an extended period.
Tools and Materials Needed
To effectively store clear ice, you’ll need a few essential tools and materials. Here are the items you’ll need to ensure proper storage:
- Clear Ice Mold: A clear ice mold is a key tool for creating and storing clear ice. Look for a mold that is designed to freeze ice slowly and has a built-in mechanism to separate impurities and air bubbles.
- Insulated Container or Cooler: You’ll need a container or cooler that offers good insulation to facilitate slow and controlled freezing. This can be a foam cooler, a well-insulated container, or even an ice ball mold with insulation.
- Filtered Water: Using filtered water can help reduce impurities and minerals present in tap water, resulting in a clearer ice block.
- Freezer: A standard freezer is necessary for freezing the clear ice mold or container. Make sure your freezer has enough space to accommodate the size of the mold or container you’re using.
- Sharp Knife or Ice Pick: To separate and break apart the clear ice, you’ll need a sharp knife or an ice pick. This will allow you to easily transfer and use the clear ice in cocktails or other beverages.
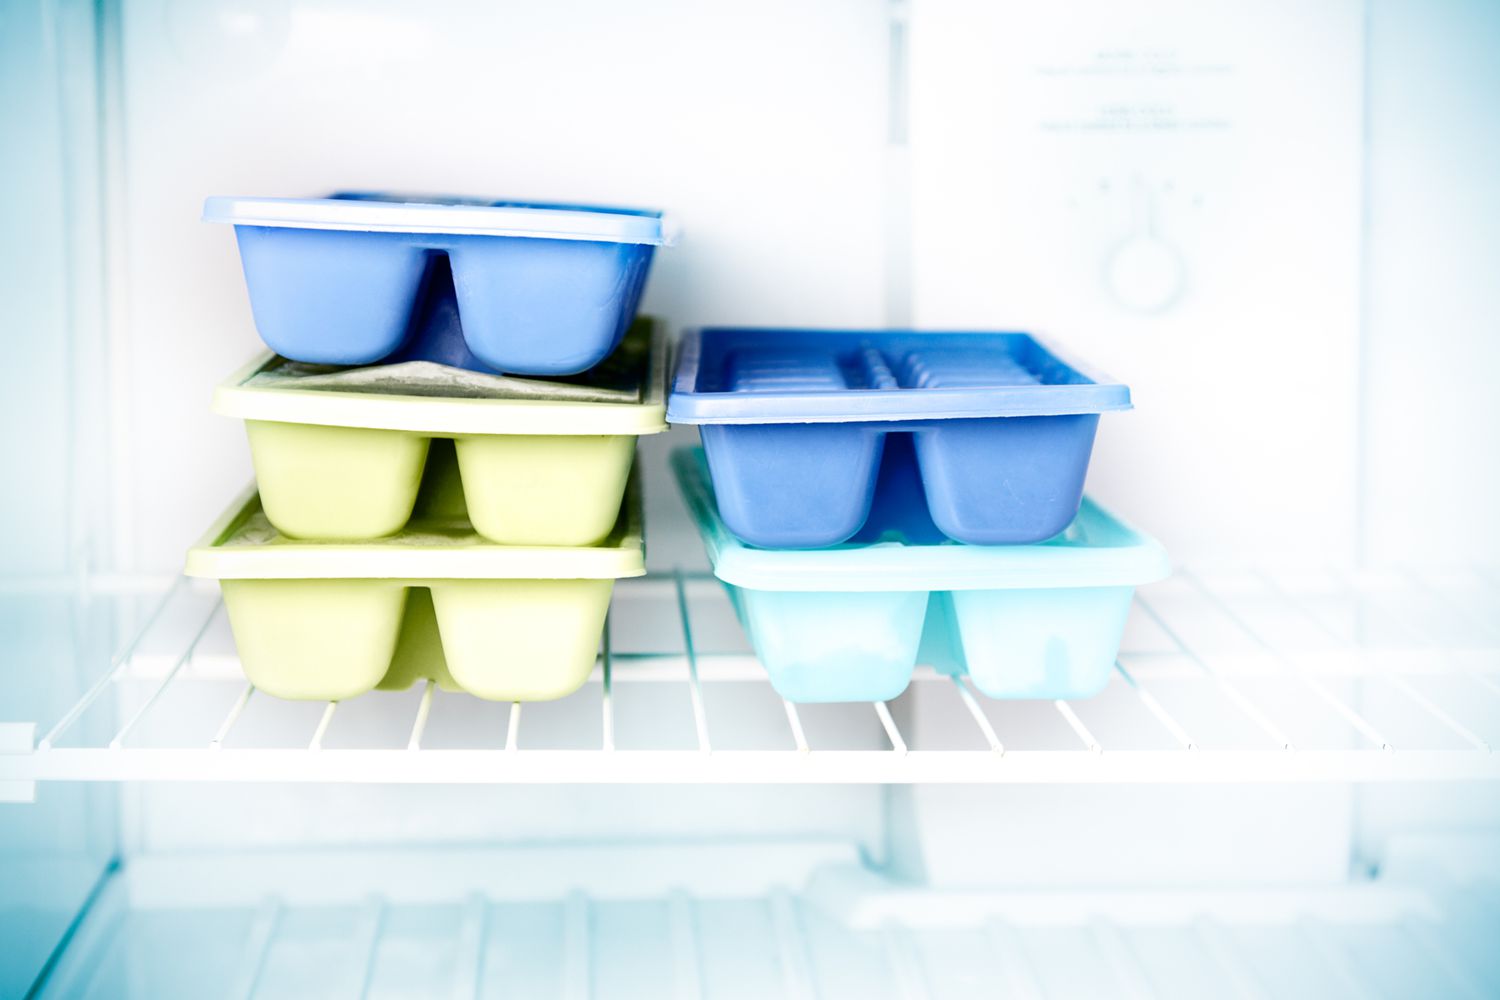
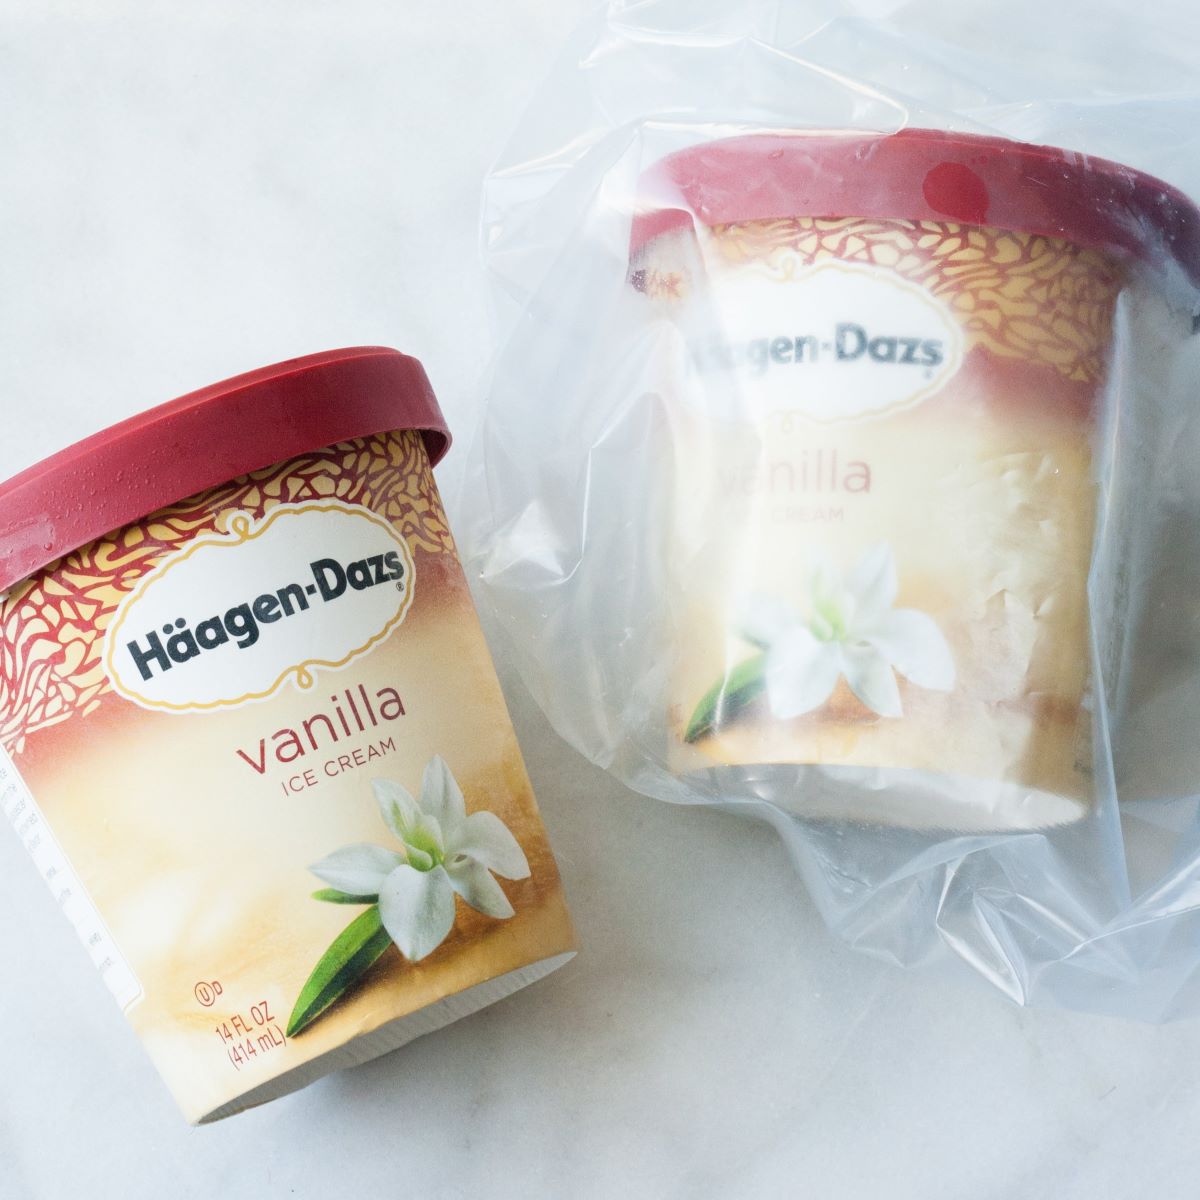
- Airtight Storage Container or Freezer Bags: Once the clear ice is formed, you’ll need an airtight storage container or freezer bags to keep the ice from absorbing any odors or flavors from the freezer.
Having these tools and materials ready will ensure that you’re fully equipped to create, store, and enjoy clear ice at your convenience. Now, let’s move on to the step-by-step guide of storing clear ice.
Step-by-Step Guide to Storing Clear Ice
Now that you have the necessary tools and materials, let’s dive into the step-by-step process of storing clear ice:
- Prepare the Clear Ice Mold: Start by thoroughly cleaning the clear ice mold to ensure there are no contaminants or residues that could affect the clarity of the ice. Dry it completely before proceeding.
- Purify the Water: Fill a pitcher or container with filtered water and let it sit for a few minutes to allow any air bubbles to dissipate. This will help ensure clearer ice. Fill the mold with the purified water, leaving a little space at the top to allow for expansion during freezing.
- Freeze the Mold: Place the filled clear ice mold in your freezer. Make sure it is placed on a flat and stable surface to prevent any mishaps. Let the mold freeze for at least 24 hours or as per the instructions provided with the mold.
- Remove the Clear Ice: Once the ice is fully frozen, remove the clear ice mold from the freezer. Allow it to sit at room temperature for a few minutes to loosen the ice block from the mold. Gently twist or tap the mold to release the clear ice block.
- Transfer to Storage Container: Carefully transfer the clear ice block to an airtight storage container or freezer bags. Ensure that the container is clean and free from any odors that may taint the ice’s taste. Seal the container tightly to prevent air from entering.
- Store in the Freezer: Place the sealed storage container or freezer bags back into the freezer. Position it in an area where it can remain undisturbed. Avoid storing it near foods with strong odors to prevent any flavor transfer.
Following these steps will help you create and store clear ice with ease. Remember to have patience during the freezing process, as it plays a significant role in obtaining that beautiful crystal-clear ice. Now, let’s explore some proper storage techniques to ensure your clear ice stays in optimal condition.
Proper Storage Techniques
Proper storage is key to maintaining the clarity and quality of your clear ice over time. Here are some techniques to ensure optimal storage:
- Airtight Container: Always store your clear ice in an airtight container or freezer bag. This will prevent any odors or flavors from seeping into the ice and affecting its taste.
- Isolation: Keep your clear ice separate from other items in the freezer, especially those with strong odors. This will prevent any cross-contamination and maintain the purity of the ice.
- Temperature Control: Ensure that your freezer is set to a stable temperature, ideally at or below 0°F (-18°C). Fluctuating temperatures can cause the ice to melt and refreeze, resulting in a cloudy appearance and compromised quality.
- Frequent Rotation: Rotate your clear ice blocks regularly to prevent them from sticking together or forming ice crystals. This will help maintain their individual clarity and integrity.
- Labeling: If you’re storing multiple clear ice blocks, consider labeling each container or freezer bag with the date of freezing. This will help you keep track of the age of the ice and ensure you use the oldest ones first.
By following these storage techniques, you can enjoy the beauty and functionality of clear ice for an extended period. Now, let’s explore some additional tips and tricks to enhance your clear ice storage experience.
To store clear ice, wrap it in a clean kitchen towel and place it in an airtight container in the freezer. This will help prevent it from absorbing odors and maintain its clarity.
Read more: How To Store Ice
Tips and Tricks for Clear Ice Storage
To take your clear ice storage to the next level, consider implementing these tips and tricks:
- Prevent Freezer Odors: To avoid any unwanted odors in the freezer, store an open box of baking soda inside. This will help absorb any odors and keep them from transferring to your clear ice.
- Make Flavored Clear Ice: If you want to add a twist to your clear ice, consider infusing it with flavors. You can add fruits, herbs, or even edible flowers to the water before freezing. The result will be not only visually stunning but also a unique addition to your favorite beverages.
- Use Tongs or Gloves: When handling clear ice, try using tongs or gloves to prevent the transfer of body heat, which can cause premature melting. This will help maintain the clarity and slow melting properties of the ice.
- Create Custom Shapes: Clear ice molds come in various shapes and sizes. Experiment with different molds to create custom shapes that add a fun and visually appealing element to your drinks.
- Enjoy Clear Ice in a Chilled Glass: To enhance the clarity and presentation of your clear ice, serve your drinks in chilled glasses. This will help maintain the ice’s clarity for a longer period and create a more visually appealing beverage.
By incorporating these tips and tricks into your clear ice storage routine, you can elevate your drinking experience and impress your guests with stunning, crystal-clear ice cubes. However, it’s important to be aware of some common mistakes that can hinder your clear ice storage efforts.
Common Mistakes to Avoid
When it comes to storing clear ice, there are a few common mistakes that can impact its quality and clarity. By avoiding these mistakes, you can ensure that your clear ice remains pristine and visually appealing:
- Using Tap Water: Tap water often contains minerals and impurities that can affect the clarity of the ice. To achieve the best results, use filtered or distilled water to minimize impurities.
- Freezing Too Quickly: Clear ice requires a slow and controlled freezing process. Freezing it too quickly, such as using the rapid freeze setting on your freezer, can result in cloudy ice due to trapped air bubbles. Be patient and allow ample time for slow freezing.
- Neglecting Regular Cleaning: It’s essential to clean your clear ice mold regularly to prevent any buildup of residue or contaminants. Failing to do so can impact the clarity and taste of the ice.
- Storing in an Unsealed Container: Clear ice can absorb odors from the surrounding environment if stored in an unsealed container. Always ensure that the storage container is airtight to maintain the integrity of the ice.
- Overstacking or Mishandling: Avoid stacking or overcrowding the clear ice in the freezer. This can lead to pressure and cracks in the ice. Additionally, mishandling the ice can cause it to break or lose its clarity.
By steering clear of these common mistakes, you can enhance the quality and longevity of your clear ice. With the right techniques and attention to detail, you’ll be able to enjoy beautiful, crystal-clear ice cubes whenever you desire.
Now that we’ve covered the dos and don’ts of clear ice storage, let’s address some frequently asked questions to provide further clarity on the topic.
Frequently Asked Questions (FAQs)
Here are some commonly asked questions about storing clear ice:
Q: Can I use regular ice trays for making clear ice?
A: While regular ice trays can still produce ice cubes, they are not ideal for creating clear ice. The quick freezing process in ice trays often leads to cloudy ice due to trapped air bubbles. It’s recommended to use specialized clear ice molds or the directional freezing method for obtaining clear ice.
Q: How long does clear ice stay clear in the freezer?
A: With proper storage techniques, clear ice can stay clear in the freezer for several weeks to a couple of months. However, over time, it may start to develop small cracks or lose some clarity. It’s best to use the clear ice within a reasonable timeframe to enjoy it at its best quality.
Q: Can I store clear ice in the refrigerator instead of the freezer?
A: It’s not recommended to store clear ice in the refrigerator as the temperature is not cold enough to maintain the ice’s clarity and slow melting properties. The freezer is the preferred choice to store clear ice for optimal results.
Q: How do I prevent clear ice from sticking together in the storage container?
A: To prevent clear ice from sticking together, ensure that each ice block is fully frozen and dry before placing them in the storage container. You can also wrap each block individually in plastic wrap or freezer paper before storing them to avoid them sticking together.
Q: Can I refreeze melted clear ice?
A: It’s generally not recommended to refreeze melted clear ice. When the ice melts, it can introduce impurities and compromise the quality and clarity of the ice upon refreezing. It’s best to use the melted ice or discard it and make a fresh batch when needed.
These FAQs address some common concerns about storing clear ice. If you have any other questions or uncertainties, feel free to experiment and adjust your storage techniques to achieve the best results for your specific setup.
Now, armed with the knowledge of storing clear ice, you can enjoy the beauty and functionality of crystal-clear ice cubes in your favorite drinks. Cheers to the art of clear ice!
This concludes our comprehensive guide on how to store clear ice. Happy freezing!
Conclusion
Clear ice adds a touch of elegance and sophistication to any drink, enhancing both the visual appeal and the taste. With the understanding of the science behind clear ice formation and the proper storage techniques, you can now confidently create and store clear ice at home.
By using specialized clear ice molds, insulating containers, and filtered water, you can achieve crystal-clear ice cubes that are free from impurities and air bubbles. Proper storage in airtight containers, separate from strong-smelling foods, and at a stable freezer temperature guarantees that your clear ice remains pristine and undiluted.
Remember to avoid common mistakes such as using tap water, freezing too quickly, neglecting regular cleaning, storing in unsealed containers, and mishandling the ice. These simple precautions will help you maintain the quality and clarity of your clear ice cubes.
With the additional tips and tricks provided, including preventing freezer odors, experimenting with flavored clear ice, using tongs or gloves when handling the ice, creating custom shapes, and serving the ice in chilled glasses, you can take your clear ice experience to the next level.
Now that you’re equipped with a comprehensive guide on how to store clear ice, it’s time to get creative and enjoy the beauty and functionality of crystal-clear ice cubes in your cocktails, iced beverages, or any other drink of your choice.
So, raise your glass and toast to the art of clear ice! Cheers!
Frequently Asked Questions about How To Store Clear Ice
Was this page helpful?
At Storables.com, we guarantee accurate and reliable information. Our content, validated by Expert Board Contributors, is crafted following stringent Editorial Policies. We're committed to providing you with well-researched, expert-backed insights for all your informational needs.


0 thoughts on “How To Store Clear Ice”