Articles
How To Store Iced Cookies
Modified: February 24, 2024
Learn the best techniques and tips for storing your delicious iced cookies in this comprehensive collection of articles. Preserve their freshness and taste for longer with expert advice.
(Many of the links in this article redirect to a specific reviewed product. Your purchase of these products through affiliate links helps to generate commission for Storables.com, at no extra cost. Learn more)
Introduction
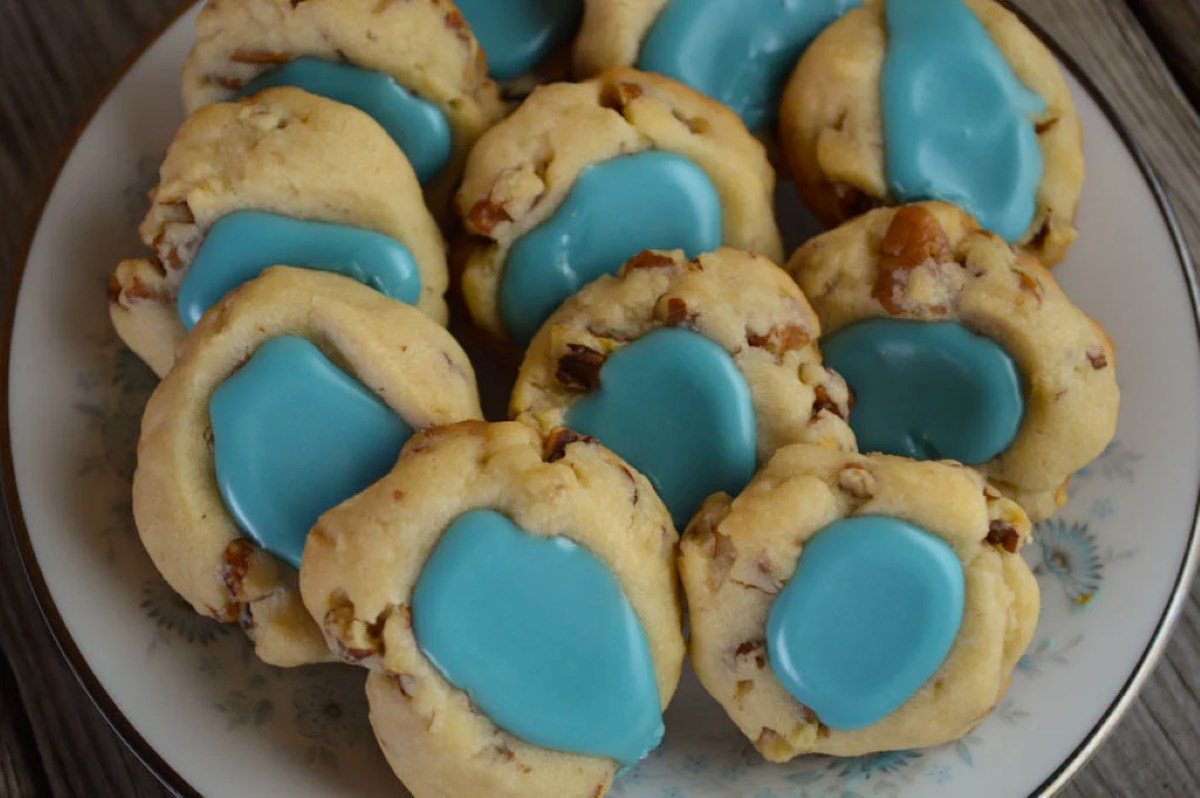
When it comes to storing iced cookies, proper storage is essential to maintain their freshness, texture, and visual appeal. Whether you’re a baking enthusiast or a professional baker, knowing how to store your beloved creations is vital to preserve their quality.
Proper storage not only keeps your iced cookies tasting their best but also ensures that they remain visually appealing. Without proper storage, the icing can melt, smudge, or become sticky, ruining the overall presentation of the cookies. But fear not! With the right container and storage techniques, you can keep your iced cookies looking and tasting delicious for longer periods.
In this article, we will guide you through the process of storing iced cookies properly. From choosing the right container to long-term storage tips, you’ll learn everything you need to know to keep your cookies in perfect condition.
Key Takeaways:
- Proper storage is crucial for maintaining the freshness, texture, and visual appeal of iced cookies. Choosing the right container, layering with parchment paper, and wrapping tightly are essential steps for long-lasting enjoyment.
- Whether freezing or refrigerating, proper storage techniques ensure iced cookies remain fresh and visually appealing. Attention to detail, quality ingredients, and gradual thawing contribute to extended enjoyment of these delightful treats.
Read more: How To Store Cookies With Icing
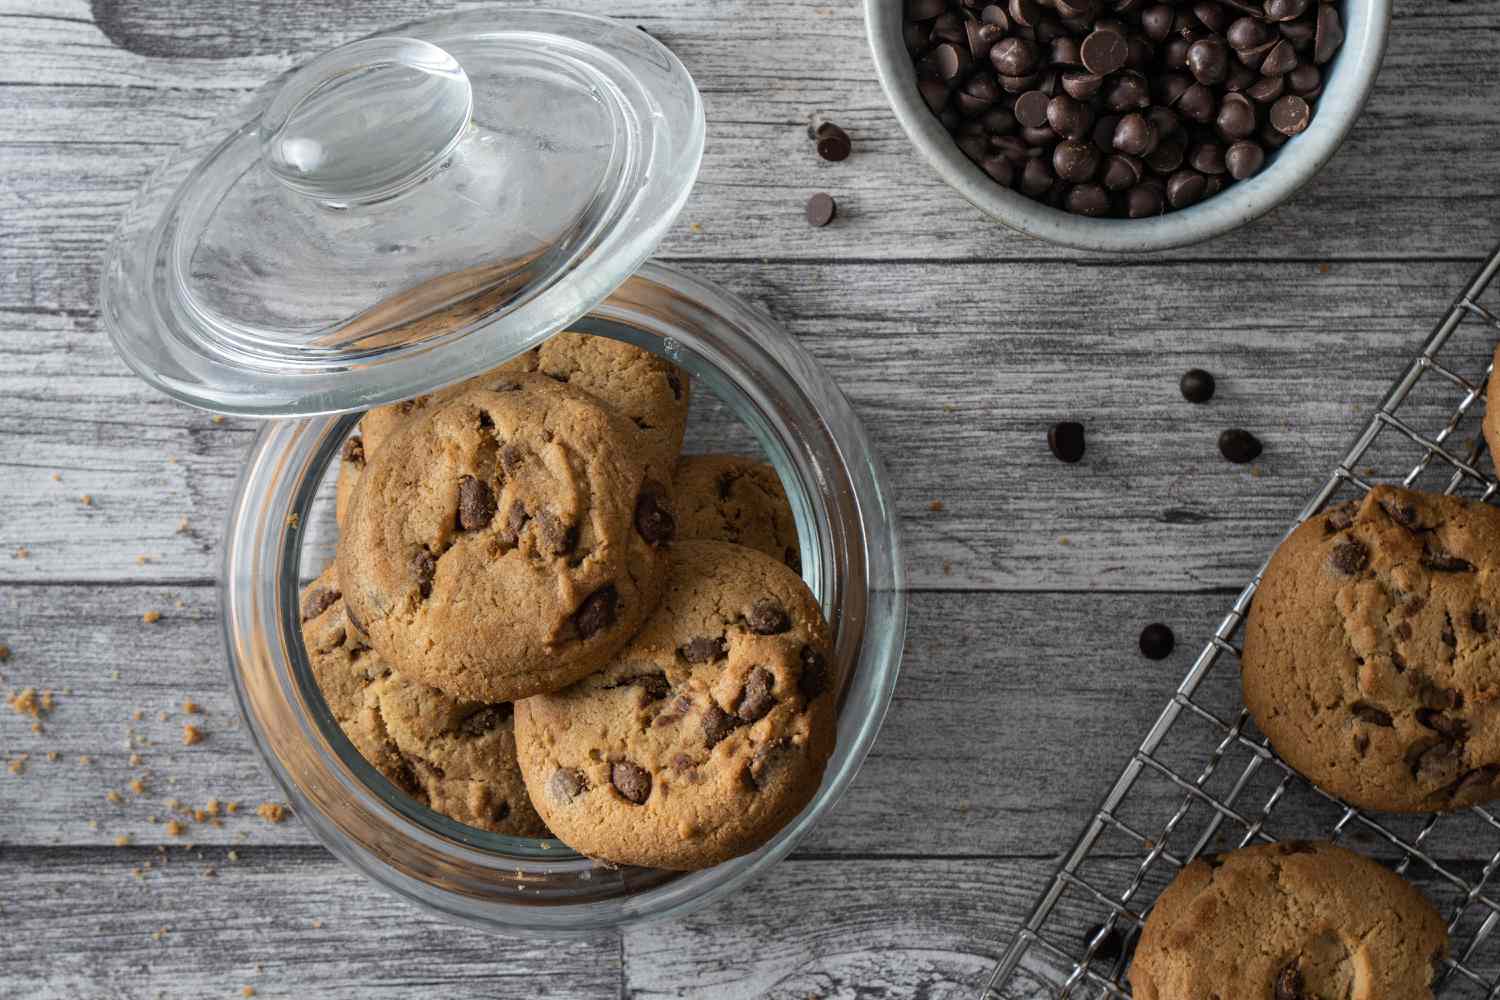
Choosing the Right Container
Choosing the right container is the first step in ensuring that your iced cookies stay fresh and intact during storage. Here are some factors to consider when selecting a container:
- Airtightness: Look for a container that provides a tight seal to prevent air from entering and moisture from escaping. This will help maintain the texture and taste of the cookies.
- Size: Choose a container that is spacious enough to accommodate the cookies without crowding or pressing them together. You don’t want the cookies to lose their shape or get squished.
- Material: Opt for a food-safe and durable material such as plastic or glass. Make sure the material is non-reactive to avoid any unwanted odors or tastes transferring to the cookies.
- Visibility: Select a container with a transparent lid or sides to easily see and admire your beautifully decorated cookies without having to open the container.
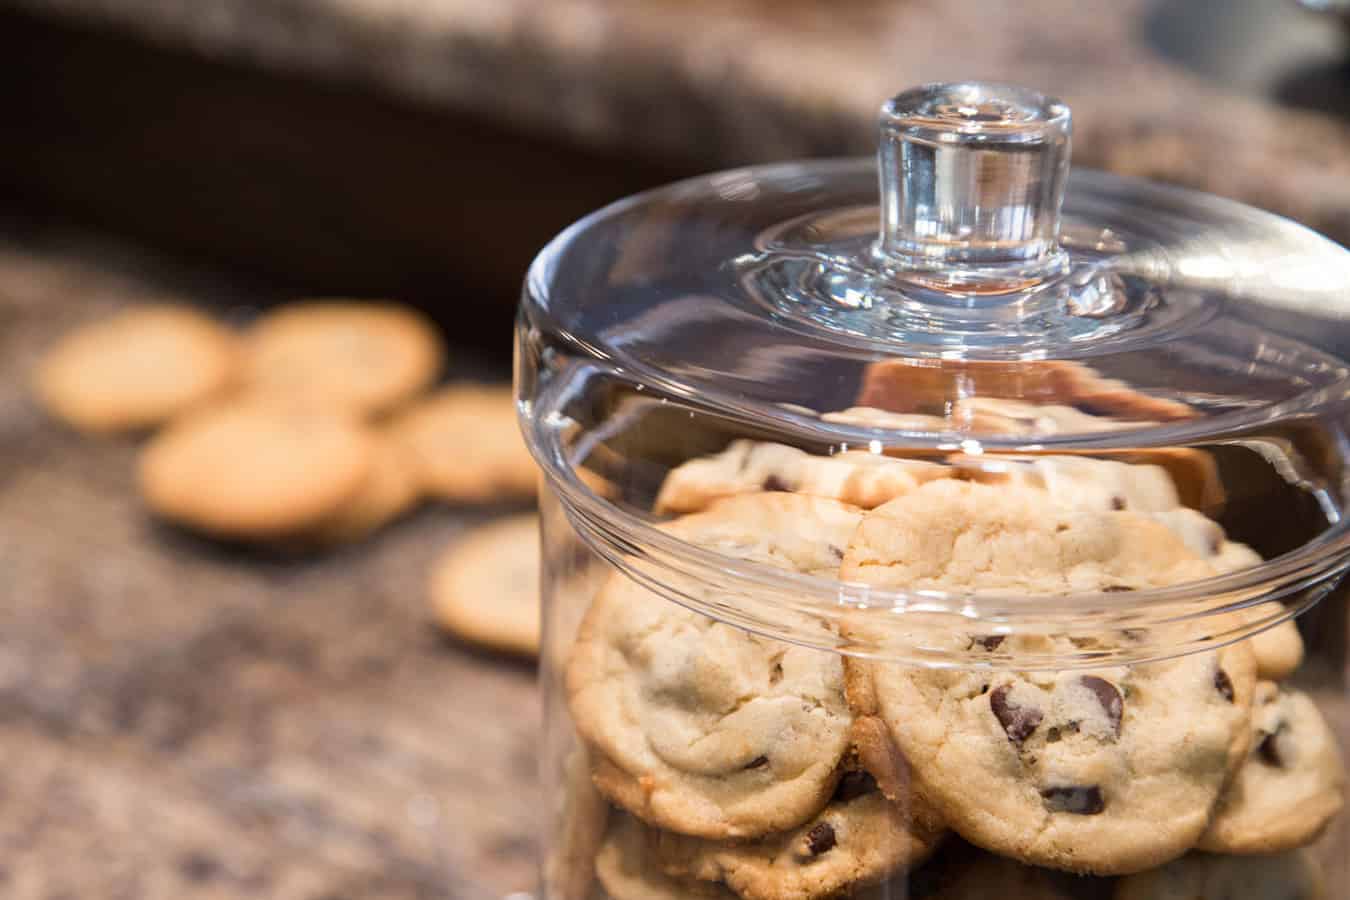
One option that often works well for storing iced cookies is airtight plastic containers. These containers are widely available, affordable, and offer a good seal to keep the cookies fresh. You can find them in various sizes to accommodate different batch sizes of cookies.
If desired, you can also consider using metal tins with tight-fitting lids. Metal tins not only provide effective storage but can also add a vintage or festive touch to your cookie storage.
Whichever container you choose, ensure it is clean, dry, and free from any lingering smells that could be absorbed by the cookies during storage.
Preparing the Cookies for Storage
Before you start storing your iced cookies, it’s important to prepare them properly to maintain their freshness and appearance during storage. Here are some steps to follow:
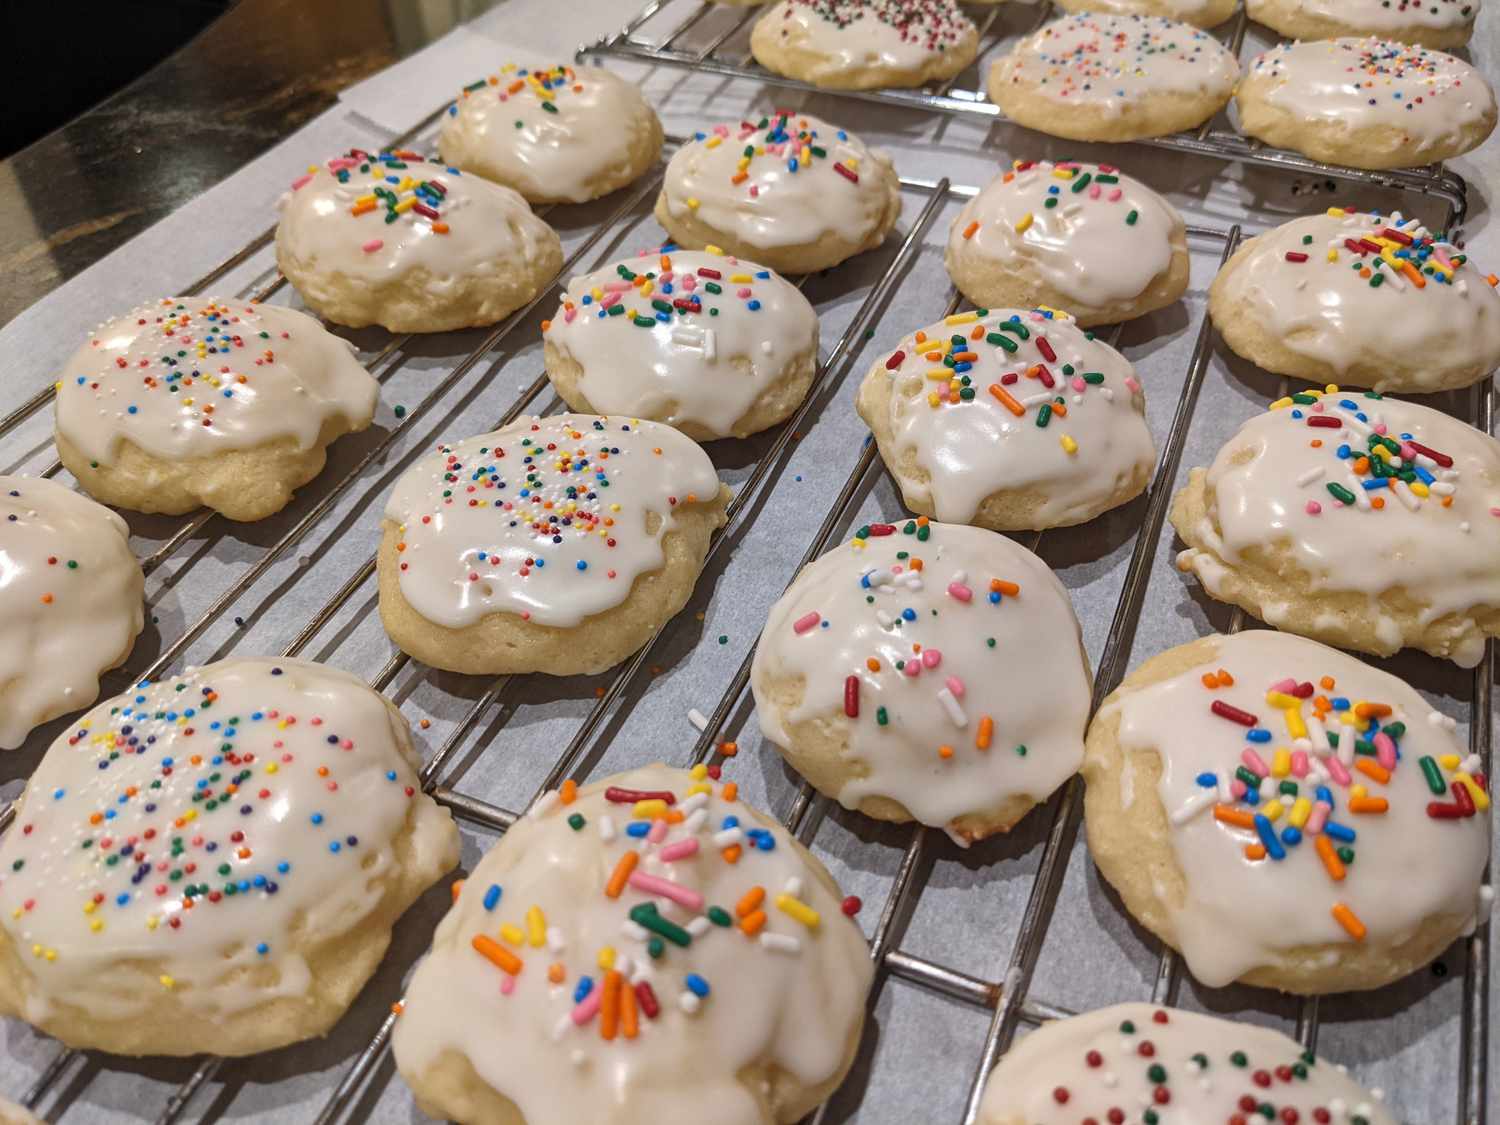
- Cool the cookies completely: Allow your freshly baked iced cookies to cool completely on a wire rack. This step is crucial as it prevents moisture from getting trapped inside the container, which could lead to a soggy texture or smudged icing.
- Make sure the icing is set: Ensure that the icing on your cookies has completely set and hardened before storing them. If the icing is still soft or tacky, it may stick to the container or the layers of parchment paper, resulting in a messy appearance.
- Transfer to a clean surface: Gently transfer the cookies to a clean, dry surface once they have cooled. This will help prevent any crumbs or debris from getting trapped inside the storage container.
- Handle with care: When handling the cookies, try to avoid touching the icing as much as possible, as the oils from your fingers can leave fingerprints or smudge the design.
By following these preparatory steps, you’ll ensure that your cookies are in the best possible condition before they go into storage.
Layering the Cookies
Layering the cookies properly is essential to prevent them from sticking together and to maintain their appearance. Here’s how to layer your iced cookies:
- Place a bottom layer: Start by placing a single layer of cookies at the bottom of your chosen container. Make sure to leave a bit of space between each cookie to prevent them from touching.
- Space out the cookies: As you add more cookies to each layer, ensure that there is enough space between them to avoid any contact. This space allows for proper airflow and helps prevent the cookies from sticking together.
- Use smaller containers: If you have a large batch of iced cookies, consider using multiple smaller containers instead of cramming them all into one. This will allow for better airflow and reduce the risk of the cookies getting damaged.
- Stack layers: If you have multiple layers of cookies, carefully stack them on top of each other, ensuring that there is enough room between the layers. Avoid placing too much weight on the cookies to preserve their shape.
When layering the cookies, it’s crucial to maintain a gentle touch and avoid any unnecessary pressure or movement that could cause smudging or breaking of the icing.
Remember, the goal is to keep the cookies separate and protected from each other to maintain their visual appeal and prevent any damage during storage.
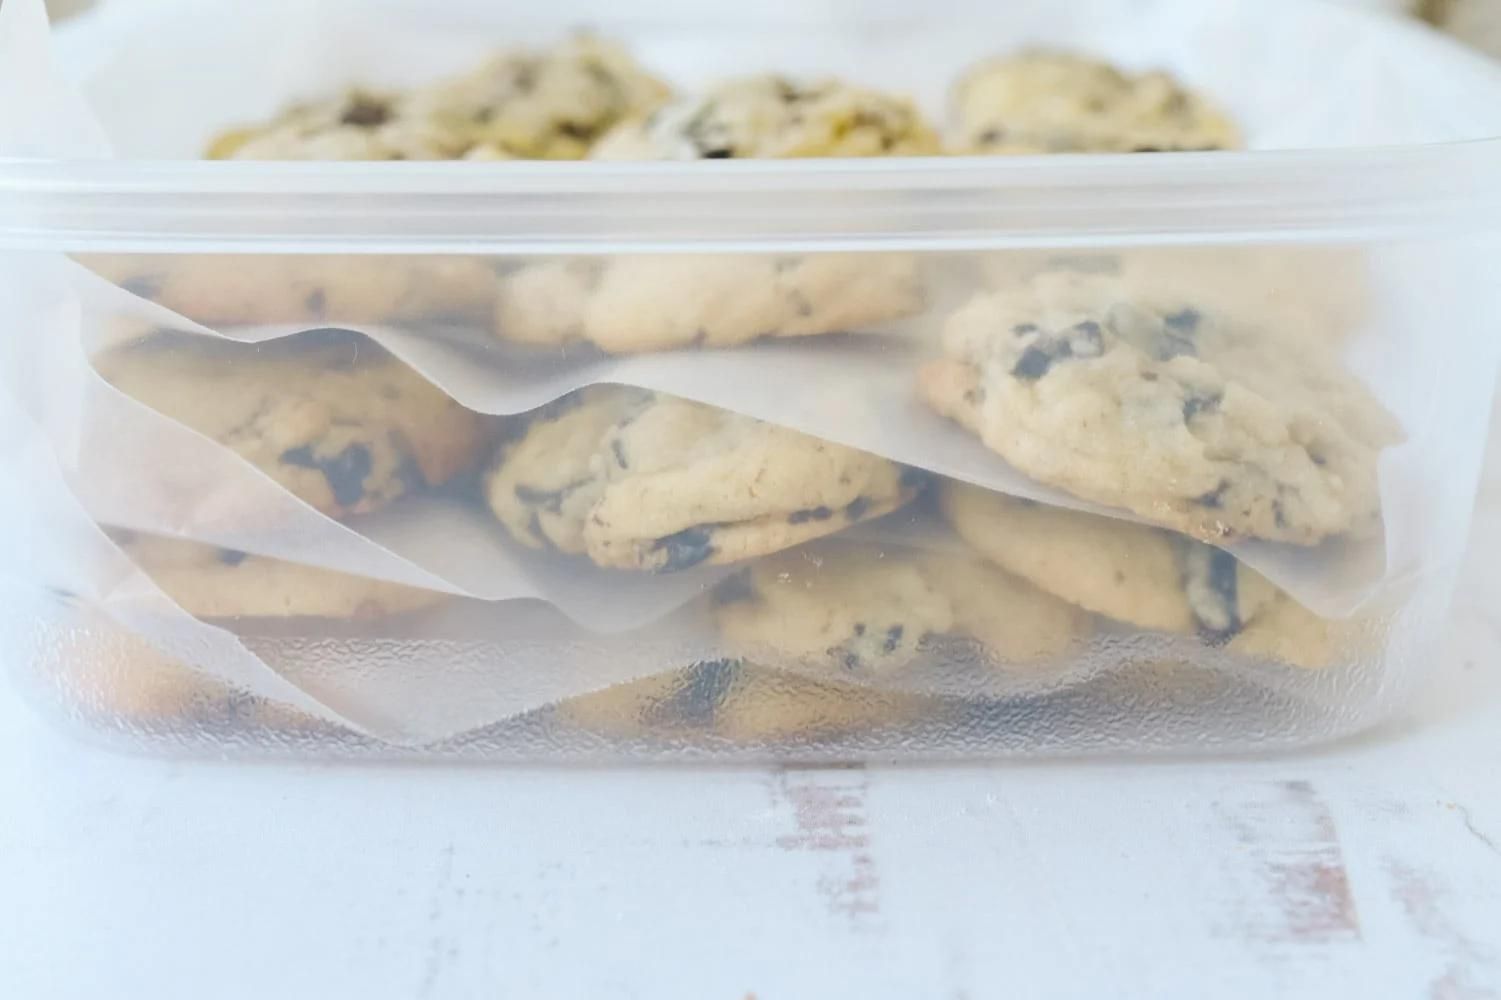
Separating Layers with Parchment Paper
When storing iced cookies, it’s important to prevent them from sticking together or their icing from smudging. One effective method to achieve this is by separating layers with parchment paper. Here’s how to do it:
- Cut parchment paper: Cut pieces of parchment paper in sizes that fit the dimensions of your container.
- Place parchment paper: After layering a row of cookies, gently place a piece of parchment paper on top to create a barrier between the layers.
- Alternate layers: Continue layering cookies and parchment paper, alternating between them until all the cookies are properly stacked.
- Overlap parchment paper: To provide complete separation and protection, you can overlap the parchment paper pieces slightly, covering the edges of the cookies.
The parchment paper acts as a protective barrier, ensuring that the icing on the cookies remains intact and the cookies stay separate. It prevents the cookies from sticking together or the icing from smearing, even if they shift slightly during storage.
Using parchment paper also makes it easier to retrieve individual cookies from the container when needed, without any risk of damaging the delicate frosting or designs.
Remember to handle the parchment paper and cookies with care to avoid disturbing the arrangement and preserve the freshness and appearance of your iced cookies.
Store iced cookies in a single layer in an airtight container, separating layers with parchment paper to prevent sticking. Keep the container in a cool, dry place to maintain freshness and prevent the icing from melting.
Read more: How To Store Royal Icing Cookies
Wrapping the Container Properly
Once you’ve layered your iced cookies and separated them with parchment paper, it’s important to properly wrap the container to provide an additional layer of protection. Here are some tips for wrapping your container:
- Tightly seal the lid: Ensure that the container’s lid is tightly secured to create an airtight seal. This will help prevent any air or moisture from entering, which could compromise the texture and freshness of the cookies.
- Use plastic wrap or foil: For added protection, you can wrap the entire container with plastic wrap or aluminum foil. This will provide an extra barrier against air and moisture.
- Label the container: If you are storing different types of cookies or want to keep track of the storage date, consider labeling the container with the type of cookies and the date they were stored. This can help you keep track of the freshness and easily identify the contents.
- Store upright: Whenever possible, store the container upright to prevent any pressure or weight from potentially damaging the cookies.
By properly wrapping the container, you enhance the protection of your iced cookies and extend their shelf life. The wrapping not only helps maintain the freshness and quality of the cookies but also minimizes the risk of any external factors affecting their texture or flavor.
Remember to handle the wrapped container with care and avoid any rough movement or stacking heavy objects on top of it, ensuring that the iced cookies stay in their optimal condition.
Storing the Cookies in the Freezer
The freezer is an excellent option for long-term storage of iced cookies. Freezing helps preserve the freshness, texture, and appearance of the cookies for an extended period. Here’s how to store your iced cookies in the freezer:
- Ensure the cookies are fully cooled: Make sure that your iced cookies are completely cooled before freezing them. This prevents condensation from forming on the cookies, which could cause them to become soggy once thawed.
- Wrap the cookies: Individually wrap each cookie or wrap small batches of cookies together tightly in plastic wrap or layers of aluminum foil. This extra layer of wrapping helps protect the cookies from freezer burn and maintains their quality.
- Place in a freezer-safe container: Once wrapped, place the cookies in a freezer-safe container or resealable freezer bags. Squeeze out any excess air and seal the container or bags tightly.
- Label the container: Make sure to label the container or bags with the date of storage and the type of cookies for easy identification.
- Arrange the cookies: Place the wrapped and labeled cookies in a single layer or stack them neatly in the freezer to maximize storage space.
When you’re ready to enjoy your cookies, remove them from the freezer and allow them to thaw at room temperature. It’s important to keep them in their wrapping until fully thawed to prevent any moisture from affecting the icing.
Properly stored, iced cookies can be kept in the freezer for up to three months without sacrificing taste or texture. This allows you to enjoy your delicious treats at your leisure or have them readily available for special occasions and gatherings.
Remember to consume any previously frozen cookies within a reasonable timeframe after thawing.
Storing the Cookies in the Refrigerator
If you prefer a shorter-term storage option for your iced cookies, storing them in the refrigerator can help maintain their freshness and quality. Here’s how to store your iced cookies in the refrigerator:
- Cool the cookies: Allow your freshly baked iced cookies to cool completely before placing them in the refrigerator. This helps prevent condensation from forming on the cookies, which could lead to a loss of texture or smudging of the icing.
- Wrap the cookies: Individually wrap each cookie or group them together in tight layers with sheets of plastic wrap or aluminum foil. This extra layer of wrapping helps prevent the cookies from drying out and keeps them fresh.
- Place in an airtight container: Once wrapped, place the cookies in an airtight container to further protect them from absorbing any odors or flavors from other foods in the refrigerator.
- Label the container: Label the container with the date of storage and the type of cookies. This helps you keep track of the freshness and easily identify the contents.
- Store in a designated area: Place the container of wrapped cookies in a designated area of the refrigerator, away from strong-smelling foods, to maintain the integrity of the flavors.
When you’re ready to enjoy your cookies, remove them from the refrigerator and allow them to come to room temperature. This will help restore their texture and enhance their taste. Avoid leaving the cookies at room temperature for an extended period, as this can cause the icing to melt or become sticky.
Refrigerating iced cookies can help keep them fresh for up to a week, making it an ideal option for storing cookies for shorter durations or when you want to enjoy them over multiple days.
Remember to consume any refrigerated cookies within a reasonable timeframe to experience them at their best.
Tips for Long-term Storage
If you’re looking to store your iced cookies for an extended period, whether in the freezer or the refrigerator, here are some additional tips to ensure their long-term freshness:
- Label and date: Always label your containers or bags with the date of storage and the type of cookies. This allows you to keep track of their freshness and easily identify them.
- Quality ingredients: When baking your cookies, use high-quality ingredients to ensure the best taste and longevity. Fresh, quality ingredients result in cookies that have a longer shelf life.
- Avoid exposure to air: Whenever handling the cookies, make sure to minimize their exposure to air. Air can lead to moisture loss and affect the texture and taste of the cookies.
- Avoid direct sunlight: Store your cookies away from direct sunlight or heat sources as this can cause the icing to melt or fade and affect the overall quality of the cookies.
- Regularly inspect: Periodically check your stored cookies for any signs of spoilage, such as mold or off flavors. If you notice any compromised cookies, discard them to prevent potential contamination of the rest.
- Thaw gradually: When thawing frozen cookies, do so gradually at room temperature. This helps prevent any excessive moisture buildup that can affect the texture and appearance of the cookies.
- Enjoy before expiry: While properly stored cookies can last for months, it’s best to consume them within a reasonable timeframe to enjoy them at their freshest.
- Consider vacuum sealing: If you have a vacuum sealer, you can use it to remove excess air from the storage bags, further extending the shelf life of the cookies.
Following these tips will help ensure that your iced cookies remain fresh, delicious, and visually appealing during long-term storage.
Remember, while properly stored cookies can last for extended periods, it’s always best to enjoy them sooner rather than later to savor their optimal flavors and textures.
Read more: How To Store Iced Sugar Cookies
Conclusion
Proper storage is vital to keep your iced cookies fresh, tasty, and visually appealing for as long as possible. By following the guidelines outlined in this article, you can ensure that your cookies retain their quality throughout their storage period.
Choosing the right container, preparing the cookies properly, layering them with parchment paper, and wrapping the container tightly are all crucial steps in maintaining the integrity of the cookies. Whether you opt for freezing or refrigerating, each method has its benefits, depending on your storage needs.
Long-term storage requires attention to detail, including labeling, using quality ingredients, and properly handling the cookies to prevent spoilage. Regularly inspecting your stored cookies and consuming them before expiry will ensure that you enjoy them at their best.
Remember, the journey doesn’t end in the storage process. Once you are ready to enjoy your cookies, allow them to thaw or come to room temperature before indulging in their deliciousness.
With these tips and techniques, you can confidently store your iced cookies, knowing that they will remain fresh and delightful for whenever you’re ready to indulge or share them with loved ones.
So, go ahead, bake those beautiful, iced cookies, store them correctly, and enjoy the sweet rewards for weeks or even months to come!
Frequently Asked Questions about How To Store Iced Cookies
Was this page helpful?
At Storables.com, we guarantee accurate and reliable information. Our content, validated by Expert Board Contributors, is crafted following stringent Editorial Policies. We're committed to providing you with well-researched, expert-backed insights for all your informational needs.


0 thoughts on “How To Store Iced Cookies”