Articles
How To Store Cooking Oil After Use
Modified: March 26, 2024
Learn the best practices for storing cooking oil after use in this informative article. Keep your oil fresh and prevent rancidity with these tips.
(Many of the links in this article redirect to a specific reviewed product. Your purchase of these products through affiliate links helps to generate commission for Storables.com, at no extra cost. Learn more)
Introduction
Properly storing cooking oil after use is crucial for maintaining its quality and preserving its flavor. Whether you’re an amateur cook or a seasoned chef, knowing how to store cooking oil correctly can extend its shelf life and save you money in the long run.
Cooking oil is a staple ingredient in most kitchens, used for various cooking methods such as frying, sautéing, and baking. It adds flavor and richness to dishes, making them more delicious and satisfying. However, if cooking oil is not stored properly, it can quickly deteriorate, lose its nutritional value, and develop an unpleasant taste and odor.
In this article, we will explore the importance of properly storing cooking oil, as well as the best practices to ensure its longevity and quality. From choosing the right container to finding the ideal storage location, we will provide you with valuable tips to help you preserve your cooking oil effectively.
So, if you want to make the most of your cooking oil and ensure that every dish you prepare tastes as good as it can be, read on to discover the secrets of proper cooking oil storage!
Key Takeaways:
- Properly storing cooking oil is crucial for maintaining its quality, flavor, and safety. Choose the right container, avoid light and heat exposure, and check for spoilage to maximize its shelf life and enjoy delicious dishes.
- Responsible disposal of used cooking oil is essential to prevent environmental pollution and maintain plumbing functionality. Consider recycling options and never pour oil down the drain to contribute to a cleaner, sustainable environment.
Read more: How To Store Used Peanut Oil
Importance of Properly Storing Cooking Oil
Properly storing cooking oil is essential for several reasons. Firstly, it helps to maintain the oil’s quality and flavor. When exposed to light, heat, and air, cooking oil can undergo oxidation, leading to the formation of free radicals and the breakdown of its beneficial nutrients. This can result in an undesirable taste and a decrease in the oil’s nutritional value.
Secondly, storing cooking oil correctly can prevent it from turning rancid. Rancidity occurs when the oil undergoes chemical decomposition, resulting in an unpleasant smell and taste. Consuming rancid oil can be harmful to your health and may lead to digestive issues.
Furthermore, by storing cooking oil properly, you can avoid waste and save money. When oil goes bad, you’ll have no choice but to dispose of it, which can be a waste of both resources and money. With proper storage techniques, you can prolong the shelf life of your cooking oil and ensure that it remains in optimal condition for future use.
Lastly, safely storing cooking oil is essential for maintaining a clean and organized kitchen. When oil is left unattended or stored improperly, it can spill, creating a mess that can be difficult to clean. By taking the time to store your cooking oil correctly, you can prevent accidents, maintain a tidy kitchen, and make your cooking process more efficient.
Overall, the importance of properly storing cooking oil cannot be overstated. It not only preserves the quality and flavor of the oil but also ensures its safety for consumption and reduces waste. Now that we understand why proper storage is crucial, let’s delve into the best practices for storing cooking oil to maximize its lifespan and maintain its integrity.
Best Practices for Storing Cooking Oil
When it comes to storing cooking oil, there are a few key practices that can help ensure its longevity and quality. Here are some best practices to follow:
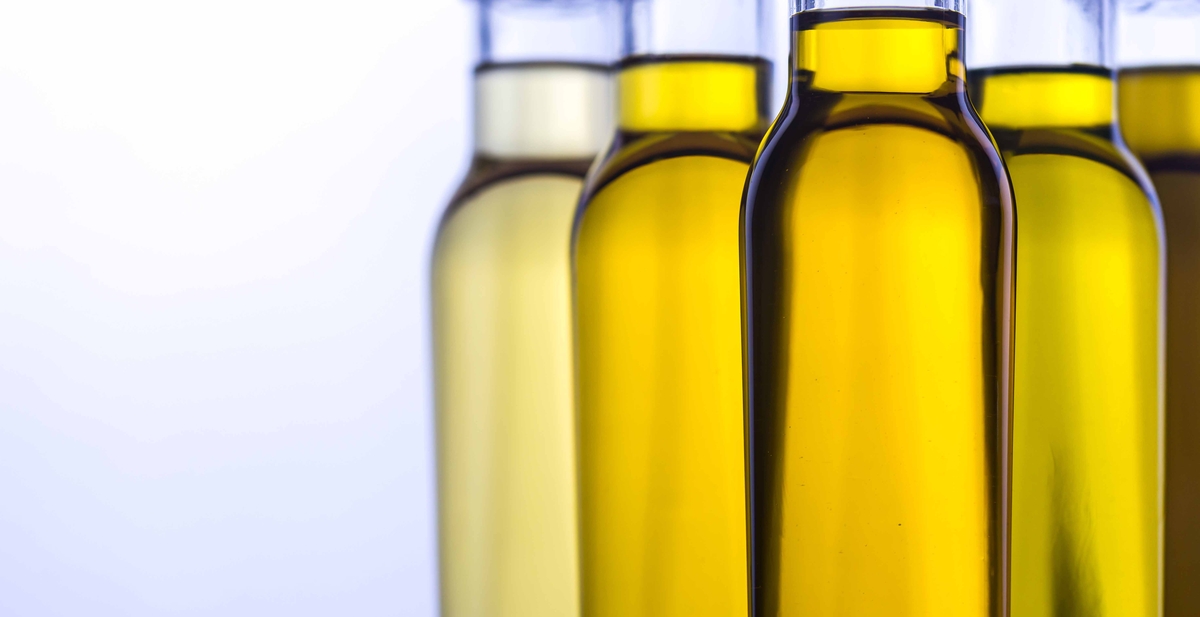
- Choose the right container: Select a container specifically designed for storing cooking oil. Look for containers made of opaque materials such as tinted glass or stainless steel. Opaque containers help block out light, which can cause oil to degrade more rapidly. Opt for a container with a tight-fitting lid to prevent air exposure and keep the oil fresh.
- Avoid exposure to light and heat: Light and heat can accelerate the oxidation process in oil, resulting in the formation of free radicals and the breakdown of its quality. Store your cooking oil in a cool, dark place away from direct sunlight and heat sources such as stovetops or ovens. A pantry or cupboard is an ideal storage location.
- Keep the container tightly sealed: Moisture and air are the enemies of cooking oil. After each use, ensure the container is tightly sealed to prevent any moisture or air from entering. This will help maintain the oil’s freshness and prevent it from going rancid.
- Label the container: To avoid confusion and prevent using expired or rancid oil, label the container with the date of purchase or the date of opening. This will allow you to keep track of the oil’s age and ensure you use it within its recommended shelf life.
- Store away from strong odors: Cooking oil can easily absorb strong odors from other foods stored nearby, compromising its flavor and quality. Keep your oil away from pungent ingredients like onions, garlic, and spices. If possible, store it in a separate cupboard or area of your kitchen.
- Monitor for signs of spoilage: Regularly check your stored cooking oil for any signs of spoilage or rancidity. Look for changes in color, texture, or smell. If the oil appears cloudy, thick, or has a foul odor, it is likely spoiled and should be discarded.
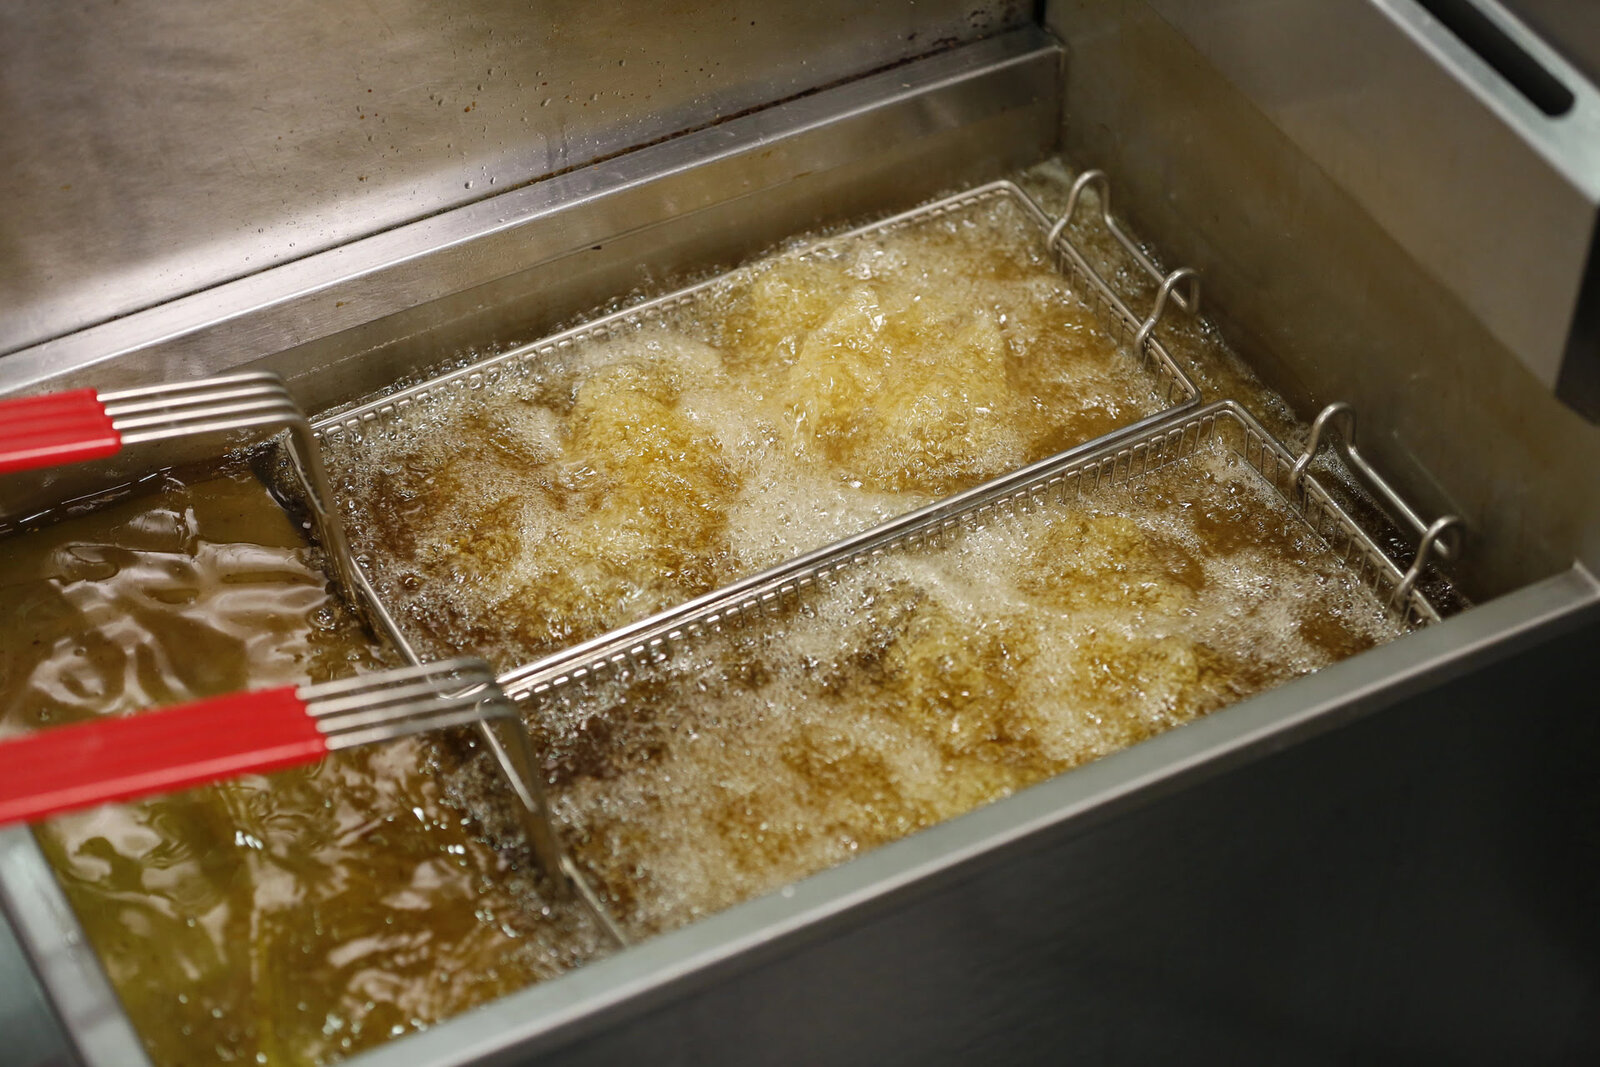
- Avoid reusing oil multiple times: While it is common to reuse cooking oil for frying, it is important to note that oil can break down with each use, leading to the production of harmful substances. It is recommended to limit the reuse of oil to two or three times and discard it afterwards.
By following these best practices, you can ensure that your cooking oil remains fresh, flavorful, and safe for consumption. Store your oil properly to preserve its quality and enjoy the full benefits it offers in your culinary adventures.
Choosing the Right Container
When it comes to storing cooking oil, choosing the right container is key to maintaining its freshness and quality. Here are some factors to consider when selecting the ideal container for your cooking oil:
- Material: Opt for containers made from opaque materials such as tinted glass or stainless steel. Opaque containers help block out light, which can cause the oil to degrade more rapidly. Avoid transparent containers as they allow light to penetrate, leading to the oxidation of the oil.
- Tight-fitting lid: Look for a container with a tight-fitting lid or cap. This will help to prevent air exposure and keep the oil fresh for a longer period. A secure lid will also prevent any spills or leaks, keeping your kitchen clean and organized.
- Size: Consider the size of the container based on the amount of cooking oil you typically use. It’s best to choose a container that is slightly larger than your needs to ensure that there is enough headspace to accommodate the expansion that may occur with temperature changes.
- Easy to pour: Ensure that the container has a spout or a pourer that allows for easy and controlled pouring of the oil. This will minimize the risk of spills and make it convenient to measure and pour the desired amount of oil in your cooking process.
- Durable and non-reactive: Select a container that is durable and made from non-reactive materials. Some types of plastic containers can interact with the oil and release harmful chemicals. Stainless steel and glass containers are excellent choices as they are non-reactive and provide a safe storage option.
It’s important to note that reusing containers that previously held other liquids may not be ideal for storing cooking oil. Residual flavors or odors from the previous contents can contaminate the oil and affect its taste. It’s best to dedicate a specific container solely for storing cooking oil.
By taking these factors into consideration when choosing the right container, you can ensure that your cooking oil stays fresh, free from contamination, and ready to enhance the flavors of your favorite dishes.
Avoiding Exposure to Light and Heat
Exposure to light and heat can have a detrimental effect on the quality and shelf life of cooking oil. To ensure that your oil remains fresh and flavorful, it’s important to store it in a location that minimizes these elements.
Light can hasten the oxidation process in cooking oil, leading to the breakdown of its beneficial compounds and the development of off-flavors. Therefore, it’s crucial to store your oil in a cool and dark place. Avoid keeping it on countertops or near windows where it may be exposed to direct sunlight.
Heat can also accelerate the degradation of cooking oil, causing it to become rancid more quickly. It’s essential to keep your oil away from heat sources such as stovetops, ovens, and other appliances that emit heat. The heat can promote oxidation and cause the oil to spoil faster.
Consider these tips to avoid exposure to light and heat when storing your cooking oil:
- Choose a suitable storage location: Select a cool and dark spot in your kitchen for storing your cooking oil. A pantry or cupboard away from direct light and heat sources is an ideal choice. Ensure that the storage area is well-ventilated to prevent any buildup of excess moisture or odors.
- Avoid storing near the stove: While it may be convenient to have your oil within arm’s reach during cooking, storing it near the stove can subject it to heat and fluctuating temperatures. Instead, find an alternative location that is cool and away from any heat-generating appliances.
- Use tinted or opaque containers: As mentioned earlier, using containers made of tinted glass or opaque materials can help block out light and protect the oil from oxidation. This is especially important if your chosen storage location allows some light to enter.
- Keep the oil away from other hot items: Store your cooking oil away from other hot items in your kitchen. For example, don’t store it near the oven or on top of the microwave. Keeping it away from heat sources prevents unnecessary exposure and ensures that the oil retains its freshness.
- Do not store near the refrigerator or freezer: While it’s important to keep cooking oil away from heat sources, it’s equally important to avoid storing it near the refrigerator or freezer. The temperature fluctuations near these appliances can cause condensation and moisture buildup, which can degrade the quality of the oil.
By following these guidelines and avoiding excess light and heat exposure, you can help extend the shelf life of your cooking oil and ensure that it remains fresh and delicious for your culinary endeavors.
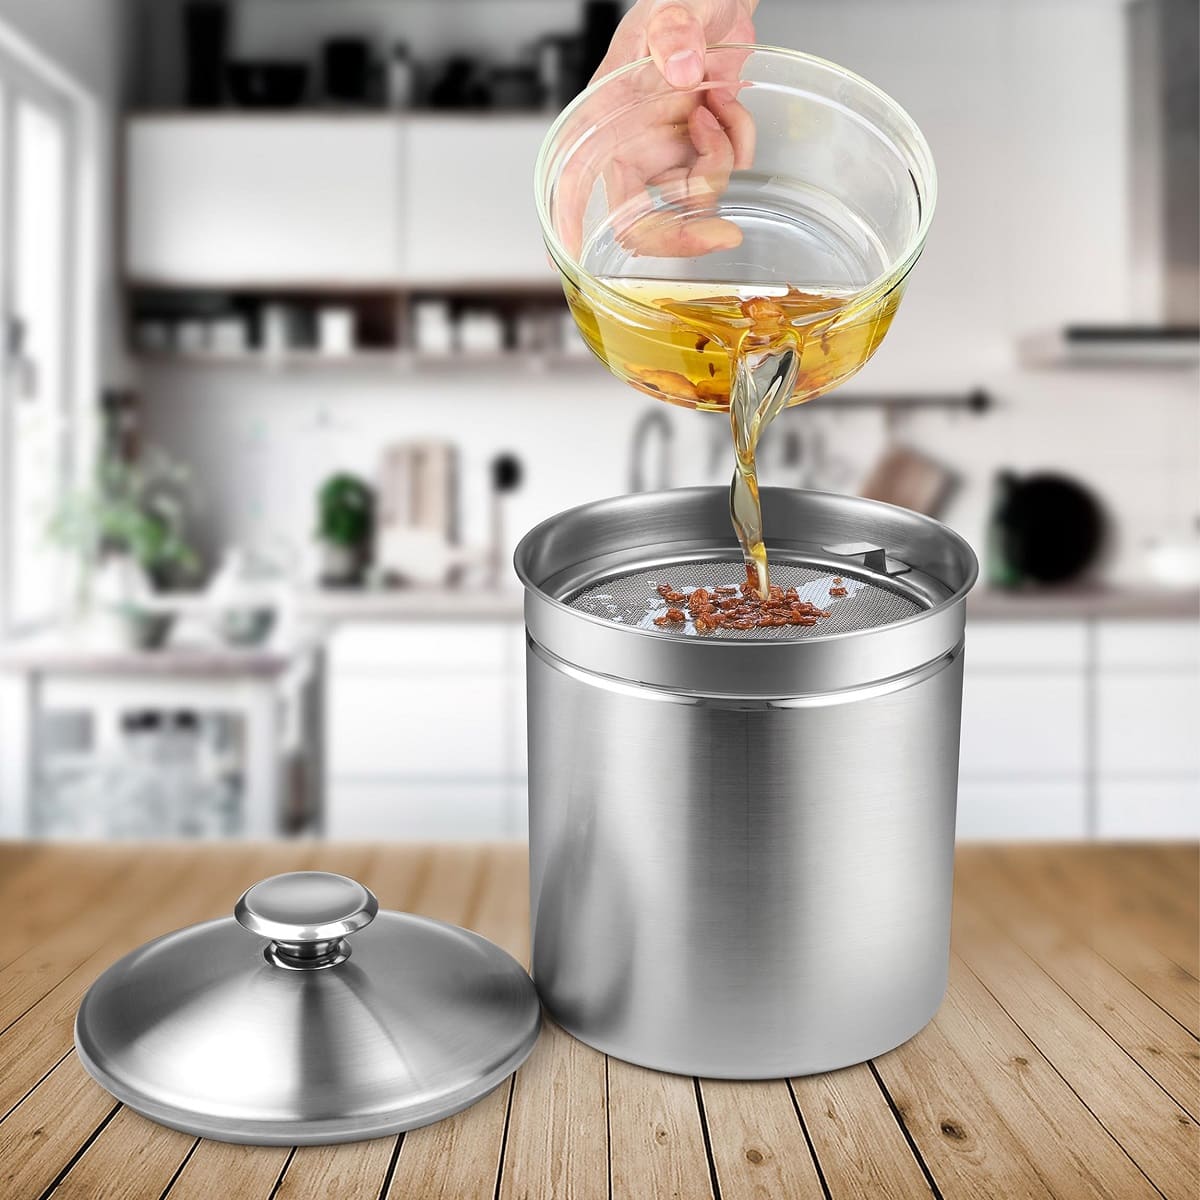
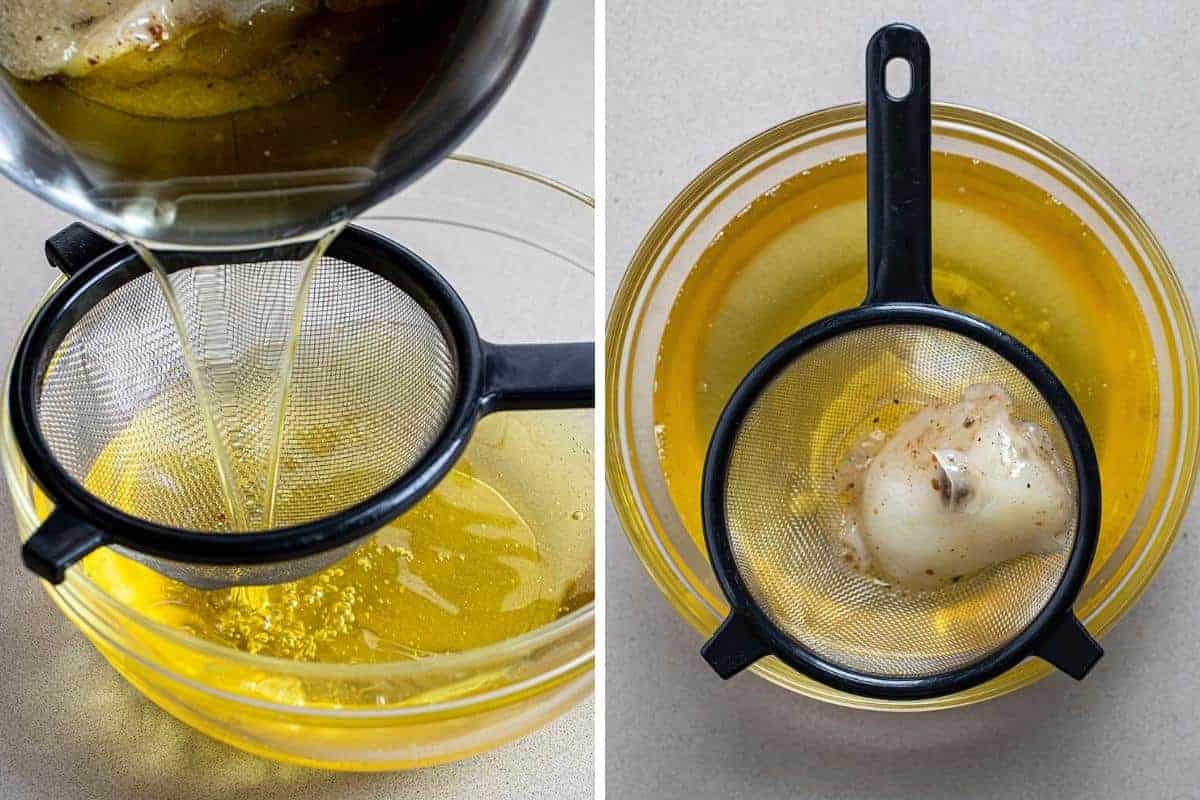
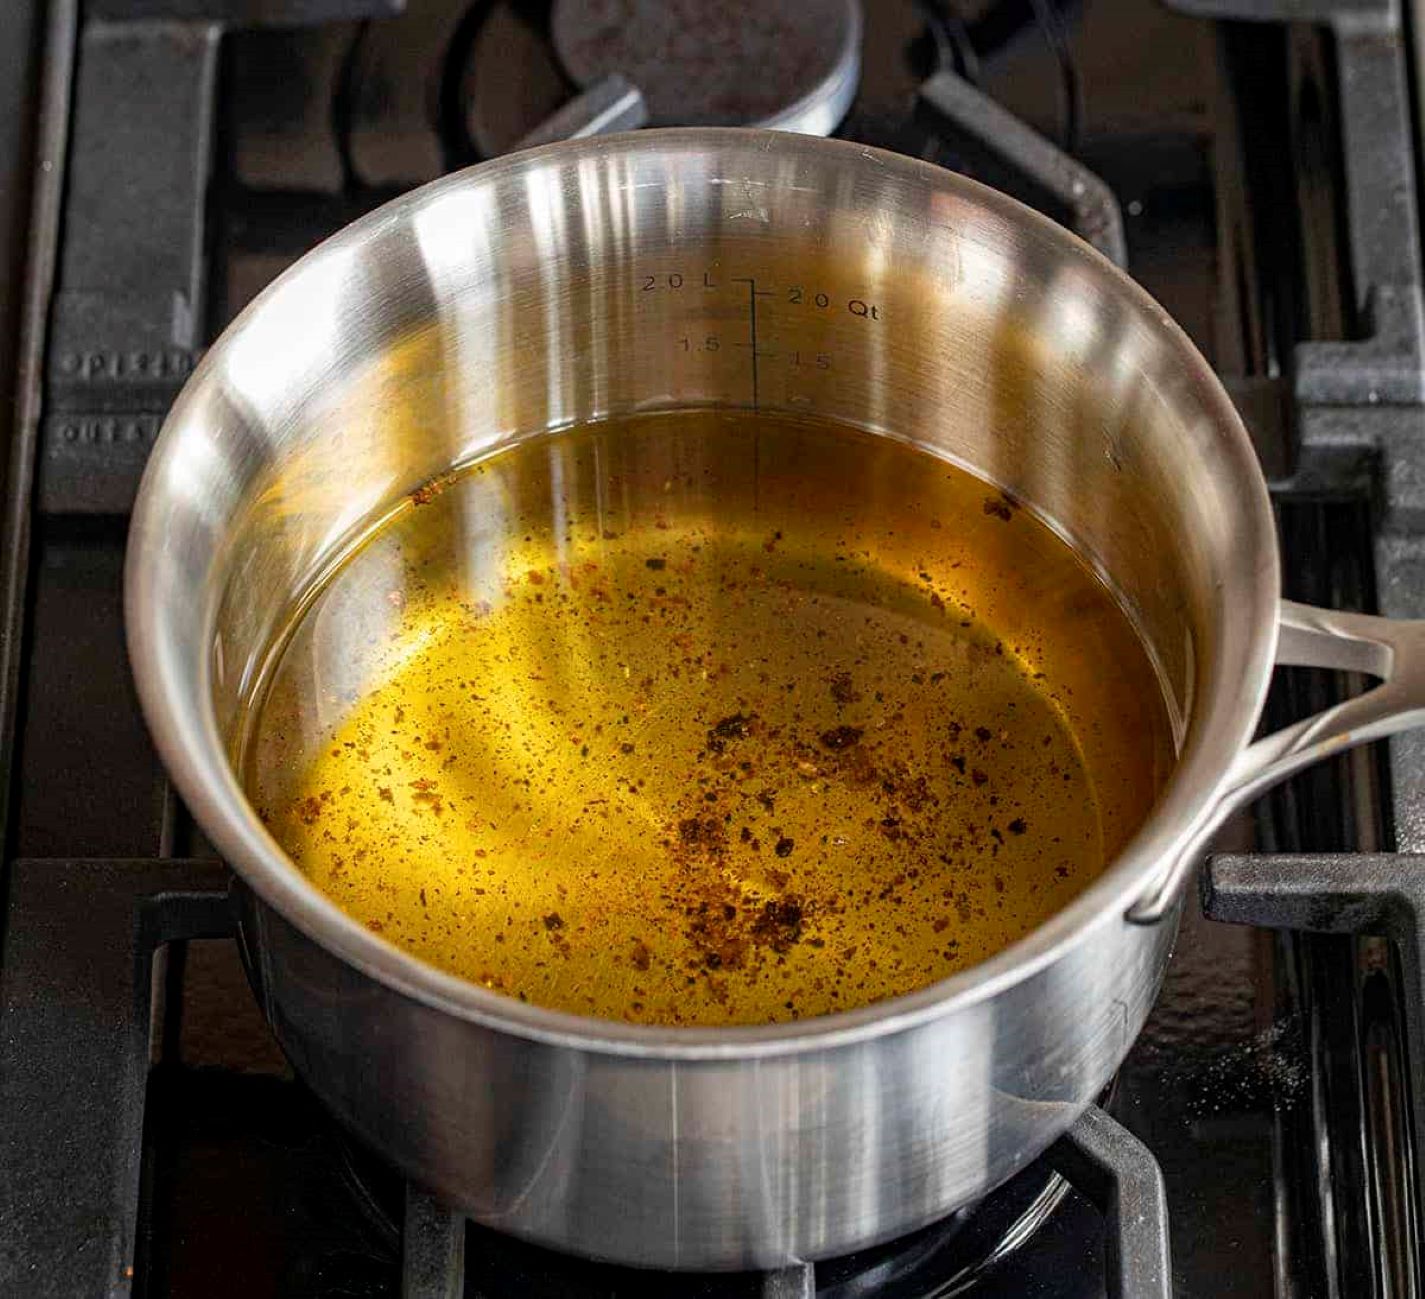
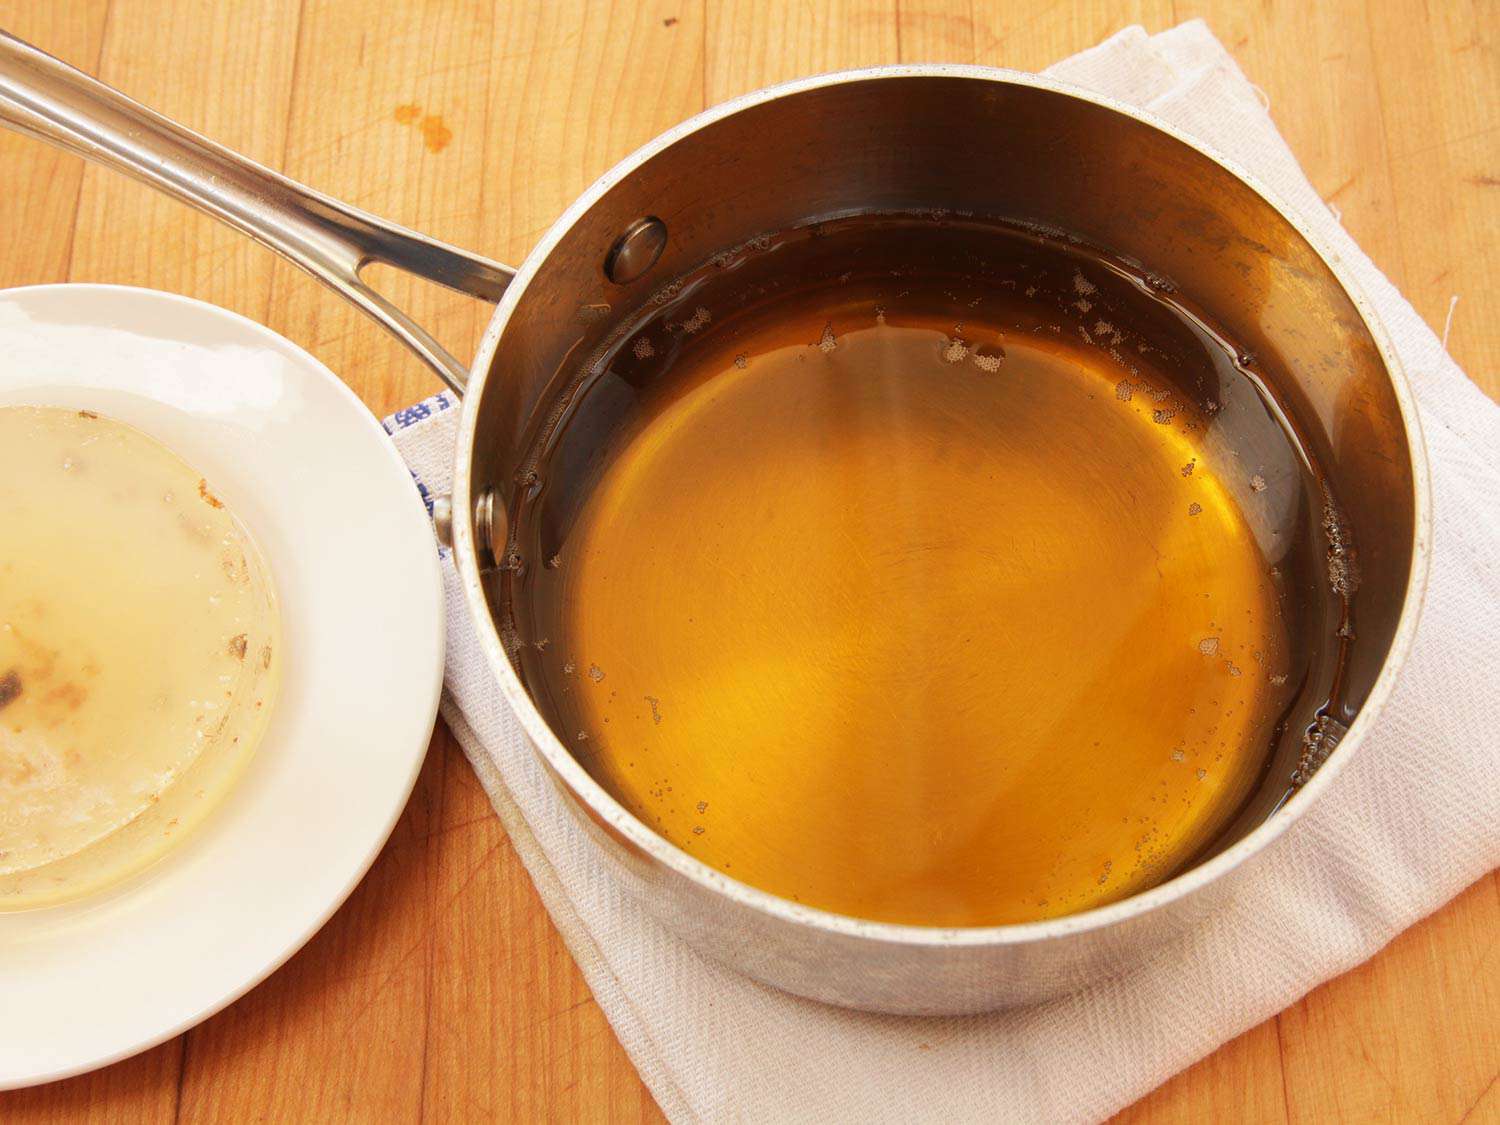
After using cooking oil, allow it to cool completely, then strain it through a fine mesh sieve or cheesecloth to remove any food particles. Store it in a clean, airtight container away from heat and light to prolong its shelf life.
Read more: How To Store Used Frying Oil
Finding the Ideal Storage Location
Choosing the right storage location for your cooking oil is crucial for maintaining its quality and extending its shelf life. An ideal storage location should be cool, dry, and away from direct light and heat sources. Here are some tips to help you find the perfect spot:
- Pantry or cupboard: A pantry or cupboard in your kitchen is often an excellent choice for storing cooking oil. These areas are typically cool, dark, and provide a controlled environment that protects the oil from excessive light and heat exposure.
- Away from sunlight: Sunlight can accelerate the oxidation process of cooking oil, leading to rancidity and a decrease in quality. Choose a storage location that is shielded from direct sunlight. If your pantry or cupboard has a window, consider using opaque containers or positioning the oil away from the window to minimize light exposure.
- Away from heat sources: Heat can speed up the breakdown of cooking oil, causing it to spoil more quickly. Avoid storing cooking oil near stovetops, ovens, or other appliances that emit heat. These appliances can subject the oil to fluctuating temperatures, which can negatively impact its quality.
- Well-ventilated area: Proper air circulation is important when storing cooking oil. Ensure that the storage location is well-ventilated to prevent the accumulation of excess moisture, which can lead to spoilage. Good ventilation helps maintain the integrity and freshness of the oil.
- Stable temperature: Fluctuating temperatures can affect the quality of cooking oil. Aim for a storage location with a stable temperature, ideally between 50-68°F (10-20°C). Avoid areas that are prone to temperature fluctuations, such as near radiators or air vents.
- Away from strong odors: Cooking oil can absorb odors from strong-smelling foods, affecting its flavor and quality. Keep the oil away from pungent ingredients like onions, garlic, and spices. If possible, store it in a separate cupboard or use a covered container to minimize odor absorption.
By finding the ideal storage location that meets these criteria, you can help preserve the freshness and quality of your cooking oil. Remember to always keep the oil sealed tightly in an appropriate container to prevent air exposure and ensure its longevity.
Checking for Spoilage or Rancidity
Regularly checking your stored cooking oil for signs of spoilage or rancidity is essential to ensure that you are using oil that is safe and of high quality in your culinary creations. Here are some indicators to look out for:
- Color: Fresh cooking oil typically has a clear or slightly yellowish color, depending on the type of oil. If you notice any significant color changes such as cloudiness or a darker hue, it may indicate spoilage.
- Texture and Consistency: Pay attention to the texture of the oil. If it appears to be thicker, sticky, or has clumps, it is likely spoiled. Fresh cooking oil should have a smooth and fluid consistency.
- Smell: Use your nose to detect any off-putting or rancid odors. Spoiled cooking oil may have a sour, musty, or funky smell. Fresh oil should have a neutral or characteristic aroma, depending on the type of oil.
- Taste: If you suspect that your cooking oil may be spoiled, conduct a taste test. Rancid oil will have an unpleasant, bitter, or metallic taste. Fresh oil should have a clean and mild flavor.
- Expiration Date: Check the expiration date or Best Before date on the oil container. While this date is not a definitive indicator of spoilage, it gives you a general guideline for the oil’s freshness.
- Storage Duration: Take into account the length of time the oil has been stored. Cooking oils have different shelf lives, so it’s important to follow the manufacturer’s recommendations. If the oil exceeds its recommended storage duration, it may be more prone to spoilage.
If you observe any of these signs indicating spoilage or rancidity, it is best to err on the side of caution and discard the oil. Using spoiled oil in your cooking can negatively affect the taste of your dishes and potentially be harmful to your health.
To minimize the risk of spoilage and rancidity, always store your cooking oil properly in a cool, dark place with minimal exposure to light and heat. Ensure that the container is tightly sealed to prevent air exposure, which can accelerate the degradation process.
By regularly inspecting your stored cooking oil and being vigilant of these indicators, you can maintain the quality and safety of your oil, ensuring that it enhances the flavors of your culinary creations and provides optimal nutrition.
Proper Disposal of Used Cooking Oil
Proper disposal of used cooking oil is crucial to prevent environmental pollution and maintain the functionality of your plumbing system. Here are some guidelines to follow for the proper disposal of used cooking oil:
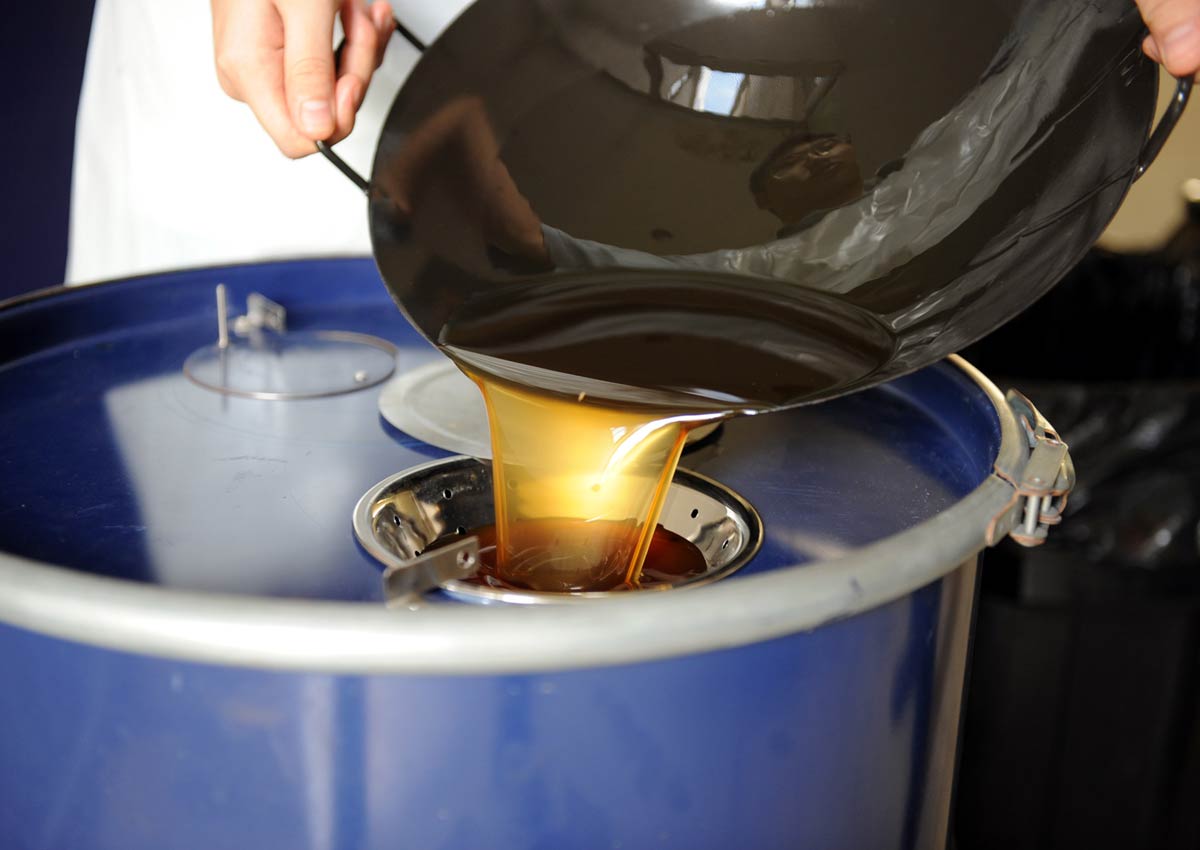
- Allow the oil to cool: After you have finished using the cooking oil, allow it to cool completely. Hot oil can cause burns and is more difficult to handle.
- Strain and remove food particles: Before disposing of the oil, strain it through a fine mesh strainer or cheesecloth to remove any food particles. This will help prevent clogs in your plumbing system.
- Reuse or store: If the oil is still in good condition, you may choose to reuse it or store it for later use. Properly stored cooking oil can be reused for frying or cooking. Use your judgment to determine if the oil is still suitable for reuse based on its quality and the number of times it has been used.
- Recycle: Used cooking oil can be recycled into biodiesel, a renewable energy source. Many recycling centers and waste management facilities accept used cooking oil for recycling purposes. Check with your local recycling program to find out the guidelines and drop-off locations for recycling used cooking oil in your area.
- Dispose of in solid waste: If recycling options are not available in your area, you can dispose of small amounts of used cooking oil by sealing it in a leak-proof container and placing it in the regular solid waste bin. However, it’s important to check with your local waste management authorities about their specific guidelines for disposing of cooking oil in the solid waste stream.
- Avoid pouring down the drain, toilet, or sink: It is crucial never to pour used cooking oil down the drain, toilet, or sink. Oil can solidify and cause clogs in pipes, resulting in costly plumbing issues. Additionally, it can also harm wastewater treatment systems and contribute to environmental pollution.
Remember, the proper disposal of used cooking oil is not only essential for environmental reasons but also for the functionality and longevity of your plumbing system. By following these guidelines and adopting responsible disposal practices, we can contribute to a cleaner and more sustainable environment.
Conclusion
Properly storing cooking oil after use is essential for maintaining its quality, preserving its flavor, and ensuring its safety for consumption. By following best practices such as choosing the right container, avoiding exposure to light and heat, finding the ideal storage location, checking for spoilage or rancidity, and properly disposing of used cooking oil, you can optimize the lifespan and quality of your cooking oil.
Storing cooking oil in a suitable container made of opaque materials with a tight-fitting lid helps protect it from light and air exposure, preventing oxidation and maintaining its freshness. Keeping the oil in cool, dark locations away from heat sources minimizes the risk of degradation and rancidity.
Regularly checking stored oil for signs of spoilage, such as changes in color, texture, smell, and taste, ensures that you are using oil that is safe and of high quality. Proper disposal of used cooking oil is crucial to prevent environmental pollution and maintain the integrity of your plumbing system. Recycling used oil or disposing of it in the solid waste stream are responsible options to consider.
By following these practices, you can maximize the shelf life of your cooking oil, minimize waste, save money, and enjoy the full flavor and nutritional benefits it provides in your culinary endeavors.
So, remember to choose the right container, store your cooking oil in a cool and dark place, check for signs of spoilage, and dispose of used oil responsibly. By implementing these practices, you can ensure that every dish you prepare with your cooking oil tastes as delightful as possible.
Frequently Asked Questions about How To Store Cooking Oil After Use
Was this page helpful?
At Storables.com, we guarantee accurate and reliable information. Our content, validated by Expert Board Contributors, is crafted following stringent Editorial Policies. We're committed to providing you with well-researched, expert-backed insights for all your informational needs.


0 thoughts on “How To Store Cooking Oil After Use”