Articles
How To Store Soup After Cooking
Modified: February 23, 2024
Learn the best methods and tips for storing soup after cooking in this informative article. Keep your soup fresh and delicious for longer periods.
(Many of the links in this article redirect to a specific reviewed product. Your purchase of these products through affiliate links helps to generate commission for Storables.com, at no extra cost. Learn more)
Introduction
Welcome to our article on how to store soup after cooking. Soup is a versatile and delicious dish that can be enjoyed on its own or used as a base for other recipes. Whether you have made a big batch of soup to feed a crowd or just have leftovers from a weeknight dinner, proper storage is essential to maintaining its flavor and freshness.
In this article, we will guide you through the process of storing soup in both the refrigerator and the freezer. We will also discuss the importance of using the right storage containers, labeling and dating your soup, and reheating it safely. Furthermore, we will provide you with some helpful tips to extend the shelf life of your soup and minimize food waste.
By following these guidelines, you can ensure that your soup stays delicious and safe to consume for an extended period, allowing you to enjoy it whenever you’re in the mood for a warm and comforting meal. So, let’s dive in and learn how to properly store your soup!
Key Takeaways:
- Properly storing soup is crucial for maintaining flavor and safety. Use airtight containers, label and date your soup, and follow safe reheating guidelines to enjoy delicious homemade soup for an extended period.
- Extend the shelf life of your soup by using fresh ingredients, portion control, and proper storage. Regularly check for spoilage, label and date your soup, and follow safe reheating practices for maximum enjoyment.
Read more: How To Store Soup
Storing Soup in the Refrigerator
The refrigerator is the ideal place to store soup for short-term use. Follow these steps to properly store your soup in the refrigerator:
- Let the Soup Cool: Before transferring the soup to the refrigerator, allow it to cool completely. Hot soup can raise the temperature inside the refrigerator and affect the overall food safety.
- Choose the Right Container: Select a container that is suitable for storing soup. Glass or plastic containers with airtight lids are ideal. Make sure the container is clean and dry before use
- Portion the Soup: If you have a large batch of soup, it’s best to divide it into smaller portions. This allows for easier and quicker reheating without having to heat the entire batch.
- Fill the Container: Fill the container with the soup, leaving about an inch of space at the top. This allows for expansion as the soup freezes.
- Seal the Container: Ensure the lid is tightly sealed to prevent air and moisture from entering the container, which can lead to spoilage.
- Label and Date: Use a marker or a label to indicate the contents and the date of storage. This will help you keep track of the soup and its freshness.
Once you have stored the soup in the refrigerator, it is recommended to consume it within 3-4 days for maximum freshness and flavor. Discard any soup that shows signs of spoilage, such as a foul odor or unusual appearance.
When reheating the refrigerated soup, ensure it reaches a safe internal temperature of 165°F (74°C) to eliminate any harmful bacteria that may have grown while in the refrigerator.
Now that you know how to store soup in the refrigerator, let’s move on to freezing your soup for longer-term storage.
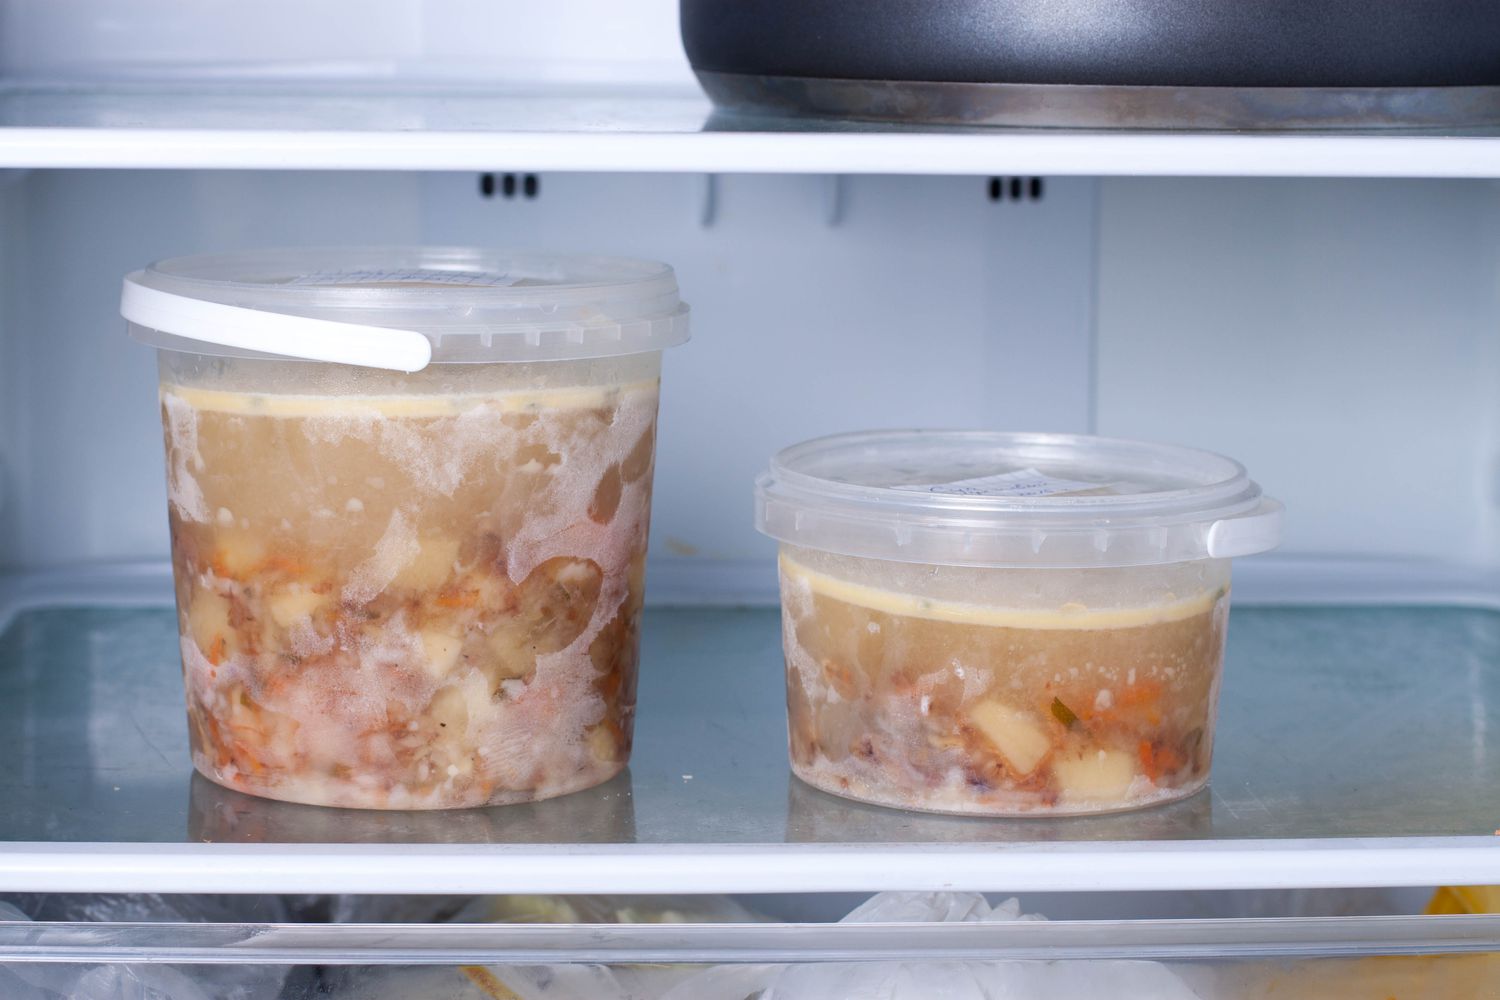
Storing Soup in the Freezer
If you have made a large batch of soup or want to store it for an extended period, freezing is the best option. Here are the steps to properly store soup in the freezer:
- Cool the Soup: Allow the soup to cool completely before transferring it to the freezer. Placing hot soup in the freezer can increase the temperature and affect the quality of other frozen foods.
- Choose Freezer-Safe Containers: Opt for containers that are specifically designed for freezing soups. Use freezer-safe plastic containers or heavy-duty freezer bags. Ensure the containers are clean and dry.
- Portion the Soup: Divide the soup into individual or family-sized portions. This way, you can thaw and use only the amount you need without having to defrost the entire batch.
- Remove Excess Air: If using plastic containers, fill them up to 3/4 full to leave space for expansion. For freezer bags, remove excess air by gently pressing on the bag before sealing it tightly.
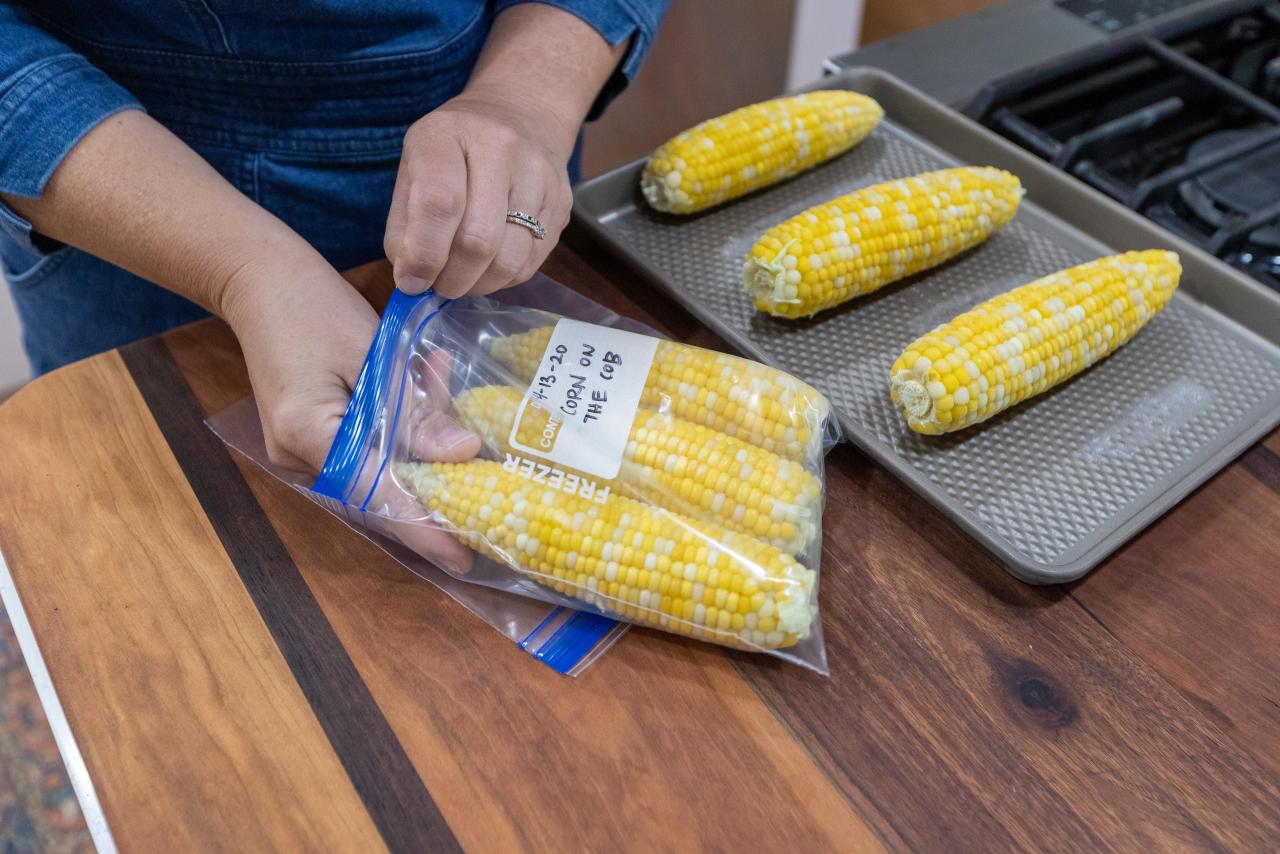
- Label and Date: Clearly label each container with the soup’s name, date, and portion size. This will help you keep track of your inventory and ensure older soups are used first.
- Freeze Flat: For freezer bags, lay them flat on a baking sheet in a single layer until they freeze solid. Once frozen, they can be stacked to save space in the freezer.
Proper packaging and storage in the freezer will help maintain the quality of the soup for up to 3 months. However, for the best flavor and texture, it is recommended to consume the soup within 1-2 months.
When you are ready to enjoy the frozen soup, here are a couple of methods to thaw and reheat it:
- Refrigerator Thawing: Transfer the frozen soup from the freezer to the refrigerator and let it thaw overnight. Once fully thawed, reheat it in a pot on the stove or in the microwave.
- Direct Heat Method: If you need to thaw the soup quickly, you can place the frozen container in a larger pot of simmering water. Make sure the container is well-sealed to prevent water from entering.
Remember to reheat the soup to a safe internal temperature of 165°F (74°C) before serving.
Now that you know how to store soup in the freezer, let’s explore the appropriate storage containers for soup.
Proper Storage Containers for Soup
Choosing the right storage containers is crucial to properly store and preserve your soup. Here are some options to consider:
- Glass Containers: Glass containers are an excellent choice for storing soup. They are durable, easy to clean, and do not absorb flavors or odors. Look for containers with airtight lids to maintain the freshness of your soup.
- Plastic Containers: Choose BPA-free, food-grade plastic containers that are specifically designed for freezer or microwave use. These containers are lightweight, shatterproof, and stackable, making them ideal for storing and reheating soup.
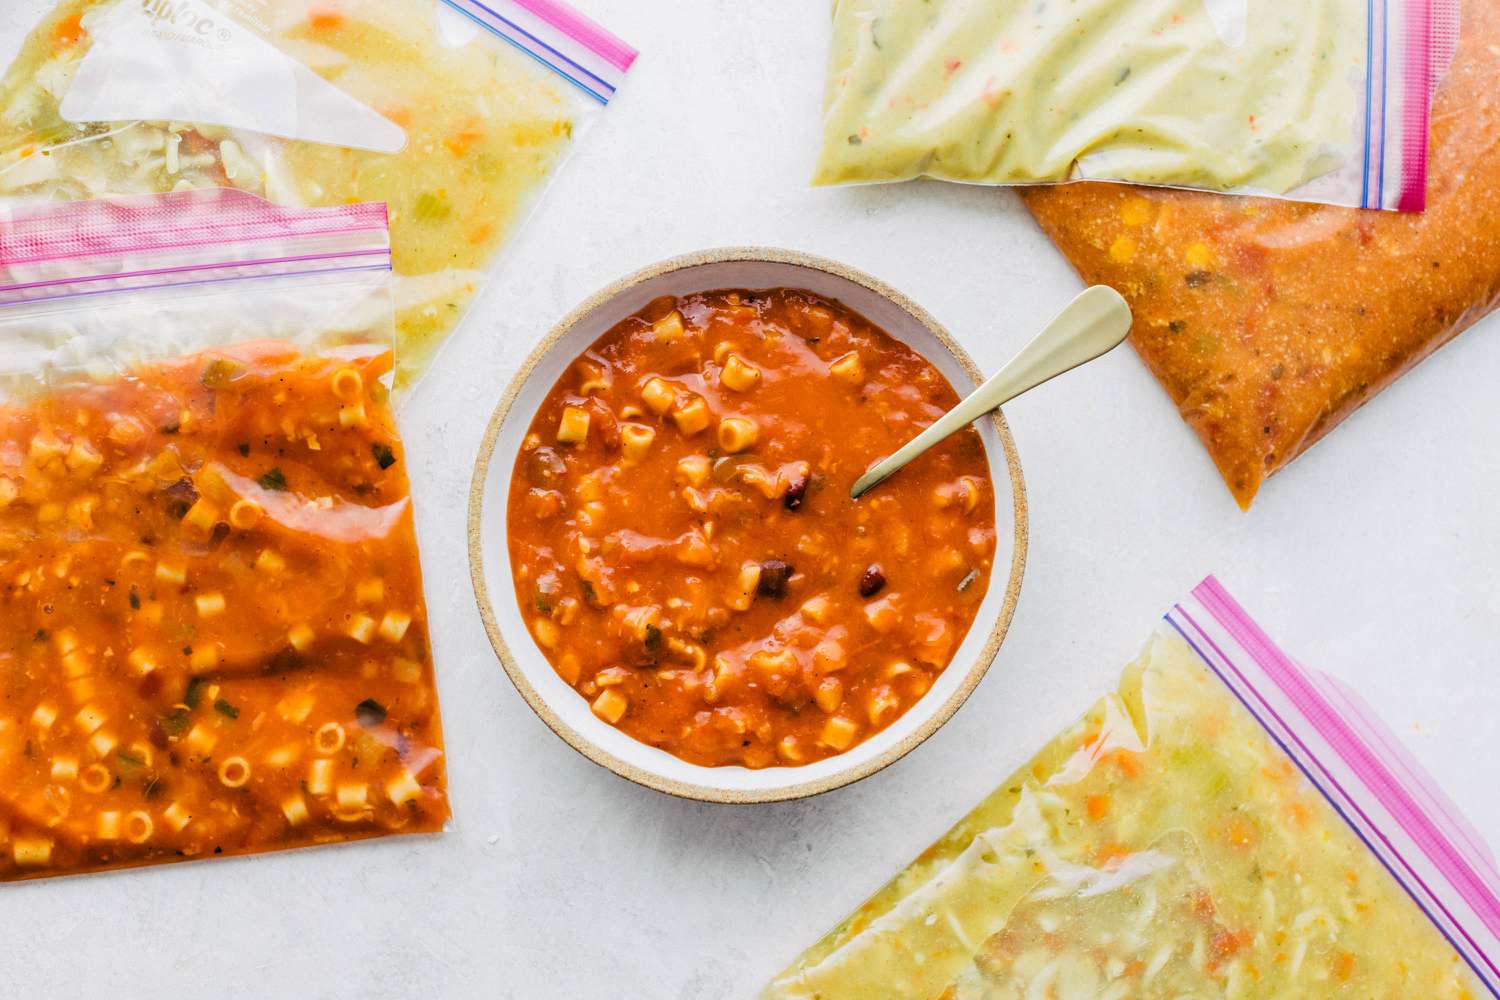
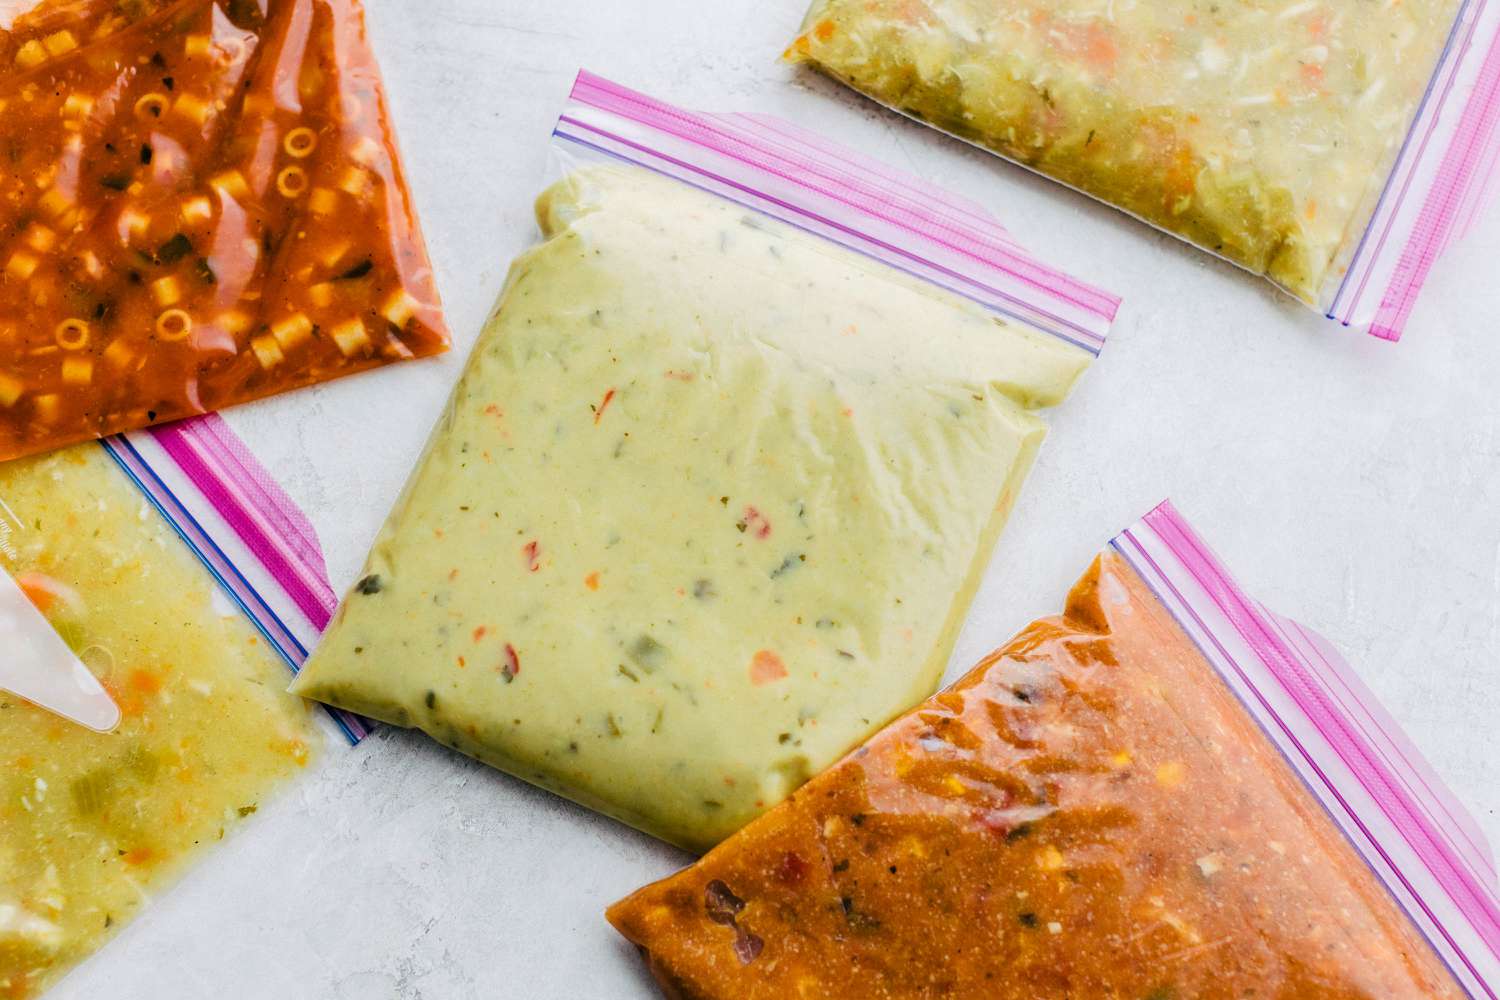
- Freezer Bags: Freezer bags are a convenient option for storing soup, especially if you need to save space in your freezer. Look for heavy-duty freezer bags with a reliable seal. Use a marker to label the bag with the soup’s name and date.
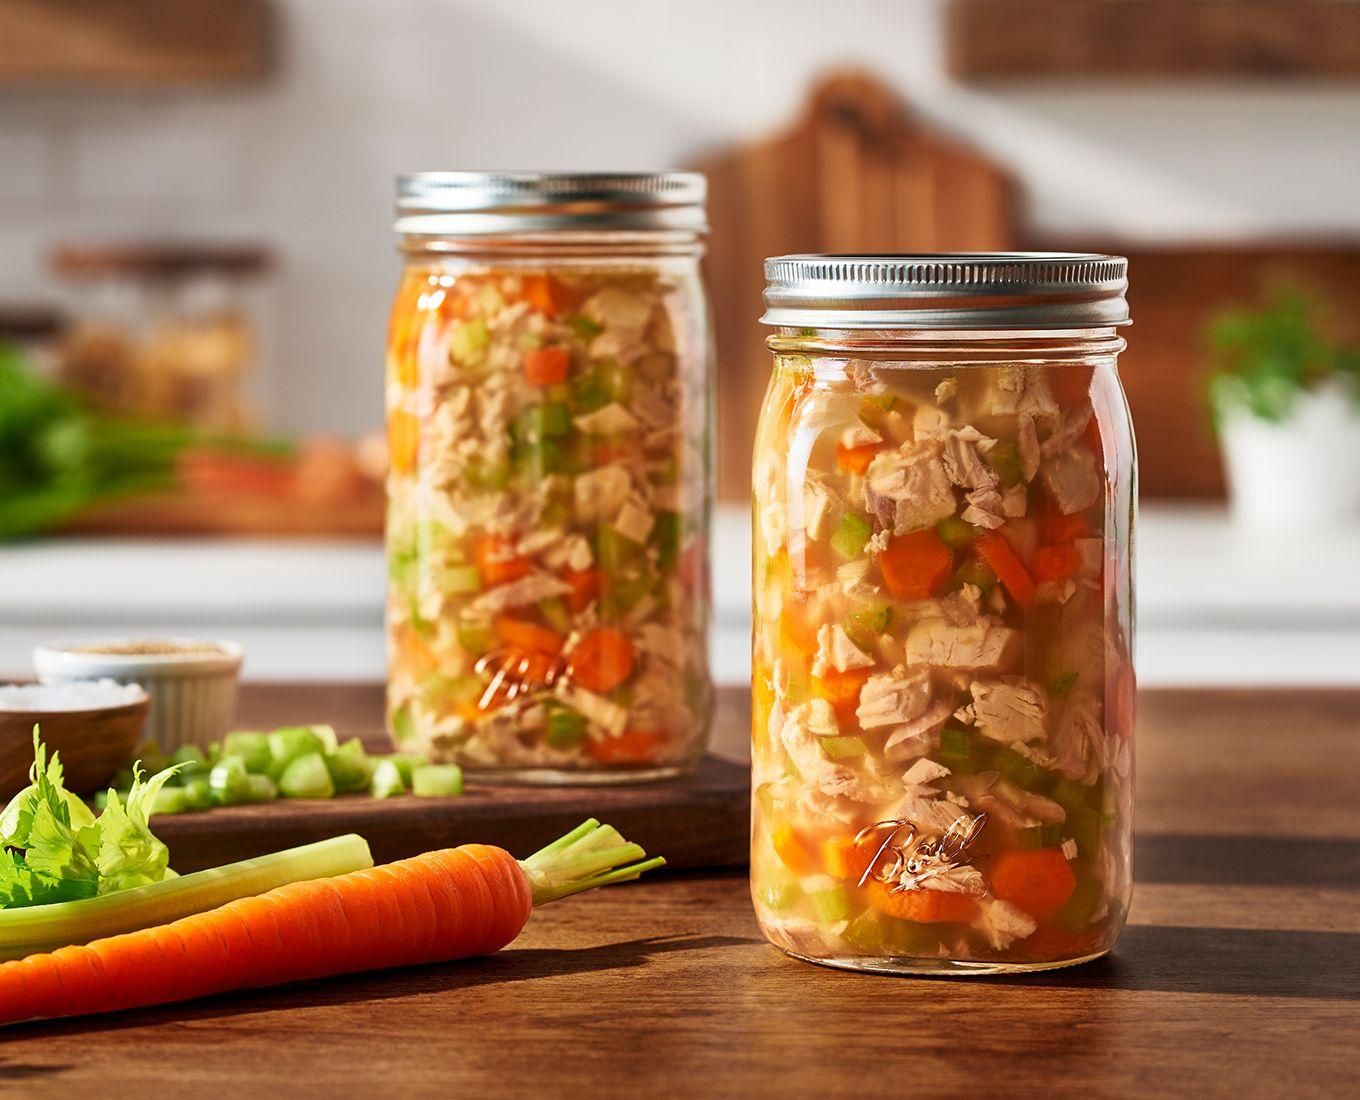
- Mason Jars: Mason jars are a popular choice for storing soups and other homemade foods. They are sturdy and come with tight-sealing lids, making them suitable for both the refrigerator and the freezer. However, make sure to leave enough headspace to account for expansion during freezing.
When selecting storage containers, ensure they are clean and dry before use. It’s also important to choose containers of appropriate sizes. When freezing soup, leave some space at the top to allow for expansion as the liquid freezes.
Remember to always follow the manufacturer’s instructions for your chosen storage containers. This will ensure the containers are used correctly and will help preserve the quality and flavor of your soup for an extended period.
Now that you know about the proper storage containers, let’s talk about the importance of labeling and dating your soup.
After cooking, let the soup cool to room temperature before transferring it to an airtight container. Store in the refrigerator for up to 3-4 days or in the freezer for up to 3 months.
Labeling and Dating
Labeling and dating your stored soup is a simple yet crucial step to ensure you can easily identify and track its freshness. Here’s why it’s important:
1. Identification: Labeling your containers or freezer bags allows you to quickly determine the contents without having to open and inspect each one. This is especially useful when you have multiple types of soup in the freezer or when storing different batches.
2. Freshness and Rotation: By dating the containers, you can keep track of how long each batch of soup has been stored. This helps you prioritize and use older soups before fresher ones, minimizing waste and ensuring you consume the soup at its best quality.
3. Safety: Properly labeled and dated soup enables you to monitor its storage time and adhere to recommended guidelines. This is particularly important for food safety, as it helps you avoid consuming spoiled or expired soup that can lead to foodborne illnesses.
When labeling your soup containers or freezer bags, include the following information:
- Name of the Soup: Clearly indicate the type of soup to avoid confusion.
- Date of Storage: Write down the date when you stored the soup. This makes it easier to determine its freshness and plan your meals accordingly.
- Portion Size: If you have divided the soup into smaller portions, note the serving size on the label. This helps you thaw and use only the amount you need.
Use a permanent marker or adhesive labels to ensure the information remains intact and legible even after prolonged storage.
By properly labeling and dating your stored soup, you can maintain its quality, maximize freshness, and ensure safe consumption. Now, let’s move on to the crucial step of reheating soup safely.
Read more: How To Store Homemade Soup
Reheating Soup Safely
When it comes to reheating soup, it’s important to follow proper guidelines to ensure that it is heated thoroughly and safely. Here are some essential tips to keep in mind:
1. Thaw Completely: If you are reheating frozen soup, make sure to thaw it completely before heating. This can be done by transferring the soup from the freezer to the refrigerator and allowing it to thaw overnight.
2. Heat to Safe Internal Temperature: Reheat the soup to a safe internal temperature of 165°F (74°C) before consuming. Use a food thermometer to check the temperature, especially in the thickest part of the soup.
3. Stovetop Reheating: Place the soup in a pot on the stovetop over medium heat. Stir occasionally to ensure even heating. Bring the soup to a gentle simmer, stirring occasionally, until it reaches the desired temperature.
4. Microwave Reheating: If using a microwave, transfer the desired portion of soup to a microwave-safe bowl. Cover the bowl to prevent splatters and heat on high power in one-minute intervals, stirring in between, until the soup reaches the recommended temperature.
5. Stir and Check for Hotspots: After reheating the soup, stir it well to distribute the heat evenly and check for any hotspots. These can occur in microwaves, where some areas may heat up faster than others. Stirring helps ensure that the entire soup is heated thoroughly.
6. Reheat Only What You Need: To maintain the quality of your stored soup, only reheat the portion you plan to consume. Avoid reheating and cooling soup multiple times, as this can affect its taste and texture.
7. Discard Leftovers Safely: If you have reheated more soup than you can consume in one sitting, cool the remaining portion promptly and refrigerate it. Consume the refrigerated leftovers within 3-4 days, reheating again as needed.
By following these reheating guidelines, you can enjoy your stored soup safely and with the same delicious flavors as the day it was made. Now, let’s explore some tips to extend the shelf life of your soup.
Tips for Extending Soup Shelf Life
If you want to extend the shelf life of your soup and minimize food waste, here are some helpful tips to keep in mind:
1. Proper Cooling: Ensure that you cool your soup properly before storing it. Divide the soup into smaller containers to speed up the cooling process. You can use an ice bath or place the containers in the refrigerator to cool it down quickly.
2. Use Fresh Ingredients: Starting with fresh and high-quality ingredients can help prolong the shelf life of your soup. Choose fresh vegetables, meats, and herbs, and check for any signs of spoilage before using them.
3. Regularly Check for Spoilage: Before consuming or storing the soup, always check for any signs of spoilage, such as mold, off smells, or odd colors. If you notice any, discard the soup immediately to prevent foodborne illnesses.
4. Portion Control: When storing soup, consider dividing it into individual or family-sized portions. This way, you can thaw and use only the amount you need, reducing the risk of food waste.
5. Freezing in Smaller Batches: If you frequently have leftover soup, consider freezing it in smaller batches. This allows you to thaw and use only what is needed, leaving the rest frozen for later use.
6. Store in Airtight Containers: Properly seal the containers or freezer bags to prevent air and moisture from entering. This helps maintain the flavor and quality of the soup while preventing freezer burn.
7. Regularly Rotate your Inventory: To ensure you use older soups first, practice a “first in, first out” system. Arrange the containers in the freezer or the fridge with the oldest dates at the front for easy access.
8. Avoid Cross-Contamination: When handling and storing soup, make sure to use clean utensils and containers. Avoid using the same ladle for multiple soups to prevent cross-contamination and potential spoilage.
9. Keep an Organized Freezer: Maintain an organized freezer by storing soups and other foods in designated areas. This makes it easier to find and use the soup before it reaches its expiration date.
By following these tips, you can extend the shelf life of your soup, minimize food waste, and enjoy delicious and safe soup for a more extended period. Now, let’s wrap up our article.
Conclusion
Properly storing soup after cooking is essential for maintaining its flavor, freshness, and safety. Whether you’re storing soup in the refrigerator or freezer, using the right storage containers, labeling and dating your soup, and reheating it safely are key steps to follow.
In the refrigerator, let the soup cool before transferring it to a suitable container. Divide it into smaller portions for easy reheating. Properly sealed containers help prevent spoilage, and labeling and dating ensure you can identify and track the freshness of the soup.
When freezing soup, use freezer-safe containers or bags, and leave space for expansion. Clear labeling helps with identification, portion control, and rotation of the soup. Thaw the frozen soup thoroughly before reheating to ensure even heating throughout.
Using the right storage containers, such as glass or plastic containers, helps maintain the quality of the soup. Mason jars and freezer bags are also viable options. Make sure to choose containers that are suitable for the freezer to prevent freezer burn.
Labeling and dating your soup is crucial for easy identification and compliance with recommended storage timeframes. By following these guidelines, you can minimize the risk of consuming spoiled soup and keep track of its freshness.
When reheating soup, ensure it reaches a safe internal temperature of 165°F (74°C) to eliminate any harmful bacteria. Whether you choose stovetop or microwave reheating, stir the soup well to evenly distribute the heat and check for any hotspots.
To extend the shelf life of soup and reduce food waste, use fresh ingredients, practice portion control, and regularly check for signs of spoilage. Smaller batch freezing, proper sealing, and organized storage in the freezer can also help prolong the soup’s shelf life.
By implementing these tips, you can enjoy delicious and safe soup even days or months after cooking it. So, remember to cool, store, label, and reheat your soup with care, and savor the comforting flavors of your homemade soup whenever you desire.
Frequently Asked Questions about How To Store Soup After Cooking
Was this page helpful?
At Storables.com, we guarantee accurate and reliable information. Our content, validated by Expert Board Contributors, is crafted following stringent Editorial Policies. We're committed to providing you with well-researched, expert-backed insights for all your informational needs.

0 thoughts on “How To Store Soup After Cooking”