Articles
How To Store A Generator After Use
Modified: January 6, 2024
Learn the proper steps to store a generator after use with our informative articles. Ensure your generator remains in peak condition for future use.
(Many of the links in this article redirect to a specific reviewed product. Your purchase of these products through affiliate links helps to generate commission for Storables.com, at no extra cost. Learn more)
Introduction
Welcome to our comprehensive guide on how to store a generator after use. Generators are essential equipment for providing backup power during emergencies or for use in remote locations where electricity is not available. However, proper storage and maintenance of a generator are crucial to ensure its longevity and optimal performance.
Whether you use a generator for camping trips, outdoor events, or in case of power outages, it is essential to follow the correct storage procedures. By doing so, you can prevent damage caused by corrosion, dirt, or improper storage conditions, and ensure that your generator is ready for immediate use when needed.
In this article, we will discuss a step-by-step guide on how to store a generator after use. We will cover important aspects such as running the generator dry, cleaning, oil change, fuel removal, proper storage location, protecting from dust and moisture, and regular maintenance checks.
By following these guidelines, you can prolong the lifespan of your generator and optimize its performance in the long run. Now, let’s dive into the first step of storing a generator after use.
Key Takeaways:
- Properly storing a generator after use is crucial for longevity and performance. Follow steps such as running it dry, cleaning, oil change, fuel removal, and regular maintenance to ensure readiness for future use.
- Choosing a cool, dry storage location and protecting the generator from dust and moisture are essential. Performing regular maintenance checks will help prevent potential issues and ensure reliability when needed.
Read more: How To Store A Generator When Not In Use
Step 1: Run the Generator Dry
The first step in storing a generator after use is to run it dry. This means allowing the generator to run until it consumes all the fuel in the tank and shuts off automatically. Running the generator dry helps prevent fuel from remaining in the carburetor and clogging it over time.
Before running the generator dry, it’s important to turn off any connected appliances or devices and disconnect any power cords. This ensures that the generator is not supplying power to any devices during the process. Next, locate the fuel valve or switch on the generator and turn it off. This stops the flow of fuel to the engine.
Once the fuel valve is turned off, start the generator and let it run until it shuts off on its own. This may take a few minutes as the generator consumes the remaining fuel in the system. Running the generator dry not only helps prevent fuel-related issues but also ensures that the carburetor is empty, reducing the risk of corrosion and clogs.
Keep in mind that running the generator dry should only be done when the generator is not needed for immediate use. If you anticipate needing backup power soon or anticipate a power outage, it’s best to avoid running the generator dry and keep it fueled until it’s ready to be used.
Once the generator has shut off, it’s time to move on to the next step – cleaning the generator to remove any dirt, debris, or dust that may have accumulated during use.
Step 2: Clean the Generator
After running the generator dry, it’s important to clean it thoroughly to remove any dirt, debris, or dust that may have accumulated during use. Cleaning the generator not only improves its appearance but also helps maintain its performance and prevents rust or corrosion.
Start by turning off the generator and allowing it to cool down completely. This ensures your safety while cleaning and prevents any potential damage to the generator. Once the generator is cool, use a soft cloth or brush to gently remove any loose dirt or debris from the exterior surfaces. Pay close attention to the vents, grills, and cooling fins where dirt tends to accumulate.
If there are stubborn stains or grime on the generator, you can mix some mild detergent with water and apply it to the affected areas. Use a soft brush or sponge to scrub gently and remove the stains. Avoid using harsh chemicals or abrasive cleaners as they can damage the exterior finish of the generator.
After cleaning the exterior, it’s time to focus on the internal components. Start by removing the air filter and inspecting it for dirt and debris. If the filter is dirty, clean or replace it according to the manufacturer’s instructions.
Next, check the generator’s spark plug. If it appears dirty or worn out, clean it with a wire brush or replace it if necessary. Additionally, inspect the generator’s cooling fins and ensure they are clear of any obstructions. Use a soft brush or compressed air to remove any dirt or debris that may have accumulated on the fins.
Once you have completed the cleaning process, allow the generator to dry completely before moving on to the next step – changing the oil.
Step 3: Change the Oil
Changing the oil is an essential step in maintaining the performance and longevity of your generator. Over time, the oil in the generator can become contaminated with dirt, debris, and other impurities, which can affect its lubricating properties and potentially damage the engine.
Before changing the oil, refer to the manufacturer’s instructions or user manual to determine the recommended type and quantity of oil for your specific generator model. It’s important to use the correct oil to ensure optimal performance.
Start by placing a container or oil pan underneath the generator to catch the old oil. Locate the oil drain plug or valve on the generator’s engine and open it to allow the old oil to drain completely. Make sure to take precautions to avoid getting hot oil on your skin or clothing.
Once the old oil has drained, replace the oil drain plug securely. Then, refill the generator with the recommended type and quantity of fresh oil. Use a funnel to prevent spills. It’s advisable to check the oil level with the dipstick to ensure it is at the correct level.
After adding fresh oil, start the generator for a few minutes to allow the new oil to circulate throughout the engine. This helps to lubricate the internal components and ensures proper distribution of the new oil.
Finally, turn off the generator and let it cool down completely. Check the oil level once again and add oil if necessary. Properly disposing of the old oil is also important. Make sure to follow local regulations regarding oil disposal or take it to a recycling center or designated drop-off location.
Changing the oil on a regular basis, as recommended by the manufacturer, will help maintain the generator’s performance and prevent potential engine problems. With the oil changed, it’s time to move on to the next step – removing the fuel.
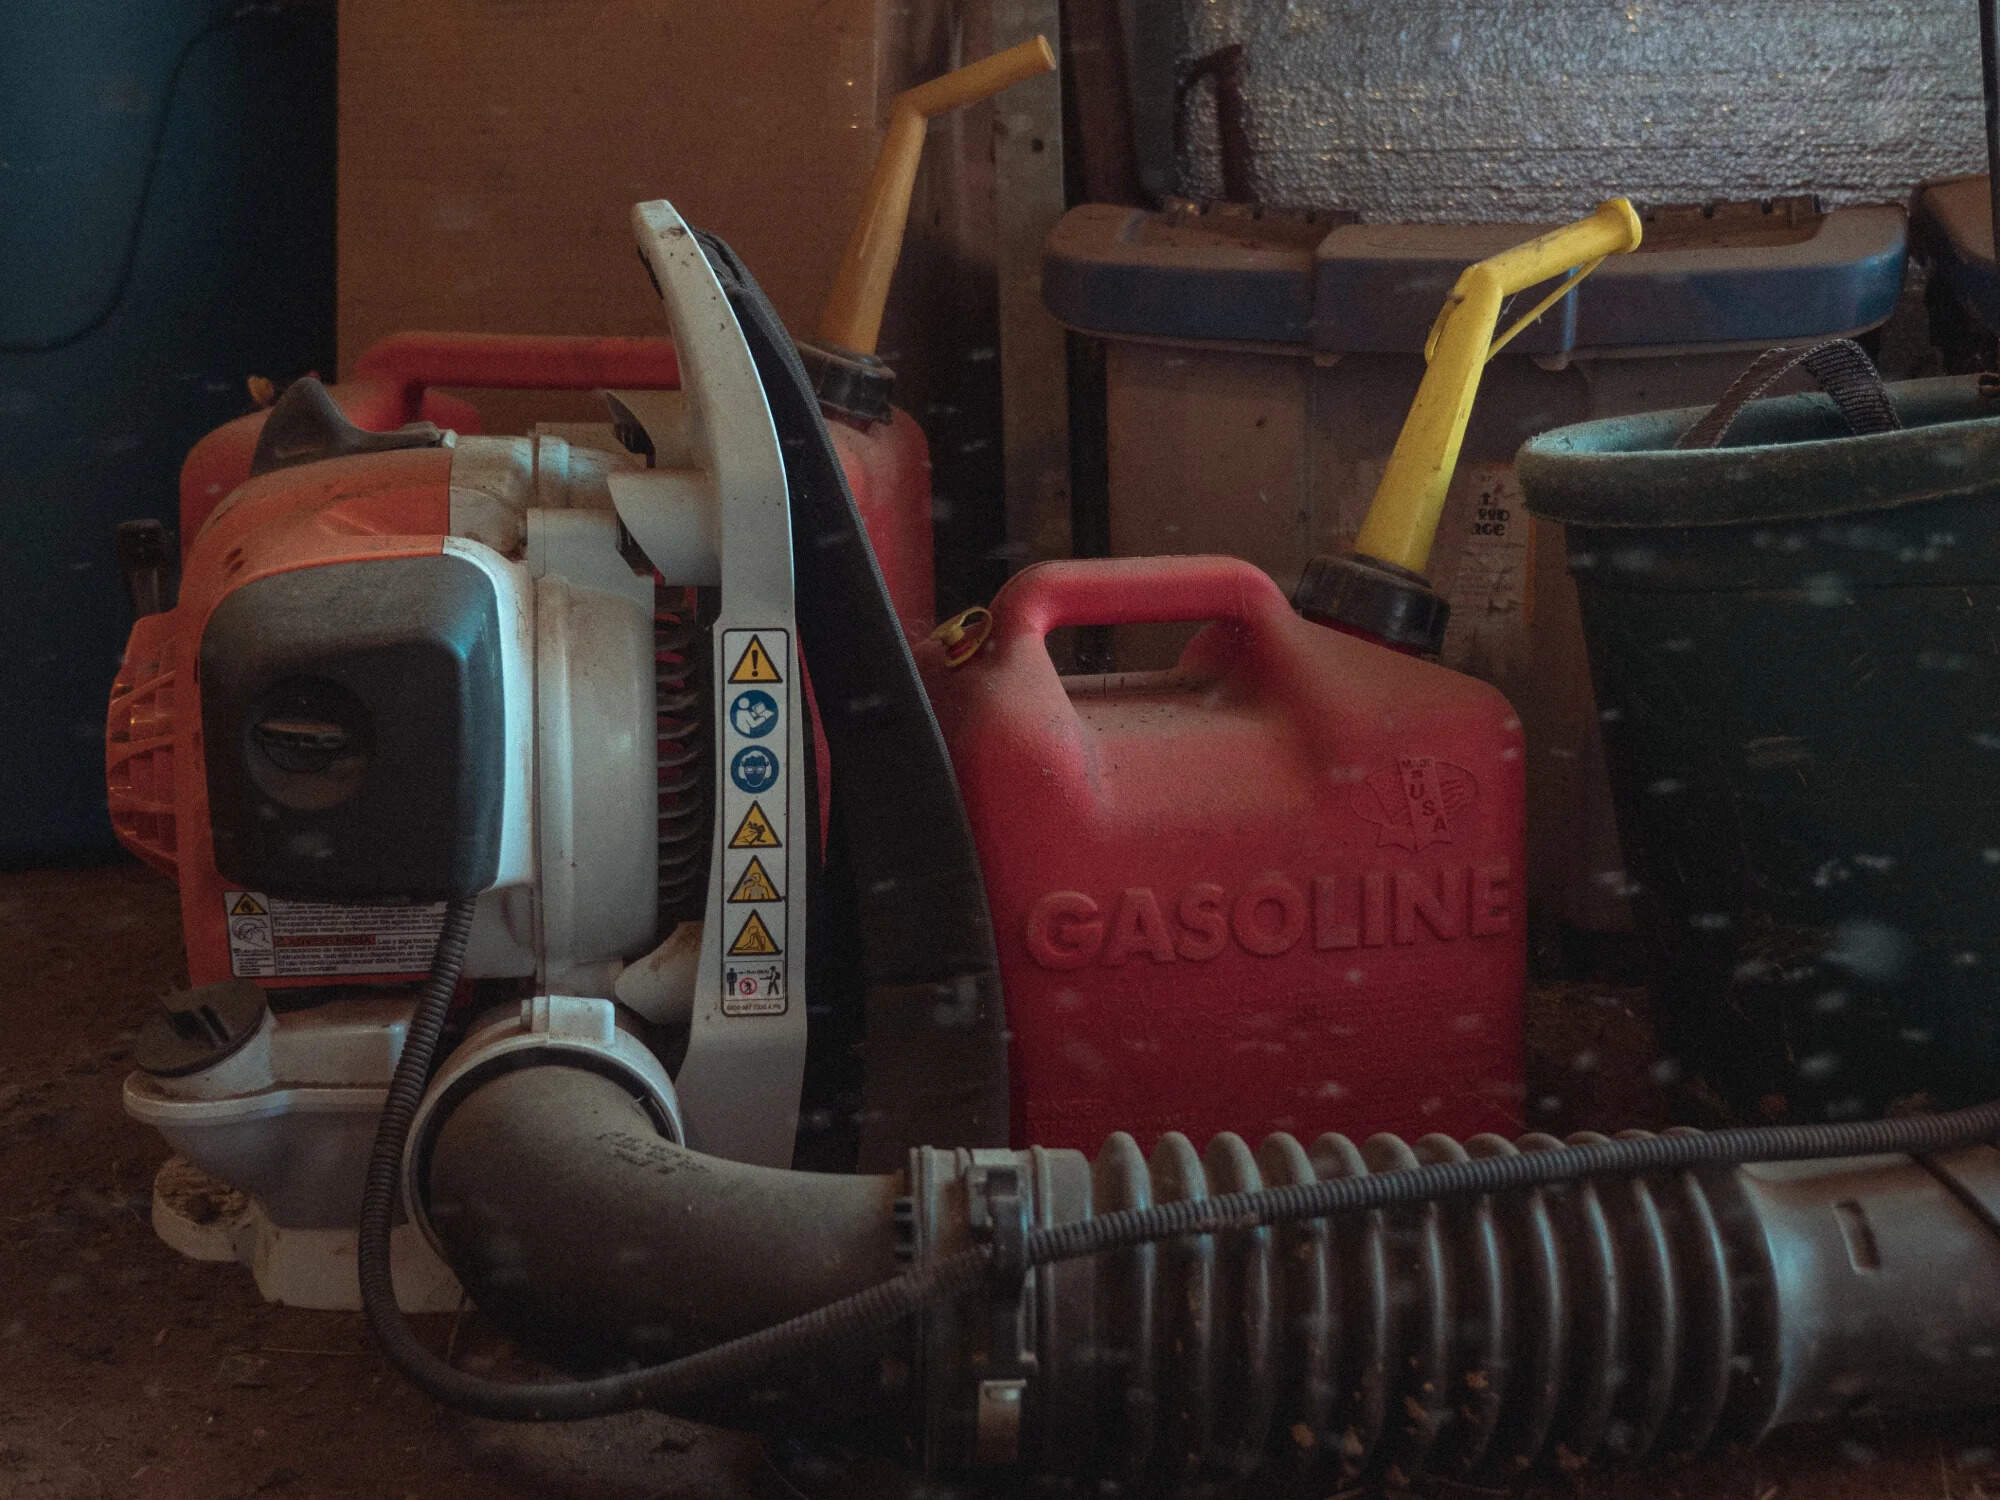
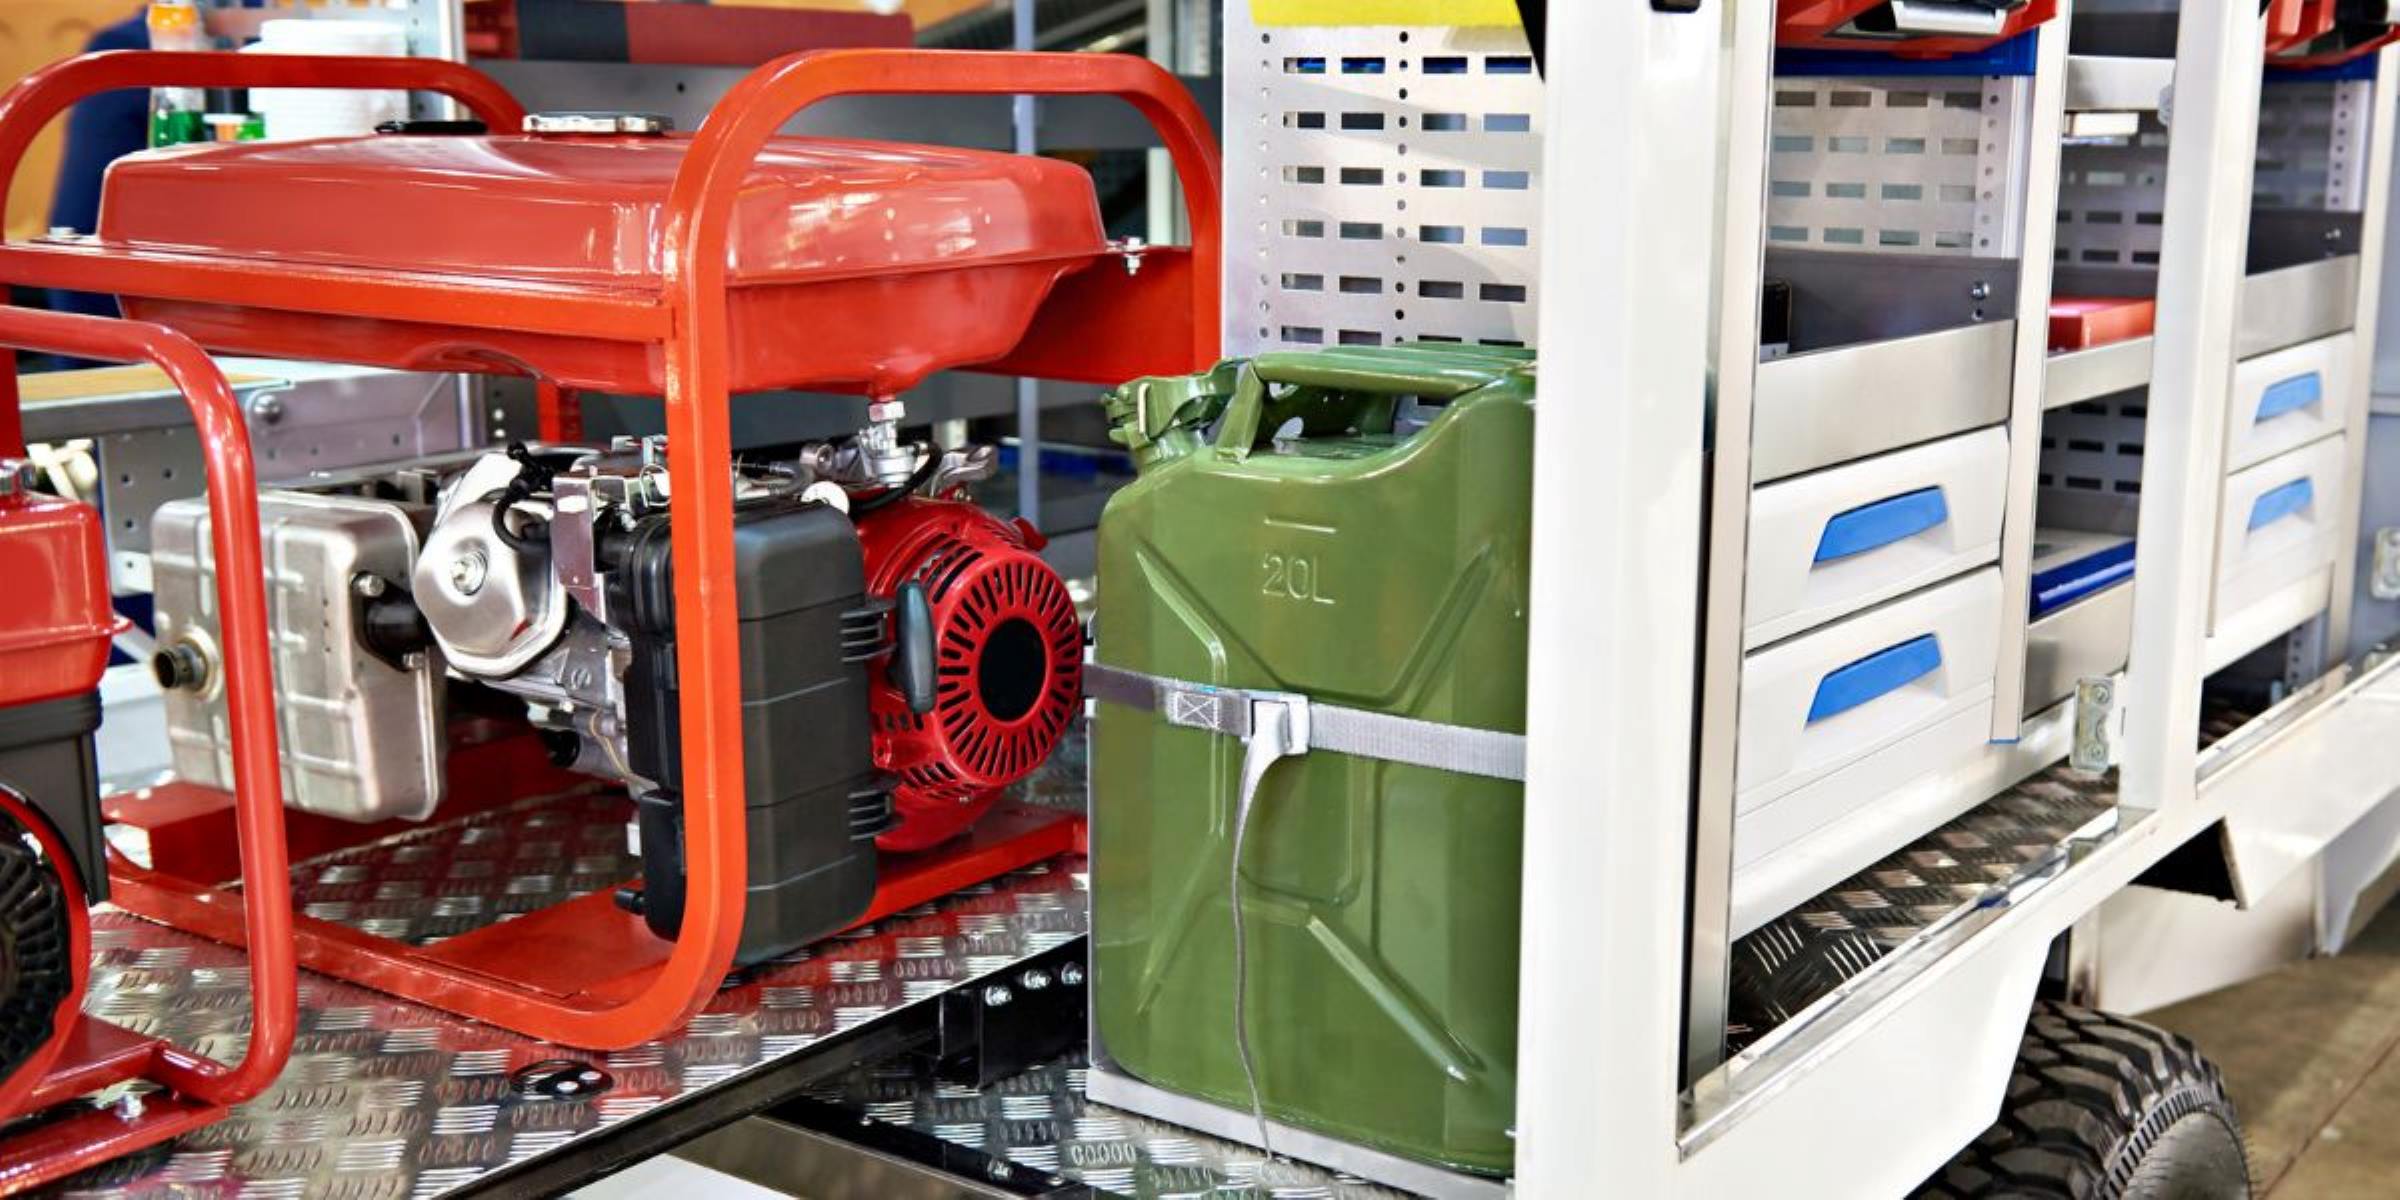
Step 4: Remove the Fuel
Before storing your generator, it is important to remove any remaining fuel from the tank and the fuel system. This step is crucial to prevent fuel degradation, clogging, and damage to the generator’s engine components.
To remove the fuel, start by shutting off the fuel valve or switch on the generator. This prevents the flow of fuel into the system. Allow the generator to run until it stops on its own, using up any fuel that may be left in the system.
Next, locate the fuel line or fuel tank drain plug on the generator. Place a suitable container or fuel can beneath the fuel line to collect the remaining fuel. Carefully remove the fuel line or open the drain plug to allow the fuel to drain completely. Take precautions to avoid any contact with the fuel, as it can be highly flammable.
Once all the fuel has been drained, replace the fuel line or close the drain plug securely. It is crucial to ensure that there is no fuel left in the generator’s fuel system, as residual fuel can lead to clogs or damage the carburetor.
If you plan on storing the generator for an extended period, it is recommended to add a fuel stabilizer to the remaining fuel before draining it. This will help prevent the fuel from degrading and causing issues when the generator is restarted.
Remember to dispose of the drained fuel properly according to local regulations. Never pour fuel down the drain or dispose of it in regular trash.
With the fuel removed, let’s move on to the next step of storing the generator – finding a suitable location.
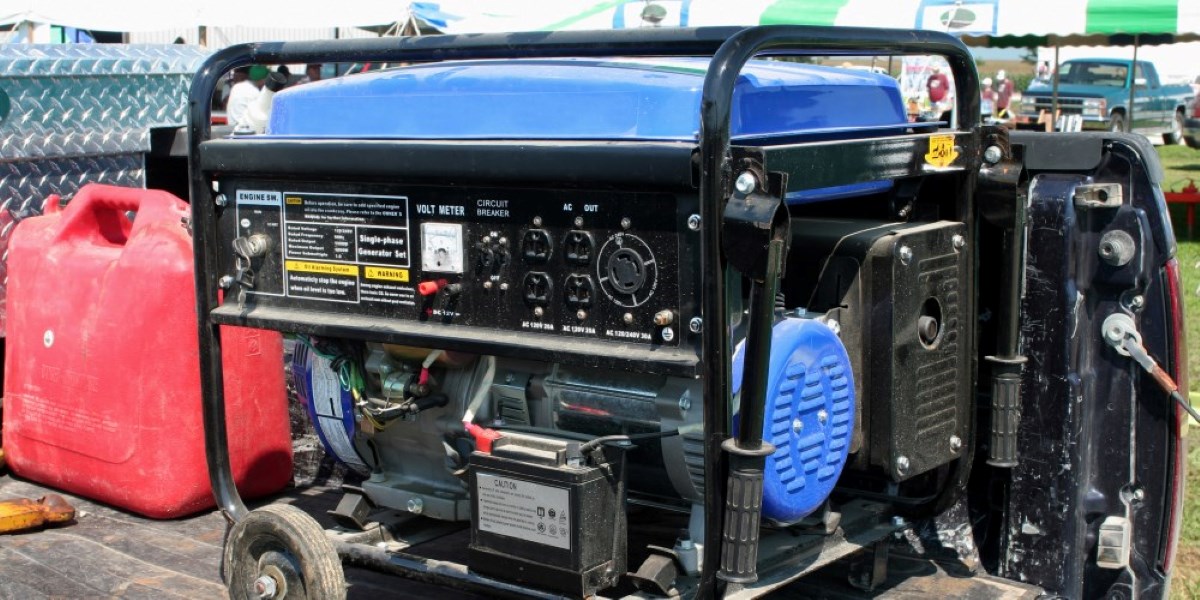
After using a generator, make sure to let it cool down before storing it. Then, drain the fuel and oil to prevent any damage during storage. Finally, store it in a dry and well-ventilated area to avoid rust and corrosion.
Read more: How To Store Generator
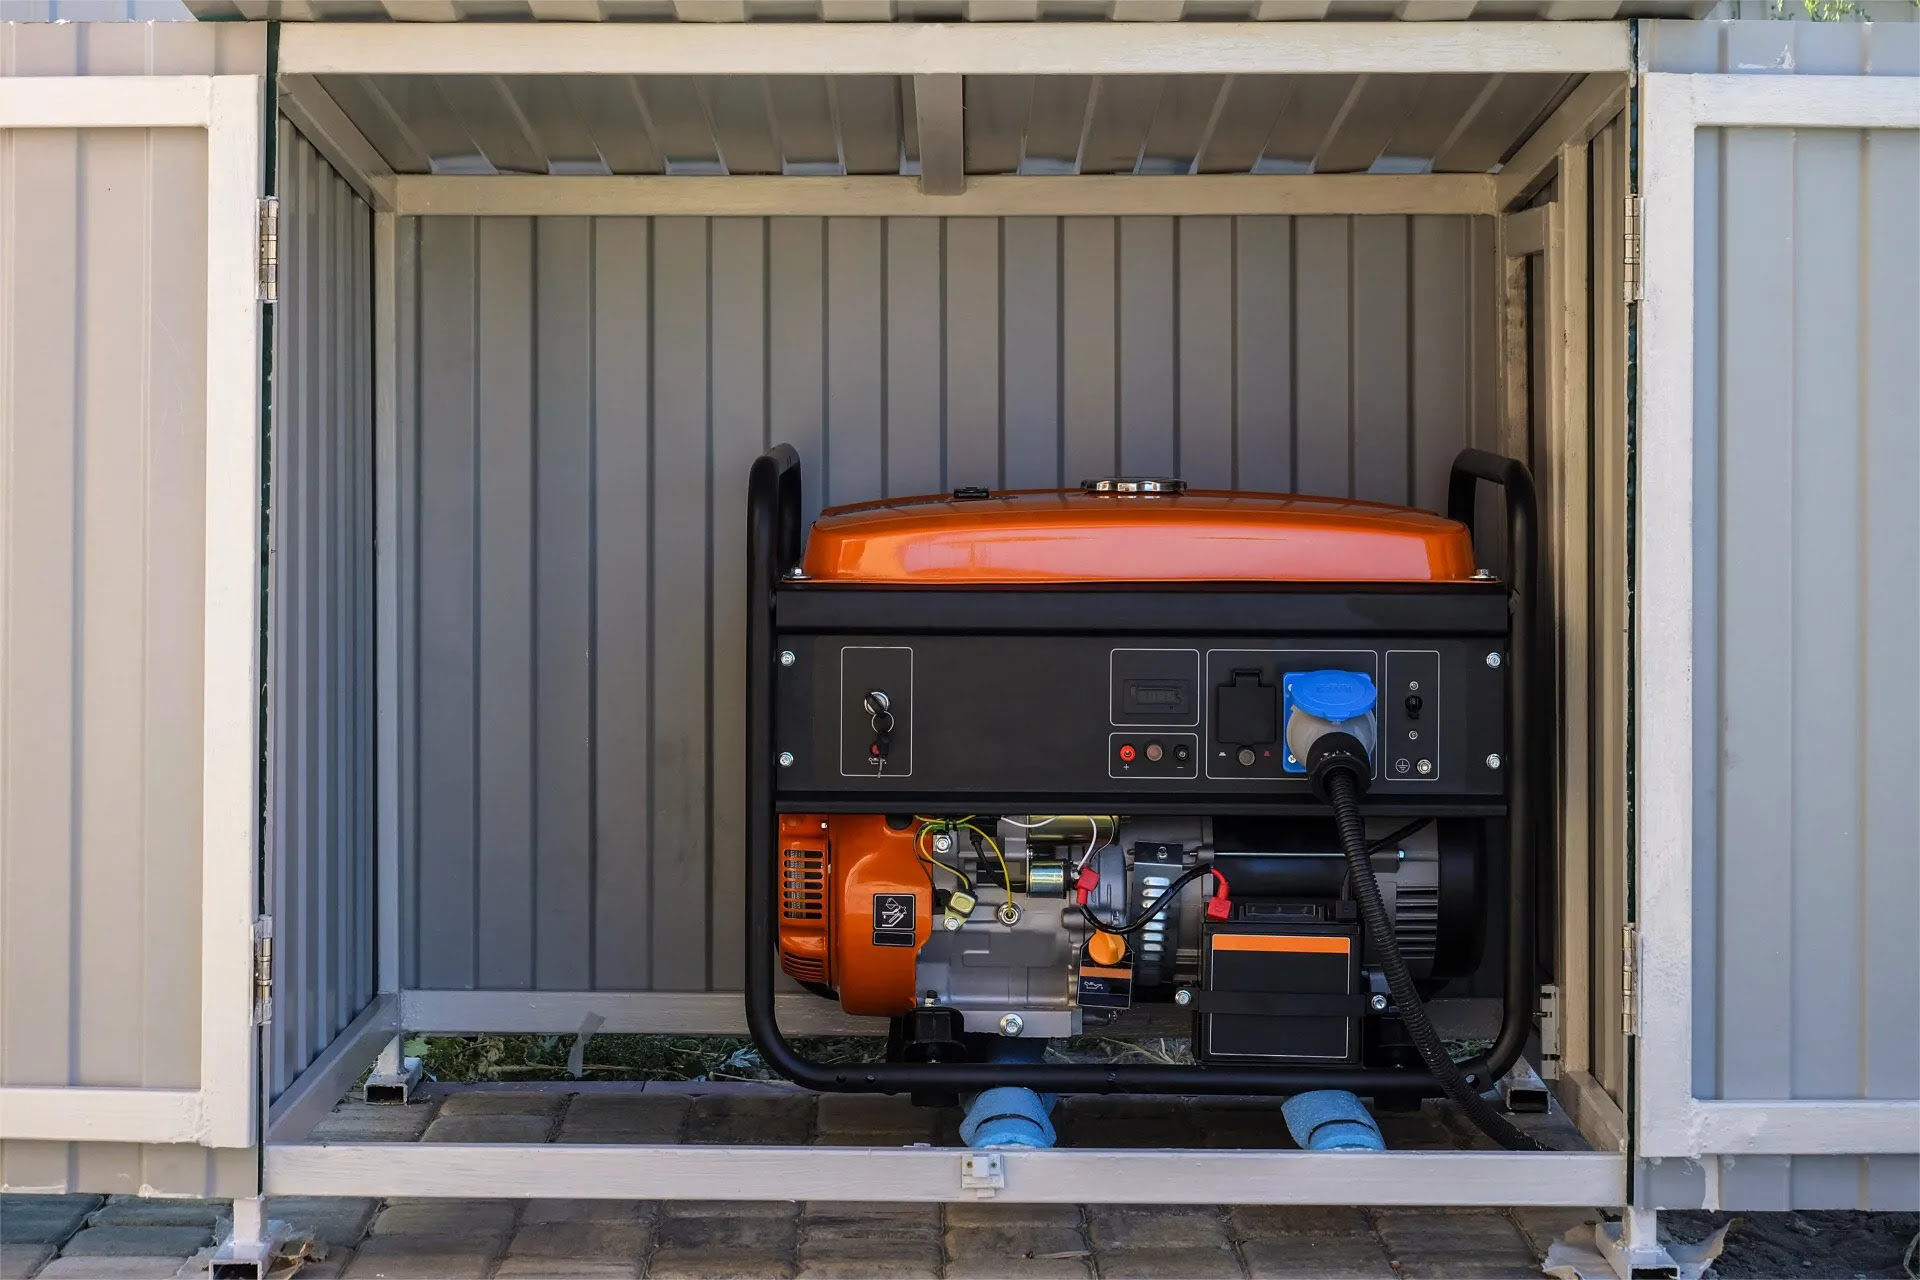
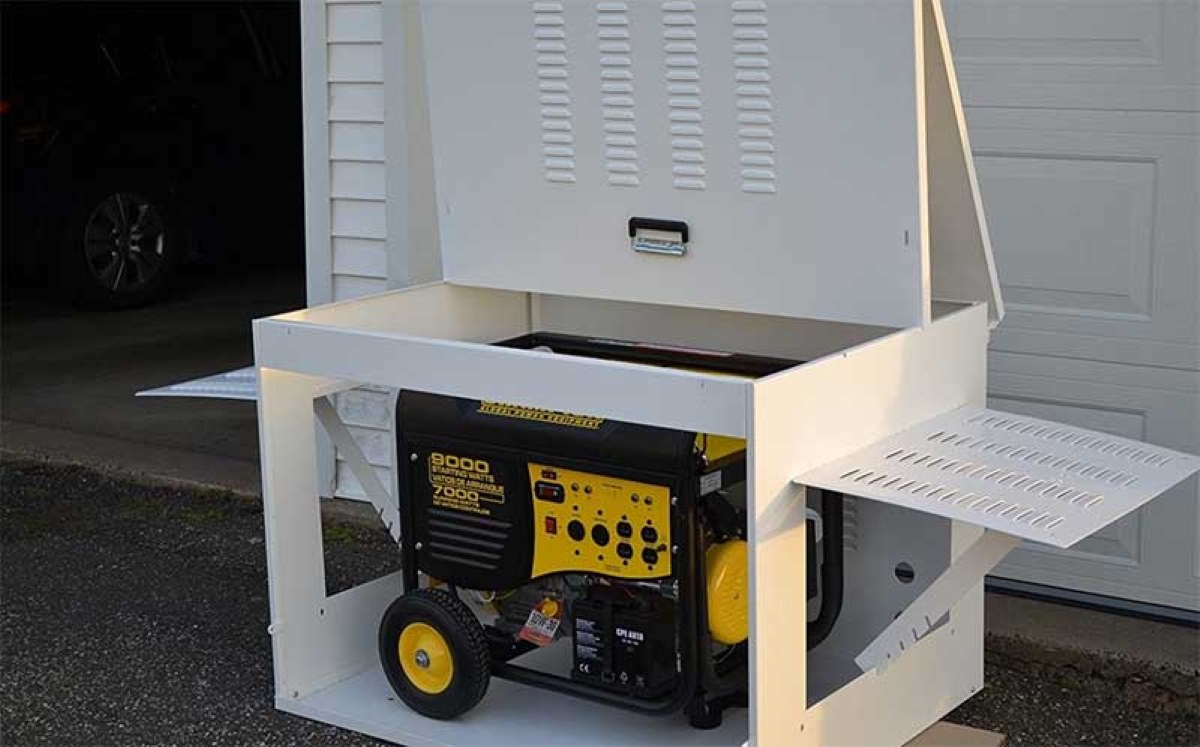
Step 5: Store in a Cool and Dry Location
When it comes to storing a generator, the location plays a crucial role in maintaining its functionality and preventing damage. It is important to store the generator in a cool and dry location to protect it from environmental elements and ensure its longevity.
Choose a storage area that is well-ventilated to prevent the buildup of moisture and condensation. Moisture can lead to rust and corrosion, which can significantly impact the performance and lifespan of the generator.
Avoid storing the generator in areas prone to extreme temperature changes, such as direct sunlight or areas with high humidity. Excessive heat can damage the internal components, while high humidity can lead to the growth of mold and mildew.
Consider covering the generator with a waterproof and breathable cover to further protect it from dust, dirt, and moisture. This cover should be specifically designed for generators and provide proper ventilation to prevent any buildup of heat or condensation.
Additionally, make sure the storage area is secure and protected from potential theft or vandalism. If possible, lock the area or use additional security measures to ensure the generator is safe and well-protected during storage.
Lastly, keep the generator elevated off the ground to prevent any potential damage from flooding or water accumulation. Use a sturdy platform or pallet to raise the generator and provide sufficient airflow underneath.
By storing the generator in a cool, dry, and secure location, you can ensure its protection and readiness for future use. In the next step, we will discuss how to protect the generator from dust and moisture.
Step 6: Protect from Dust and Moisture
Protecting your generator from dust and moisture is essential for maintaining its optimal performance and preventing any potential damage or malfunctions. Dust and moisture can find their way into the internal components of the generator, leading to corrosion, clogs, and electrical issues.
To protect your generator from dust, consider using a generator cover specifically designed to keep dust and debris out. Look for a cover that is made of durable, breathable material to prevent the buildup of moisture and humidity. Make sure the cover fits snugly over the generator and provides proper ventilation.
Keep in mind that the generator should be cooled down before covering it. This allows any residual heat to dissipate and prevents condensation from forming inside the cover.
In addition to using a generator cover, you can also clean the surrounding area to minimize the amount of dust and debris that can accumulate near the generator. Regularly sweep or vacuum the storage area, ensuring that there are no loose particles that can be sucked into the generator’s vents or openings.
To protect the generator from moisture, you can use moisture-absorbing packets or silica gel packs in the storage area. These packets help to absorb excess moisture in the air and prevent condensation from forming on the generator or its internal components.
It’s important to periodically check the moisture-absorbing packets and replace them if necessary, especially in areas with high humidity or during prolonged storage periods.
By taking these precautions to protect your generator from dust and moisture, you can ensure its longevity and optimal performance. Next, we will discuss the importance of performing regular maintenance checks.
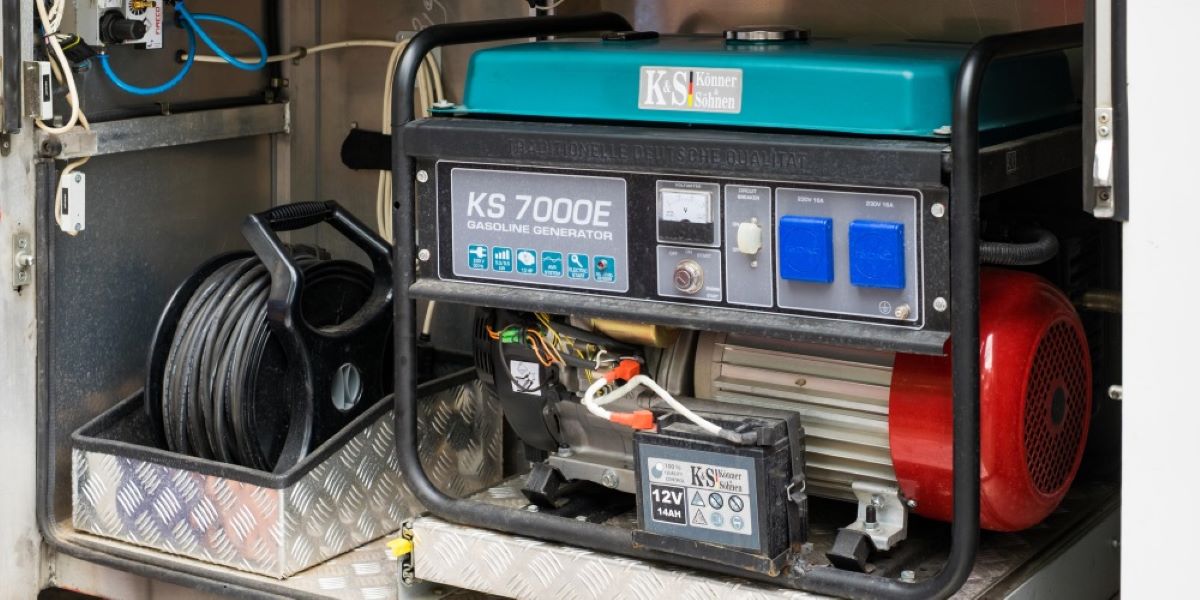
Step 7: Perform Regular Maintenance Checks
Regular maintenance checks are crucial for keeping your generator in top condition and ensuring its reliability when you need it the most. By following a maintenance schedule and performing routine inspections, you can identify and address any potential issues early on, preventing costly repairs and breakdowns.
Here are some key maintenance checks to perform on a regular basis:
- Inspect the spark plug: Check the spark plug regularly for signs of wear or damage. If it appears dirty or corroded, clean or replace it accordingly. A faulty spark plug can affect the generator’s performance and cause starting issues.
- Check the air filter: The air filter prevents dust and debris from entering the engine. Inspect the air filter regularly and clean or replace it as needed. A clogged air filter restricts airflow and can lead to reduced performance and fuel efficiency.
- Inspect the fuel system: Check for any signs of leaks or damage in the fuel lines, fuel tank, and fuel filter. Replace any damaged components and tighten any loose connections to ensure proper fuel flow.
- Test the battery (if applicable): If your generator has a battery, check its voltage regularly to ensure it is holding a charge. Clean the battery terminals and connect them securely to prevent corrosion.
- Check the oil level and condition: Monitor the oil level regularly and top it up if necessary. Also, inspect the oil for any signs of contamination or discoloration. If the oil appears dirty or has a milky appearance, it may indicate an internal problem that requires immediate attention.
- Inspect the cooling system: Check the cooling system, including the radiator, fans, and cooling fins, for any signs of blockages or damage. Clean any debris that may have accumulated on the cooling fins to ensure proper airflow and cooling efficiency.
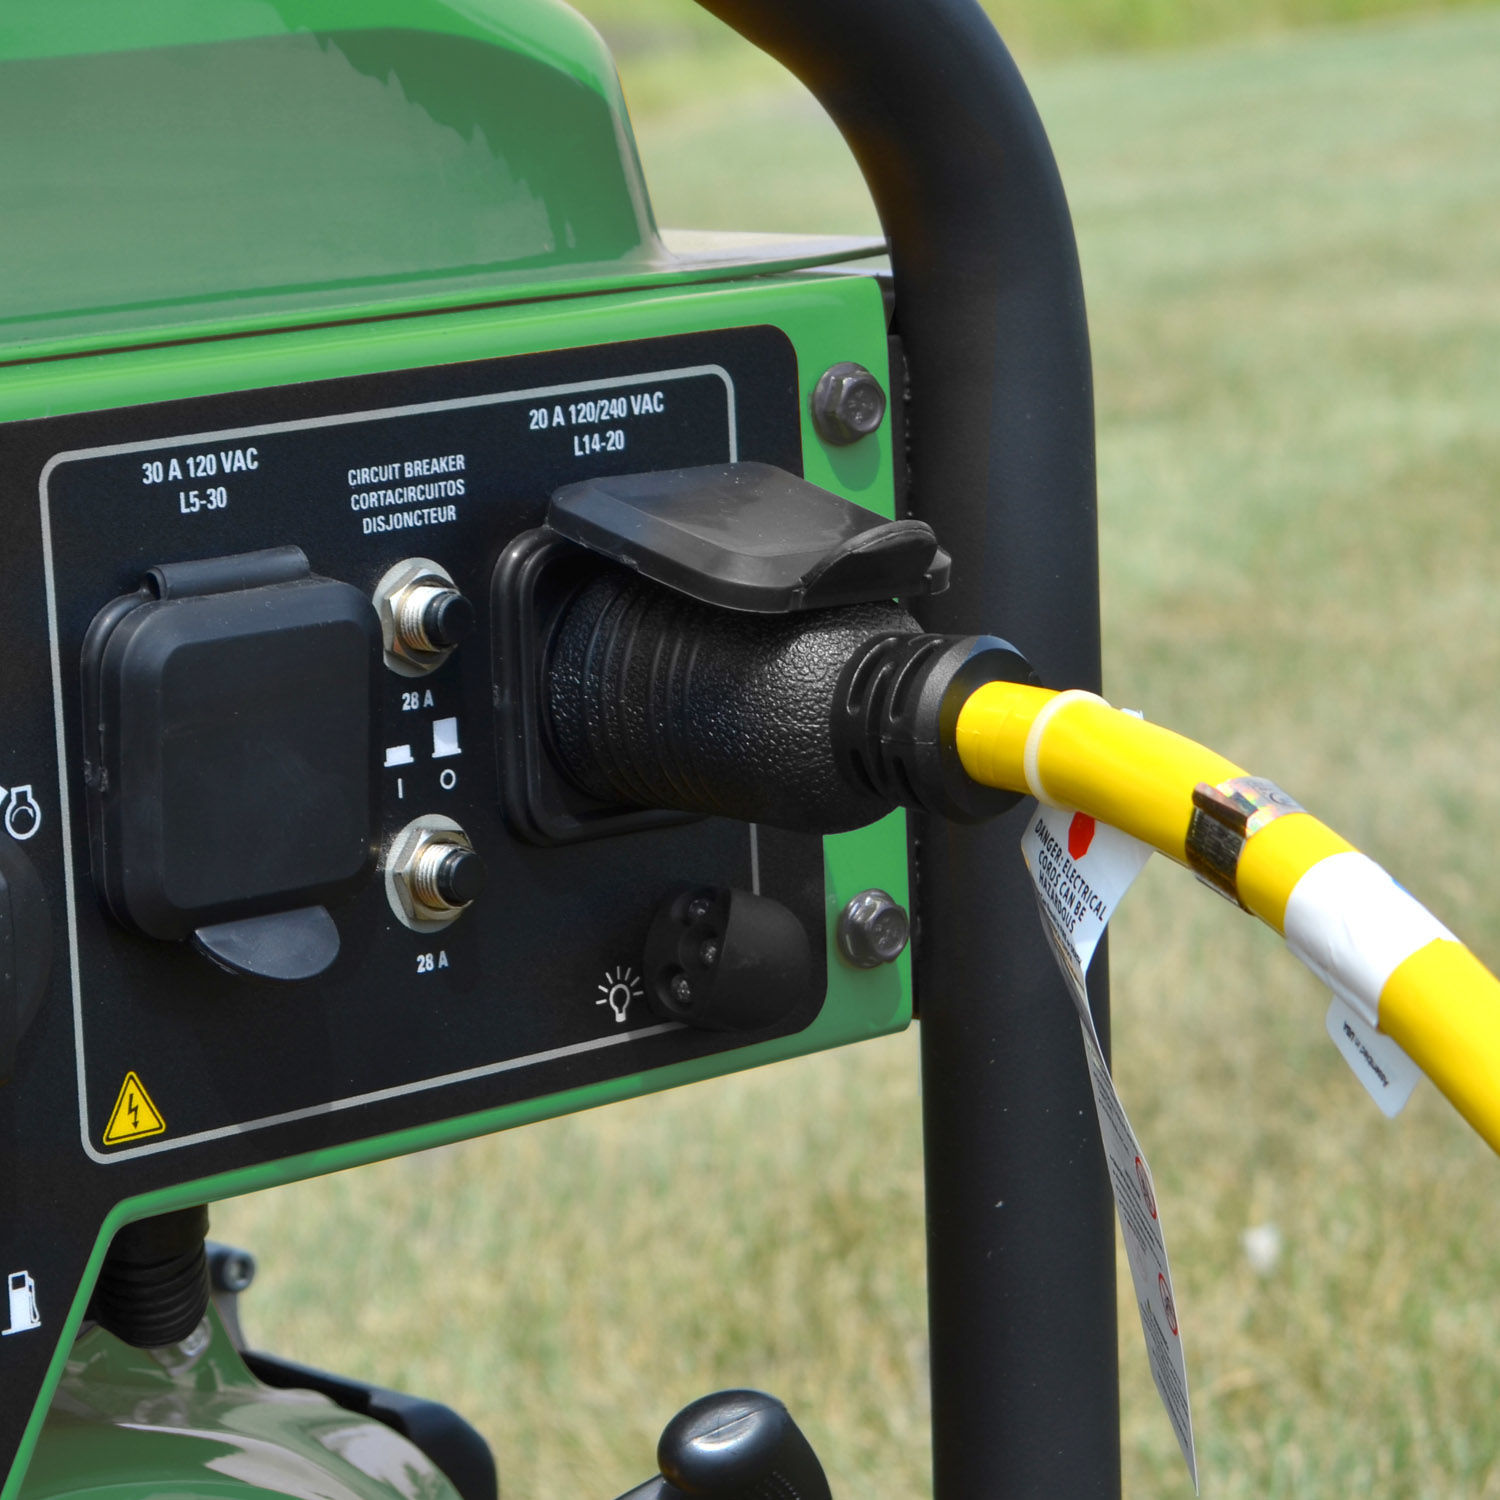
- Test the generator’s functionality: Periodically start the generator and run it for a short period to ensure it starts smoothly and operates correctly. Check the power output and verify that all outlets and switches are functioning properly.
Following a regular maintenance schedule and addressing any issues promptly will help extend the lifespan of your generator and ensure its reliability in times of need.
By completing each of these steps – running the generator dry, cleaning it, changing the oil, removing the fuel, storing it in a cool and dry location, protecting it from dust and moisture, and performing regular maintenance checks – you can properly store your generator after use and ensure its readiness for future use.
Remember to consult your generator’s user manual for specific maintenance guidelines and intervals recommended by the manufacturer.
By taking these steps, you can keep your generator in optimal condition, ready to provide reliable power whenever you need it.
Now that you know how to store a generator after use, you can confidently store your equipment and protect your investment for years to come.
Best of luck, and stay prepared!
Conclusion
Storing a generator properly after use is essential to maintain its longevity, performance, and reliability. Following the steps outlined in this guide can help ensure that your generator is ready for immediate use when needed and protected from potential damage or malfunctions.
From running the generator dry to cleaning it, changing the oil, removing the fuel, storing it in a cool and dry location, protecting it from dust and moisture, and performing regular maintenance checks, each step plays a crucial role in maintaining the generator’s optimal condition.
By incorporating these steps into your generator storage routine, you can prevent issues such as fuel system clogs, corrosion, dirt buildup, and electrical problems. This will ultimately save you time and money in the long run, as you’ll be able to avoid costly repairs and ensure continuous power supply when emergencies arise.
Remember to consult your generator’s user manual for specific instructions and maintenance recommendations from the manufacturer. Adhering to their guidelines will help maintain your generator’s warranty and ensure that you’re taking the necessary measures to keep it in excellent working condition.
By investing a little time and effort into proper generator storage, you can enjoy the peace of mind knowing that your equipment is well-preserved and ready to perform whenever you need it. So, follow these steps, create a routine, and store your generator with confidence.
Stay prepared, stay protected!
Frequently Asked Questions about How To Store A Generator After Use
Was this page helpful?
At Storables.com, we guarantee accurate and reliable information. Our content, validated by Expert Board Contributors, is crafted following stringent Editorial Policies. We're committed to providing you with well-researched, expert-backed insights for all your informational needs.


0 thoughts on “How To Store A Generator After Use”